How I changed the front of my '72 bay

Early Bay Forum

Help Support Early Bay Forum:

This site may earn a commission from merchant affiliate links, including eBay, Amazon, and others.

joe.skids

Member
Joined
Jan 24, 2008
Messages
22
Reaction score
0
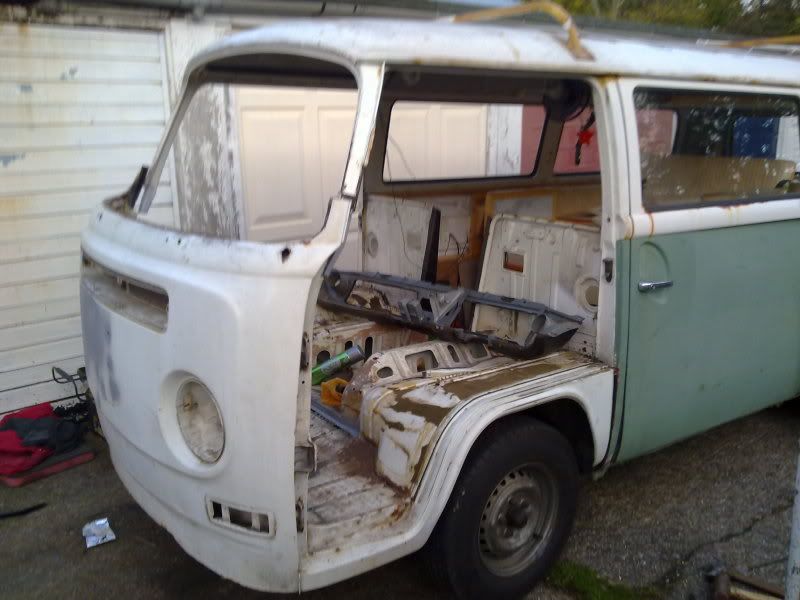
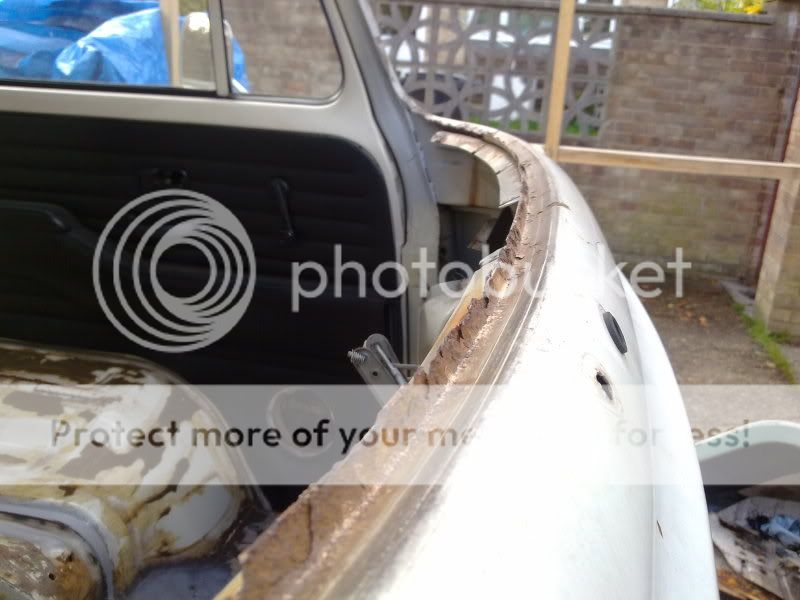
We've had our bay for 3 years now and the rot has got worse on the front since we bought it. It needed work in the usual places like windscreen surround, front arches and lower front valance. It had been previously replaced with the repro front panel (high indicator cut outs and a bulge for the badge) and early front aches but as we got no history with the van I don't know when. There had also been a spare wheel added to the front which had caused a few dents.

camperfront.jpg


I'm no purist when it comes to my bus but I do want it to look as original as possible. This meant changing it to lower indicators and 1 year only arches.

So I priced up the cost of replacement panels and read up on who sold the best fitting. I didn't like the idea of buying a mixture of all the new required parts from the different year vans and jigsawing them all together. I decided to look at trying to source imported original replacement parts.

Quick call to all the usual guys and realised the parts I needed were all out there but it was going to cost me a lot. The genuine 1 year arches I needed were being sold for £250 each side:eek::eek: Then I spoke to Southeren Kombi Parts and they had just taken delivery of this :D

IMG_0362.jpg

IMG_0363.jpg


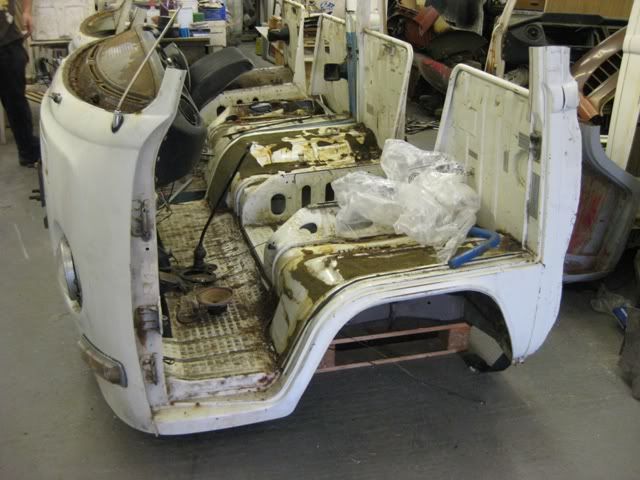
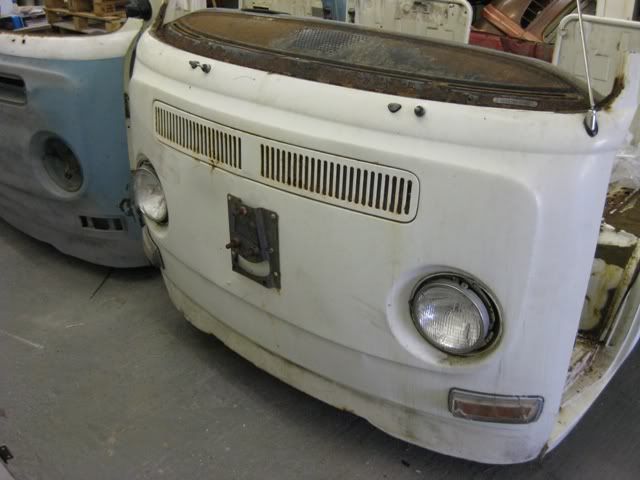
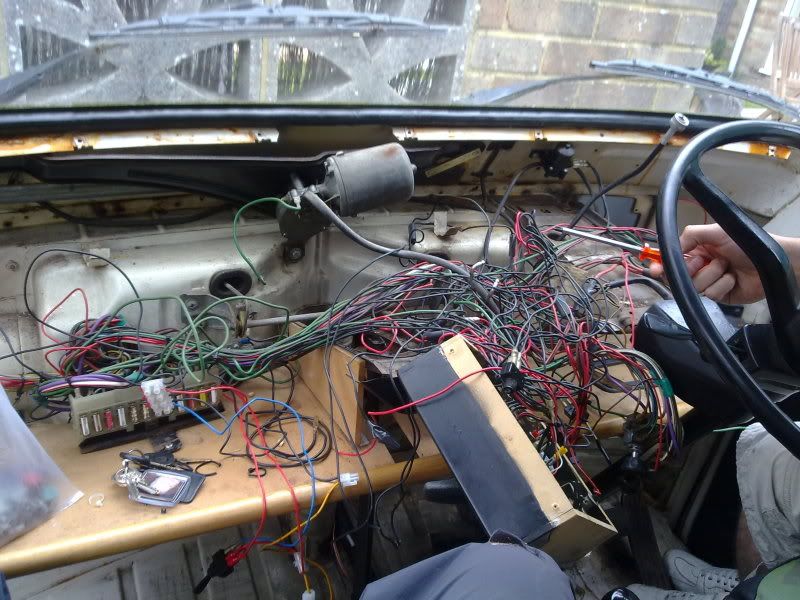
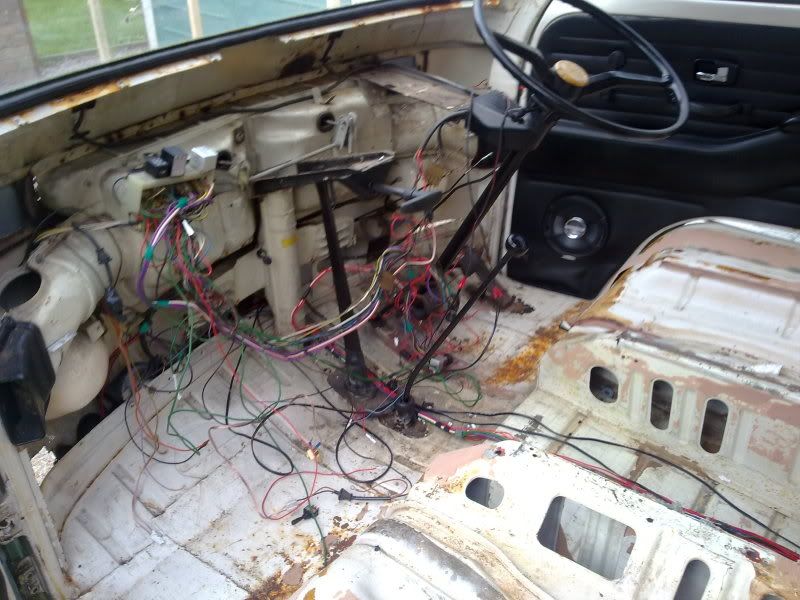
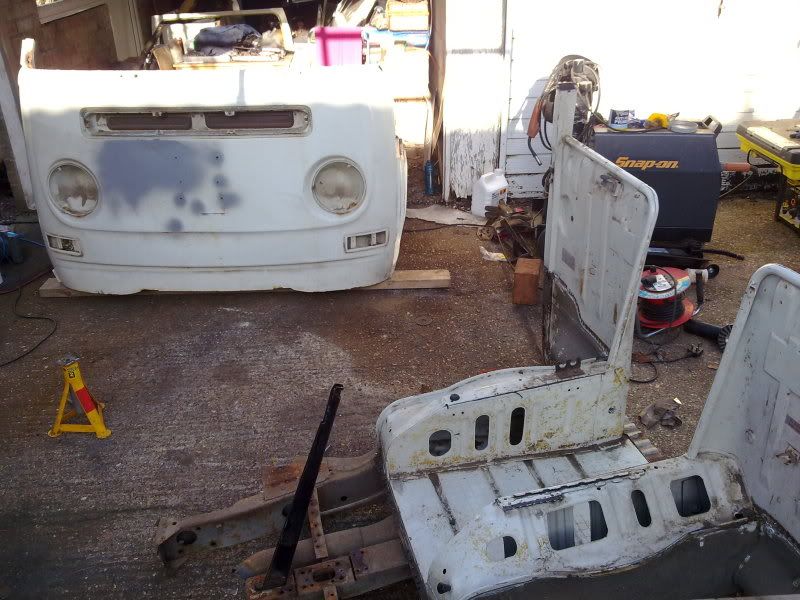
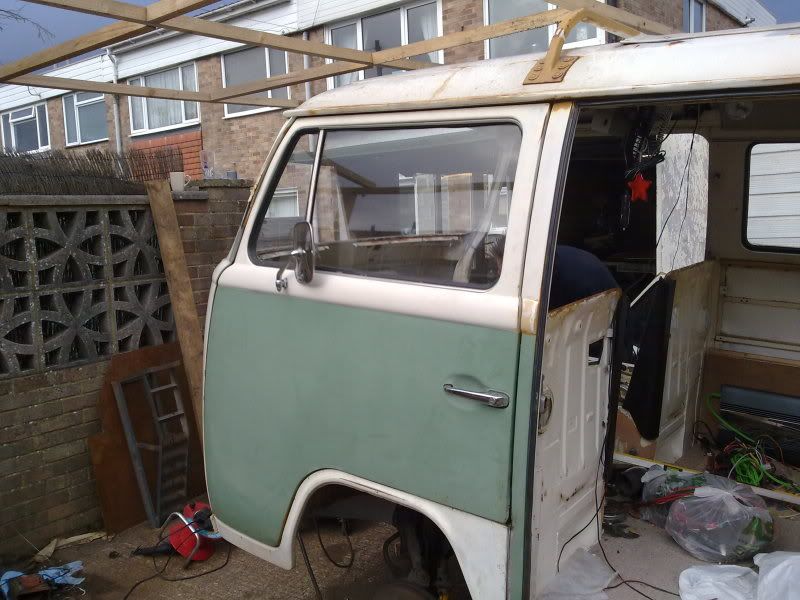
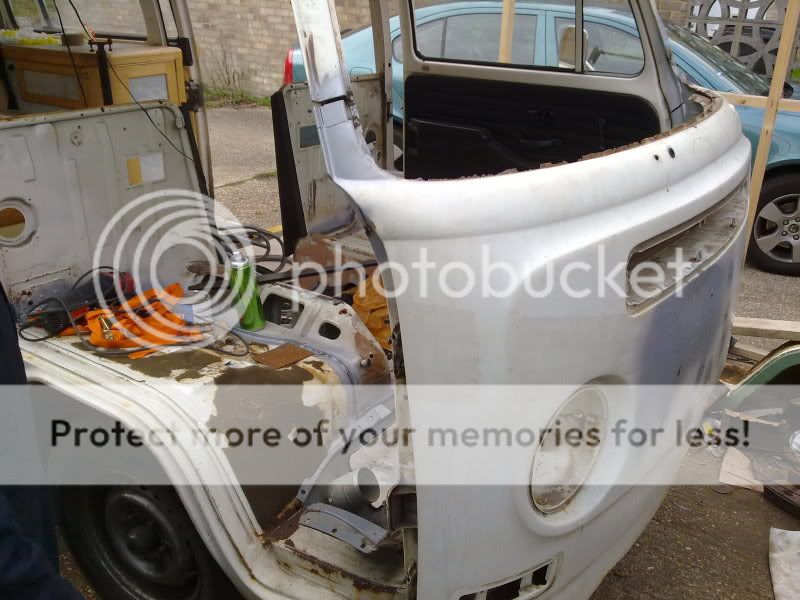
It is a complete front clip from a '72 bay. Perfect;) It cost a little over the price of 2 arches at £550 and it still has the dash, fusebox, wiper motor, indicator units and few other bits that will be very handy. It does require a repair to the lower surround on the windscreen but not half as bad as mine did.

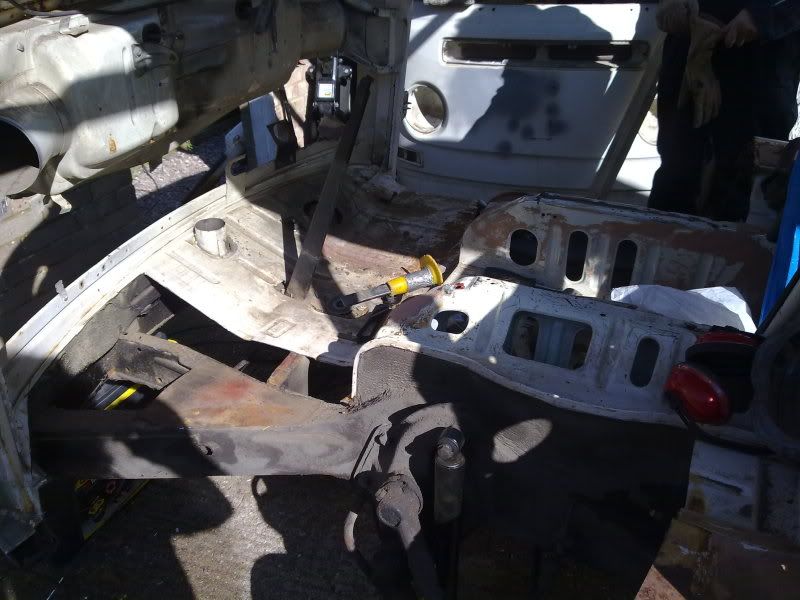
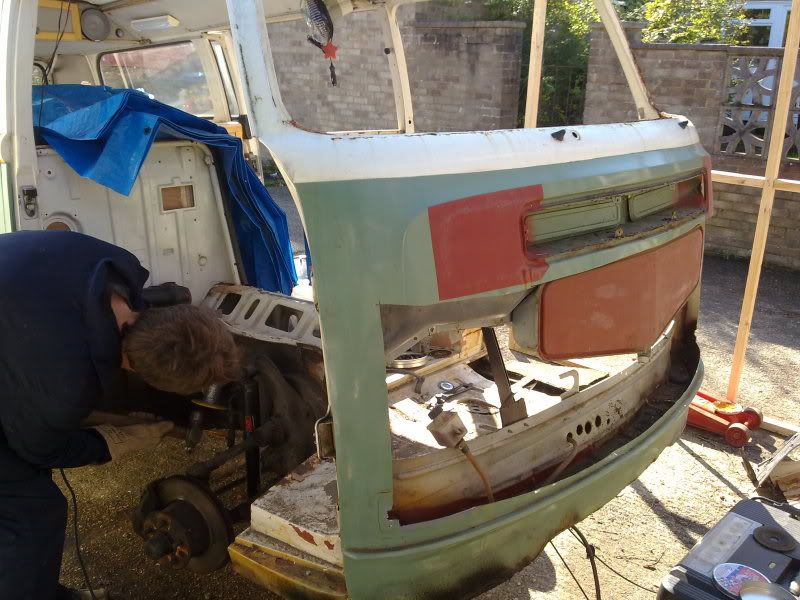
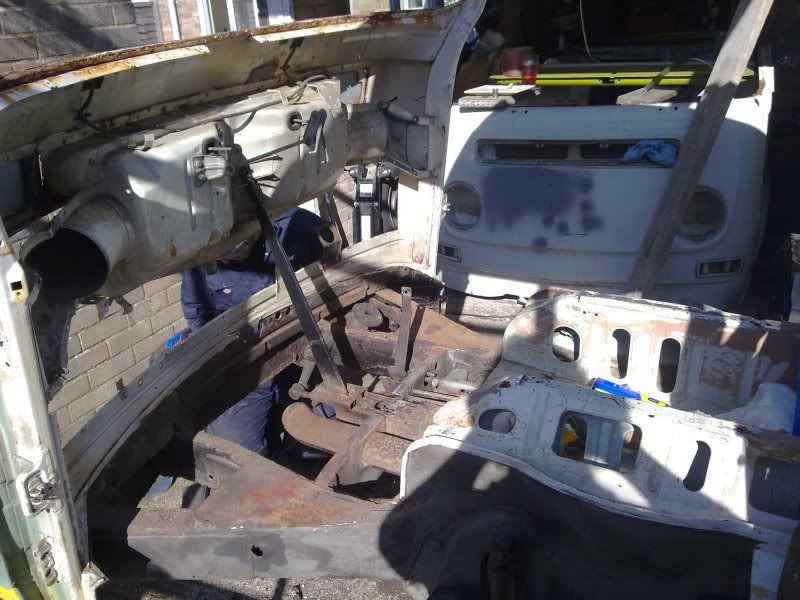
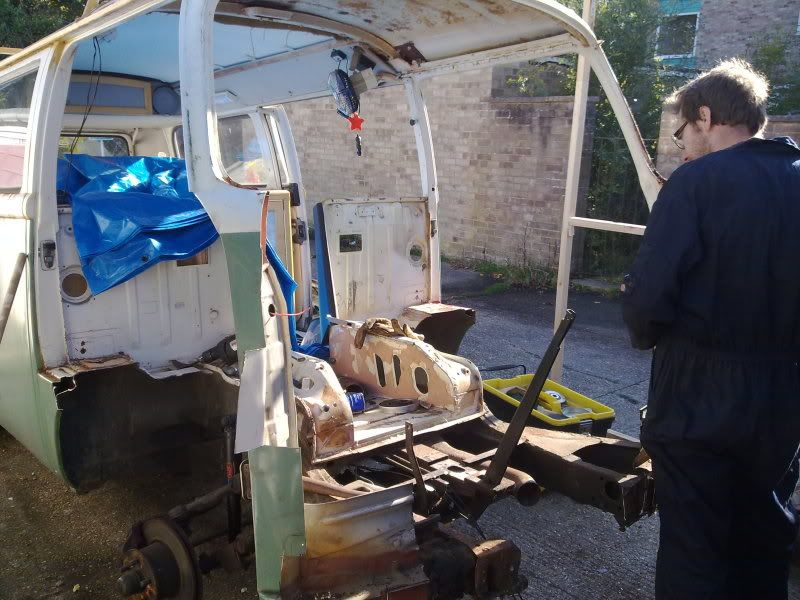
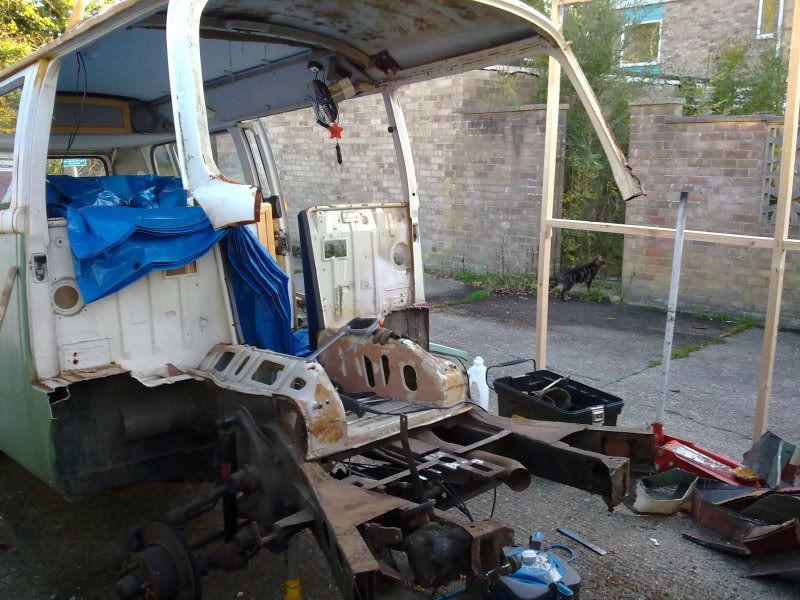
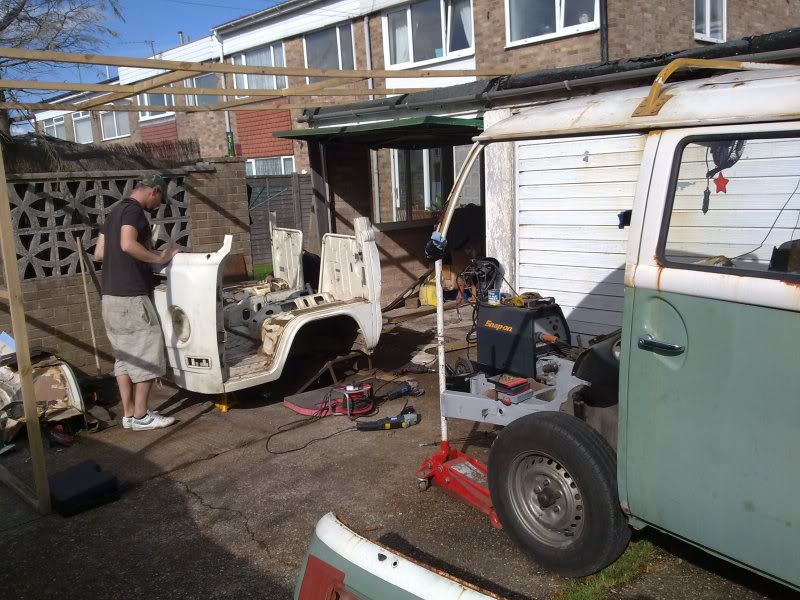
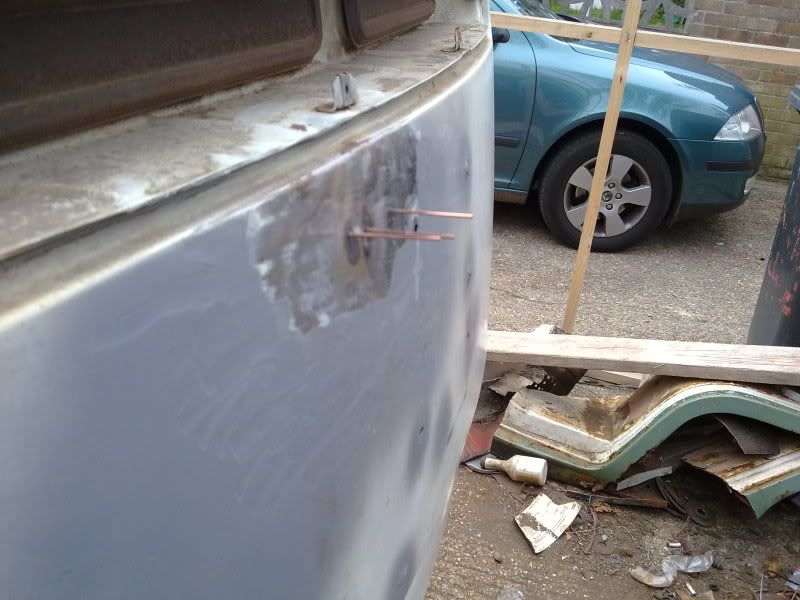
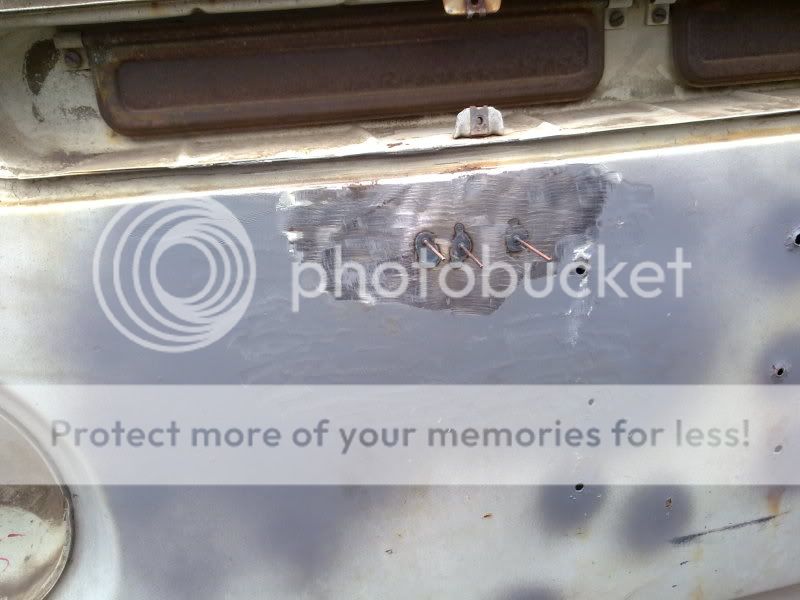
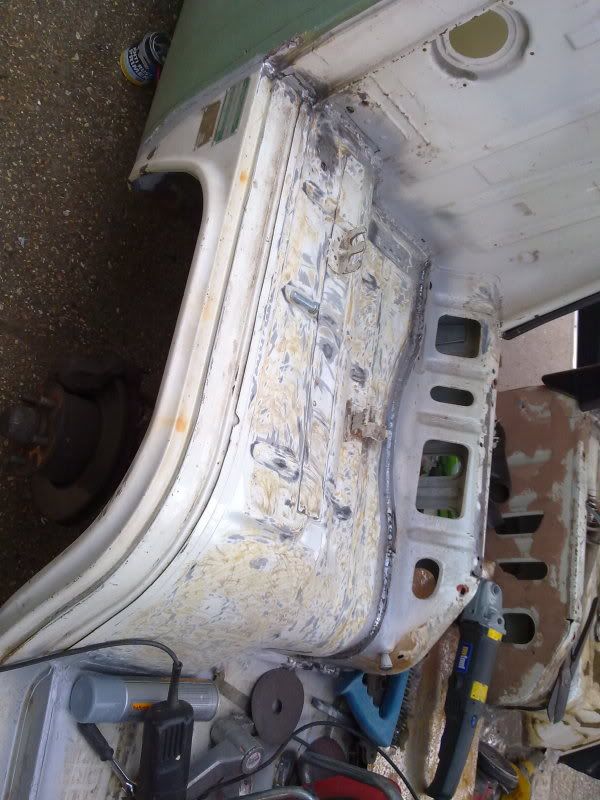
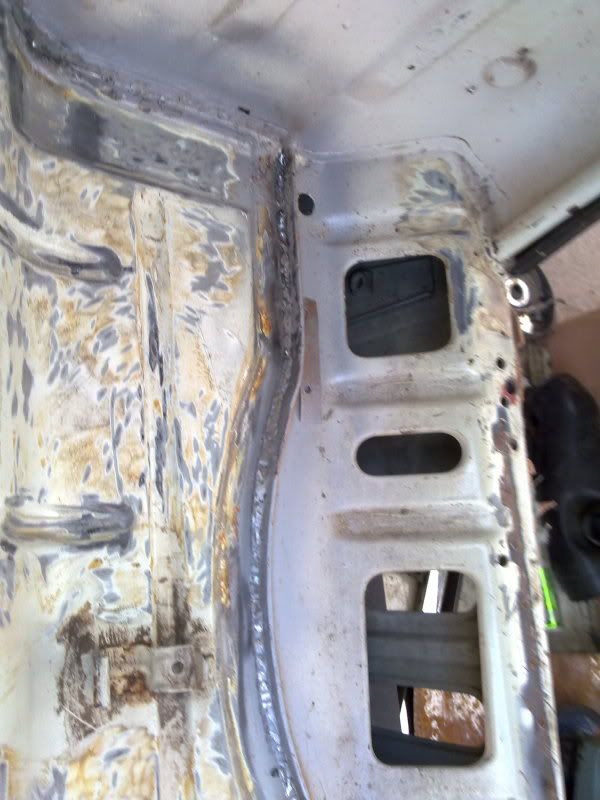
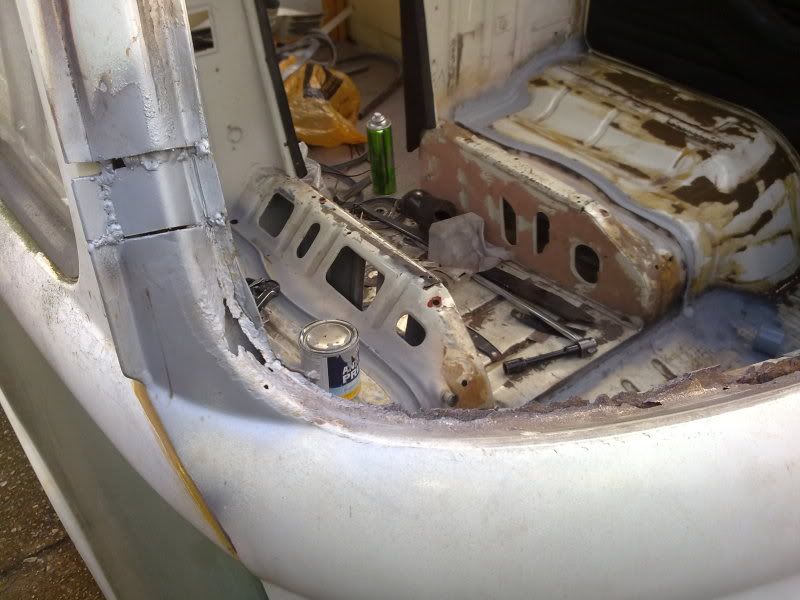
So where did we start?? Firstly I paid someone else to do the thinking for me;). I'm quite handy with the tools but have never done any body work before and thought this may be a bit big as my first attempt. We did all the work out side my house with a selection of the right tools. We had no ramps or amazing equipment you would get at a body shop / garage. In fact everything we used fitted in the back of an Audi Estate.:lol::lol:

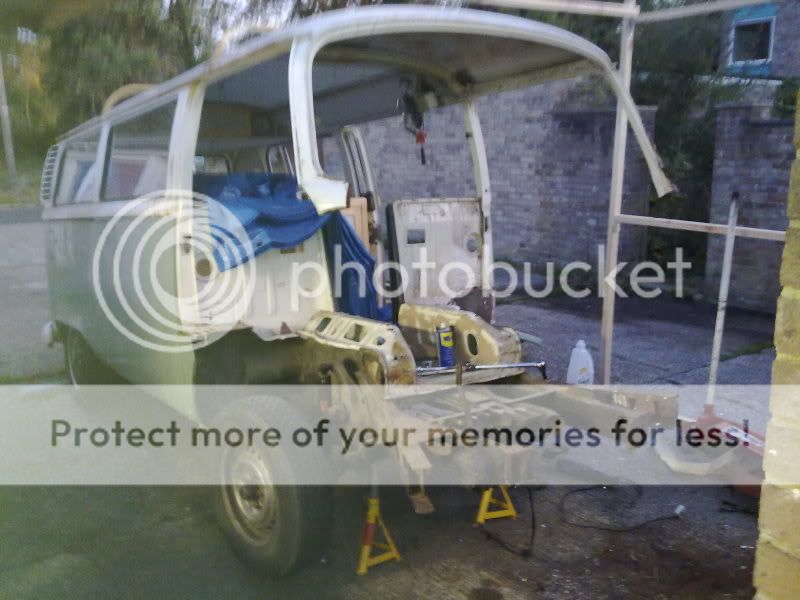
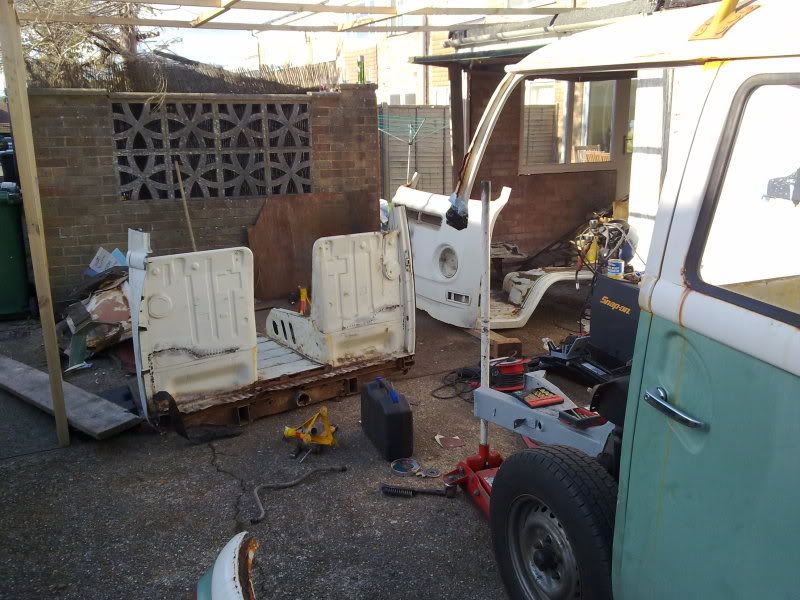
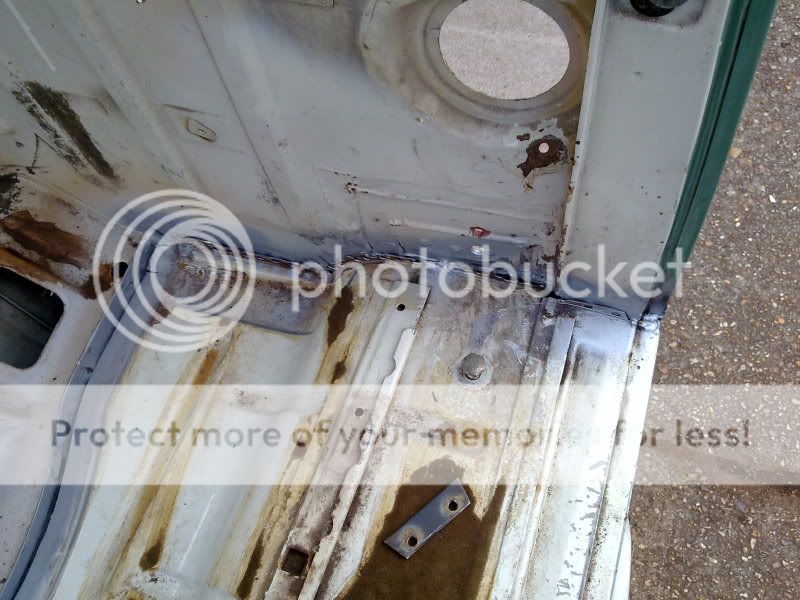
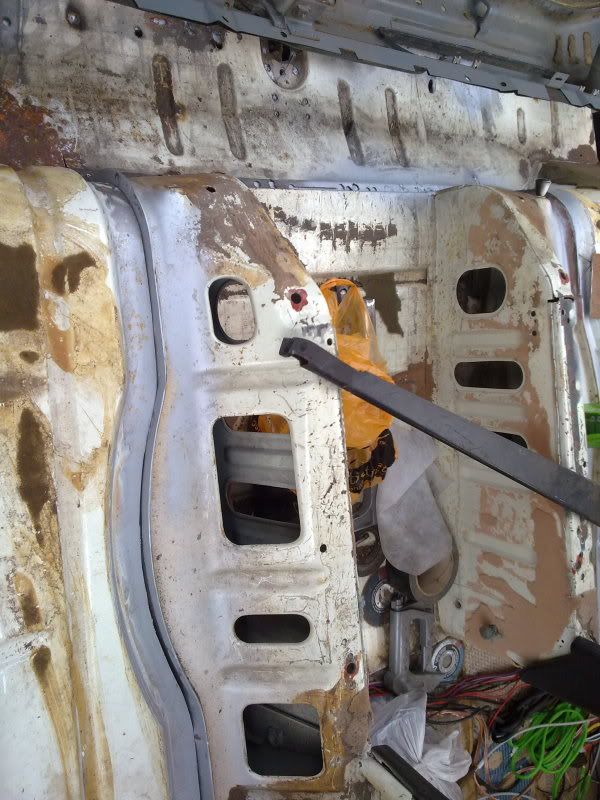
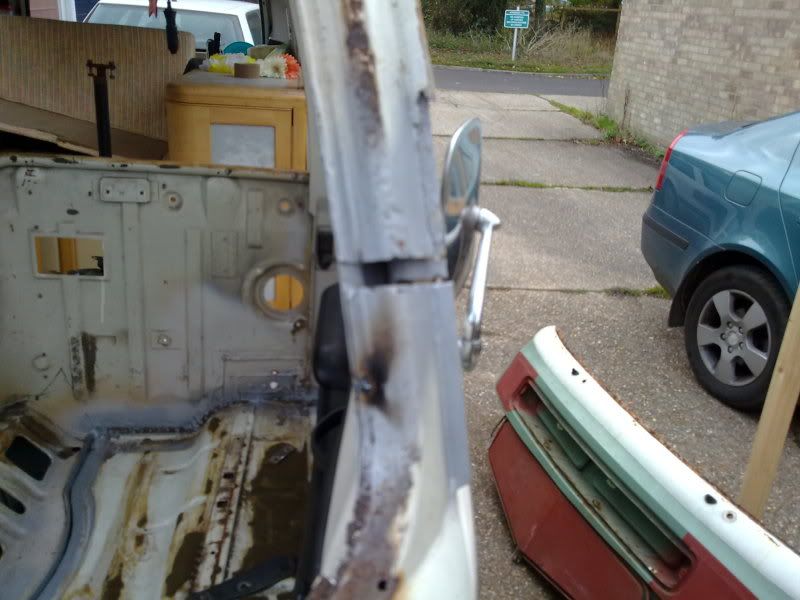
The plan was to try and remove the complete front, arches and floor from the import in one piece and weld it to the chassis of the van.
 
Before we could cut anything off the van I had to strip the cab. This was a job I wasn't looking forward to as there were 5 guages wired in that didn't work but had a lot of wires going to them. This was one of those "holy sh!t what have I started" moments :eek:

CamperProject004.jpg


I started with the guages and began to cut the wires out that weren't needed. Ended up with this :D:D

CamperProject006.jpg


Spent a couple of hours in the evenings labeling all the wires and fusebox. It seems all the wires running to the back of the van have been replaced in the past and run through the inside and not out through the front floor. This meant I could put the fusebox and all wires in a bag and leave it all connected in the back.

The plan was to spend 4 days, thursday to sunday, to see how much we could get done.

Day 1

Started with the arch and floor on the passengers side and a section cut from the front panel

CamperProject008.jpg


Then the arch and floor on the drivers side

CamperProject009.jpg


Then the rest of the floor was gone

CamperProject010.jpg


Then we lost the airbox and lower valance

CamperProject011.jpg


Bye bye front pillars

CamperProject012.jpg
 
So that was the next "Holy Sh!t what have I started" moment

CamperProject014.jpg


Ok, so this was the first 4 hours of work. The rest of the day was spent cleaning all the joints up.

Day 2

Not a lot to show for the second day. The outer 2 front chassis legs were removed from the import and used to replace the crumbling ones on the van. The 2 inner ones weren’t to bad after a couple of repair patches. Gave the whole front chassis a good coat of Hammerite Rust Proof Primer.

CamperProject016.jpg


Day 3
We started to separate the panels from the chassis of the import. God knows how many spotwelds hold it all together but there was 3 of us with drills and it took a good few hours to go from this

CamperProject015.jpg


to this

CamperProject017.jpg

CamperProject018.jpg


Now the moment of truth. I was dying to sit it on and see how it fit. We quickly measured the pillars and gave them a trim so the panel wouldn’t hit them.

CamperProject019.jpg


Believe it or not there was a 10 to 20 mm gap around the joints. Not bad for the first attempt. So now the pain staking part of trim a bit try it to fit, Take it off, trim it a bit more, put it back on, take it off trim it a bit. You get the idea.

Day 4

After a lot of trimming, hitting, grinding, whacking and lifting it finally fit. Got a few welds in place to hold it so we could try the doors.

CamperProject021.jpg


To say I was happy would be an under statement. Was well chuffed after all the hard work by all involved.
The day was finished with the passenger side floor and arch all getting welded.

Day 5

A very productive day today. All the welding was completed, Holes were cut in the floor so the pedals could be put in (the import was a left hand drive), Most of the welds were grinded down flat and primered.

This shows the join along the bulkhead behind the passenger seat and the seam that runs from the bulkhead, down the front tub and joins the floor.
CamperProject022.jpg

CamperProject023.jpg
 
Quick shot of the pillar. The cuts were staggered so all 3 panels can be welded.

CamperProject024.jpg

CamperProject025.jpg


Hard to see in the photos but noticed some filler that needed digging out. Ended up being about 6-7 mm thick. Luckily we had a spotter and slide hammer. Pulled the dent out a treat.

CamperProject026.jpg

CamperProject027.jpg


Grinded back these joins and coated with primer

CamperProject028.jpg

CamperProject029.jpg
 
A little bit of progress this weekend.

Due to bad weather yesterday I didn't get anything done on the van but I did go and get some new windscreen pillers. The pillars on mine were crusty on the outside skin and the the inner panel/Lower windscreen lip was rotten on the import

Spoke to Type2Tattoo (Lyndsey) who is breaking an early bay here http://www.volkszone.com/VZi/showthread.php?t=572401 and the pillers are good. Even better the whole windscreen surround was good so tooled up with a grinder, handfull of cutting discs and hacksaw I ended up with this.

CamperProject035.jpg


to repair this

CamperProject040.jpg


CamperProject041.jpg


CamperProject024.jpg


Sunday I got underneath and gave the whole underside at the front a good coat of underseal and sprayed all the cavities with waxoyl. Damn that shit is nasty.

CamperProject036.jpg


CamperProject039.jpg


CamperProject037.jpg


Both tubs were covered in glue and foam from the underside of the original carpet.

CamperProject025.jpg


So gave it a going over with the wire wheel to end up with this

CamperProject028.jpg


And then a nice coat of primer

CamperProject042.jpg


Not to much this weekend but hopefully next Saturday the screen surround will be sorted and the windscreen will be in.
 
This is what i like to see no hesitation straight in their at the deepest end well done you folk top marks 8) and saved yourself a few squids ;)
 
'Kin Hell :shock:

Grab that bull by the horns why don't ya.

Fantastic job yo appear to have done - shame the screen surround was more knackered than first thought, but I'm sure the end results will be brill :D
 
Thanks for the comments guys, hopefully all the welding will be completed this weekend and I'll start to put it all back together again.

Will get some more pics up then.
 

Latest posts

Top