You are using an out of date browser. It may not display this or other websites correctly.
You should upgrade or use an alternative browser.
You should upgrade or use an alternative browser.
ME KNOW NOTHING, RESTO
- Thread starter STUMP
- Start date


Help Support Early Bay Forum:
This site may earn a commission from merchant affiliate
links, including eBay, Amazon, and others.
dubscum
Well-known member
this bus was up for sale just over a year ago, i nearly came to have a look. glad you kept it in the end. i like it better how it looks now 
captain36
Active member
huuummmm not bad need to gat some lift on it for those new laders see u in the week
swswswswswswswswsw
hahahahahahahahahaha
swswswswswswswswsw
hahahahahahahahahaha
STUMP
Well-known member
Cheers Leon the badge looks good and i still owe you a beer for that
Dubscum; very happy i kept it now as it was only for sale 'cos i spat my dummy out :lol: Its so far been a good bus and flew straight through its mots bar a 50p size patch. I think it looks better now aswell.... still a long way to go until it looks as good as yours as i think it is one of the coolest buses around (even when it had pink wheels) :lol: love checking your thread out to see how bored you were this week
Dubscum; very happy i kept it now as it was only for sale 'cos i spat my dummy out :lol: Its so far been a good bus and flew straight through its mots bar a 50p size patch. I think it looks better now aswell.... still a long way to go until it looks as good as yours as i think it is one of the coolest buses around (even when it had pink wheels) :lol: love checking your thread out to see how bored you were this week
STUMP
Well-known member
Captain36; get back to work, theres no time for brews !!!! Cheers for all your graft this weekend mate.....i'm still grinning
ps i still want this
ps i still want this
Mac
Well-known member
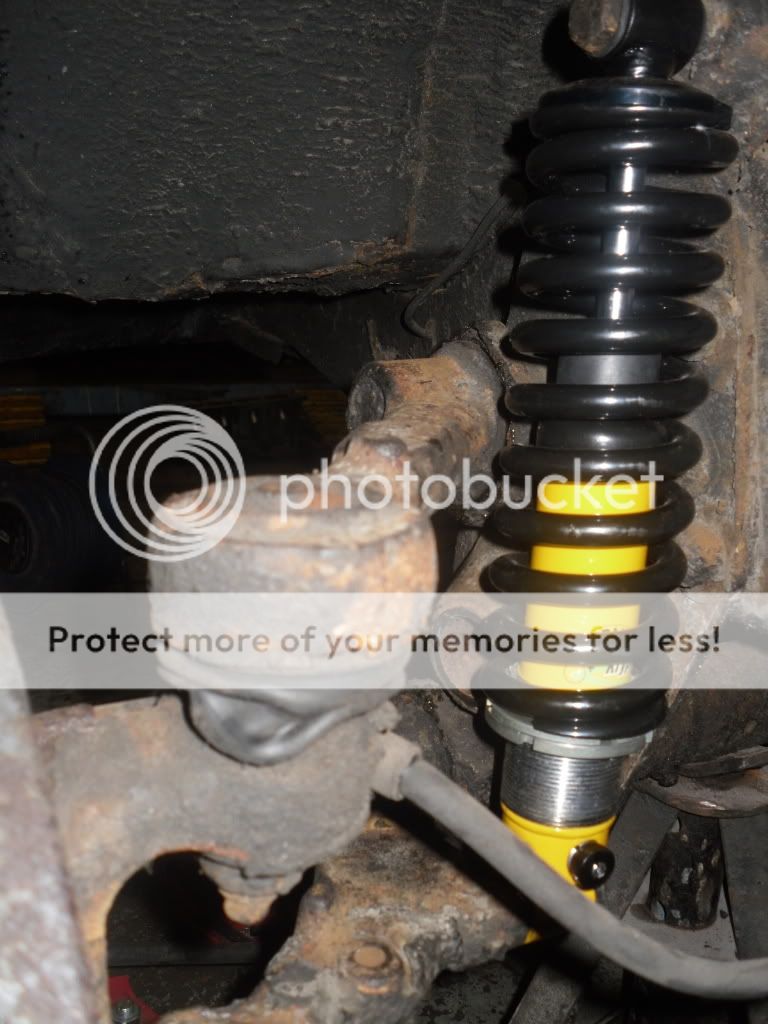
Much better with the new ride height, looks real nice.

$25.19
Airfix Quickbuild Volkswagen Camper Van Red Brick Building Plastic Model Kit J6017, Multicolour
Amazon Global Store UK


$35.65
Window Sash, 1 Piece Windows,for Beetle 58-64 & 68-77, Pair, Compatible with Dune Buggy
Texas Air Cooled LLC

$9.94
$10.95
Empi 00-4428-B VW Bug, Beetle, Sun Visor Clips, Type 1, 68-79, Black, Pair
MOORE PARTS SOURCE


$9.37
Empi 4429 Ivory Sun Visor Clips for Vw Bug 1965-1967/ Vw Bus 1968-1979, Pair
MOORE PARTS SOURCE


$7.91
$15.41
Door Panel Clips, for VW Aircooled Door Panels, 50 Pieces, Compatible with Dune Buggy
Appletree Automotive


$61.13
$69.99
Revell 07674 VW T1 Camper 1:24 Scale Unbuilt/Unpainted Plastic Model Kit
Amazon.com
STUMP
Well-known member
Cheers mate. I've been asking wor kid to get me your number for weeks as i broke my last phone with your new number in. The nice weather is here so we need to go cruising 8) . You doing any shows this year ? I can only do friday at mighty dubfest. D'arcy 07525235234. Did you manage to get the engine sorted ? Have you seen the early bays kicking around the coast, i think one lives not far from you.
Mac
Well-known member
Hi mate, new engine mark 2 coming soon. the new bay on the scene is Jimmy, lives over the road from me.
What's yours plan for the bodywork/paint, is it all getting sotrted this summer ?
sent my number.
What's yours plan for the bodywork/paint, is it all getting sotrted this summer ?
sent my number.
STUMP
Well-known member
pk1was said:lovin this, it looks good, hope you enjoy gettin stuck in, i have restored mine, its been a steep learning curve but i have enjoyed it
Hi just been checking your thread out and that is some excellent work you have done there it looks stunning. Cheers for your comments and i have no doubt its going to be a steep learning curve. Its going to be a rolling resto for this year as i just love driving it 8)
STUMP
Well-known member
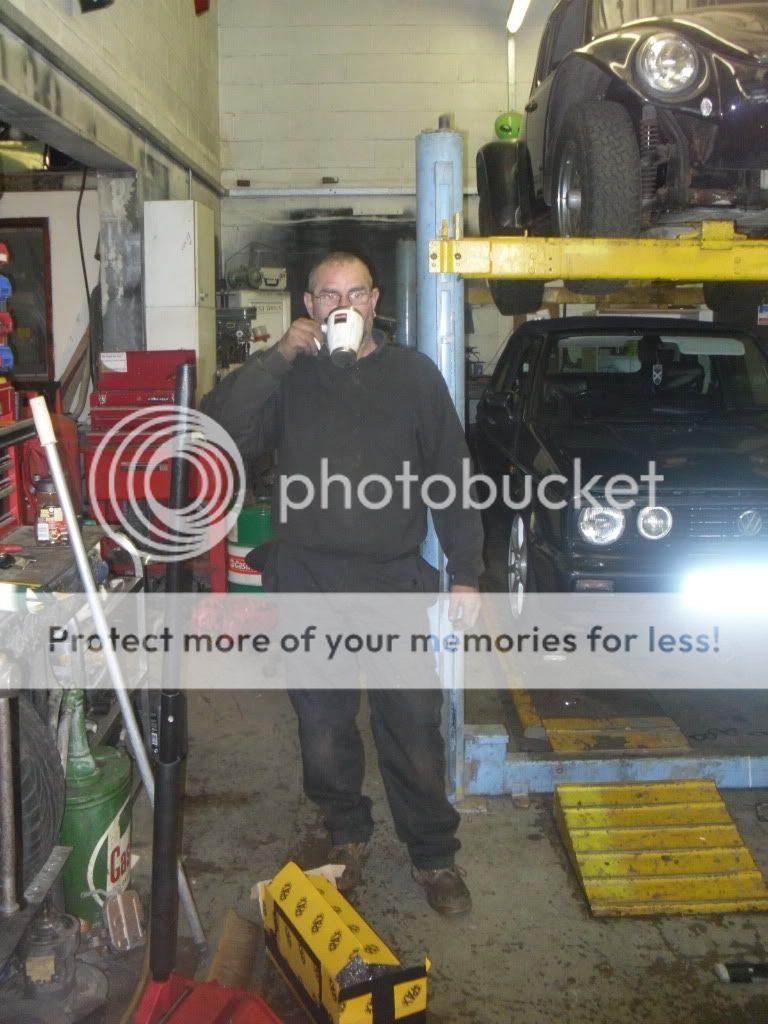
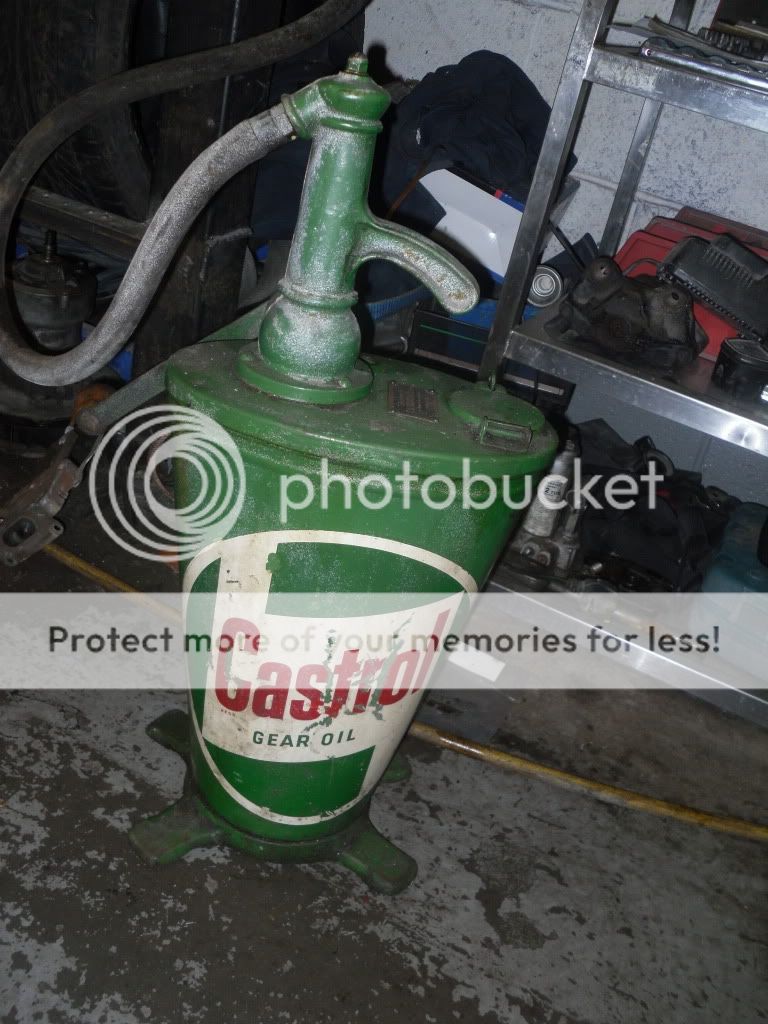
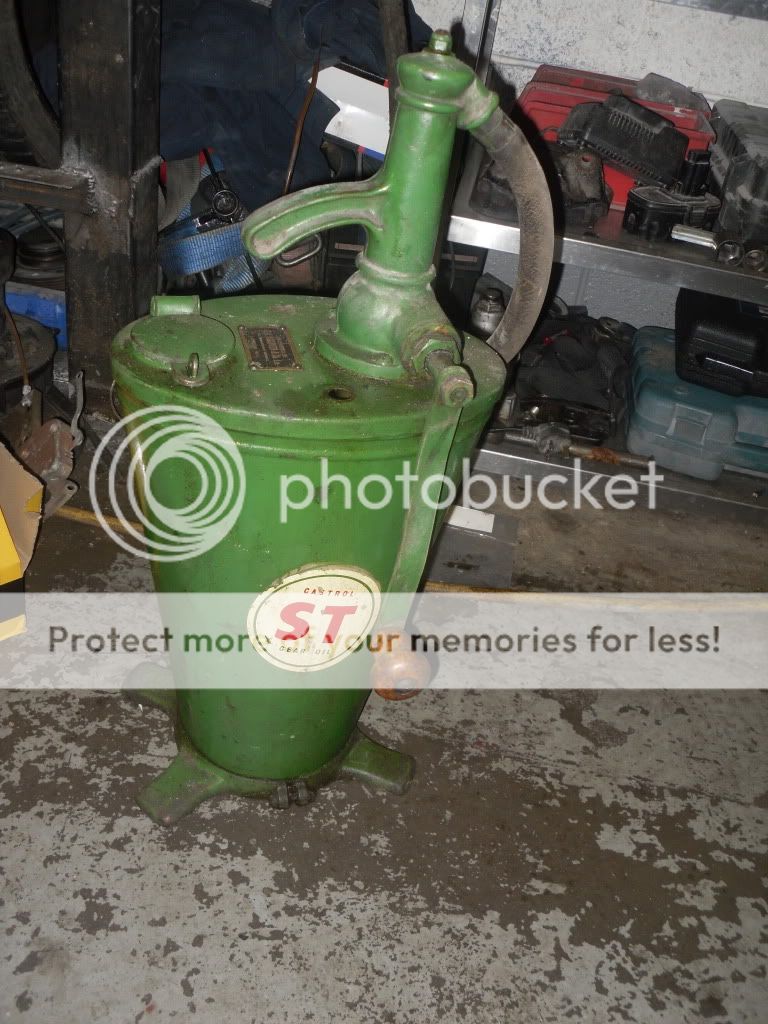
Right then went down to the garage on saturday to fit my red9 4"-5.5" ezrider and 4" rear spring plates. First of all jacked up front end and placed on axle stands. Started to strip down and encountered the first ball ache of the day as the sleeves on the clamps for the anti roll bar were siezed solid, so out came the hammer & chisel. This took about 45 mins - 1 hour :evil:
We then took off the drums, we did this without removing brake pipes by taking off clip on inner arch and getting some slack on the lines, then resting the drums on a jack to take strain off the lines. Now for the second ball ache when removing the struts the bushes were stuck on the spindle (this happened on both sides). Out came the hammer & chisel again :roll: so into the vice they went so we could smash them off !!!
The arms came off much easier than expected after reading creation blues thread. About 5 mins in total top & bottom . To remove the leaves loosen the six grub screws on beam (3 per beam). We had to loosen gear linkage to get to middle screw on top beam, then it was time to grind off the bump stops. Repeated this on other side.
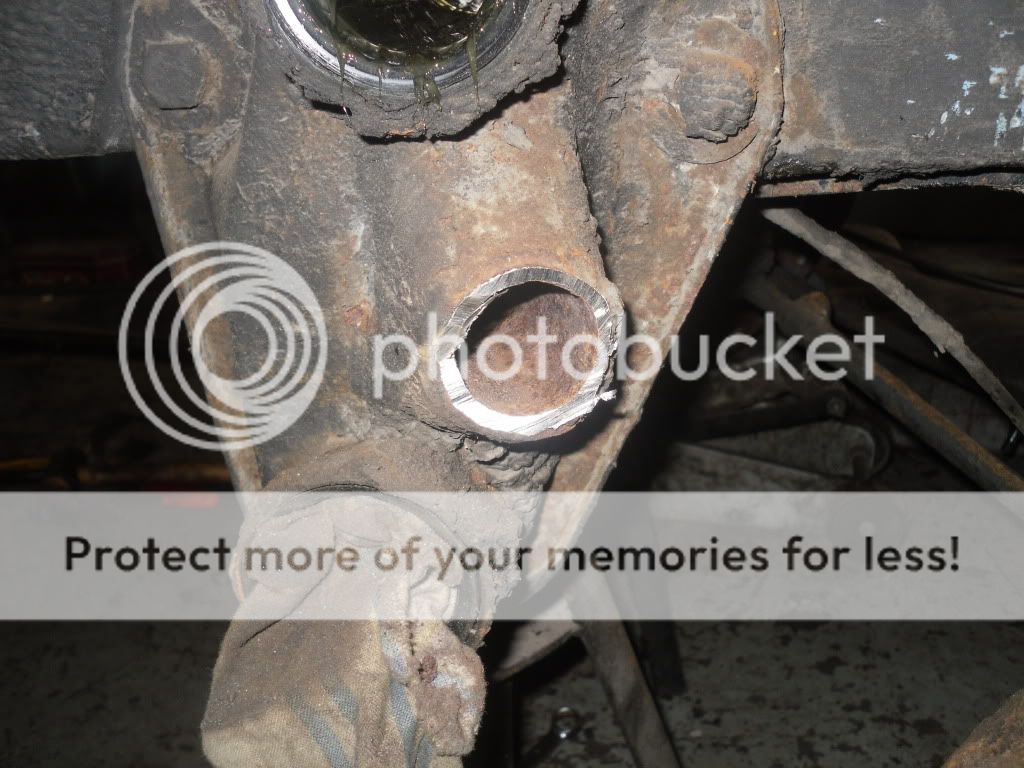
Now for the new bars to go in. These went in easy and a quick fiddle to feel it drop onto grub screws. Put everything back together again... new coilovers look cool 8)
We then took off the drums, we did this without removing brake pipes by taking off clip on inner arch and getting some slack on the lines, then resting the drums on a jack to take strain off the lines. Now for the second ball ache when removing the struts the bushes were stuck on the spindle (this happened on both sides). Out came the hammer & chisel again :roll: so into the vice they went so we could smash them off !!!
The arms came off much easier than expected after reading creation blues thread. About 5 mins in total top & bottom
. To remove the leaves loosen the six grub screws on beam (3 per beam). We had to loosen gear linkage to get to middle screw on top beam, then it was time to grind off the bump stops. Repeated this on other side.
Now for the new bars to go in. These went in easy and a quick fiddle to feel it drop onto grub screws. Put everything back together again... new coilovers look cool 8)
creationblue
Well-known member
Good on ya fella!!!! how frustrating are those fookin bottom strut sleeves :evil: :evil:
How you finding the ride?
Cool van too, looks like its frowning with the paint off over the headlight....... 8)
Just
How you finding the ride?
Cool van too, looks like its frowning with the paint off over the headlight....... 8)
Just
STUMP
Well-known member
creationblue said:Good on ya fella!!!! how frustrating are those fookin bottom strut sleeves :evil: :evil:
How you finding the ride?
Cool van too, looks like its frowning with the paint off over the headlight....... 8)
Just
Those strut sleeves were a nightmare, but it was worth the hassle in the end.
The ride quality is good. I'm still playing with it at the minute. If i was being really fussy i would say it is a tiny bit bouncey but it seems to soak all the pot holes up with out crashing into them like my bug and my bros split did
It rubs slighty on full lock and if i hit speed bumps to fast but love the way the fat tyres fill the arches. Plus i can still go down another couple of inches
Yeah the paint is work in progress. It needs new cab doors as the bottoms are starting to go, thats why i had a little bit of fun with the sign..... as i would never dream of putting it on a decent door :lol:
STUMP
Well-known member
Went to the garage on sunday with a bit of hangover but still excited to get the back down as i was already buzzing with how the front was looking. We had a quick read of the fitting instructions that came with the springplates, but to me these seemed a little daunting if i'm honest with the mentioning of tying heavy chains to the jack and bus or getting fat mates to sit in the back for the load :shock: .
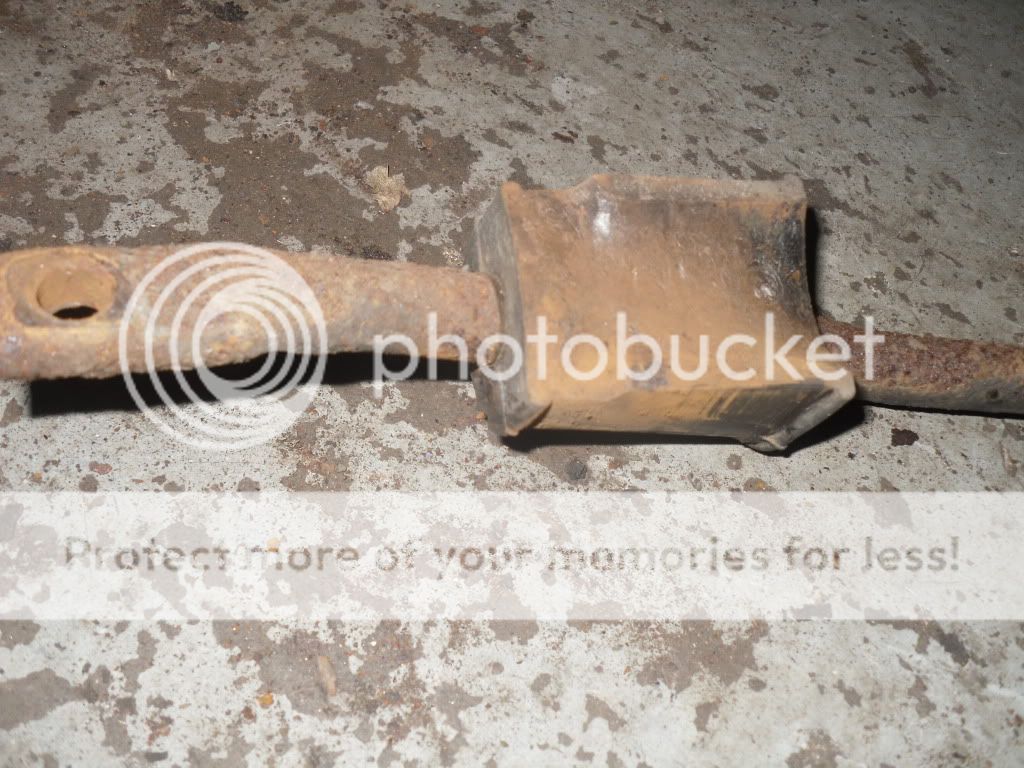
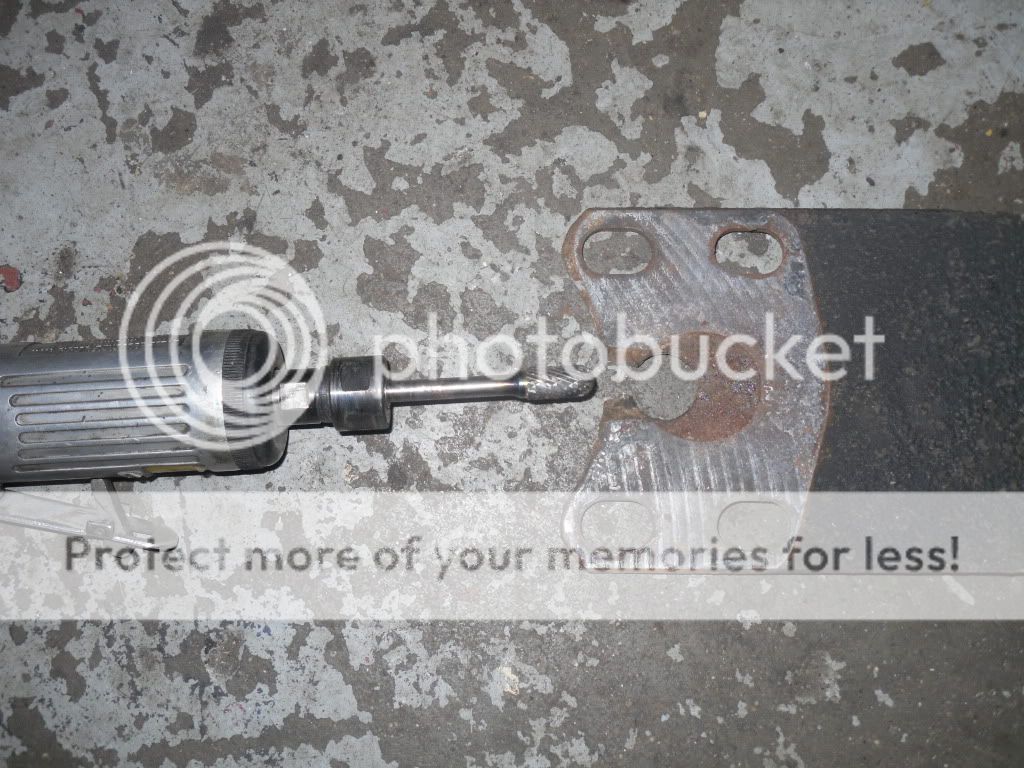
Again we jacked up the rear end and placed the bus on axle stands. Stripped wheel off and had a good look at how we were going to set about this task. first problem ; the brake lines go through the orginal springplates which do not have cut outs in like the red9's, second problem; no chains and all my fat friends were having there sunday carvery :lol: , third problem; noticed springplate covers were corroded and we didn't have any spares :roll:
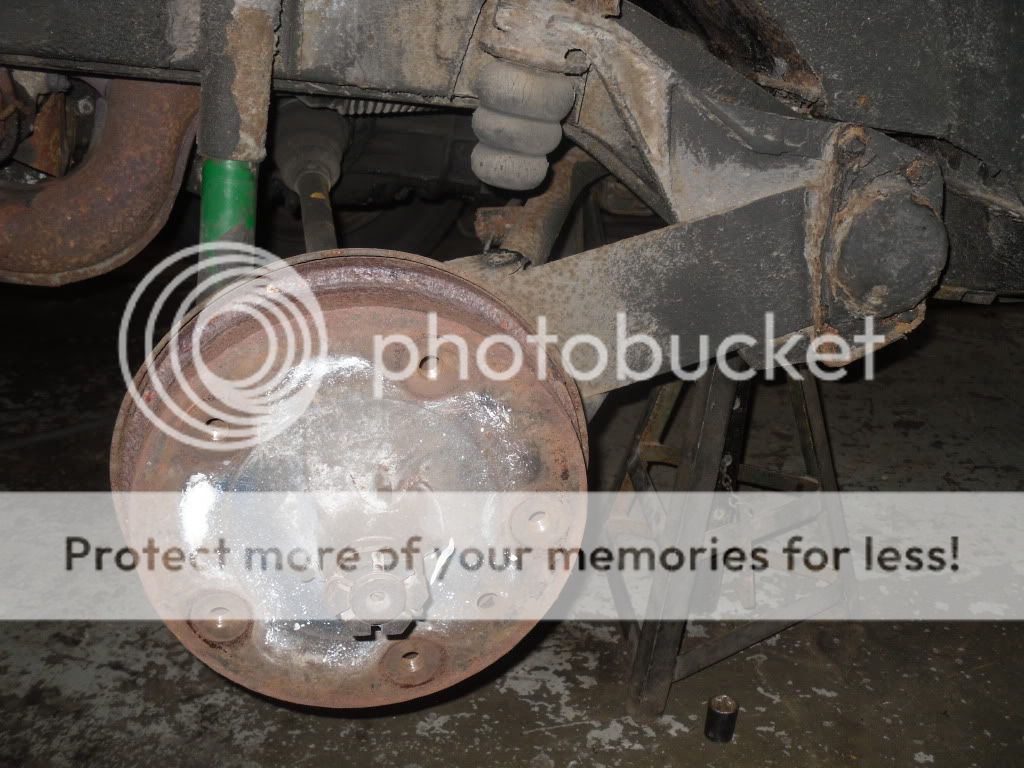
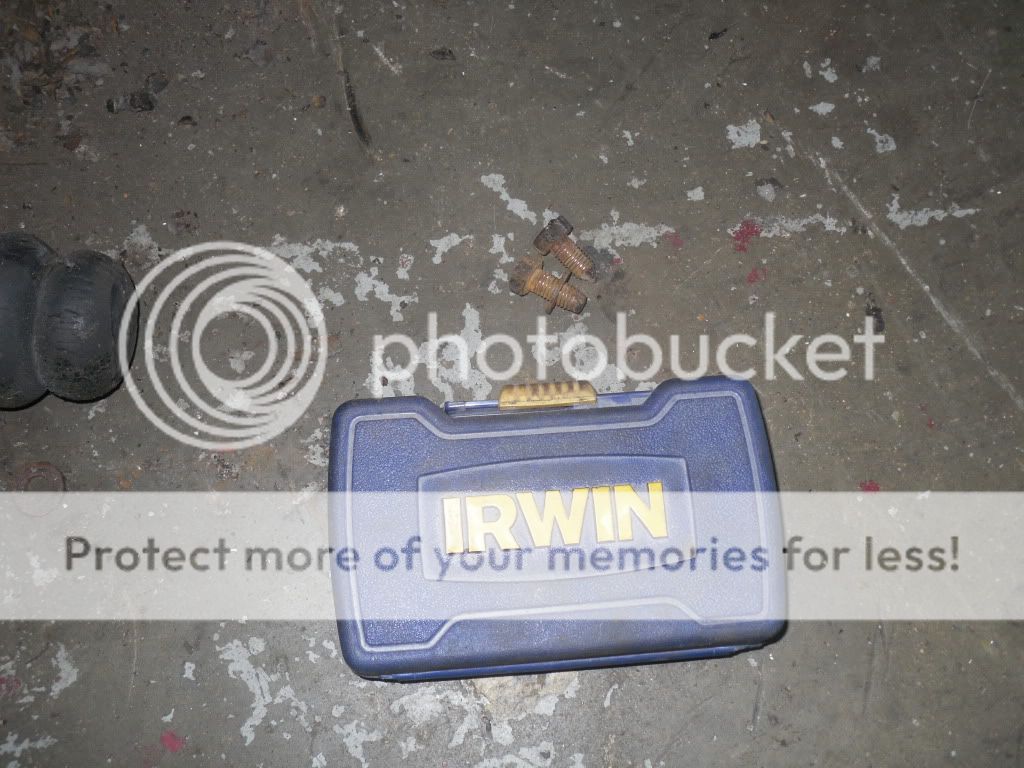
So we decided just to crack on and see how it went :? . Placed jack under springplate to take up tension, tried to remove springplate covers but these were stuck solid and bolts were a littlke chewed....luckily Ian has an Irwin set so with a little persuasion he managed to get them off, without that set this would probs have taken hours. slackened bolts behind drums (think there was 4). Now for the fun part, we didn't want the extra has of bleeding brakes so with a little head scratching Ian got his little air grinder out to modify the orginal springplates with a slot like the red9's
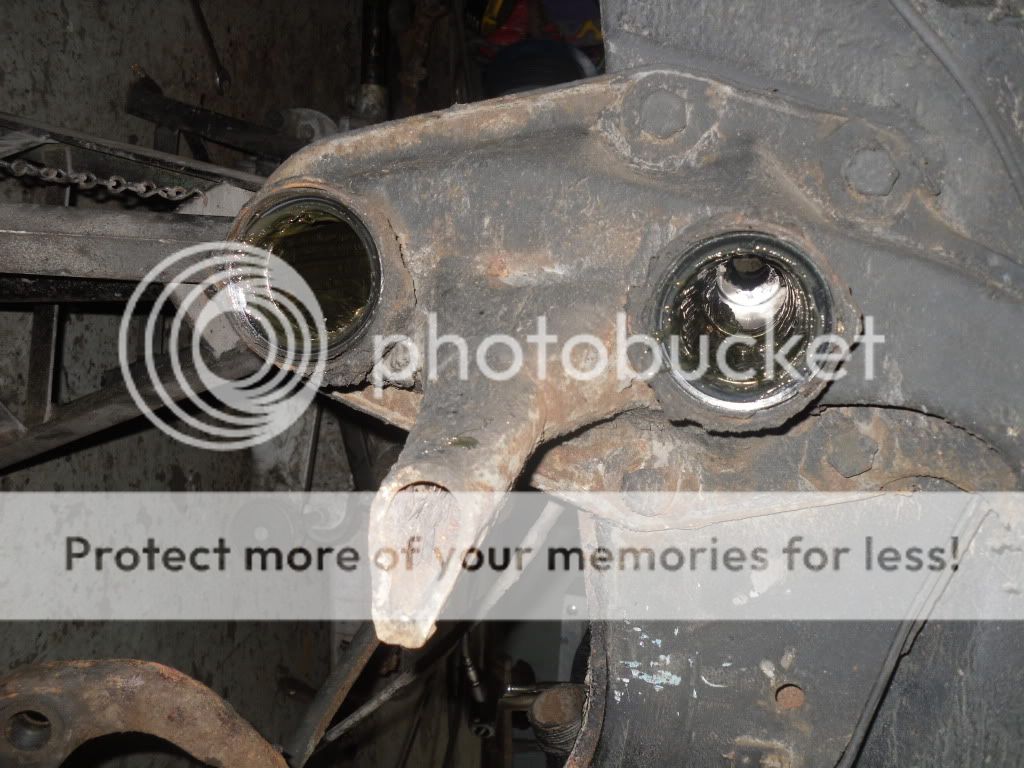
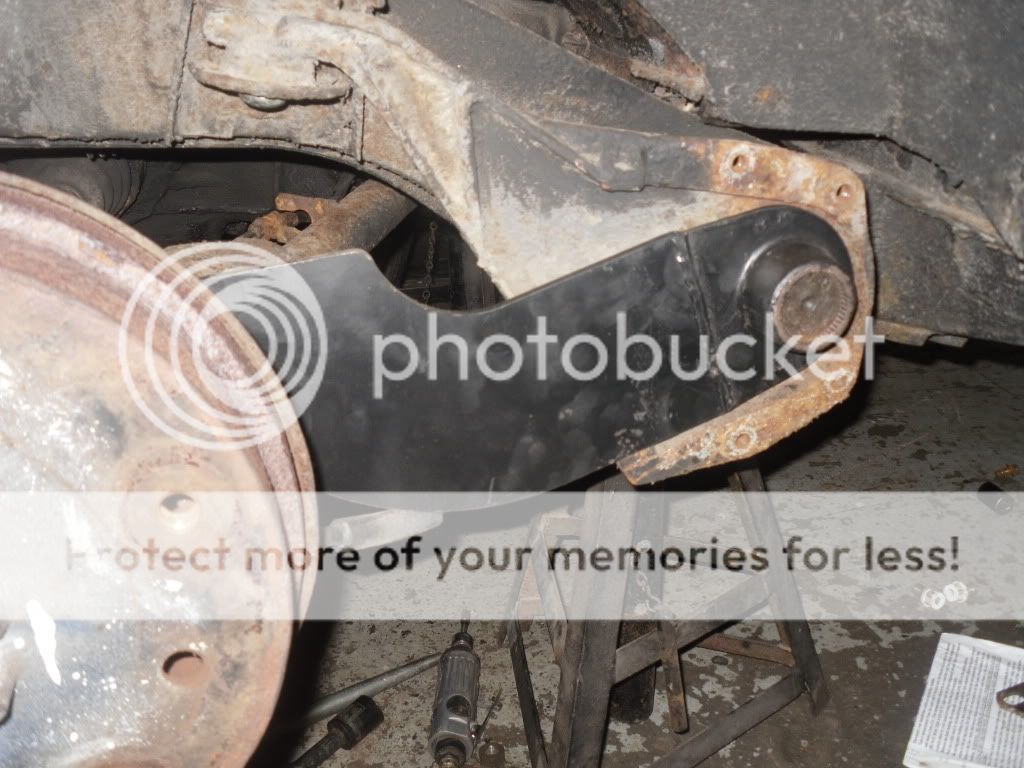
TAKE MEASUREMENTS HERE OF DRUM TO CHASIS AND SCORE A LINE ACROSS SPRING PLATE IN AN UNLOADED POSITION FOR REFERENCE WHEN PUTTING NEW ONE ON
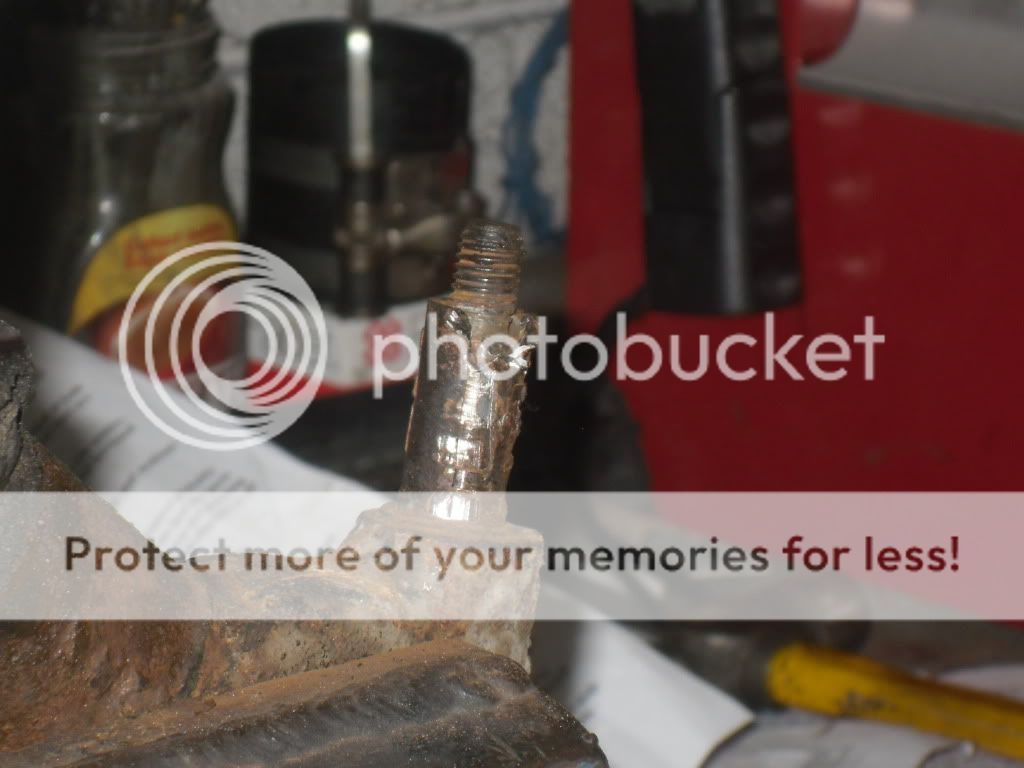
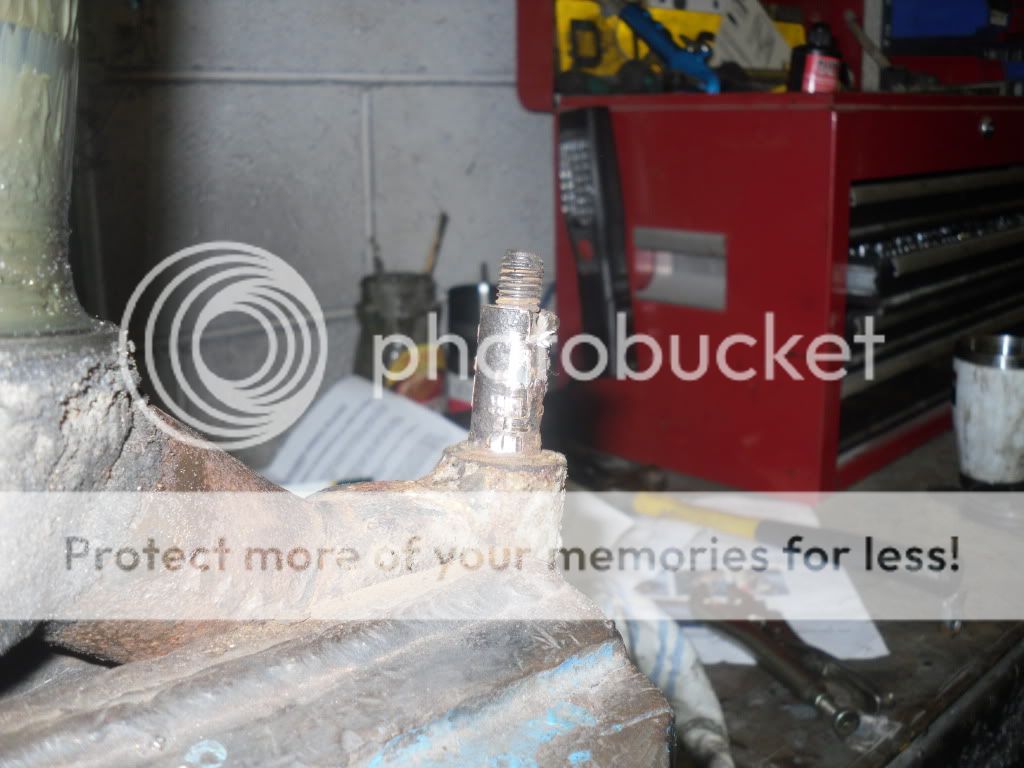
Took top strut bolt out and left attatched to the drum and brake lines, removed arm from drum and it should now just swing out of the way. To do this we took the clips off the brake lines to give them plenty of slack !!! Remove bump stops or cut them in half.
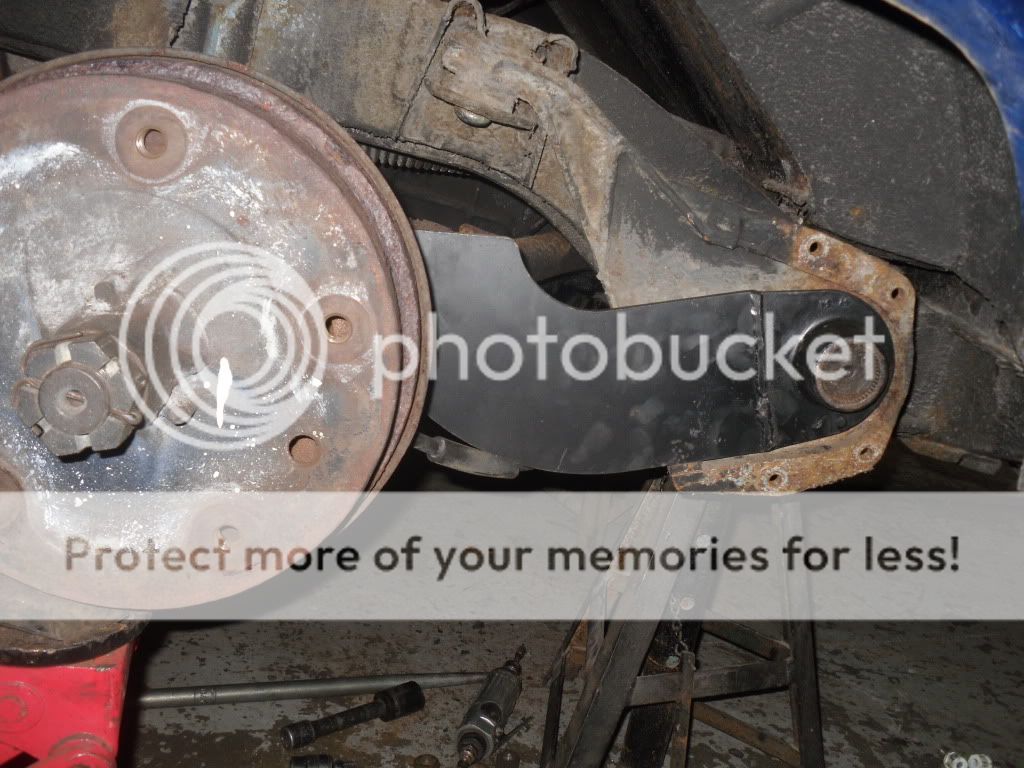
raised and lowered the jack whilst giving the springplate a little tickle with a copper ended hammer and out it popped
Now line up the new springplate with the scored line maked up previously in an unloaded position. You may need to jack the springplate up and down to wiggle it into place whilst hammering it in :shock: :lol:
Put everything back together but leave bolts loose so you can measure everything up before tightening.
Nows the ball ache let all air out of tyres using valve remover. I have later wide arches on mine so it was a little easier to get tyre back on but i still had to roll lip to get them on :x do other side, drop and admire the stance 8) .
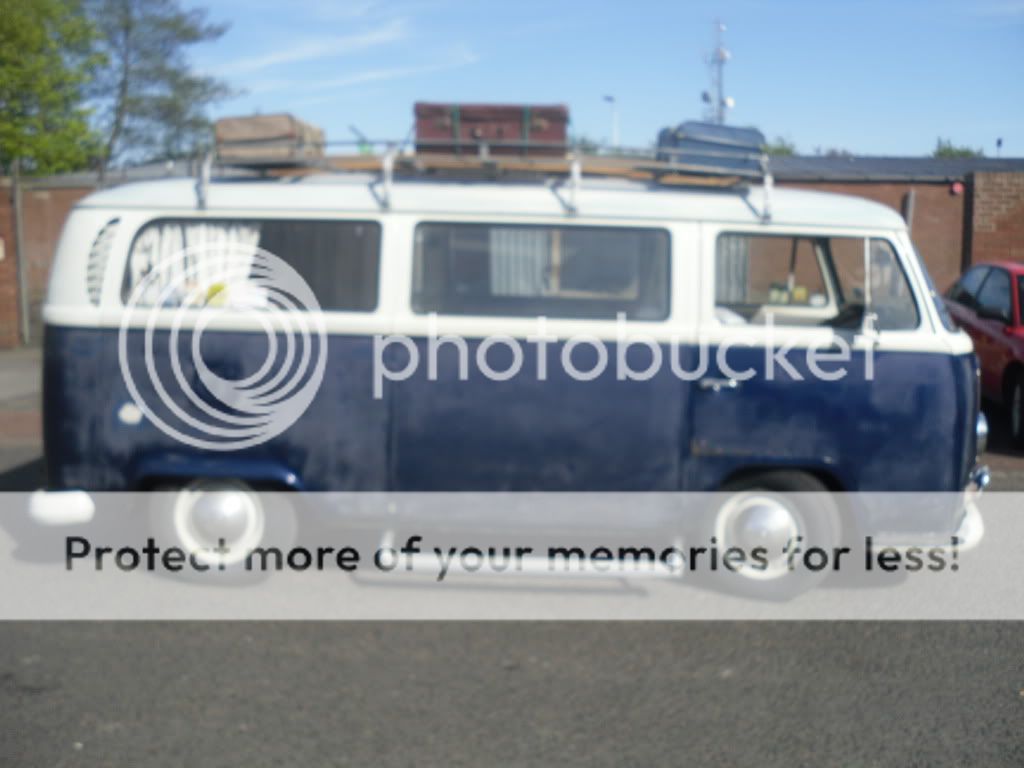
The front is set at its highest setting so could still go down a couple more inches :msn4: :msn4:
Again we jacked up the rear end and placed the bus on axle stands. Stripped wheel off and had a good look at how we were going to set about this task. first problem ; the brake lines go through the orginal springplates which do not have cut outs in like the red9's, second problem; no chains and all my fat friends were having there sunday carvery :lol: , third problem; noticed springplate covers were corroded and we didn't have any spares :roll:
So we decided just to crack on and see how it went :? . Placed jack under springplate to take up tension, tried to remove springplate covers but these were stuck solid and bolts were a littlke chewed....luckily Ian has an Irwin set so with a little persuasion he managed to get them off, without that set this would probs have taken hours. slackened bolts behind drums (think there was 4). Now for the fun part, we didn't want the extra has of bleeding brakes so with a little head scratching Ian got his little air grinder out to modify the orginal springplates with a slot like the red9's
TAKE MEASUREMENTS HERE OF DRUM TO CHASIS AND SCORE A LINE ACROSS SPRING PLATE IN AN UNLOADED POSITION FOR REFERENCE WHEN PUTTING NEW ONE ON
Took top strut bolt out and left attatched to the drum and brake lines, removed arm from drum and it should now just swing out of the way. To do this we took the clips off the brake lines to give them plenty of slack !!! Remove bump stops or cut them in half.
raised and lowered the jack whilst giving the springplate a little tickle with a copper ended hammer and out it popped
Now line up the new springplate with the scored line maked up previously in an unloaded position. You may need to jack the springplate up and down to wiggle it into place whilst hammering it in
:shock: :lol:Put everything back together but leave bolts loose so you can measure everything up before tightening.
Nows the ball ache let all air out of tyres using valve remover. I have later wide arches on mine so it was a little easier to get tyre back on but i still had to roll lip to get them on :x do other side, drop and admire the stance 8) .
The front is set at its highest setting so could still go down a couple more inches :msn4: :msn4:
G
Guest
Guest
its looking good.
STUMP
Well-known member
Thanks for everyones nice comments, thats what i love about this forum I've seen some people on other forums rip nicer vans than mine apart :evil:
Some pics of the dash now its getting sorted
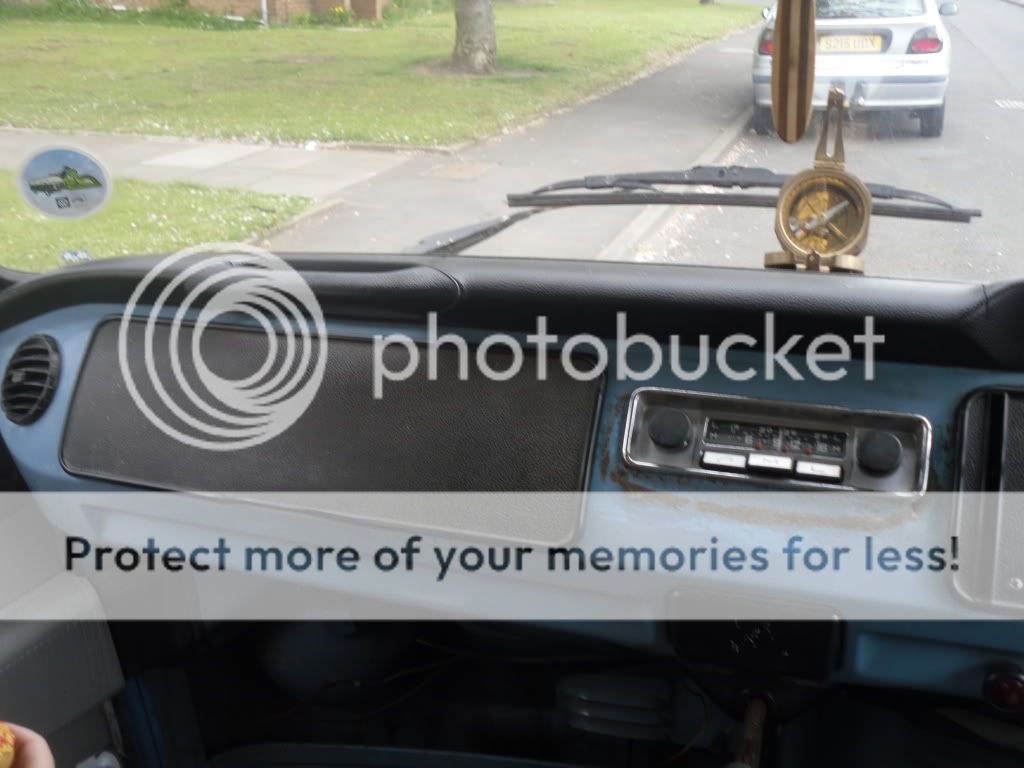
Hole knocked back in shape, radio fitted and missing glovebox lid fitted
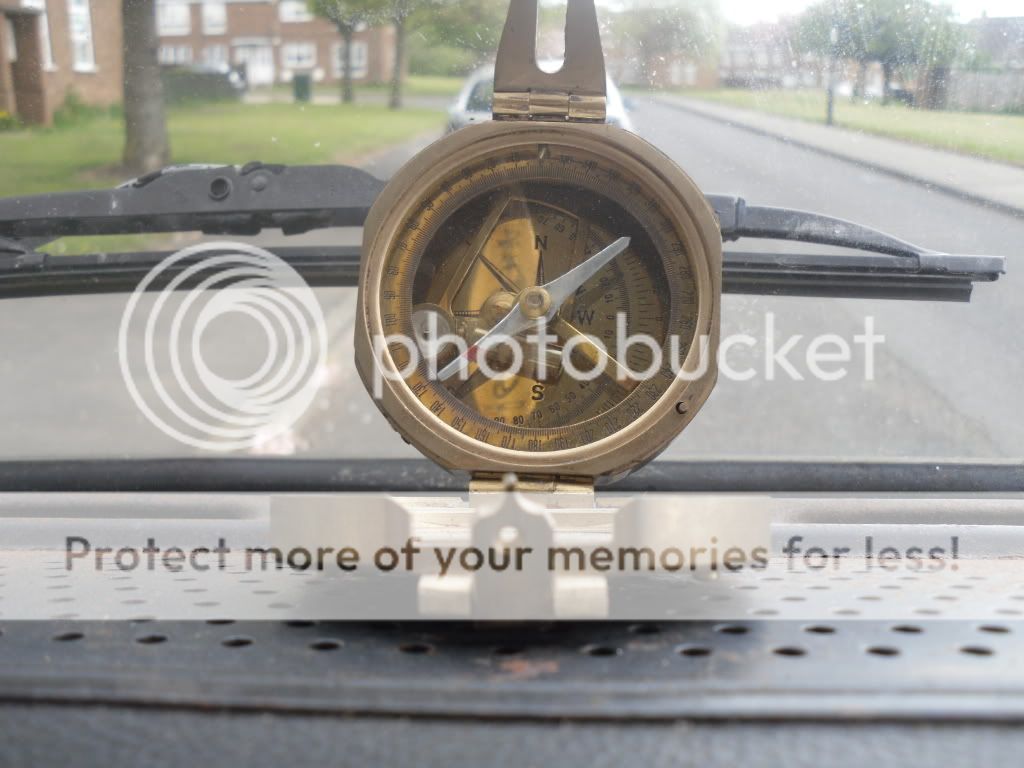
Vintage sat nav :msn4:
Hopefully get new flooring in back sometime this weekend
I've seen some people on other forums rip nicer vans than mine apart :evil: Some pics of the dash now its getting sorted
Hole knocked back in shape, radio fitted and missing glovebox lid fitted
Vintage sat nav :msn4:
Hopefully get new flooring in back sometime this weekend
Similar threads
- Replies
- 29
- Views
- 2K
Vehicle For Sale
1971 Danbury £14,500
- Replies
- 0
- Views
- 374