Meet Bella my December 69 Westy (Born on the 19th December)

Early Bay Forum

Help Support Early Bay Forum:

This site may earn a commission from merchant affiliate links, including eBay, Amazon, and others.

Eeza

Well-known member
Joined
Mar 15, 2011
Messages
254
Reaction score
0
Location
In the Land of the Prince Bishops
Well we have had her just about a week now, bought from the forum after hanging around for months.

Looks great in Primer dont you think :), I have rubbed off some of the primer to show some nice OG paint :idea: so I may go down that route rather than a spanking new paint job... Hmmmm decisions.

She is solid where it counts and is mostly there so here a few pictures. I guess the work starts now

sIMG_05041280x960.jpg


small5021280x960.jpg


She has had some work in Noth Carolina before being shipped and to be honest It looks to have been done to a very high standard.

I guess the work starts now
 
Ah you brought her then,i hadmy eye on this little baby for my next project,looks a little cracker mate,good buy that !!!!!! :D
 
davebug said:
Ah you brought her then,i hadmy eye on this little baby for my next project,looks a little cracker mate,good buy that !!!!!! :D
me too, well done . A nice base to start with.
 
Thanks guys.

I am going to get her road legal and get to the Northallerton Show later this year (Well that’s my target :)). I really didn’t want to get bogged down with some soul and enthusiasm destroying welding. Dont mind the body work and painting as I can do a lot of that myself....

Really looking forward to removing the interior and getting a real close look at what I have.

Just want a nice useable van I can park up and not worry TOO much about.
 
Yea loads of piccies the chap that did the work in the states supplied plenty to Bus and Camper so I will post them up...

Just took out the front seats out tonight, how easy was that :eek:
 
Well here we go I have had my 69 Westy just about a month now and as I promised the wife it was not going to get in the way of getting out on the bike things have moved slowly so far.

I sadly cannot take any credit for the first bit of the restoration as this was completed by a guy in America prior to it being shipped.

From what I can see his attention to detail and quality of work is excellent.

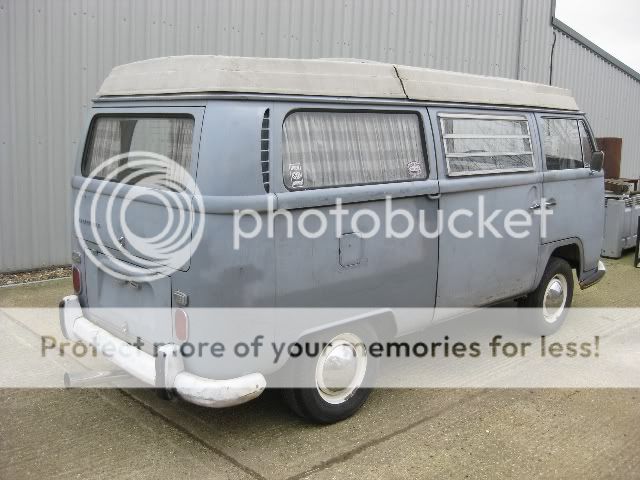
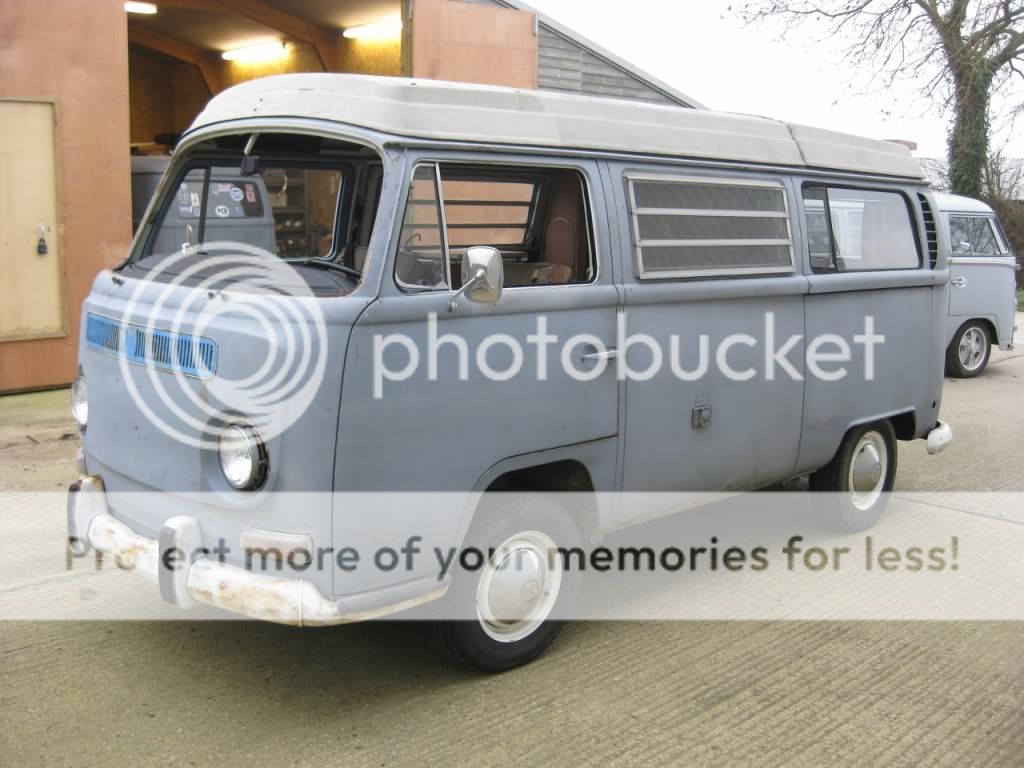
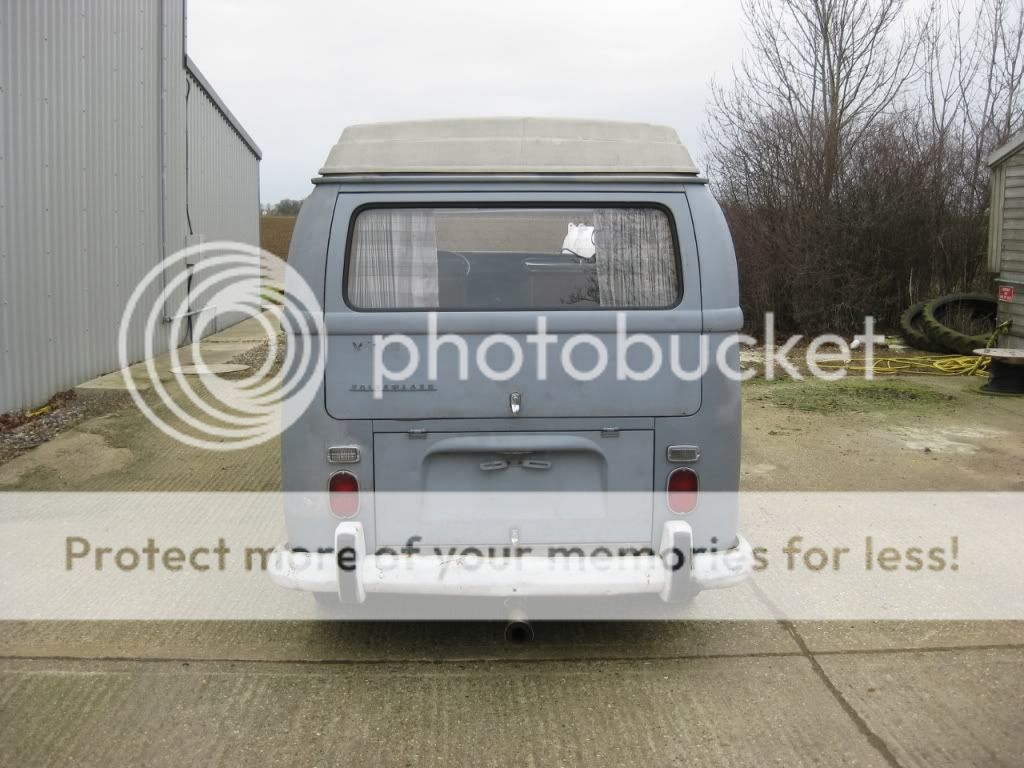
So here are the pictures I had to decide if driving 500 miles to see the van was a good Idea.

IMG_05061280x960.jpg


IMG_05041280x960.jpg


IMG_05031280x960.jpg


engine-1.jpg


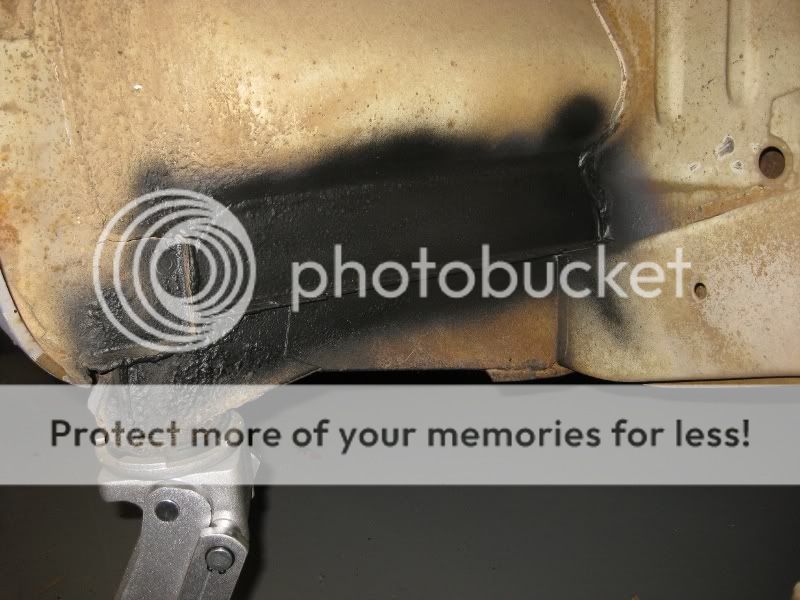
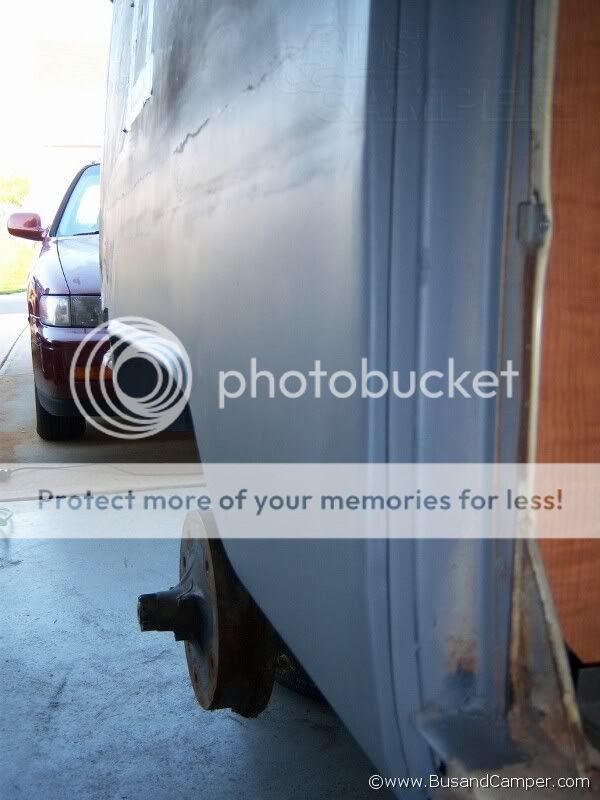
Repair behind the Front wheel (common spot but nothing to get upset about)

IMG_04931280x960.jpg


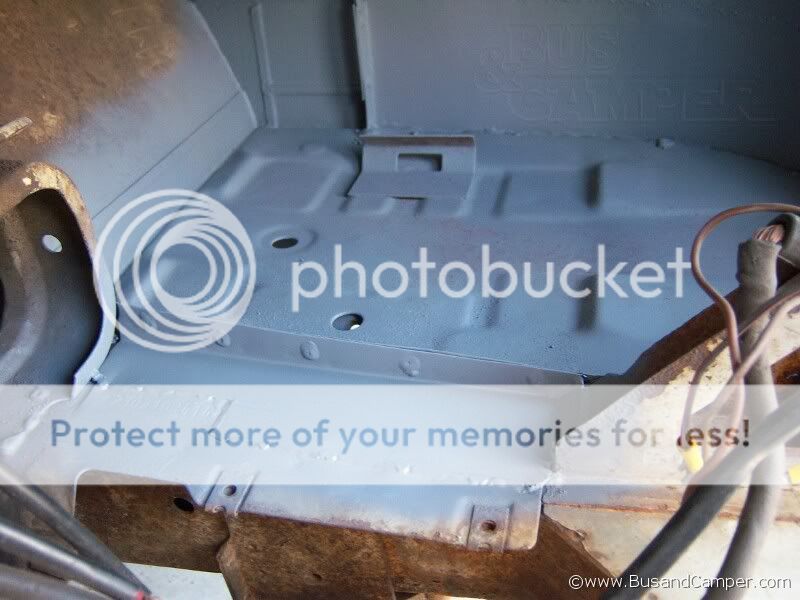
Nice new battery tray in the right corner, it looks to have been doen before as the OG metal is missing

Bay_window_repairs_1.jpg


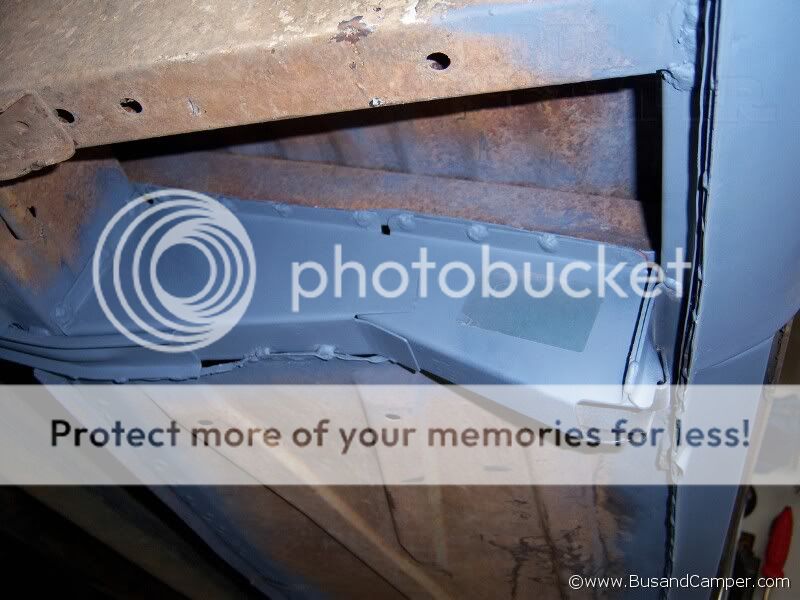
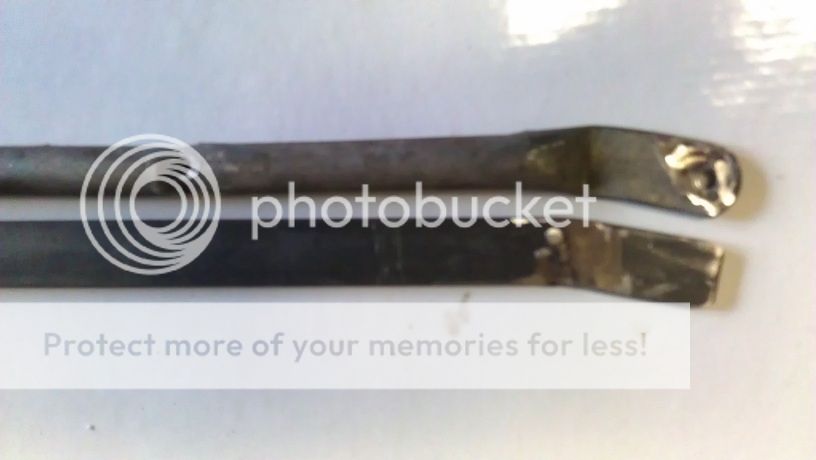
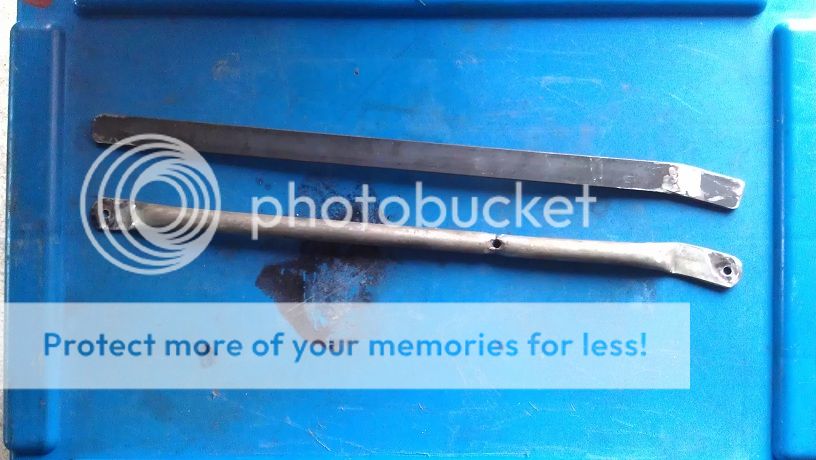
Looks like the bus fell off the jack as this was hanging off

Bay_window_repairs_2.jpg


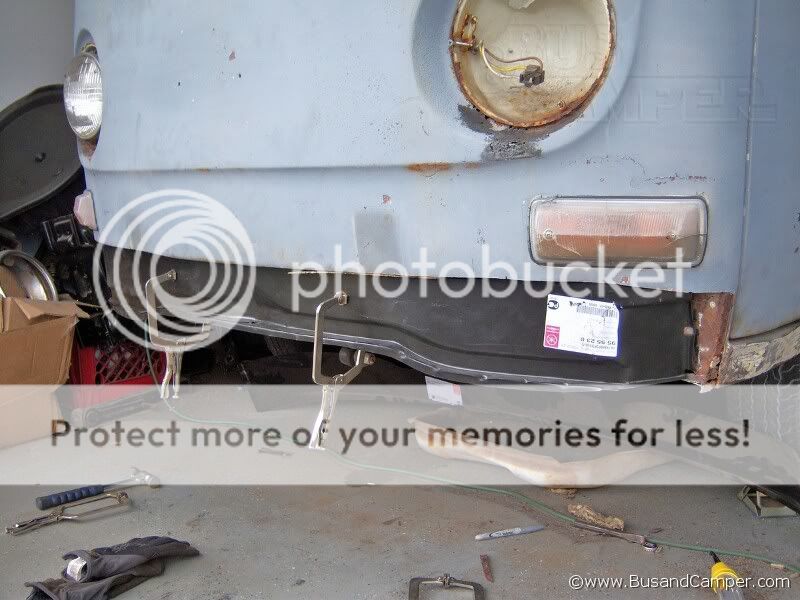
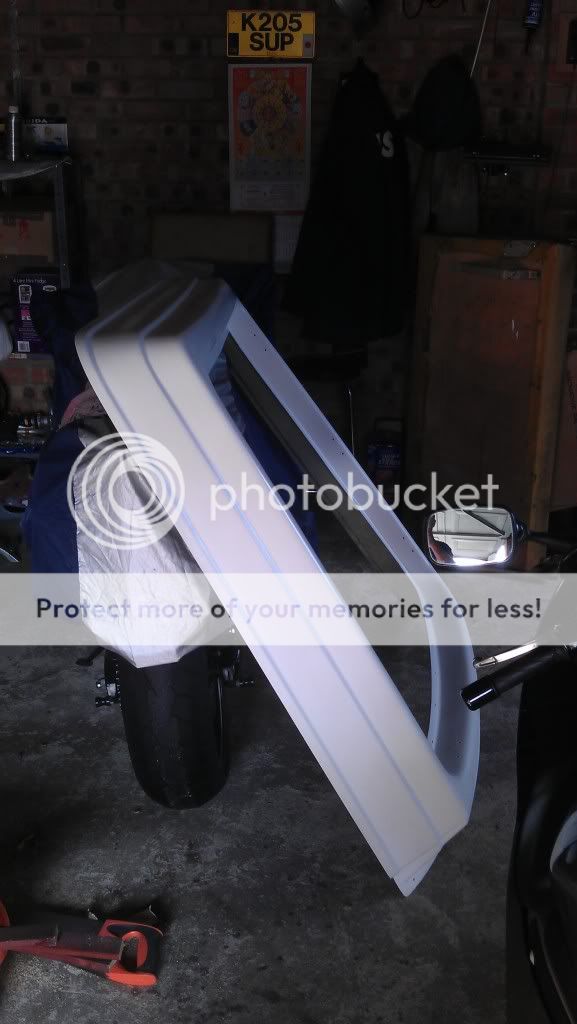
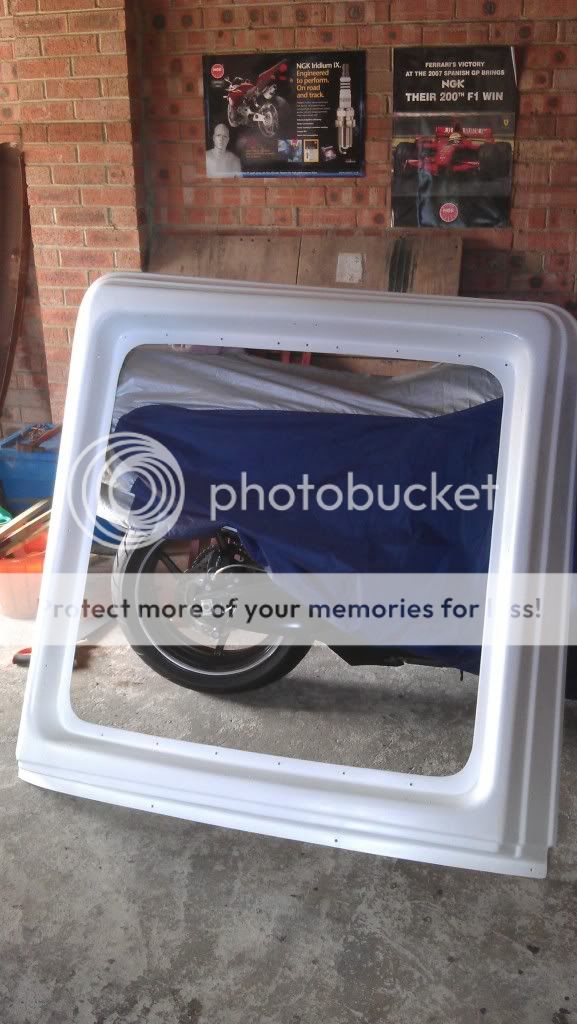
Front panel lower in and out replaced and again this is very common as the screen seal fails and the water drips inside and behind the panel where it sits and rots :no:

Bay_window_Nose_repair_02.jpg


Bay_window_repairs_12.jpg


Bay_window_Nose_repair_15.jpg


Bay_window_Nose_repair_07.jpg


Bay_window_Nose_repair_10.jpg


After thinking about it I though "No pockets in shrouds and I fancy a project" so I bought it :)

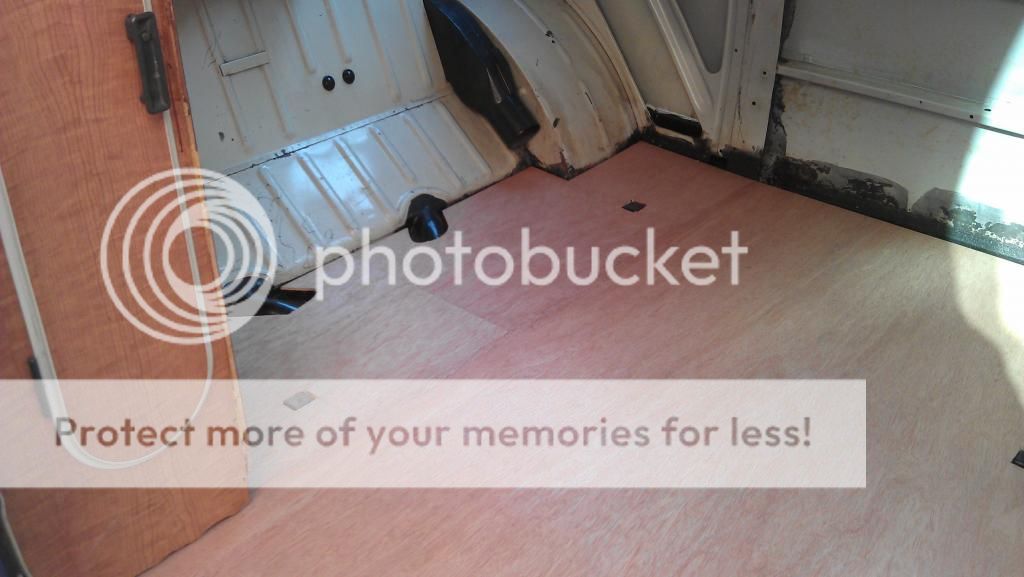
So there’s a taster of what’s been done, since its arrival on my drive I have stripped out the westafalia interior and intend to restore it to its full beauty, that said this vehicle is NOT going to be a garage Queen,

I have had cars (Impreza WRX and an RX7) that I restored to better than factory (oh and an Aprilia RSV IIRC) and I just didn’t get the use out of them for fear of getting a scrape etc…

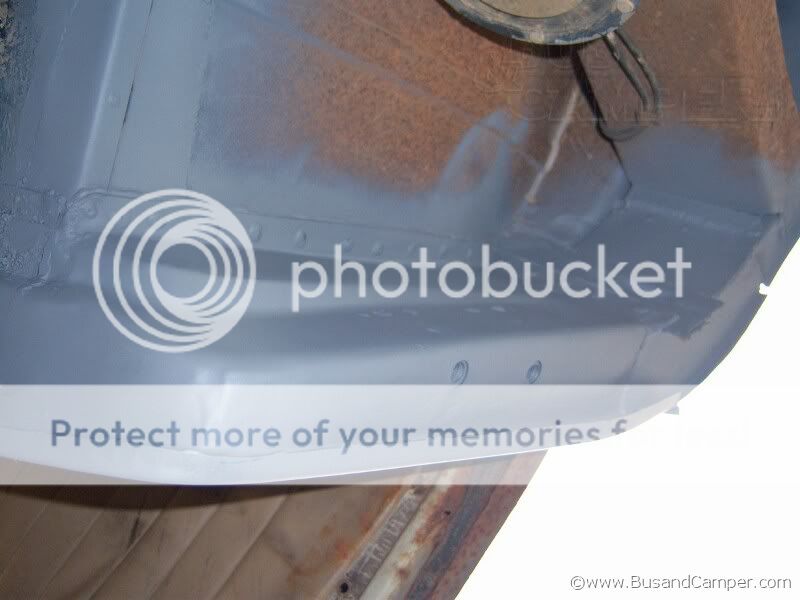
Underneath all that primer is some sound metal and I have sanded down the right rear corned to find some nice OG White paint, the big issue is the door cover strips on the rear, the side loading door and one of the front doors have come from another vehicle (hence the primer)

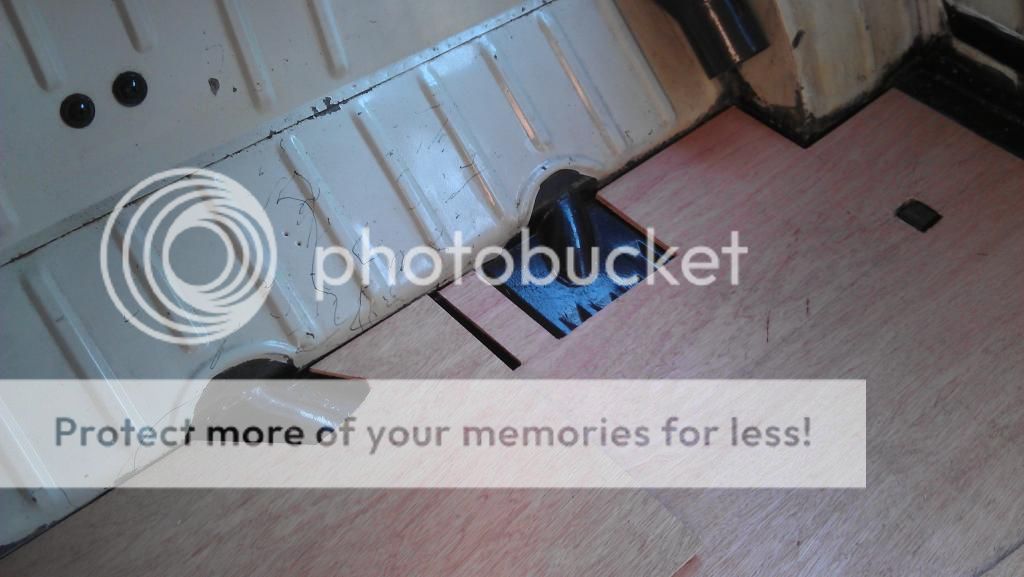
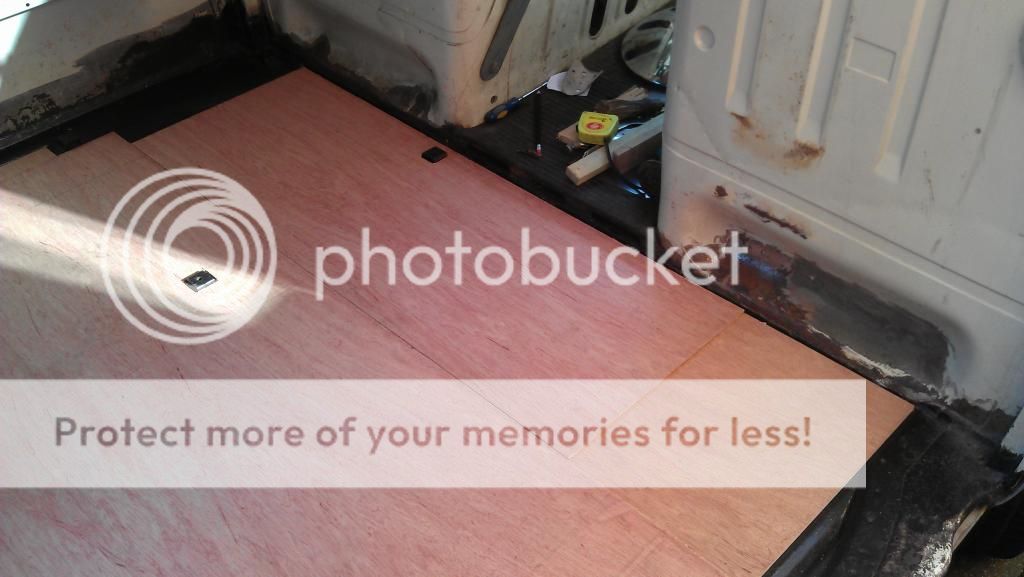
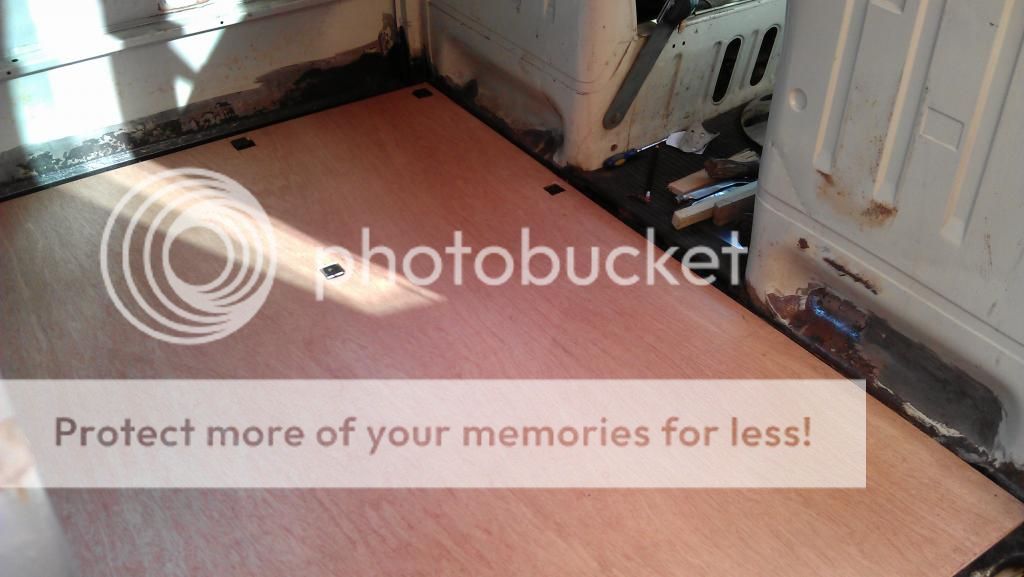
So my plans for this year are to sort the two non standard holes in the cargo area that 43 winters have created, they are only small pin holes but I have cut out around it so I can get my MIG in and do a decent job. Its needs the electrics at the back sorting as I will need to change the way the lights work,

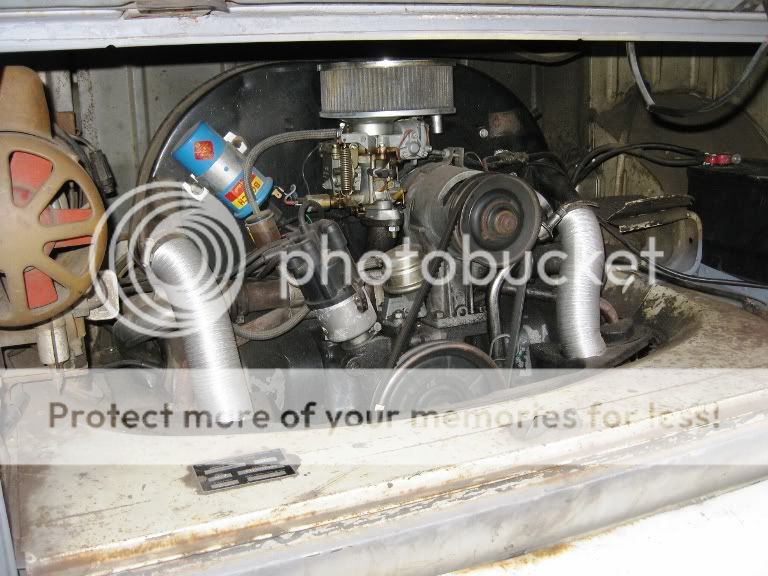
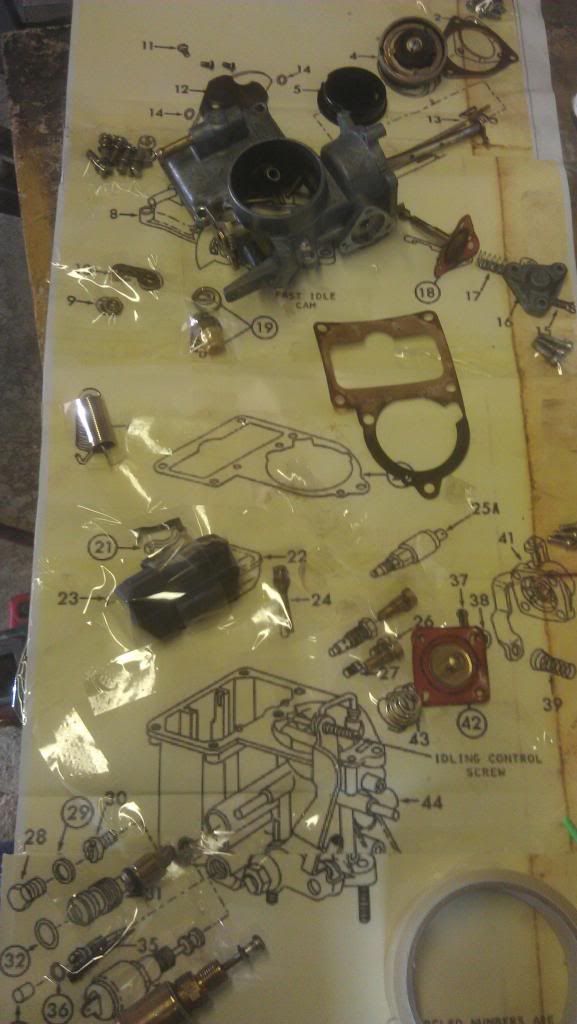
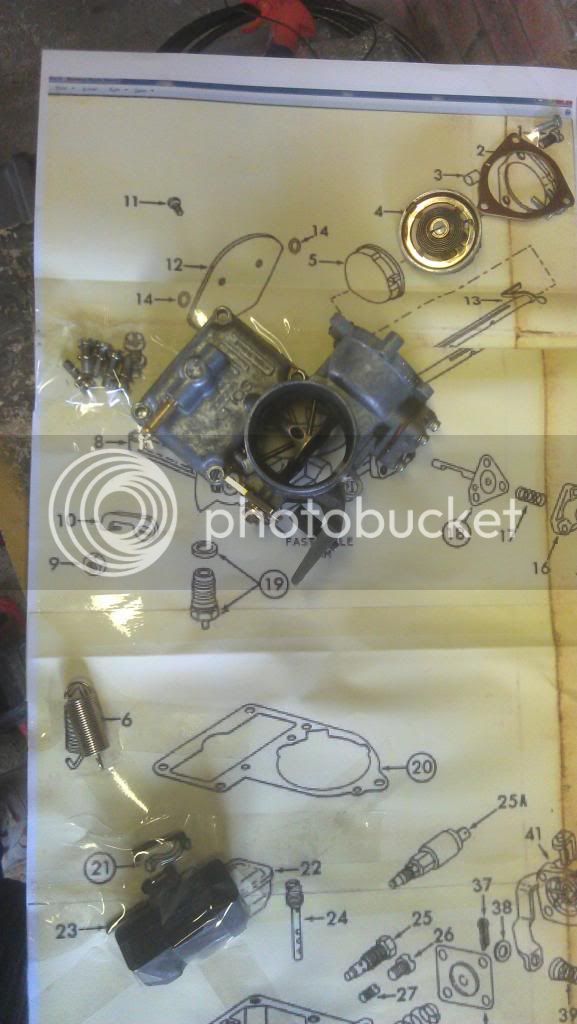
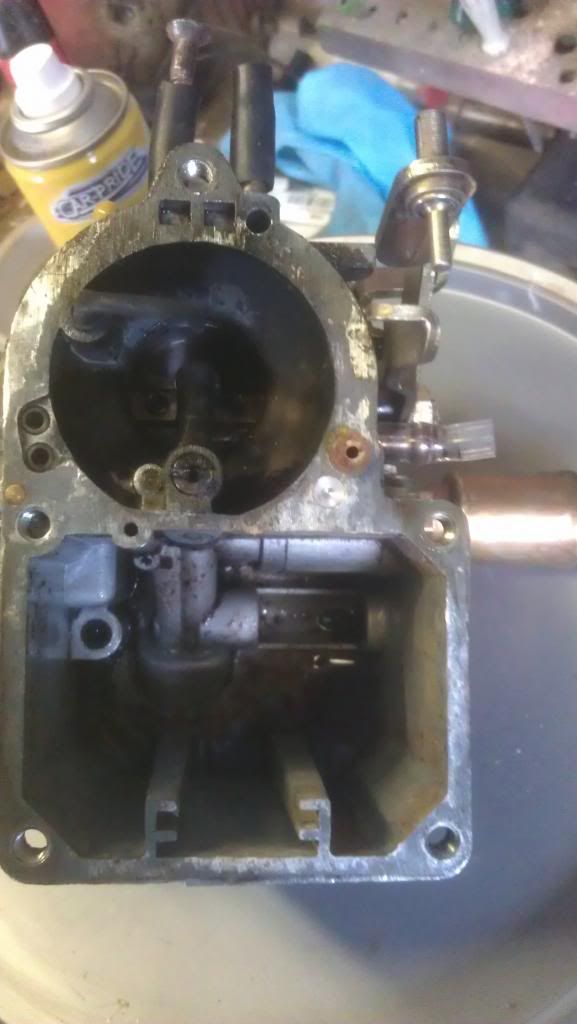
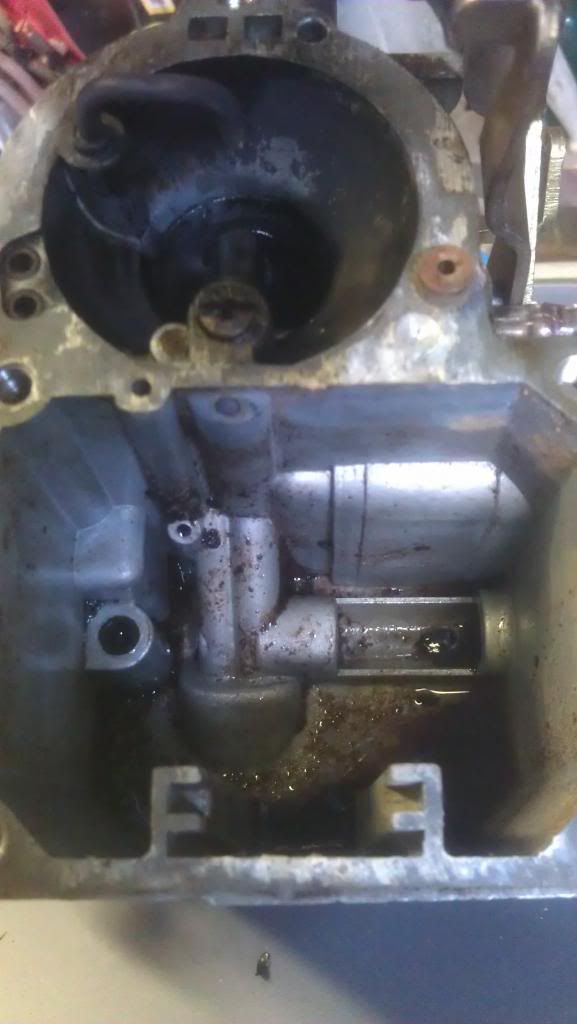
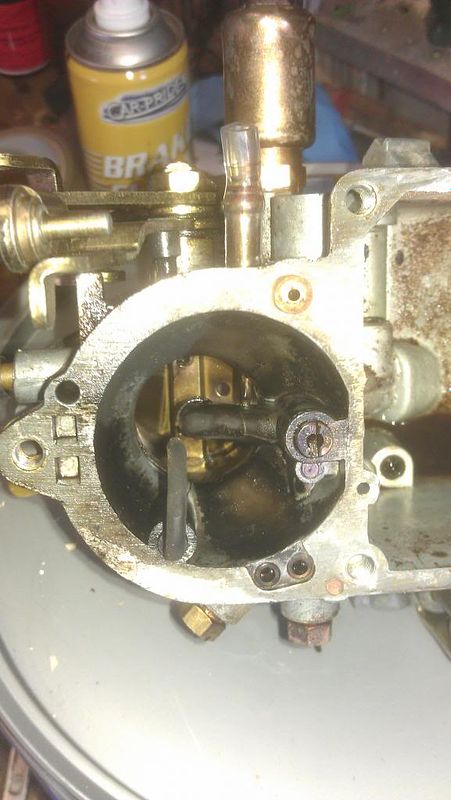
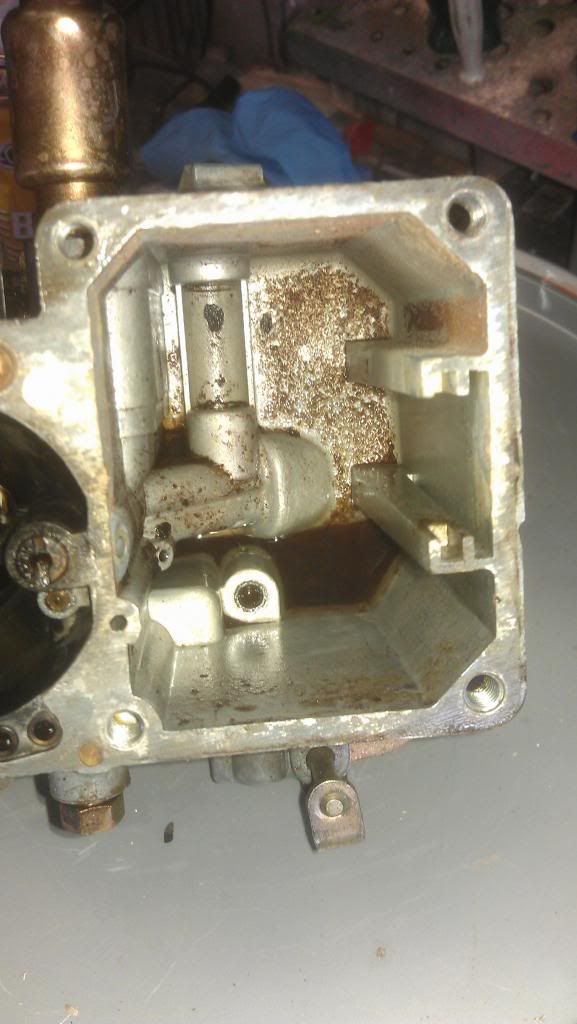
On the mechanicals I need to pull the engine to replace the crankshaft oil seal as its been “marking its territory” replace all of the 42 year old fuel hoses and get some clamps on them :whistling: :whistling: and finally swap the four ball joints in the spindles for the MOT.

After that its bodywork time I intend to take each panel in turn, bare metal it, etch prime and then put on some paint.

To avoid getting fatigue on this I plan to do one panel at a time as the thing is so big if you tried to attack it in one go It may end in a hurried disaster.

My mate Davey is teaching me the fine art of painting and for summer next year I am hopeful of a two tone (Pastel blue and old English white) finish.

I will keep you all informed.....
 
Well progress has been a little slow but I have been gathering some tools and stuff and practicing using my welder, Its been years since I handled a MIG and I have been playing with some sheet steel improving my technique. It looks sooooo easy in the welding tutorials but boy there’s more to it than striking an arc. Thankfully none of my welding is structural so if it looks ugly but is strong then that’s fine

I have stripped and cleaned the front brakes and greased up the adjusters on the drums, hard to believe they were all free to start up with so a little copper grease should keep them that way. I am very impressed at the simple but effective method of adjusting the shoes.

Little confused as to how tight the hub locking “things” need to be (I would much prefer a torque setting as it seems a bit hit and miss) but they seem OK for now

Whilst I was at it I have replaced all of the rubber boots on the spindle ball joints as even though the joints were fine the split rubbers would mean an instant fail at MOT time.

I have flushed out all the old brake fluid and I suspect that it’s the first time in many years that’s been done (It was Black) and now have a feel at the pedal with just a little slack in the take up

What do you guys use to remove the rear brake drum, (socket or adjustable wrench)

I have been looking for a 46mm socket today and cant find one. I need to adjust the rear shoes and need to remove the drum to do it.

So jobs to complete before the MOT look like this:

Inspect, replace and adjust rear shoes (adjust handbrake)

Sort out the 4 holes that VW did not engineer into the vehicle 42 years ago :? :lol:

Sort the rear indicators and front sealed beams into something more Euro/UK friendly

Have a serious look at the PO electrical “enhancements’” :evil:

Replace the fuel lines and sort the Oil leak from the Crank. (Not bad but I cant have it leaking on my drive now can I ;) )

Now the question is should I pull the engine before or after the MOT ?

Oh one last question , how long does it usually take the DVLA to issue import registration numbers ? (This may give me the answer to the above question
 
Well since the last update I have gathered a few bits and bobs for the engine (Oil seals new gaskets for the rockers etc)

I have removed the lower cill on the long side and bought a JK replacment that to be honest is not a great fit. I looked at a few rebuild entries where this has been changed and it seems to be a bit of a tough job... Hey Ho :)

The winds been so bad over the weekend so no chance to weld outside so in the mean time I have sorted my lights and indicators, had a fun time with the relay for the high beam but a strip and clean sorted that.

So needing a quick win I refurbished the horn and got it working after god knows how long..

Heres a few piccies along the way. Not sure about the red ring and may paint it black..... :oops: :oops:

IMAG0077.jpg


IMAG0078.jpg


IMAG0080.jpg


IMAG0079.jpg


IMAG0082.jpg


And finally Fitted...

IMAG0083.jpg


Had a go at cleaning the rear roof portion (roof rack) its come up nice with some spray paint after a serious cleaning session.

Took off all the buckles ? and de-rusted and then painted them... WIP Picture

IMAG0075.jpg


IMAG0076.jpg


Getting there SLOWLY :)

Now that bloody Cill :evil:
 
love the stinger! if you get rid give us a shout :D nice solid bus there, time to get the sand paper out :evil: what bike you hiding there ?

Ash
 
dubscum said:
love the stinger! if you get rid give us a shout :D nice solid bus there, time to get the sand paper out :evil: what bike you hiding there ?

Ash


Its a ZX10R Ash, not quite so mental as the 04 / 05 model but a Raving loony of an 06..

That exhaust, its as loud as the race can on my 750 ZXR, there is NOOOOO way it would pass an MOT with that on :lol:
 
cool, if there not to much I'm gonna get a stinger for the odd show. Would should pretty cool driving onto the euro tunnel :D

love the bus, are you sanding back ? what are your feeling on lowering ? I'll be interestingly watching this thread 8)

not had my own bike for a while now, my mate has a gsxr1000 road legal race rep. 1/4 turn throttle he let me take it out ............. visor down, red mist :shock: stupid fast
 
Very easy done on a Litre bike :oops: .... Sorry Officer

Well plans are to get an MOT and then sort the bodywork out over the winter along with the Westy Interior.

Needs a wave of the lowering wand but nothing too extreme, I like the standard wheels and whilst the thing looks like a 4x4 at the moment once the interiors back in it should drop a little...

I went to the show here in the North East in the Summer and only saw a few standard ride height vans and they looked kinda cool.


I do get the whole lowering thing and they do look very nice in the weeds but I don't think its for me. (Remind me I said this in 12 months when I am fitting new dropped spindles :lol: )

Wifey has a new beetle slammed on 18's and its not great around town with the roads the way they are

It won't be no garage queen that's for sure :D
 
Happy New Year Guys

Well things not moving fast enough here for me so need so inspiration.

Does anyone have plans for the rear top locker on the 70 Campmobile ? I have been stripping out the furniture and restoring some of the bits but my Westie is missing the whole thing.

I can see the marks where it has been fitted in the past and to be honest If I buy another it’s not gonna be in great nick so probs easier to fab one up.

The R&R base needs replacing and looking at the OG panel it has a slot for the wardrobe to Sit in ? Am I right ? There is a step on the Westie wardrobe that looks like it should slot into the bed base... could do with some confirmation before I get the Router out.

Managed to repair the Hinges for the roof after a disaster with the weather in November :)
 
Well it’s been twelve months since my last Gallery Post so time for a long overdue update I think.

I have been busy at work (glad to say) so progress has been a little slow but the work done has made a big difference.

I ripped out the floors in my Westy as they were well past their best and replaced it with some nice fresh Plywood, I went for two sheets of 8x4 and built a sub floor and then overlaid this with another thinner sheet. The end result looks great and fits real good.

IMAG0821_zps864dda21.jpg


IMAG0820_zps9ec1d3a7.jpg


IMAG0819_zpsbd7420d3.jpg


IMAG0818_zps5aeb12c9.jpg


IMAG0817_zpsf17c2304.jpg


Fixed my crappy hinges on the roof as it was bouncing as I was driving at the front, I had a look for some OE parts but they were
silly money and prone to the same issues so had a go at creating something, They are painted up now and look great but more importantly they work.

IMAG0806-1_zps4c7916fb.jpg


IMAG0808-1_zpsea4327d0.jpg


IMAG0810-1_zps7cc1634c.jpg


I have been rebuilding the seat base with some new ply as this was also badly “age damaged” I got a fairly good match for the OE Formica colour so it does not look so bad when compared to the stuff I had in there.

Piccies to follow
 
Shes no longer in the Static Motion Club and I am on the Hunt for some White wall tyres, Roof Canvas, Roof Toggle(s), Interior Ply panels, Roof Panels Etc........ There NEVER finished :mrgreen:

I fitted an Accuspark module in the Dizzy and it just needs timing up now (Bidding on a Strobe as we speak)
 
Right update time, I stripped and cleaned the carb over the weekend, it’s a Brosol H30/31, not ideal for my vehicle but hey ho it is what it is for the time being. Picked up a kit from GSF and decided to strip it and give a good clean as I have been unhappy with the performance of the van etc. Not done many miles since the MOT and none at all for a few months due to the weather so i figured it had got nasty fuel inside.

So I printed up a template of the removal sequence and decided to sellotape the parts to the sheet as I disassembled it to save me loosing anything, this this was a good idea as there are lots of small parts. (zoom in on the Picture Copy/Paste in word etc. then get busy with the clear tape)

IMAG1392_zps20a11a02.jpg


IMAG1390_zps71288d27.jpg


What I found inside was pretty grim :lol:

IMAG1389_zpsd220c86d.jpg


IMAG1388_zps46360a62.jpg


IMAG1387_zpsa99f253a.jpg


IMAG1386_zps0b2583a8.jpg


Just a little cleaner now :mrgreen:

IMAG1395_zpsdcd07ea5.jpg


Looks like I have a 120 main jet, conventional wisdom says this is a little lean for a TP 1600 ?

Used the kit to replace the parts and other than a torrid time getting the tiny rubber o ring over the Volume control screw it went in easy
I started the van up with the default settings and it idles better but needs adjusting now to bring it into spec.

I am just struggling with the timing at the moment, I have a Accuspark SVDA dizzy and it should be set to 7.5 BTDC but my engine is not happy and pops and bangs etc... AS engines did have a Dual Vac dizzy's as standard so not sure where to go with this... maybe more trial and error.
 

Latest posts

Top