Monty the Red Campervan

Early Bay Forum

Help Support Early Bay Forum:

This site may earn a commission from merchant affiliate links, including eBay, Amazon, and others.
Dirty Harry said:
Nice van 8)
Good choice on the konis these are superb, what adjustment did you use? i did both front and back one turn stiffer from full soft.

I did one turn for the front and two (fully stiff) for the rear. I noticed you had put them on and also 'Bluesnailvan' which is what gave me the idea. :)


Thanks for all the comments guys, good to see some of you at various shows this year. I was just thinking after I fitted the new shocks 'why didn't I fit them before Busfest?' which was a 500 mile return journey for me. :lol:
Well, we have another holiday to come so they'll get some use before the winter.

Today I adjusted the drum brakes and handbrake cables. Not too bad a job, all the adjusters moved ok and the brakes are a lot better. The hand-brake still won't hold the van on fairly steep hills though. Maybe the cables needs adjusting a bit more!
 
loved the write up mate, my bus is identical, ,like your first photo, youve given me hope, that it will turn out like yours cheers gedd :D
 
magoo said:
Very nice indeed. The Webasto is on my list also, is there anywhere else it can be fitted?

Thanks, I looked into this quite a bit before having it fitted and the best choice for me was under the bed.

You can externally mount them but then you've got to have two 60mm holes for the air pipes instead of the 30mm (?) pipes for the air supply for the burner through the chassis. Also you need a protective box to mount the heater in so the cost goes up.

Mounting in the engine bay, which I realise was the standard way to fit the old Eberspacher's, is not recommended as the cool air supply is potentially contaminated with exhaust fumes and oil vapour if there are any slight leaks with your engine. If you have a LB in the engine bay there's no room anyway. The way the heater thermostat works is that is measures the temp from the cool air intake and then warms the air to the appropriate temp before blowing it out, so its best that the intake is sited in the same area as that to be heated.

The only issue I have is the loss of space due to not only the heater, but the 60mm pipes as well! But then its worth it to be warm. :mrgreen:
 
Today I fitted a grommet for the throttle cable tube. It may help prolong the life of the cable or fan shroud.


I also was a bit concerned about the fuel pipe from the pump leading to the carb. It seemed to be weeping petrol and always looked damp when I looked at it. So I bought some R9 pipe from Machine 7 and petrol pipe clips. (edit Jan 2020. NB don't buy R9 buy 100% ethanol proof.)

wrong clamps for a fuel line


new pipe and clip fitted on pump


I couldn't fit the clips supplied on the carb end however. It was difficult to get the 5.6 mm pipe over the fuel inlet on the carb and then the clips wouldn't fit. I had to re-use one of the old ones.


I might be able to find another petrol clip somewhere in the garage!

Also fitted a new mesh behind the fresh air grille, as I wasn't that impressed with the one I bought a few months ago after having seen some OG ones at shows. This one from VW Heritage is really nice and looks as though it is supposed to fit in the grille. The screws which I bought to go with it look nice as well. :)

grille/new mesh/old mesh


That was a lot easier than fitting the fuel pipe. :lol:
 
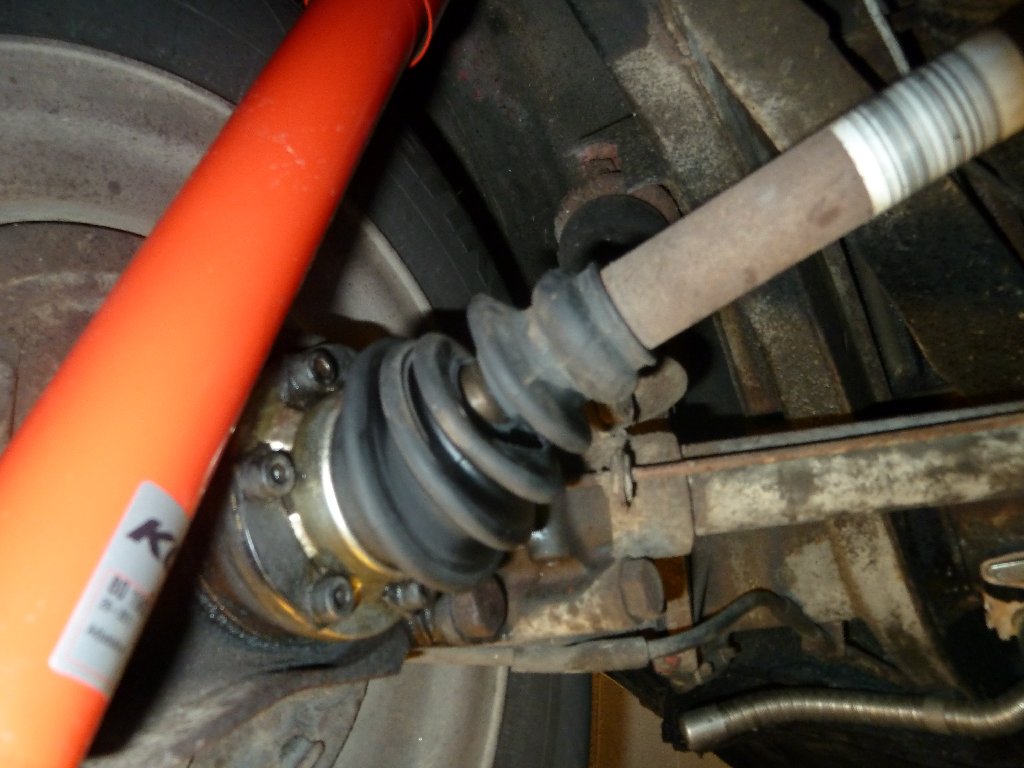
I noticed one of the CV boots had split on the left side, wheel end of the drive shaft. Bought a kit for both boots as I thought that it would be best to renew both.
Looked at a lot of guides before doing the job from Ratwell's site and on the samba

http://www.thesamba.com/vw/forum/viewtopic.php?t=570473&highlight=constant+velocity" onclick="window.open(this.href);return false;

Also KYBA 5 (keeping your bus alive magazine) as well as on this forum.

Wasn't too bad a job just a bit mucky with all the grease, and the drive shaft is heavier than you think when you're on you your back trying to hold it up to re-fit it :lol:

Considering all the problems I could have had it went really easy; the CV joints came away from the shaft and back on without any problems, and the circlips both went back on by hand, I didn't need to use the 36mm socket to persuade them.

The main problem was trying to re-locate the joints back in position and getting the bolt-holes to match up with those on the wheel end and transmission end. I ended up using a screwdriver to just hold up the drive shaft whilst I grabbed the bolts to thread in.

Hope you like lots of pics. :lol:

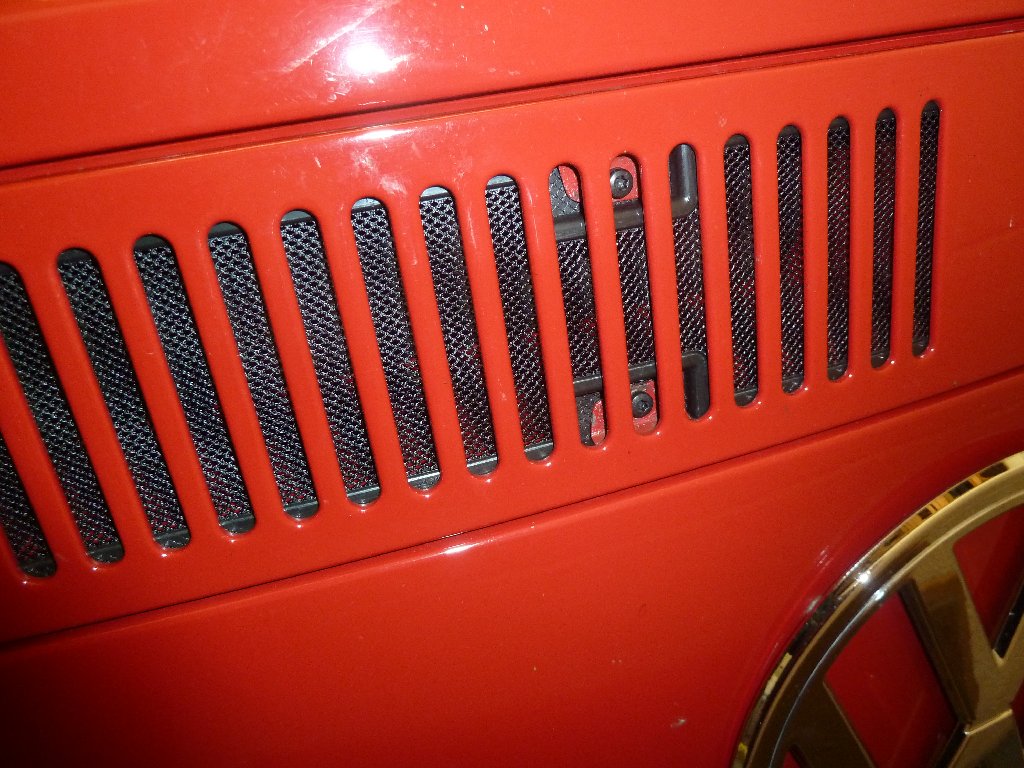
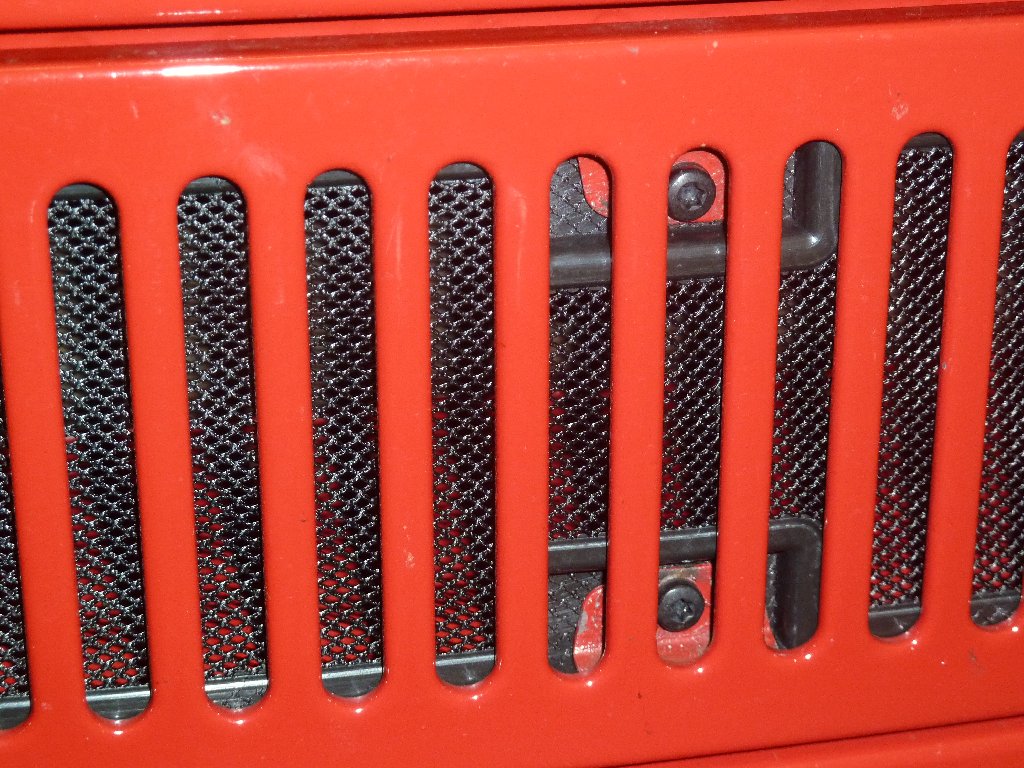
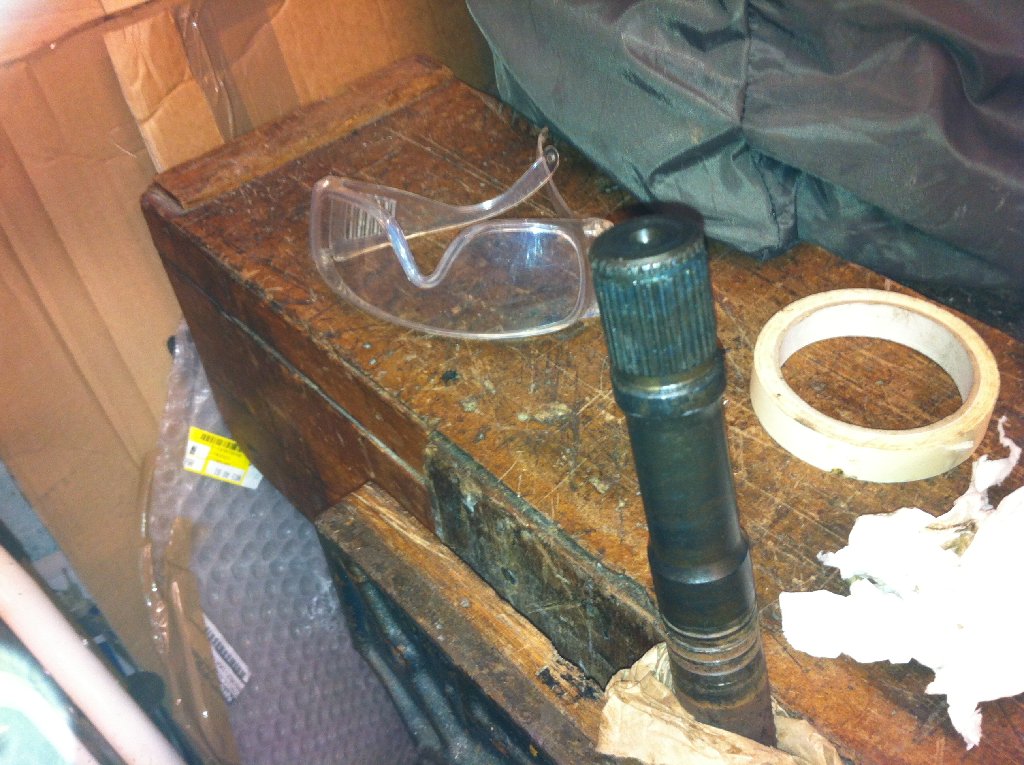
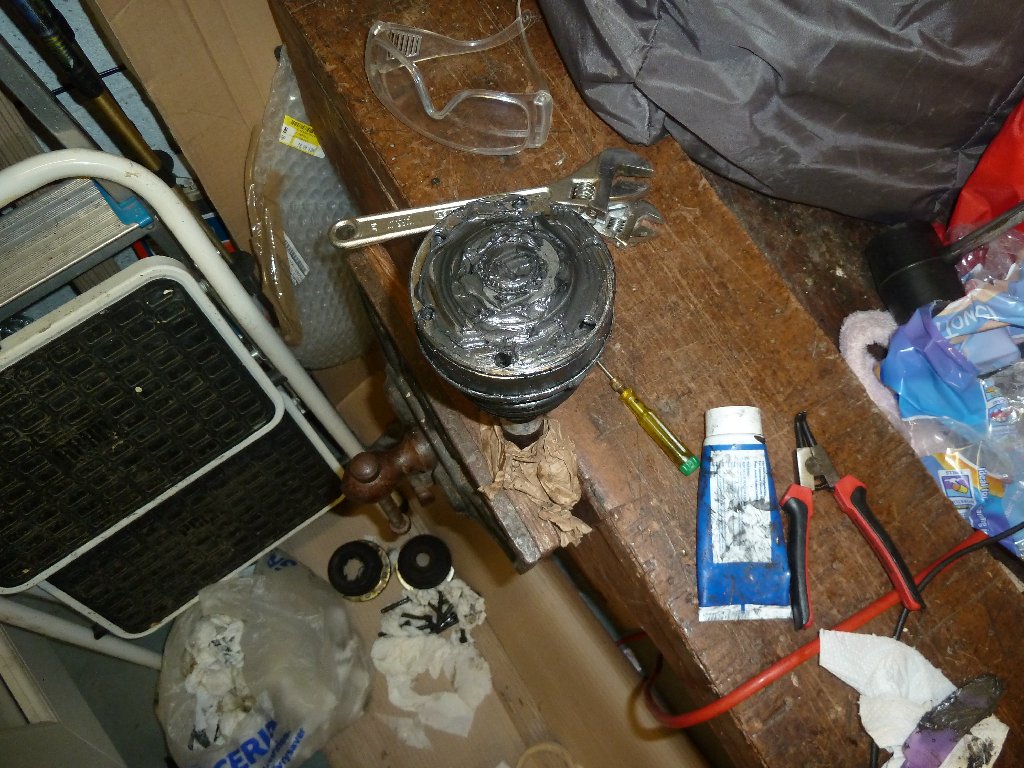
This drive shaft is a replacement and still has the part sticker on it. There are no clamps on the narrow end of either boot. Split boot, with the allen bolts cleaned up.


On the right side of the van this drive shaft is original I think, the boots look fine.


date stamp on the CV joint is 8/69


LHS shaft cleaned up in the vice


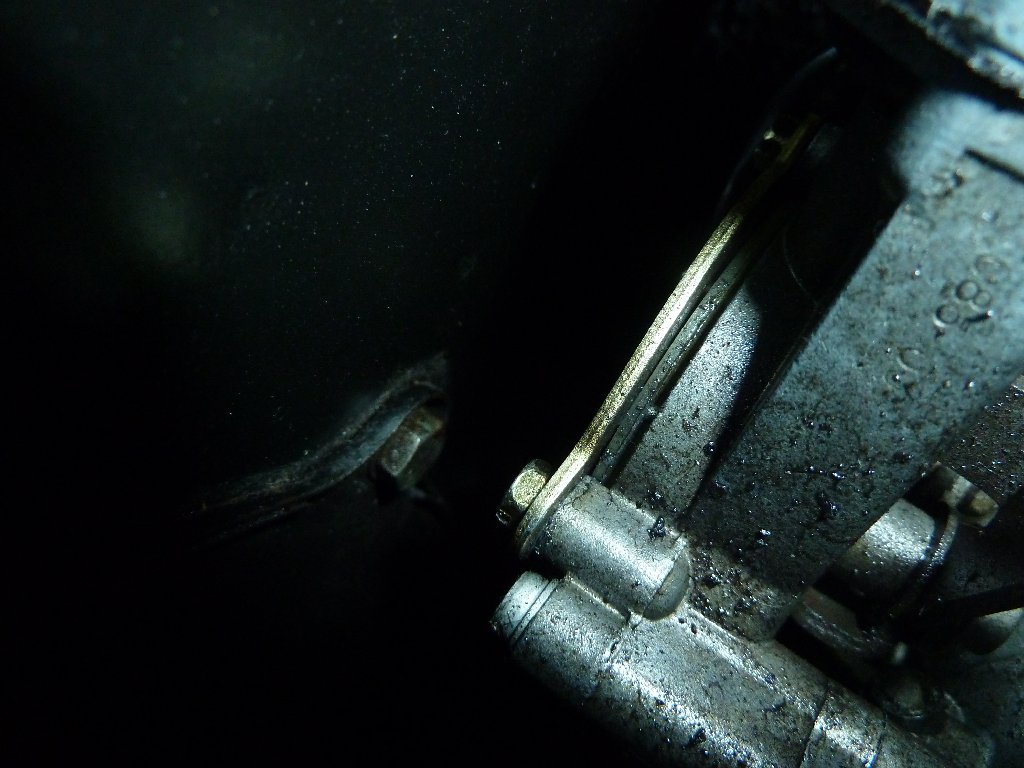
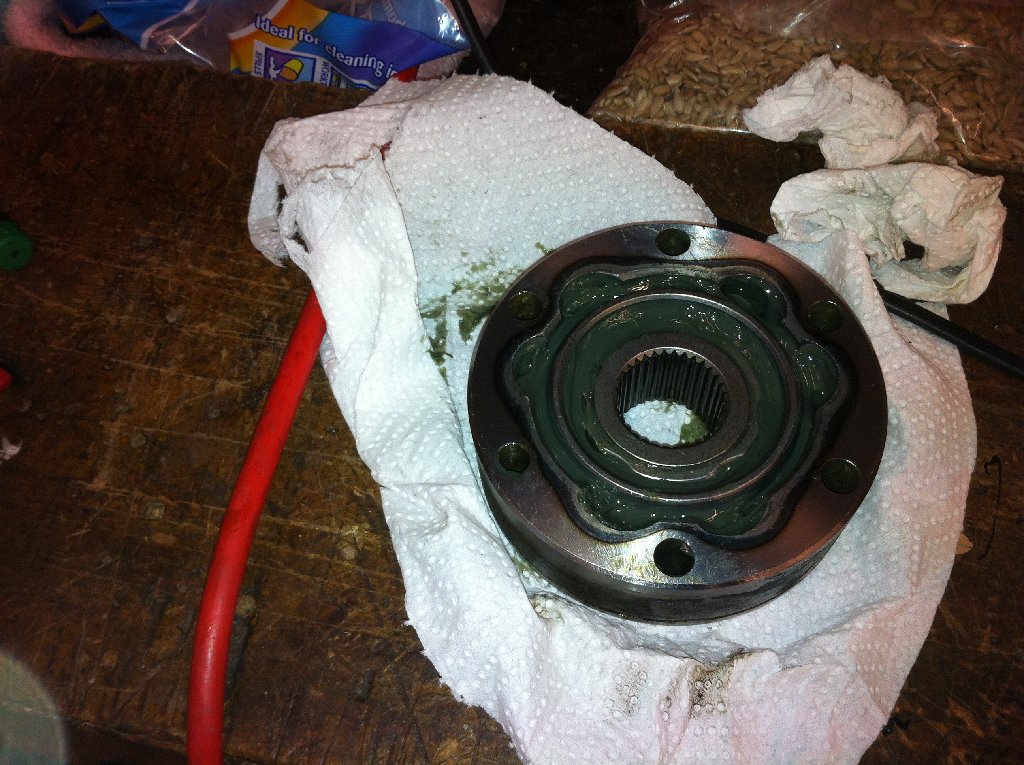
the CV joint with the split boot. The grease just looked a little darker green than the other side so I reckon I spotted it early and not too much rain/ dirt has got in there.


CV joint cleaned up - looks ok to me no scoring or burn marks
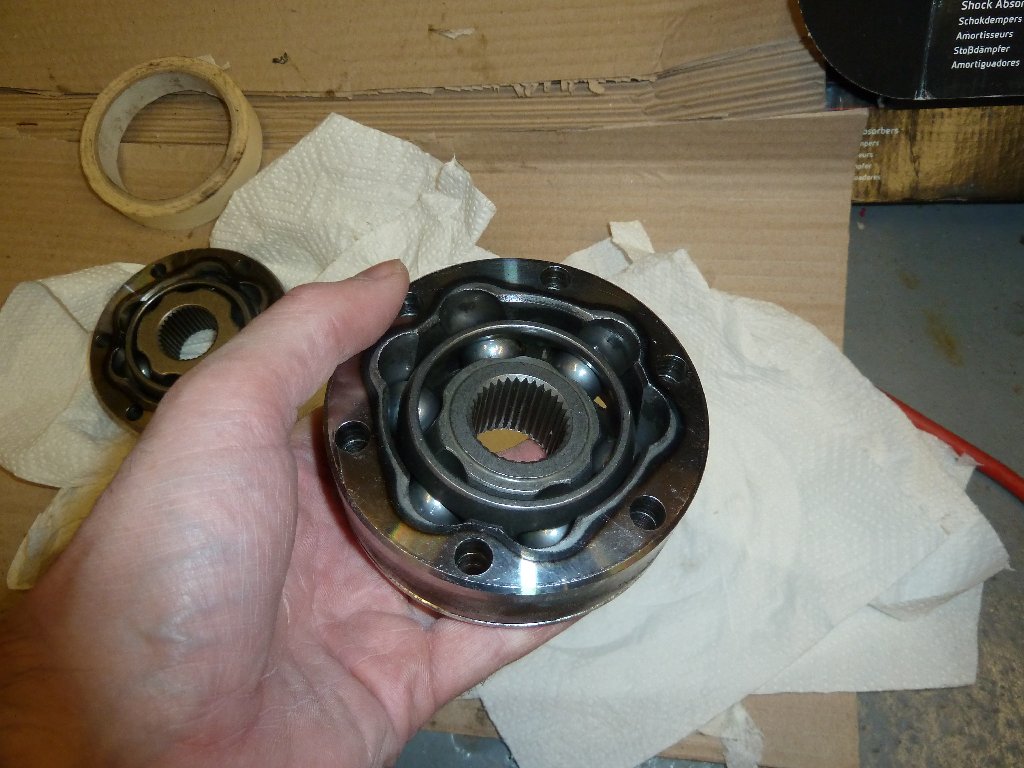
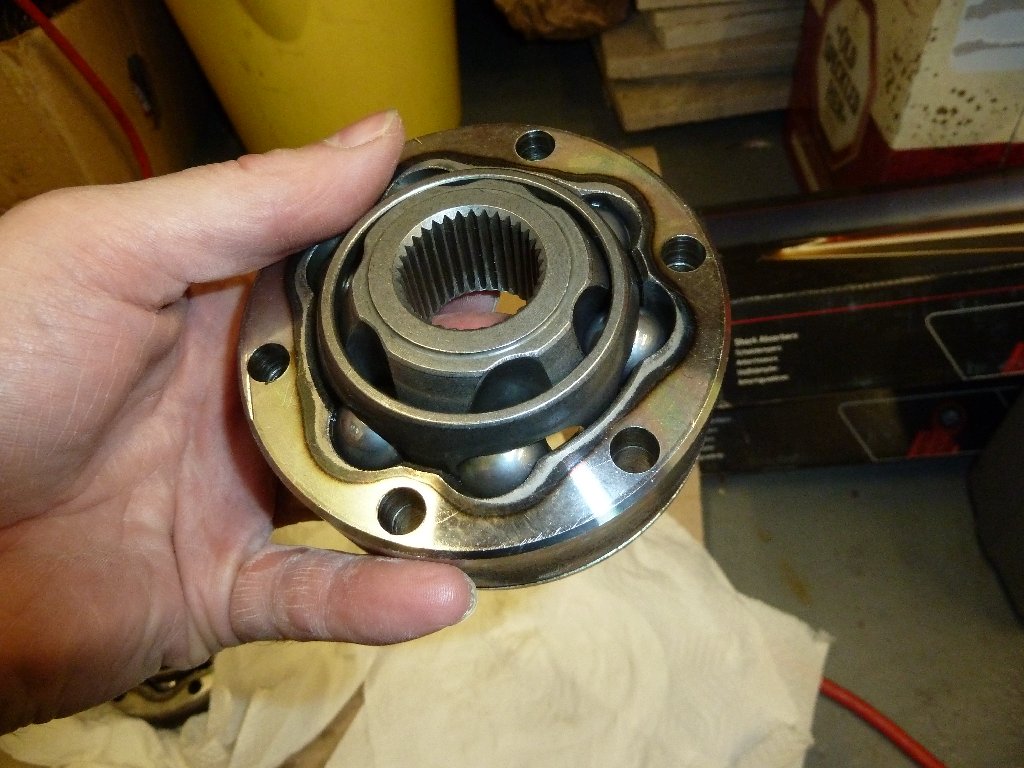


re-greased


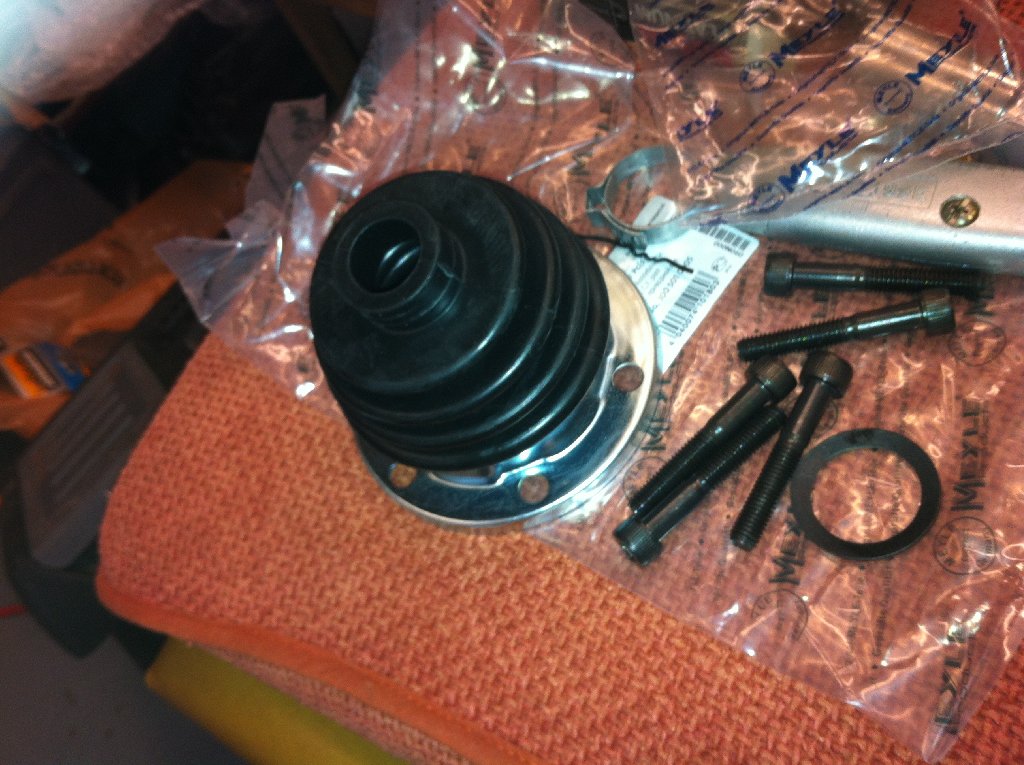
the new boot kit. I decided to re-use the dished washer rather than put the new one in. It seems to be quite a contentious issue, as Bentley says to discard these but as I said above the CV joint went on ok and the old circlips went on without trouble. I preferred to re-use the 'old' circlips as they looked in good condition.


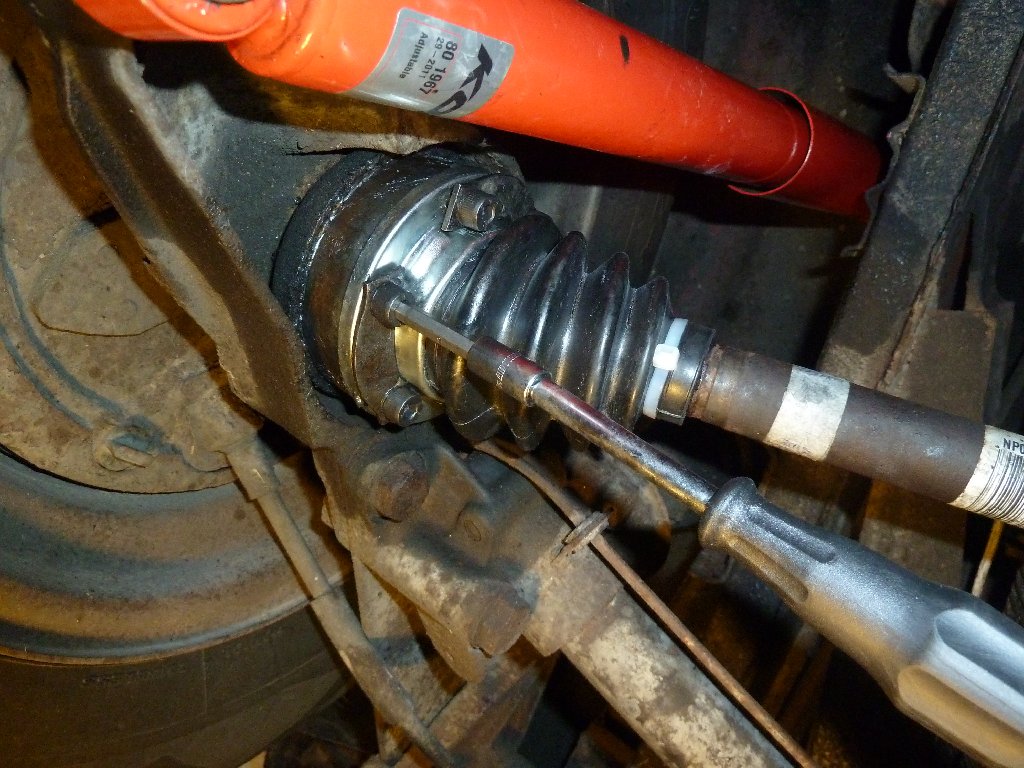
re-fitting the drive shaft


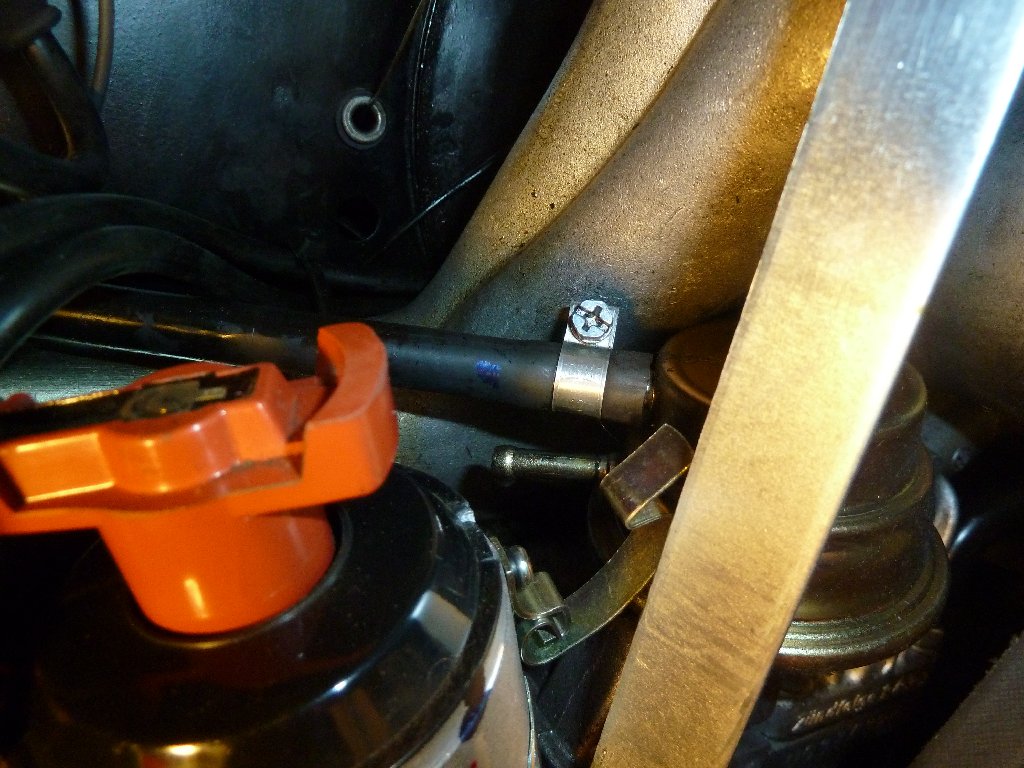
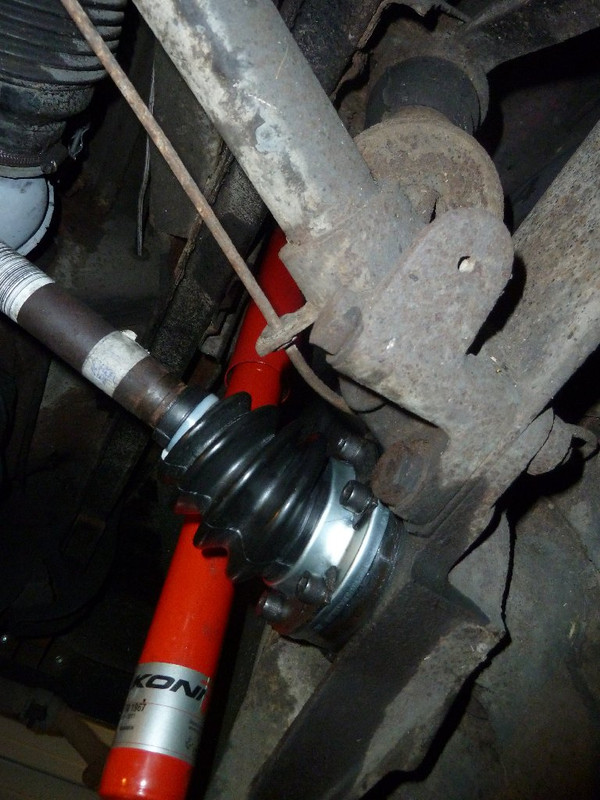
wheel side shot all fitted up, and with cable-tie as I couldn't fit the metal clip.
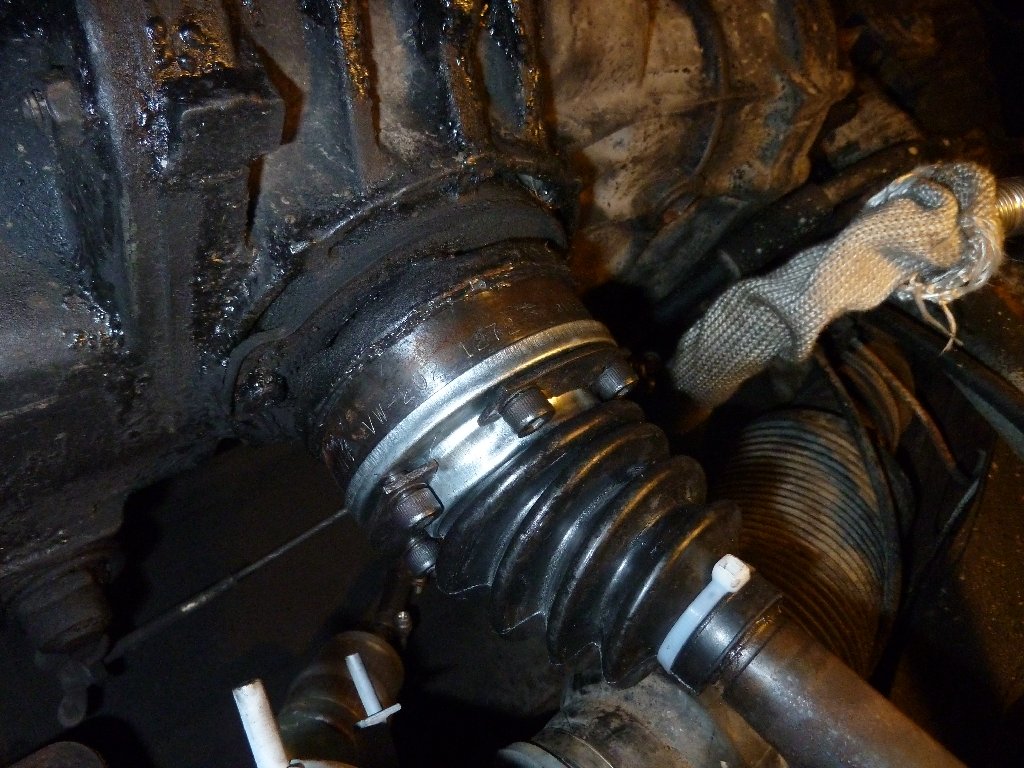

transmission end


Fingers crossed that it will last for a while! :roll: :D
 
I think I have found out a possible reason for the problems I am having with cold starts. The engine needs constant pressure on the accelerator (gently) to keep going from a cold start otherwise it dies. looked at the back of the carb a weber 32/36 progressive I believe its called, and there is no choke!
Its difficult to see as its pressed up against the fan shroud but I can see that there is just a thin plastic membrane where the choke should be. Also there is no wire or connection to the choke. Not sure why this is like this but there we are!

I need to buy one to fit.

It should be where the brass plate is at the right of the carb


pic of what it should be like (or similar)with a choke


now fitted without removing the carb which was quite difficult given the limited space! Idle speed also adjusted, and it runs better now no more cutting out at junctions.


Well, I've been quite busy recently mainly trying to get a satisfactory solution to the intermittent wiper problem.

I have connected up the circuit board as suggested by 'Pow' which works ok but I need to get the timing correct. If you don't get the timing of the pulse just right i.e. two sweeps, up and then down, the wipers stop in your field of view.

I know it's not for everyone but I really like the choice of an intermittent wiper.


I also tried a circuit kit which Maplin's sell called a wiper robot with 5, 10 and 15 second intervals like this;


I connected a remote rotary switch for it instead of mounting it on the board. Unfortunately it didn't work properly as it didn't have any intermittent delay just on all the time :evil:

Tried to work out what had gone wrong but as yet no success. There is a constant 12V at the relay outlet instead of a pulse. (poss short circuit??) I preferred this option as it gave you three delay options 'hopefully' although you need a separate control knob for it in addition to the OG knob. As I already have a hole in the dash it's not a problem for me. Any way I haven't given up with it yet.
 

Latest posts

Top