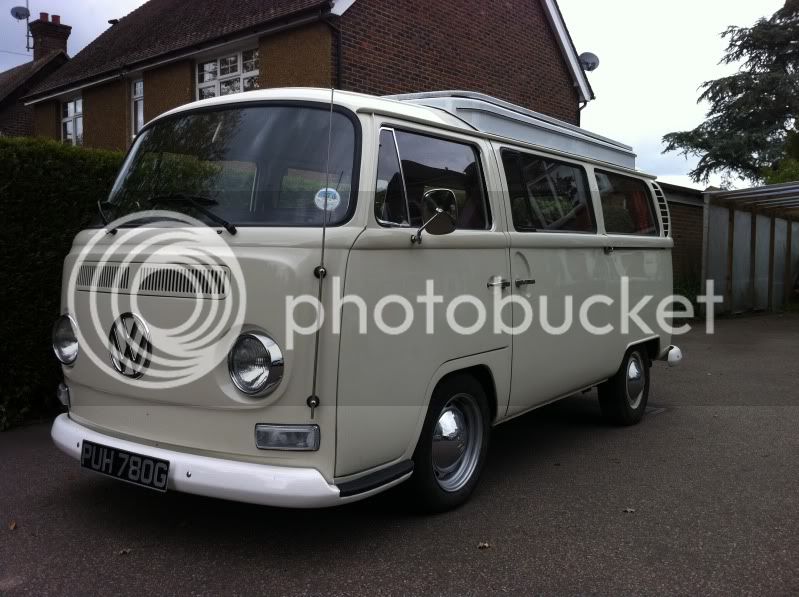
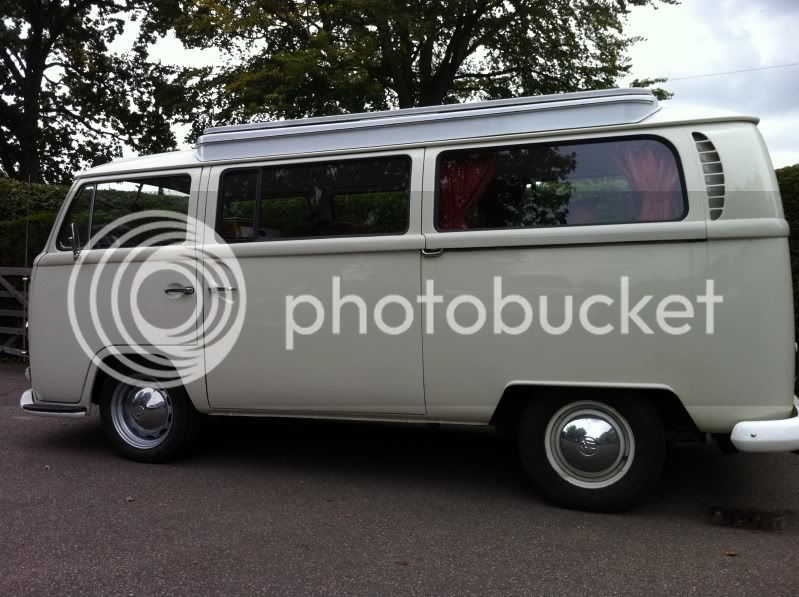
My 1969 Devon - the EarlyBay.com inspiration!

Early Bay Forum

Help Support Early Bay Forum:

This site may earn a commission from merchant affiliate links, including eBay, Amazon, and others.
Some pictures as promised....

lowered2.jpg


lowered3.jpg


lowered1.jpg


Just need to swap the rear wheels for the 356 steels like on the front 8)
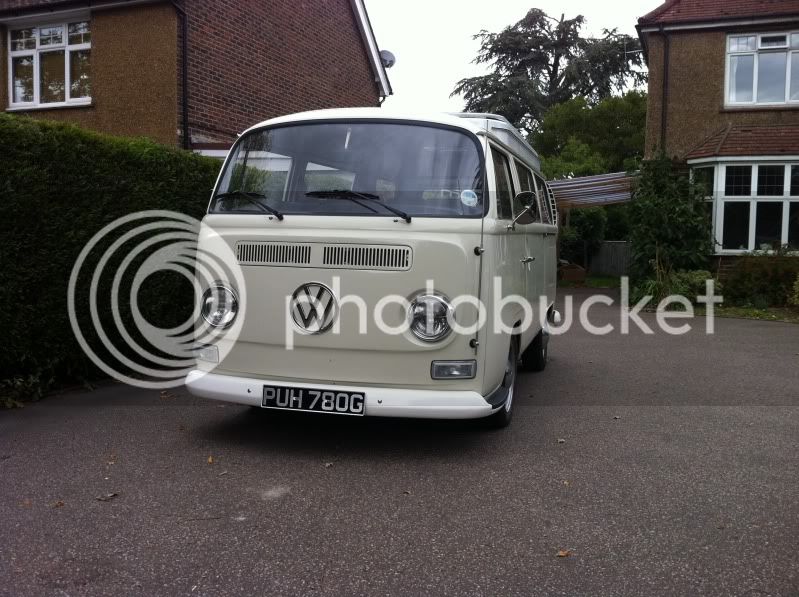
 
Cracking bus Matt - a real credit to you (and Dave the restorer).

Love the red/black/wood. 8)
 
Loving your van.. can you tell me what paint you used?

Is it L87 Pearl White?

My early bay is currently getting a good tidy up as well.. check it out! Hoping to paint it the same colour as yours as its look mint!!!

http://www.volkszone.co.uk/VZi/showthread.php?t=738880&page=1" onclick="window.open(this.href);return false;

Cheers
James
 
Great work Matt

Attention to detail is spot on! Wish I had the patients to turn out quality work like this.

Just
 
creationblue said:
Great work Matt

Attention to detail is spot on! Wish I had the patients to turn out quality work like this.

Just

^^WHS^^ 8)
 
rustythevan said:
Loving your van.. can you tell me what paint you used?

Is it L87 Pearl White?

Cheers
James

Hi James, sorry for the delay in answering your question - the colour is L282 Lotus White

Many thanks for all your kind remarks on the van, glad you like him Mike :)
 
Matt_B said:
Spent the last few weeks on the interior, thaks to my Dad too :D The interior was good, but some of the veneers had started to delaminate. Had to put 2 new sides on the buddy seat, and one full side on the tall unit. The top mounted storage box needed quite a bit, also lined the inside which looks really nice IMO, and will stop the splinters getting in my undies :lol:

Interior2.jpg


Great thread this..!! You've put alot of hard work into this..!! Brilliant finish..!! :D

I have a '72 devon and will be refurbishing the interior and some of my veneers have delaminated..!! Where did you get the materials to replace yours and what was your process of cleaning the surface of the veneer? Sanding? Varnish or Oiling?? I'm taking the interior out of mine over winter to do some inspect and do some work on the rear wheel arches so not an amazing full resto like yours..!! But who knows what i'll find..!!?? :shock:
 
Gwar72, any existing veneers were just lightly sanded and then varnished with a clear satin exterior quality varnish. The new wood that went in was just a good quality oak veneer on plywood. If I was being really critical of myself I should have tried to source an English oak veneer as the grain on that would have been much tighter as opposed to the quite open grain on what I bought, and would have matched the existing a little better! Also the new veneer had to be stained slightly to make it a bit darker so it matched the existing wood. Hope that helps.
 
Thats great Matt, you've done a grand job there..!! i hope i can get mine to look as good?? thanks for the info, i just didn't know how and where start. Will have the units out in a couple of weeks, can't wait to start..!! :D

Cheers
Tim
 
Been using the van for a couple of years now since the rebuild. A few weeks ago, at Bugjam, the engine got a little hot and on inspection had cracked the cylinder heads :(

I've now replaced both heads, changed the fan to a twin port one as only a single port had been fitted! Replaced the pushrod tubes with wide mouthed ones as there was signs of rubbing, and installed some cooling tin that was missing.

I was also told by the engine builder he had used chromoly pushrods so to set the valve clearances at nearly zero, when taking the pushrods out I find them to be aluminium so have increased the clearance to factory settings.

I'm hoping these modifications will stop the engine overheating, and go on to give many hours of trouble free motoring.
 
Just read this whole thread, gotta say its a beautiful bus well done !
Bummer about the engine though, hope it goes well now.
 
Thanks guys, was a little heartbreaking having the engine fail in the middle of the summer holidays, with only 2 camping trips made!

Devon roof cap is the next job - once the engine is running - which I'm really hoping will be this week :)
 
Good progress was made today. Got the engine back in and all the ancillaries bolted/connected on. But for the life of me I could not get it to fire up. About 3hrs later realised that the points were flakey! Replaced and it started first time :) A little bit of tinware rub going on but I'm sure a hammer will sort that out!
 
Just read all of this, and wow what a turn around, a cracking bus 8)

I know how you feel on the engine front my engine died on the way back from bugjam too :( what a time to do it!! So I've had to tent the last couple of shows in my daily :cry:


Glad you've got it back up and running
8)
 
Due to a new business venture, I'm considering selling him - this will break my heart after all the hard work and enjoyment he has given the family.
 

Latest posts

Top