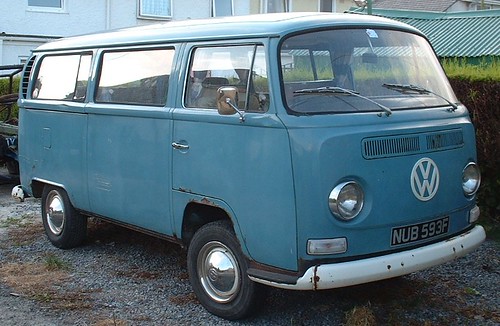
I thought I'd finally do a write up on Nubby, my beloved '68 Bay Tin Top..................
I've always had a thing for early Bays, to me, they are the ultimate in the VW van world, much better than one of those funny things with two windscreens in the front
")
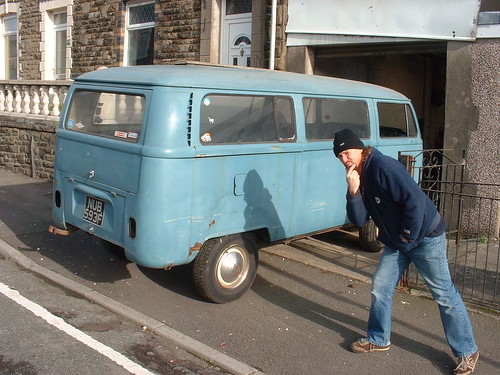
It was at BVF in 2003, I found out that Mark from The Bus Station was selling his own February '68 Devon Tin Top. The van had a newish MOT and although it was a little ratty around the edges, it was on the road and ready to go - and I knew it had to be mine!!
A deal was struck and Mark was going to deliver it to Volksfest Wales for me a month or so later. However, disaster struck............. On the way back from BVF, the engine died. We struck a new deal and the van was delivered minus it's dead engine .......................
Once home, I fitted a spare engine that I'd had kicking around the place and we headed off down the beach - Everything was great until we'd reached the beach, the engine lost all power and was only running on three cylinders..................... We managed to limp home and on inspection I found that a valve had burnt out - I'd started to think that this van just liked to eat engines!!!!!!!!!!!!!!!!
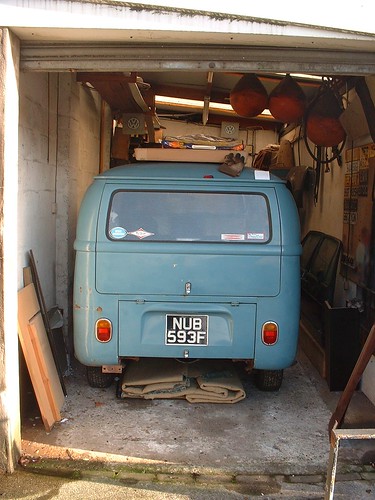
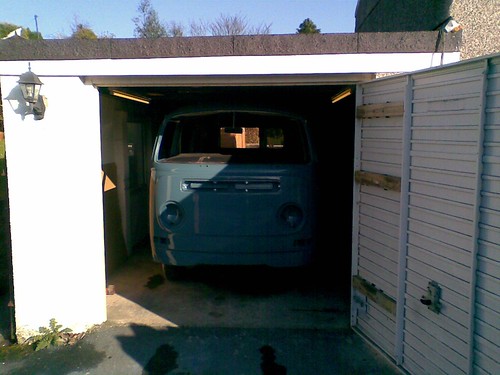
I put the van into my garage and as is often the case, money, time and life got in the way. Before I'd realised it was now 2008 and the poor van hadn't moved.
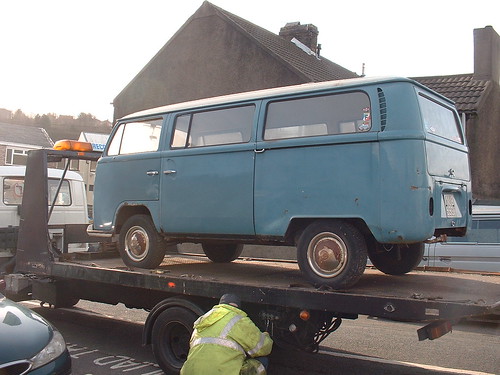
After a good chat with my friend Andy Van a plan was set to get the '68 back on the road where it belongs. After a nice little sleep of four years, the '68 came out of the garage, onto a low loader and off to Andy's it went..............
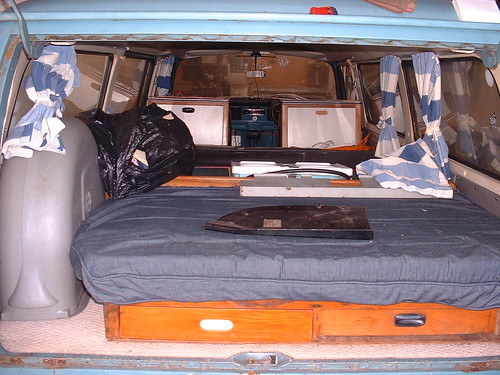
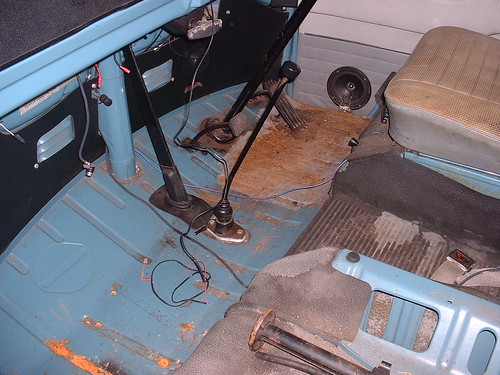
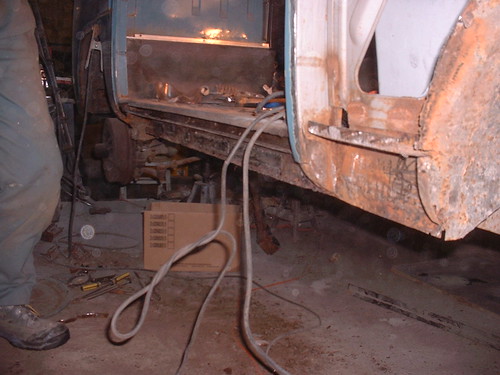
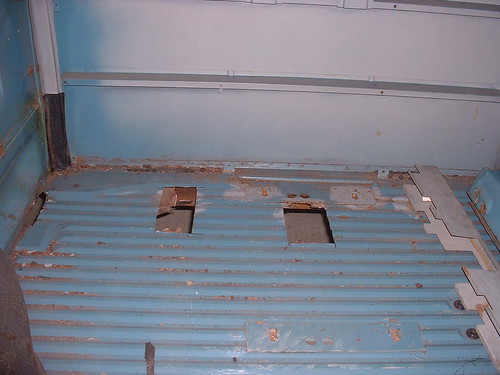
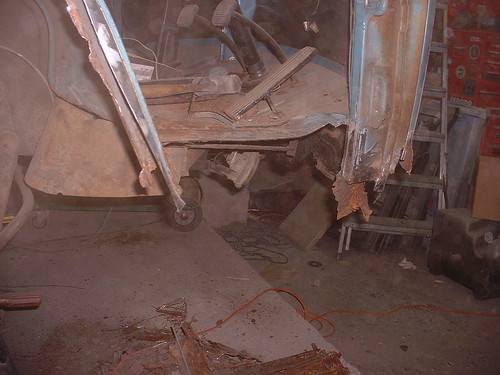
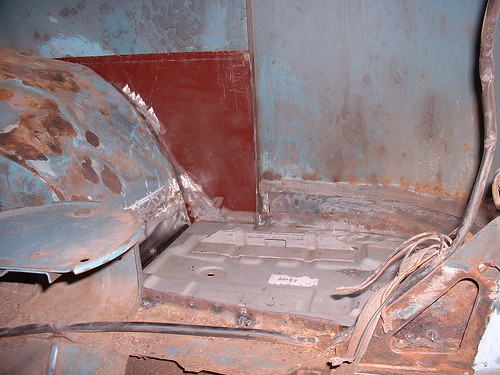
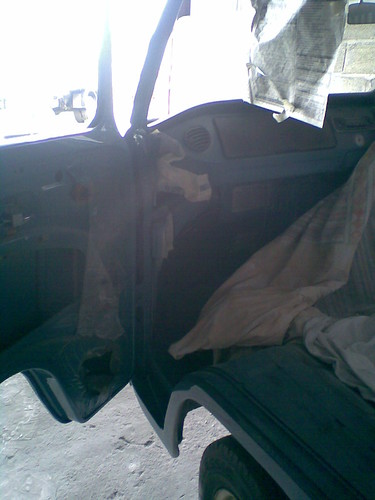
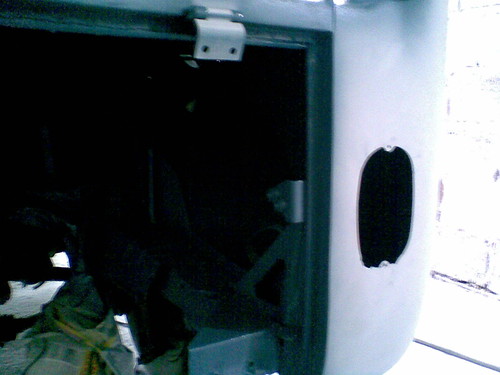
I took a week off work and the two of us set about sorting the metal work out. The first job was to remove the interior to see what we were up against.................
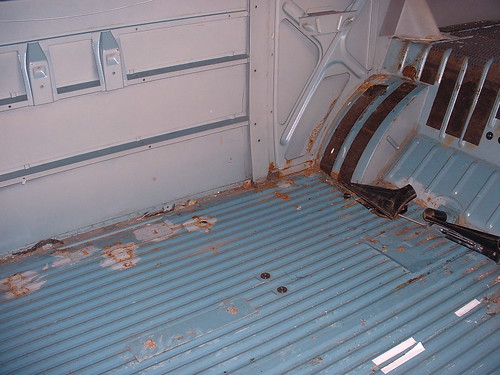
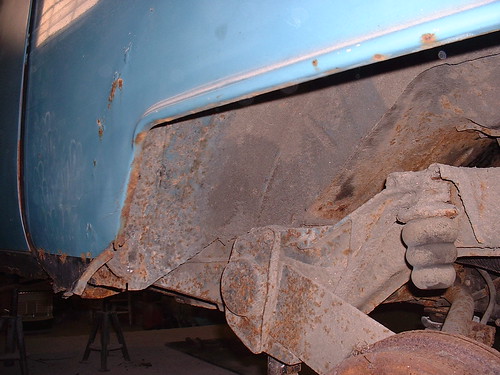
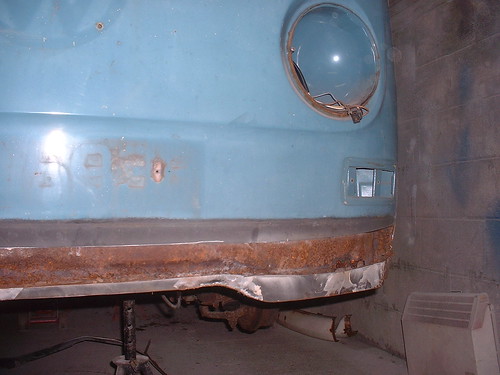
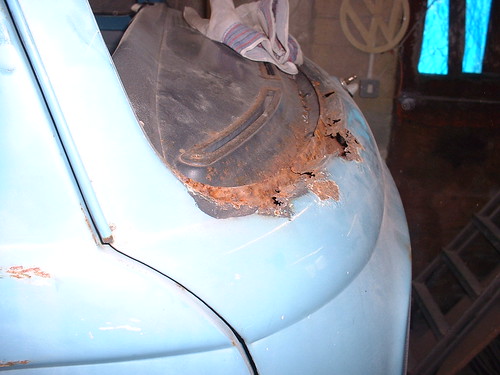
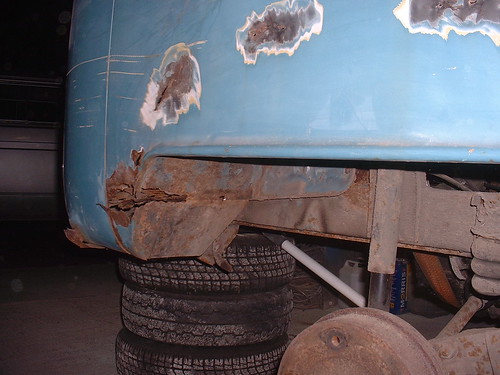
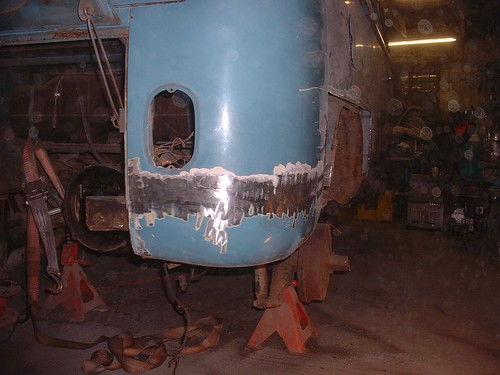
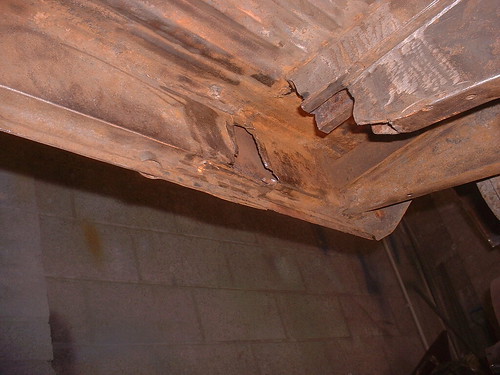
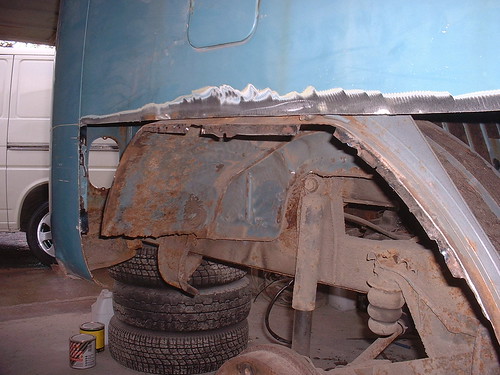
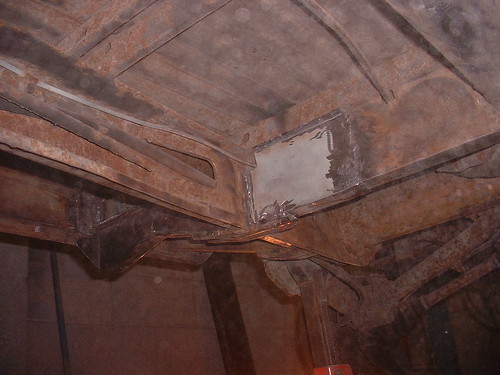
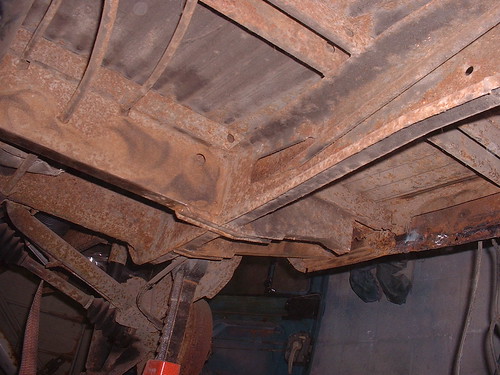
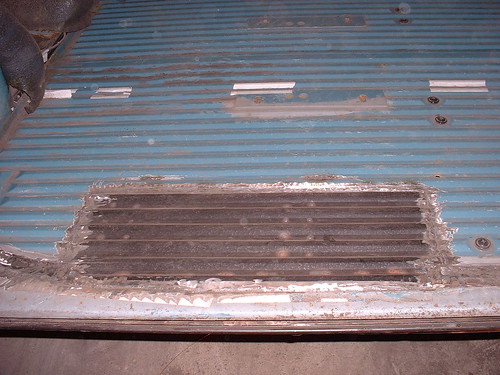
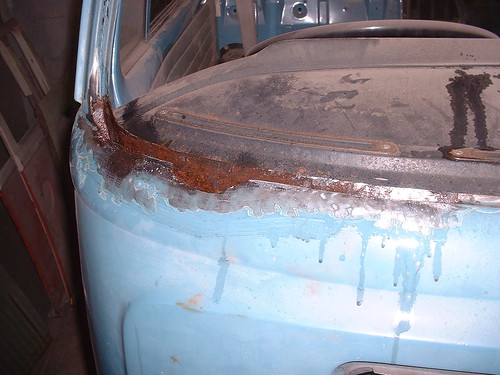
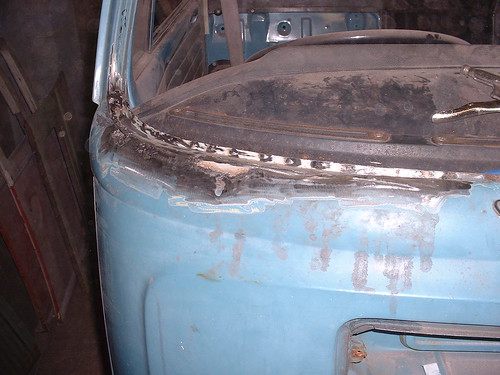
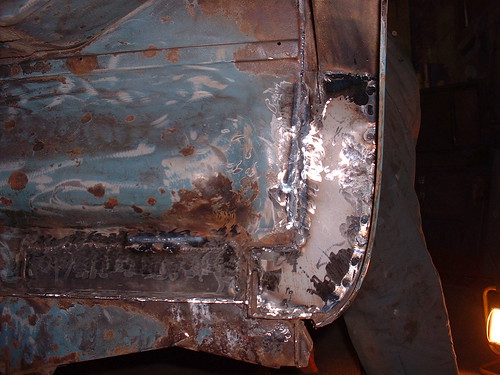
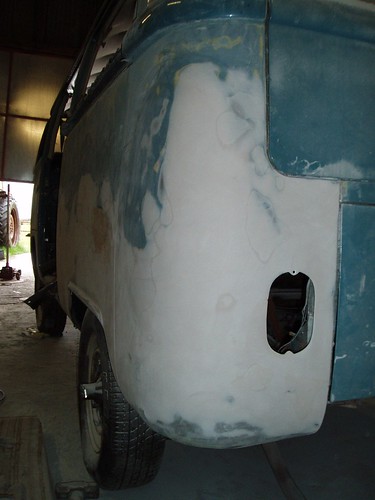
Once everything was removed, it was time to start cleening the metal to see what we were up against...................
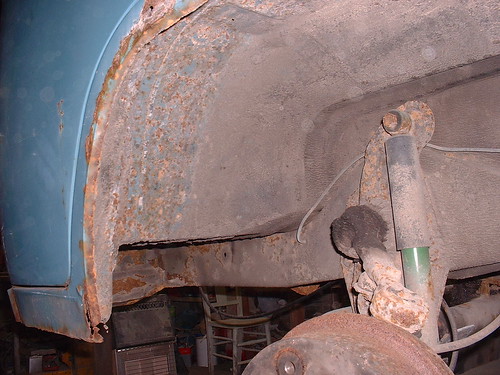
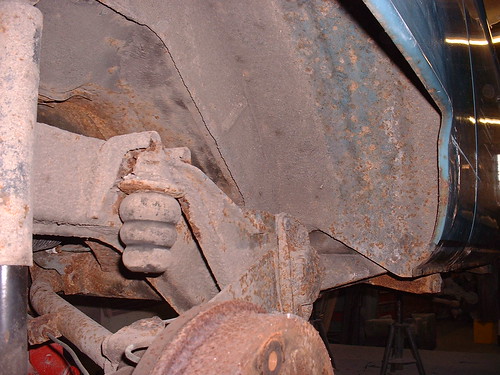
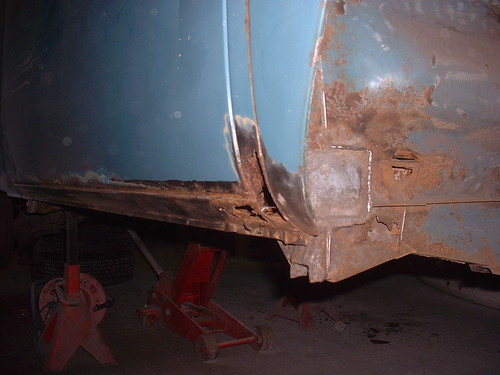
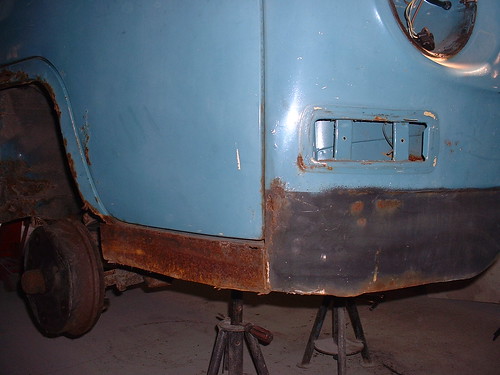
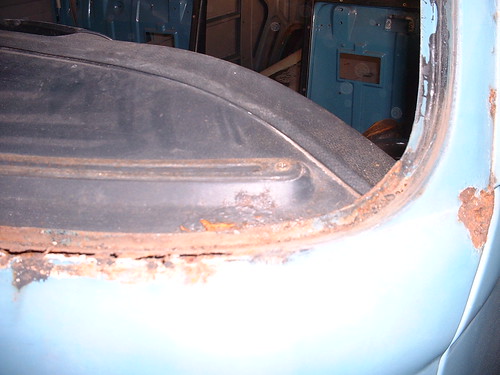
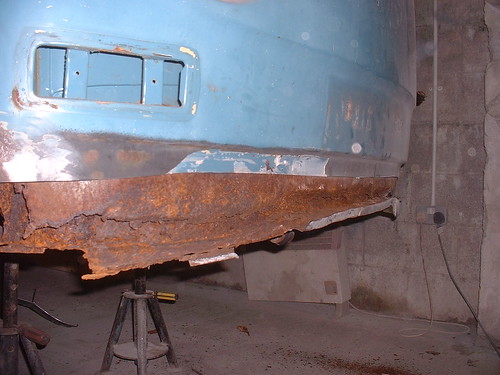
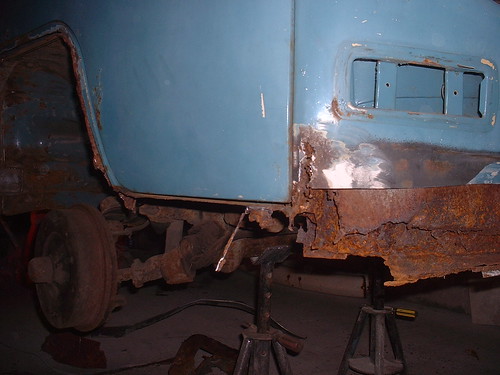
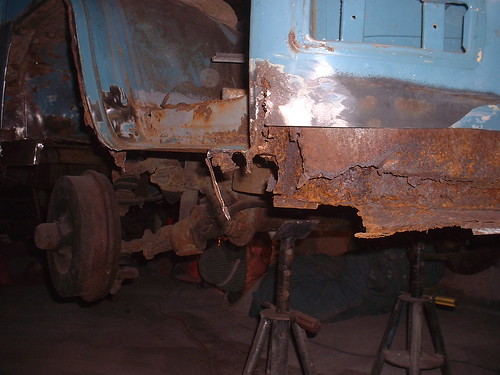
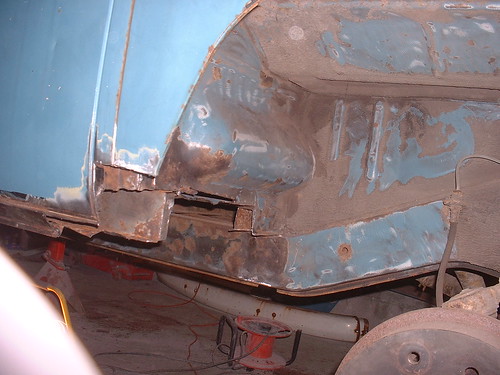
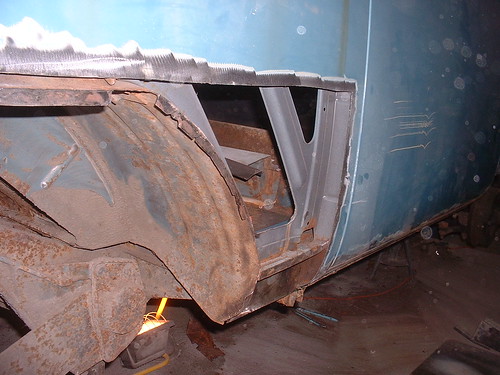
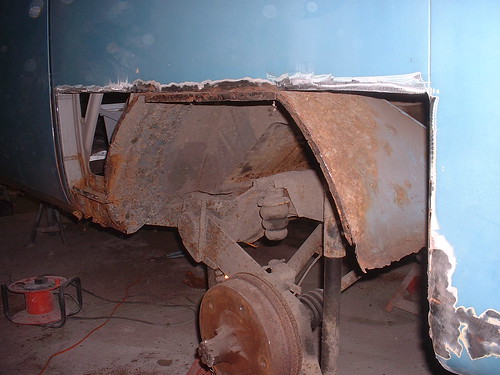
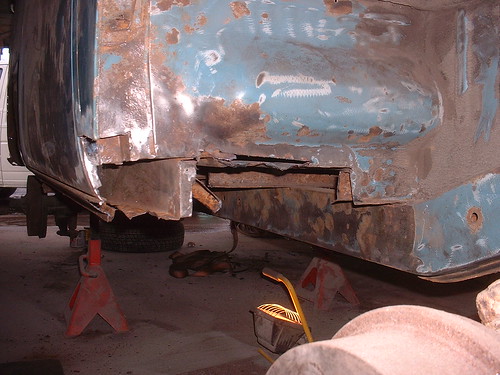
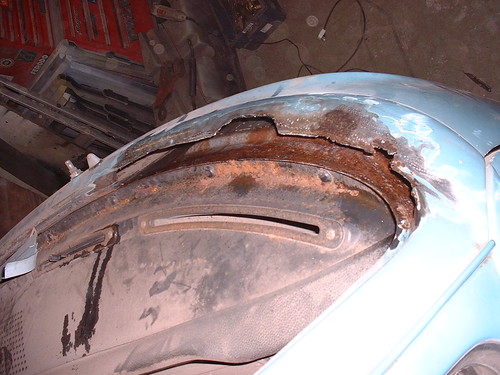
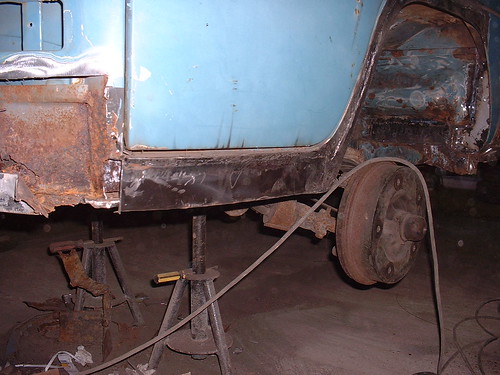
It was clear to see how much work the van actually needed. Thankfully, there were no previous bodges that need to be removed, so it was basic cut out rust and weld in new fresh metal. Unfortunatly, there was more needed than originally thought....................
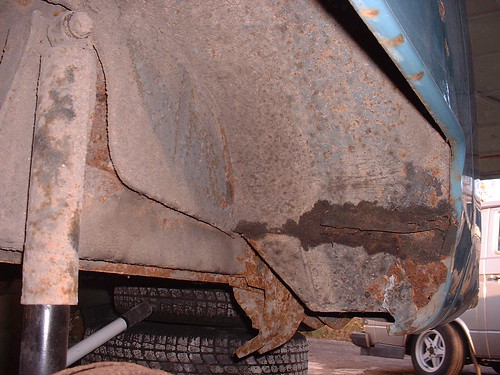
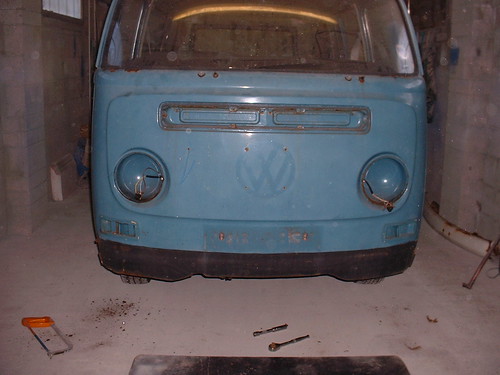
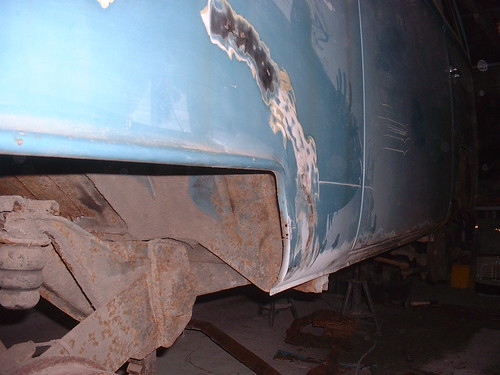
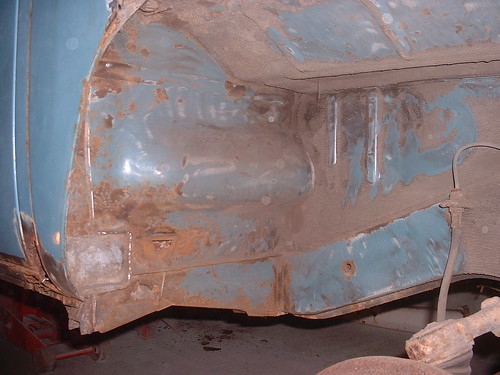
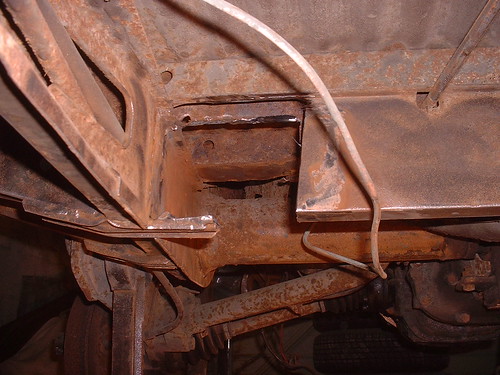
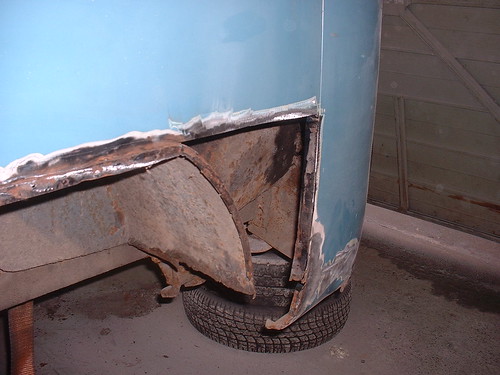
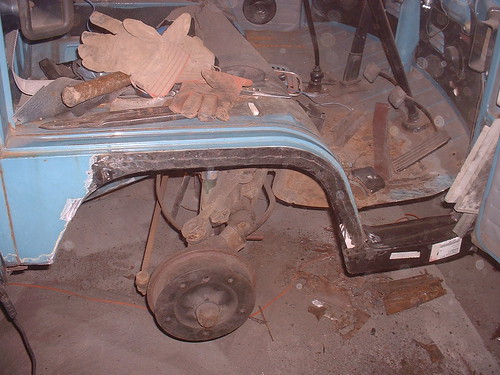
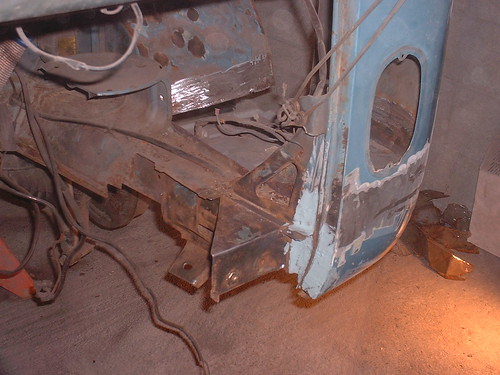
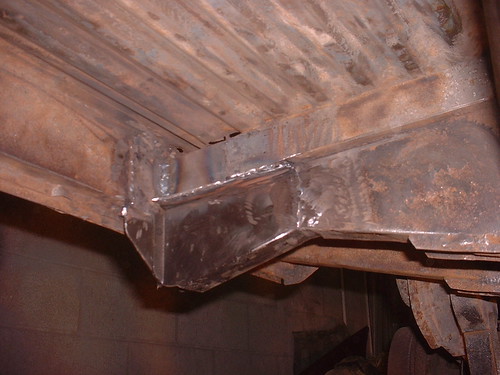
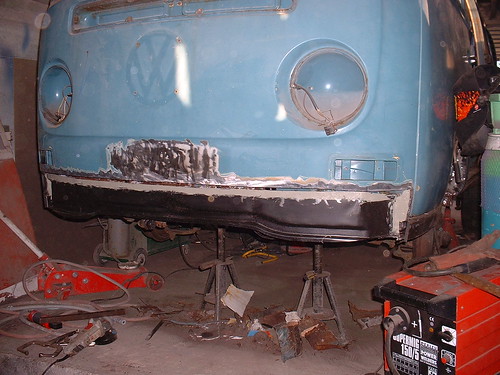
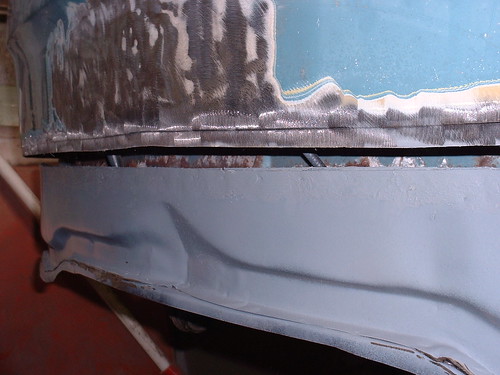
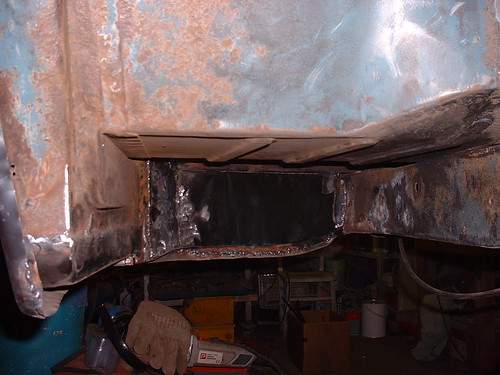
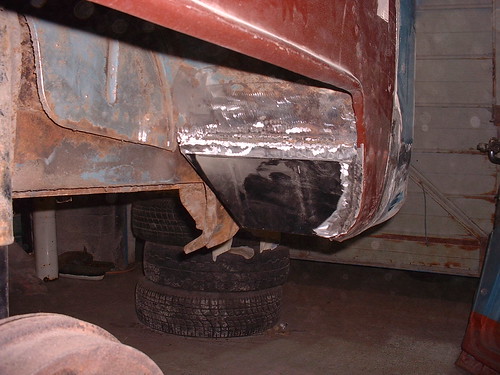
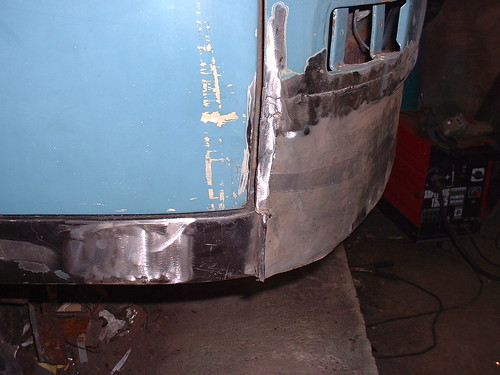
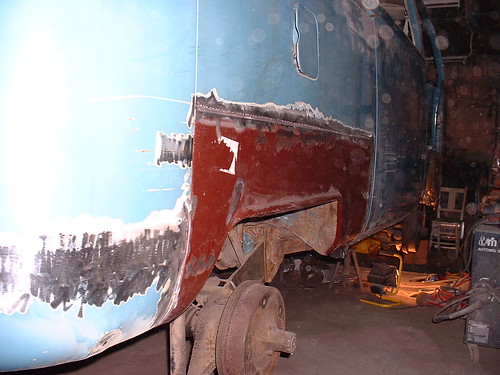
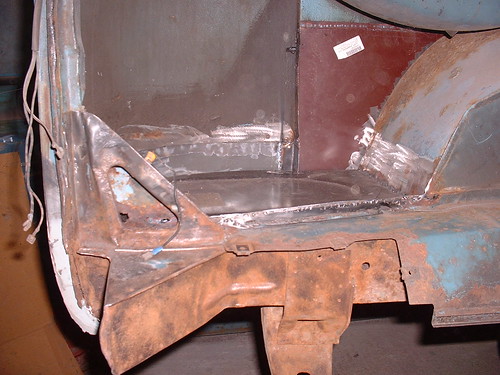
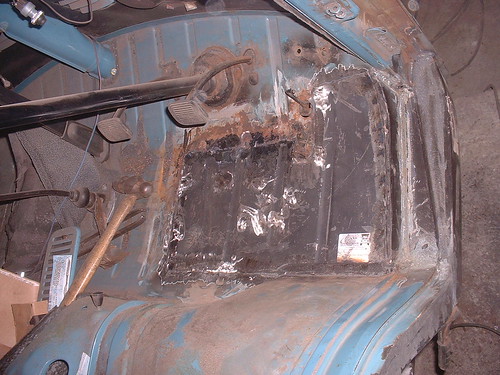
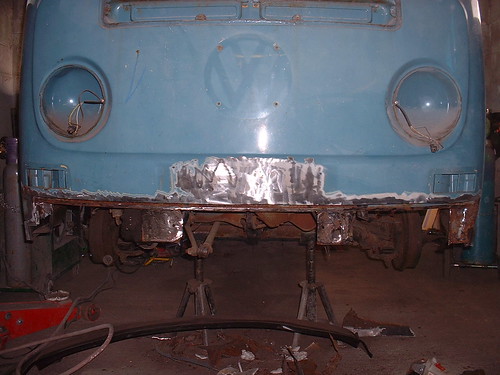
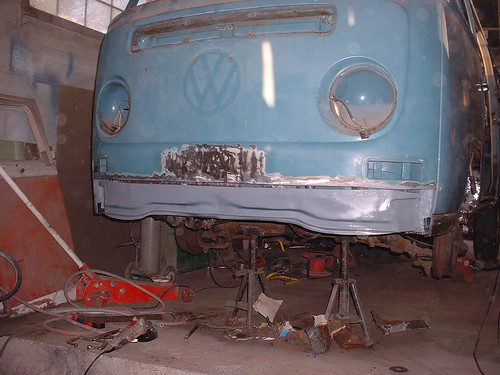
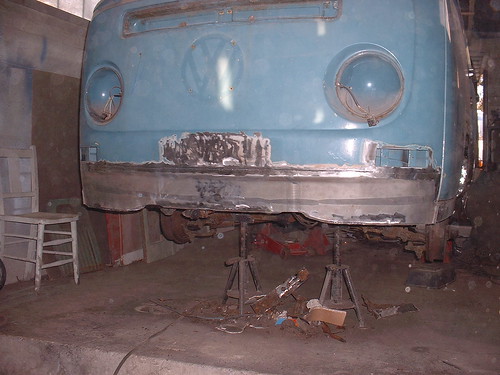
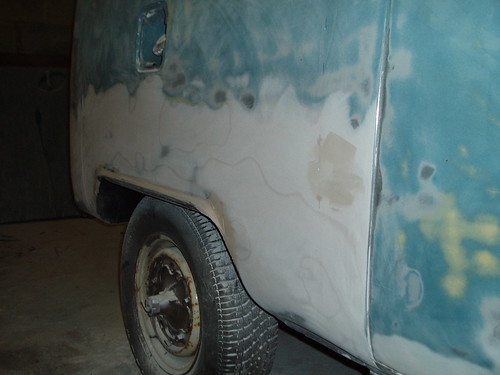
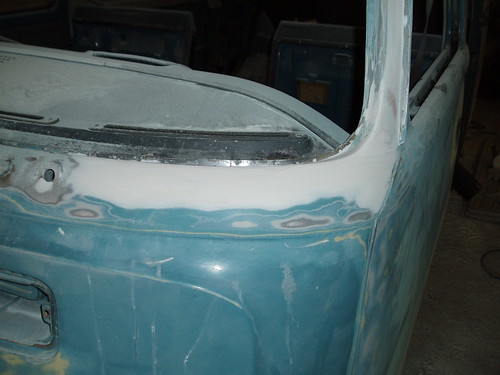
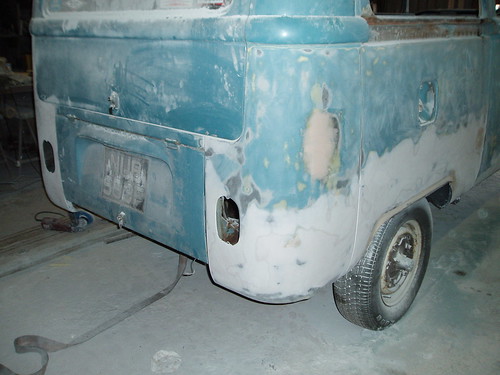
They say a picture paint's a thousand words, so here's some pictures in no particular order to show what Andy and myself managed to get done over the grand total of eight days....................
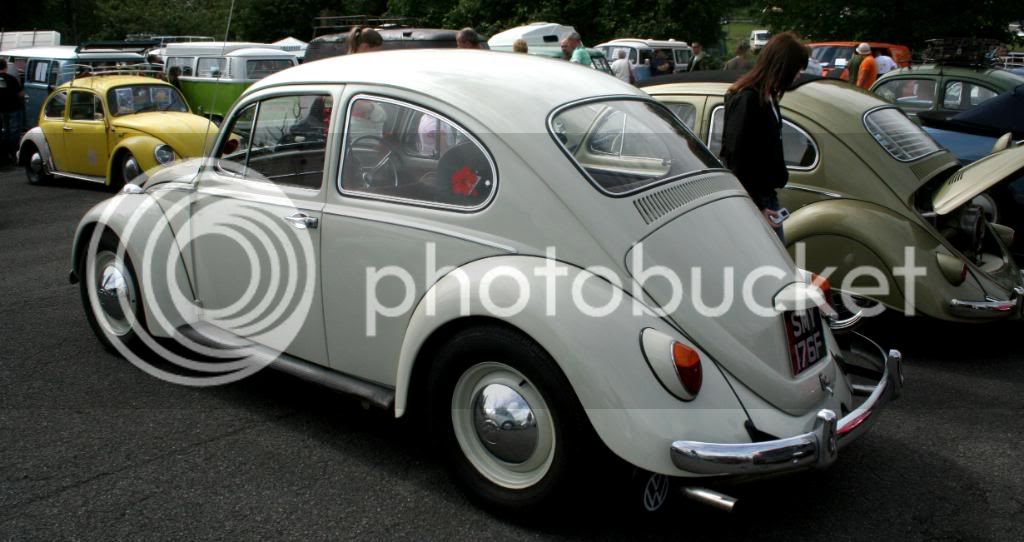
Nice pile of VW
:
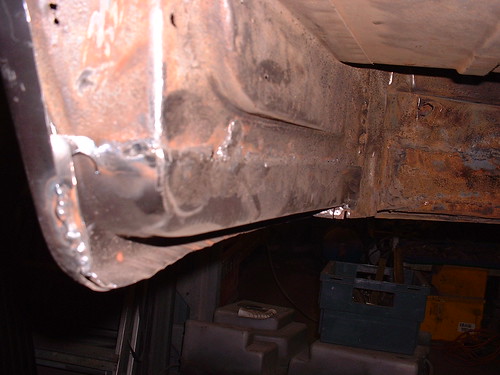
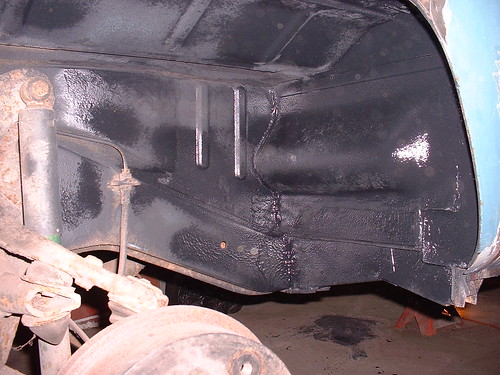
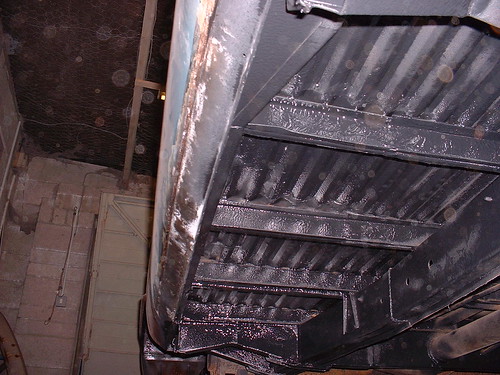
Once all the welding was done, I gave the chassis a good going over with a wire wheel on the grinder to make sure all was good and blasted a good coat of stone chip over everything..............
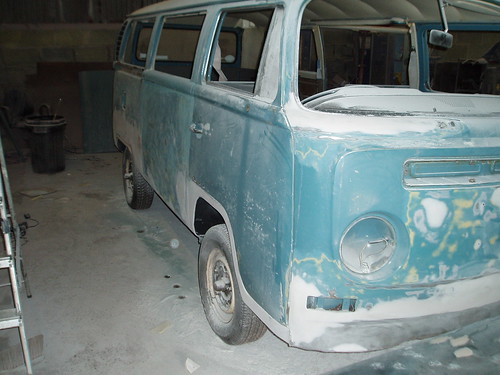
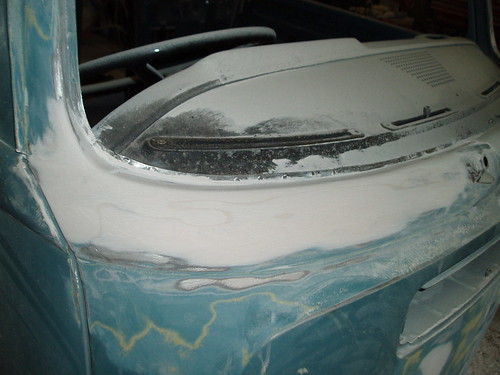
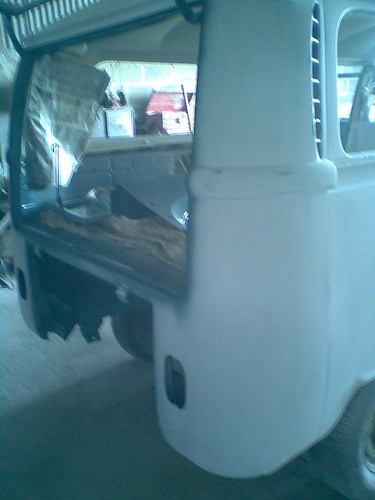
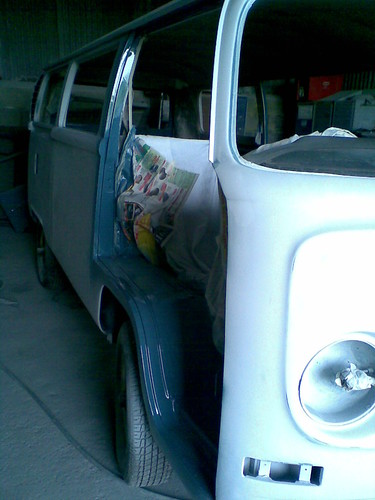
With all the metal work and welding finished, I took the '68 off to another friend - Benny for him to work his magic with the bodywork and paint...............
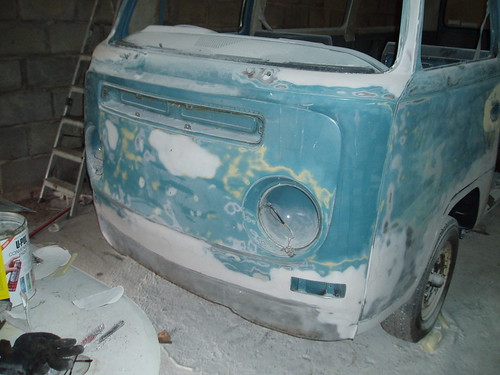
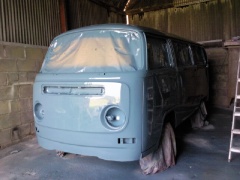
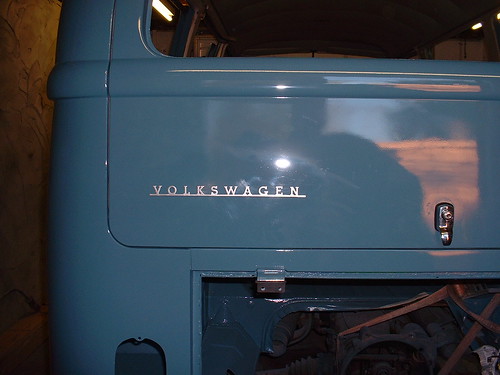
Once the body was straightened out, several coats of 2PK high build primer were applied - About 5 Ltrs in total. With the doors off the van, the door shuts were then painted with the L50K Neptune Blue - The best colour, for the best van
Unfortunatly, I haven't got many pictures of this stage.................
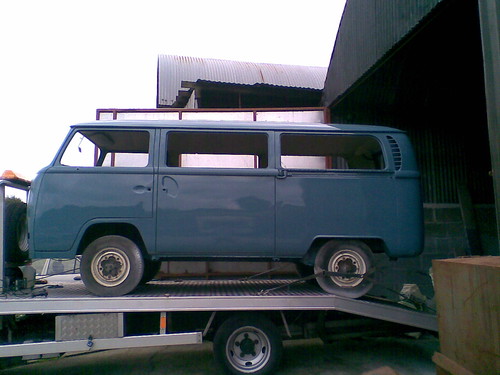
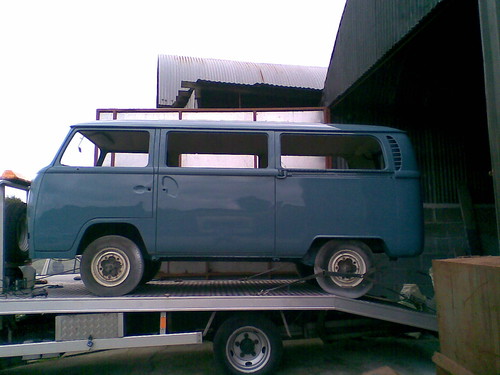
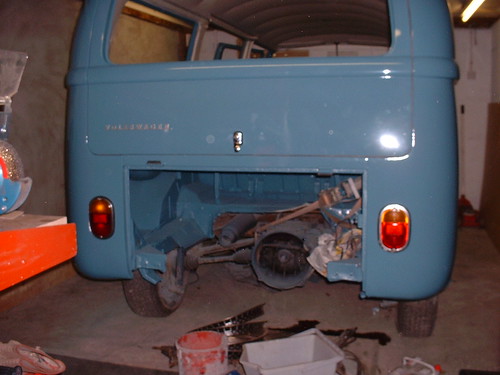
Finally, my '68 after four long years has got a fresh coat of paint -
And here it is loaded up once again on the low loader ready for it's journey back to my garage
I've been a busy boy this weekend, not only fettlin with my newly aquired T4 but I've brought Nubby home :woohoo:
Now I can finally get on with his rebuild