My '68

Early Bay Forum

Help Support Early Bay Forum:

This site may earn a commission from merchant affiliate links, including eBay, Amazon, and others.
Great pics :)


My 68 devon tintop is 2 months younger than nubby, but mine has full bellpans :shock: did yours have any pans on?
 
Cool - No it didn't have any belly pans fitted. I'm going to fit the centre one though, as I read something somewhere that said that VW fitted belly pans to the centre to try to reduce drag and the outer pans were fitted to stop crud from attacking the chassis...................
 
Great pictures... van looks great!

Gets me all excited about when I might finally see some fresh Neptune Blue going on mine... :D

Dan
 
Spence said:
Cool - No it didn't have any belly pans fitted. I'm going to fit the centre one though, as I read something somewhere that said that VW fitted belly pans to the centre to try to reduce drag and the outer pans were fitted to stop crud from attacking the chassis...................


you would think that devons order from vw would be all of the same. I wonder why yours hasn't pans and then less than 2 months later mine has full pans?? Hmmmmmm

heres a link to mine...... i some times wish i'd kept it neptune blue but i still loves the beige.

http://forum.earlybay.com/viewtopic.php?f=2&t=1517&start=0
 
Great work like all the detailed shots of the welding works undertaken joggling the panels in etc. solid van, keep the pics coming...
 
Father Christmas left me a nice prezzie under the tree this year :D I had new window scrappers for the doors and a few other seals etc.......

3179852055_ff43953110.jpg


I've also fitted the panels behind the walk through section to see how the red will look against the blue - personally, I love it :D

3179850523_076cc55f83.jpg


Following on from my thread in the chat section, I've also fitted some sound proofing/insulation type of stuff. Here's the bare panel ..............

3180689054_a80fc1e7f2.jpg


Then, I put some bitumin based roof/guttering stuff onto the panels - This was from B&Q...........

3179851501_dfb21aebb8.jpg


On top of that, I've stuck on some silver coated bubble wrap - This shouldn't hold water like Rockwool will. This is from Wickes..........

3179849921_693dca75ee.jpg


The panels now thud instead of clang when you knock them from outside and the sliding door shuts much better too :D
 
I've finished putting some foam type stuff that I found at a classic autojumble onto the floor and up over the engine area. Aparently it's meant to have good sound deadening properties. I've also re-covered the rear panels in red vinyl to match the door cards. It's a slightly different color but better than the original grey that was there.........

3220760234_8741c4e92b.jpg


Hopefully I'll be able to lock myself into the garage tomorrow and get a good bit done :D
 
I've got a bit more done on the van over the last few days.............

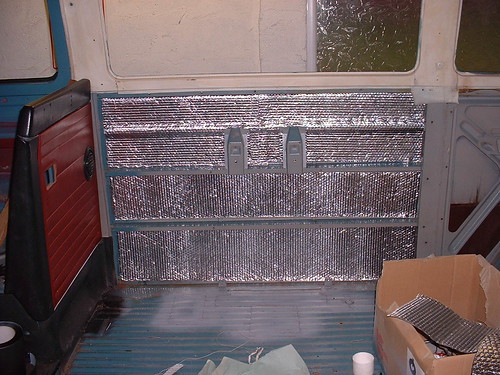
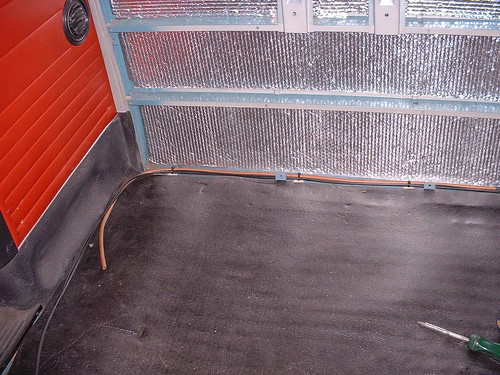
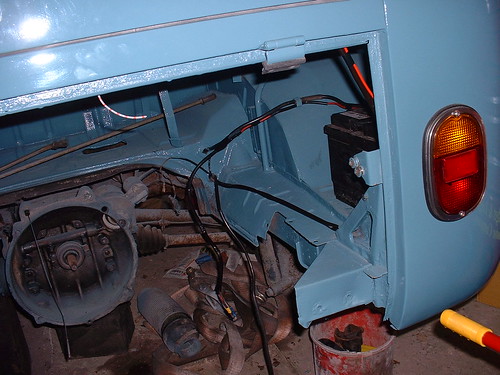
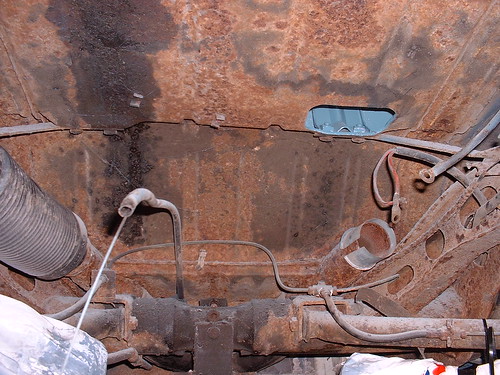
I've run in a gas pipe ready for my propex (when I find the money to buy it) and some power cables for an 12V socket. I plan to fit a pair of gas bottles in the bottom of the Devon cupboard and drill a vent through the floor for safety.

3259723491_ae00fc4d18.jpg


3260558382_1e58fdf09b.jpg


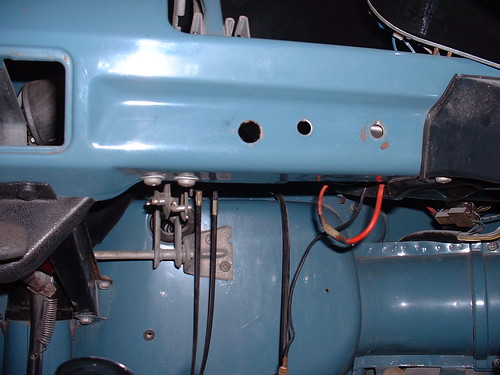
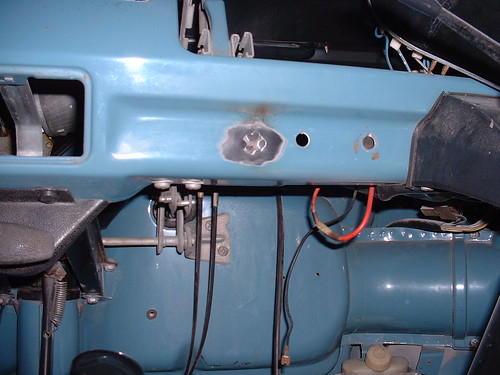
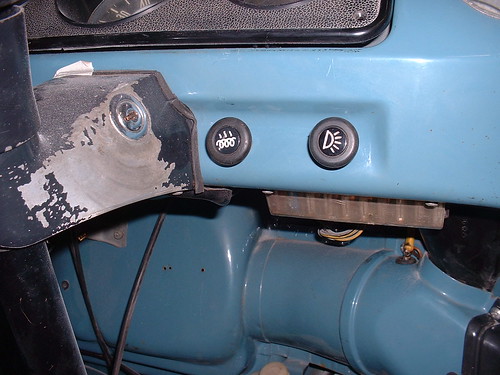
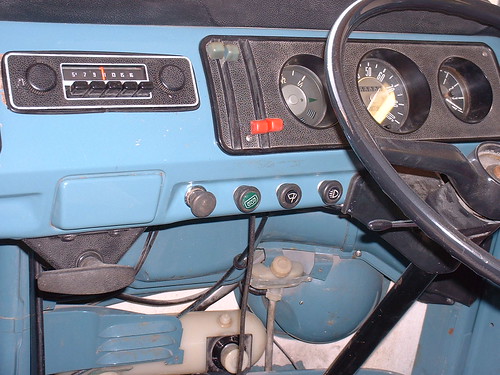
There was also a random hole in the dash board which needed to go, so I've welded it up and drilled a few extra holes spaced properly so that I can fit a heated rear window switch and a lighter socket.

3259725601_7123e82cf4.jpg


3260558760_5bf9ee14dd.jpg


3259722605_dcb0b4044d.jpg


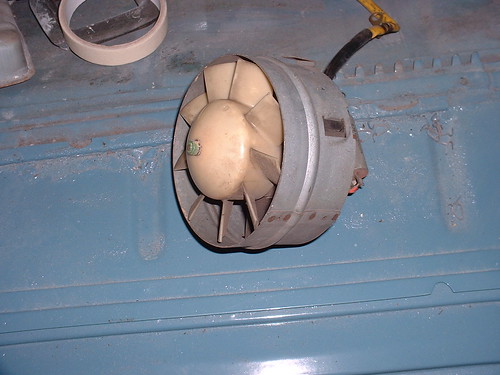
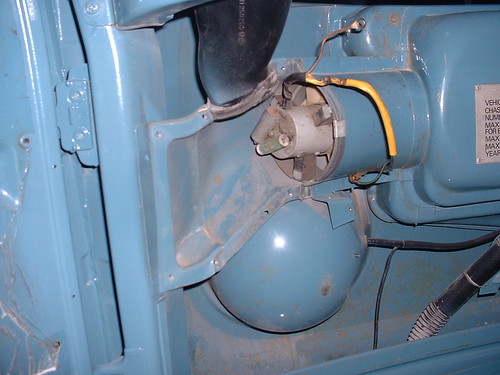
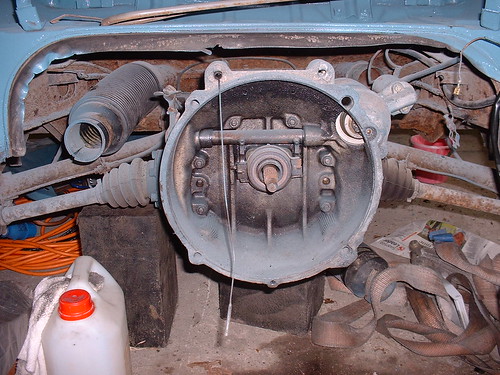
Whilst I'm fiddling with the dash, I've fitted a pair of fans into the cooling system - Nice little extra that's never seen but hopefully when we have our boiling hot summer, I'll be sat behind the wheel nice and cool :D 
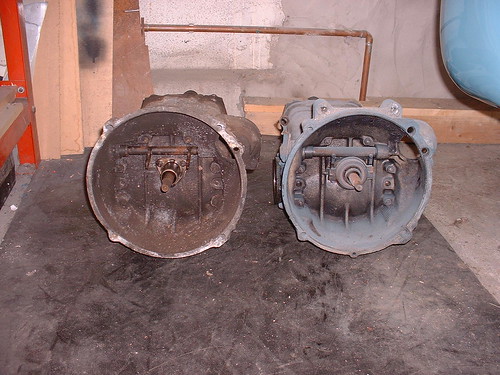
Anyway, here's one of the fans........

3260558002_35a325ef8b.jpg


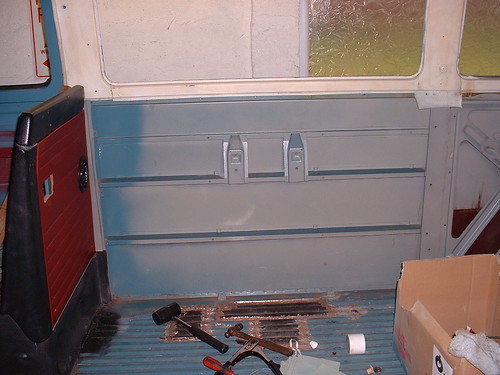
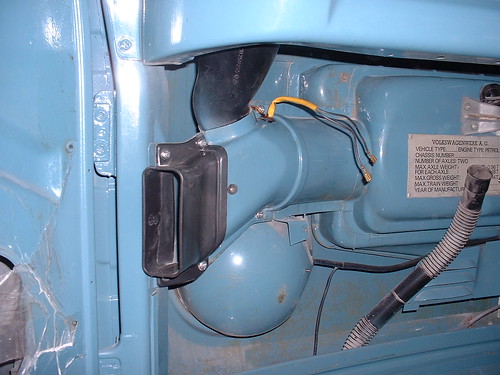
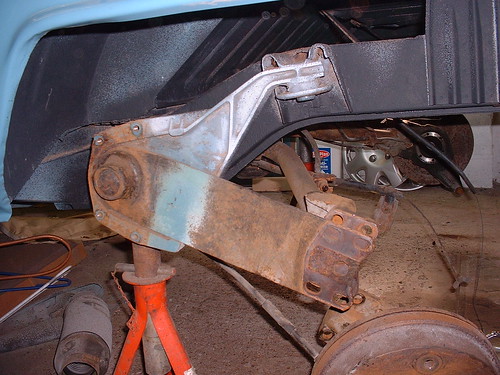
Here it is in position........

3259723885_6dcd116fa4.jpg


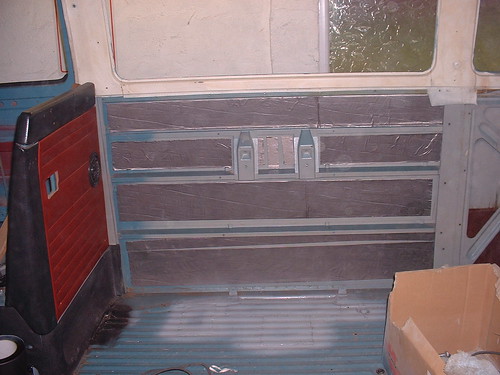
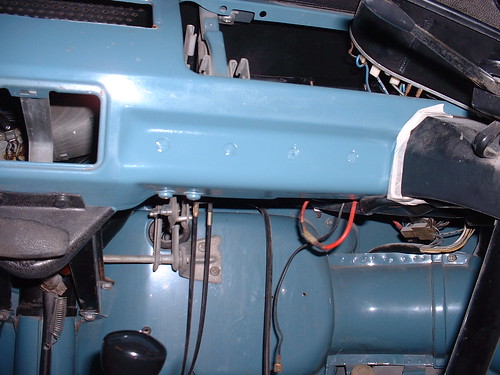
And here it is all covered up..........

3260555020_8520d69749.jpg


The wiring is all connected up and I've mounted the switch alongside the interior light switch.........

3260554084_0f2a55b1ff.jpg


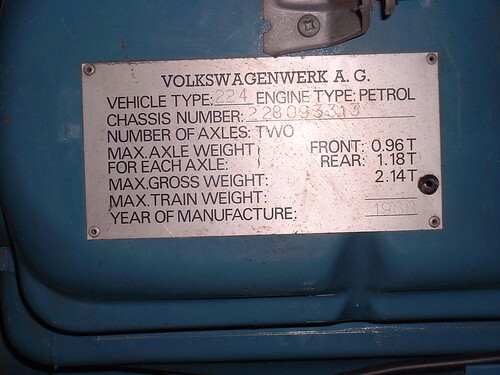
Here's a pic of my VIN plate, just because I like it :D

3260557194_e0581dde30.jpg
 
Looking good Spence. 8)

I bet there are a few more trick parts to be added to this one. :wink:

Stock height I guess though :mrgreen:
 
Cheers guys :D

Today I have mostly been listening to some old skool tunes............

3263238459_325a73133a.jpg


As for the height - I don't do stock :wink: I've got a late Split King & Link beam and a set of dropped spindles sat down my folks ready to build :D
 
Spence said:
Cheers guys :D

Today I have mostly been listening to some old skool tunes............

3263238459_325a73133a.jpg


As for the height - I don't do stock :wink: I've got a late Split King & Link beam and a set of dropped spindles sat down my folks ready to build :D

Nice! :mrgreen:
 
Well, it's been a while and to be honest - I haven't had much time to spend working on the bus but I have got a few little odds and sods sorted...........

The front end is sorted, I've just got to get the bumper and badge off to the painters.....

3510902892_3fa0c00dda.jpg


The dash is all sorted, I've fitted my NOS trip speedo, clock, heated rear window switch and aux 12V socket which I've put a stock VW knob onto, so that it looks original-ish......

3510901042_5daebd0ef4.jpg


3510902414_26c92cea66.jpg


I've also made a start on the wiring in the engine bay, now all the electrics work, I can get the fuel tank in.......

3510901456_9b466c56bd.jpg


Here's the interior just mocked up for a mo - It need's a bit of work but I'm happy with the lay out. I'm going for a full width Westy RnR bed and a mix and match of Devon cabinets. I'm re-laminating the Westy wood to match the Devon, so hopefully, it'll all look good........

3510092683_b468ee5424.jpg


I've also just picked this original buddy seat up on flea bay - obviously, I'll have to re-cover it but at least my boy can now sit up front with me and the other half :D

3510091095_4d10b74704.jpg


Spence :)
 
I've had a good day in the garage today :D I want to swap the gear box as the van has a later box fitted for some reason and from what I can remember from the last time I drove the van, the gears where stiff to engage.... Anyway, here's a couple of pics of todays work.....

3535867011_ae0761b21a.jpg


A bit crusty......

3535865849_b39e62fefc.jpg


That's better.....

3536682668_7e40e35505.jpg


New and old box - or is that older and old box :?:

3535865327_60e07b9958.jpg


I've also made a start stripping the suspension ready to drop it a spline.........

3535863663_0035e3eb36.jpg


Hopefully, I'll finish it tomorrow before the in-laws desend on us..........
 
I've got the n/s sorted this morning but I can't get the spring plate off the torsion bar on the o/s so I'll take it down my mates garage in the week and use his press to shift the bugger - Just means I'll have a bit more fiddling to do as the inner splines will be out!!!!!! I've also made a start painting the underside with some chassis black..........

3538046659_0175d8239d.jpg


3538858628_9b4928e403.jpg
 
Hi spence. If you are going down the knl route I would buy some adjustable spring plates. Knl will be about 4.5" lower than stock and 16mm narower. With one spline at the back the rake will be too much IMO. The adjustable will help you get the height right and make it easy to get the wheel off.

It is coming on well, keep up the good work.
 

Latest posts

Top