My '71 Devon Budget Resto!

Early Bay Forum

Help Support Early Bay Forum:

This site may earn a commission from merchant affiliate links, including eBay, Amazon, and others.
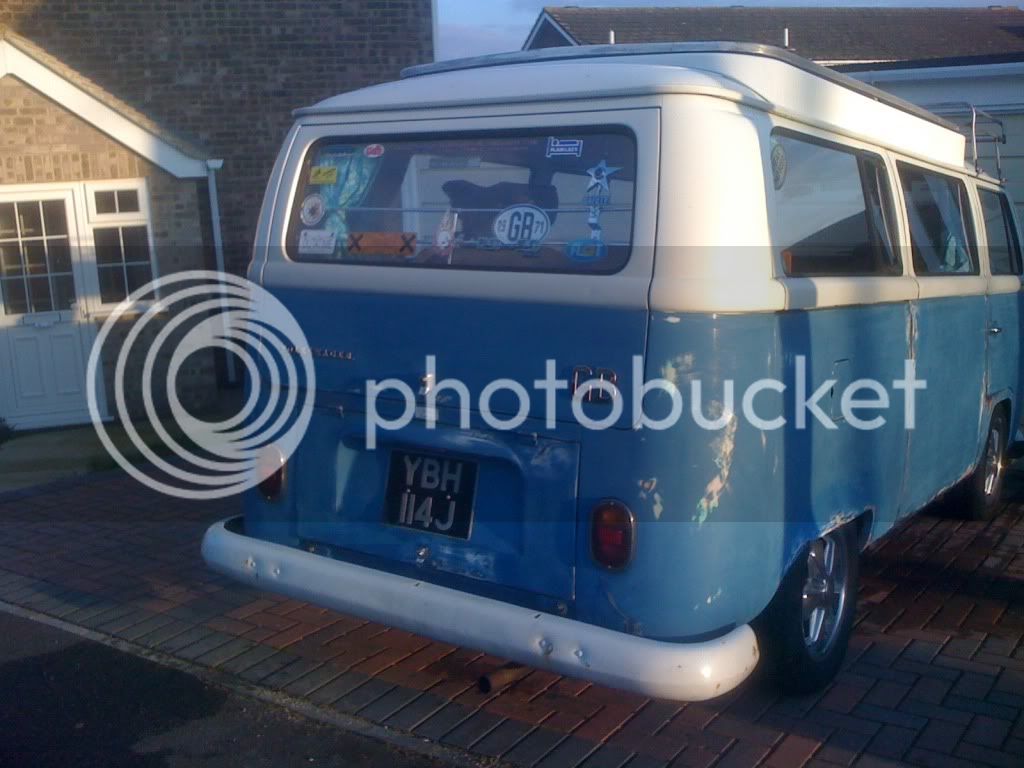
Well... fast forward to this year and Betty had started to look at bit tired and had quite a few little bubbling areas, not major but it started to get to me!

So I thought... time for a freshen up! Unfortunately, as you will see this has taken a slightly different turn but hopefully this will be for the better??!!??

I started a couple of weeks ago by getting out some sandpaper and a block and giving the old girl a good rub down to see what was under the bubbles and also to see any high and low spots.

I got left with this after the first day:
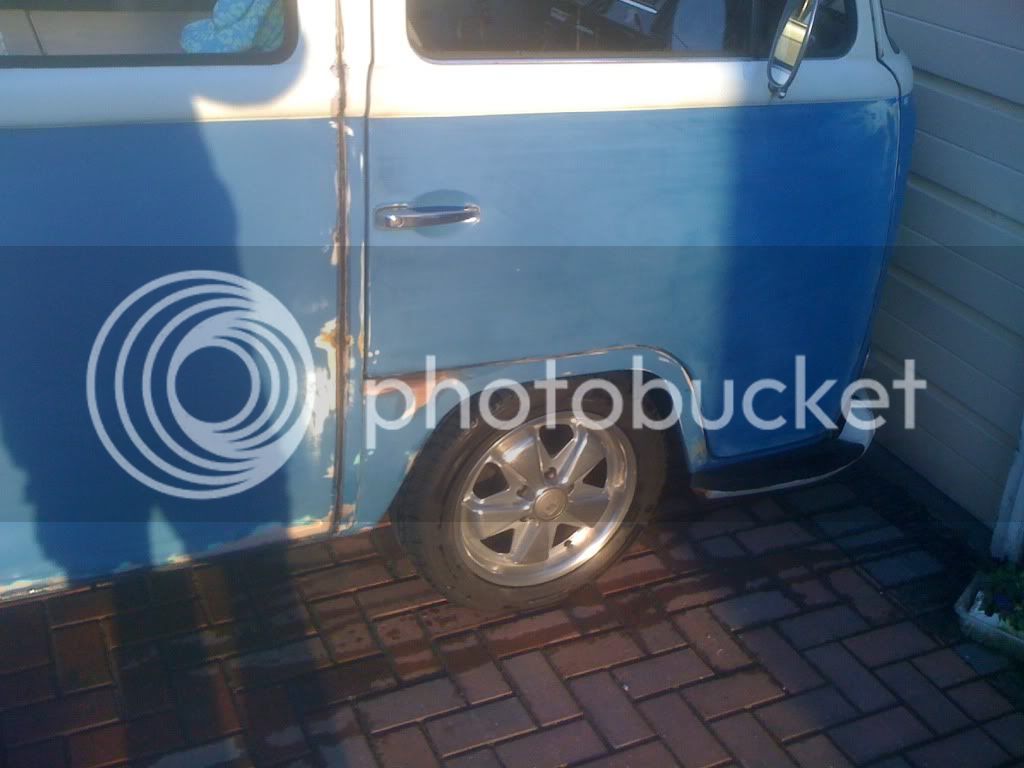
IMG_0660.jpg


and:
IMG_0661.jpg


You get the idea:
IMG_0663.jpg


So basically i thought... not too bad really but i could see quite a few areas of filler in there which didn't fill me with much hope!!

Hmmmmmm???
 
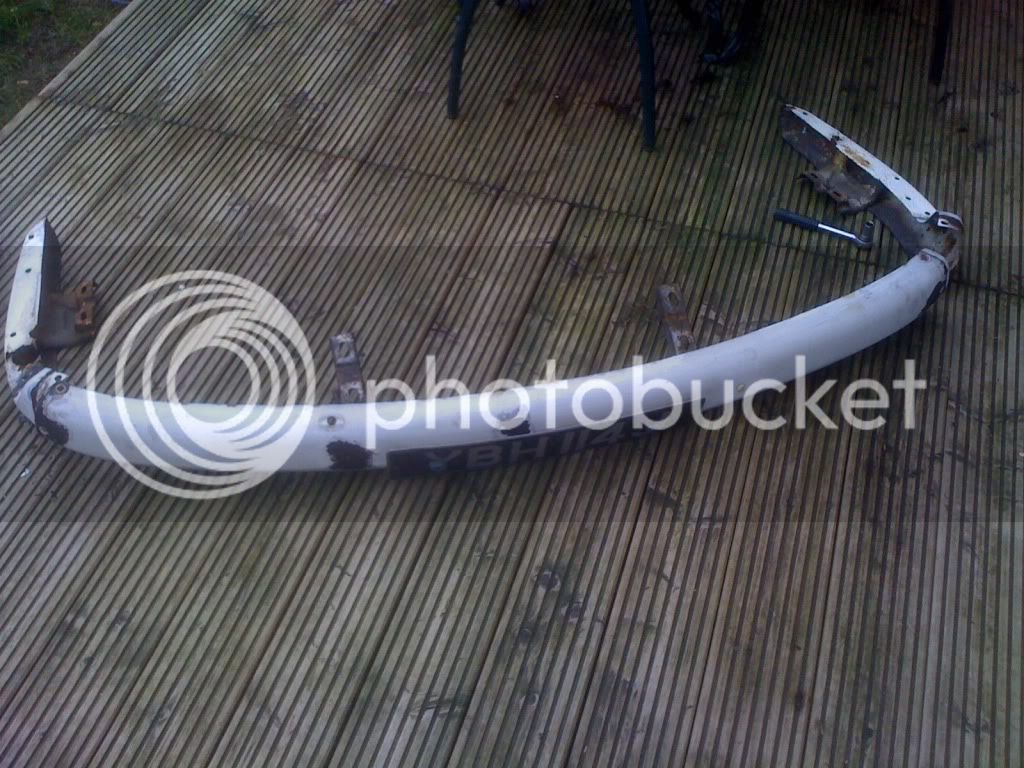
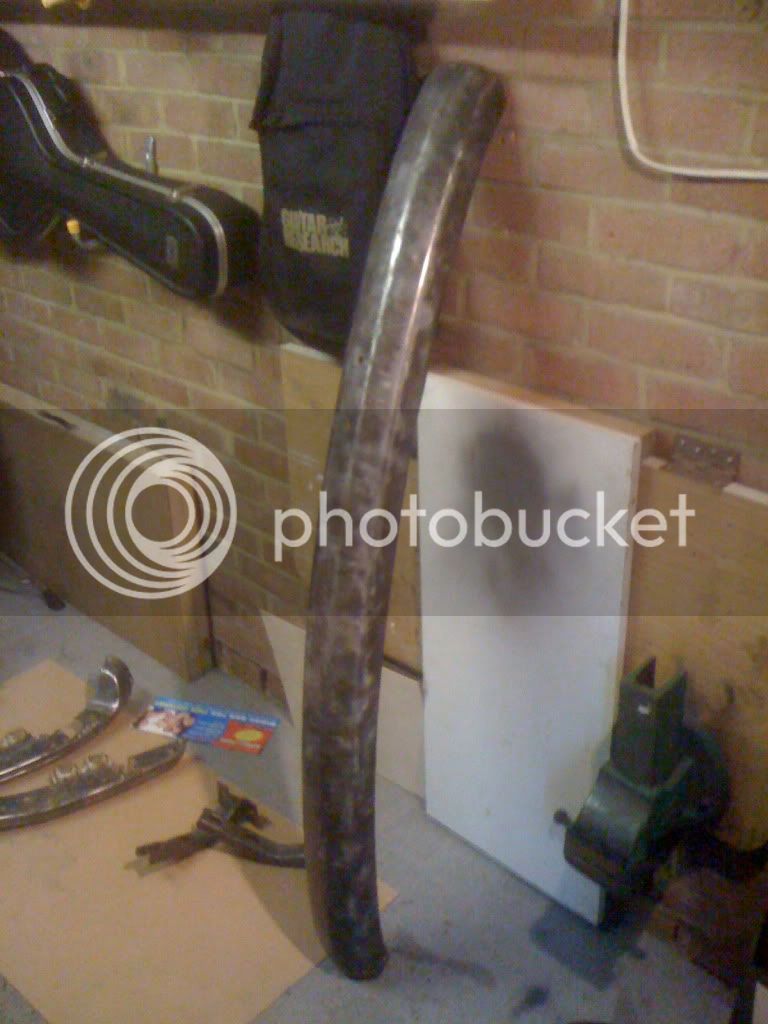
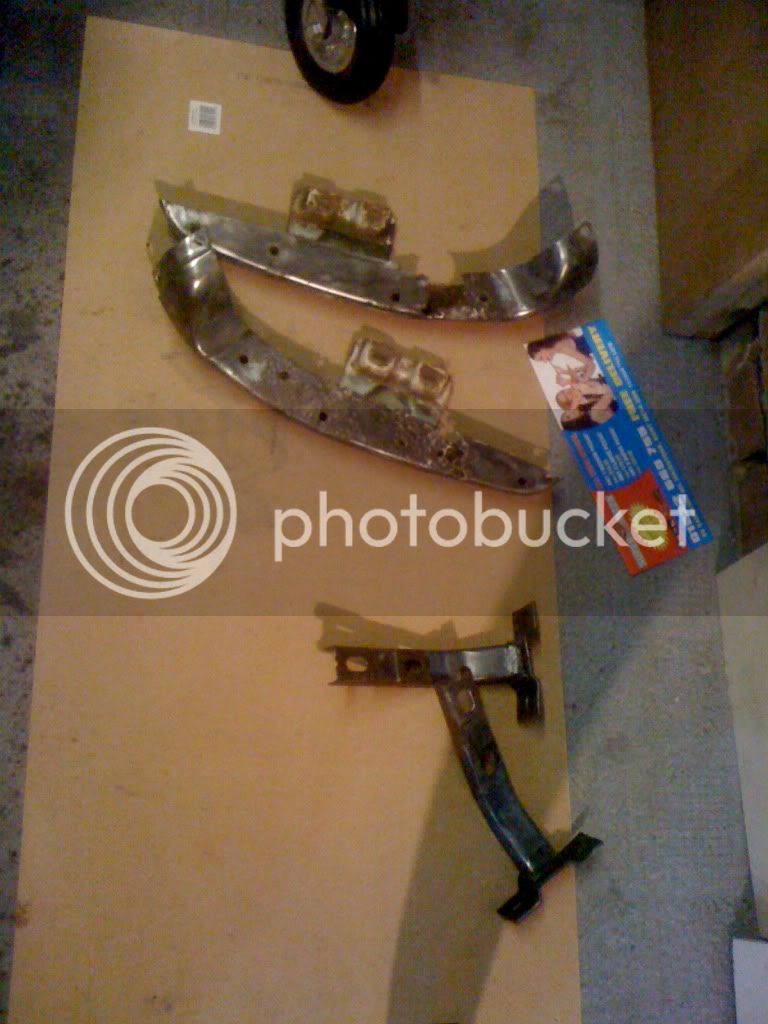
So day 2 involved taking off the bumpers and stripping them down to bare metal...

As the title suggests this is going to be done on a budget as i have no more cars to sell or endless pots of money and to be honest i am aiming to do pretty much most of the work myself... but may rope in a couple mates if i see fit :?

So I dragged out the welder which i picked up last year and set about learning how to use it... I decided that i wasn't happy with the welding work i have paid for in the past as it was always done with profit in mind for the person you are paying and unless you are paying a lot of money the repairs you get are not really that acurate or pretty tbh!

The welder i have is one i picked up from screwfix in their sale and it runs gas/gasless so i thought i'd use it in the gasless mode as i don't want to be running out of gas every 5 mins and those little bottles can end up costing a fortune! But i'll see how i get on and i may change my mind in the future!

The welds that i have produced have been sometimes good and sometimes bad and i usually have to go over and fill spots i have missed but once they are ground down they look absolutely fine...

I am also fabricating all the panels i can from sheet steel as a: I don't think most of the panels available are a good fit and b: I can't afford to go and buy a load of panels at the moment! I may have to resort to a couple that i really can't managed to fabricate in my vice with my hammers and dollies but we'll see :roll:
So here goes!
 
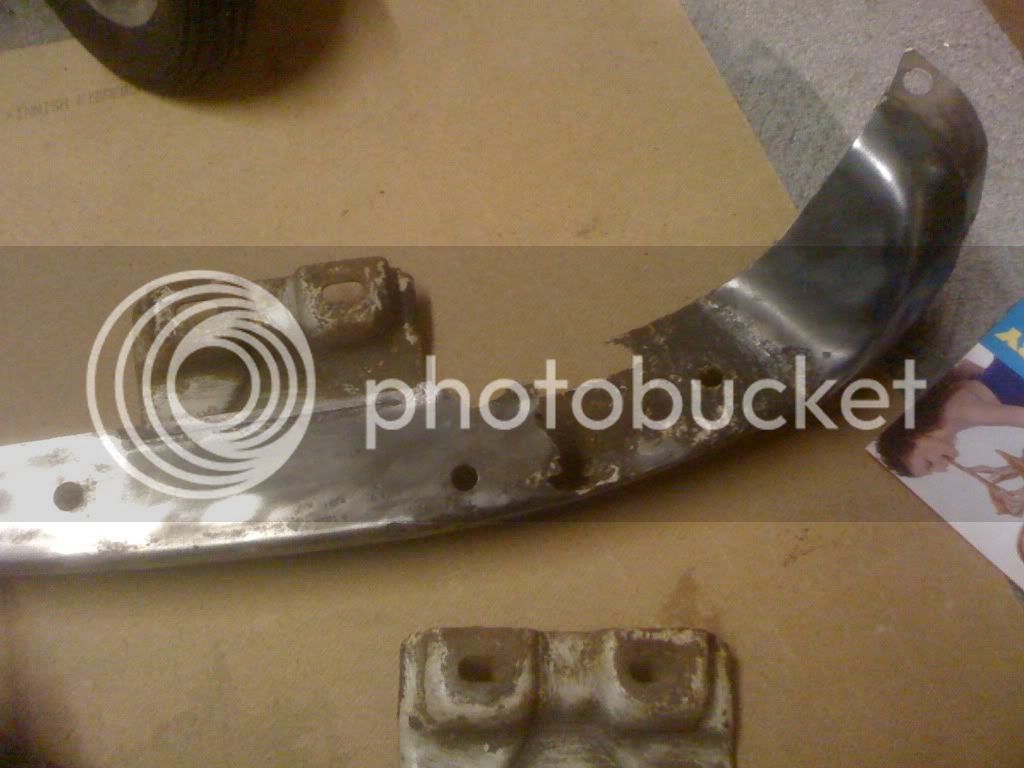
Here is what i got left with the front bumper. I had been saving a centre piece that i picked up at a show last year for £5.00 and it turned out to be good but the steps were pretty shot!

Before striping:

IMG_0673.jpg


After:

IMG_0677.jpg

IMG_0678.jpg

IMG_0681.jpg


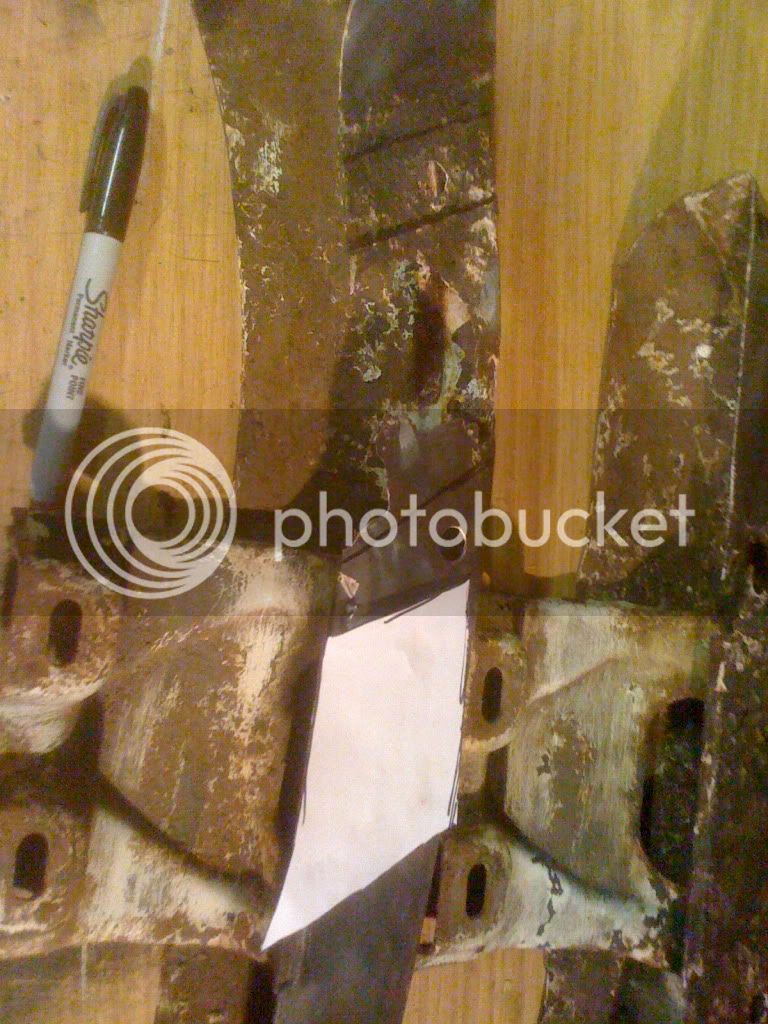
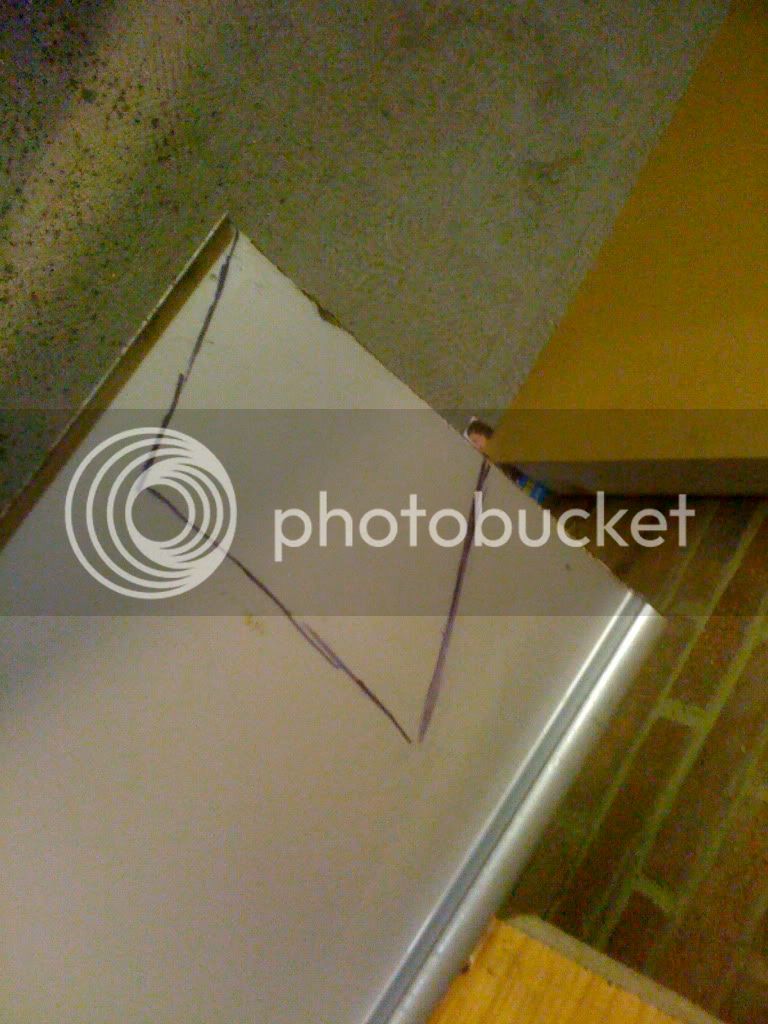
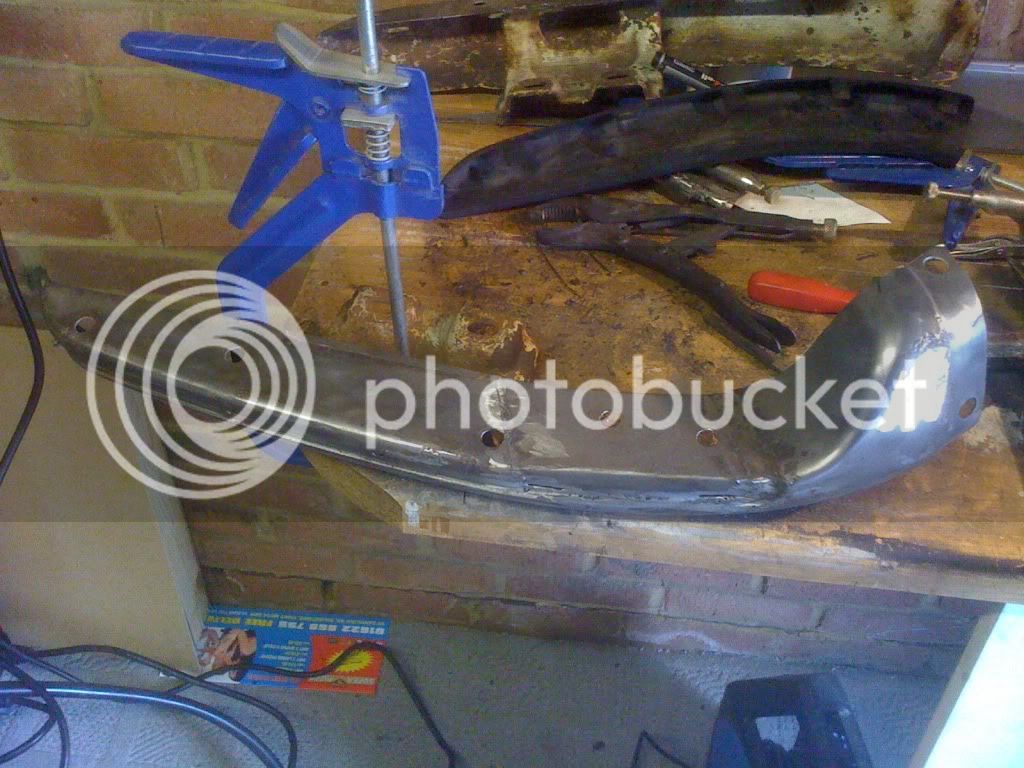
So i set about making a couple templates and then transfering them to the sheet metal i had picked up:

IMG_0684.jpg

IMG_0685.jpg


And after a bit of welding, measuring and re-drilling of the original step rubber holes i ended up with some better steps:
IMG_0692.jpg

IMG_0695.jpg


Woo Hoo :p
 
So with the bumpers off the bus and the steps repaired i started feeling a bit more confident with my metal-working skills!

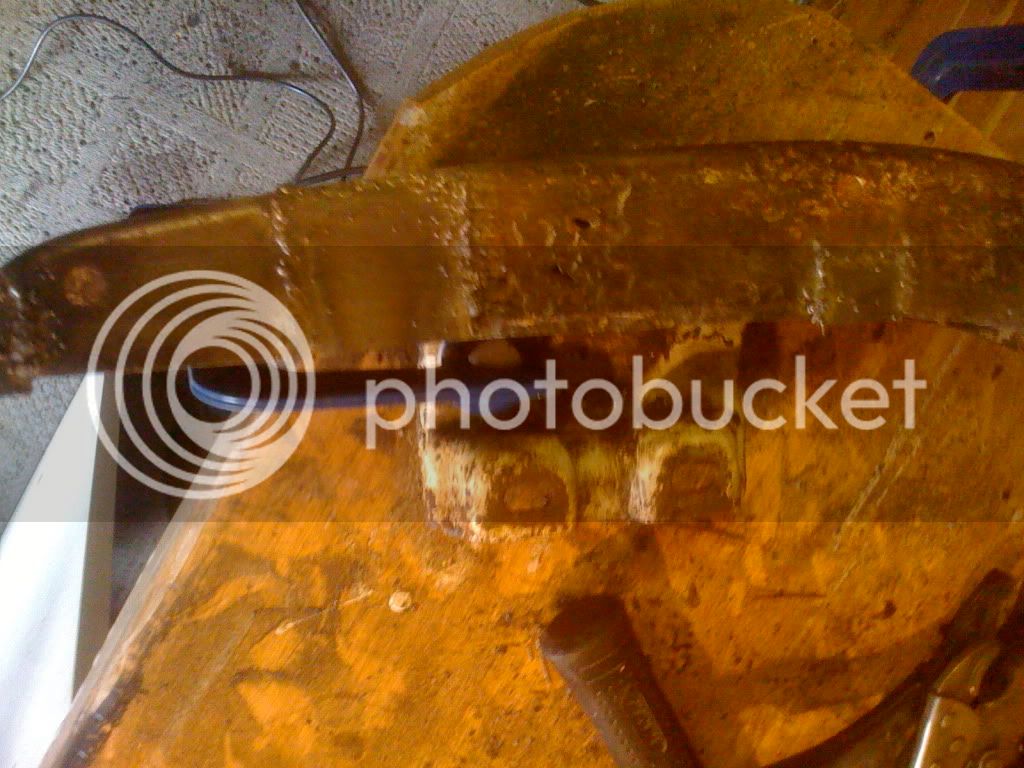
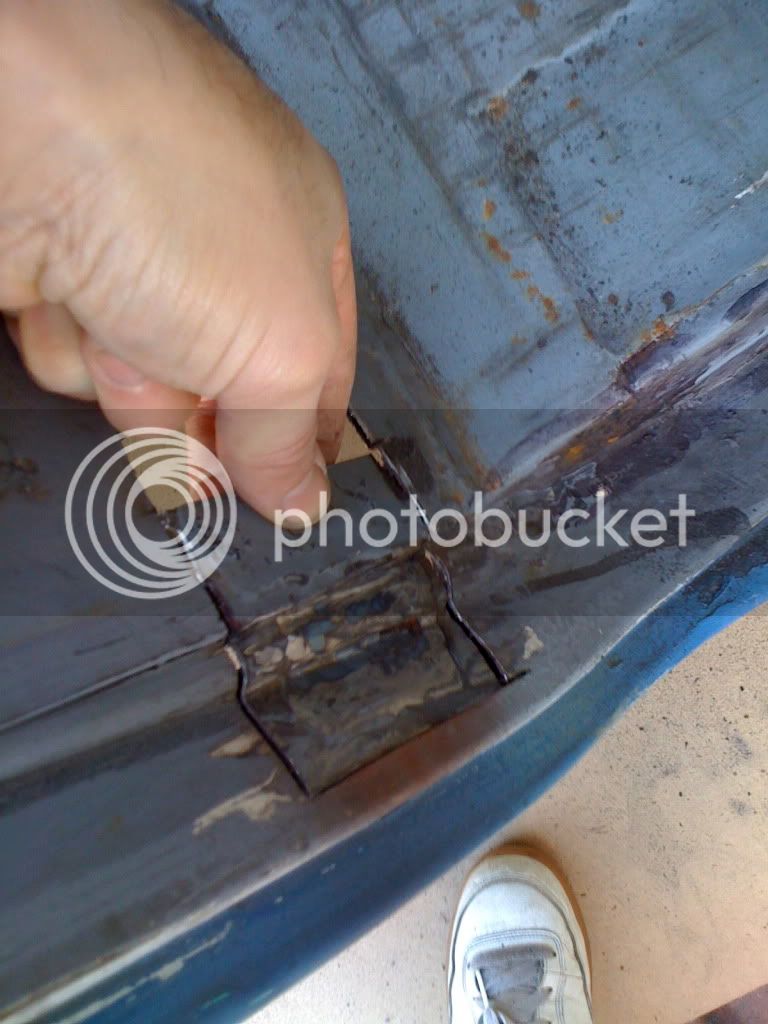
Basically with the work that was done last year, although it was strong it definitely wasn't pretty and one of the parts that was bugging me was the seat belt mount and arch inner panel that holds the carpet or rubber in place:

It looked like this and had lost all of the original shapes which i was not happy with:
IMG_0710.jpg


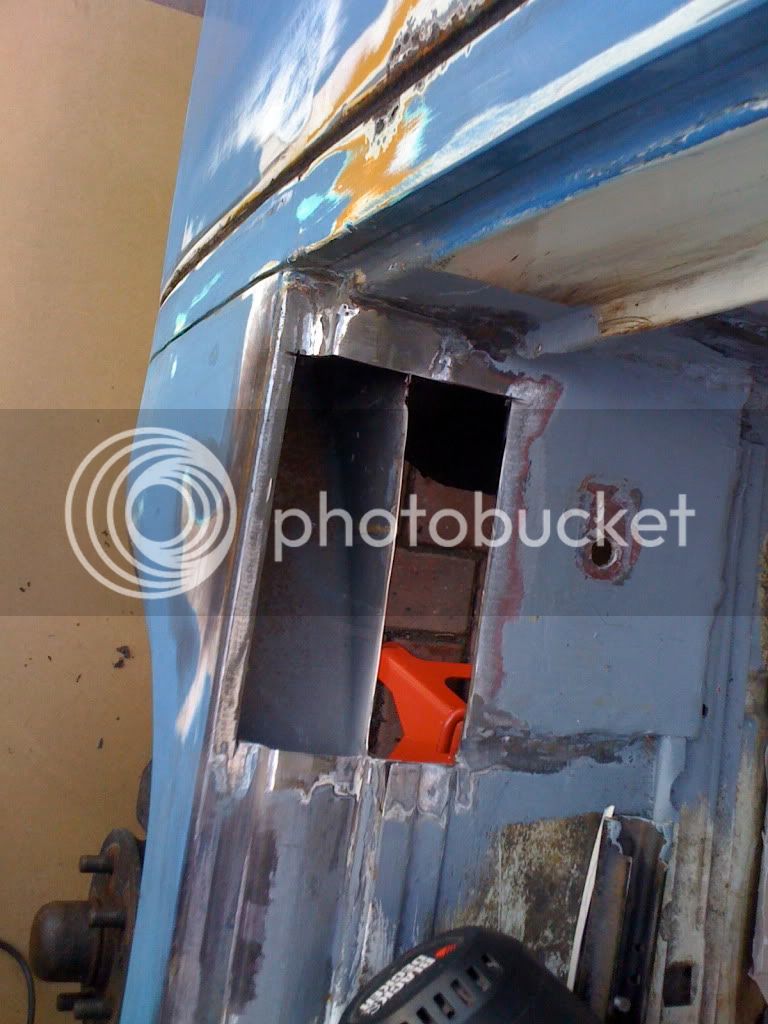
So i started cutting away what i wasn't happy with and get left with this:
IMG_0712.jpg


And this is where the fun started!!
 
Nice write up and I do enjoy the pictures :D

Sounds like you are having fun to me ;)
 
Cheers Gninnam... I'm trying to add as many pictures as possible as when i used to look on the forums for inspiration i found that it was great to see lots of pictures and it helped explain what the person was doing better than words!

I've got more fun happening now and more pics to upload so thanks for looking!

Dave
 
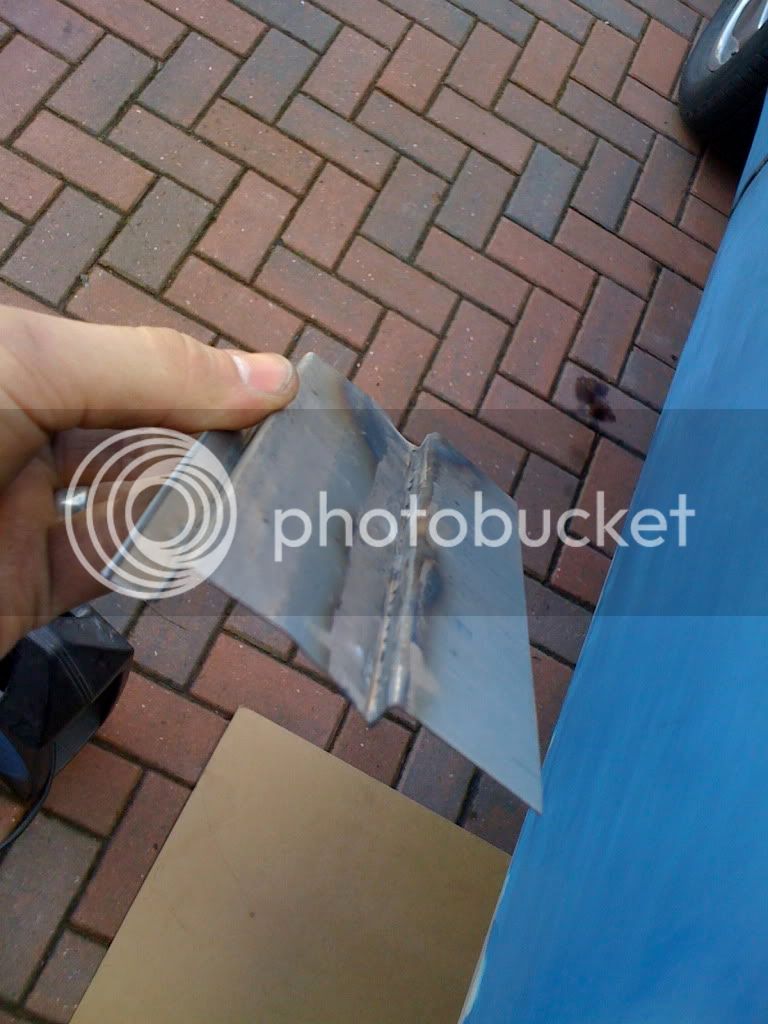
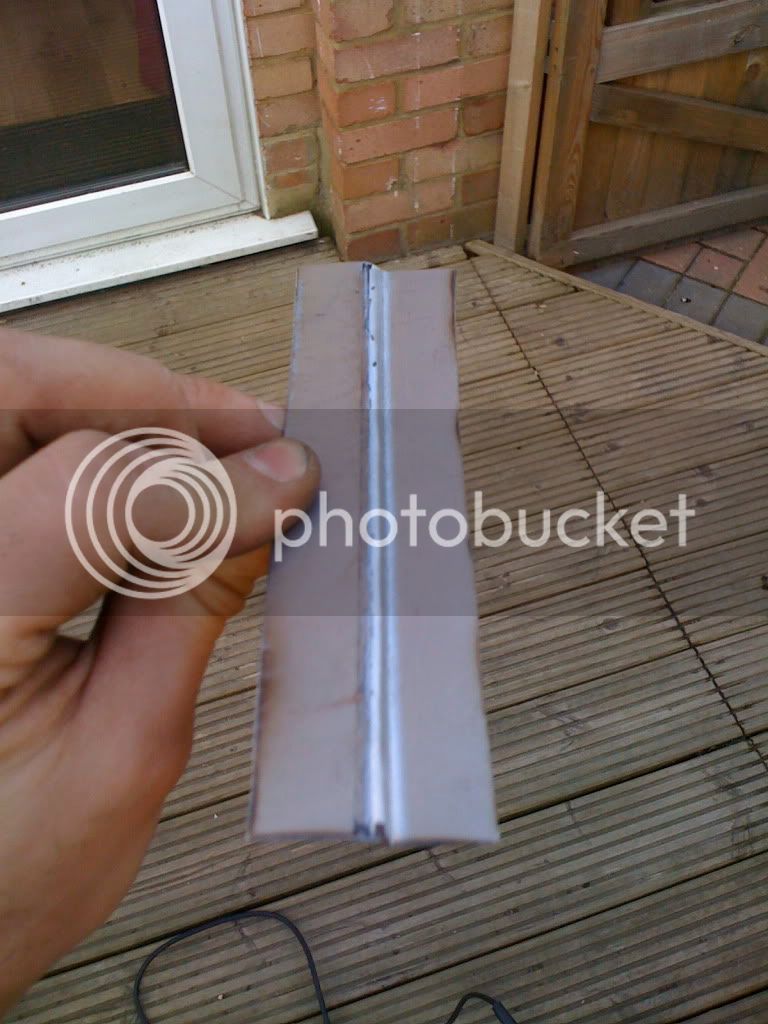
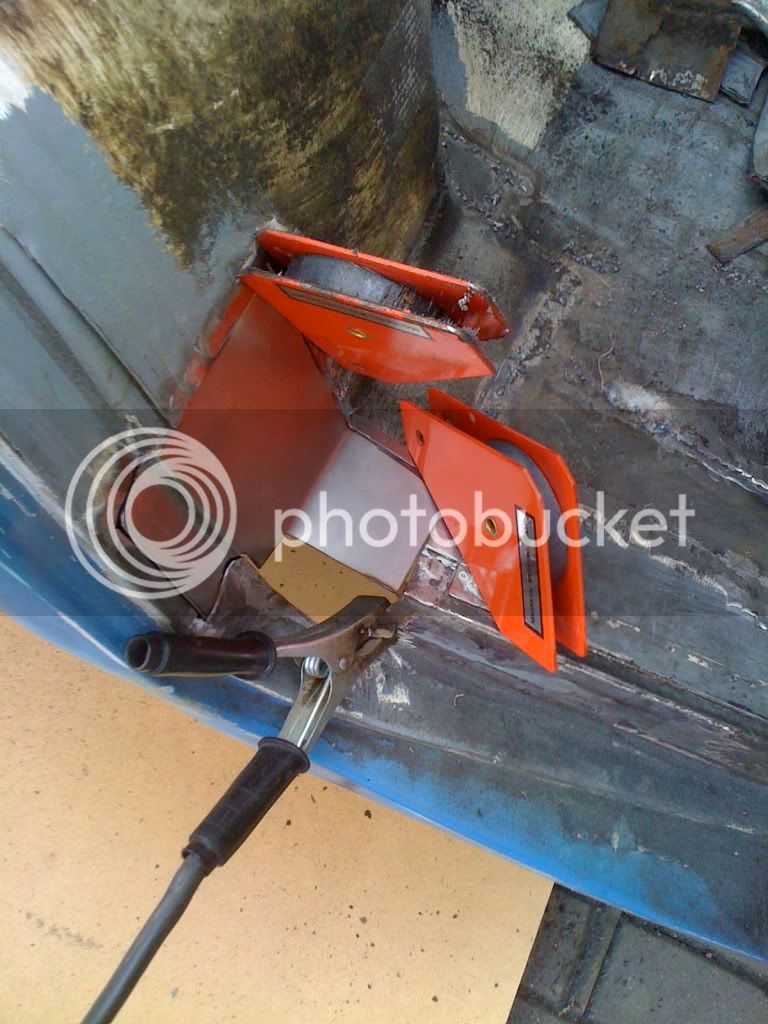
While freezing my rear off for the last couple of weeks I first started by making a repair panel for the hole i created by the seatbelt mount/front arch!

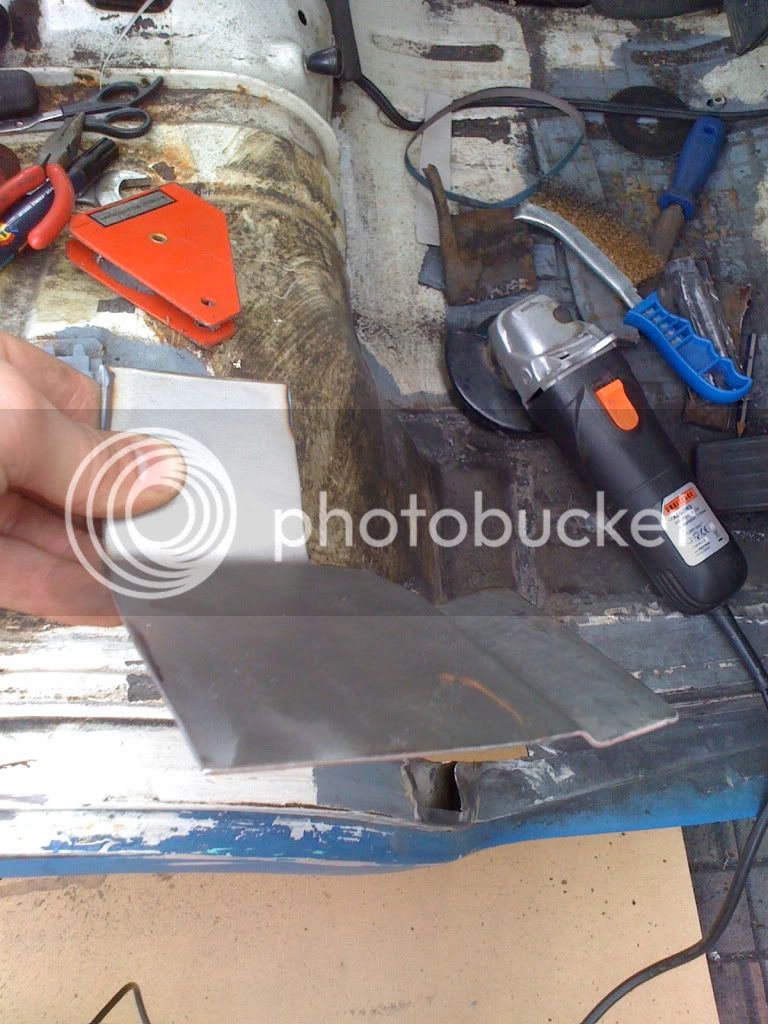
Started with a flat piece of steel and cut, bent and welded it together to make a pretty good panel... if i do say so myself (well i was pleased with it!)

Here you go:
IMG_0714.jpg


And then i had to make the small lip which the carpet would go into:
IMG_0718.jpg


And then welded both pieces in... looked a bit messy at first but cleaned up ok:
IMG_0720.jpg

IMG_0723.jpg


Finished (well apart from some filler and paint!):
IMG_0766-1.jpg
 
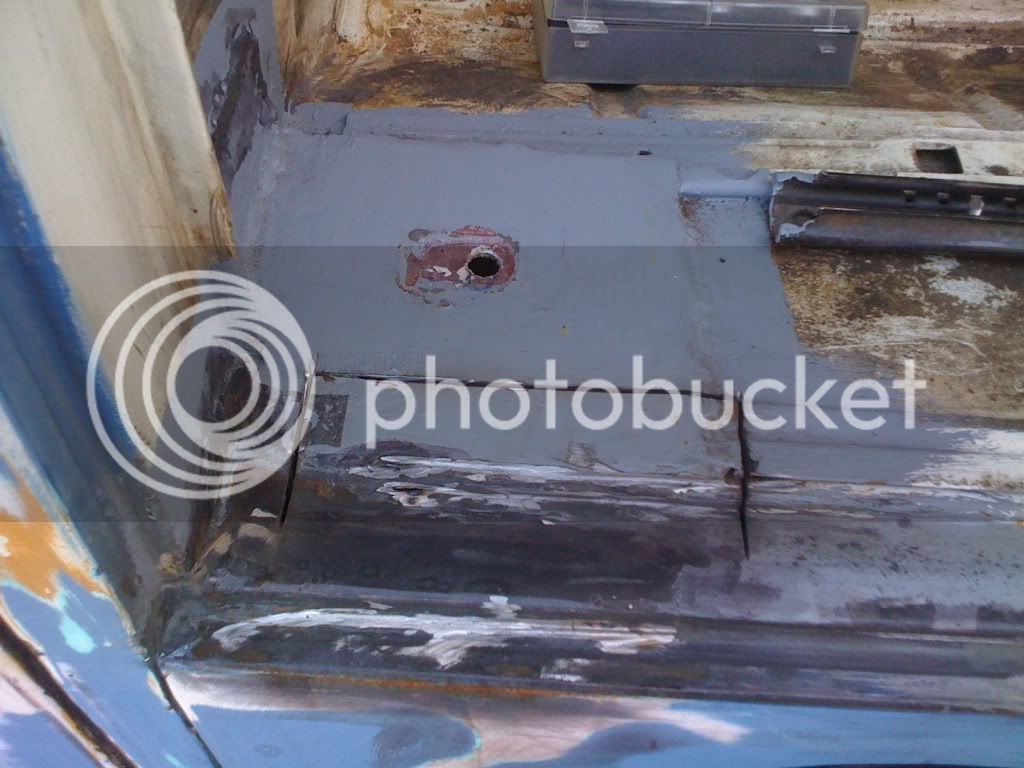
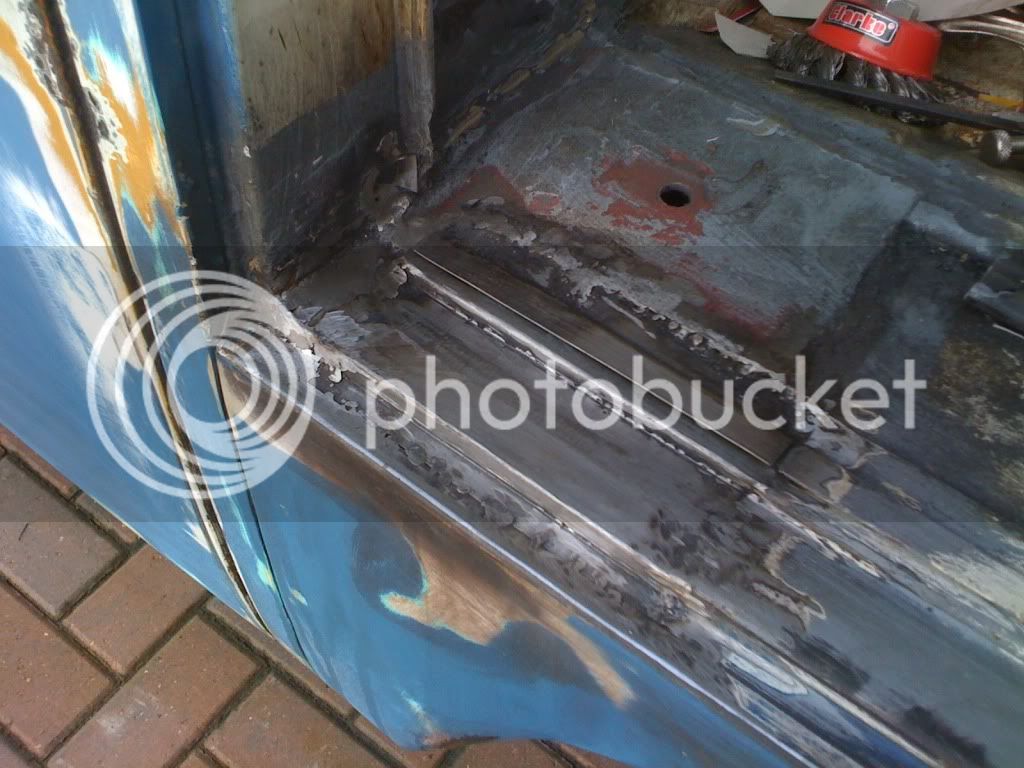
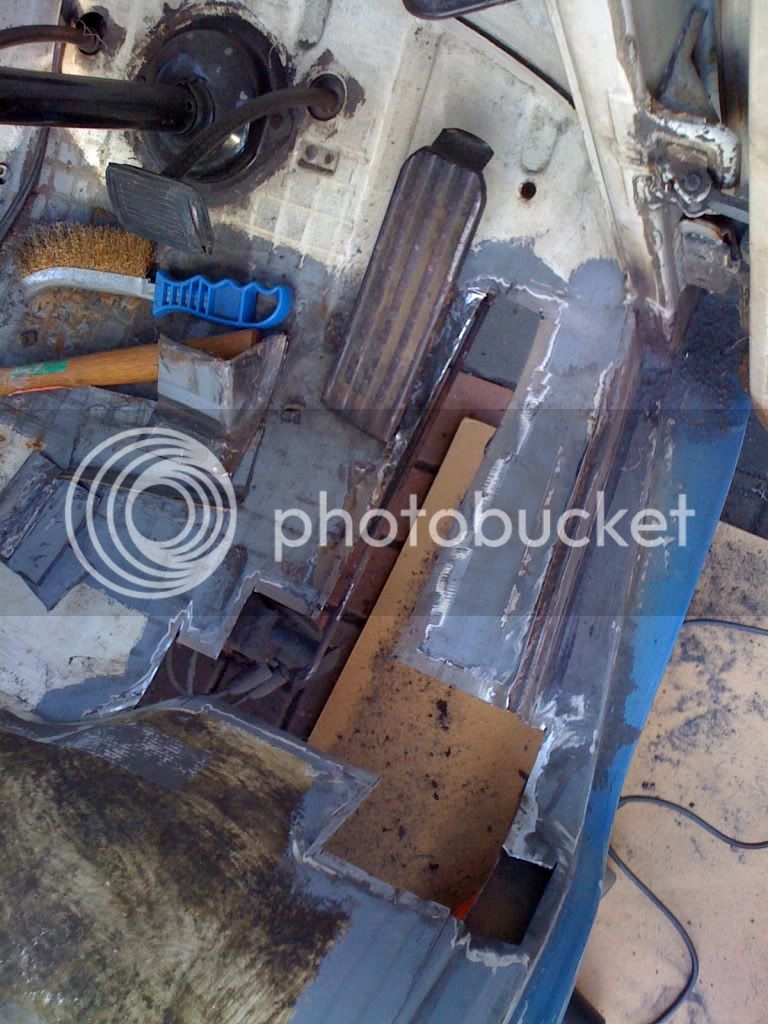
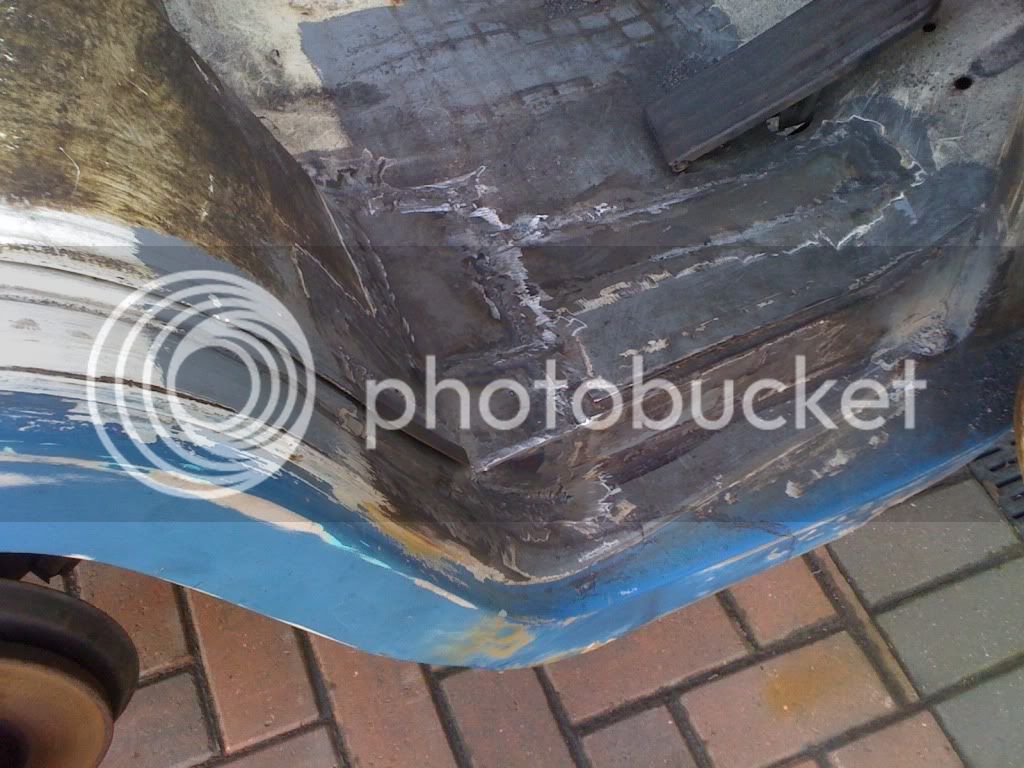
Well after that... I turned my attention to the front floor and lower arch as once again i wasn't happy with some repairs that were done last year and even though they were strong the original Volkswagen curves were lost and that as you can now tell - just won't do!!

So basically I went from this which had been plated over:

IMG_0726.jpg


To this:

IMG_0733.jpg


I think i got carried away... for the better!!
 
I didn't get carried away... it's just that every time i cut a piece out i noticed another area i wasn't very happy with!!

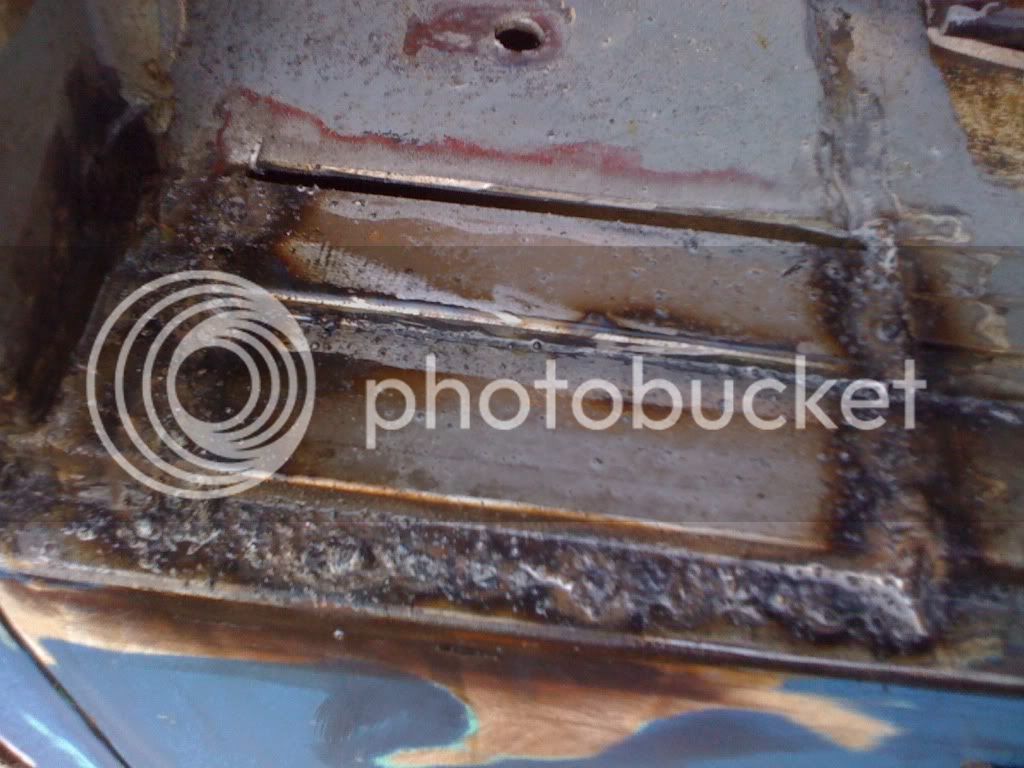
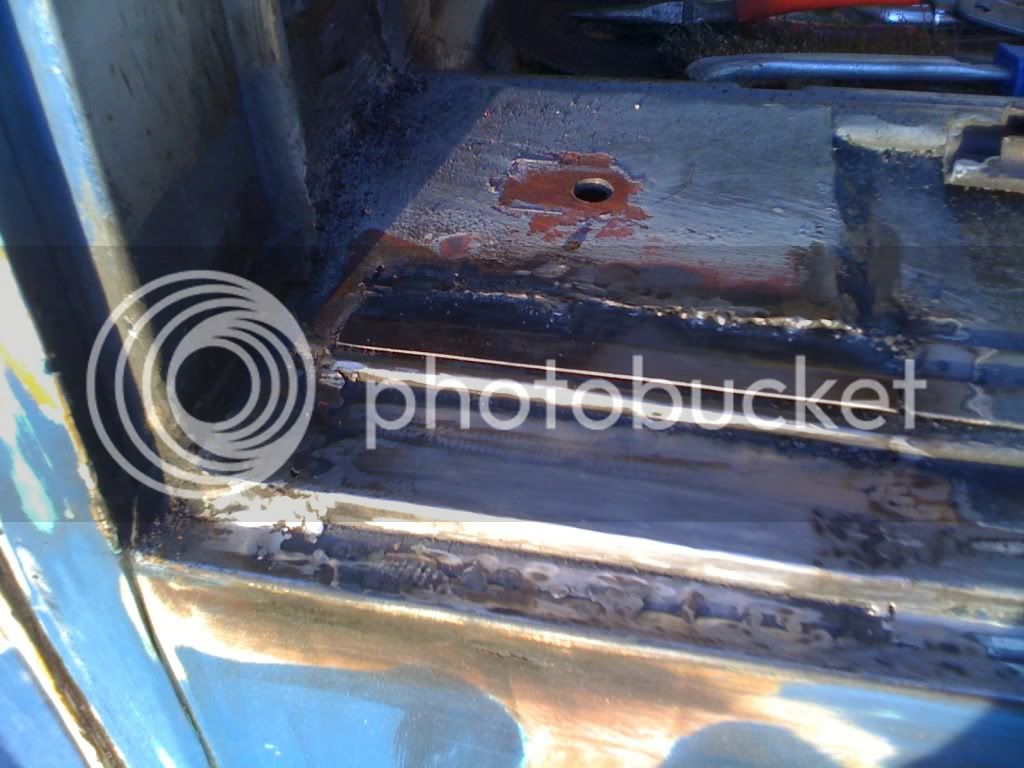
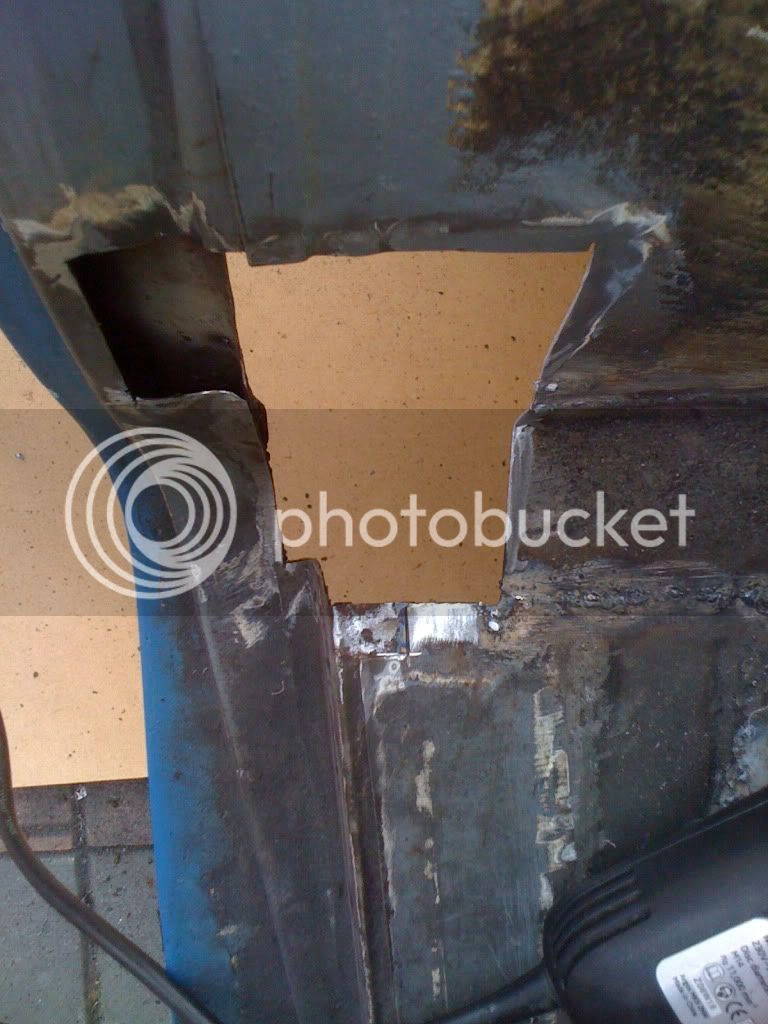
So I set about repairing the hole that i had made - step by step or piece by piece. I cut and shaped a couple pieces and set them in and was then left with this hole so decided to make a complete panel for this section:

IMG_0749.jpg


Here it is:

IMG_0751.jpg


Welding it in:

IMG_0754.jpg


And all filled in:

IMG_0764.jpg


I really am wishing that it really was as quick doing the work as it looks on here but it really isn't! It's really all the prep work that takes the time. All the cutting out, grinding down and making the panels is what takes the time... the welding is a lot quicker than all that!!

But hey... I really am enjoying it, even if I have been freezing my googlies off in the process!!

Dave ;)
 

Latest posts

Top