Hello All,
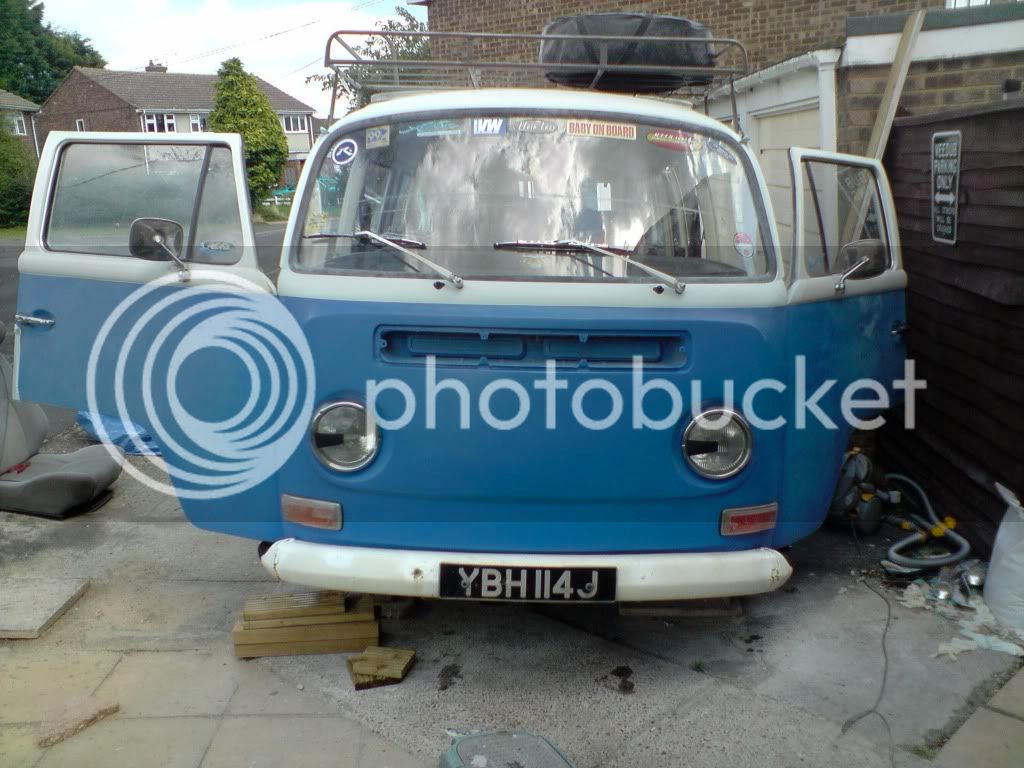
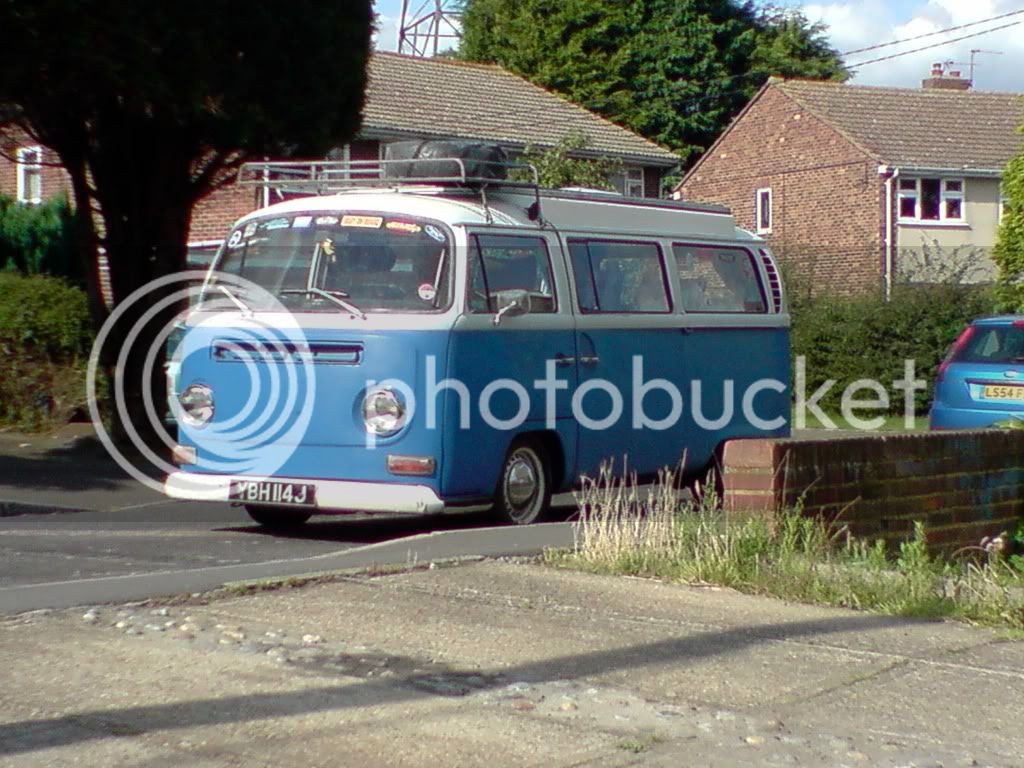
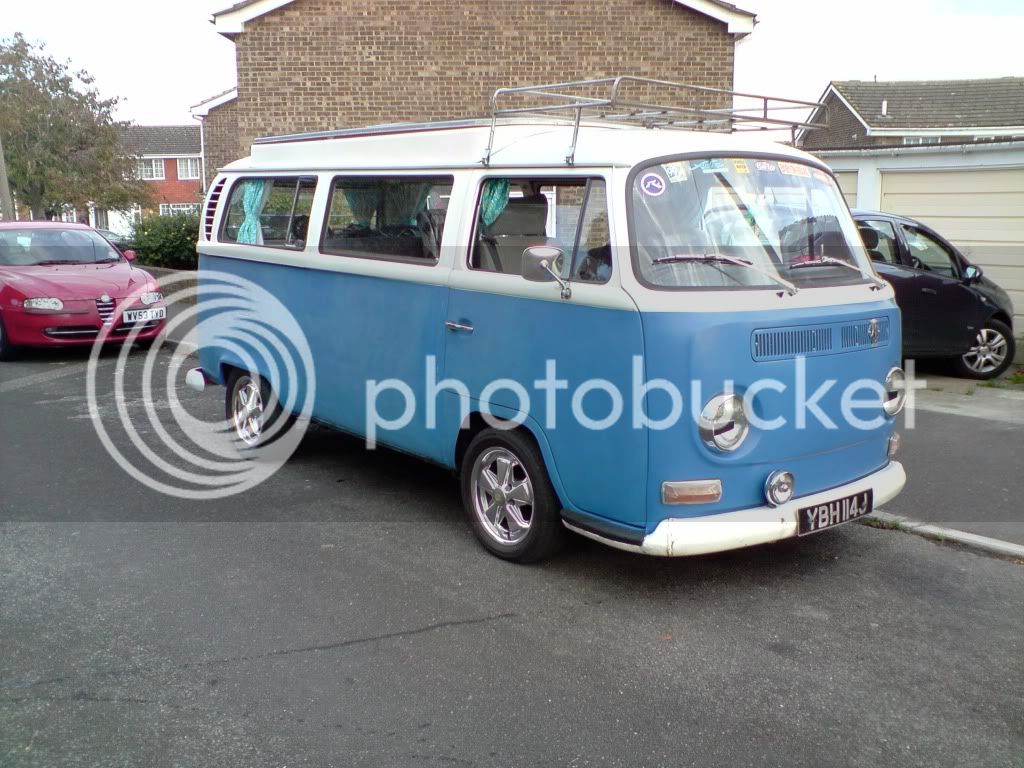
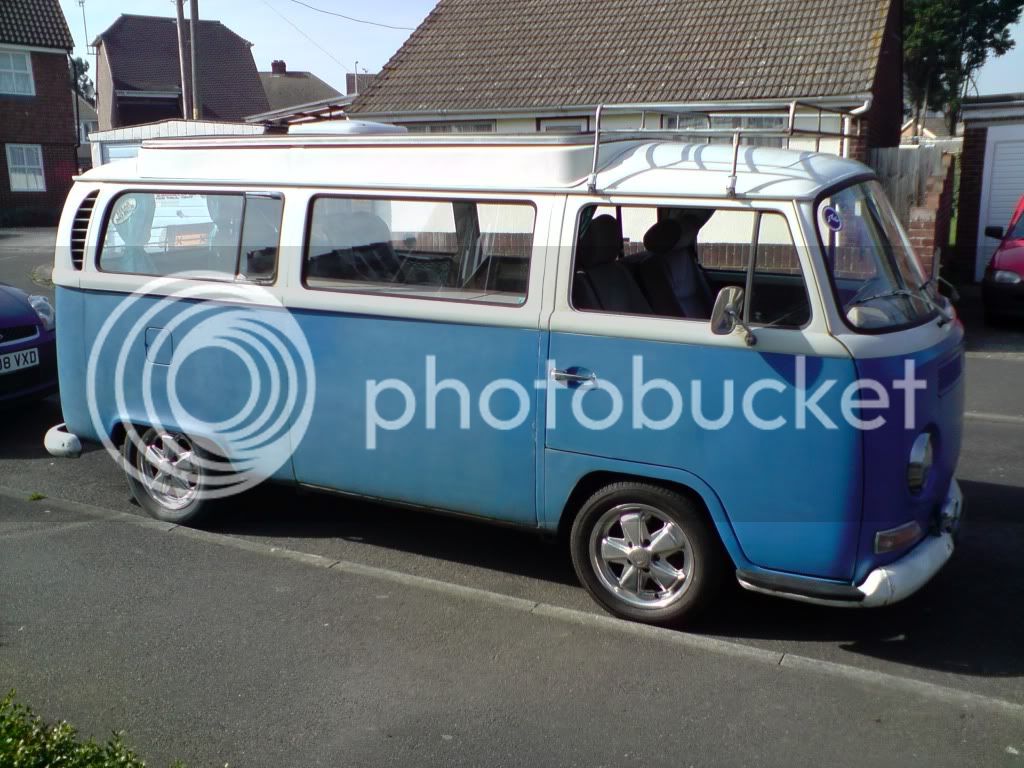
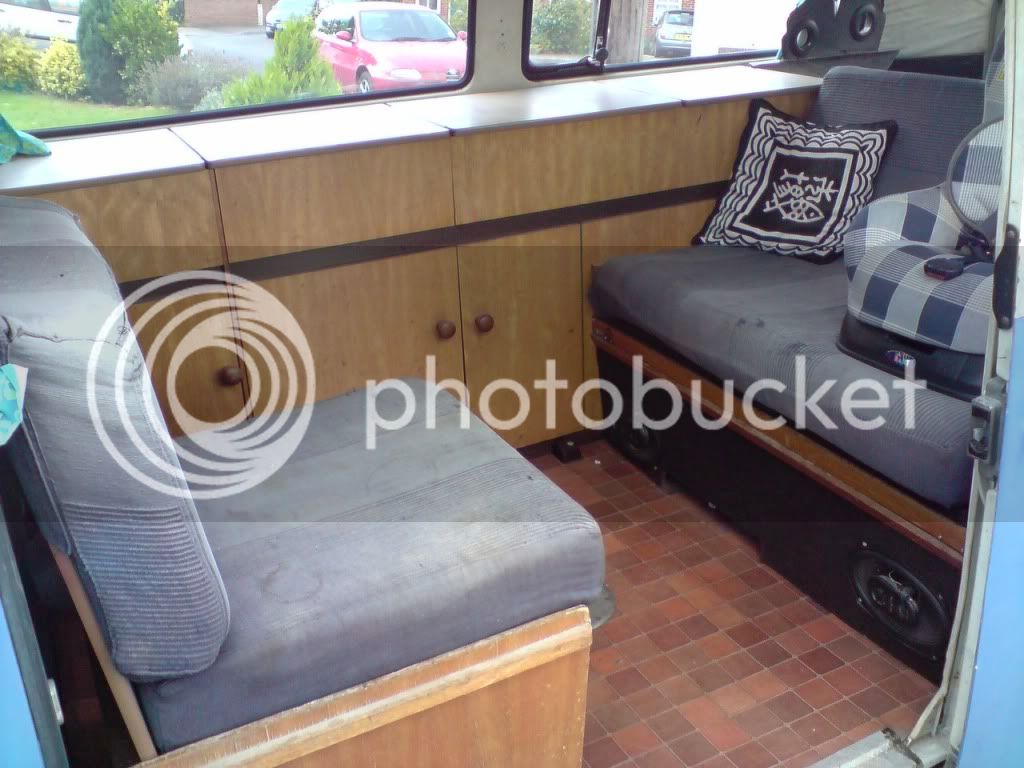
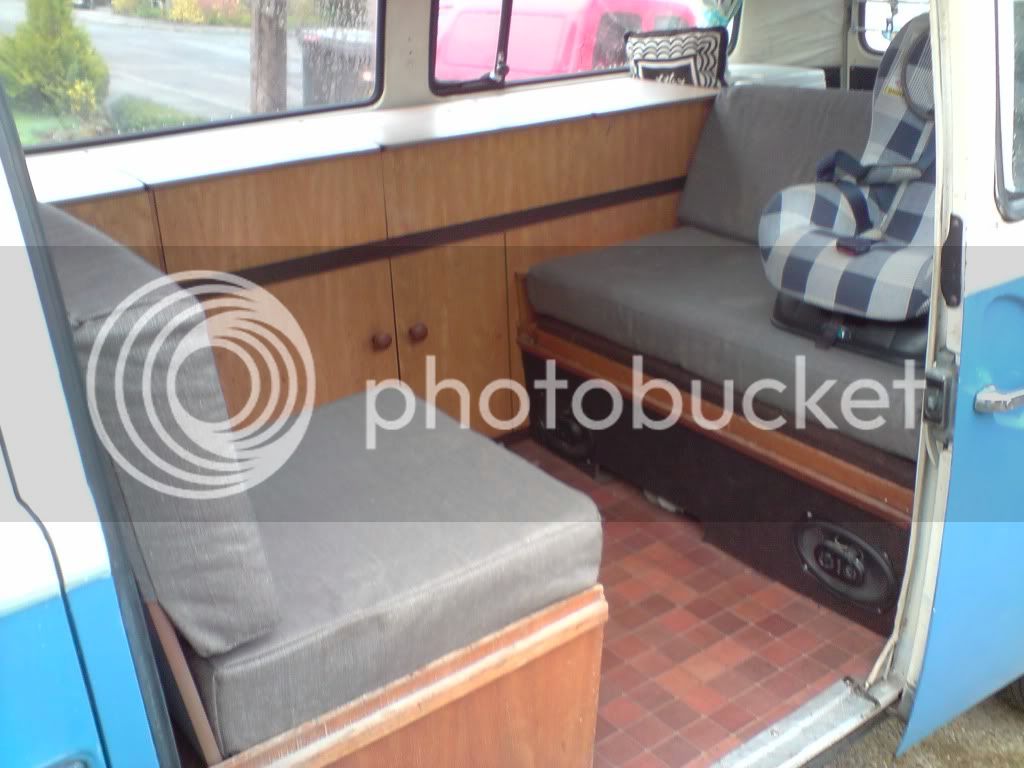
Welcome to my thread about my 1971 Devon Sunlander. I've owned 'Betty' for around 14 years now and in this time I have always had her on the road whether rain or shine... she has been a real workhorse and has always got me to the places that I needed to get to whether that be a VW show or on holiday in the old girl (furthest we have been in her was Belgium on a family holiday back in 2006).
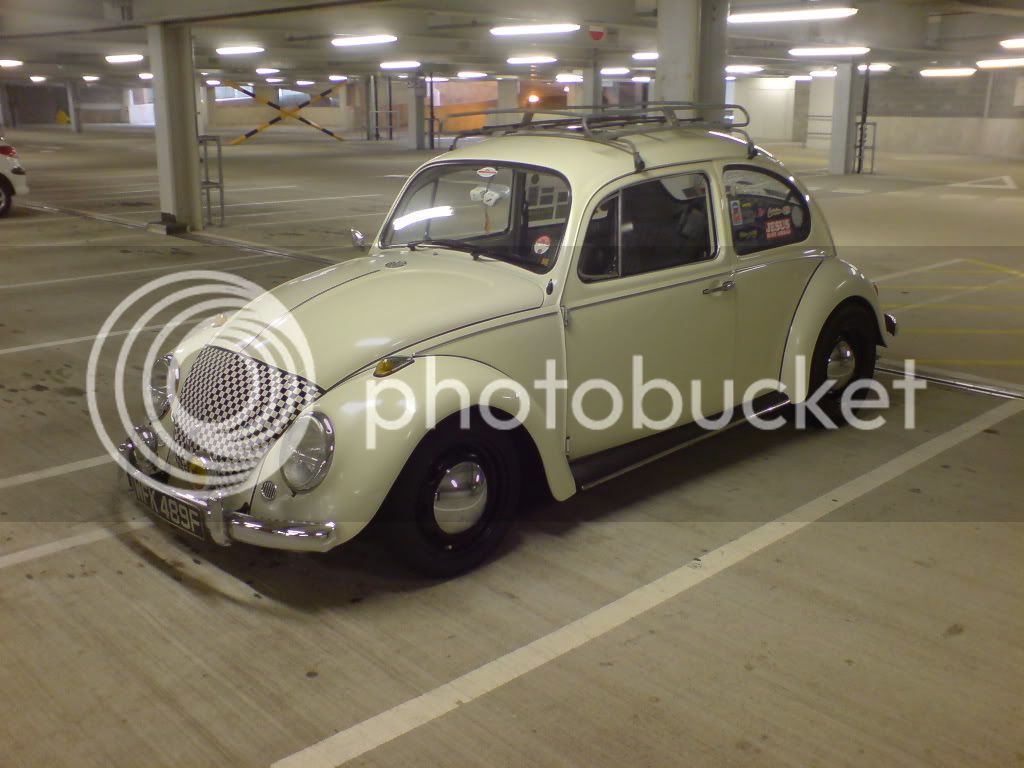
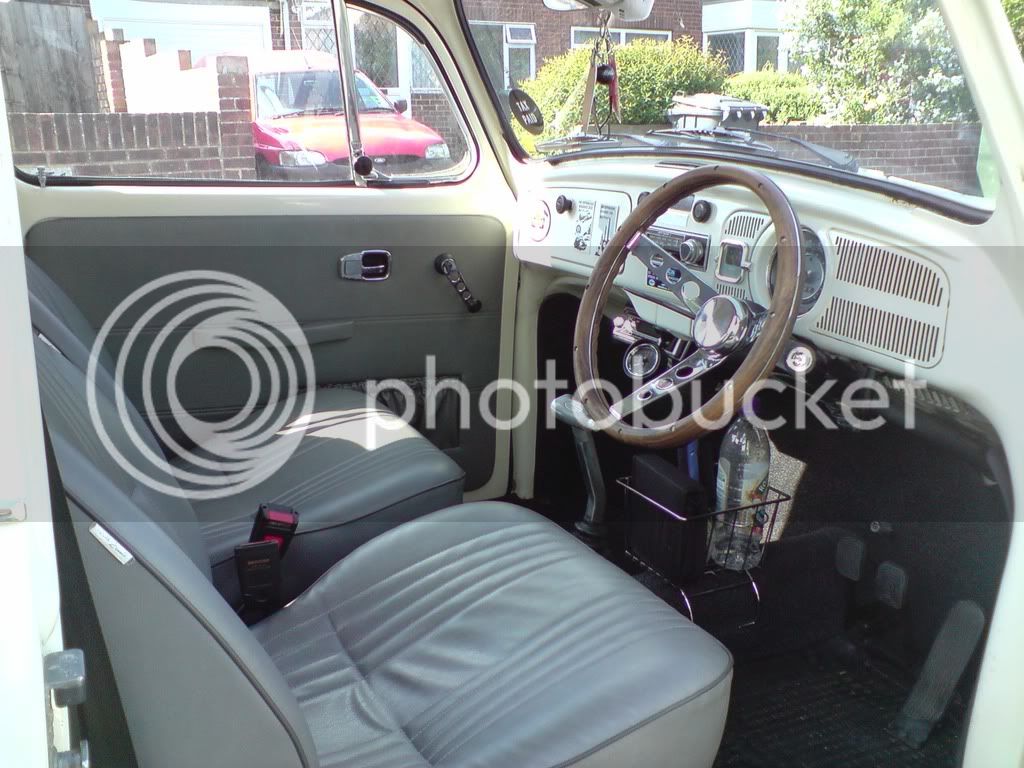
Well... back to now! I managed to pick up a boring daily driver to ferry the kids and the dog around in for the next few months so I could get on with a few jobs that needed doing...
I will try my best to update this thread as I go along and post as many pictures as I can... I will be doing most of the work myself but I have had a bit of help here and there from friends, namely my mate Chris who is a star and is always ready to help me out, of which I am very grateful!
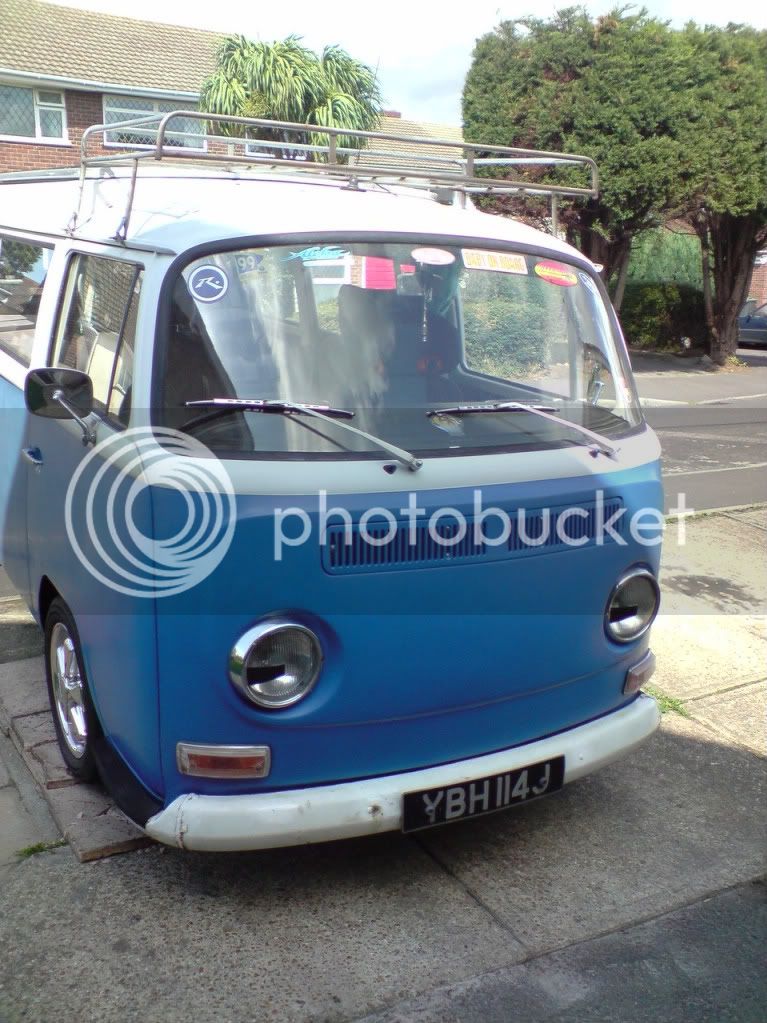
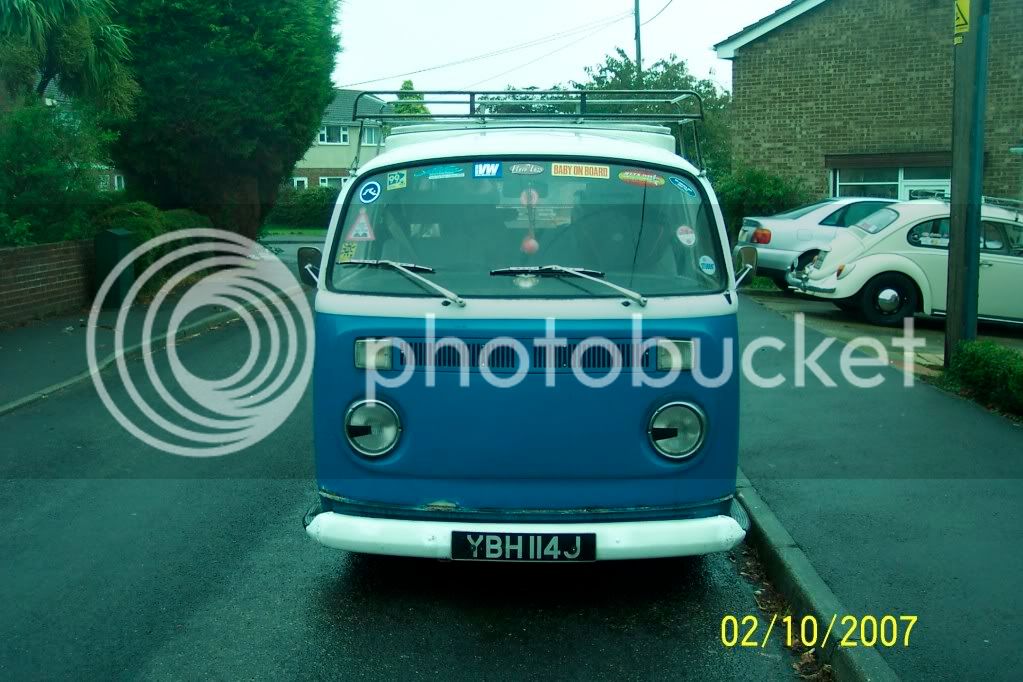
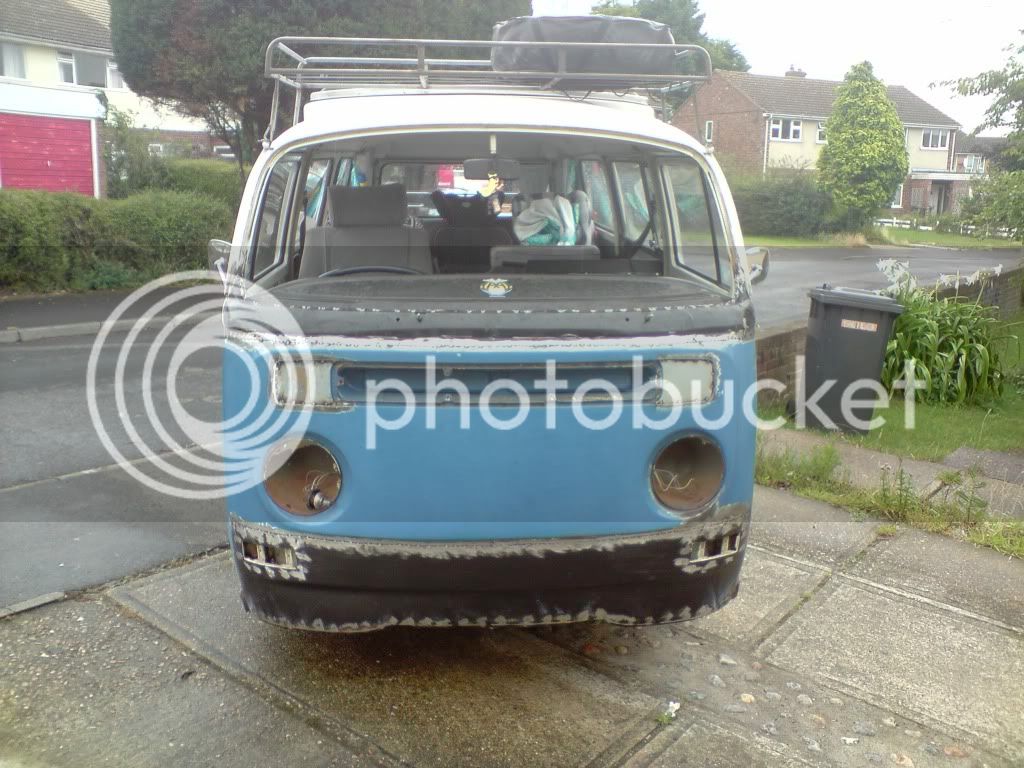
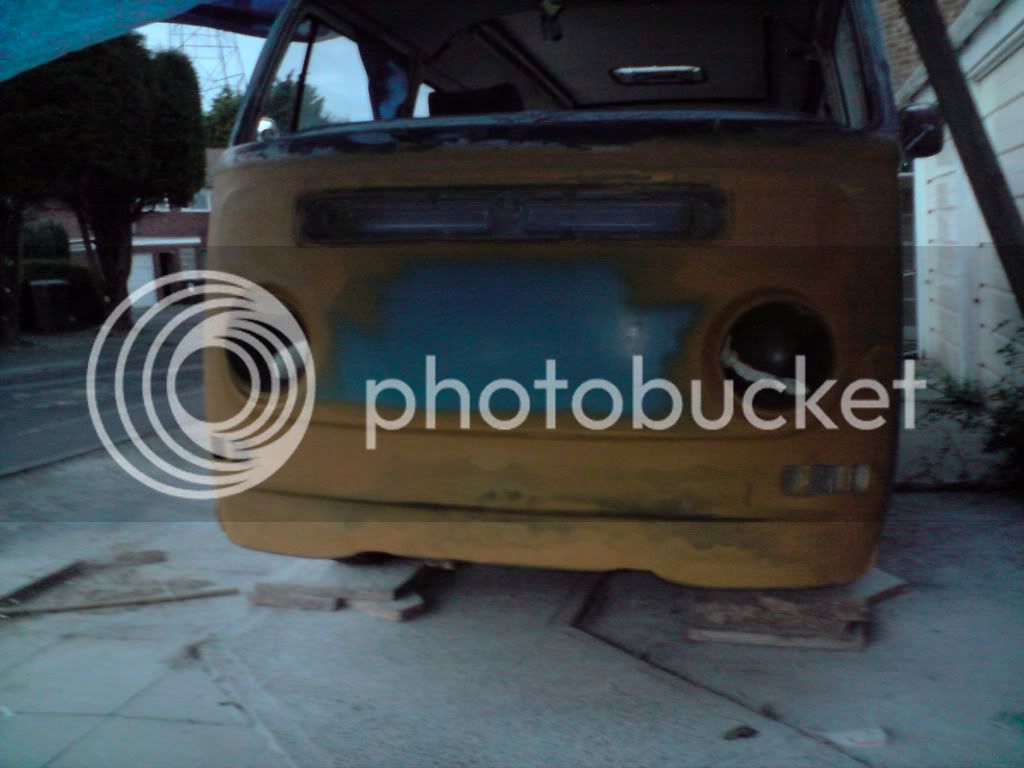
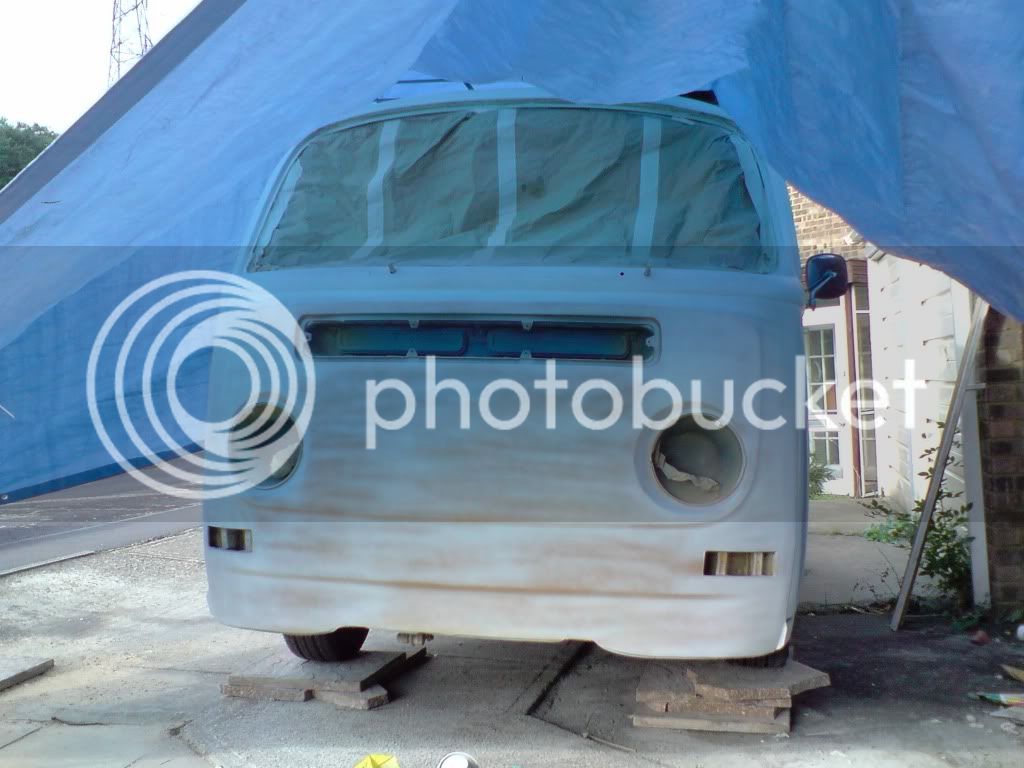
And back to Betty... before I first got her she must of had a front change and was therefore running high indicators and even though it did didn't matter too much she just never looked quite right!
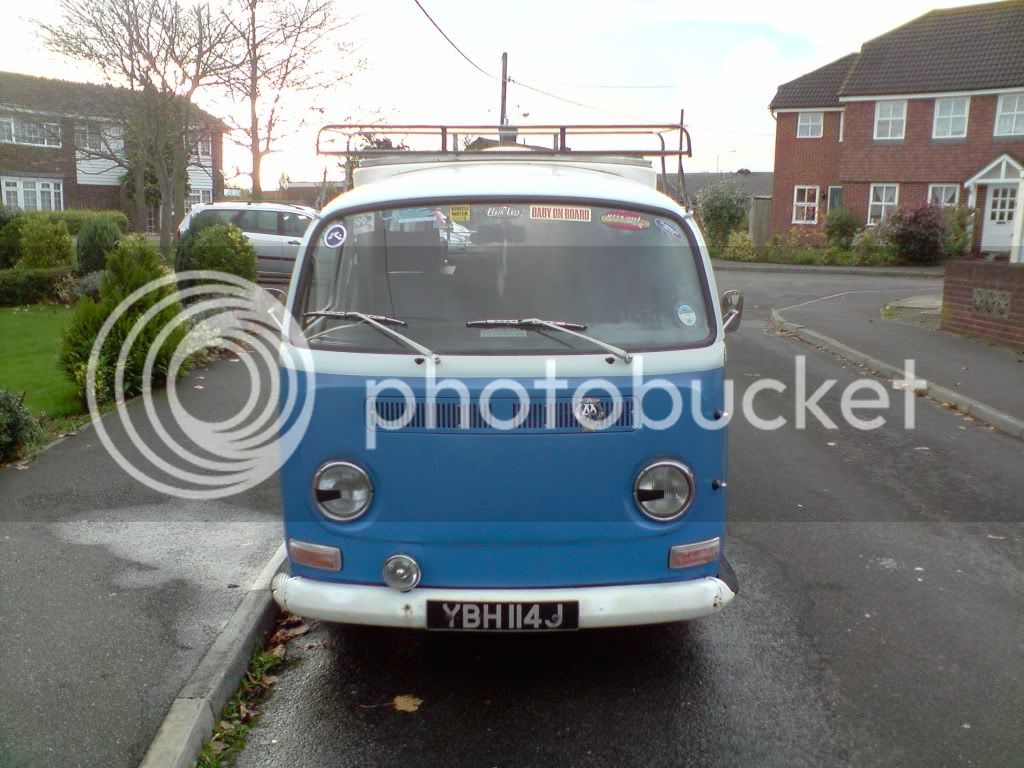
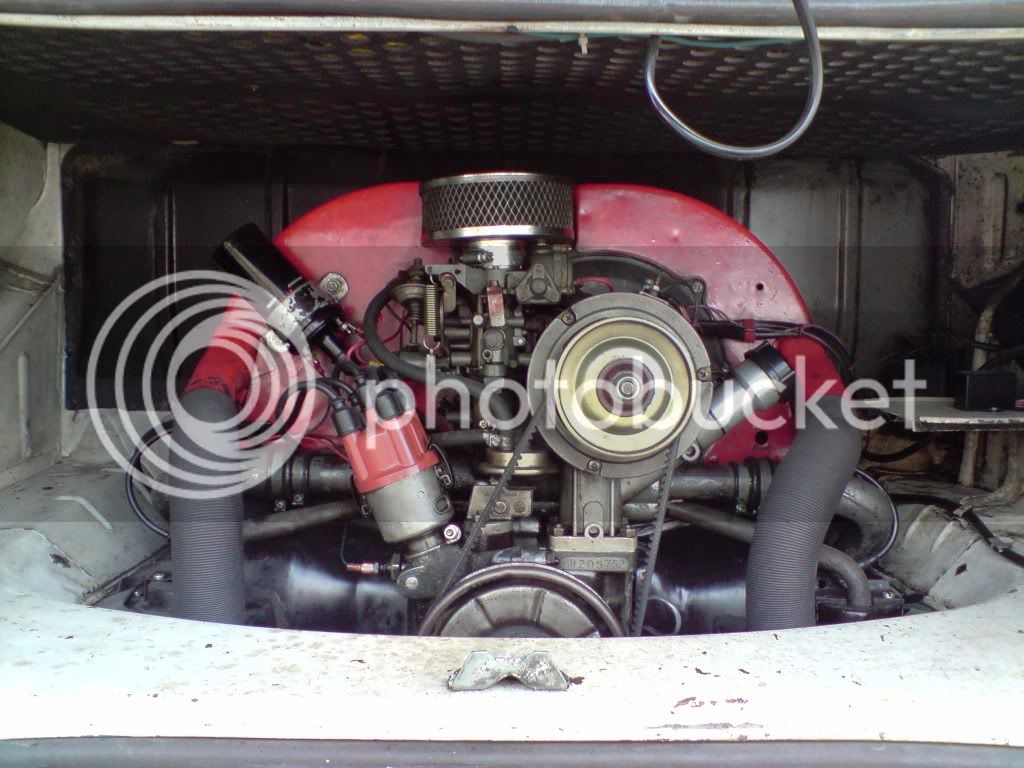
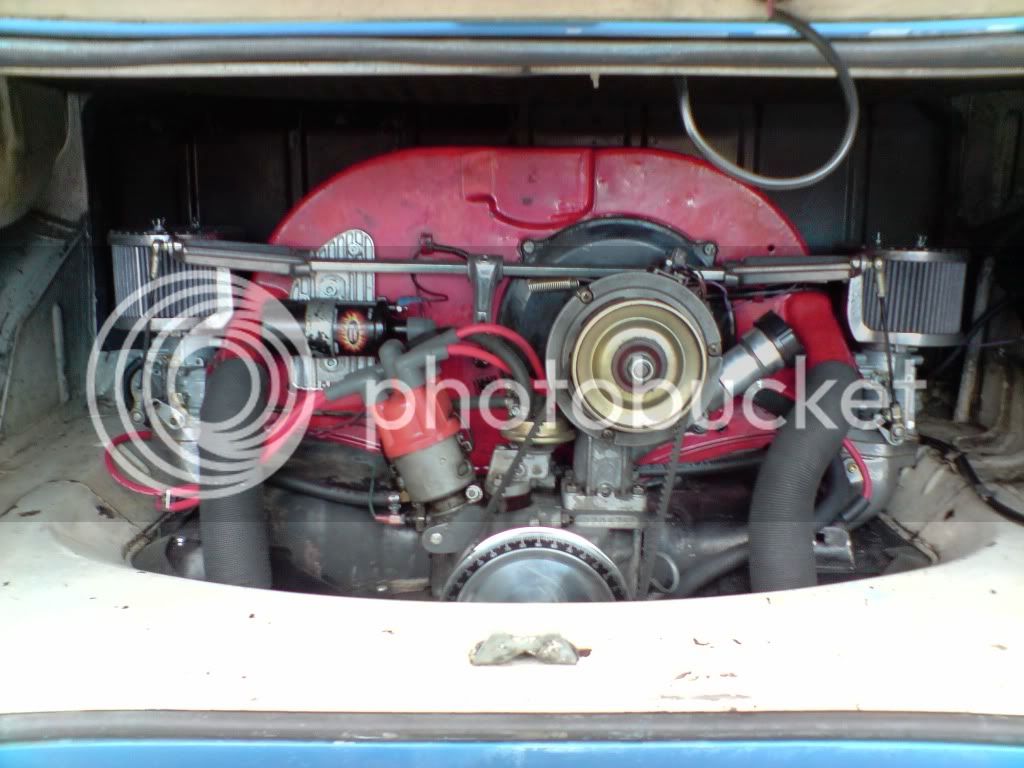
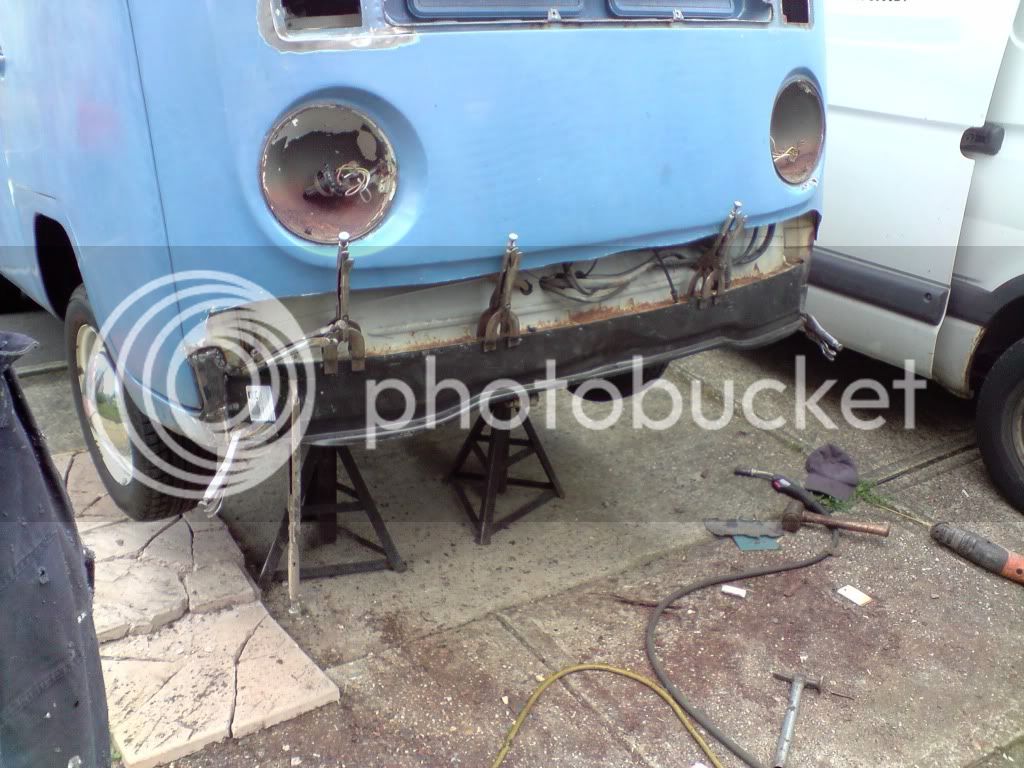
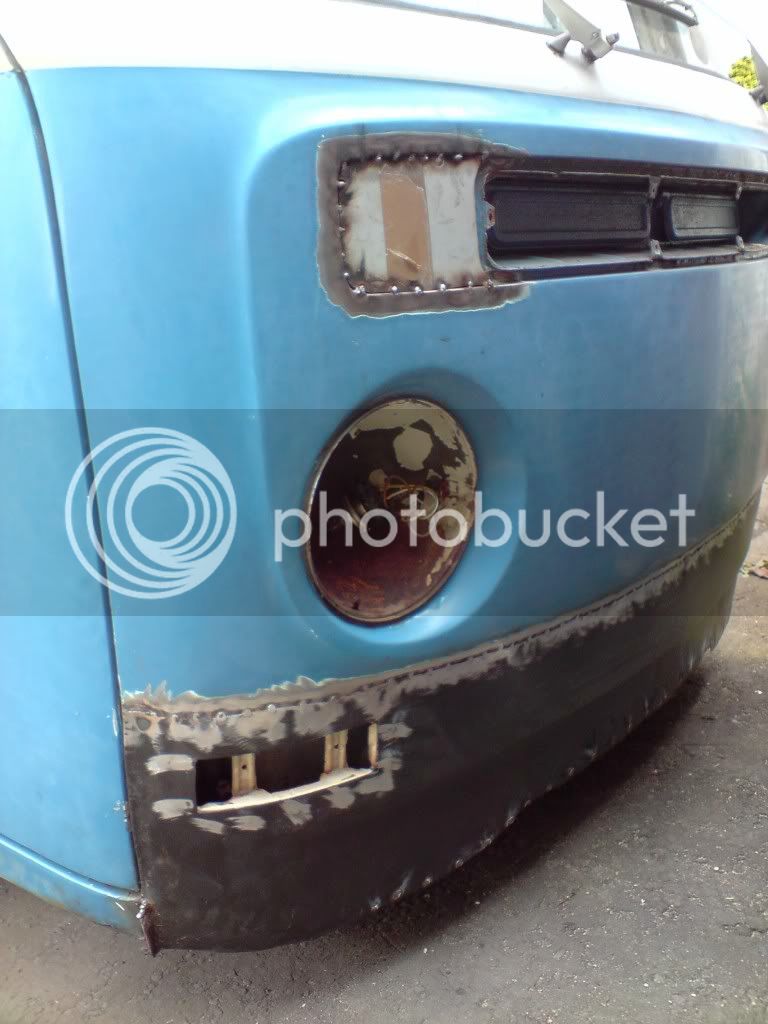
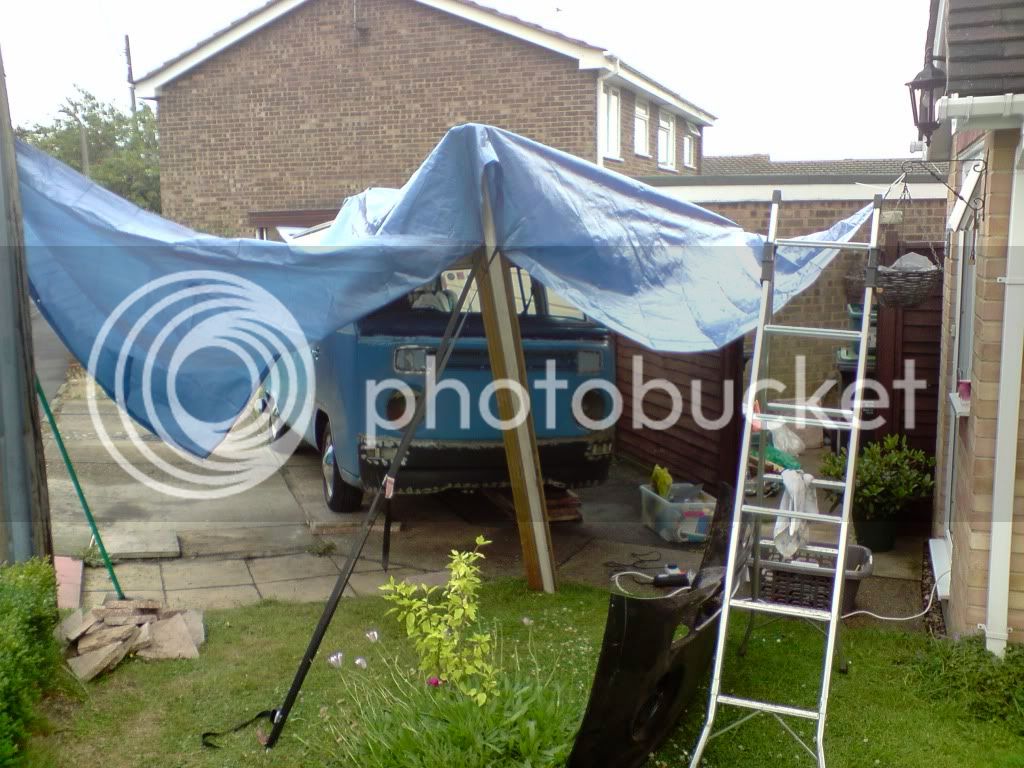
So I began the work last year when I was driving her daily and so as usual for me I had to rush it all so that I could get Betty back on the road again for the day to day!
I'm waiting for my photo's to upload to Photobucket so will update when it's ready!
Cheers for now
Dave
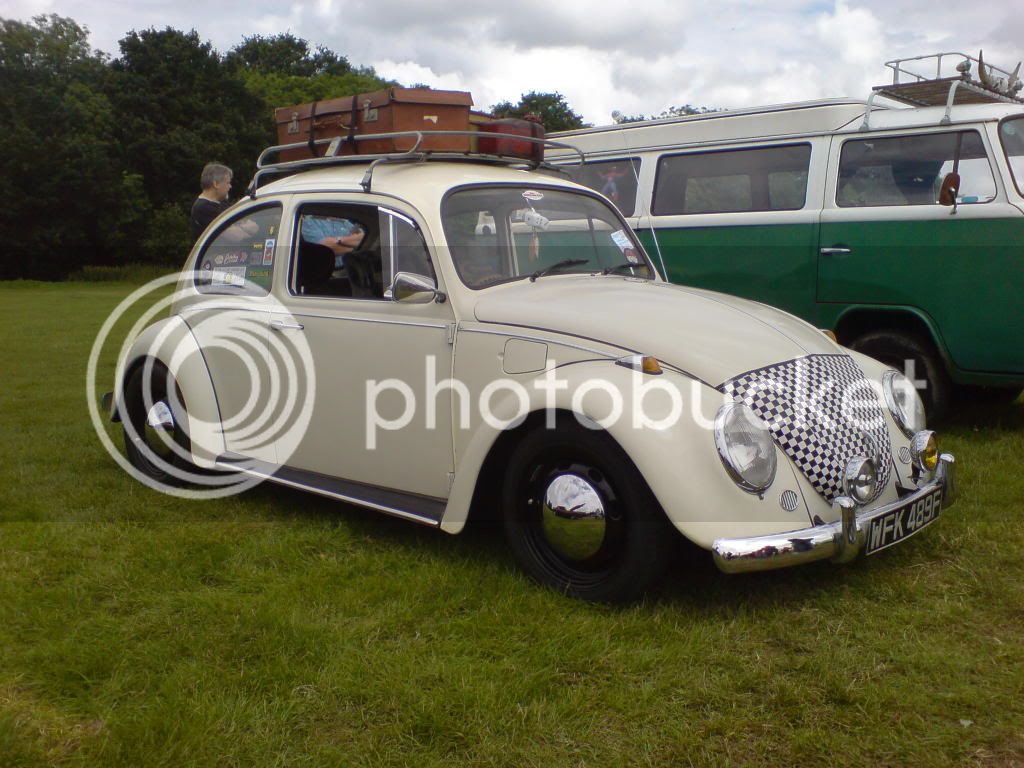
Welcome to my thread about my 1971 Devon Sunlander. I've owned 'Betty' for around 14 years now and in this time I have always had her on the road whether rain or shine... she has been a real workhorse and has always got me to the places that I needed to get to whether that be a VW show or on holiday in the old girl (furthest we have been in her was Belgium on a family holiday back in 2006).
Well... back to now! I managed to pick up a boring daily driver to ferry the kids and the dog around in for the next few months so I could get on with a few jobs that needed doing...
I will try my best to update this thread as I go along and post as many pictures as I can... I will be doing most of the work myself but I have had a bit of help here and there from friends, namely my mate Chris who is a star and is always ready to help me out, of which I am very grateful!
And back to Betty... before I first got her she must of had a front change and was therefore running high indicators and even though it did didn't matter too much she just never looked quite right!
So I began the work last year when I was driving her daily and so as usual for me I had to rush it all so that I could get Betty back on the road again for the day to day!
I'm waiting for my photo's to upload to Photobucket so will update when it's ready!
Cheers for now
Dave
")