Well... fast forward to this year and Betty had started to look at bit tired and had quite a few little bubbling areas, not major but it started to get to me!
So I thought... time for a freshen up! Unfortunately, as you will see this has taken a slightly different turn but hopefully this will be for the better??!!??
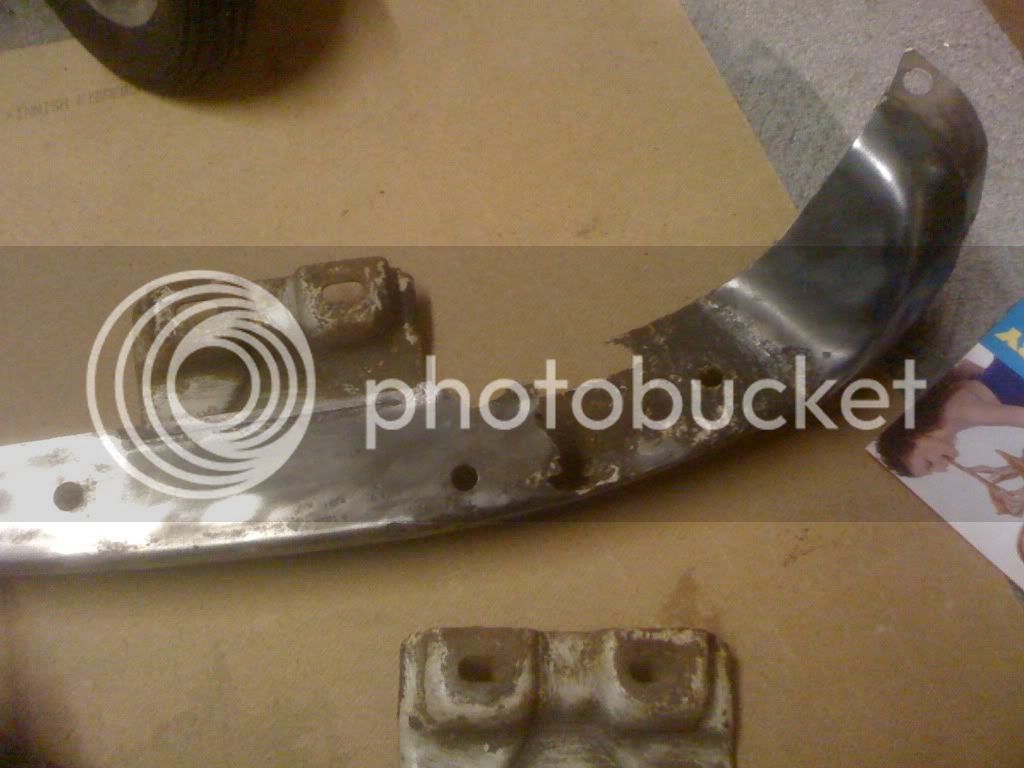
I started a couple of weeks ago by getting out some sandpaper and a block and giving the old girl a good rub down to see what was under the bubbles and also to see any high and low spots.
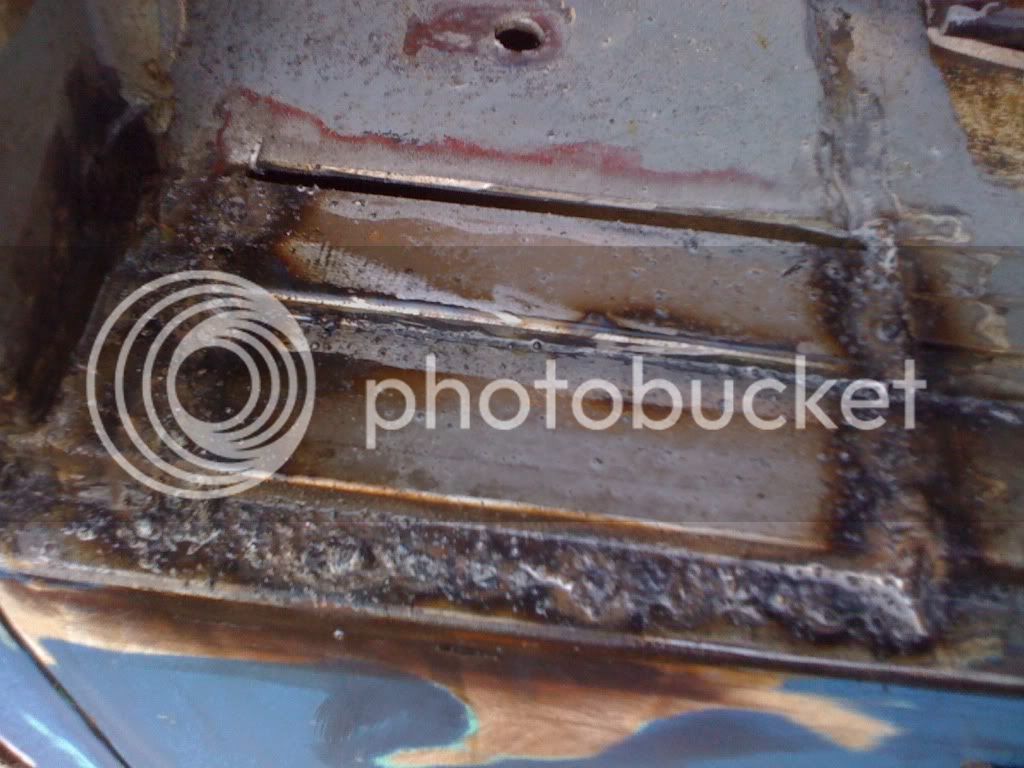
I got left with this after the first day:
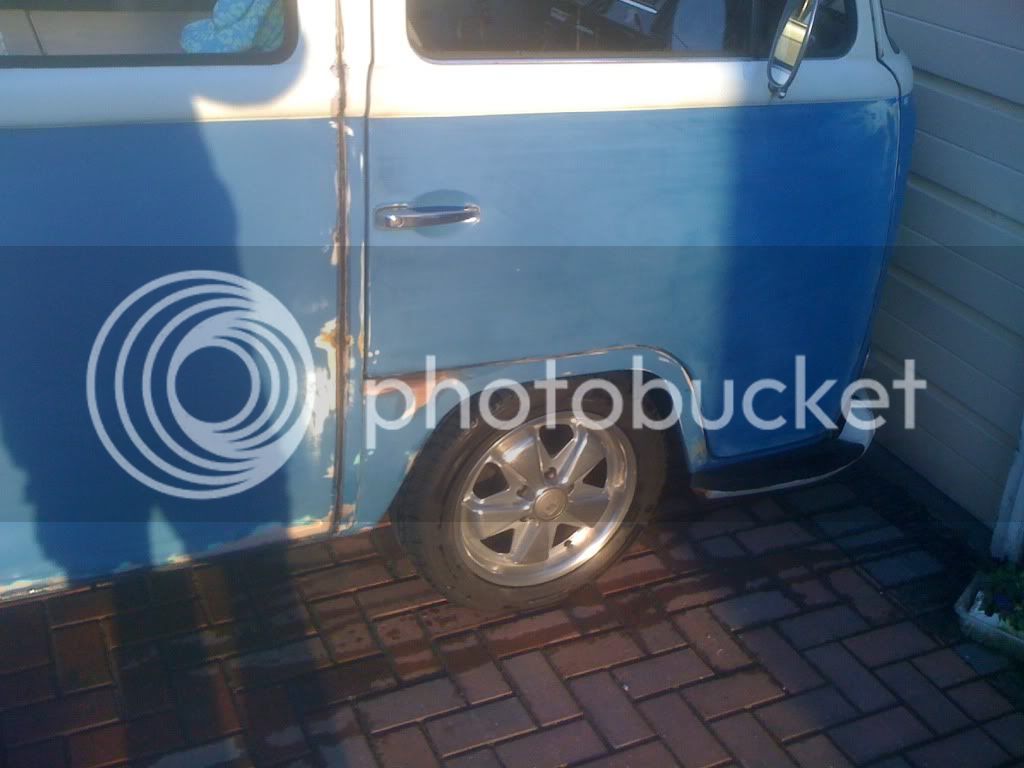
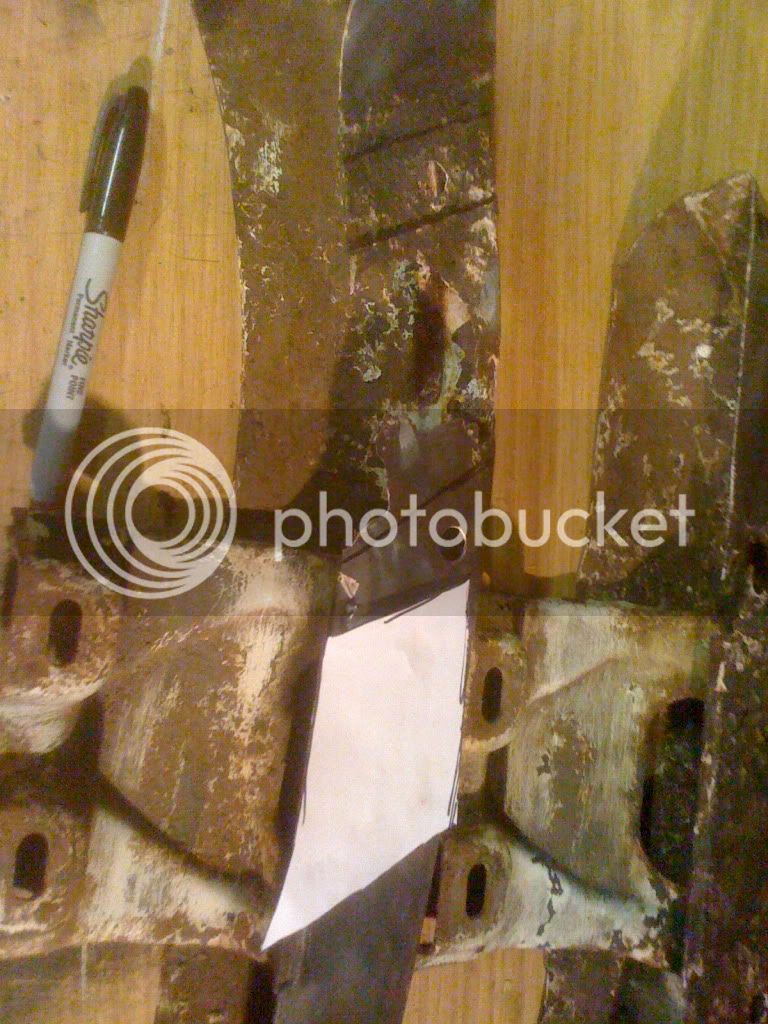
and:

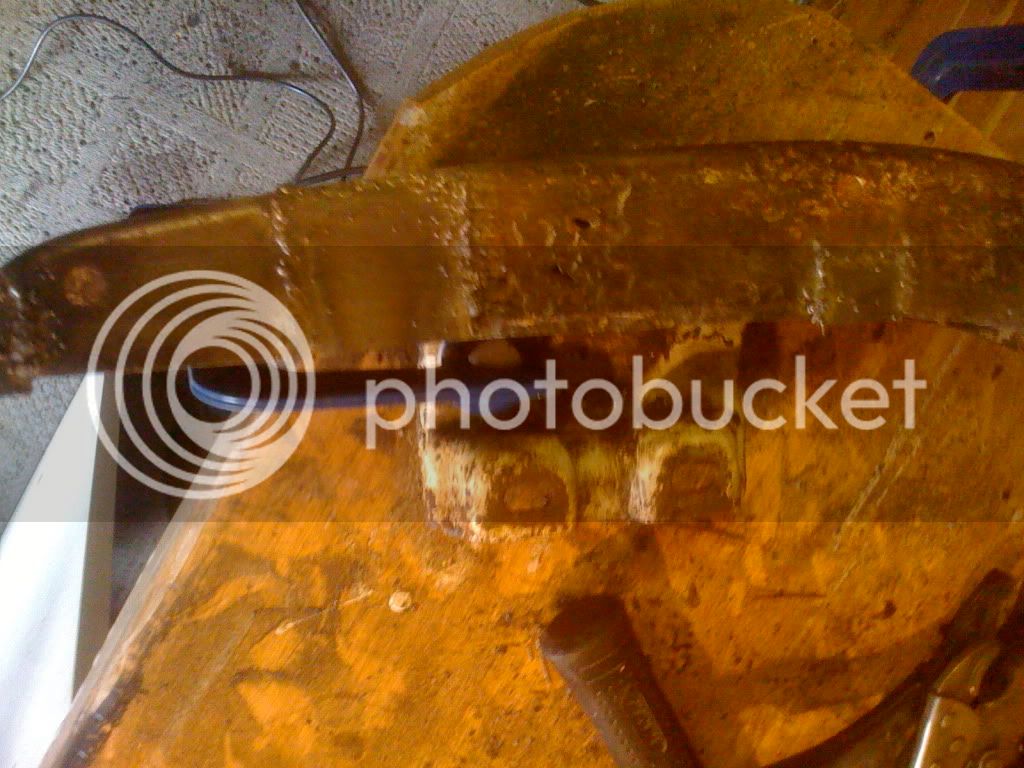
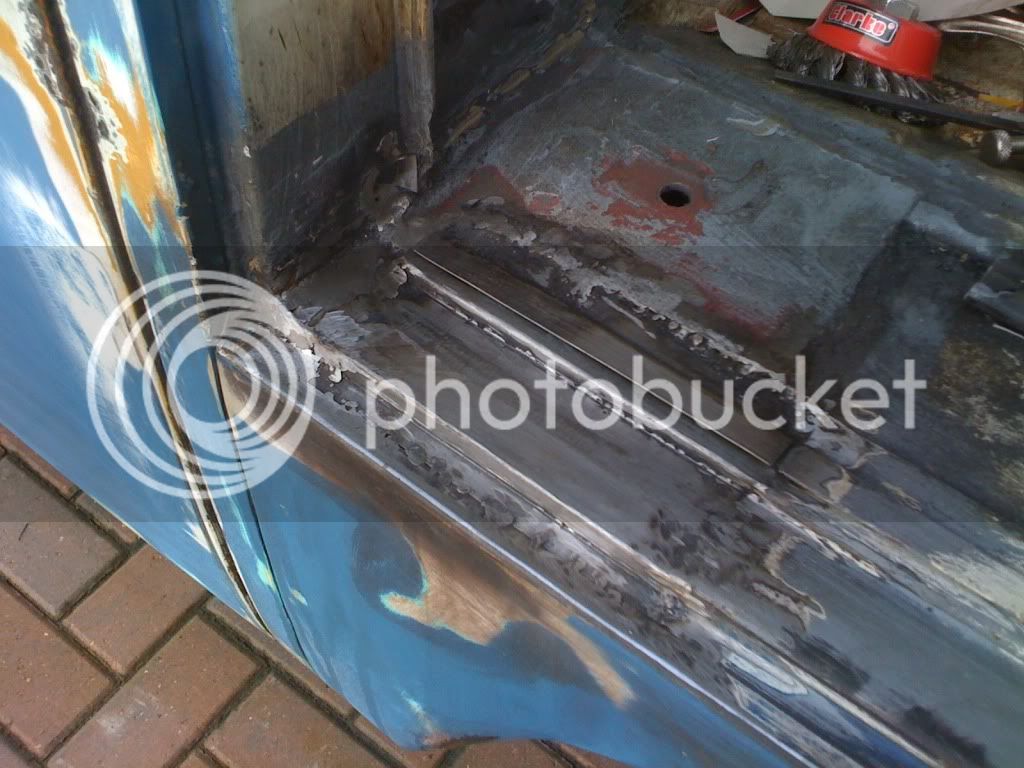
You get the idea:

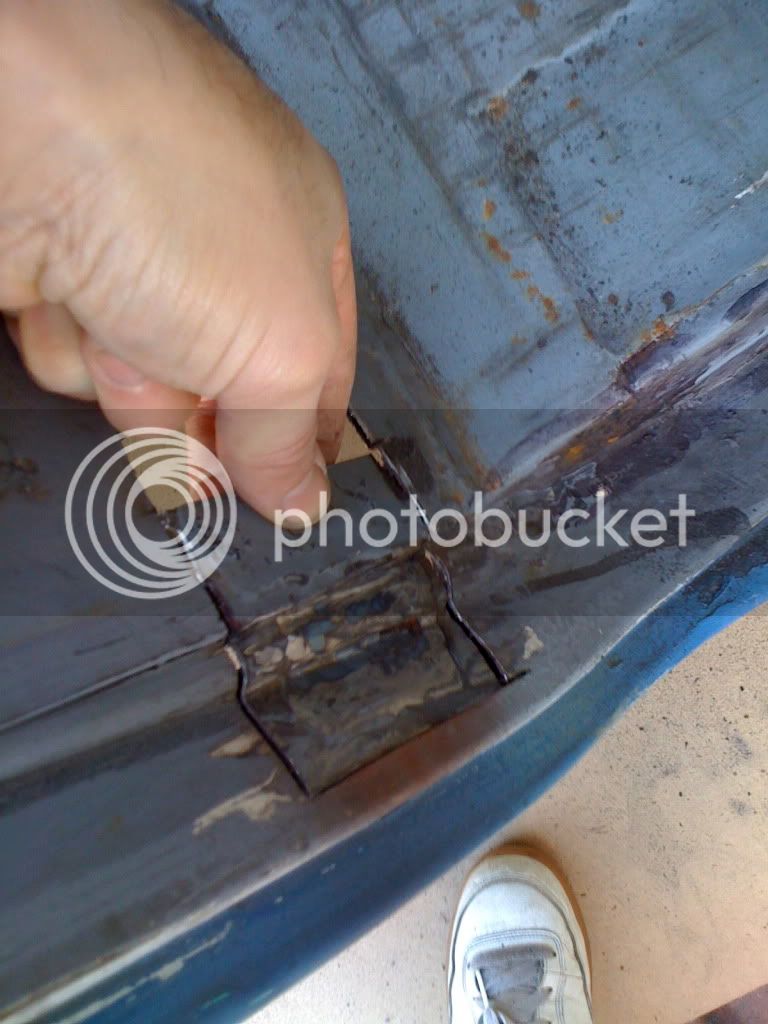
So basically i thought... not too bad really but i could see quite a few areas of filler in there which didn't fill me with much hope!!
Hmmmmmm???
So I thought... time for a freshen up! Unfortunately, as you will see this has taken a slightly different turn but hopefully this will be for the better??!!??
I started a couple of weeks ago by getting out some sandpaper and a block and giving the old girl a good rub down to see what was under the bubbles and also to see any high and low spots.
I got left with this after the first day:
and:
You get the idea:
So basically i thought... not too bad really but i could see quite a few areas of filler in there which didn't fill me with much hope!!
Hmmmmmm???