My 72 Danbury

Early Bay Forum

Help Support Early Bay Forum:

This site may earn a commission from merchant affiliate links, including eBay, Amazon, and others.
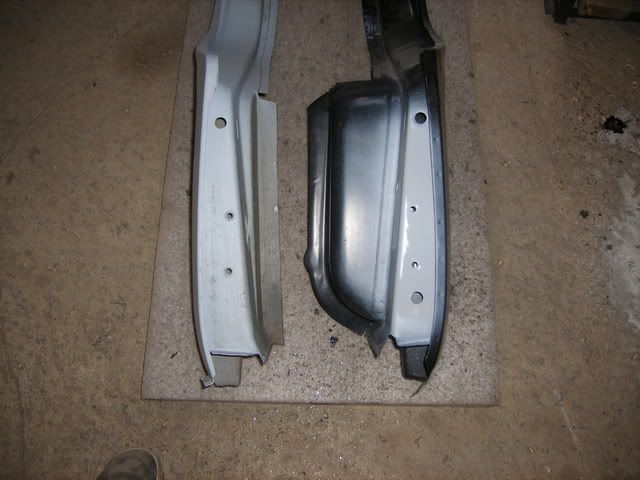
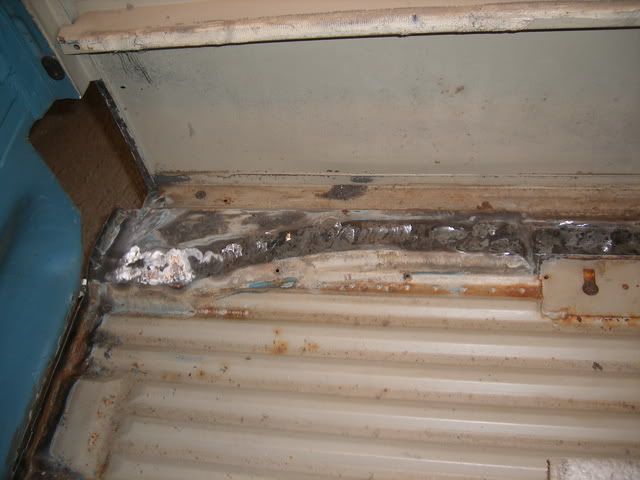
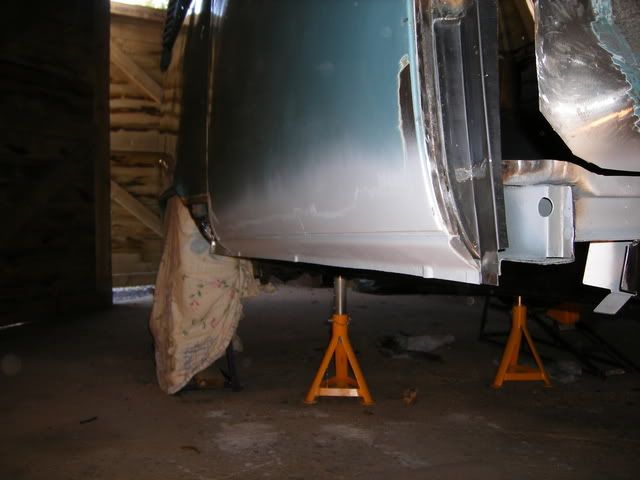
Got a little more done yesterday evening:

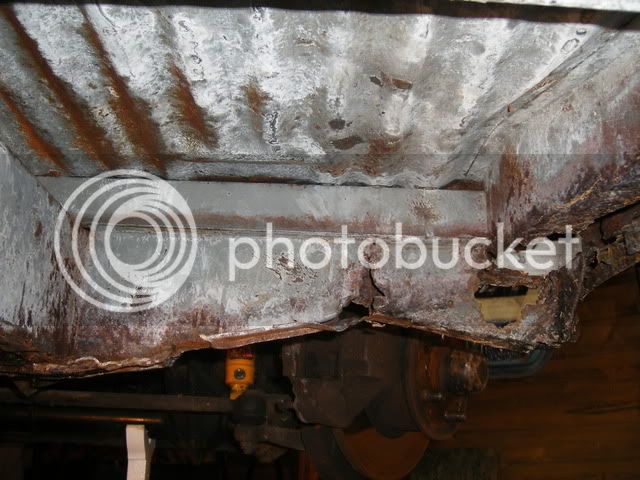
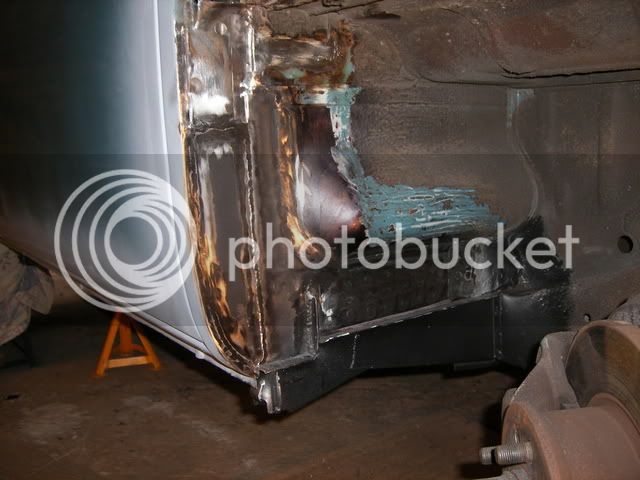
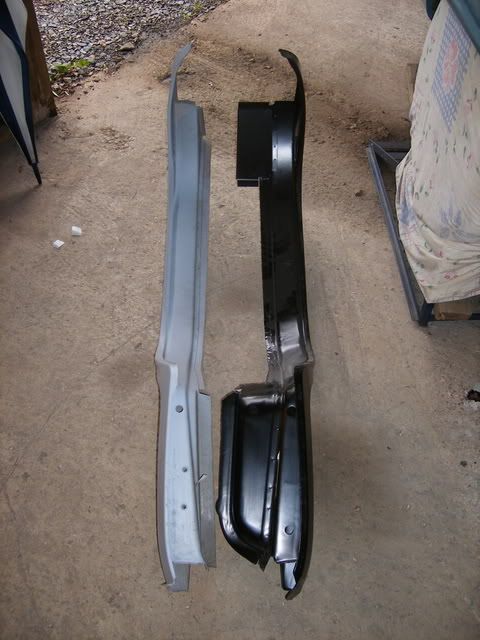
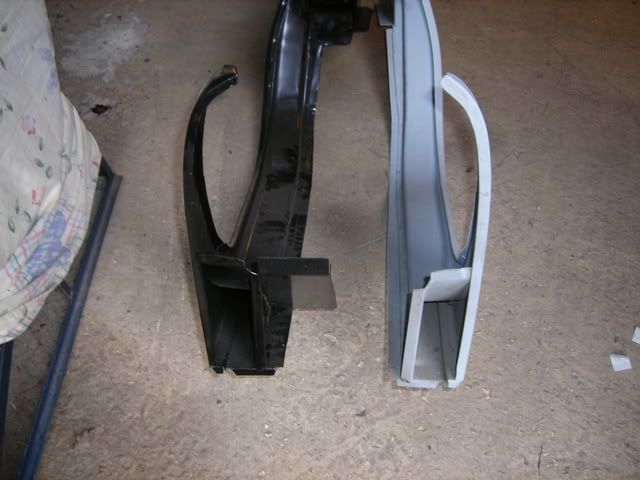
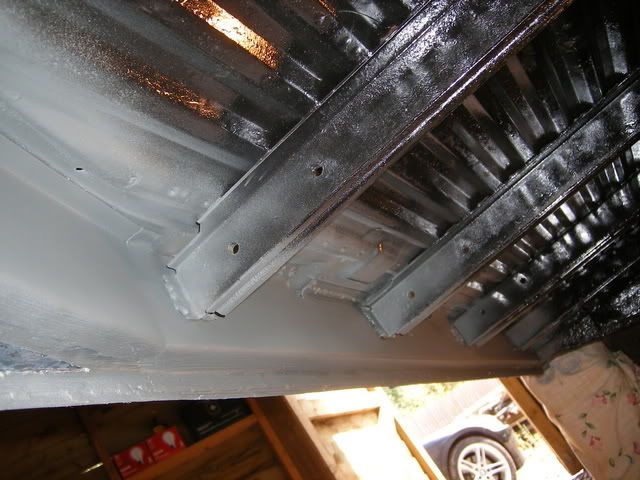
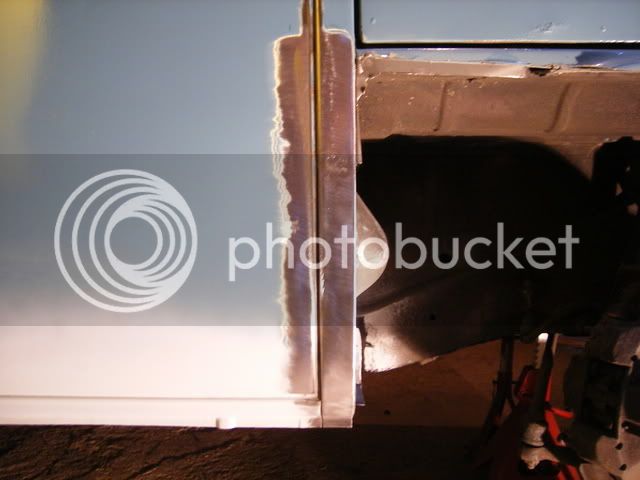
Fitted the middle sill into position and temporarily secured it into place with some self tapping screws, ready for welding:
DSCF1435.jpg

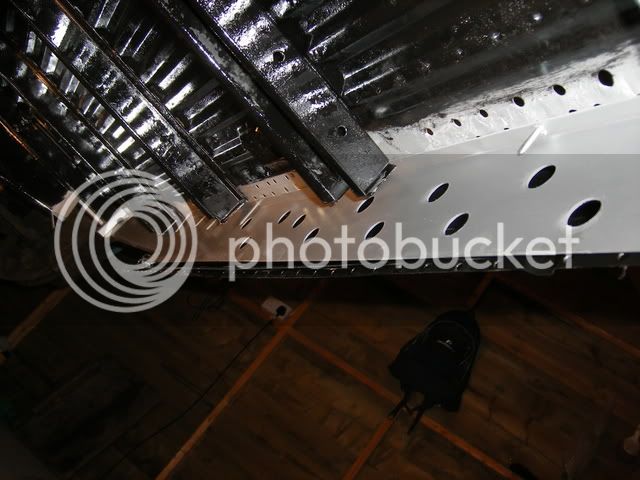
...... and before anyone says anything...... no, I couldn't find any shorter screws! :roll:

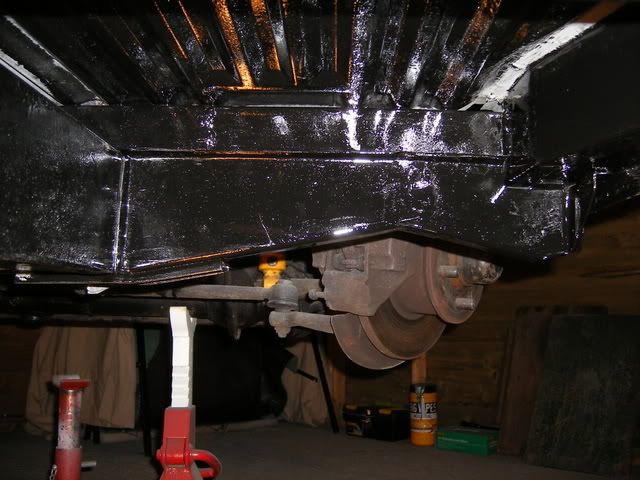
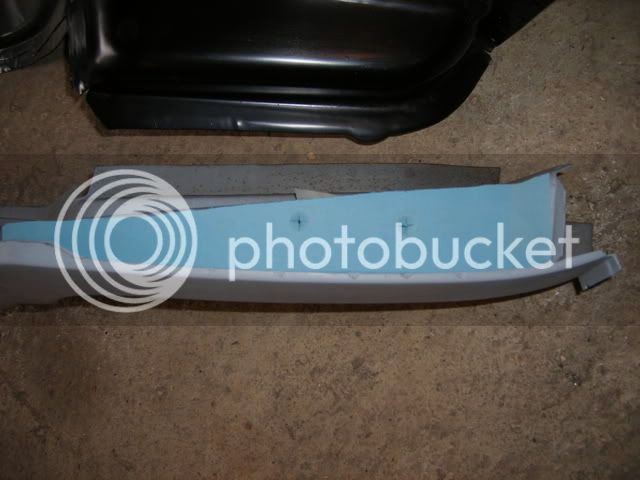
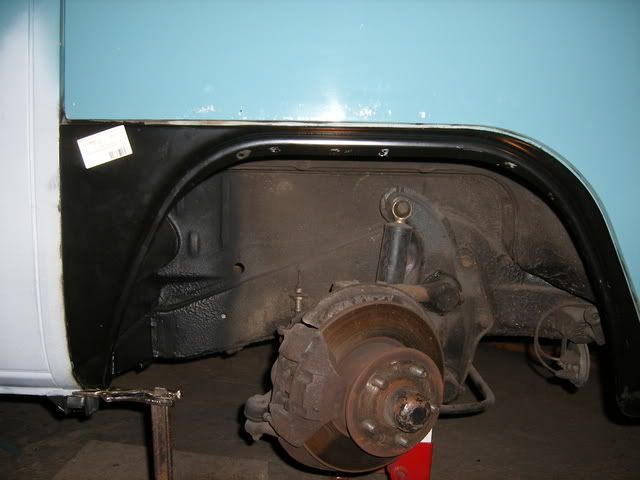
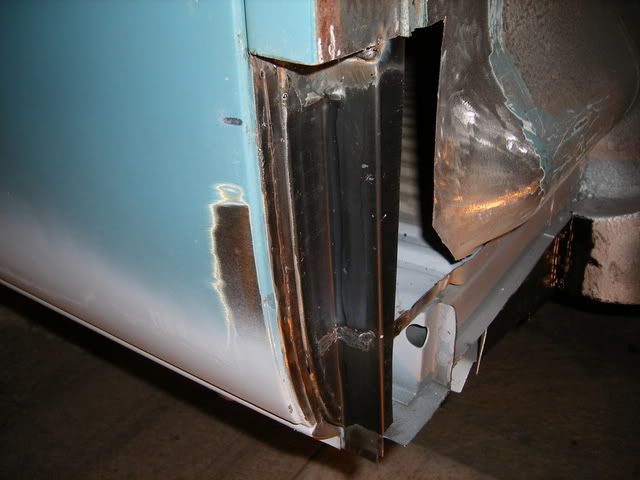
Then fitted the inner sill into place and temporarily secured this the same way:
DSCF1437.jpg


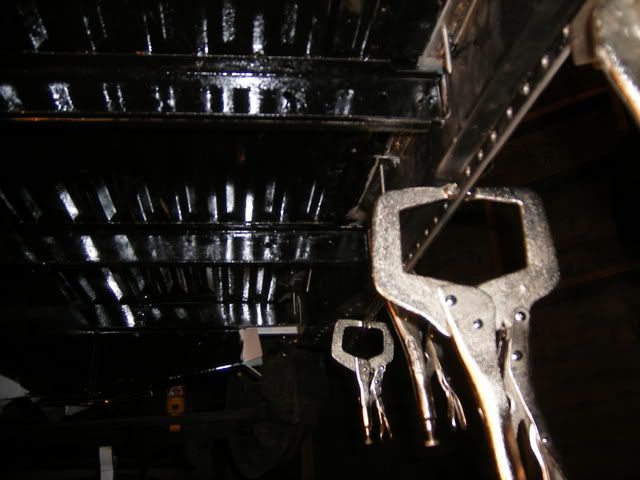
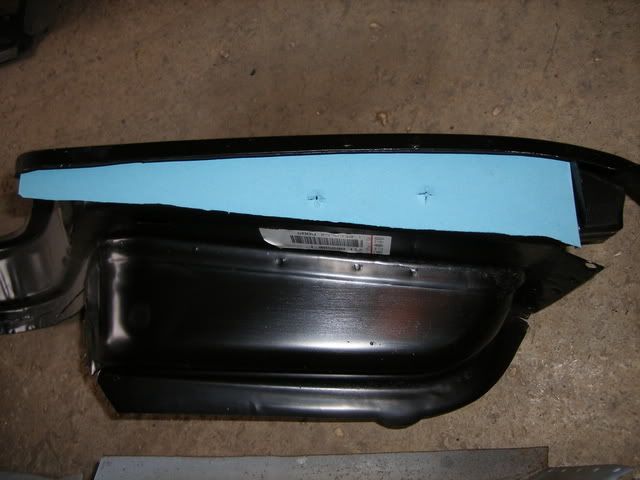
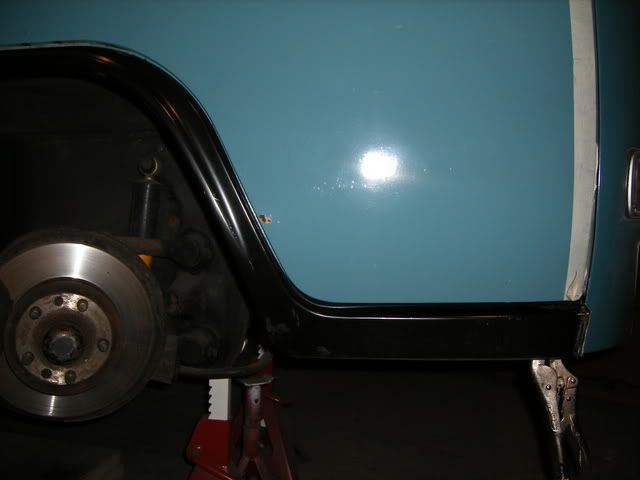
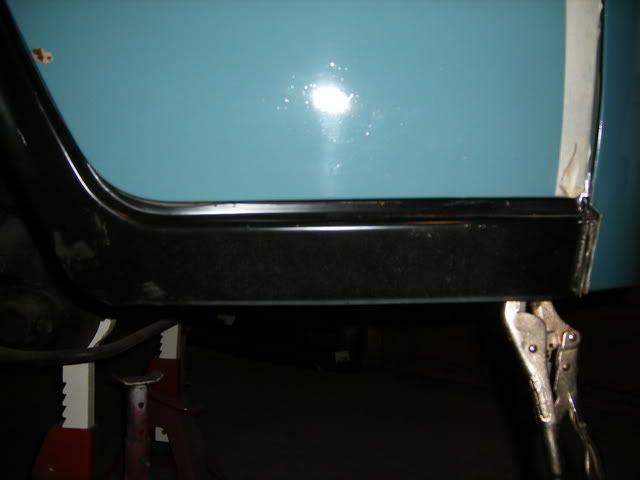
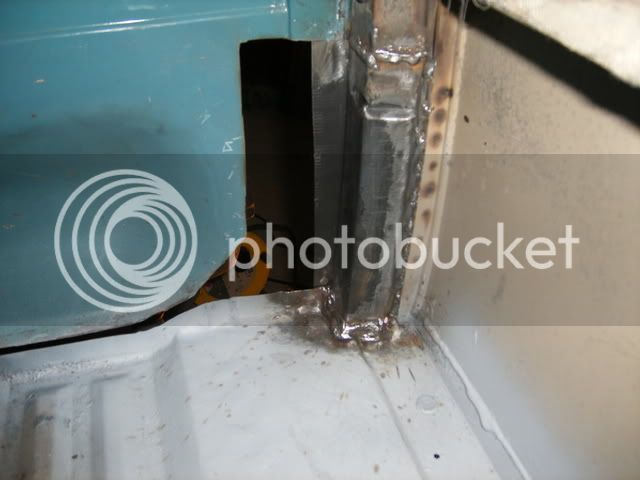
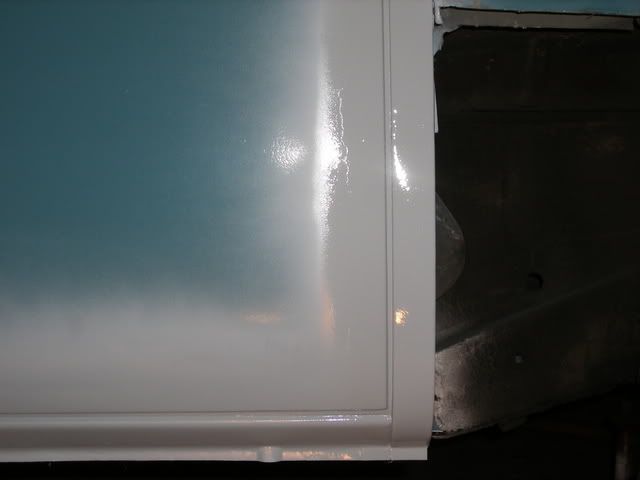
Finally clamped all three together and re-checked fit and position:
DSCF1441.jpg


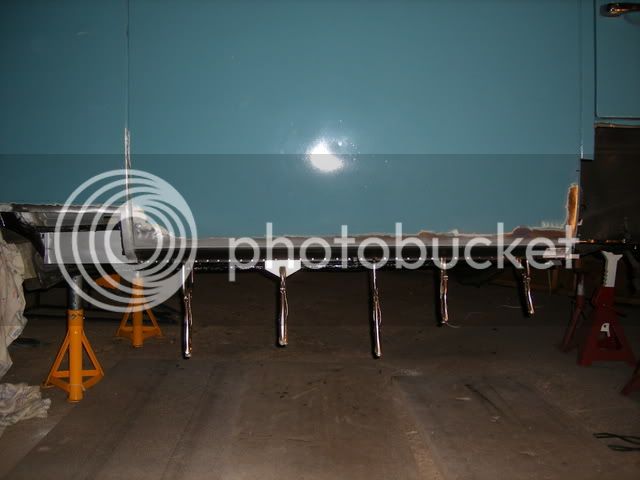
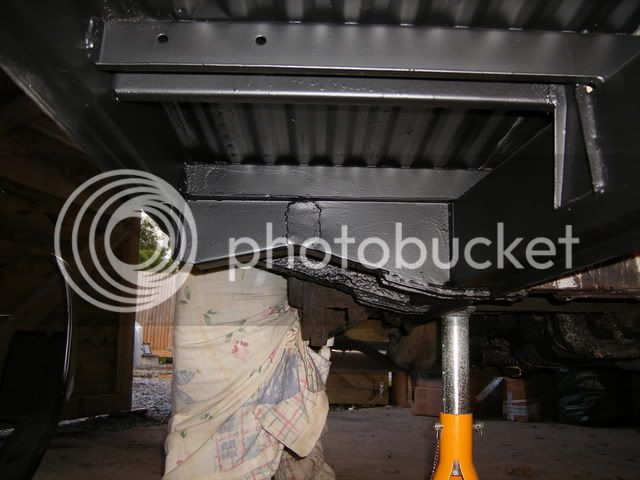
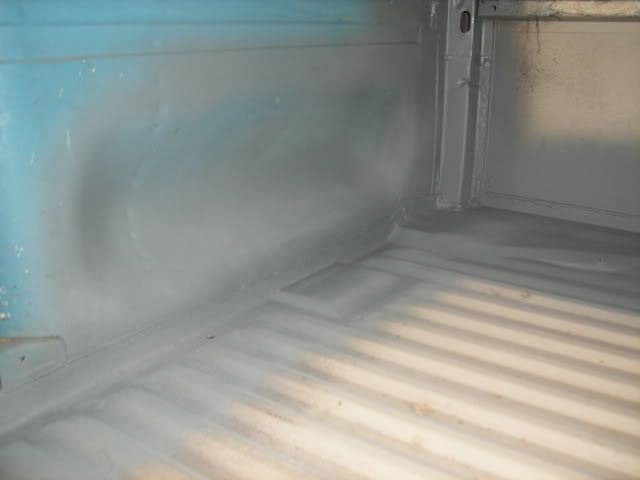
The front end needs a little tweaking slightly but I'm pretty much ready for final welding... Thursday evening hopefully.
 
Some seriously nice work being done there 8)
 
Wow really taking shape................when do you start apllying the filler a will you need to borrow my spade!!!!!!!!
 
Being serious you are doing some really great work.........
You are an encouragement to us all!!!!!!!! : :lol:
 
Just thought I'd update you all on the weekends progress:

Plug welded the middle and inner sills through the drill holes in the cargo floor and then ground back to neaten:
DSCF1464.jpg


Then plug welded all three sills together along their lower edge, before grinding back, seam welding to the out-riggers/floor supports and finally a quick coat of rust preventative primer:
DSCF1485.jpg


Also seam sealed the join between the outer sill and the side panel and then primered that to:
DSCF1483.jpg


Then cut to size and welded in the lower/inner B-Post repair section. Welded this from the inside and outside to make sure it was well and truly on there and nice and strong:
DSCF1488.jpg

DSCF1497.jpg


Here is a shot of it all in relation to the sills:
DSCF1498.jpg


Next on the list is to weld on the front and rear jacking points, outer B-Post, front inner arch closing panel and the front of the rear arch - hopefully by next week? :roll:
 
Added the exterior B-Post repair section last night:

DSCF1501.jpg


And then with some primer on just to protect it for now:
DSCF1513.jpg


Took a little bending and tweaking but pleased with the final fit :)
 
Got some more done yesterday, although not as much as I hoped :roll:

Did some repairs to the front of the rear inner arch and then added on the rear-arch outer front section repair panel:
DSCF1525.jpg

Ground back all the welds after and put a skim of filler over the joins, ready for sanding at a later date.

Also welded on the off-side front jacking point, just need to clean it up finally and then add a good coat of underseal.
Gonna try and get a few evenings in this week to add the off-side rear jacking point and the front inner arch closing panel as well...... I'll put up some more pictures then.
 
cracking work that man! :wink:
 
Finished the front jacking point and O/S sills now which when I look at the before and after is quite pleasing:

Before:
DSCF1265.jpg


After:
DSCF1537.jpg


Also - got myself a scanner last week so thought I'd also post up a pic of my very first early Bay that I joint owned with two mates..... in our inexperience we bodged it up with filler and fibreglass, slammed it and then sprayed it in primer before using it loads for shows, surfing trips and general mayhem, it was wicked.... but never did get a top coat :roll: . This was at Bug Jam sometime back in the early 1990's...... and the sun was shining, they were the days - enjoy!:
scan0001a.jpg
 
Update time:

O/S/R Jacking point finished:
DSCF1584.jpg


O/S/F inner arch and B Pillar closed off:
DSCF1568.jpg

DSCF1583.jpg


Started on O/S/F arch but as I have a 72 Bay it has one year only arches that you can't get the correct replacements for! I am going to attempt to fit a genuine (Brazilian) 73-on arch as this has the correct flared lip on the outside but will need the inner step cutting off and modifying to fit.
So far I have cut of the old arch but left the step on for the moment as I'm not sure which bits of it I will need to leave?

Fortunately I do have a NOS arch for the passenger side which I am going to use as a guide (hence fitting the drivers side first). Here you can see the two arches together and the differences are very obvious:
DSCF1569.jpg

DSCF1571.jpg


... and here seen from the rear - the Brazilian arch has an additional support piece that will also be coming off?:
DSCF1573.jpg


Before cutting the inner step off I thought I would address the other issue with fitting these later arches and that is no captive nuts for the early wrap-around bumper step. Did this by taking a temple from the NOS one and then flipping it onto the later one, drilled out two holes, made strengthening plate, welded two nuts to it then inserted this inside the arch step and plug welded it securely into place:
DSCF1575.jpg

DSCF1576.jpg

DSCF1577.jpg


Here you can see the two step areas together - looks like the bolt holes line up symmetrically to me, so hopefully the bumper should go back on ok?:
DSCF1581.jpg


Next job is to take loads of measurements - cut the step off the new arch - cut the old step off the bus then offer everything up - fettle and fine tune for hours on end - loads of swearing and no doubt plenty of blood, sweat and tears!!!!! :?
 
youve dont a great job so far :) , another project im looking forward to seeing finished.
 
great work fella, nearly there 8)
 
Spent weeks now and still not happy with this bloody front arch :x

After spending many hours measuring and cutting, then measuring again and cutting a bit more - plus making more card templates than I care to mention..... I still can't get a satisfactory fit for this 73-on arch onto my 72 cross-over bay?

As you will see the fit against the B post, the bottom of the main part of the door and down the front of the wheel-house are good:
DSCF1623.jpg


But the step is just terrible....... and no amount of fettling has improved this at all?
DSCF1625.jpg

DSCF1624.jpg


Without a bank loan for NOS arch (assuming that anymore even exist for this 1 year only model - although I would consider it so if any of you have one for sale or know where one is please let me know) is this just what I will have to live with or have any of you ever overcome this problem before? I'm half tempted to chop the step off completely and see if I can't make a better job by grafting on a 68-71 step (somehow without loosing the lines of the flared lip)?

Any advice or ideas greatly appreciated...... anyone?
 
Had the same problem with mine, but if you put some pressure on the step(upwards) after you've tacked the rest in place it should go.
 
Hi All,

Still working on the arch and will get back with some picture updates on that soon.

However, have also cut off the lower front panel and just wanted to put a question out there for some opinions from all you guys and gals.......

I'm just about to weld on the lower front repair panel - but should I just tack weld this to the original front panel all along the length, say every couple cm's or so - or - should I seam weld it right across?
Obviously seam welding is a better/stronger weld but I'm really worried about distortion.... what have you guys done and are any professionals out there able to offer any science to the issue? :?

Much appreciated!
 
I saw this being replaced on another van a few days ago funnily enough, when i was up talking to a mate. He seam welded it all the way across but tacked it first at 3-4 inch intervals, let it cool, came back, did another few CMs, stopped, let it cool, 'rinsed and repeated' till the whole join was covered. He did the same thing on my sliding door and its as straight as a very straight thingy.
 

Latest posts

Top