New to Westies! Old to the Scene!

Early Bay Forum

Help Support Early Bay Forum:

This site may earn a commission from merchant affiliate links, including eBay, Amazon, and others.
Found some more pics of the front beam. One as it came out of the bus and two of the beam painted up with adjusters welded in.

More pics on the welding progress to follow soon. Had a good time fitting the new lower windscreen repair panels!!

111108029.jpg

111108033.jpg

131208061.jpg

131208062.jpg
 
Thats come up great! Nice to know work is still on going, can't wait to see the next batch of pictures.

I've got a few jobs on the go on mine, most recent is sorting out the servo, which has a vacuum leak :roll:

Gareth
 
Got some photo's from my sunny bank holiday weekend spent welding, well, learning to weld!! First project enthusiasm still exists......!!!

First I practiced welding and started on the floor sections as they won't be on show!!
vwtoo006.jpg

vwtoo007.jpg

vwtoo009.jpg

vwtoo010.jpg


After grinding down, I was left with small holes which needed a bit more weld to fill....these popped and crackled and I ended up chasing holes all over the place. Later found out I had the welder set too high for the thickness of metal Doh!
vwtoo008.jpg

vwtoo124.jpg

Next up was the inner channel section.
vwtoo148.jpg

vwtoo149.jpg

vwtoo150.jpg

Still got this to finish - burnt my arm at this point, should have had a gauntlet on!!
vwtoo013-1.jpg

vwtoo123.jpg

vwtoo002.jpg

The bottom edge of the windscreen received more metal!
vwtoo014-1.jpg

vwtoo015-1.jpg

End result is good, I had a bit of experienced help! It is primed ready for paint prep now.
vwtoo011-1.jpg

vwtoo012-1.jpg

Then came the task of cleaning up the metal under the rear windows.
These will need more work this weekend. Don't know how far to take this before a new panel is required - no decisions made in haste I hope!
Got these bits to tackle next....
131208044.jpg

131208046.jpg

vwtoo146.jpg

vwtoo003.jpg
 
I'm really impressed! Welding looks good and strong, and technique will come with practice. I knew it would be worth waiting to see your next pictures, windscreen repairs put a lot of people off but its amazing what can be done if you just have a go, an inspiration for all of us!!!

Awaiting the next installment... :D

Gareth
 
Thanks Gareth, it's good to get some feed back. Especially as I am in unknown waters.

Things can only get better with the welding technique....bit like riding a bike!

Had a busy day on Sunday....

Finished welding up the inner channel section and got some primer on it.
update002.jpg

update018.jpg

Blipped a few holes in the floor.
update005.jpg

update006.jpg

Then had a go at cleaning up the sliding door panel beneath the window. The underside of this needs attention too but welding upwards is a challenge too far...gotta get the wire feed speed spot on...more practice required.
This top section took the best part of a day to prep, weld, grind and re-weld with more heat and re-grind...finally got some paint on it at 6.30pm.....just in time for a Chinese take away on the way home!
update017.jpg

update019.jpg

update020.jpg

Will have to clean this up a little.
More updates next weekend....
 
Haven't been able to update as much as I would have hoped! Work has been crazy busy..

Did finally get upto the lockup this weekend..so..
Only had my phone with me, photos a bit cr&p!

Image024.jpg

Image039.jpg

Image037.jpg

I cut the corner out a while back, found it was easier to leave the bottom section in as a
guide to show me the correct line....it sort of worked ok, the panel, was not the best to honest!
Then the battery tray was fitted and refitted...I cut the shape whilst I had the exterior panel removed.
The inner section of tray was not rust damaged so I used it, again, as a good guide.


Image057.jpg

Image063.jpg

Image059.jpg

Image060.jpg

The cab floor was in a bad state too. I picked up a later floor section from a club member and used the pressings to form a new floor section. This will be tacked in once I have tackled the front steps. I am not too worried about the pressings being factory, so long as it's smart.
 
The other side of the cab floor was poor too being the drivers side!
Image061.jpg


Image064.jpg

I need to pick up a replacement panel for this at Jambo!

Image066.jpg


Image067.jpg

Fabbed up a section for the passenger wheel arch and got that welded in...my welding is improving.
It's a fine balance between heat and time...too little you get a blob...to much and you have a hole!!


Image069.jpg


Image073.jpg


Then got jiggy with the primer to keep it dry until next time!
 
Patched in a couple of other spots too.

Image072.jpg


Image071.jpg

I might do the above section again later..not really happy with it!

Image074.jpg


Image075.jpg


Also managed to borrow a roll over frame from another friend (thanks Rich)!

I need this to access under the sliding door mechanism...There is welding required there also!

Gotta do some clearing up next time to give room to roll her over!

Image016.jpg

Also gonna look up the info from this! Can anyone help?

Image026.jpg

Bought our first accessory but I think it might be too high! It is so clean though...couldn't
let it go!

Till later..Matt
 
Been busy!!

Got married in September!!
JM350.jpg

JM282.jpg


There was only one kind of transport that would suit!!!!!

So things on the bus have taken a back step over the summer, but I have managed to get down the lock up this week.

vwtoo131.jpg

vwtoo137.jpg

This little area needed sorting. This is following accident damage I found under the inch of filler!
kitchenandVW007.jpg

kitchenandVW010.jpg

kitchenandVW017.jpg

To get this far took a lot of pushing and pulling. Its all good metal and bent right out of shape. The outer skin is only tacked for now but the lines down the side line up really well.
Just hope I can be patient enough to go slow welding it in and not distort it too much!
kitchenandVW019.jpg

The long panel is next in line, once the strengthening bar is straightened out!

The front valance was cut out last week. I am waiting on panels to come from C+C!
Gonna make up the outer steps from 1.5mm steel! They should last a while then.
kitchenandVW005.jpg

kitchenandVW006.jpg

kitchenandVW015.jpg
 
cyberdyne systems said:
Nice progress, this is going to turn out well! Oh and congrats on the wedding!!!

Gareth

Thankyou!

Hope to get down the lock up on Sunday and finish spotting in the side panels.

Will take the camera!

Matt
 
kitchenandVW012.jpg


So after spotting in the side I checked all things look straight - well at least straighter than when I started! :p

And tried to take my time welding the panel in!
kitchenandVW010-1.jpg

Then I had a go at the wheel arch from the top.
kitchenandVW005-1.jpg

The underside needs a bit of fettling, thats because I am using 1.5mm thick steel and not a repro panel of lesser thickness I suppose.
kitchenandVW016.jpg


Then I mocked up the side support which also needs some work due to the new arch being slightly out of shape but hey ho! Purists will not see it - I hope! :roll:
kitchenandVW006-1.jpg


Till next time, if I can get away from customers it will be 2mora :D !!
 
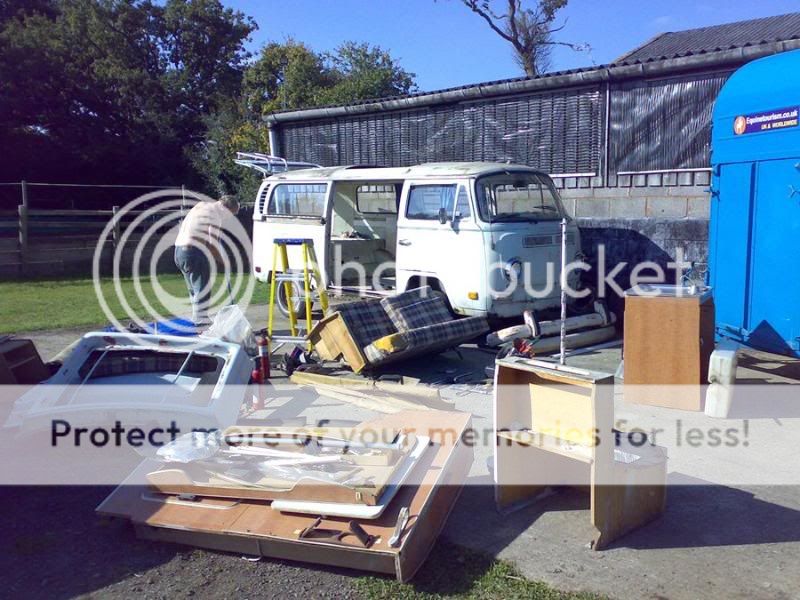
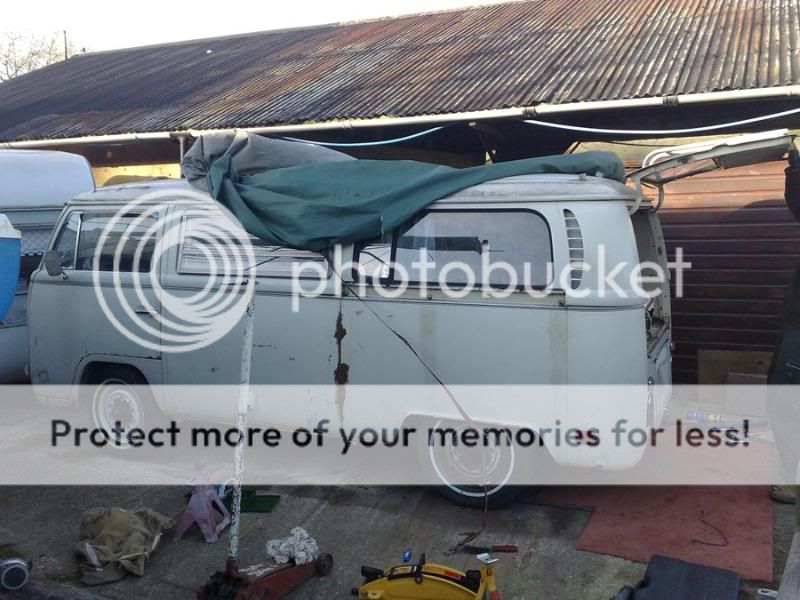
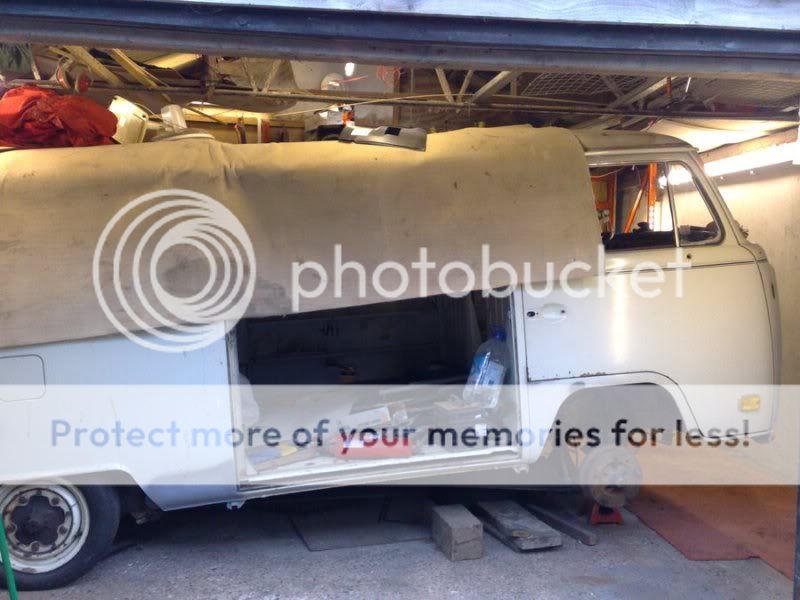
Been busy over the last few days, thought it about time for an update!

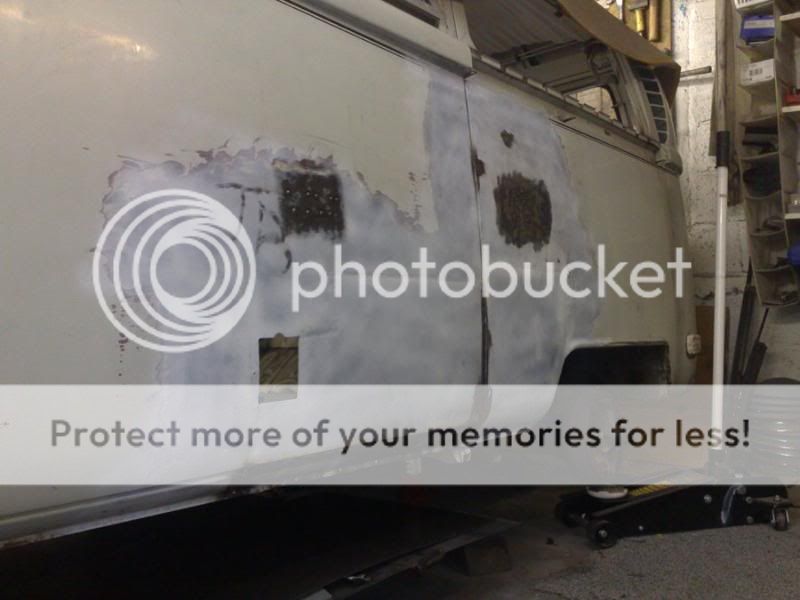
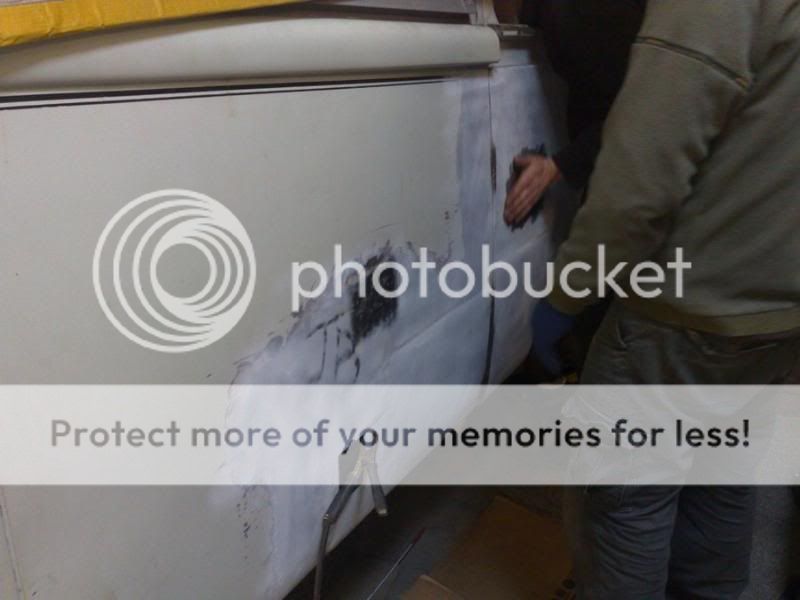
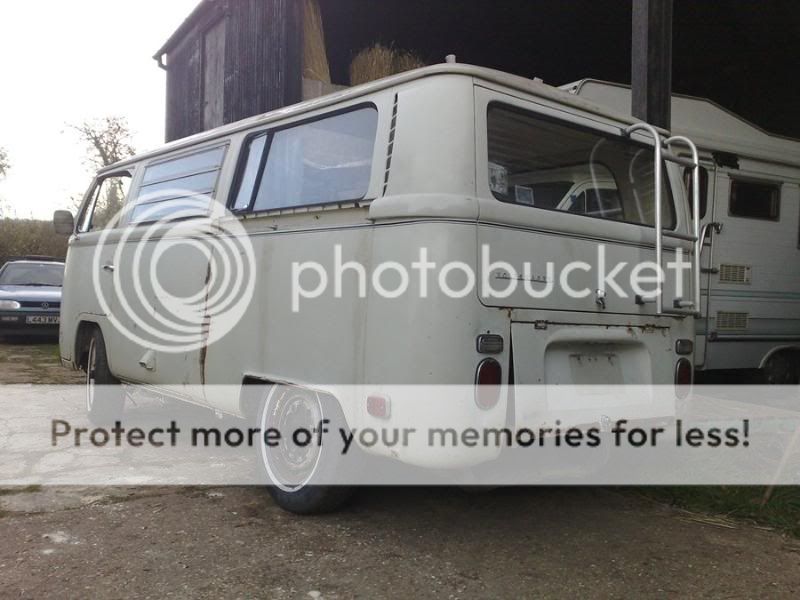
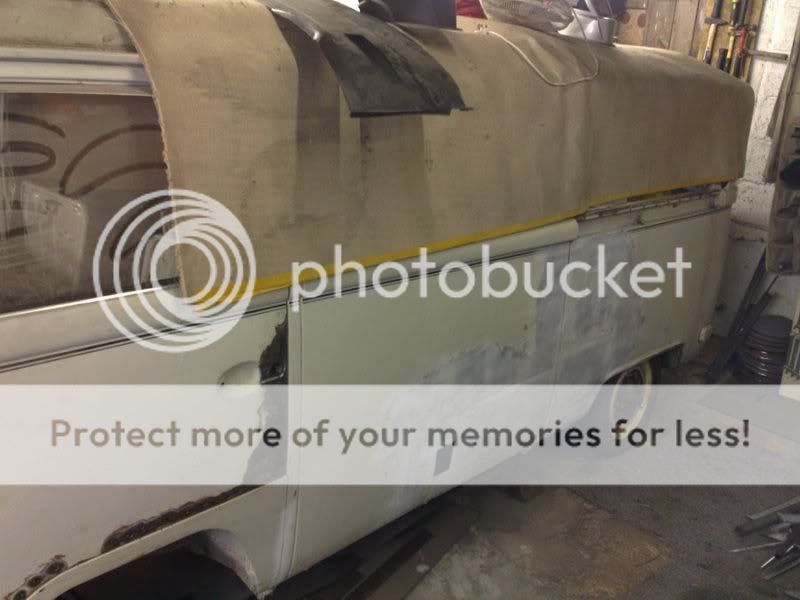
The side panels I picked up from Bus freeze were, lets say poor!! They needed a lot of work to get anywhere near the shape I needed. The joint pressings were non existent and the sill panel was straight instead if slightly curved. So almost a day of work bending and shaping, then giving up! I went back the next day with renewed optimism and got it as close as I could!

I welded in the panel, then one of my mates turned up and pointed out that I should have only tacked it in and then removed it and welded the two panels together first before final fitting.....I could see what he meant straight away!! That is the pleasure of learning from scratch I suppose.
IMG00022-20091209-1717.jpg


IMG00025-20091209-1729.jpg

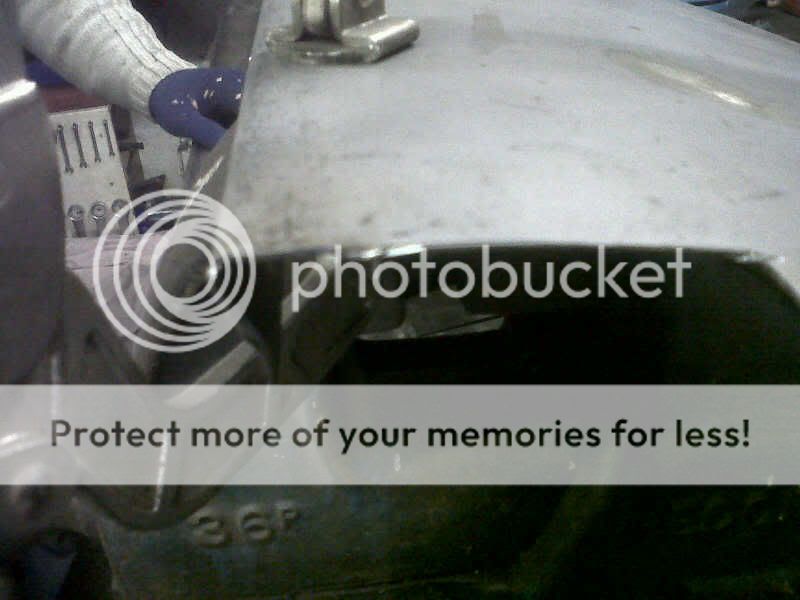
We used a round and a square metal bar as the formers and beat the hell out of it!


IMG00052-20100102-1401.jpg

Pic is crap but with a skim of filler this will turn out ok.


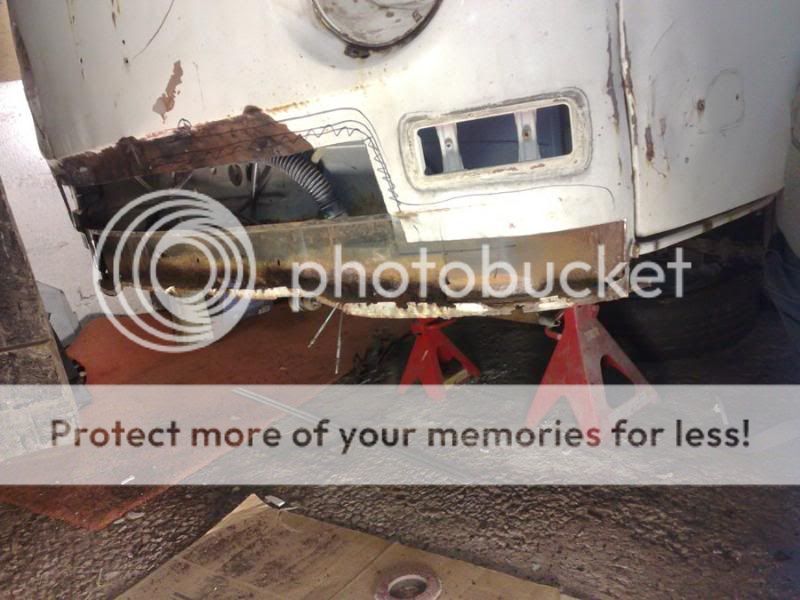
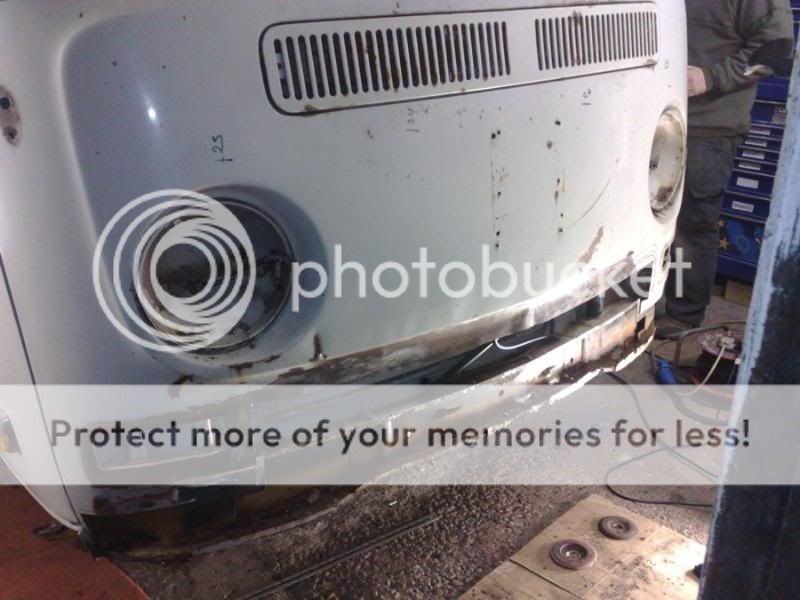
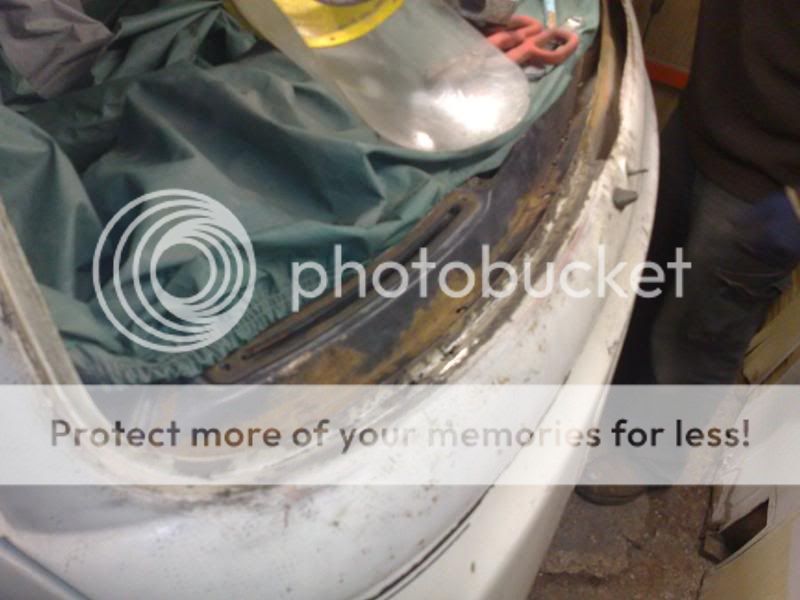
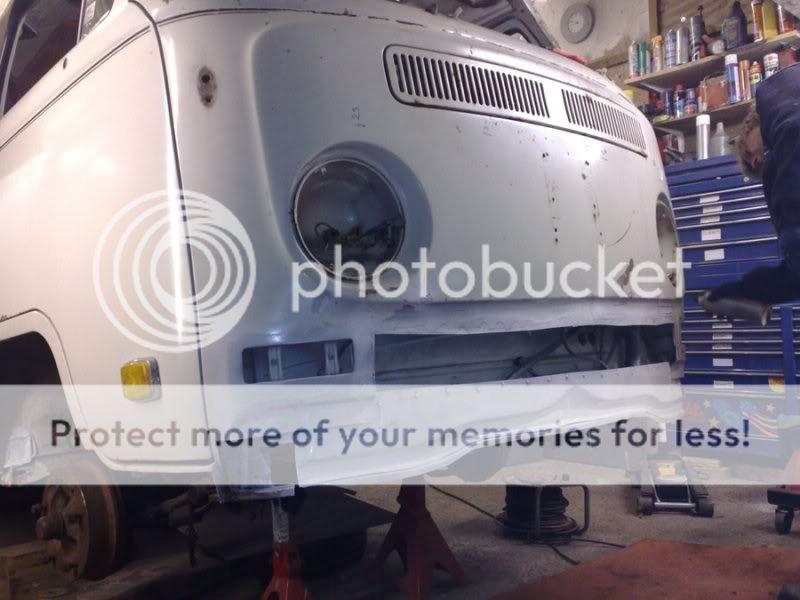
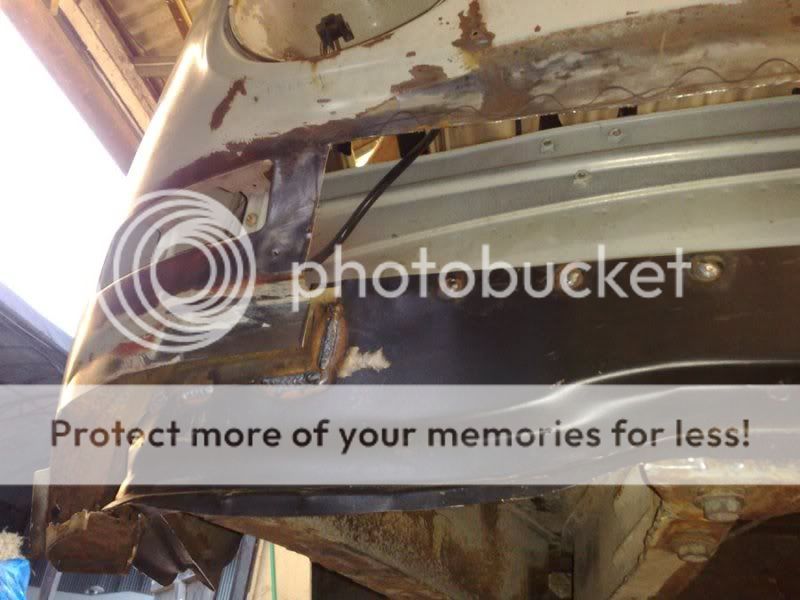
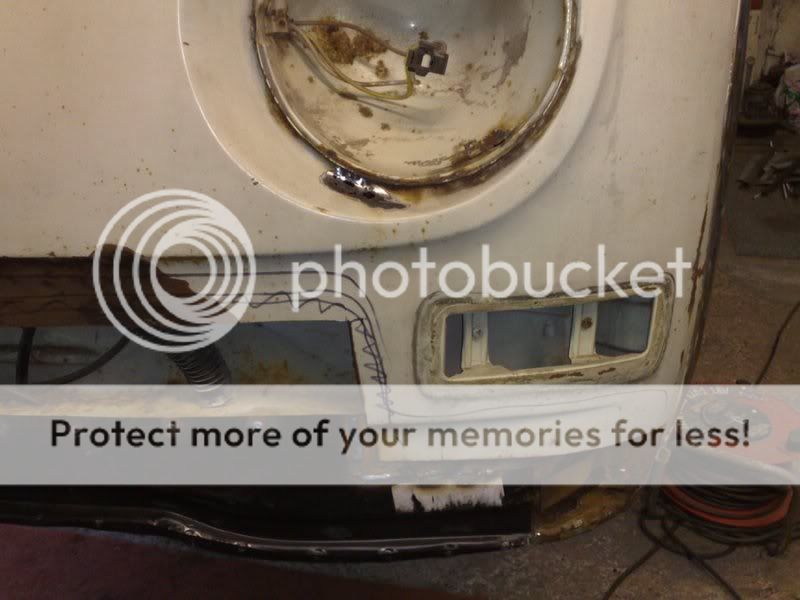
Next we turned our attention to the front panel, *I have been putting this bit off as I was totally lost as to how to start. With more help from friends we bare metaled the panel to see where the damage really was. Then out came the cutting disc and more metal was removed!!
IMG00076-20100121-1154.jpg


IMG00088-20100123-1340.jpg


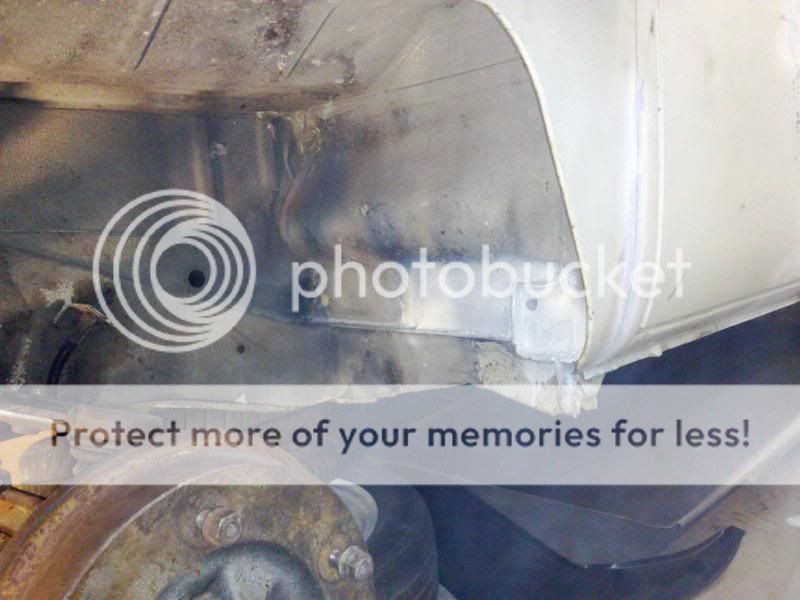
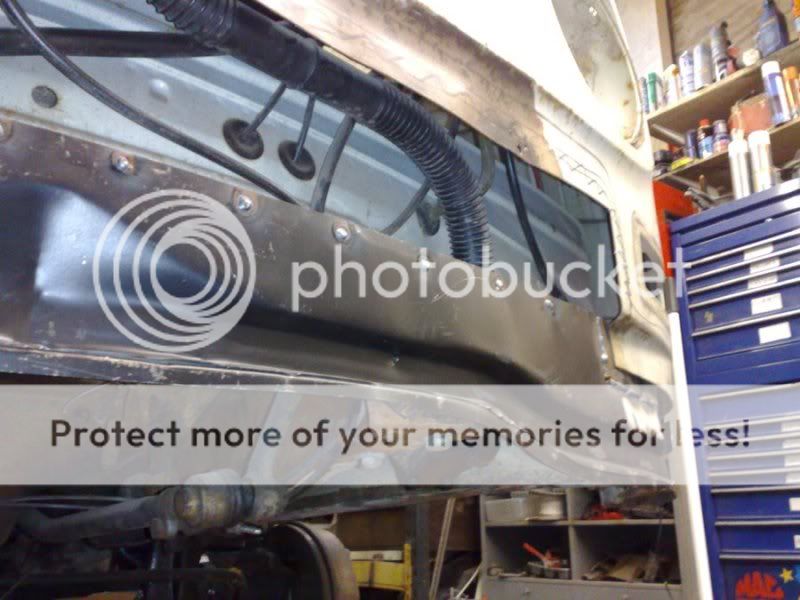
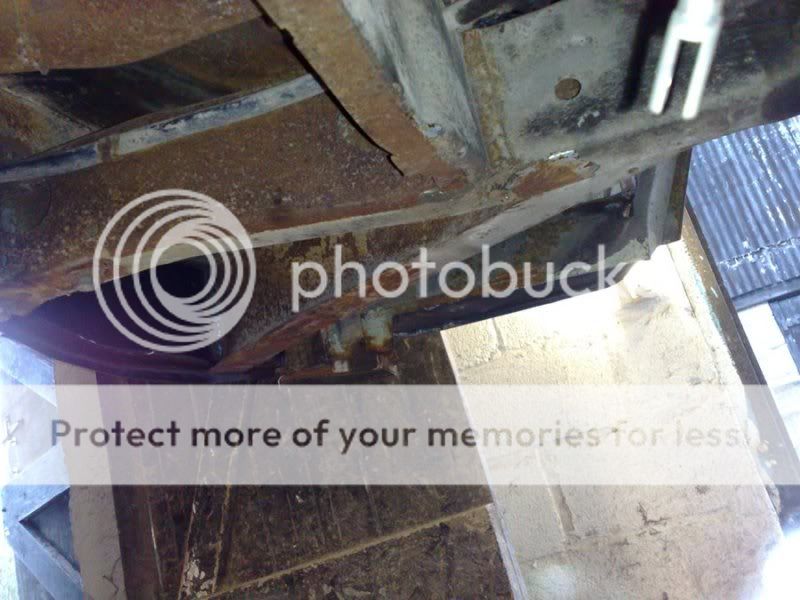
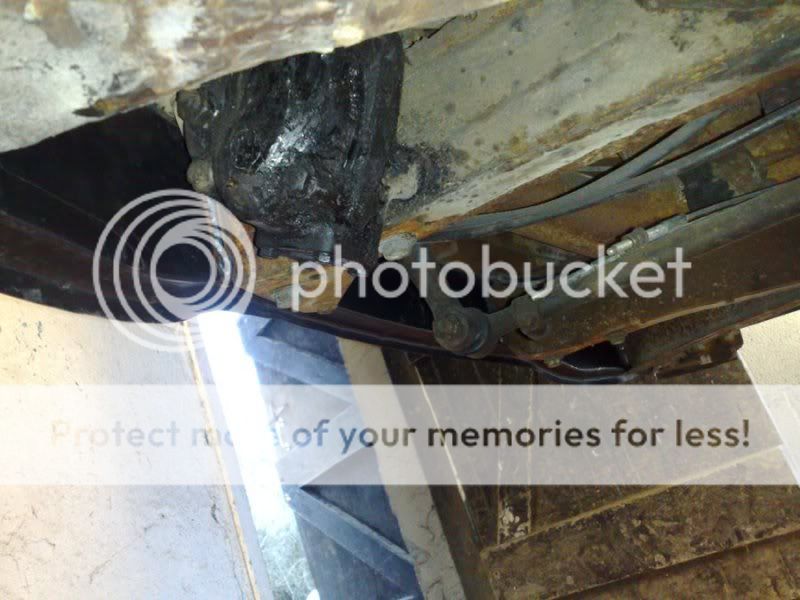
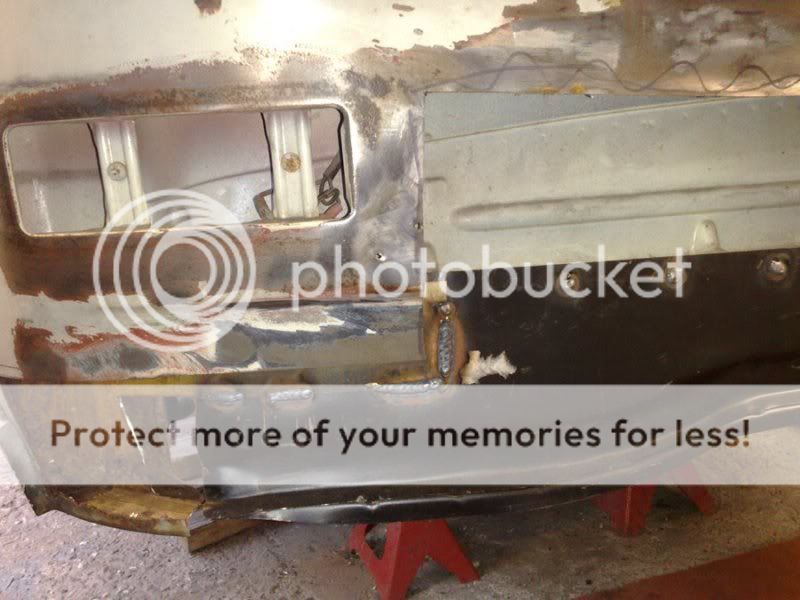
The inner box section was in a bad state, I had already got hold of an inner valance repair panel and we took our time to get it to slot in...Big Thanks JB!
IMG00089-20100123-1632.jpg


IMG00090-20100123-1633.jpg

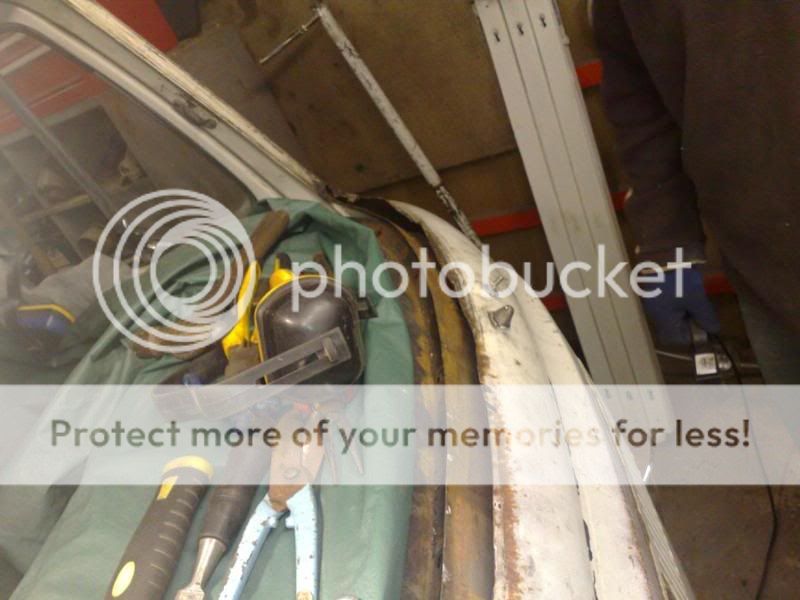
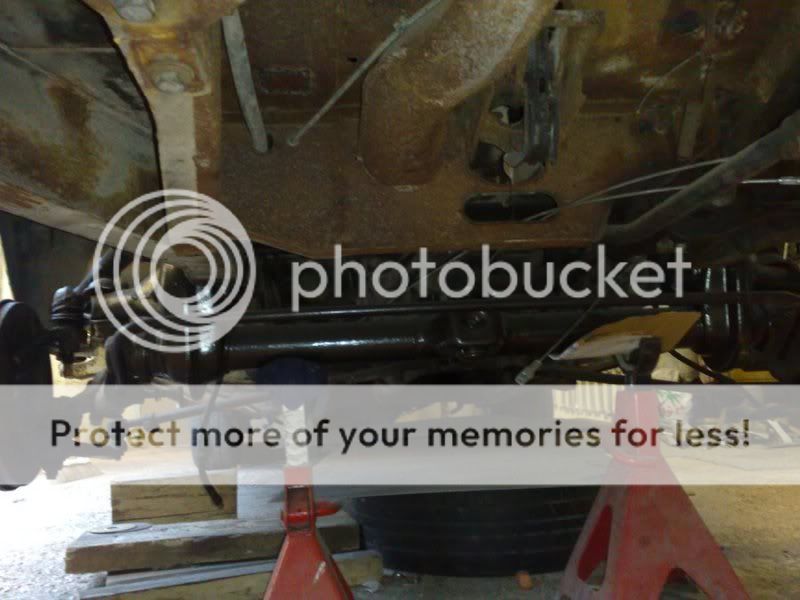
Seen from the underside it fits well.

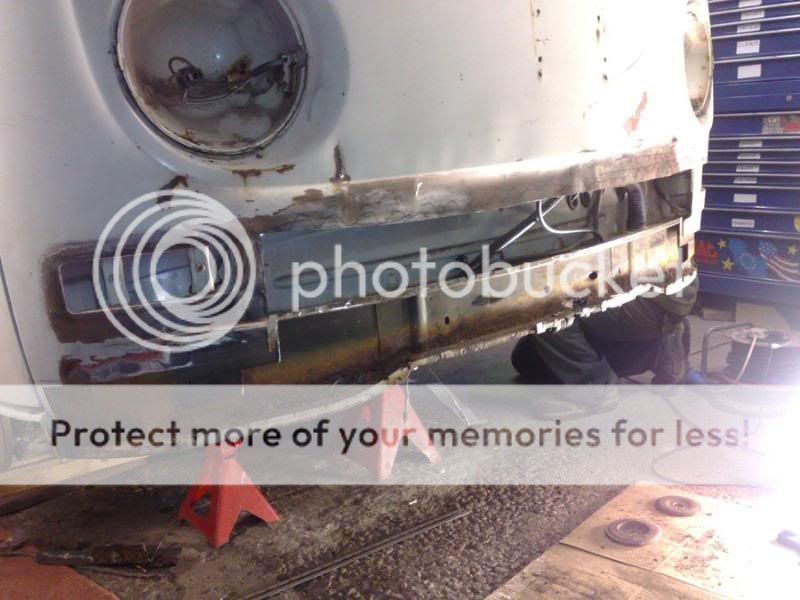
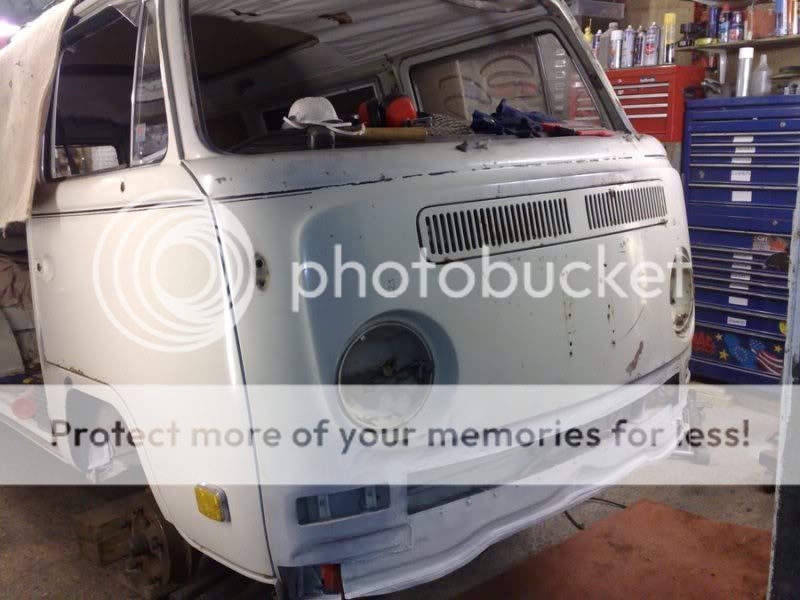
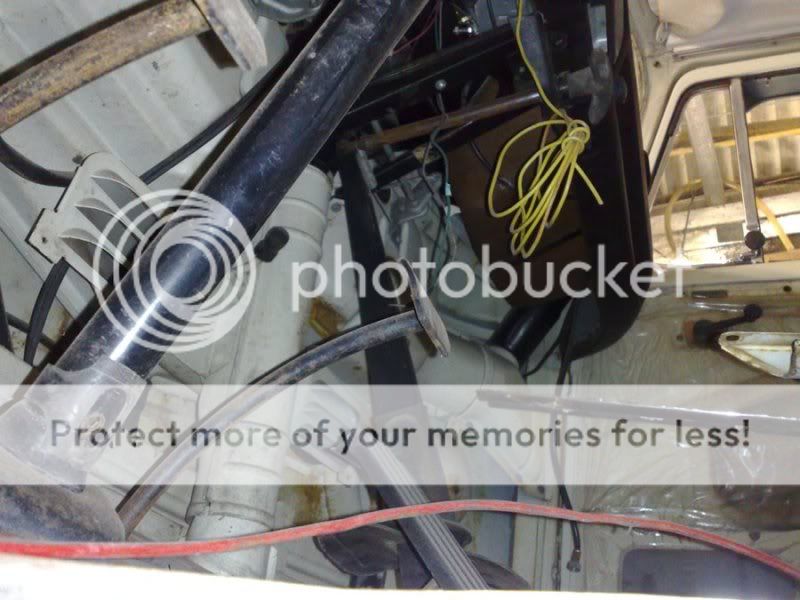
My next step is to clean up the front of the chassis legs and the areas around it ready for welding this section in. we then hope to make up the new sections to replace some of the metal either side of this panel. Then the steps can go in and finally the front cab floor sections!

Whilst on this subject - Has anyone got a pair of OG lower outer front step sections for sale?


IMG00072-20100121-0932.jpg


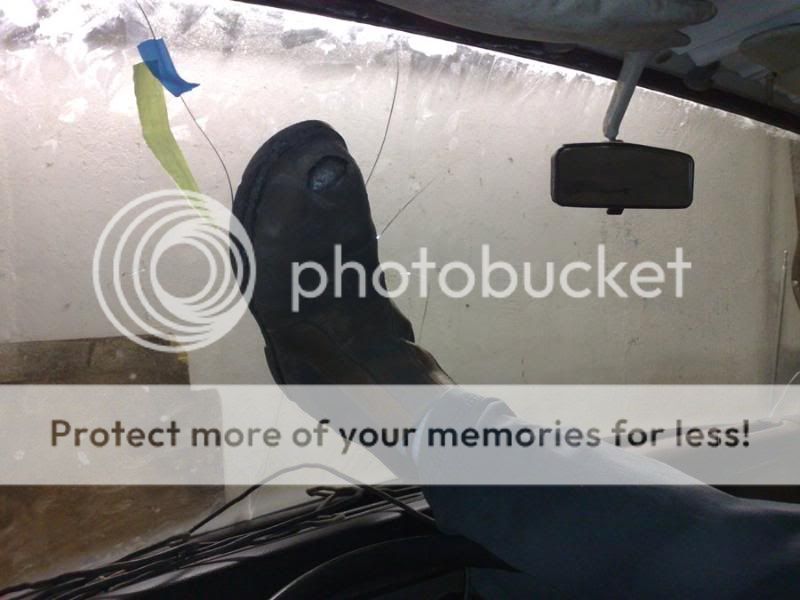
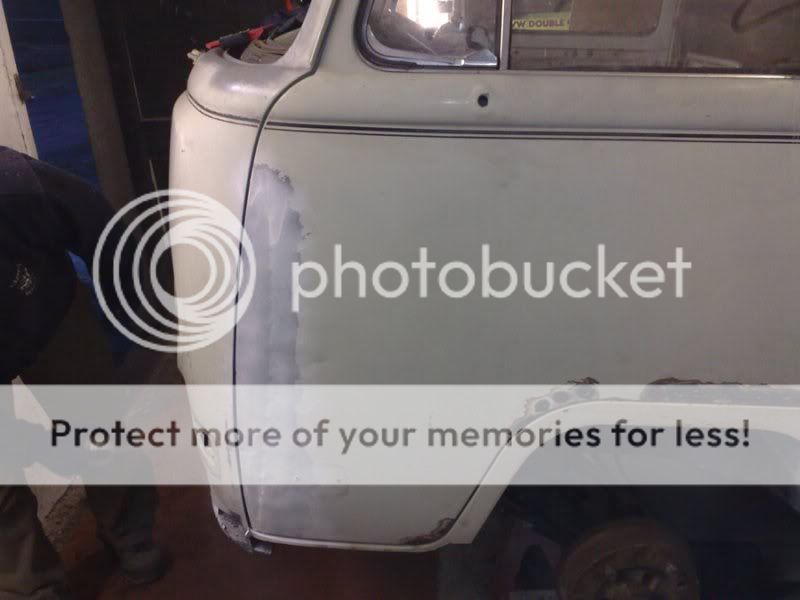
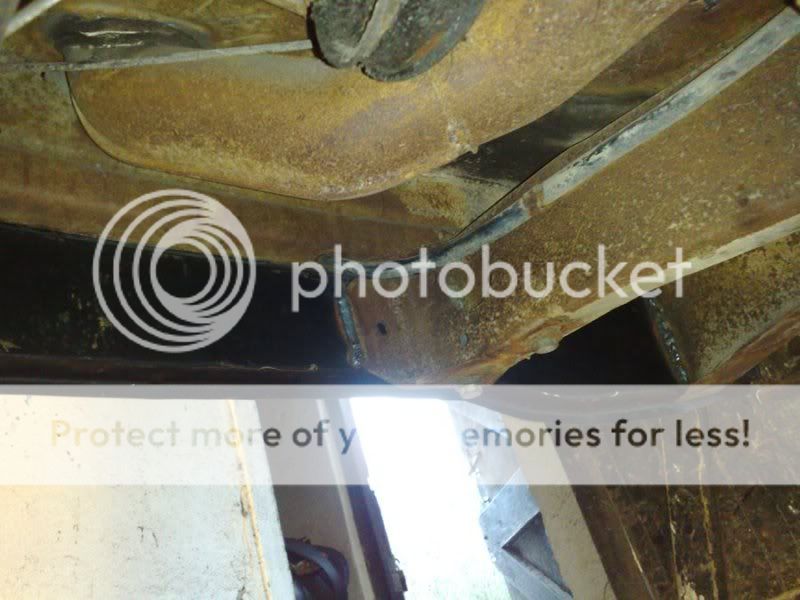
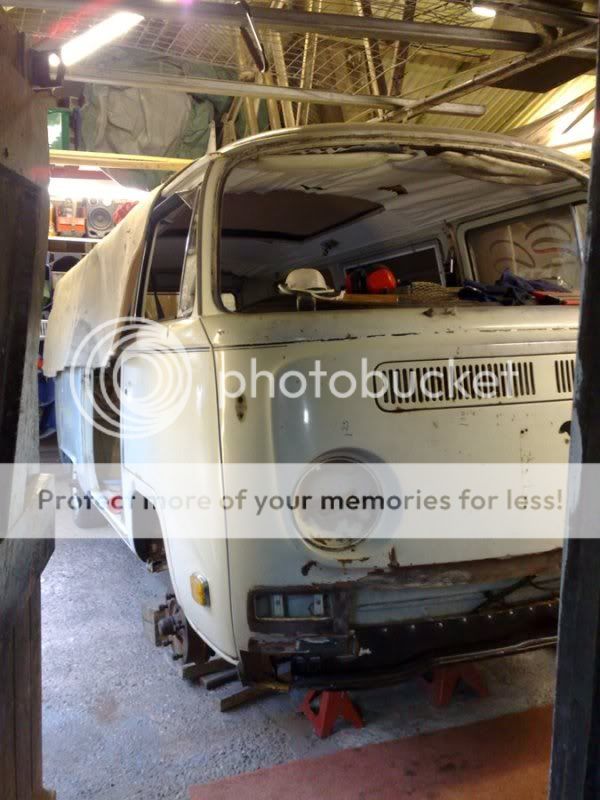
Inner arch repairs taking shape - my confidence has improved during this rebuild and stuff that would have phased me seems a lot easier now!

Roll on my next workshop day!!

Matt
 
21012010272_rs.jpg

21012010271_rs.jpg

21012010270_rs.jpg

21012010274_rs.jpg

21012010273_rs.jpg

21012010265_rs.jpg

Some more pics from the last couple of weeks.......

Also got some pics from earlier last year that my mate had stored on his camera!
21092008615_rs.jpg

20112008145_rs.jpg

20112008144_rs.jpg

20112008143_rs.jpg

20112008140_rs.jpg

20112008139_rs.jpg

08122008205_rs.jpg

08122008204_rs.jpg

08122008203_rs.jpg

08122008202_rs.jpg


This is kinda the look am going for....great inspiration for me, whoever's Westy this is???
18102008038_rs.jpg
 
Been busy again so....sorry about the last couple of threads...things got a bit outa hand!!

I was faced with this on both sides..
April2010038.jpg

April2010039.jpg


So after a lot of searching I managed to pick up a non matching pair of original cuts at dubfreeze. I had to buy the whole dogleg...whats left is in my for sale thread.

The floor sections had been made up a while ago but I didn't want to put them in until i had worked out how the steps would fit. I thought it might have been useful for access. I decided that leaving them out might make the panel too prone to movement after all that, so they were welded in first...
April2010043.jpg

April2010042.jpg


I cut out the section I needed from the replacement step and measured, then measured, then measured! Then out with the cutting disc...
April2010040.jpg

April2010055.jpg

Then transposed this over to the bus..
April2010052.jpg

April2010053.jpg


Then with a lot of massaging and filing I ended up with the end result...and quite chuffed how they have turned out...much better than any repro panel would have looked and really solid too...
April2010020.jpg

April2010021.jpg

April2010022.jpg

April2010032.jpg

April2010035.jpg

April2010036.jpg

April2010056.jpg

April2010057.jpg


Won't take much now to get them perf!
 

Latest posts

Top