Nick's Crossover Cali Riviera Camper

Early Bay Forum

Help Support Early Bay Forum:

This site may earn a commission from merchant affiliate links, including eBay, Amazon, and others.
Woohoo! Door skin flanging tool arrived today, so I'm another step nearer finishing the front. I've also managed to get a complete set of engine tin and some engine hanging brackets. There is a light at the end of the tunnel!
 
So I pulled the engine from my dormobile project to use in the riviera. I fitted a new flywheel oil seal and clutch (to suit the later gearbox in the 72), together with an alternator conversion and good secondhand heat exchangers and hardly used van exhaust from my "will come in handy one day" box.
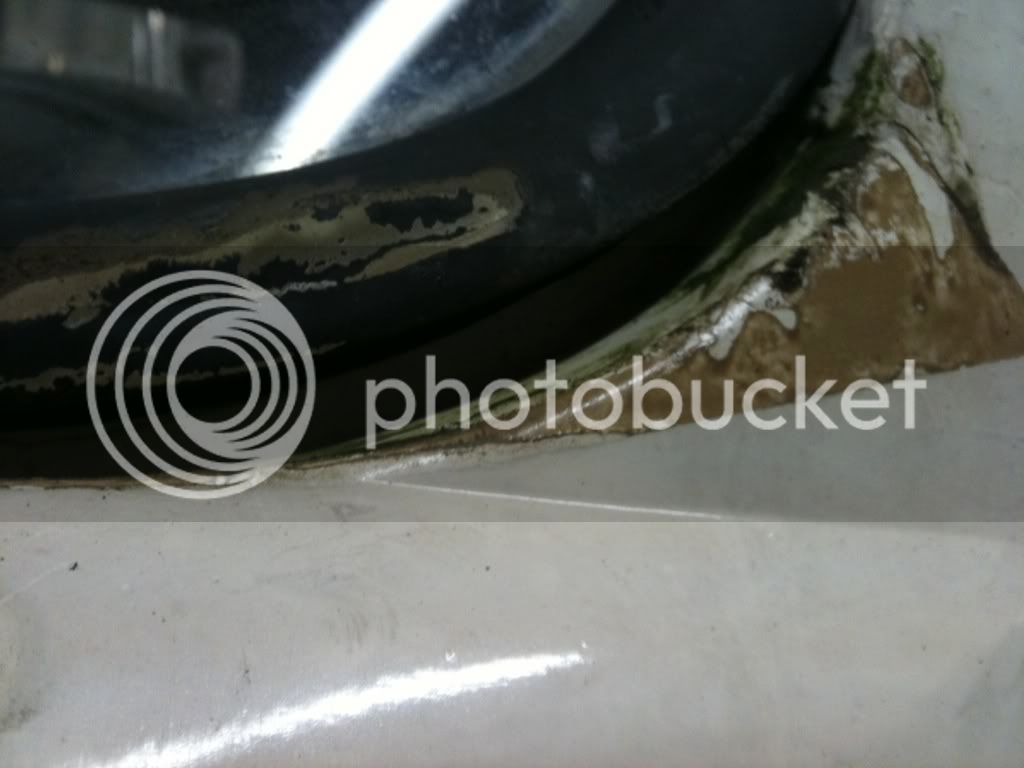
The chap who started the resto on the dormobile a few years ago must have fitted a recon engine; the oil was clean, the clutch was unused and the ports and guides on the head were like new! Hopefully the rest of the engine is as good. There is certainly no endfloat and everything turns smoothly, it just looks a bit grubby on the outside.
The plan is to plonk this motor in and rebuild the spare with the 1835 bits and twin 40's over the winter; if I get six months out of this engine I'll be happy. I'll be fitting this one tomorrow, so stand by for a few pics.
 
Its been a while; had to go off on a course for a few months. I'm back home now, and I have managed to find a new owner for my dormobile project. This means I have a spot in my garage available for my riviera, and also have the next three weeks off work. The plan is to finish getting the engine in, drop the front and rear suspension and finish off the front panel. It would be cool to have it MOT'd before the end of the year! I'll get some new pics up over the weekend. :)
 
Good news (also a bit sad - loosing the Dormobile, but at least its not being cut up :) ) about the extra space. 8)

Looking forward to some pictures now ;)
 
Been a bit of a delay.... The camper is too tall to get into the garage. I have removed the front portion of the riviera roof so the front end can go in, and I have arranged a few mates to come round tomorrow to help push the back in on trolley jacks with the back wheels off. I need to drop the back by about 6" to get her in. Just to complicate things I have decided not to lower her permanently as the Scottish campsites are pretty uneven and we will usually be fully loaded with loads of kit and the family. The deluxe trim is also going to a new home as I don't want to drill any holes in the body and cause more rust traps.
On the lookout for a decent set of front rectangular reflectors and front bumper step rubbers as well. Maybe some pics tomorrow.
 
i was ment to post this in your thread but posted it in another one :oops:

Now in the right place

dubscum said:
i love your bus and i love slammed ones, but really happy this one is staying high, it just suits it so well 8)

:D 8)
 
Thats me gone and bought a new front panel (again!). Hopefully the new one will go on a bit easier than the last, and I'll be triple checking the windscreen aperture size. It should arrive in a week, so I'll be sticking another shedload of pics up over the next fortnight or so. With a bit of luck I won't have to widen this one. I was never too happy about the extra welds and fillets needed, and the subsequent difficulty painting and sealing the back of the panel properly.
 
Thats the new panel arrived and I've finally got the riviera safely tucked away in a nice warm garage away from these impending blizzards. I'll be whipping off my previous attempt of a front panel and starting again. Stand by for more updates and pics.
 
Here's an example of my extreme cack-handedness:
2e67803e.jpg

Because I didn't double check the panel fit in the screen area, I was left with a bit of a gap under the nearside lower edge of the screen, plus a too-small windscreen hole on the offside. The brown stuff is the remains of some parcel tape I temporarily stuck over the gap to prevent any rainwater getting in while the bus spent the summer parked outside. Nothing else for it, screen out:
3b33b435.jpg

The old front panel is coming off tomorrow. I have already measured the new panel; it is a touch wider (by about 6-7mm) than the old one so should be an easier fit. I'll be paying closer attention to the windscreen hole measurements as well. :)
 
bc805ec8.jpg

No going back now! Sorry about the poor pic. I laid on some masking tape and put some datum points at the top and bottom of the screen hole. As I suspected, the heights of the windscreen ledge varied from one side to the other. The offside was 5mm higher than the nearside. The screen was a good fit in the middle, so it looks like I need to put the new panel on 2.5mm higher on the nearside and the corresponding amount lower on the offside. I'll be triple checking the fit before final welding as well.
 
I've had no end of trouble with the last front panel I fitted to this van, not least it needed widening by about 5mm each side; coupled with the misaligned screen aperture I just wasn't happy with it and so I ripped it all off and started again. I prepared a new front panel, sat it in position and put a couple of very thin ratchet straps on to hold it in position. I must have only just took up the tension and gave each strap a couple of extra clicks when there was a loud "BONG!" The panel had popped into place with the return edges sitting nicely in the doorshuts. It had a good fit over the airbox and even the windscreen pillars were bang on on one side and just needs some minor trimming on the other.
24ab432a.jpg

e248fc49.jpg

The datum points for the screen look good as well. I'll be trying a screen in the hole tomorrow, lining it all up and then starting to weld it up. :D
 
Where di d you get the 2nd panel from?
I dont need a complete panel but curious to know as it seems a much better fit
 
The second panel came from Vw Heritage. However, I'm not convinced that the original producer of the panel is different. I've heard from a few people who have noticed a variation in size of these things.
 
Hi Nick

We had exactly the same issue recently with a complete front panel from Schoies, we had to ratchett strap it to get it to fit but it still wasn't perfect, they are made on a jig at schoies as I've seen it and the panel was lifted off the jig when I collected it but it was too short initially to fit the front of the bus and only with some heavy ratcheting did we get it anywhere near close, not sure how accurate the welding was at the factory when they put these together!!

Good Luck with it
 
Its been a while... had the lurgy over New Year but finally fit enough to get in the garage. I spent a good while checking the fit of the new front before tacking it into the windscreen pillars. Then I started to lay the fold over round the A post. Next job was to finish weld the pillar joins; a pity the mig decided to throw a wobbler and hang up on me. The wire feed jumped the spool and snapped, and to cut a long story short my tip is fecked. I have a few spares but still hadn't found them after an hour. No halfrauds in Shetland either, so stuck till the shops open tomorrow.
 

Latest posts

Top