Right then, time to bring you all bang up to date as of tonight
")
I think what I will do here is do the write up first, then I will just photo bomb everything from that weekend.
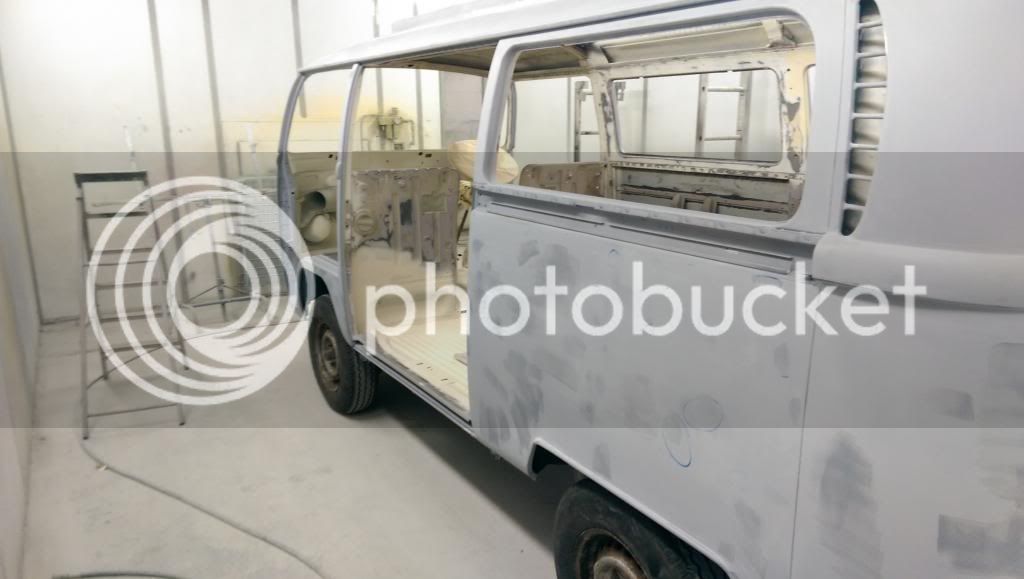
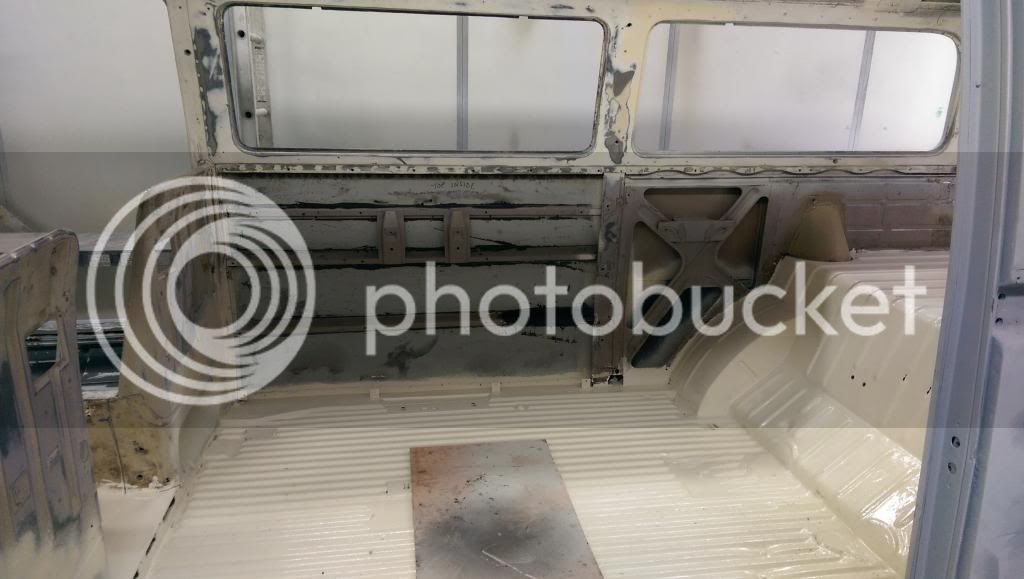
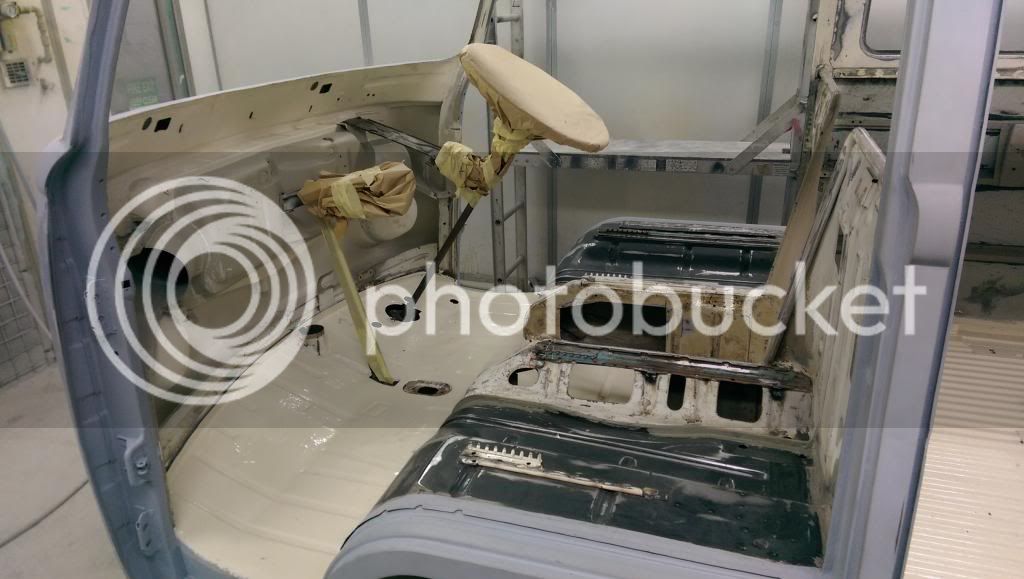
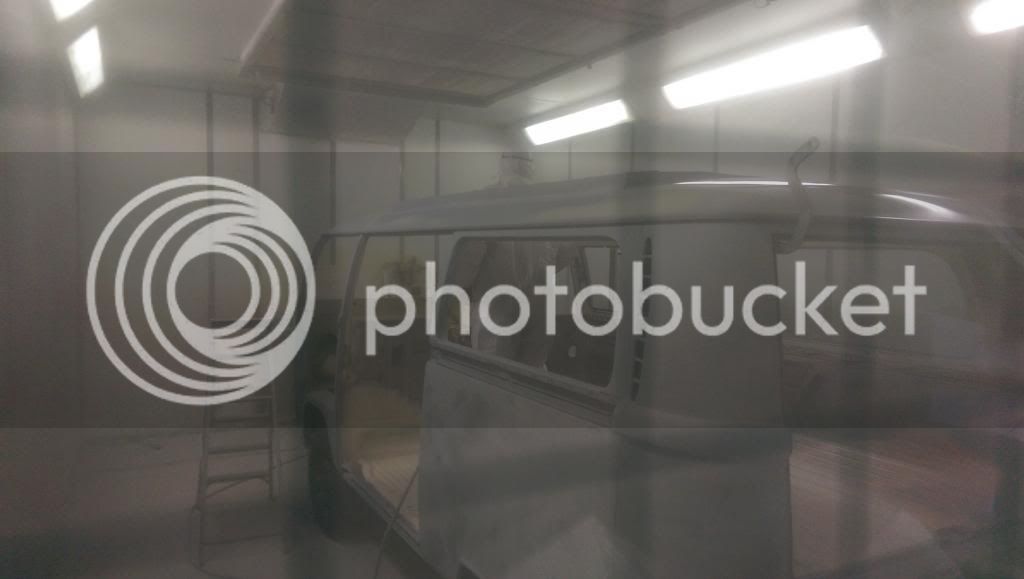
So I left you with the bus going in to paint on the Friday before the 2nd May bank holiday. It was given a blow out (the amount of shot blasting grit left in the bus was insane...) and then tucked up for the night.
Saturday morning when I arrived at Ronnie's workshop he was already hard at it. First up was colour 1, this was used around the roof and inside. Ronnie tried it on the Rustoleum but it reacted
Then we masked the roof, door frames and windows up and it was time for colour 2. Then it was all unmasked and lining tape used to then go back to colour 1, the bottom half and roof was all masked up.
At this point, in the booth and under the fluorescents we both really didn't think that colour 2 was going to work with colour 1, in fact I was so sure I had already got the conversation in my head my girlfriend that we were going to change not the colour, but what was what colour. Fortunately though, when Ronnie came out after painting colour 2 I believe his words were 'that looks the mutts'...I agreed
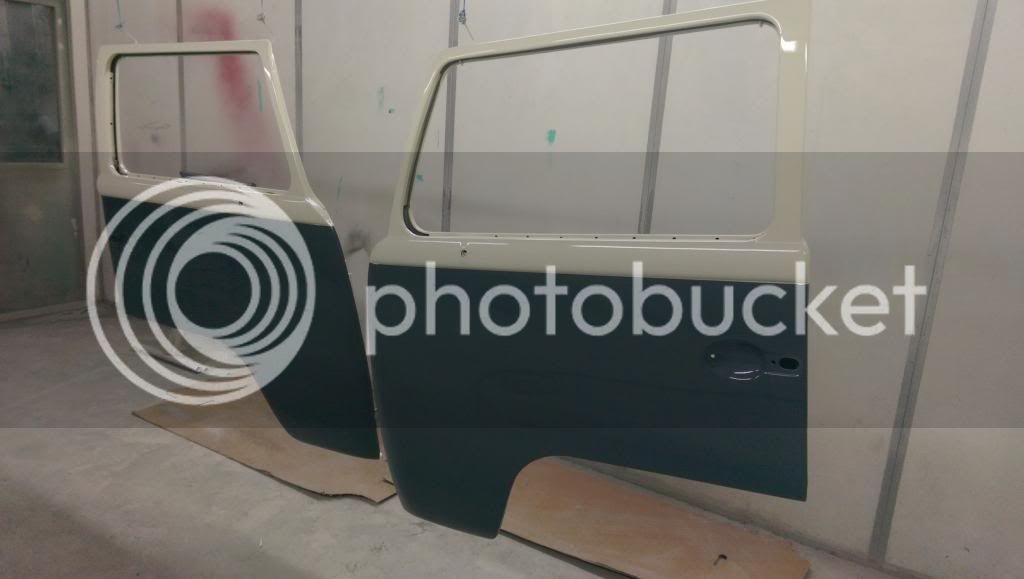
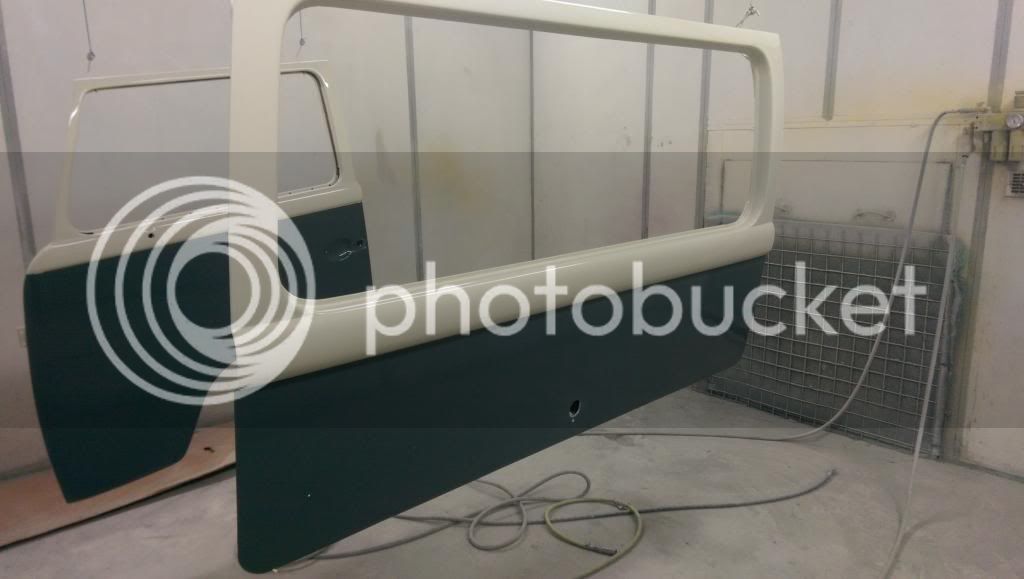
I think at this point it was nearly midnight as we had had issues in the morning with the bake in the booth which super Ronnie managed to fix (with my help obviously)...we also had the final flat down to do as well. We had done the tailgate, engine lid, valance and doors as well. So to be honest from 8am to gone Midnight we were flat out and I went home exhausted but a f**king happy chap :lol: So 9am on Sunday I was back at the workshop to continue, oddly on the right rear corner there were some cracks around the light hole and also all the way up the line where the corner and the wheel arch panel meets. There was also a small dead spot under the rail cover. So Ronnie had already started flatting back the areas concerned and taking the cracks to metal to redo the primer and filler as it looked like the crack when straight to the metal. We think it was an impact of some kind, the most likely being someone had used the light hole to pull or push the bus.
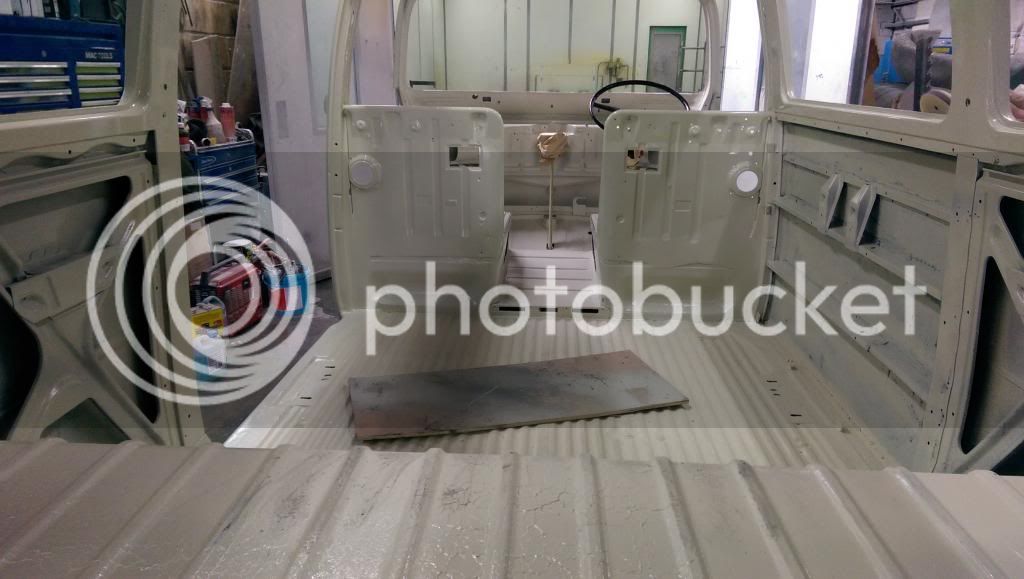
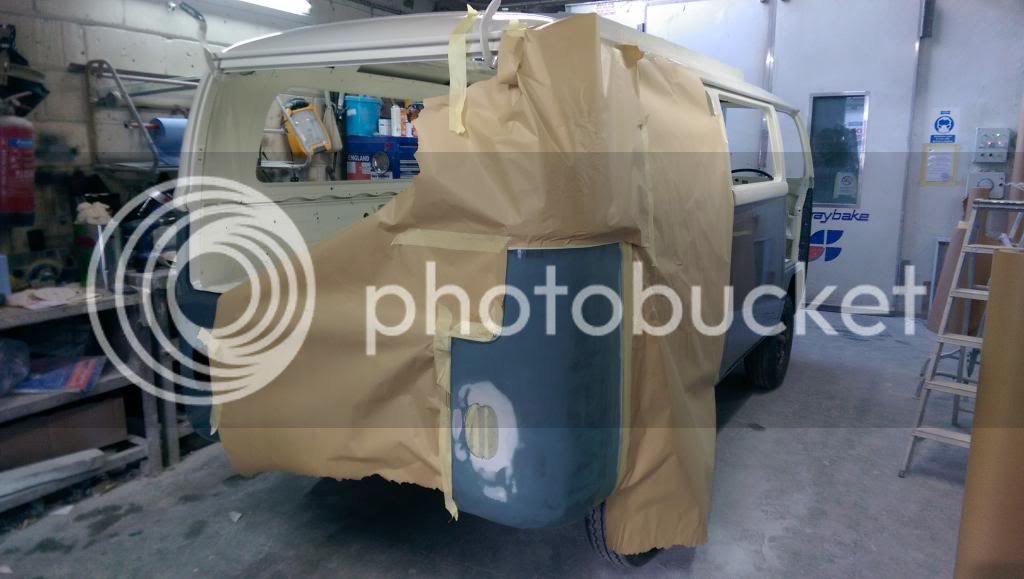
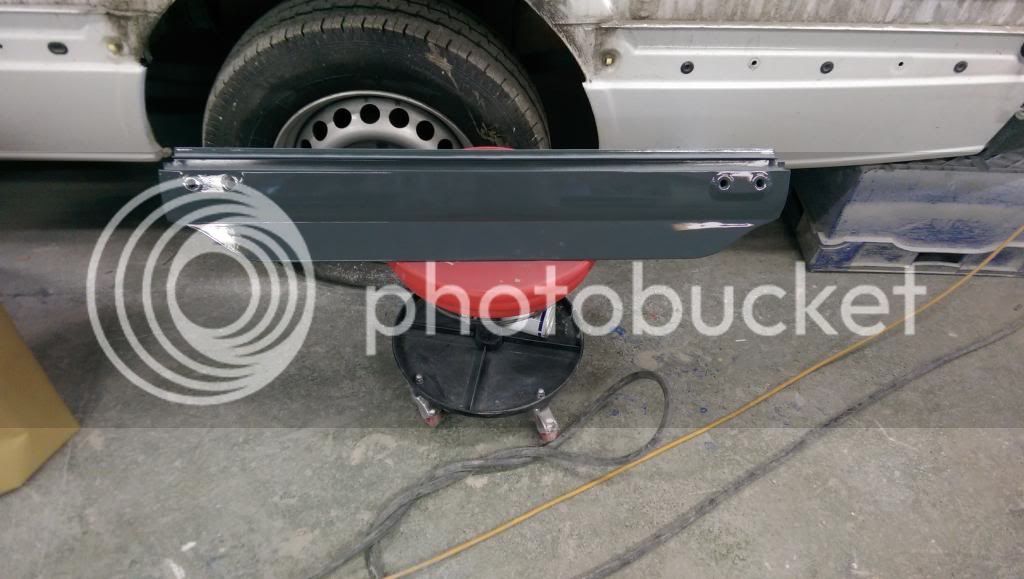
So that was re-primed, flatted down and re-painted. The remaining little bits were painted as well, the front flaps, grill, track covers, heater tree, sliding door hinge, bumpers, steps and fuel flap.
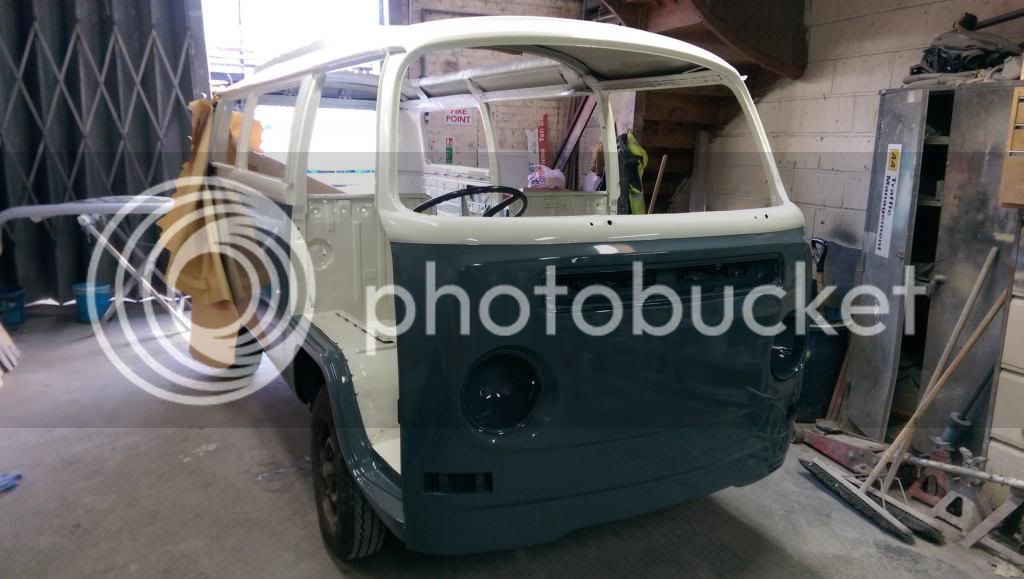
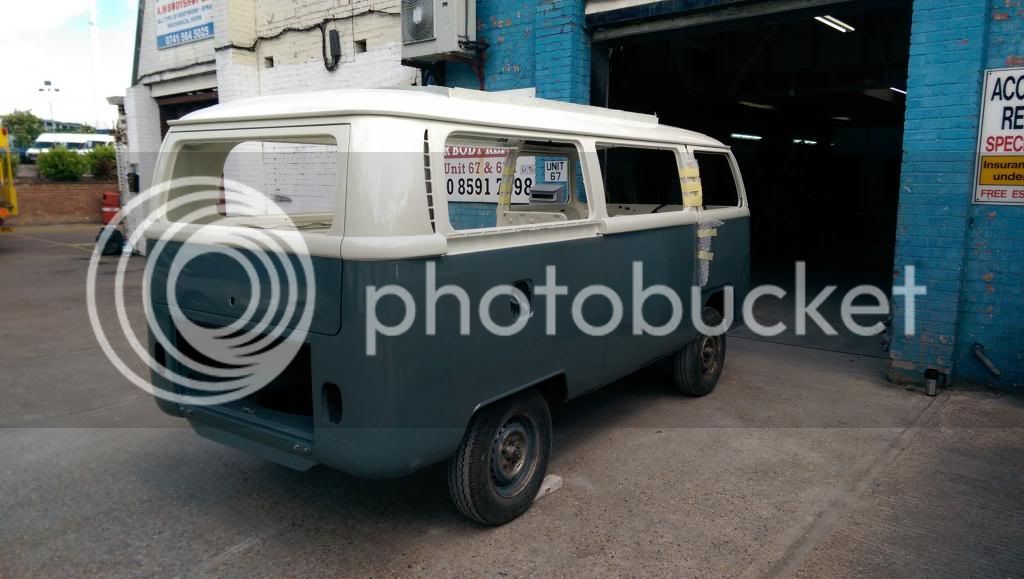
All painted, loaded up by 3pm Sunday afternoon. Now it was sit in traffic time across London on a bank holiday Sunday. But what a weekend, non-stop, I was knackered but 18 months nearly to the day the bus that needed £500 worth or work was back in the garage all shiny and ready to be put back together.
Now I will post pictures from that weekend, I won't describe any of it as quite frankly I already have :lol: and if any of you are tldr; 'this is our bus being painted'


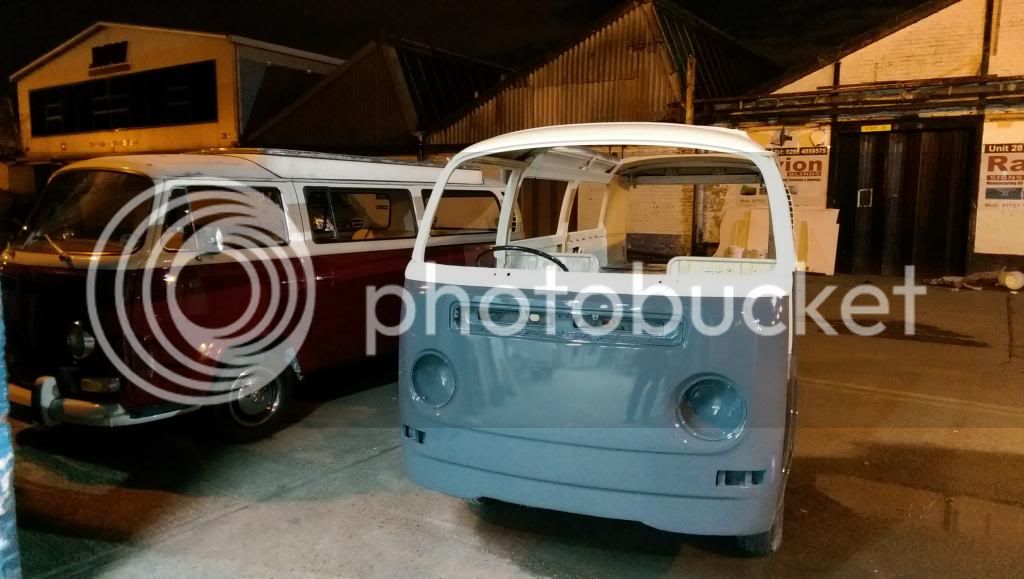
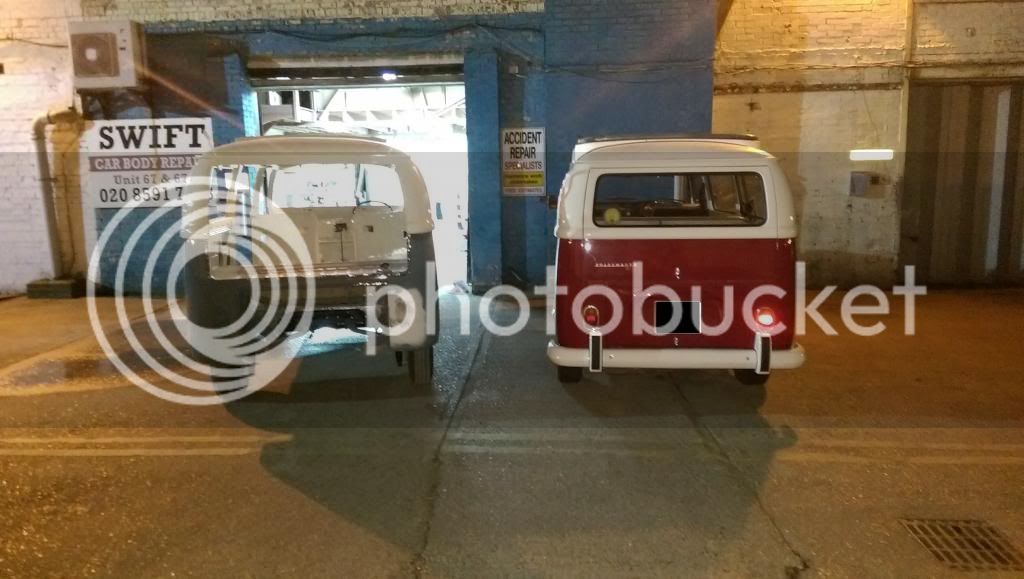
The Red one is Ronnie's, hopefully he doesn't mind me posting a picture of it!
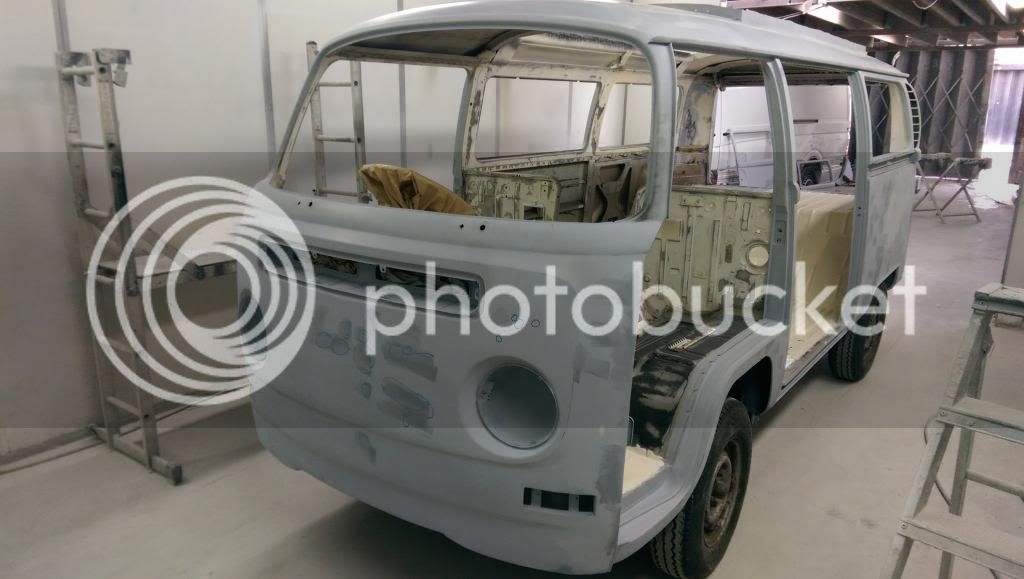
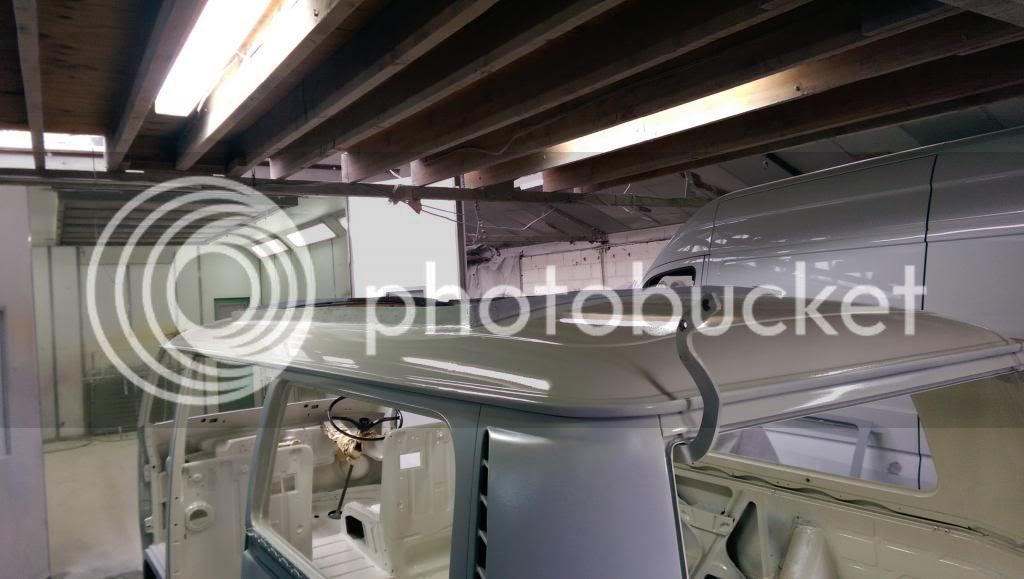
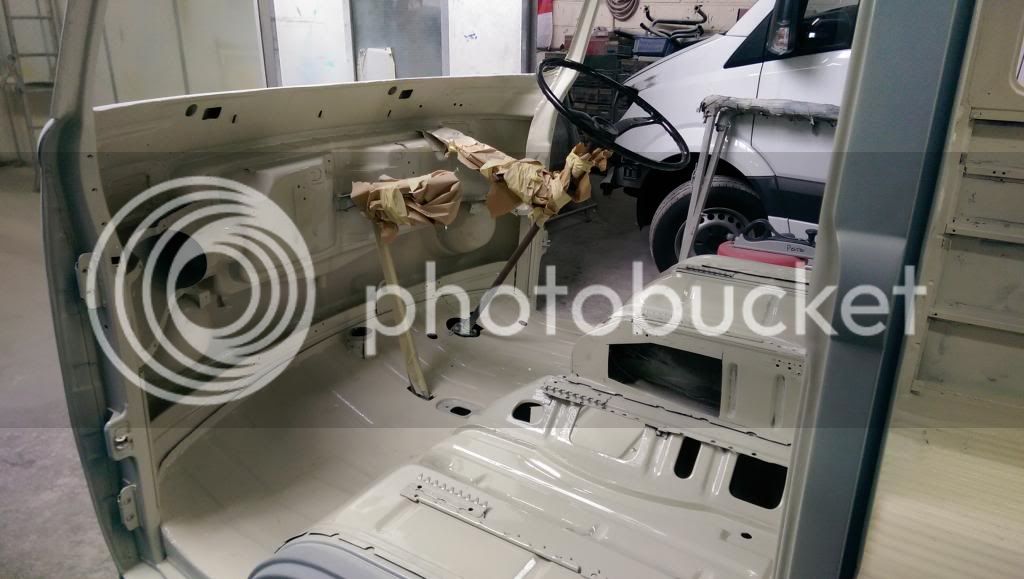
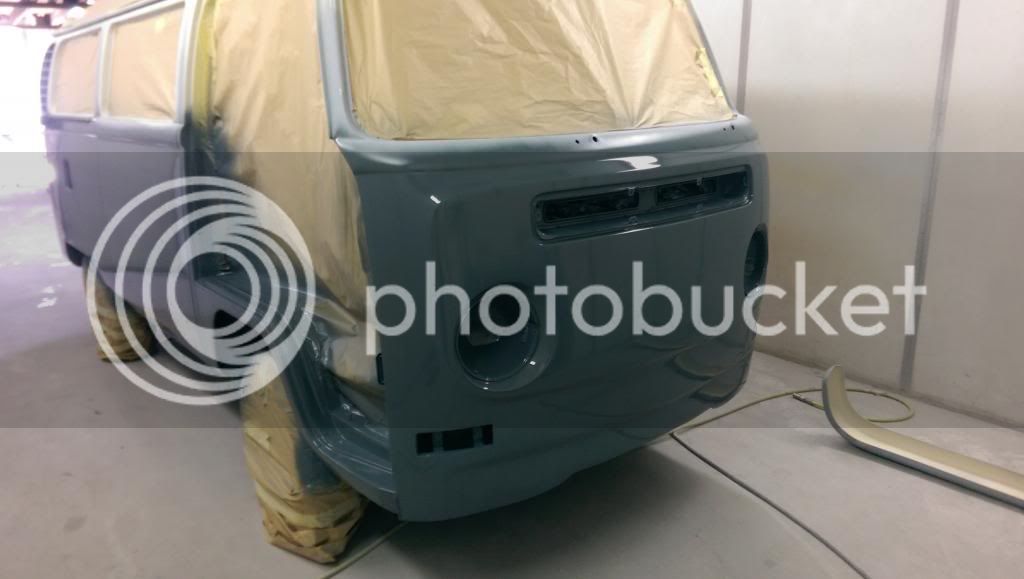
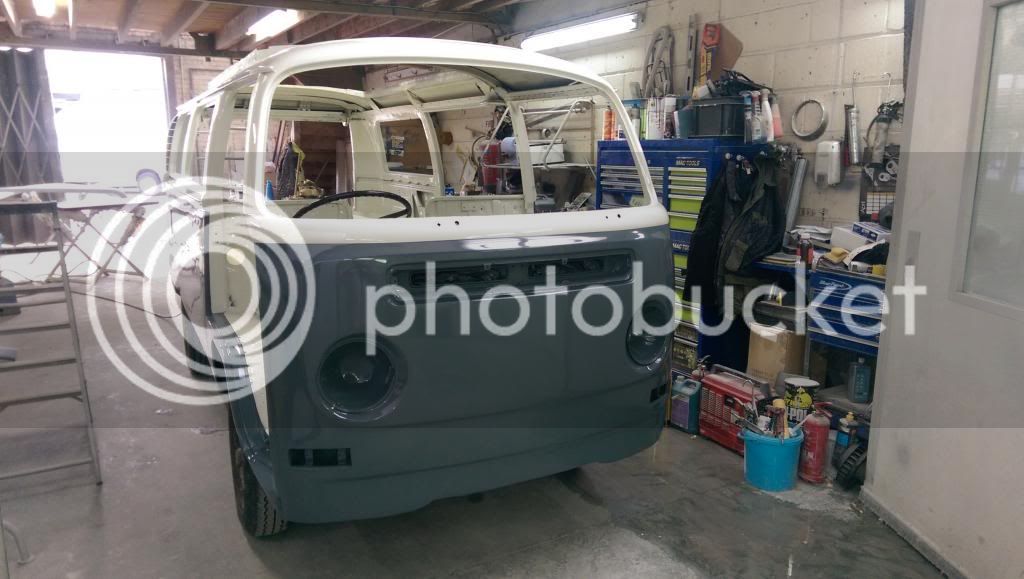
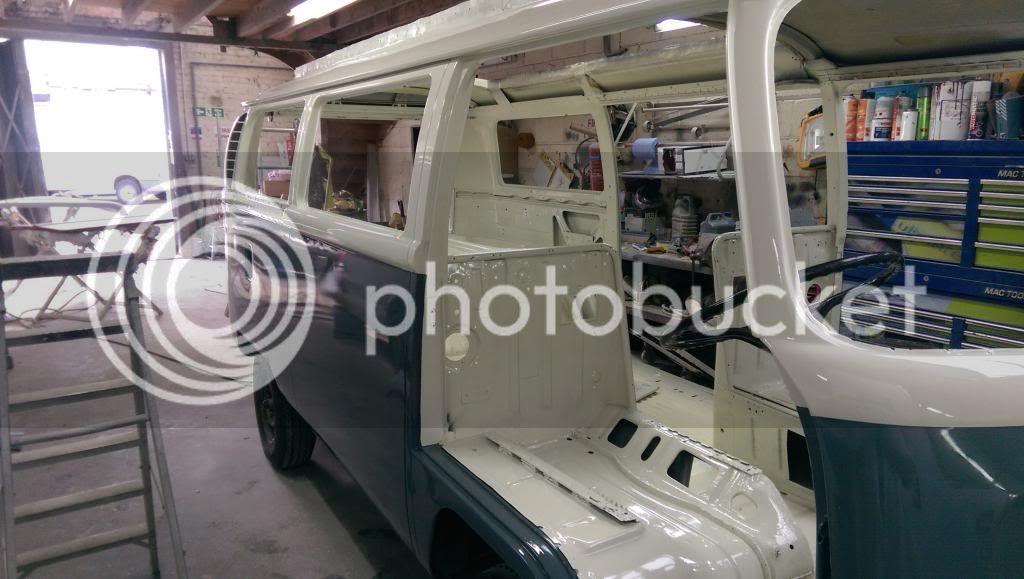
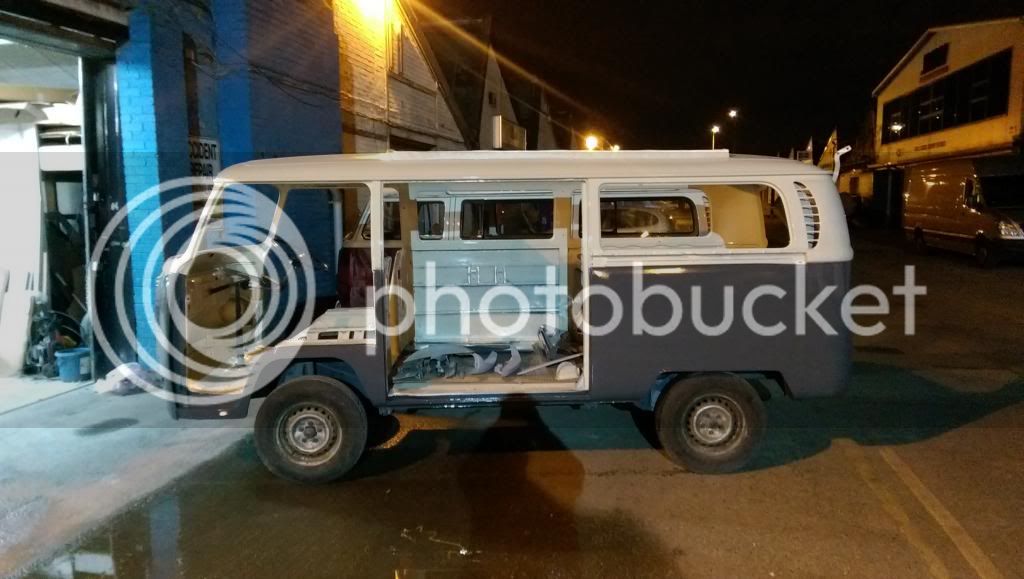
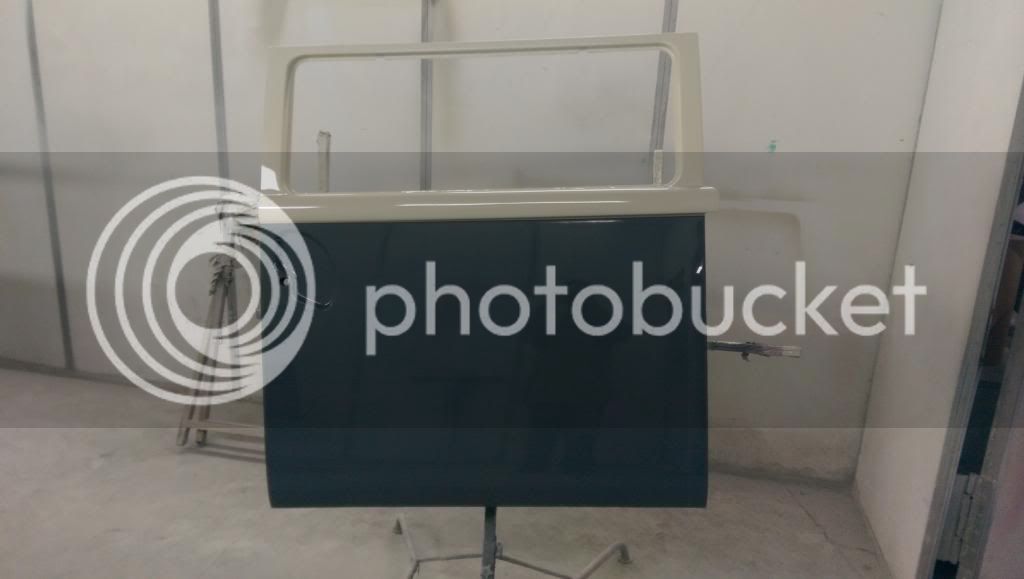
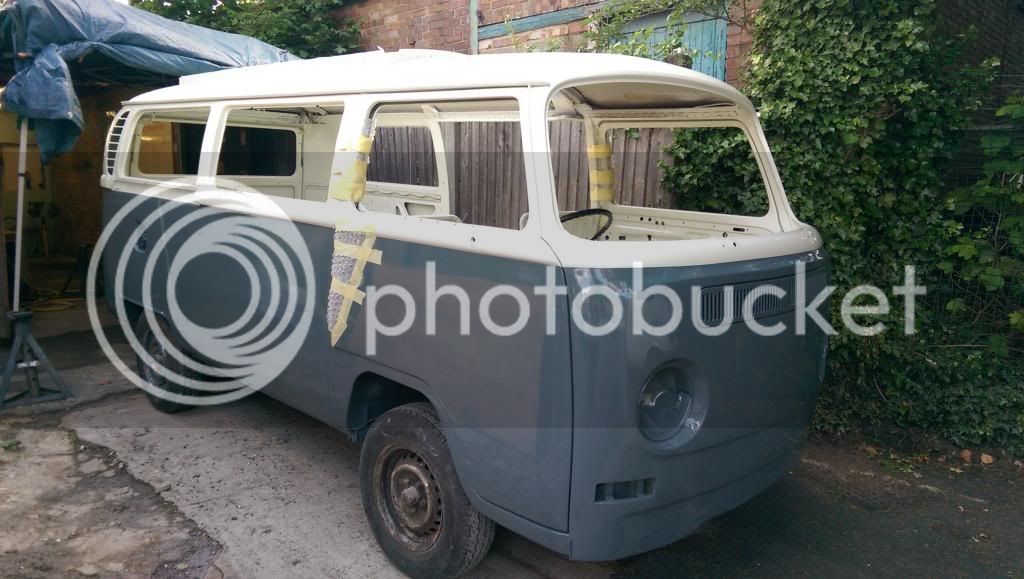
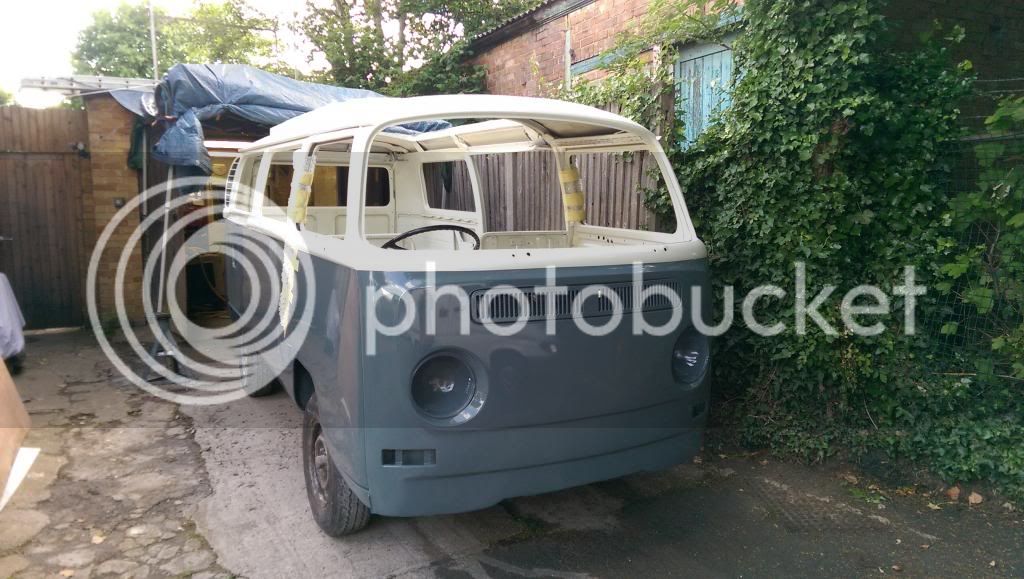
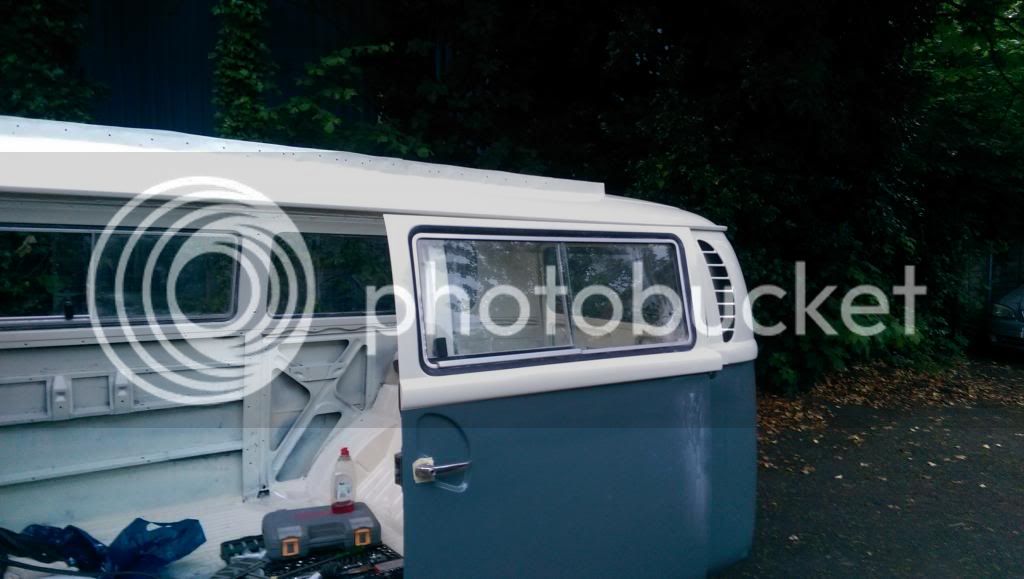
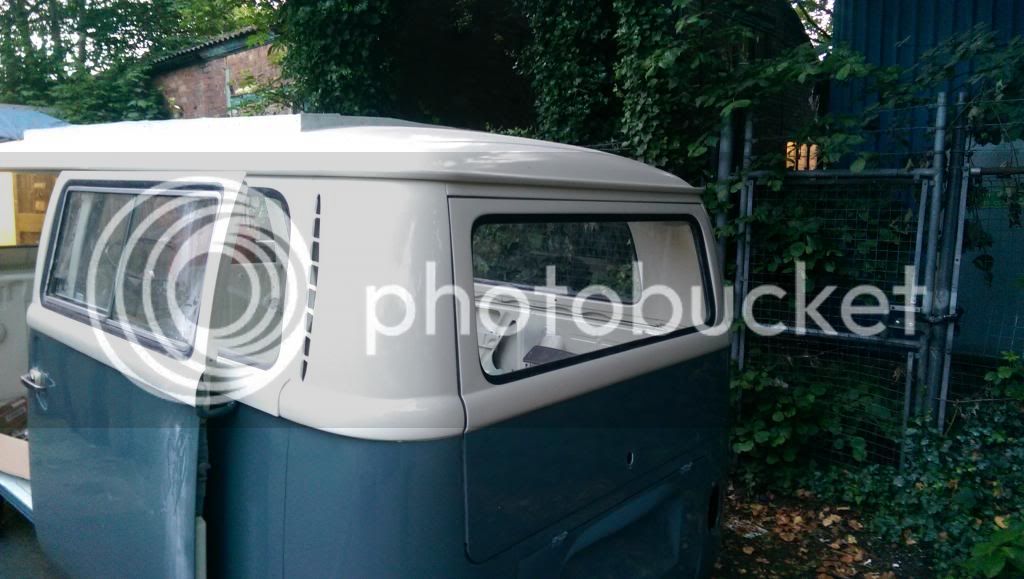
There you have it, my bus finally painted. You have probably noticed how in nearly every picture the bottom colour is Grey, then it's Green, then Blue. It is Grey, Pearl Grey in fact. Also rather unique as by standard it is a matt finish which we believe is what columns, pedals etc were painted in. The top half is Pastel White. Although Pastel White looked SO Yellow in the booth, more like a magnolia, once the Grey went on it really takes the yellow out and is now much more of a white colour.
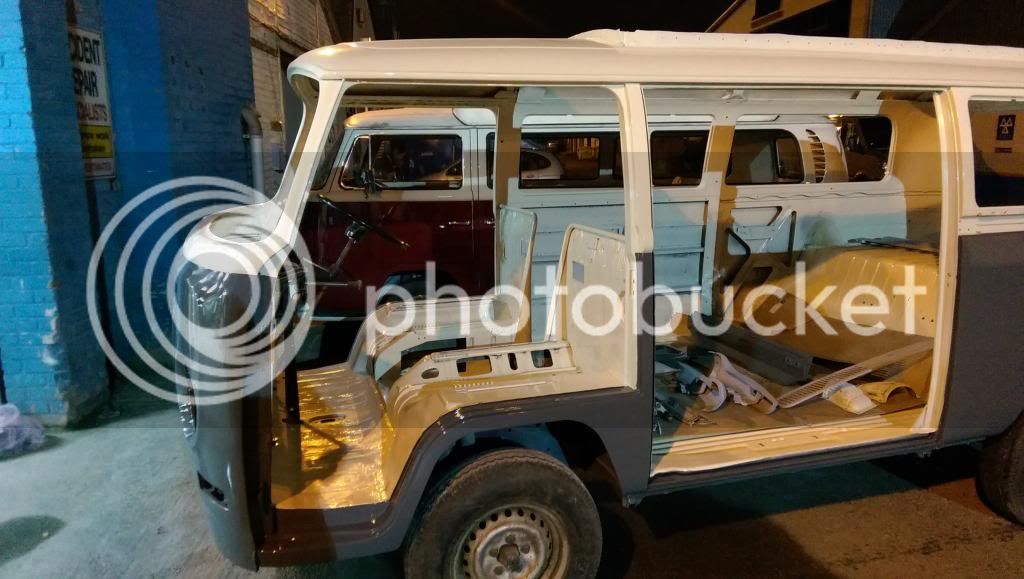
To confirm the Grey colour, it took me ages to get a picture of what your eyes see, but this is the closest I have got.
Hope you all like it, because I do, I bloody love how it's turned out. It still needs flatting and polishing as I am bound to scratch something as I am putting all the glass, lights etc in. But even with none of that it's so bloody shiny!
Now it's time to put it all back together! What a learning curve this is, bare in mind that we started taking this bus apart on 2nd December 2012 :shock: so how it goes back together is any ones guess! I started by hoping down to Heritage to get new front door outer scrapers, felt and various other bits and pieces that I know we needed. Drivers cab door locks was first up. Established we didn't have the channel inside the door, so I asked my self the questions did we have it? Did we throw it away? Did I lose it? That started the first of I am sure many things that I will ask those same three questions to. Not knowing really what I am missing and where what goes it is inevitable that I will be making many small orders over the coming weeks :lol:
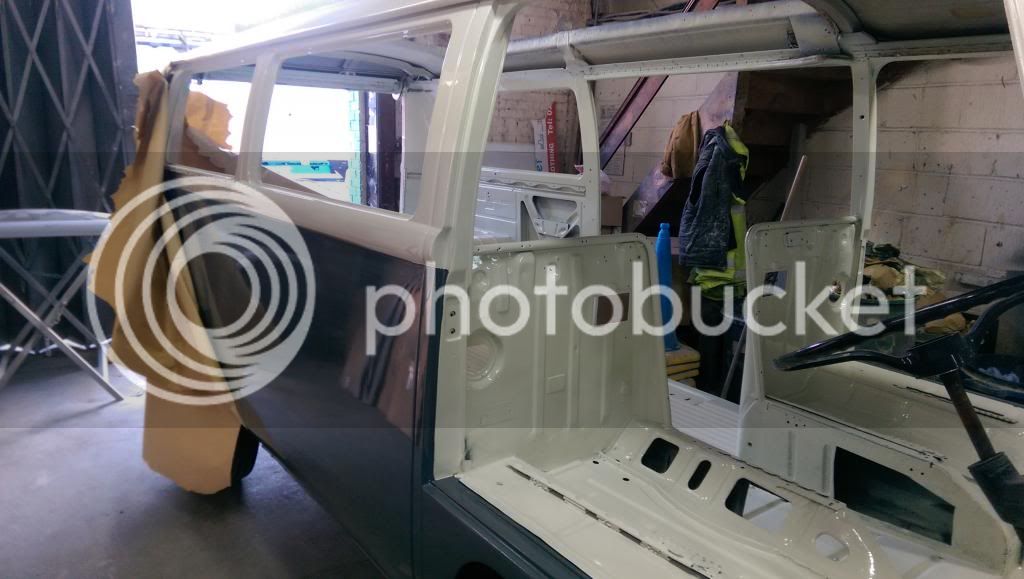
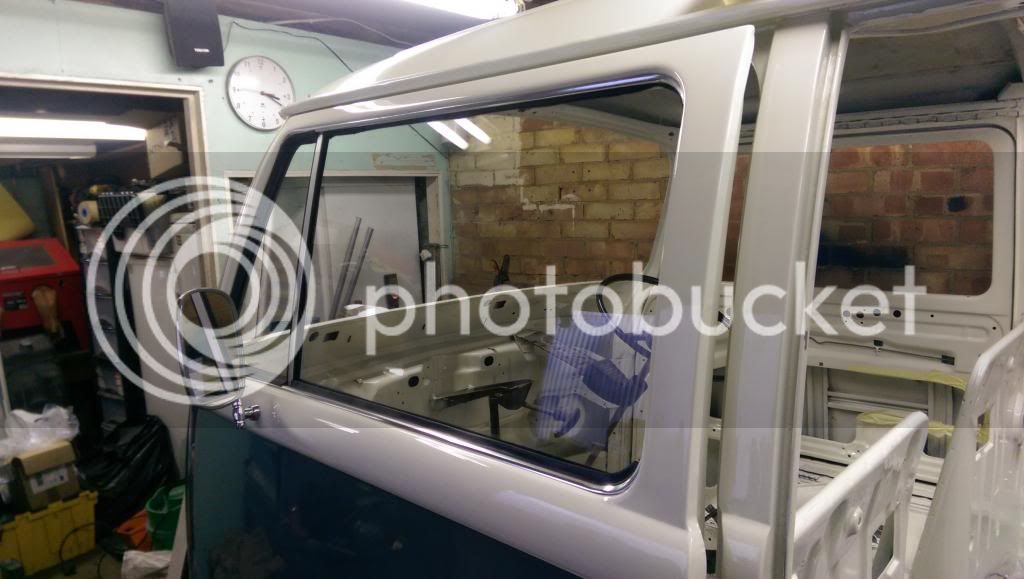
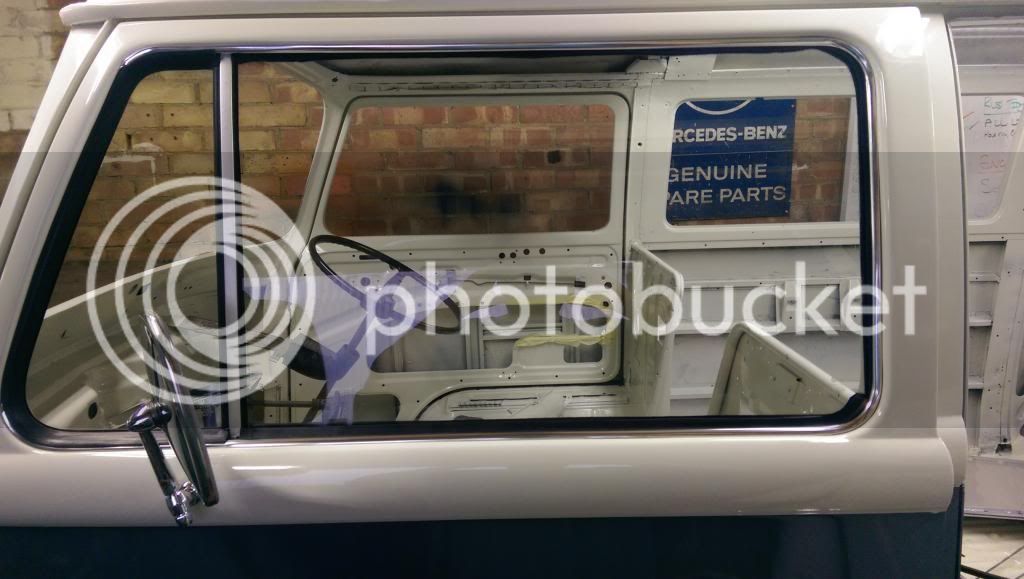
After the drivers door lock mechanisms were done we flipped her round so I could start on the passenger side. This one, I did the locks but I have also put all the glass back in. What a bastard that was...I lost count how many evenings something seemingly rather simple that took! For anyone reading I think I could do it all now in well under an hour. It was taking me ages with the outer scraper as it is made of paper with tin foil over it...I kept saying to my self there was some guy originally who probably did a hundred of these a day and how much of a ****** he is :lol: this was until I got my flow. I had the inner one in first and it was all just too tight, so I changed tactics, took the inner out and within a couple of mins the outer was in. The problem is the clips are so brittle they kept bending down, so a massive screwdriver up through the door to hold the clips in line with the holes in the door and a little squeeze later, all clips were in.
Winder mech (don't tighten up)
Outer scraper
Inner scraper
Main Glass
Vent Window
Window Up - Tighten Everything
Main Felt
Window up (if used some sticky stuff as the clips are crap :lol:
Stand back and admire.
On to the windows, started with the rear and worked forward. I thought I took better pictures but I guess not!
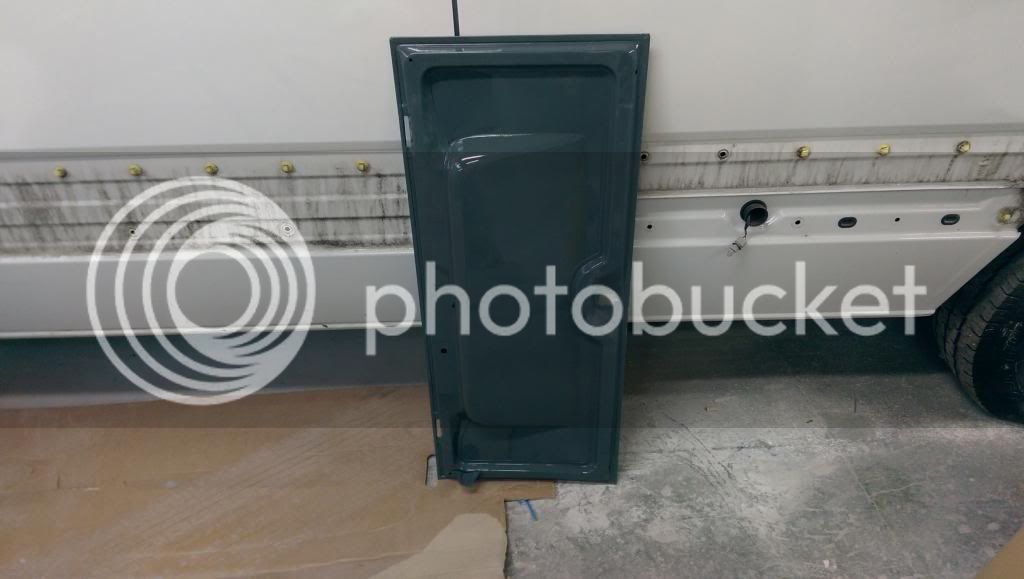
I hadn't noticed before now (they'd been in bubble wrap in the cellar for 18 months
) that on the sliding door window there is some damage around the lock for the sliding bit. I can only assume that someone has tried to break in at some point, a dirty thieving prick or a PO who locked themselves out we shall never know. So I will replace this at some point with an undamaged one.
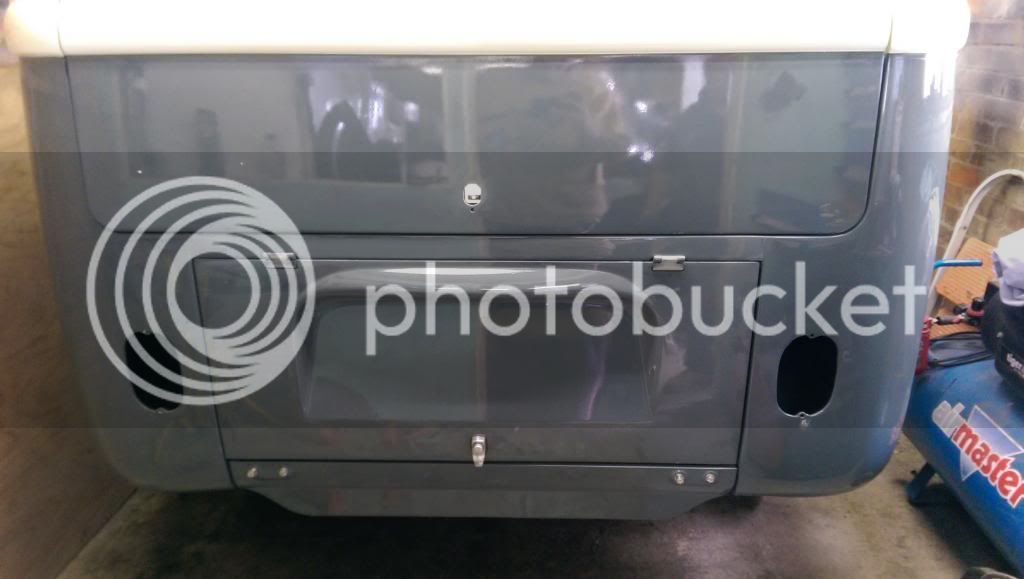
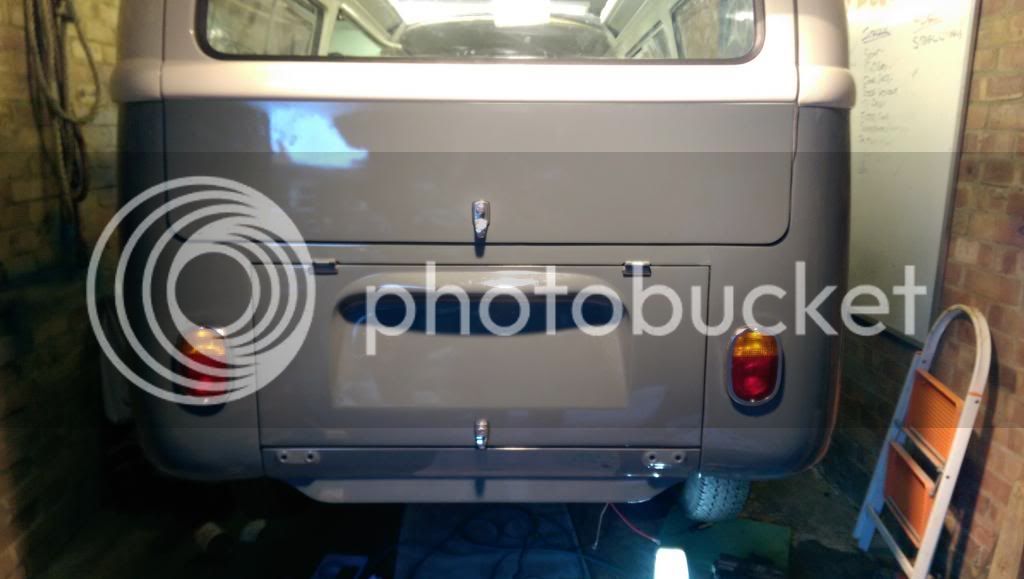
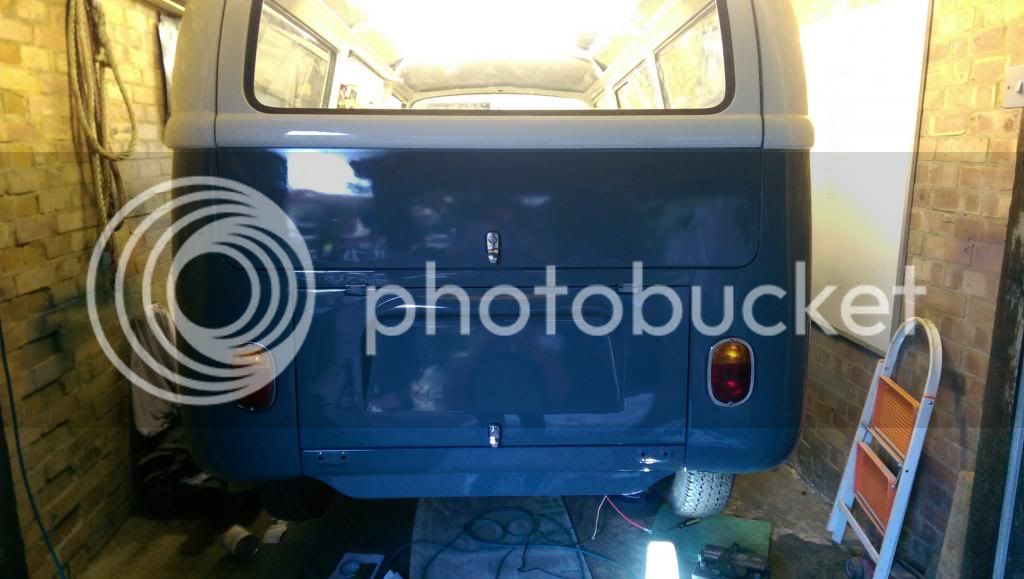
Just over a year a go we bought a new wiring loom from VWLooms. It was now time to put it in. We had to run the tube between the cross-members as this was almost non-existent due to rot. As it happens it was something I forgot to do when we had the bus on it's side when we were blasting, stone chipping, etc. I tried to make the main loom part that comes through the engine bay to the battery hidden but it wasn't long enough unfortunately. Something I should have requested when it was made as Jon would definitely have made it that couple of foot longer. I then put the rear lights in. What a pile of **** they are. I think I got them from EBay. They will be changed as soon as possible. Another two photos just showing the colour difference with a bit of light, then no light.
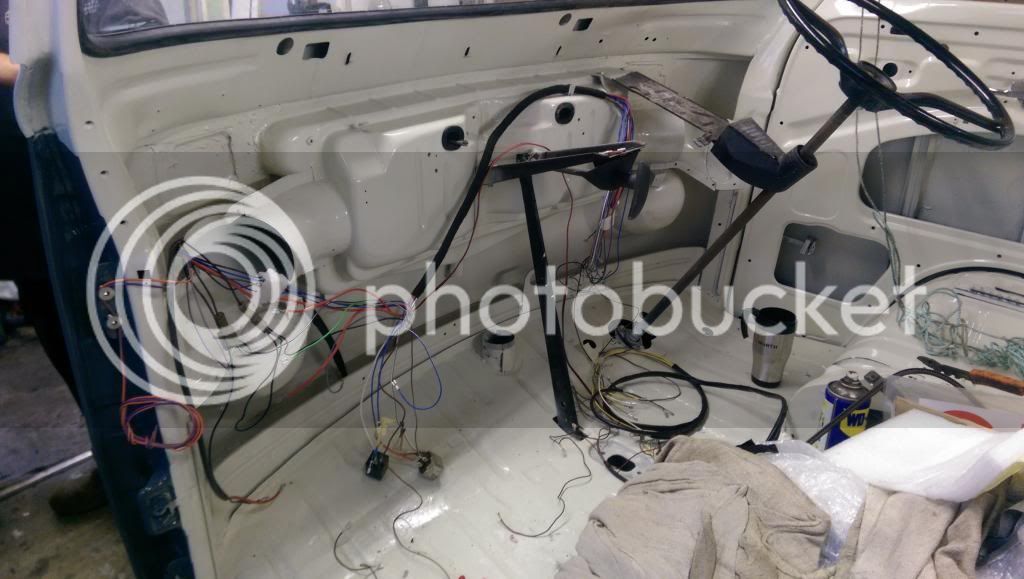
Again I definitely took more pictures but this is the loom at the cab, just unraveled roughly where it needs to go.
A couple of things that I am not happy with regarding the loom is that there is a green wire that runs from the ignition switch to the fuse box, this isn't present. We had to run a wire which whilst being easy, it isn't taped up with the main harness part and I would expect it to be there when all in all it cost £460...The indicator wire which runs to the hazard switch should also piggy back to the indicator stalk which is missing also. To be fair to VWLooms when I spoke to them on Saturday they did say they would do whatever it is that I wanted/needed free of charge. But considering what I need added will only take a couple of minutes and it would also mean we would have to undo everything we did so I will fix it. Still not great, apparently they have sold tens of these kits and not had an issue, so either I have done something wrong, or the other people didn't comment.
Fortunately I kept my old loom...So I don't think it's me. I want to do this with the assistance of my Dad who hasn't have time to help so far this week so that is how the loom stands at the moment.
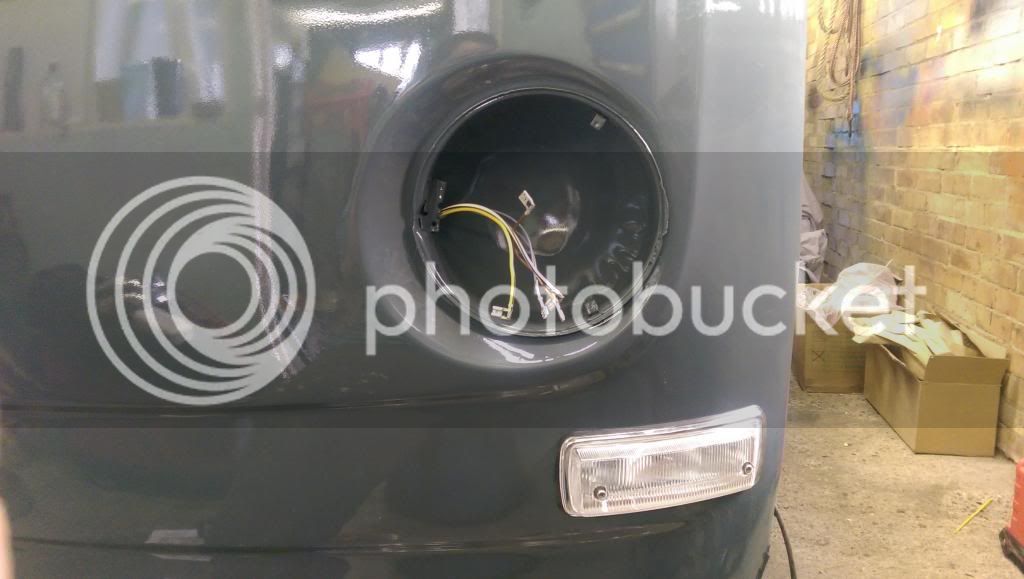
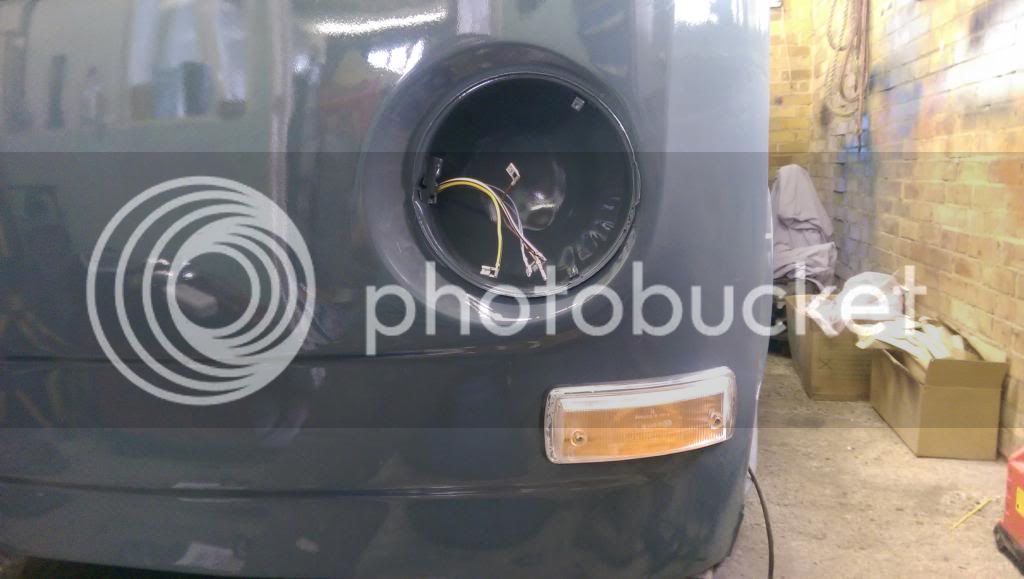
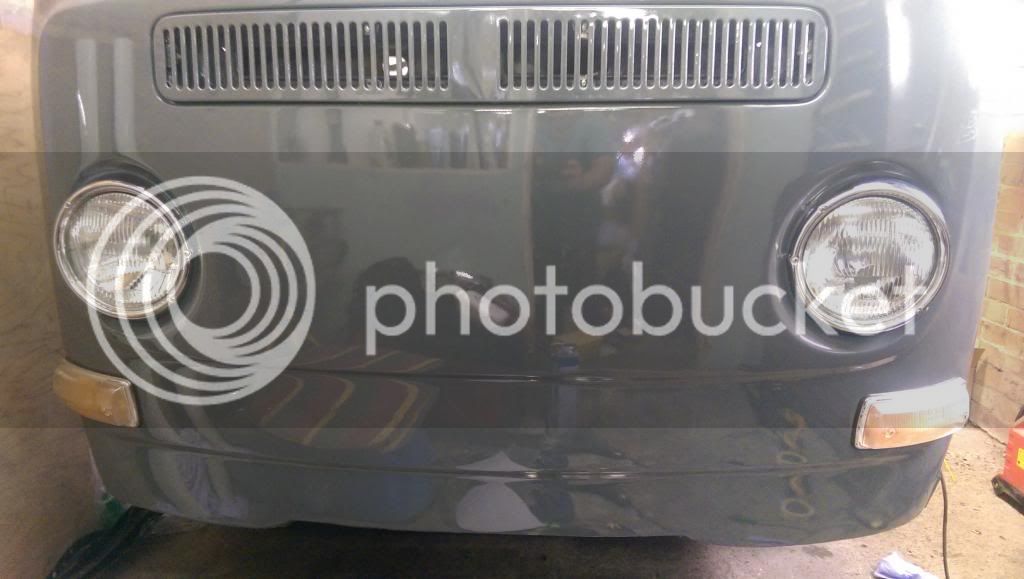
I moved on to putting the indicators on (something I could not wait to do!) Ages ago I bought the complete front indicator kit from C&C, not to bad mouth them but when Ronnie and I were working on the front panel we needed to use these and once I looked at them properly I haven't and will not use C&C again. The rubber they give is awful. I had to tighten up the lense and then pull the rubber out quite a bit and quickly do it up to stop it from shrinking again. Also, the lense part is poorly made, you can see where they were dipped for the chrome on a tree (I think of model making when I look at this, when you first open the box and all the parts are in that plastic web) and once cut off there is no chrome. I maybe wouldn't have minded if this was done at the bottom, but it's right on the top. So Ronnie got lucky with an EBay member and happens to have some Orange original Hella lenses spare which are in pretty good condition, the only problem is they are both lefts so currently one is upside down.
I prefer the Orange ones, I think it works nice with the Grey.
Ronnie also found some Hella Headlights on VZI. I don't think they are NOS ones but I think pretty old. Never use regardless, and under half the price of the VW sellers out there. Well chuffed I was!
That's what I have been doing the last couple of evenings, I had to take the lights apart to turn the lense 90 degrees, also work out where the rubber bits go inside to make sure the adjustment works properly (not tested this yet but it should be ok). It also took bloody ages to get the Chrome ring to fit. A lot of bashing on the ****** klonkkencrap panel and I got it on.
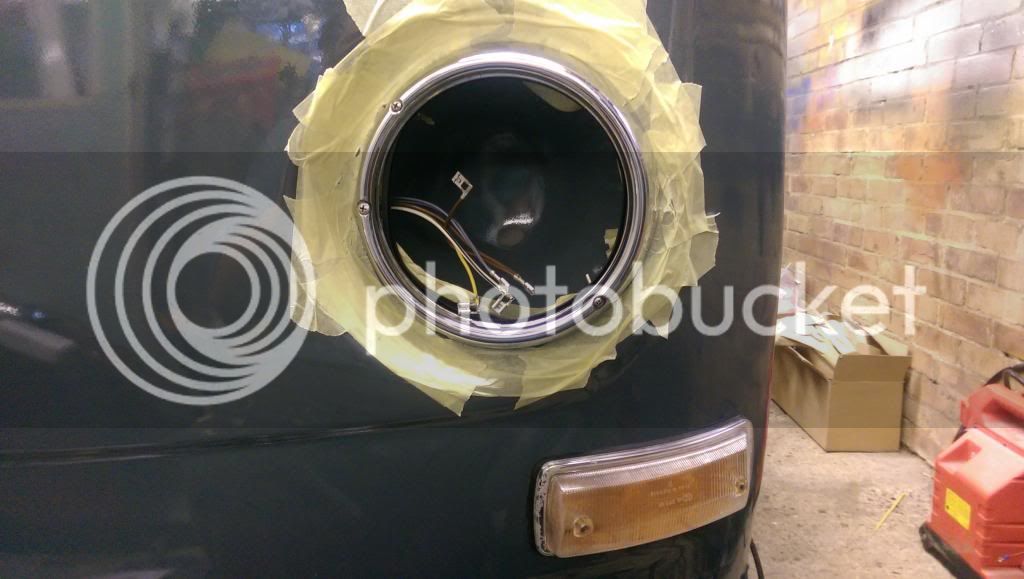
The other side took me about an hour tonight...
I love our bus
There you have it, all bang up to date. Hopefully by the weekend we will have tested the lights and I can start building the dashboard back up.