dpeters71single
Member
- Joined
- Sep 18, 2010
- Messages
- 21
- Reaction score
- 0
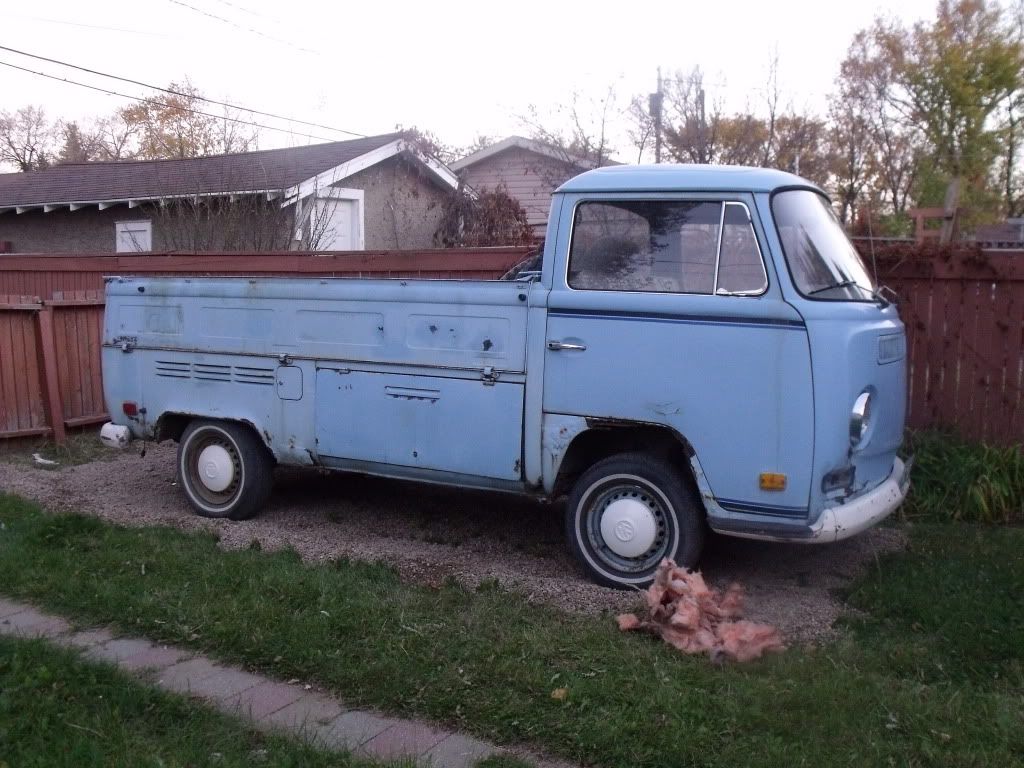
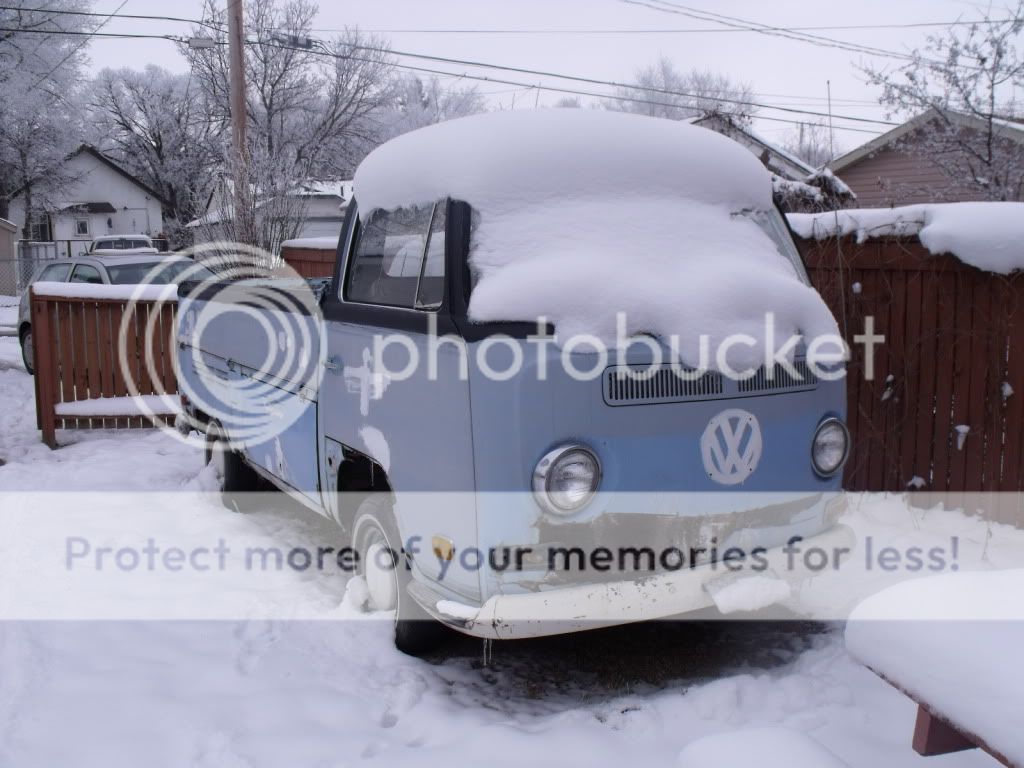
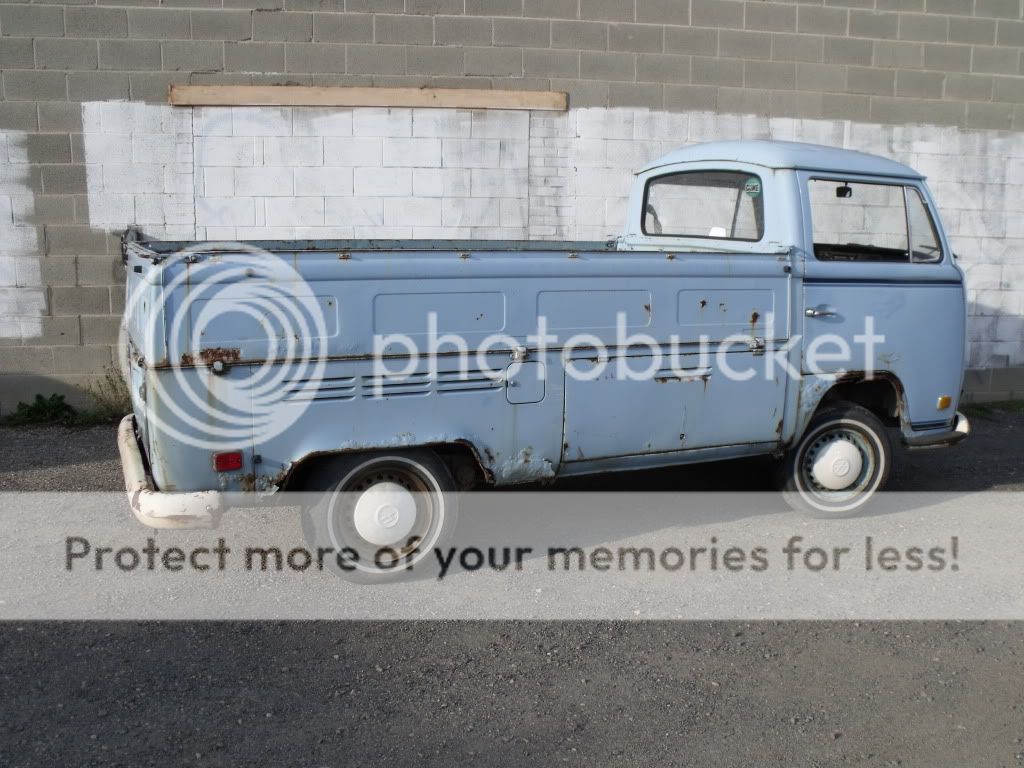
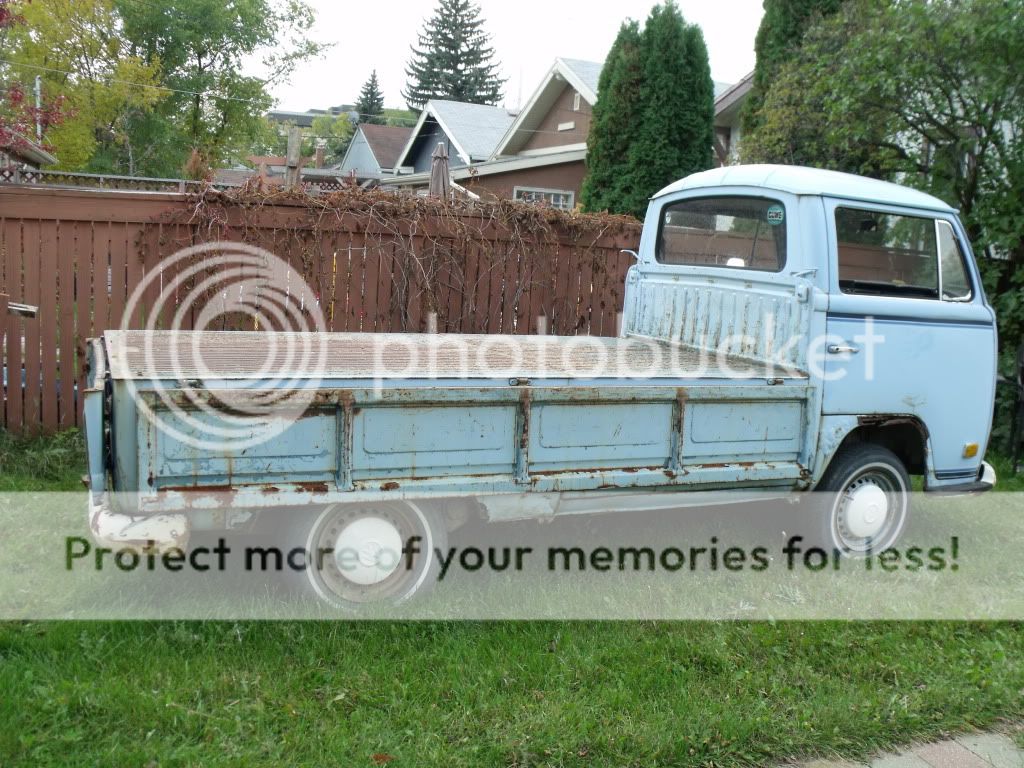
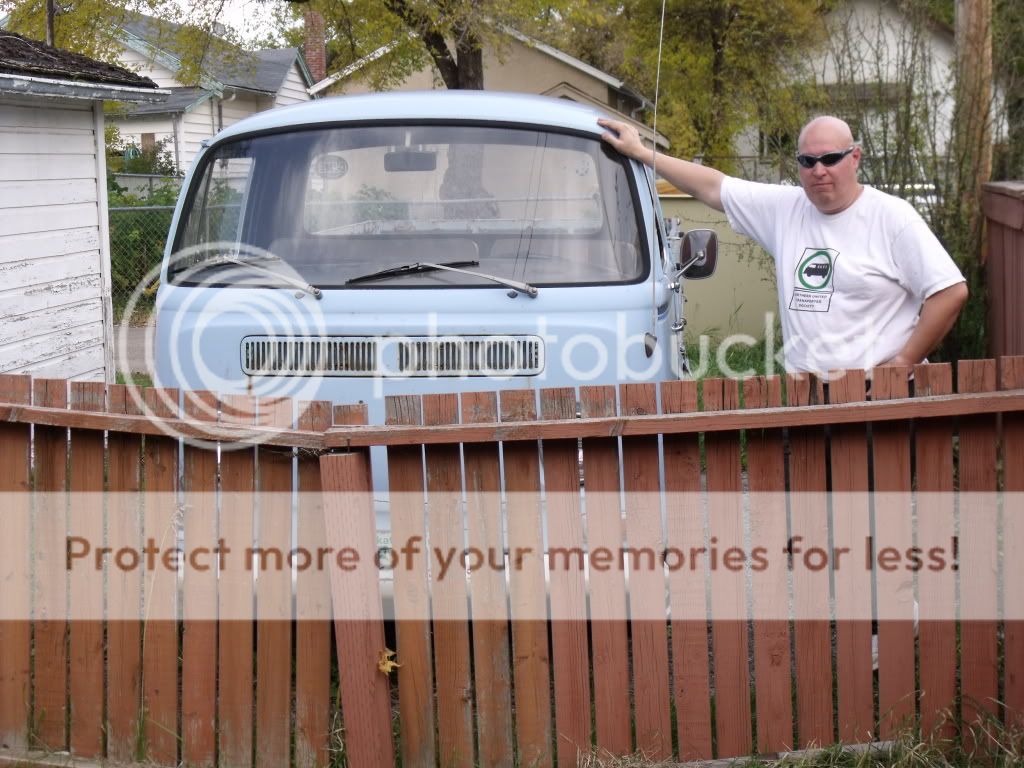
Picked up the Single Cab today. :mrgreen: :mrgreen: :mrgreen:  :mrgreen: :mrgreen: :mrgreen:
All it took was a battery swap and after 30 seconds of cranking she fired right up and ran like a top!! I had been warned by the previous owner that they had turned up the idle like Crazy because it had a tendancy to stall...so I was prepared when it roared to life and raced for two minutes before we adjusted things a little to bring them closer to normal.
We pumped up the left front tire and with a quick check of the brakes and brake lights - off we went!!
My brother David shot video of me pulling out of the back-alley where it had lived. With a little more confidence than I should have had... I took off and drove it away like it was any other vehicle...and it drove pretty good. The cab-over steering took only a little adjustment and the extra large steering wheel was welcome in the parking lot speed maneuvers that I had to do earlier.
The Single Cab has a very up-right driving position and offers a commanding view of the road ahead. So far so good...right?
Well, Starts.... Check!
Runs..... Check!
Steers... Check!
Working Brake lights... Check!!
Brakes.......
Well, sorta.... ( oops! )
The first long straight-away went smoothly enough with one or two minor gear grinds because the shifter is quite vague and I couldn't find second gear right away.
When I came to the first set of lights and the stopping part...things didn't go quite as planned. Yes, the brakes work...
BUT...( and there's always one of those ).
When I pressed on the brakes...they didn't have a ton of stopping power...and I was coming up on the rear bumper of the car in front of me faster than I had liked... Press Harder on the brakes and
SCREECH!! ....one of the rear brakes locked up.... I still needed to stop so...again... SCREECH!!! I locked up the brakes a second time...
Fortunately, the car ahead of me turned the corner and cleared the way for me to swing into the intersection and round the corner myself without a collision. <WHEW!!>
I reminded myself that maybe I should take it a little more easy on the throttle AND the brakes. Once I was a couple of blocks further down the road I approached a second set of lights.
This time, I was a LOT better prepared and stopped smoothly and without incident.
BUT...
( and there's always one of those....)
Now, I couldn't find first gear... It was there a minute ago...now all I had was a mushy gear-less / gate-less shifter in my hand. Try as I might...no gears. I looked into my rear view mirror at the growing line of cars backed up behind me...and frustration started to grow. Deep Breath... one more time... this time...it slipped right in...and off I went through the intersection...and into the 7-11 Parking Lot. This wasn't the end of my challenges though... The parking brake lever works...but they don't operate the brakes. ???
I left the Bus in first gear and Dave and I bought Slurpees.
As I was backing the Bus out of its parking spot..It wouldn't go into reverse gear.... So, now a bunch of yahoos...seeing me struggle with the old truck start yelling "If you can't find 'em...Grind 'em! " at me... and I ignored them.
The rest of the drive went smoothly...as I was finally getting used to the idiosyncrasies of this "new to me" vehicle.
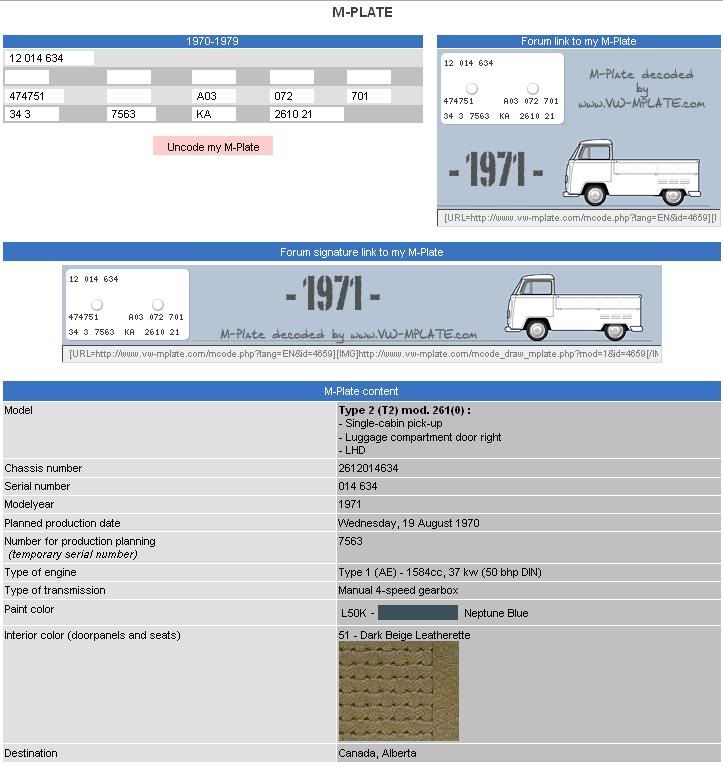
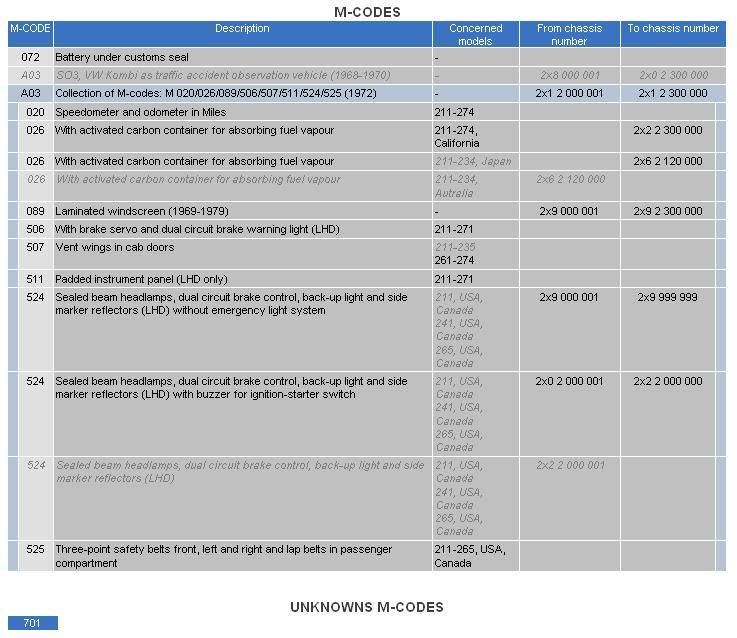
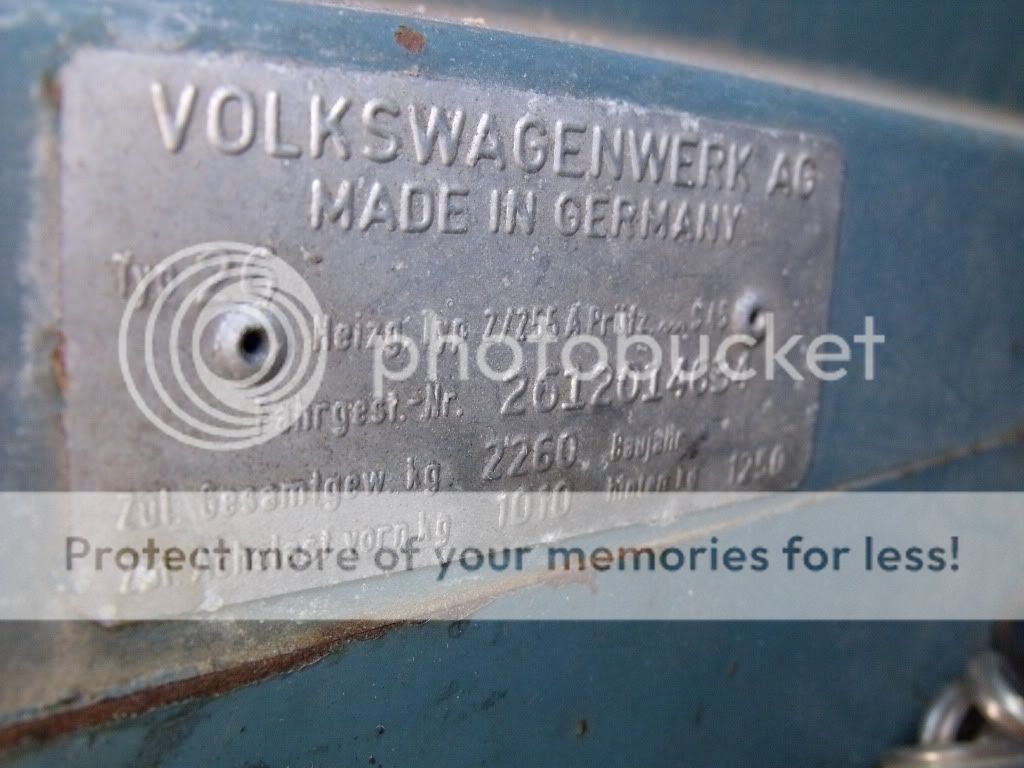
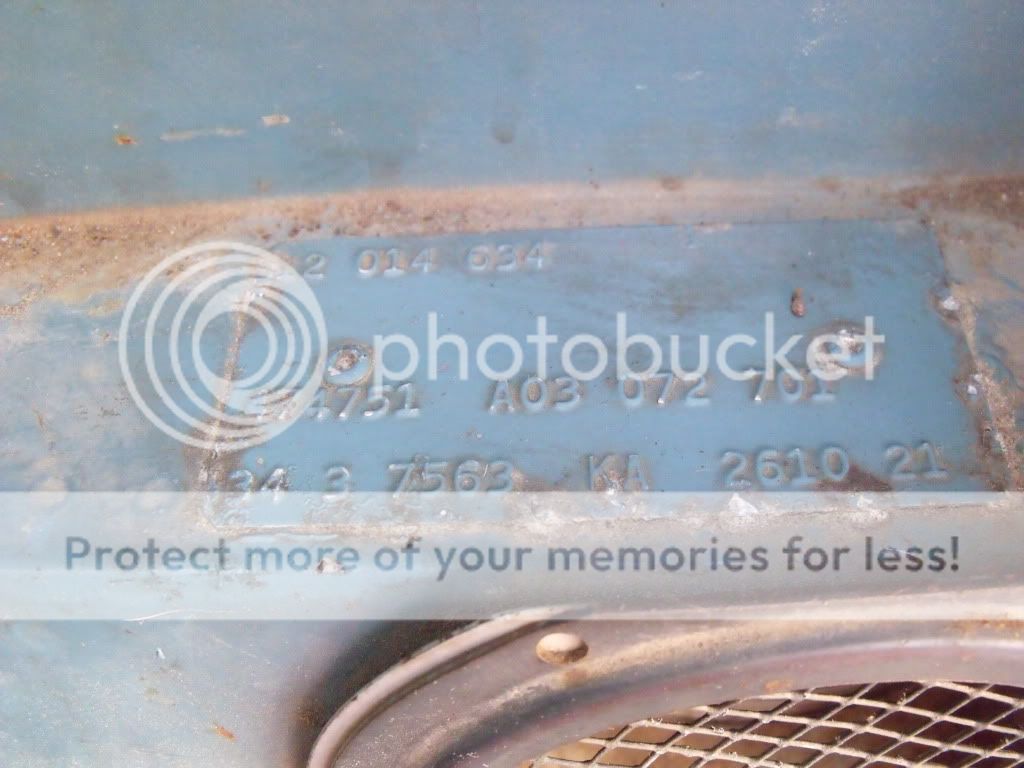
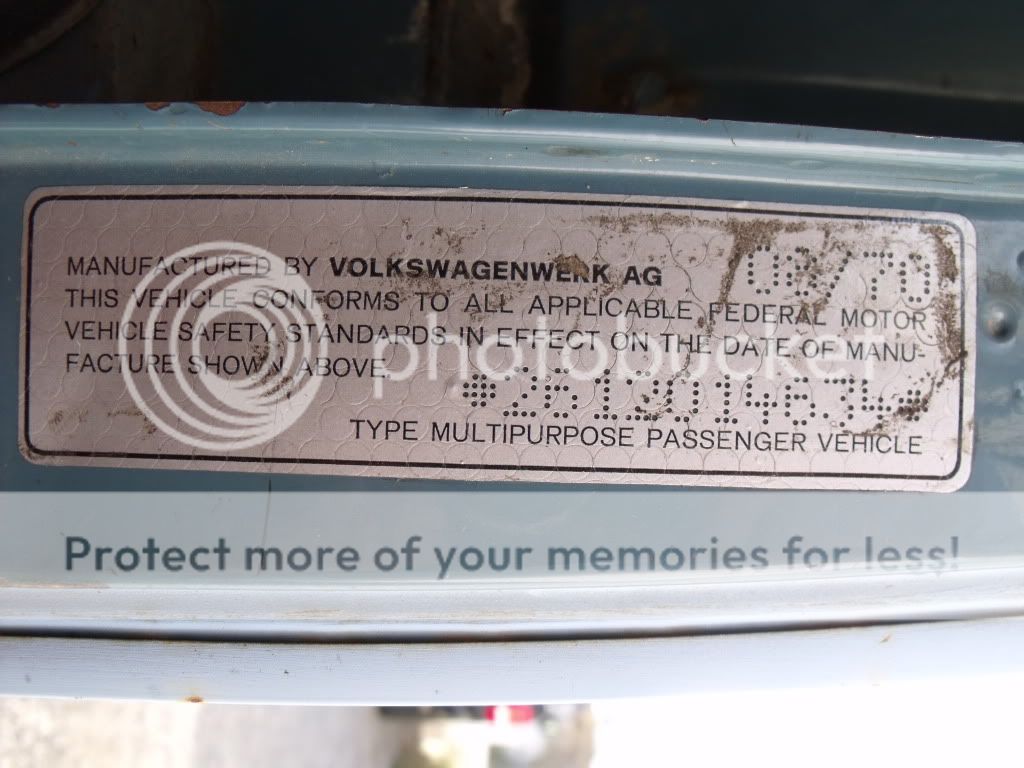
I took some time and photographed some more details of the truck..Vin Plate, M-Code Plate... VIN Sticker on the door jamb.
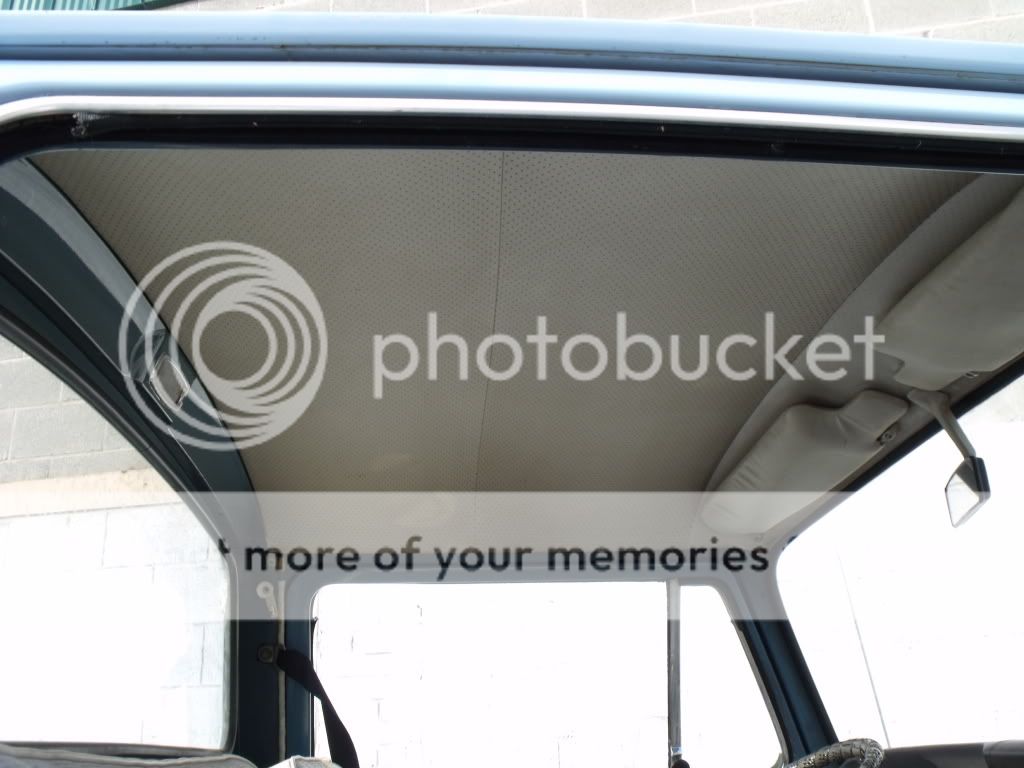
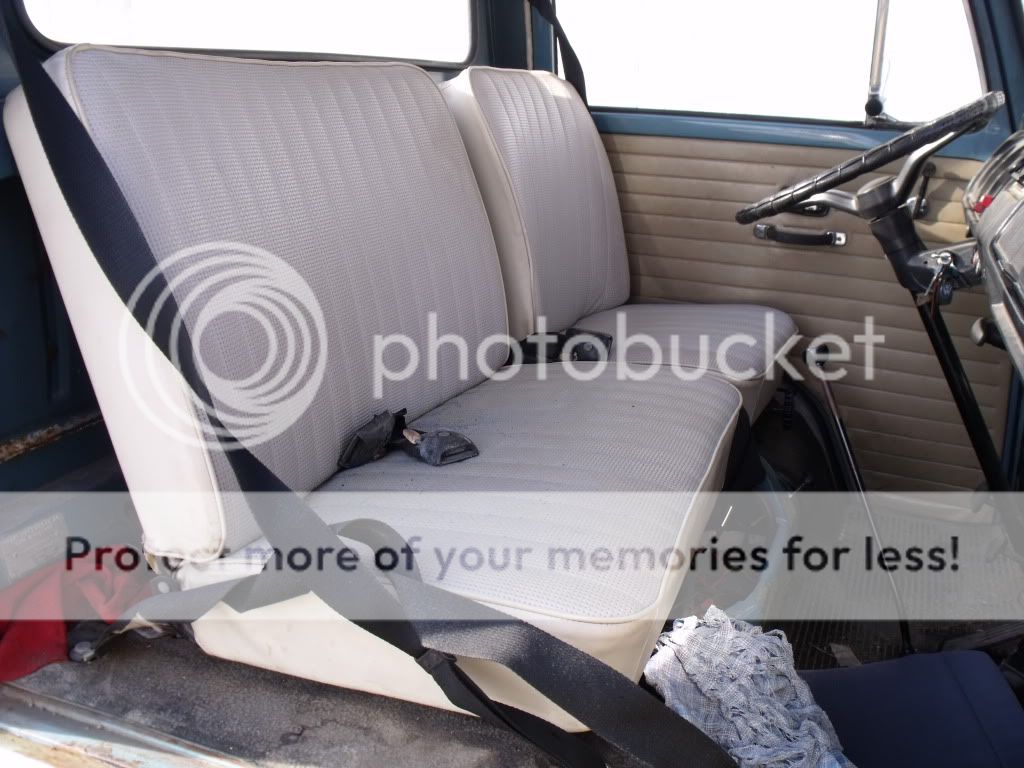
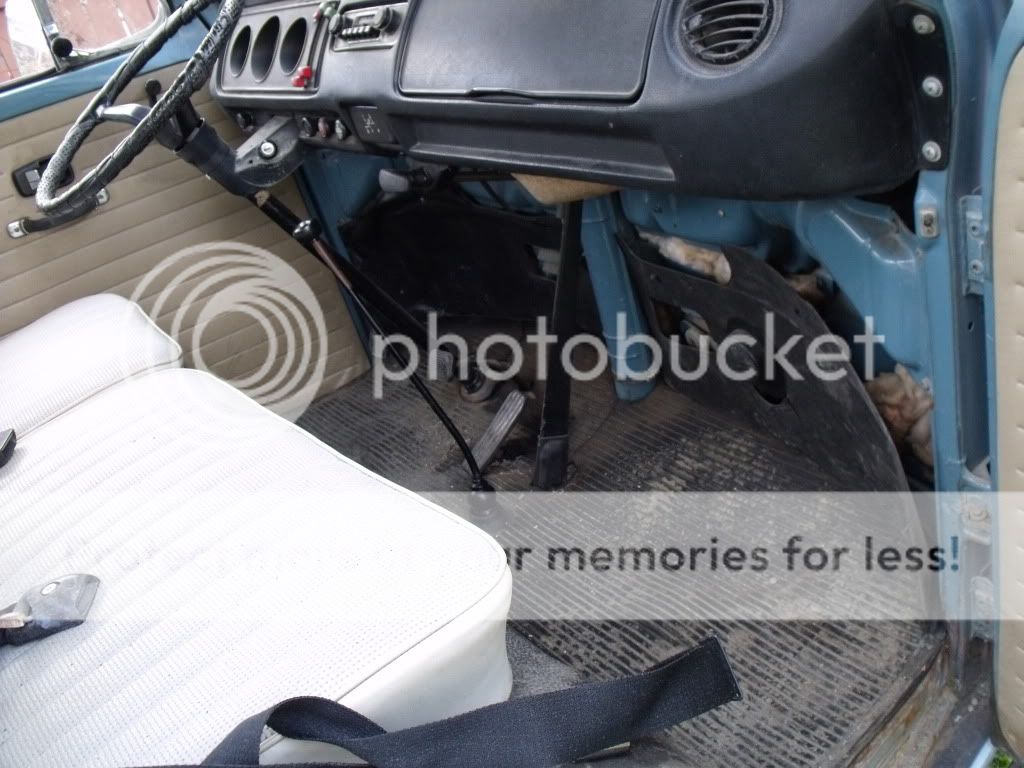
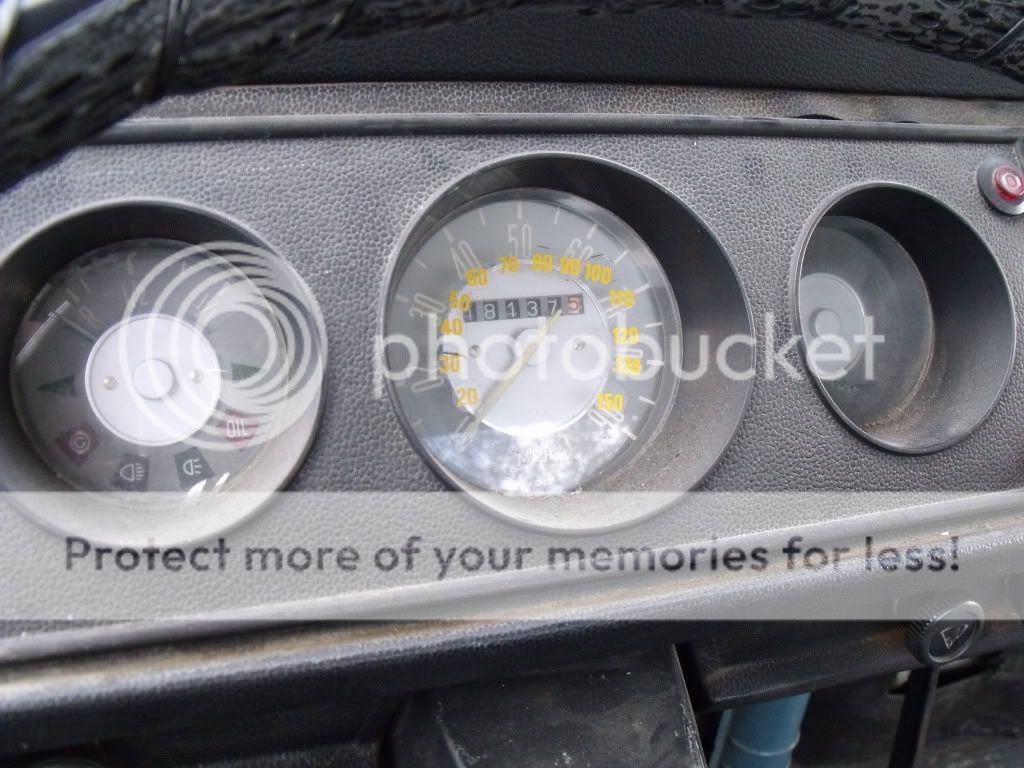
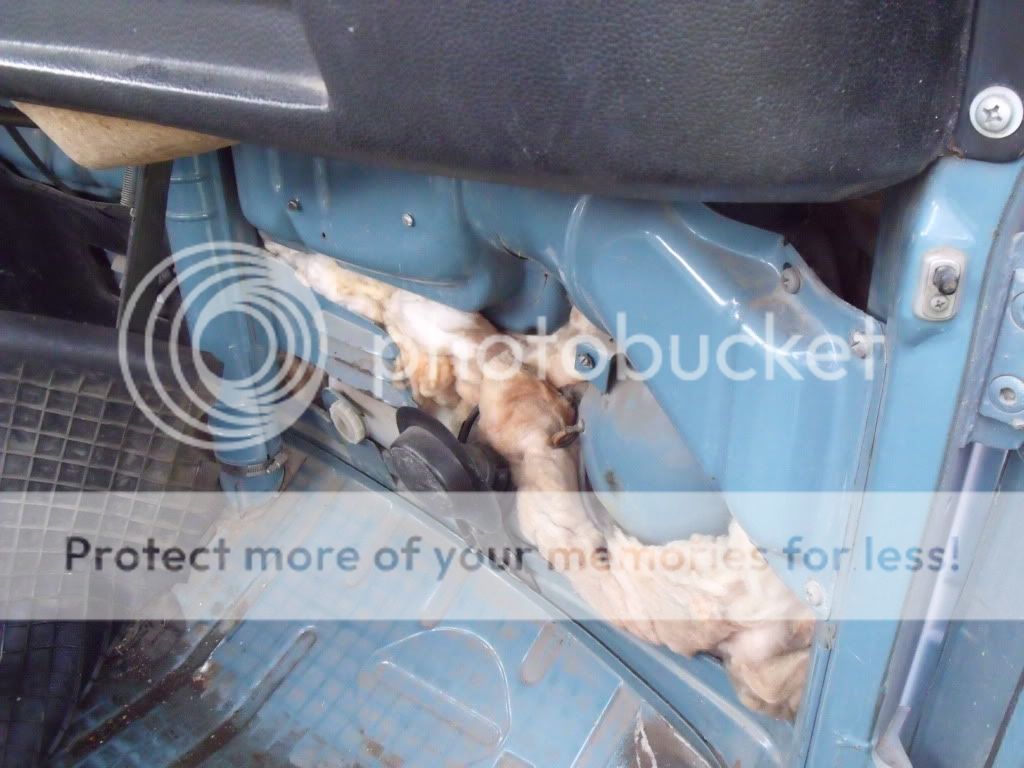
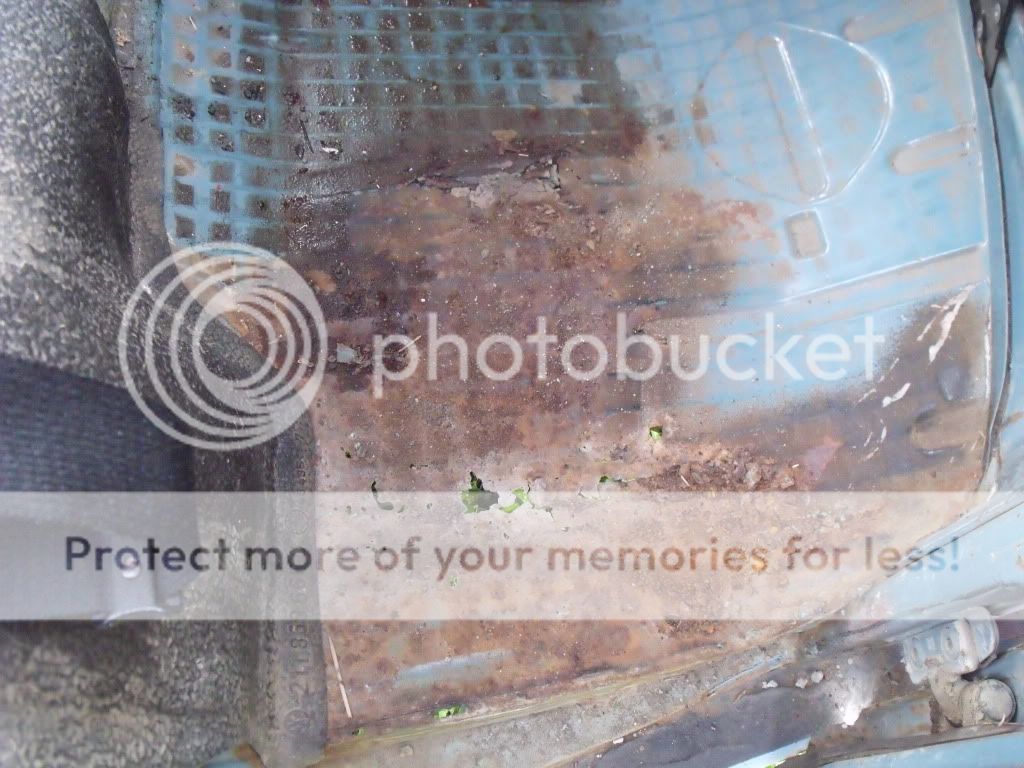
Shots of the headliner, interior, dash, front floors etc...
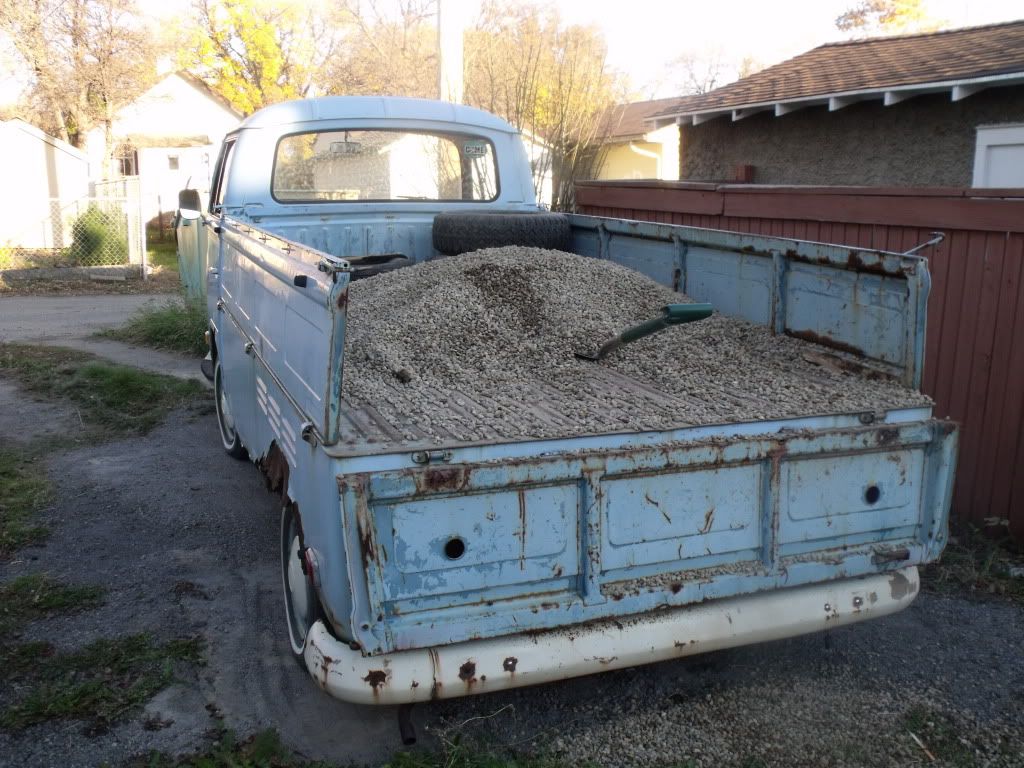
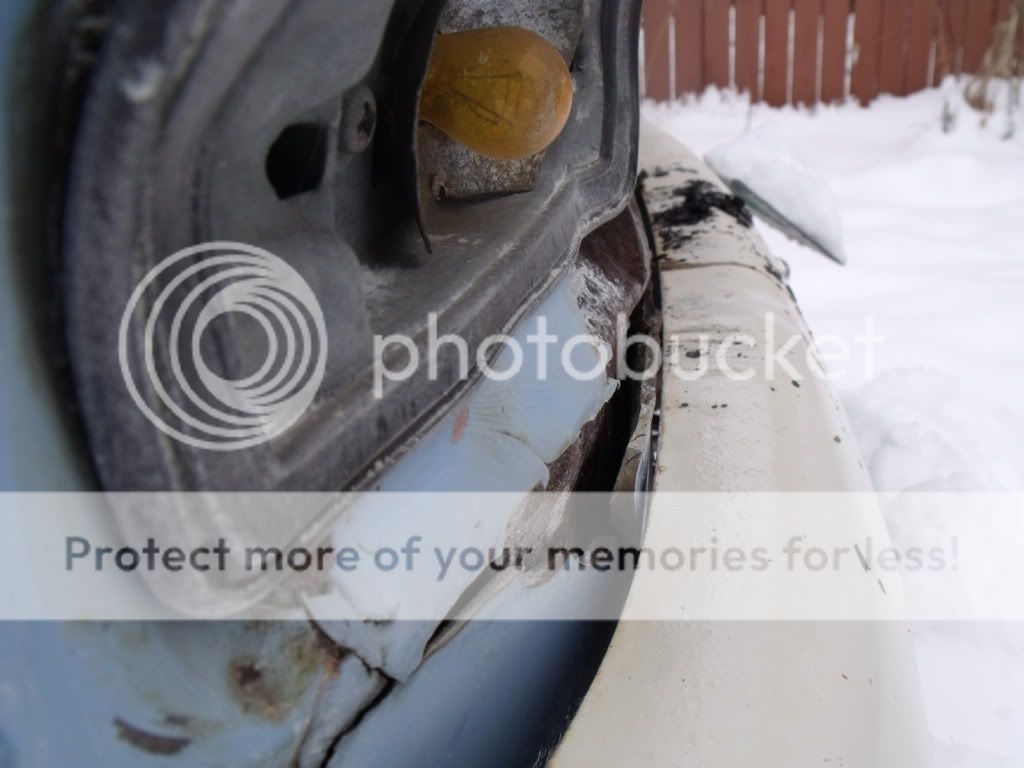
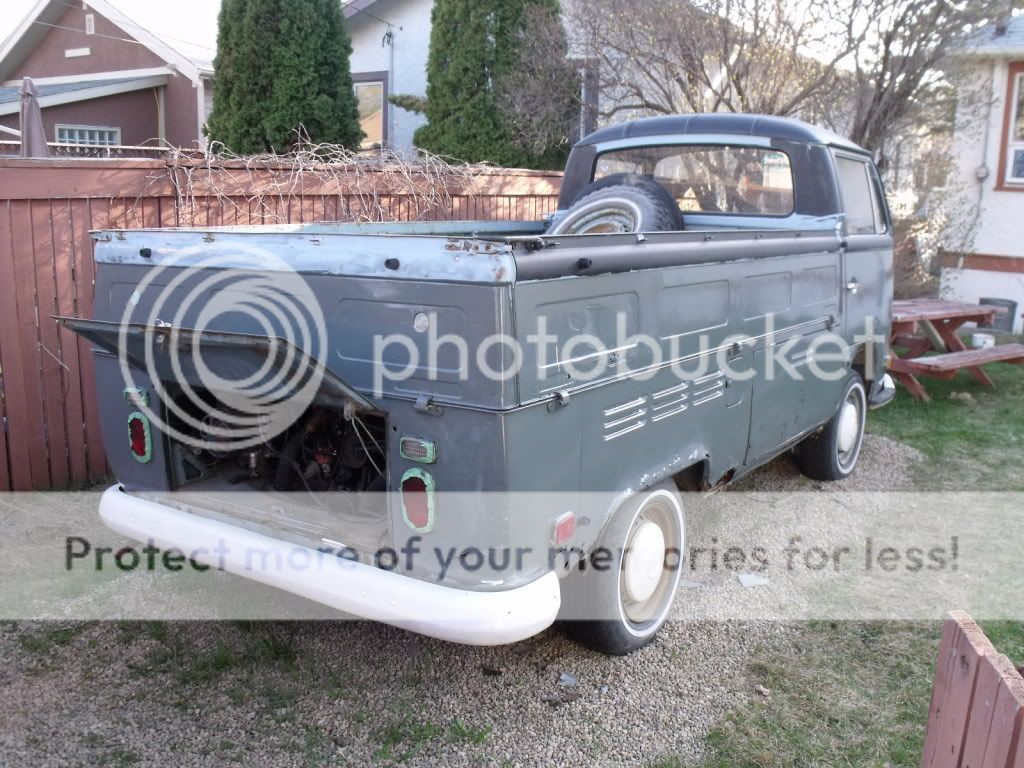
We took a closer look at the drop gates ( which have some bad sections...but generally pretty good ).
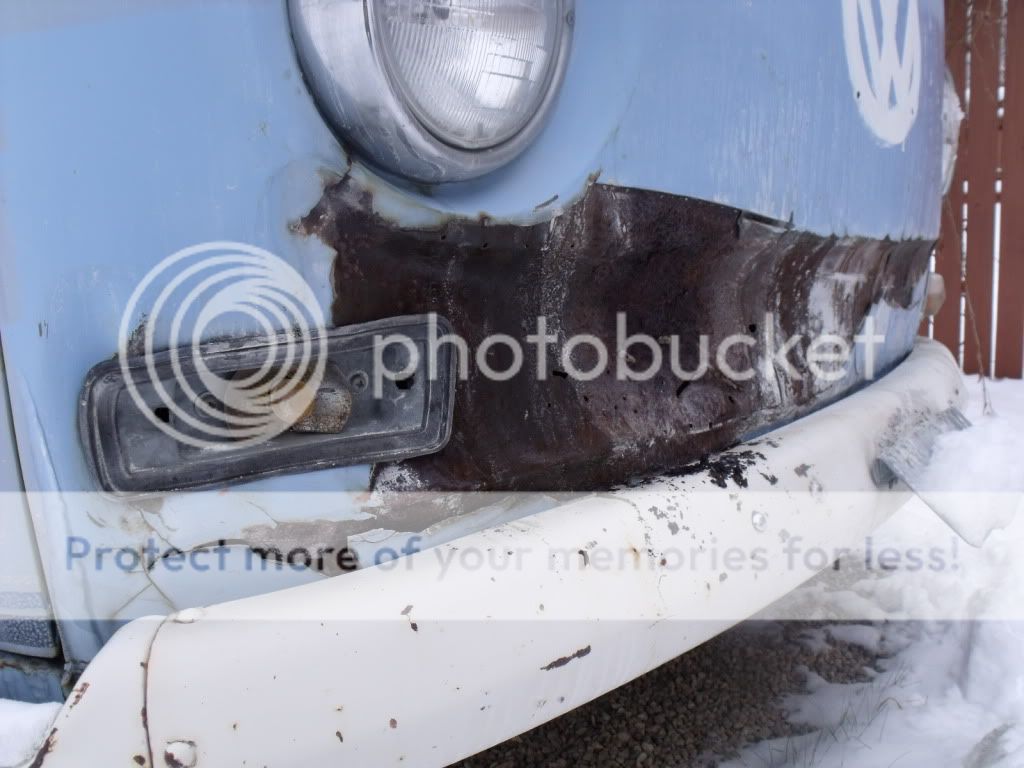
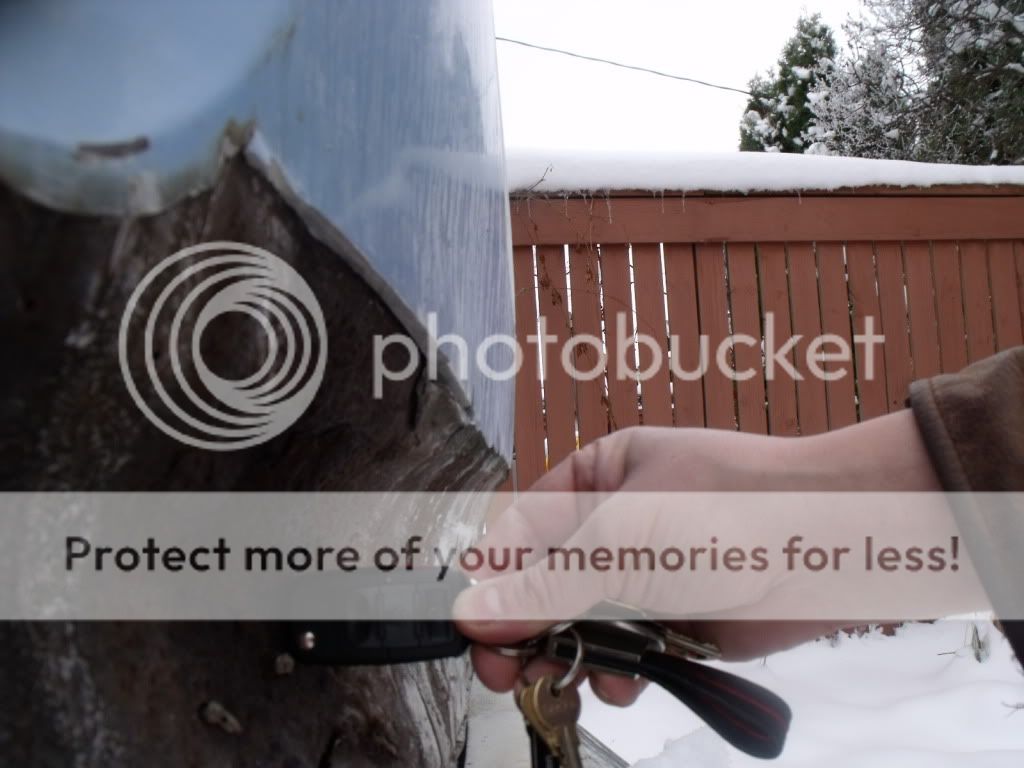
This bus needs a SERIOUS clean-up... and It'll happen...a little at a time.
PHOTOS!!
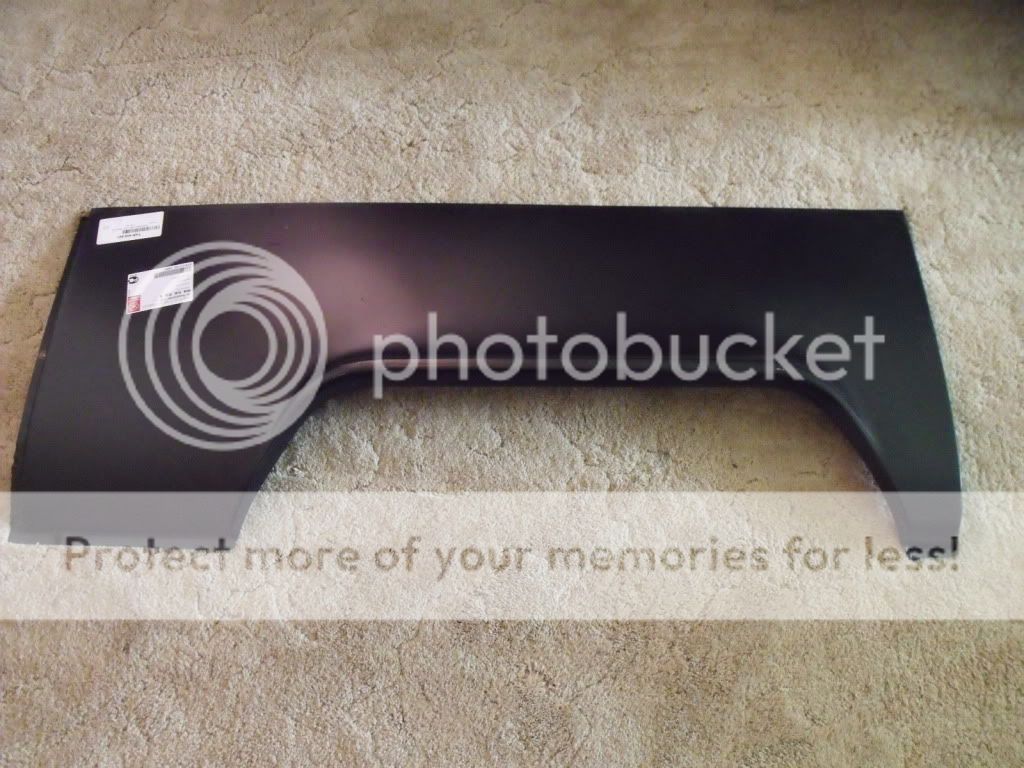
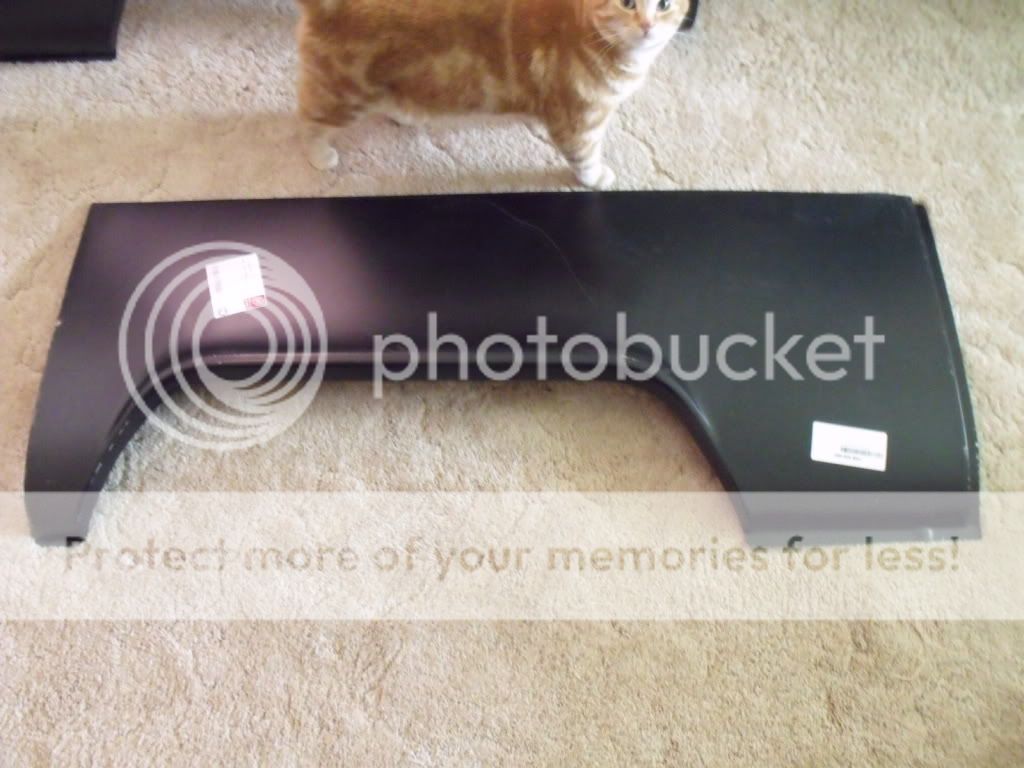
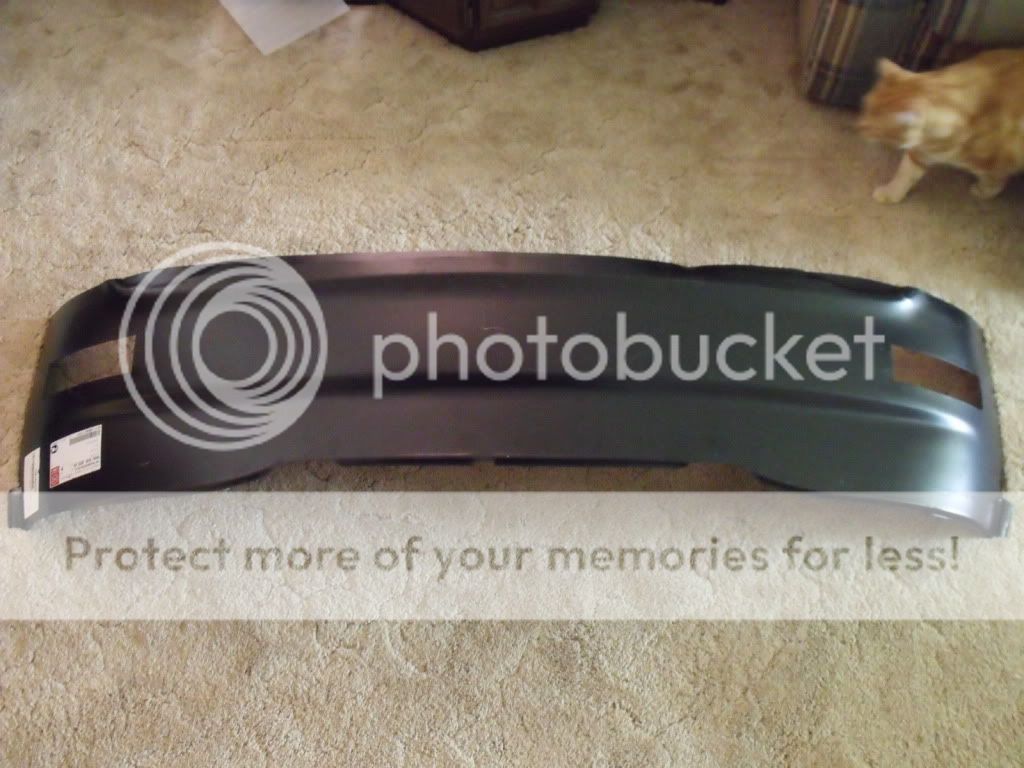
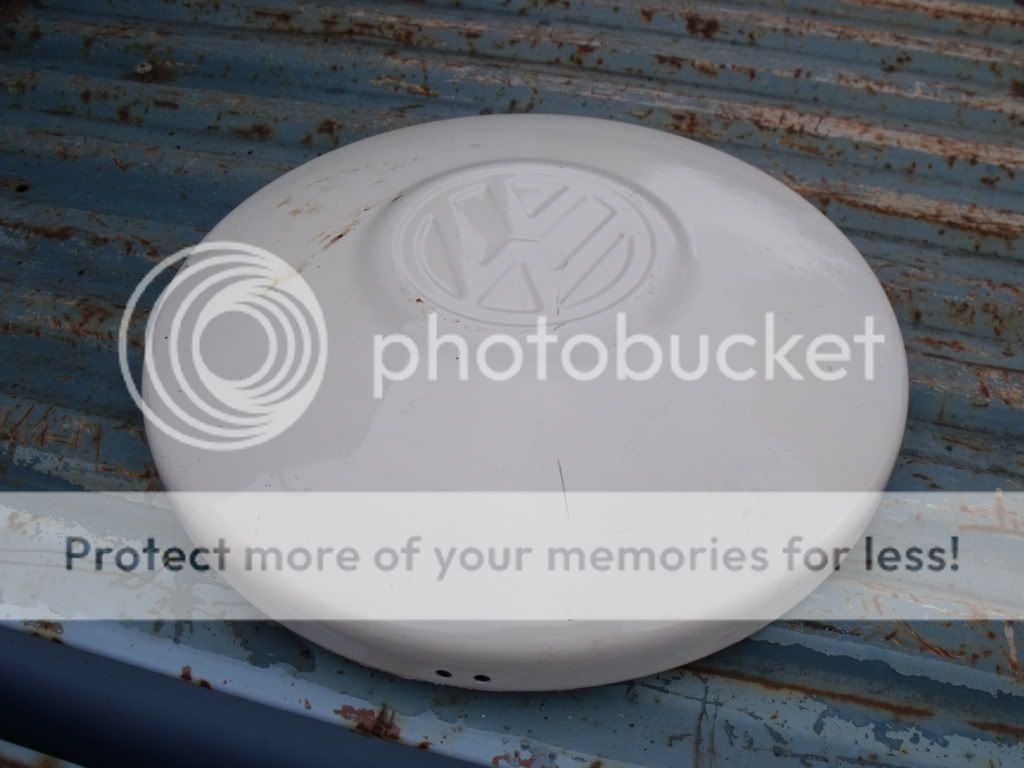
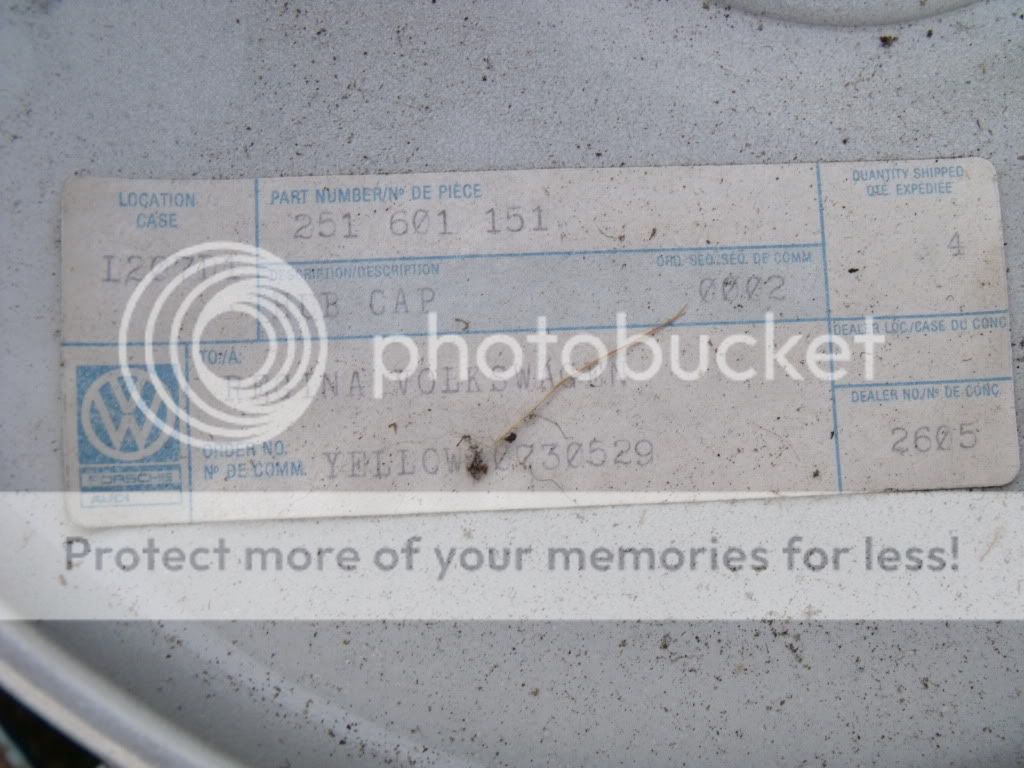
N.O.S.

Don't know what happened to the video... it uploaded...it just doesn't show.
Anyways...it runs and drives.
It was a lot of fun today..
- Doug
:mrgreen: :mrgreen: :mrgreen: All it took was a battery swap and after 30 seconds of cranking she fired right up and ran like a top!! I had been warned by the previous owner that they had turned up the idle like Crazy because it had a tendancy to stall...so I was prepared when it roared to life and raced for two minutes before we adjusted things a little to bring them closer to normal.
We pumped up the left front tire and with a quick check of the brakes and brake lights - off we went!!
My brother David shot video of me pulling out of the back-alley where it had lived. With a little more confidence than I should have had... I took off and drove it away like it was any other vehicle...and it drove pretty good. The cab-over steering took only a little adjustment and the extra large steering wheel was welcome in the parking lot speed maneuvers that I had to do earlier.
The Single Cab has a very up-right driving position and offers a commanding view of the road ahead. So far so good...right?
Well, Starts.... Check!
Runs..... Check!
Steers... Check!
Working Brake lights... Check!!
Brakes.......
Well, sorta.... ( oops! )
The first long straight-away went smoothly enough with one or two minor gear grinds because the shifter is quite vague and I couldn't find second gear right away.
When I came to the first set of lights and the stopping part...things didn't go quite as planned. Yes, the brakes work...
BUT...( and there's always one of those ).
When I pressed on the brakes...they didn't have a ton of stopping power...and I was coming up on the rear bumper of the car in front of me faster than I had liked... Press Harder on the brakes and
SCREECH!! ....one of the rear brakes locked up.... I still needed to stop so...again... SCREECH!!! I locked up the brakes a second time...
Fortunately, the car ahead of me turned the corner and cleared the way for me to swing into the intersection and round the corner myself without a collision. <WHEW!!>
I reminded myself that maybe I should take it a little more easy on the throttle AND the brakes. Once I was a couple of blocks further down the road I approached a second set of lights.
This time, I was a LOT better prepared and stopped smoothly and without incident.
BUT...
( and there's always one of those....)
Now, I couldn't find first gear... It was there a minute ago...now all I had was a mushy gear-less / gate-less shifter in my hand. Try as I might...no gears. I looked into my rear view mirror at the growing line of cars backed up behind me...and frustration started to grow. Deep Breath... one more time... this time...it slipped right in...and off I went through the intersection...and into the 7-11 Parking Lot. This wasn't the end of my challenges though... The parking brake lever works...but they don't operate the brakes. ???
I left the Bus in first gear and Dave and I bought Slurpees.
As I was backing the Bus out of its parking spot..It wouldn't go into reverse gear.
... So, now a bunch of yahoos...seeing me struggle with the old truck start yelling "If you can't find 'em...Grind 'em! " at me... and I ignored them.The rest of the drive went smoothly...as I was finally getting used to the idiosyncrasies of this "new to me" vehicle.
I took some time and photographed some more details of the truck..Vin Plate, M-Code Plate... VIN Sticker on the door jamb.
Shots of the headliner, interior, dash, front floors etc...
We took a closer look at the drop gates ( which have some bad sections...but generally pretty good ).
This bus needs a SERIOUS clean-up... and It'll happen...a little at a time.
PHOTOS!!
N.O.S.
Don't know what happened to the video... it uploaded...it just doesn't show.
Anyways...it runs and drives.
It was a lot of fun today..
- Doug