1970 San Francisco westfalia resto

Early Bay Forum

Help Support Early Bay Forum:

This site may earn a commission from merchant affiliate links, including eBay, Amazon, and others.


3 days work and I’m at this stage, about 75% of the raptor is removed. Thankfully other than the jack point and small piece of the floors it’s still incredibly solid. It’s 54 yrs old and been here for 18, so I can’t be too sad really. Especially when you see the state many U.K. buses are in 🙏🏻


For anyone who’s interested this is what I’ll be coating the underside of the bus with. Not cheap but kills rust, prevents new rust forming and cures as a primer. Got a 5 litre jug for the camper but I had this little tin kicking about.


For anyone who’s interested this is what I’ll be coating the underside of the bus with. Not cheap but kills rust, prevents new rust forming and cures as a primer. Got a 5 litre jug for the camper but I had this little tin kicking about.
Now I’ve heard of them but not that particular product. It does sound like it should be one of the better performers. Not even sure how I’ve heard of them? If it cures as a primer then even better I guess. How did you get to hear of it then ?

Ozziedog,,,,,,,,,,we always like recommends :)
 
Now I’ve heard of them but not that particular product. It does sound like it should be one of the better performers. Not even sure how I’ve heard of them? If it cures as a primer then even better I guess. How did you get to hear of it then ?

Ozziedog,,,,,,,,,,we always like recommends :)
I stumbled across it last winter when I was doing some work on my beetle. Only used it on a couple of areas but was so impressed im going all out with it on the bus 😂
 
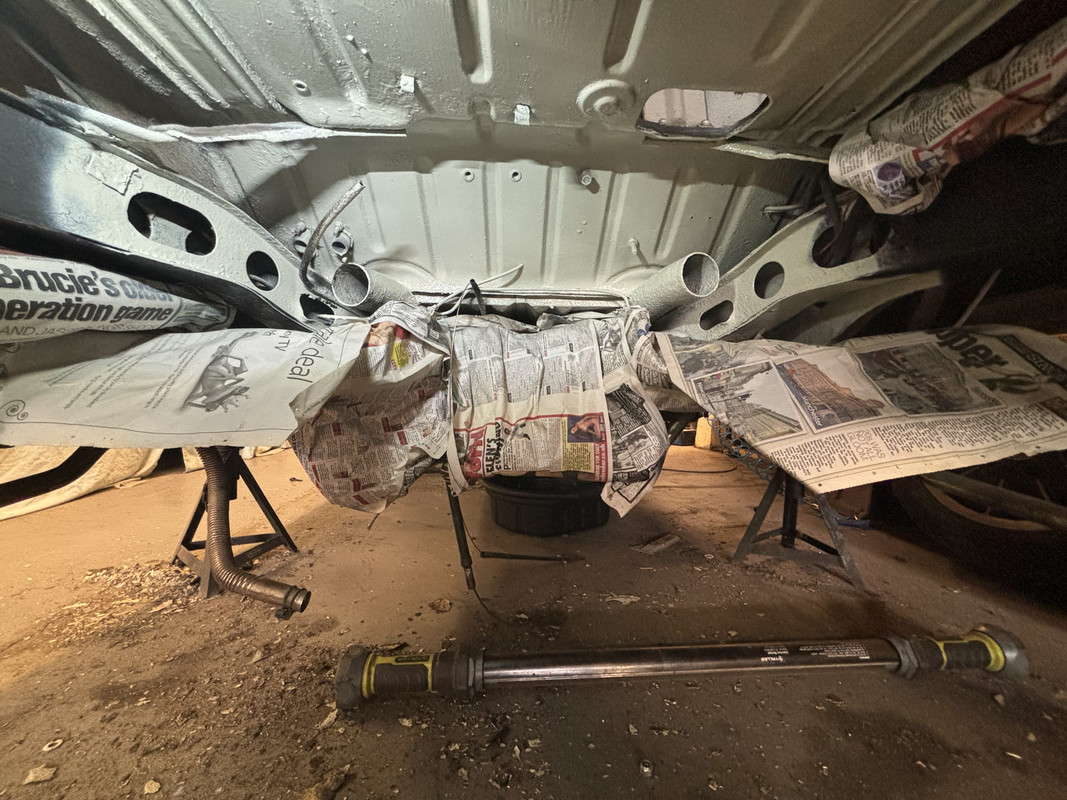
Now all the scraping and grinding is done I made a start at laying some protection and paint on the under side at the back.


Epoxy mastic primer then a couple of good coats of paint. Not spike grade like deep shine but looks acceptable for an underside job out of a can lol.


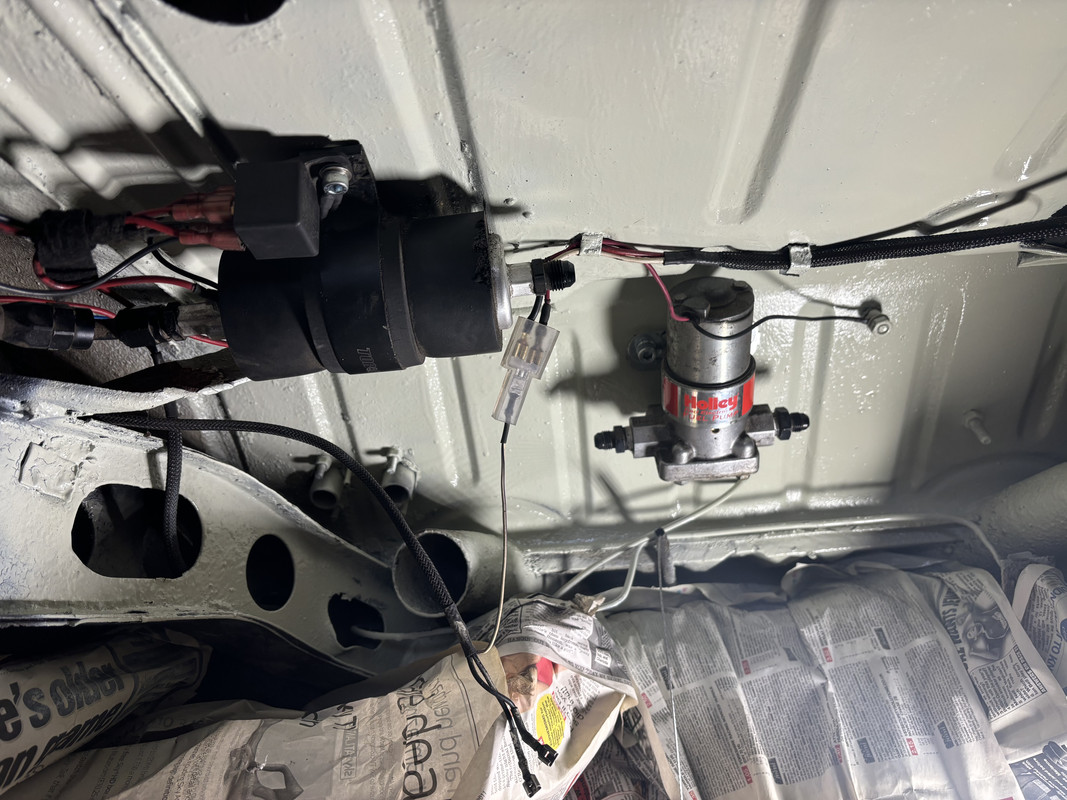
Paint dried so proceeded so the fuel pumps and tidied up the wiring a bit.


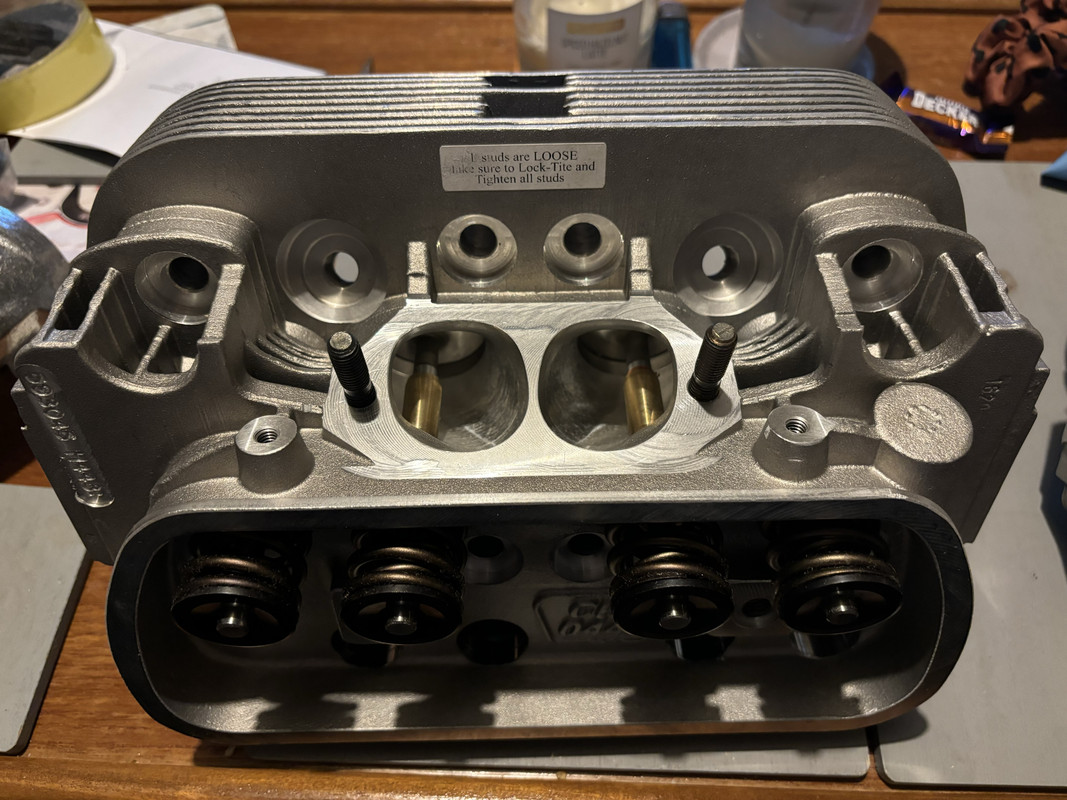
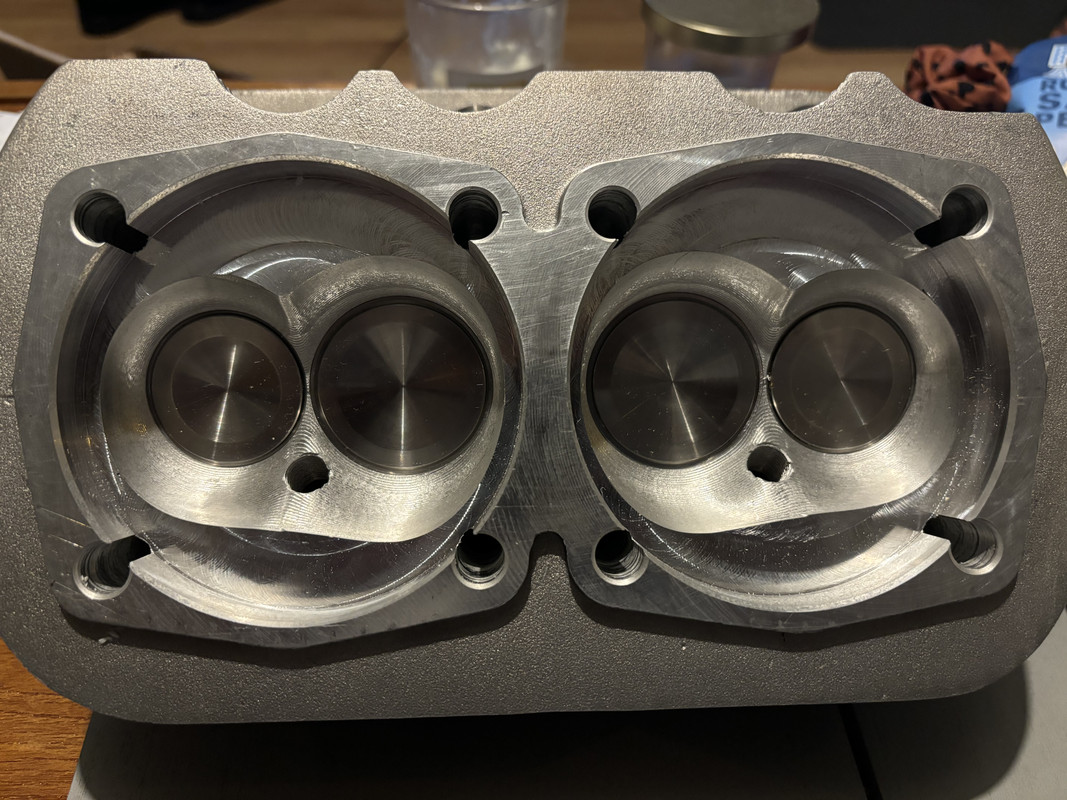
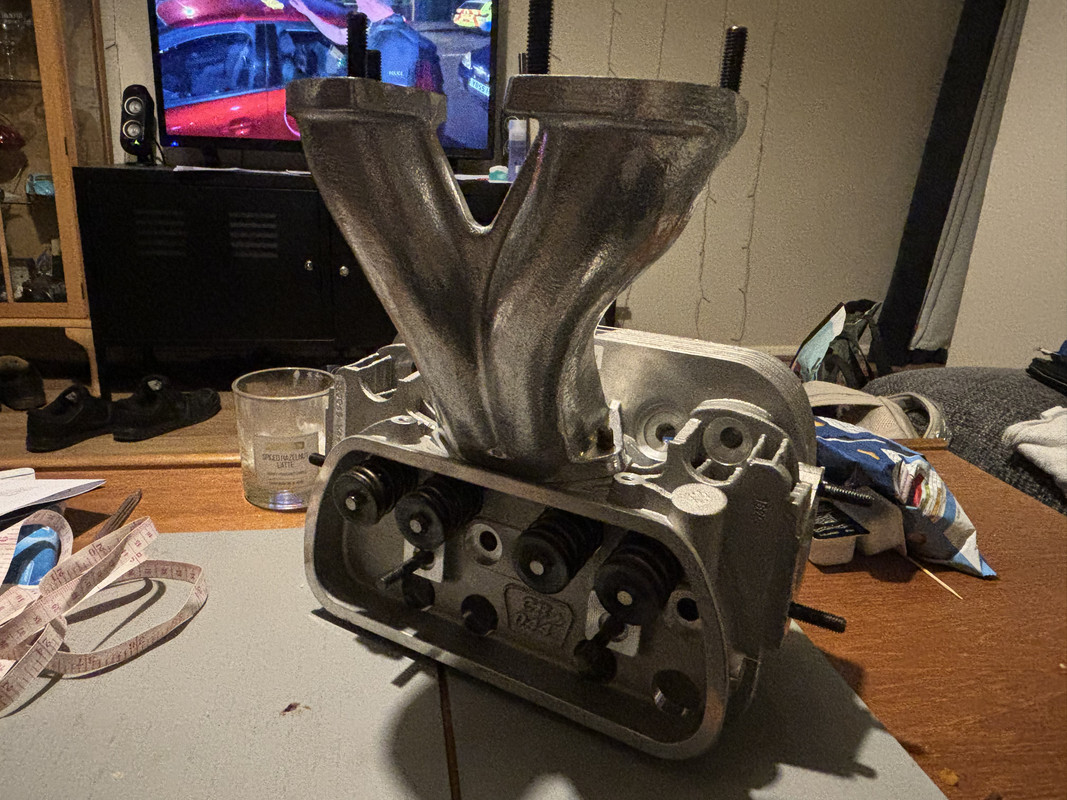
Also had a nice nice parcel from America, new set of CNC ported 044 wedge ports with 44x37.5 valves & ‘big beef’ IDA manifolds from CB Performance 😄
 
So you have two fuel pumps, how are they configurated? And those heads look great, the valves are huge :cool::love:
The Holley pump feeds the carbs via a matched Holley regulator set at 4psi, the other 1 is a Bosch high pressure fuel injection pump regulated down to 35psi which delivers the supplementary fuel for the nitrous system.
 
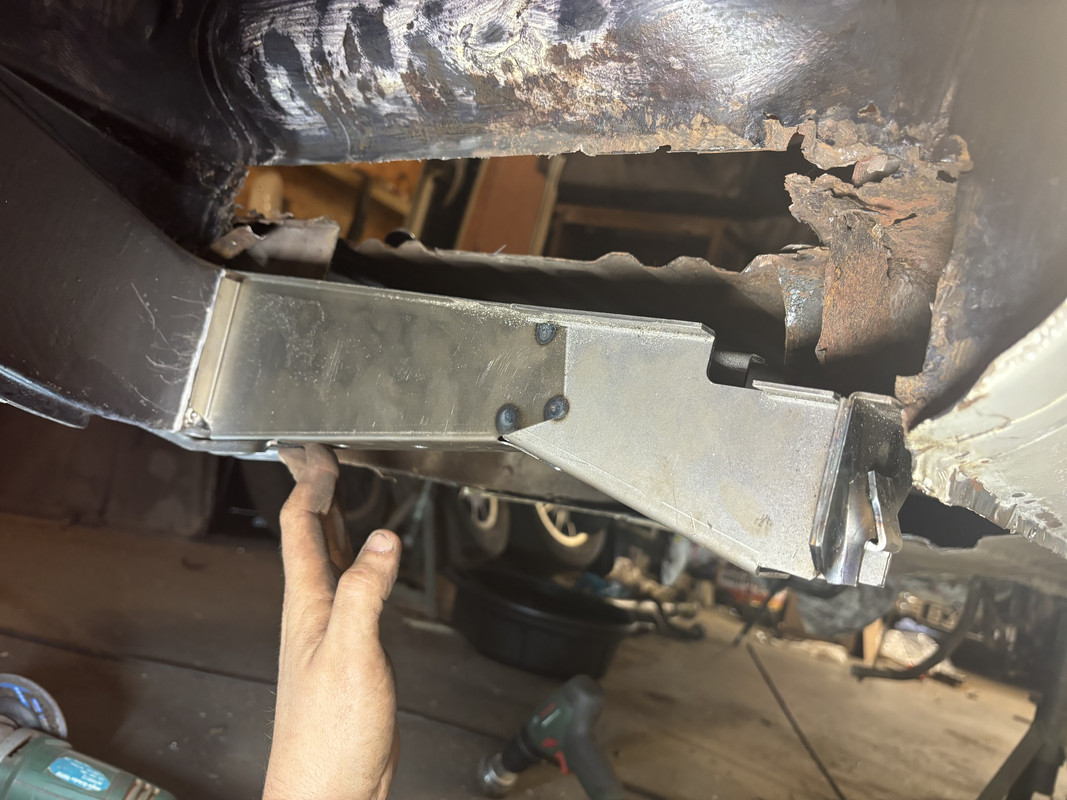
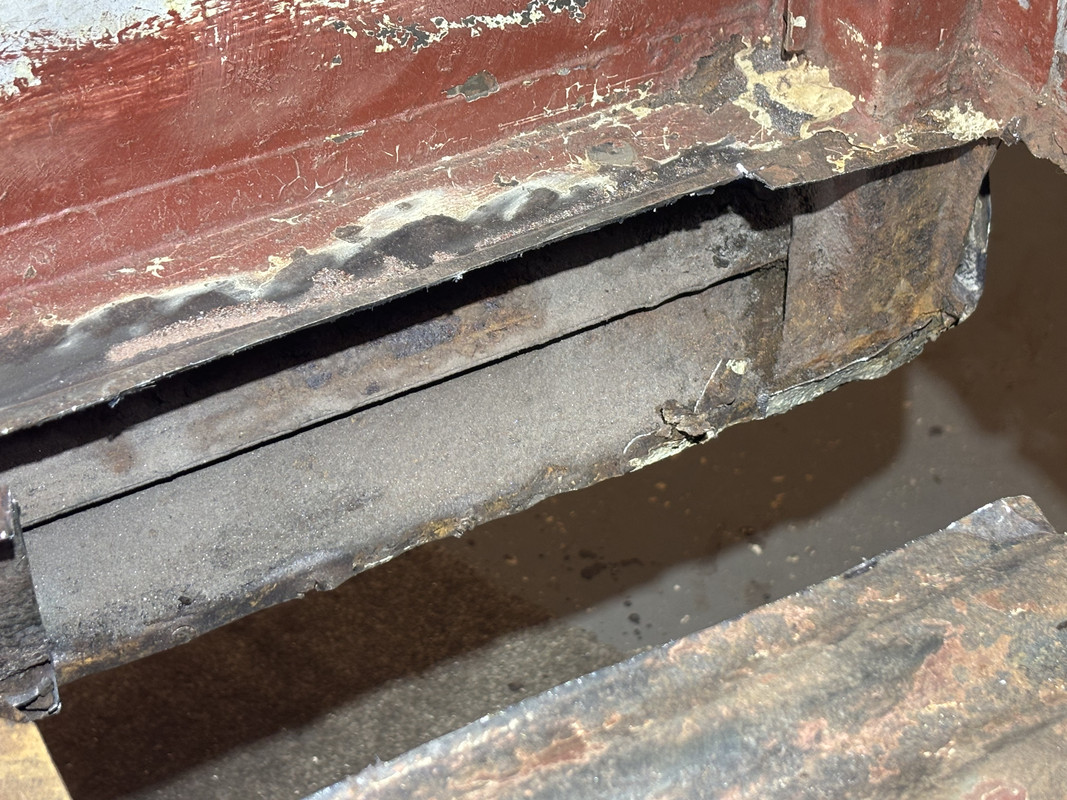
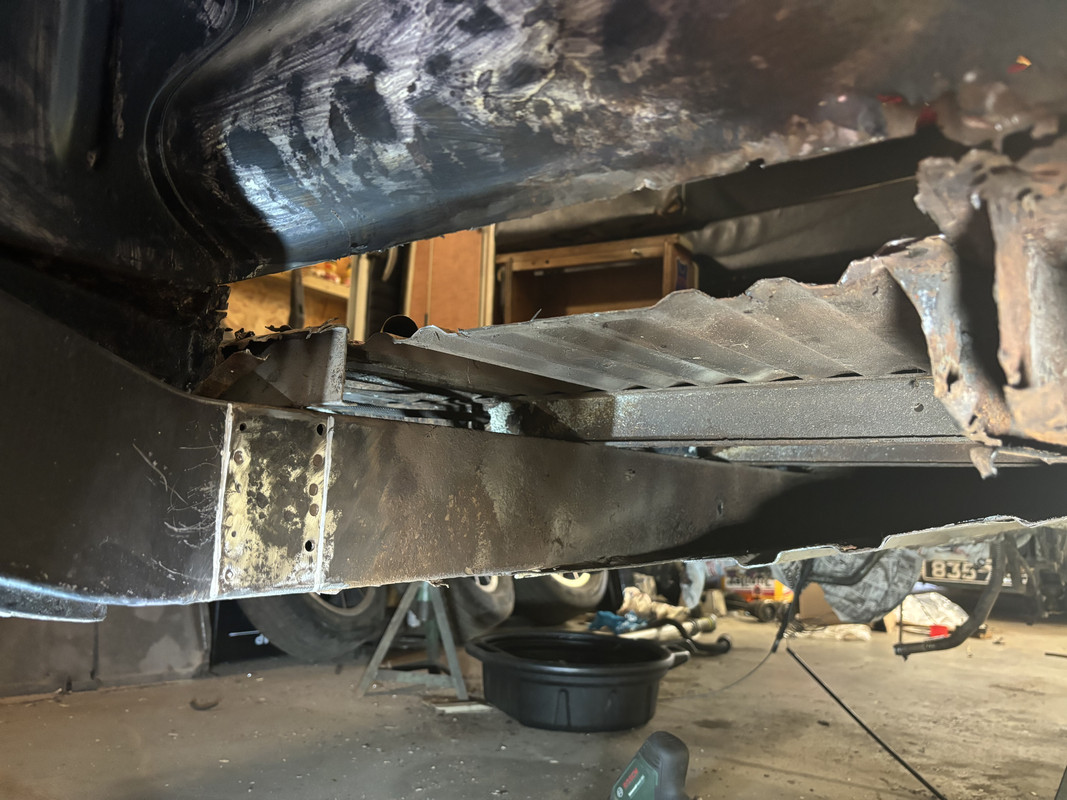
Cut most of a crusty stuff out, just need to trim back a bit of the inner sill.


Hopefully start putting the new metal in tomorrow 🤞🏻 The repair panels from Alan Schofield are outstanding.


Cutting the belly pans off and will fit new which will be bolt on, so in future I can inspect behind there periodically and I suspect they have been hidden this for quite some time.
 
Last edited:


We cc’d the combustion chambers on the new heads Saturday. They came in at 67cc, need them at 57cc to achieve a 10:1 compression ratio. Will fly cut them at work in the next week or so.


Also made myself some solid mounts for the gearbox mid mount this afternoon as work was dead lol.
 
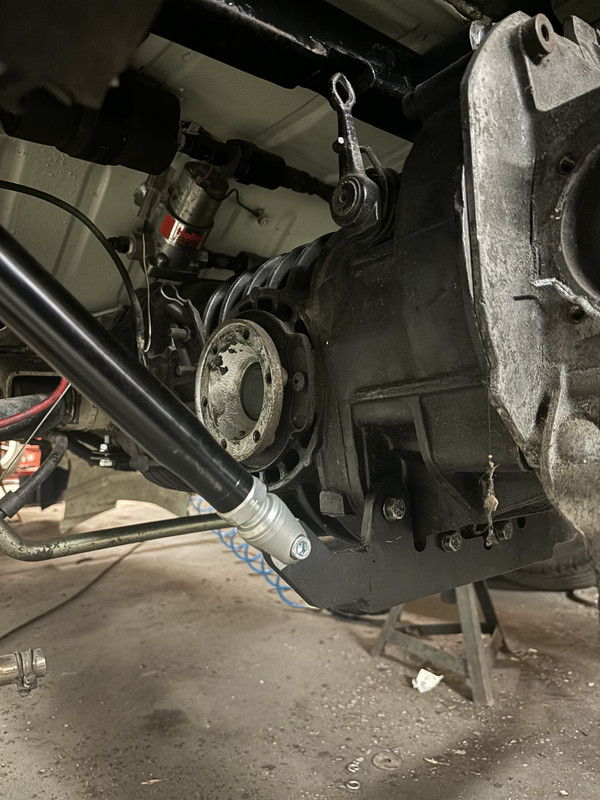
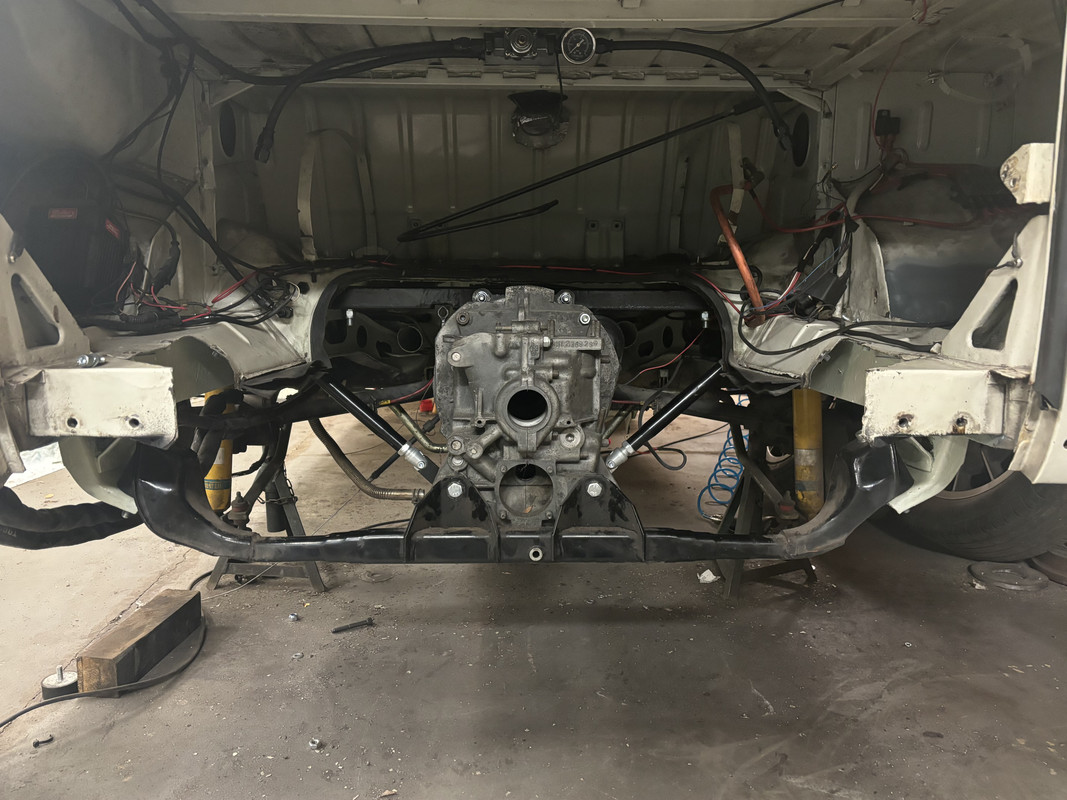
Another alteration/improvement I’ve been playing is this because since I’ve been using the nitrous in anger I’ve been suffering with wheel hop when leaving the line. I’d already fabricated a mid mount to make use of the ‘ears’ on my 091 based race box. After discussing it with Hector and Pete at cogbox we all agreed I need to tie the box in tighter to the chassis along with better shocks. So I got myself a CSP torque bar kit designed for a beetle and adapted it to work in a bus. Pete kindly gave me a laser cut bracket which he uses to fit 091 boxes in to bug race cars and I welded 2 of the tabs on it then another 2 onto pieces of 3mm plate before welding the plates to the inner faces of the chassis rails.


As you can see I’ve put it all together using an old case I use for mocking up. Preloading the torque bars in conjunction with the upper mid mount, and solid mounts throughout it is all now rock solid, no flex anywhere 😬


Going to be a bit more noisy but I’d rather that than a broken gearbox
 
Todays progress….


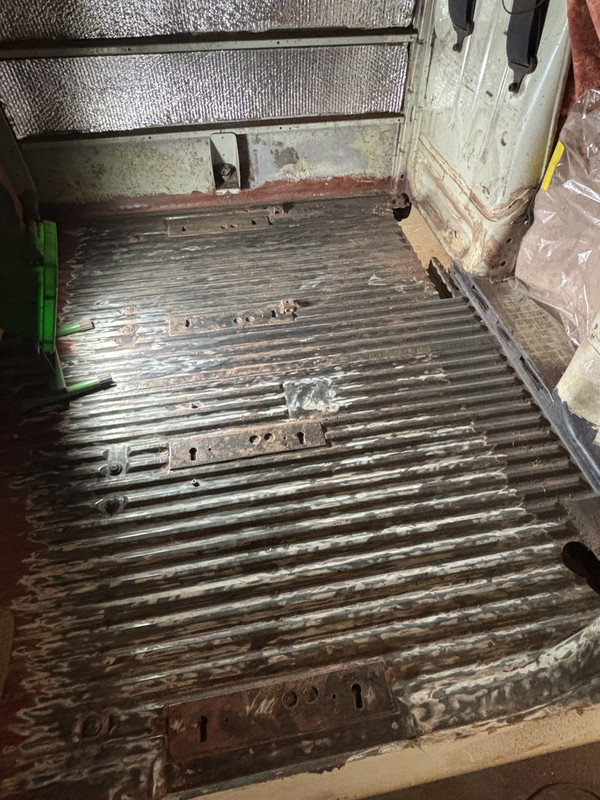
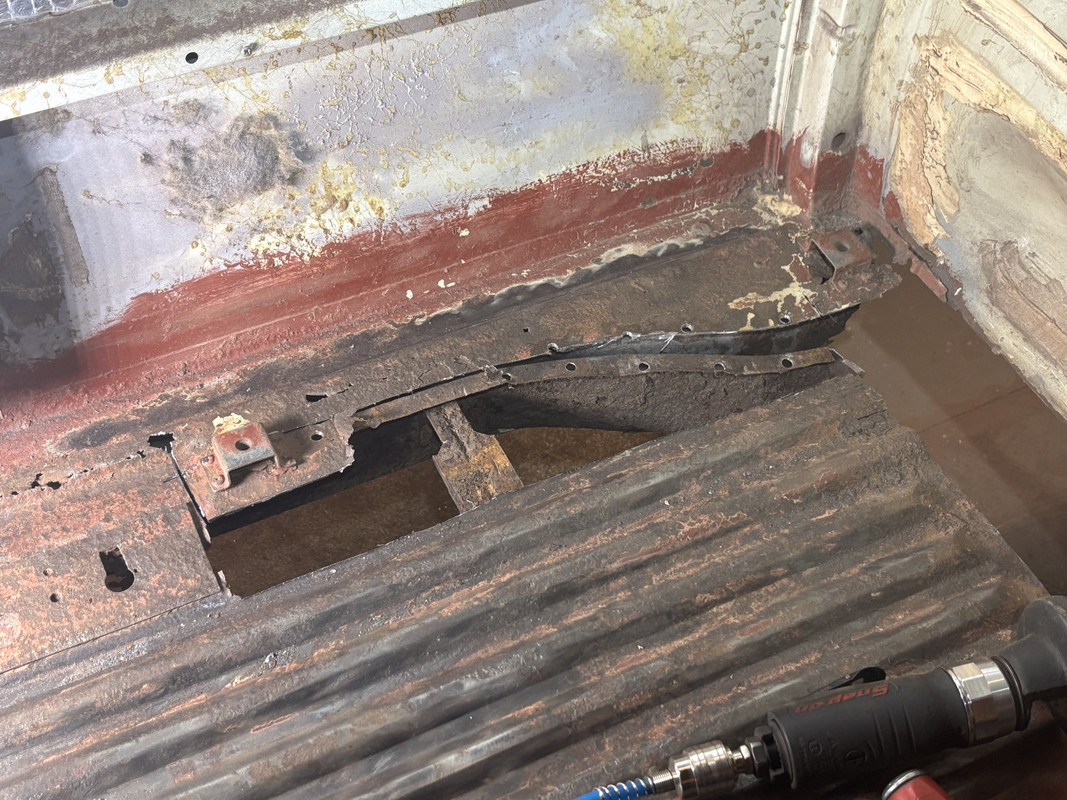
Cargo floor bare metalled, what an unpleasant ordeal that was 💀😂 but it seems the red oxide I put down years ago has kept 90% of original floor in good shape.

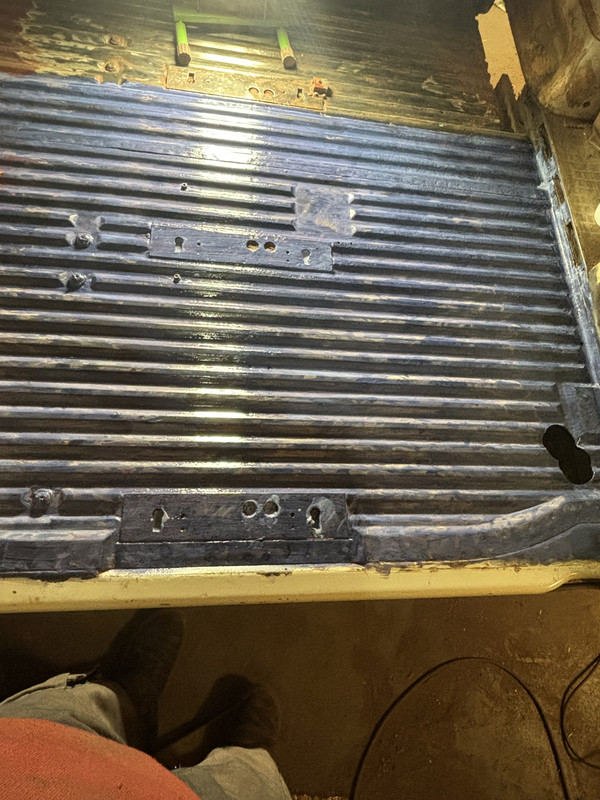
Swept it down, de greased and coated the R/H half with Hydrate 80 just to stop any damp or moisture having a go at the bare metal


Will do the other side when I’ve repaired it and will also get the bed out so I can do under there. As well as get all the grinding dust out 🫣😂


unpicked the rusty section of inner sill


Outer sill & bottom of the B are solid 🙏🏻 that will all get a good clean and dose of anti corrosion coating before it weld the new metal in.


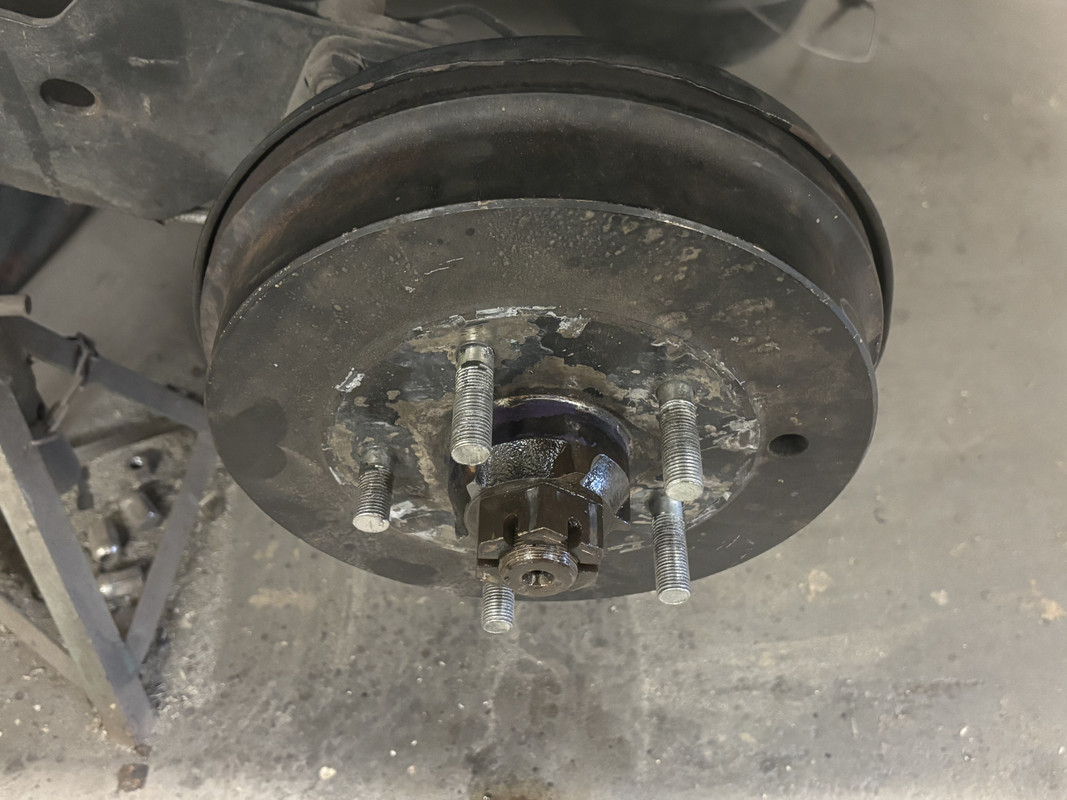
Something I’ve been meaning to do for literally years! Machine the snout of the drums down and fit shorter 71> stub axles so I can get the rear centre caps on.
As you know I’ve just done this, have you used spacers?
 
Top