Project interior.

Early Bay Forum

Help Support Early Bay Forum:

This site may earn a commission from merchant affiliate links, including eBay, Amazon, and others.
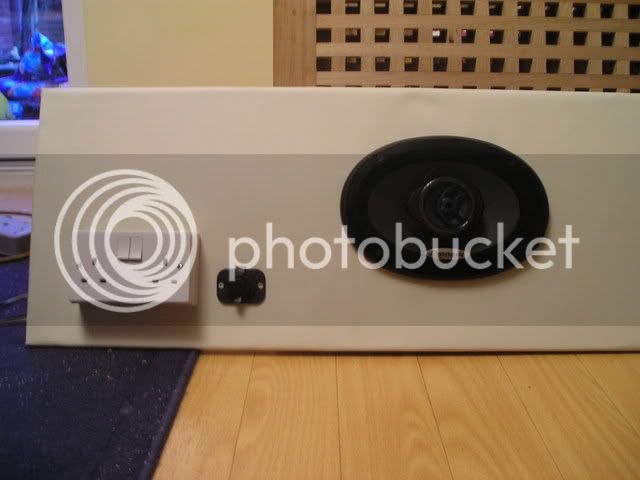
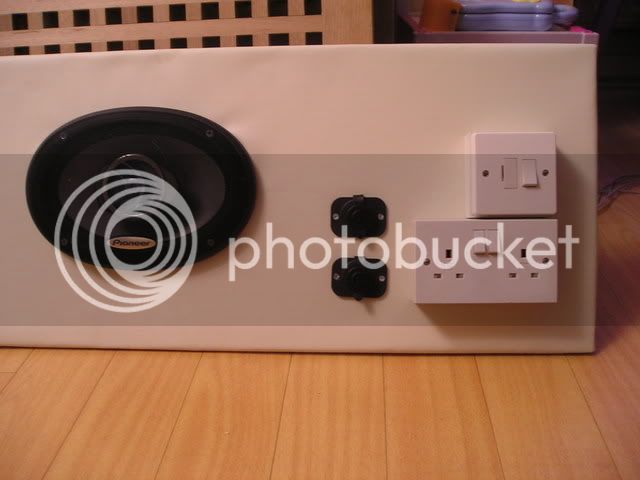
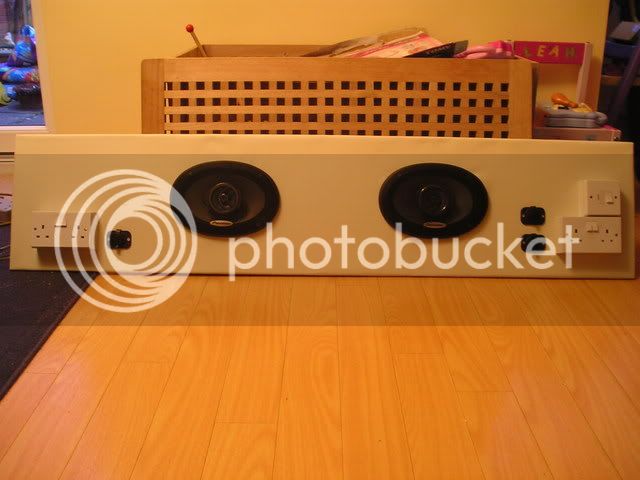
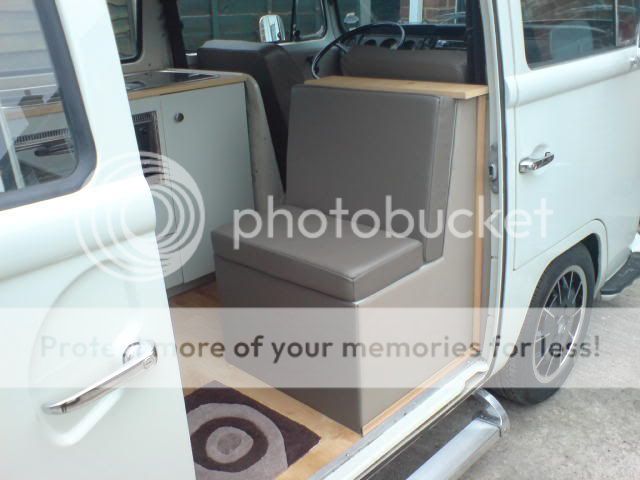
with ref to mdf, be aware that it can vary in quality with some being quite open in grain. for best results use a moisture resistent mdf which is green in colour and is a much tighter grain. Pete your units look good, planning something similar also :)
 
Cheers. It is taking longer than I thought. It takes time to plumb in the gas & the water.

DSC00717.jpg


I have gone for a large gas bottle & plenty of water to be able to got long distances without fear of running out. I am going to run a pipe down to be able to fit a Propex too.
 
Give Ian a call on 07919 050784. He did all the trimming in the van. He would fit a head lining & make a better job of it than me.
 
I have made an infill panel to go between the buddy seat & the body. You can't see it very well in the picture. It needs all fixing in properly yet as well.

DSC00727.jpg


The other areas I weren't happy with was the step of the unit where it cuts back in to miss the bed. I have made a trim panel for there too.

DSC00728.jpg


I made another for the end too.

DSC00729.jpg
 
Here are a few more pics taken today with a batter camera in the day light.

DSCN2350.jpg


DSCN2351.jpg


DSCN2353.jpg


DSCN2356.jpg

I have fitted a row of LED's under the unit. This should look quite cool while chilling out on a camp site...
 
Looking good.
Just a quick question, what size drill did you use to fit the table floor leg? I have the same arrangment for my table but not sure what size the base is. Also how have you sealed the base (i take it the base goes all the all the way through floor and is exposed at the bottom), sealant?
I also had a little play today, removed the kick board i made modified it :wink: :wink:
P1010023.jpg

P1010024.jpg

P1010025.jpg


2 x double sockets, 1 x fused spur (this will connect to an in-line RCD and then onto the hook up socket) 3 x 12v outlets (2 wired together in paralell and 1 wired seperatly for the fridge) and then of course the must have 6x9 speakers 8)
 
I think I used a 67mm hole saw, & just cut right through. I haven't sealed it yet but is easy enough to do. Either with silicone from underneath, or just under seal or wax oil.
 
A few more bits are done. I have painted the back of the rock & roll bed black as it looked unfinished in bare ply.

DSC00733.jpg


I have fitted a pair of 12v sockets in the kick board under the bed & a scuff board on the cabinet next to the bench seat.

DSC00732.jpg


The buddy seat has been trimmed now. I have ported the box for the sub woofer & fixed it down in place. I have done a load of wiring for the stereo & tested the sub. It's loud!

DSC00731.jpg


It's getting there. It just takes so long...
 
I have fitted a pair of JBL 6x9's in the rear now. The grilles are quite chunky & stuck out a bit so I flush mounted them from behind. It's quite a bit more work but well worth the effort.
I have fitted a pair of bright lights in the kick board too with their own switches, I doubt if they will get used much but are nice to have. The 12v power sockets are just lush! I trimmed the board in the leather to match the seats. I thought plain white might be a bit much.

DSC00738.jpg


I have made a kick board for the buddy seat too.

DSC00740.jpg


I have edged the work top & fitted a piano hinge. The work top is secured down now too. I have tested the tap & sink & that seems to work ok. I just need some gas fittings to finish the cooker.
 
looking real nice there pete....could you give me the depth measurement and height too of the buddy seat that ya made ....gonna make me one but two seater , need the storage...cheers
ste :mrgreen:
 

Latest posts

Top