Renewing front seat covers

Early Bay Forum

Help Support Early Bay Forum:

This site may earn a commission from merchant affiliate links, including eBay, Amazon, and others.

robo

Well-known member
Joined
Jun 21, 2011
Messages
102
Reaction score
0
Location
east sussex
Hi , can anyone tell me how easy it is to replace front seat covers on my walk throu earlybay.. Is it something a first timer can or should attempt to do? Cheers rob. :|
 
I've done it 2 years ago, and wasn't that hard.
Check your filling, if they are wasted, get some new stuff to fill your seats.
 
Did the seats on my 65 bug with a set of covers from TMI. took 13 weeks for them to turn up though..... look sweet enough and easy enough to do.

On the other hand I had the ones in my panel done by a local trimmer and they are the dogs....
 
Hiya did mine wasnt too hard a night to refit with new padding used heritage padding and covers were off ebay, did rear with tmi ones and they went on with ease.just dont try refitting them on the dining table as the spike marks are still there oops lol.
Just needed to compress the seat to get the edge on the spikes.
 
Easy. I wrote a basic instruction when I did mine.

Resto-raider said:
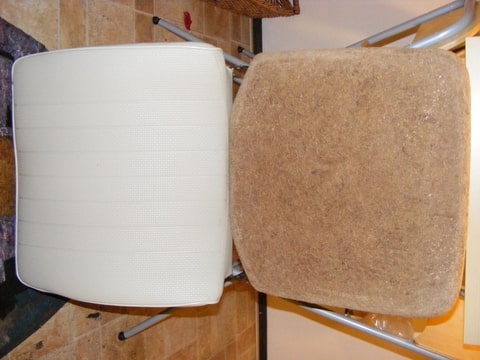
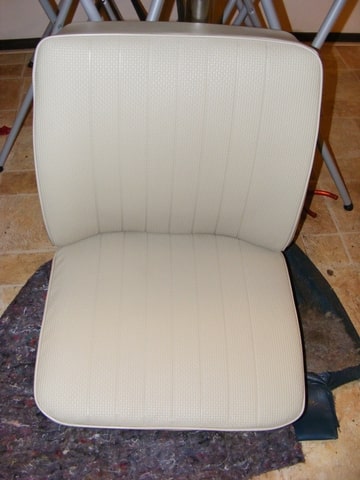
Time for another upgrade. I ordered new front bucket seat covers from TMI in original style basketweave with smooth sides. The color is off-white (05). I am really happy with what showed up in a big box from UPS.
The covers look pretty much like the original ones.

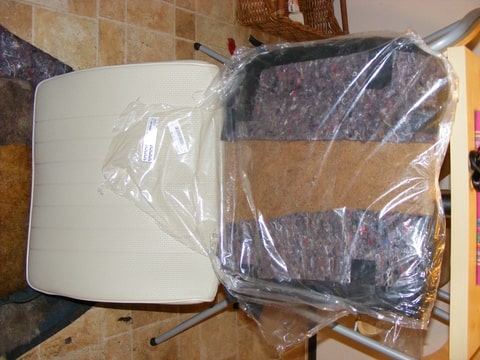
Couldn't wait to start, so When I got back home last night at 9.30 pm I started tearing off the old covers and managed to replace one cover of the passenger seat with the open back.

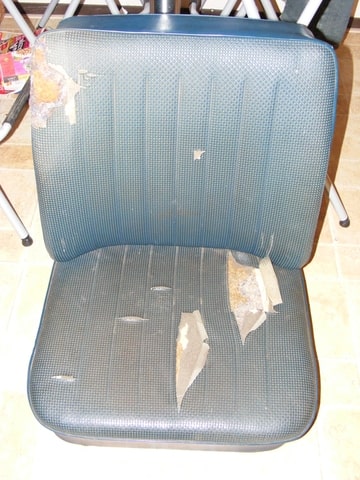
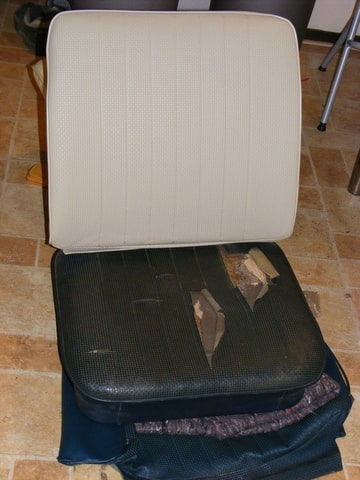
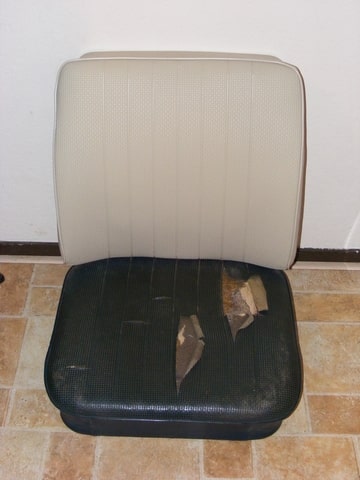
Before. Torn and the wrong colour for my Savannah Beige bus.
Foto-ASAWGZRR-D.jpg


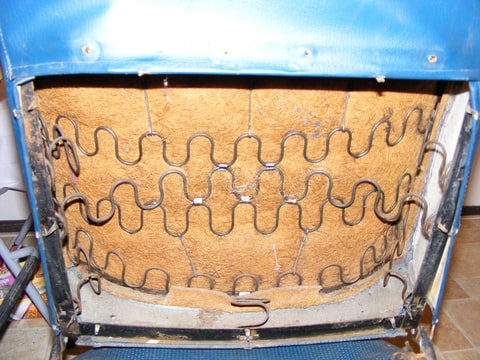
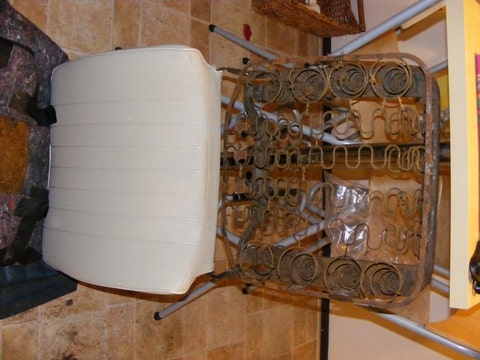
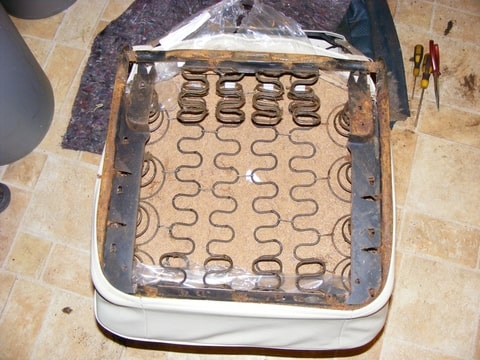
The back. Loosened all the metal tabs to take off the old cover.
Foto-YDGV8AGJ-D.jpg


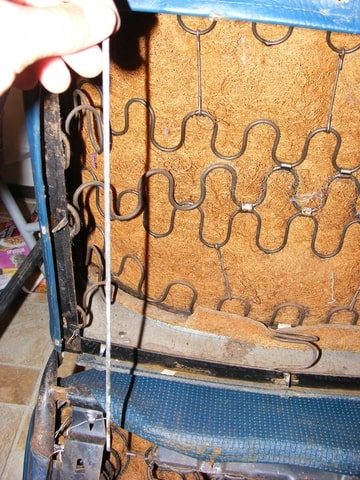
Take the metal strips out of the edges of the old cover, to reuse with the new cover.
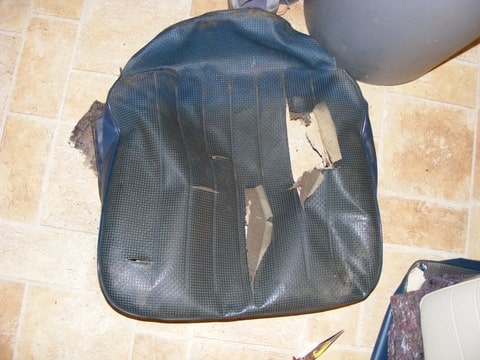
Foto-AHMB66TW-D.jpg


Old cover is off
Foto-IPEMXTMB-D.jpg


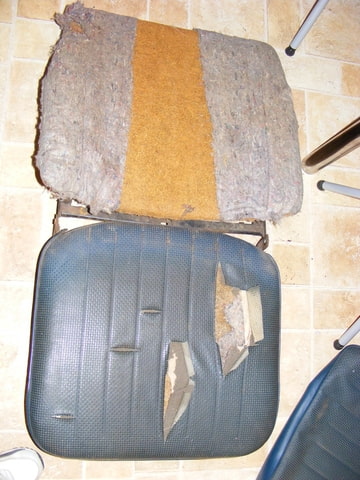
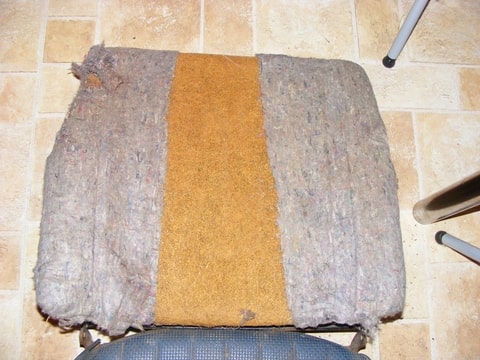
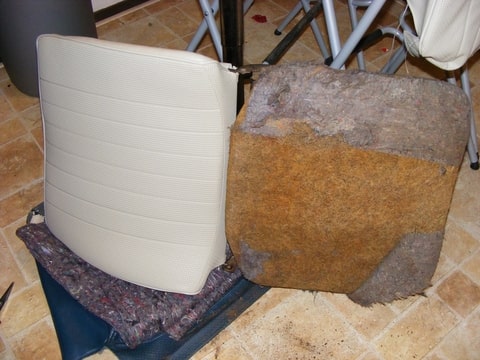
The felt that was underneath was totally shot so I removed it.
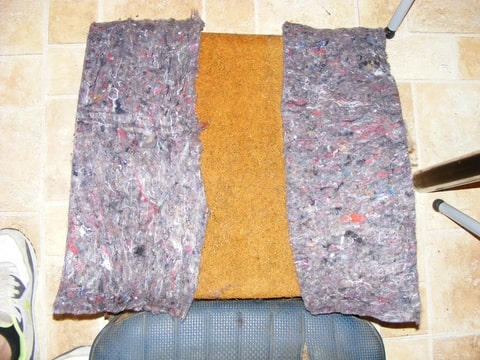
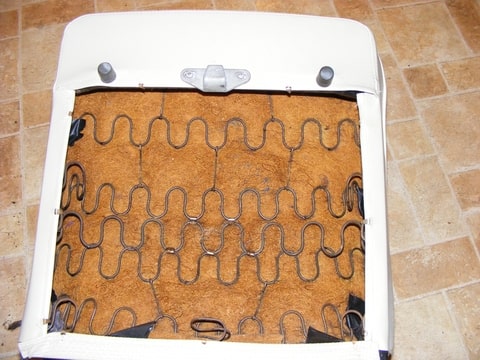
Foto-3RKPVZOZ-D.jpg


New pieces of felt.
Foto-P37ZGQV6-D.jpg


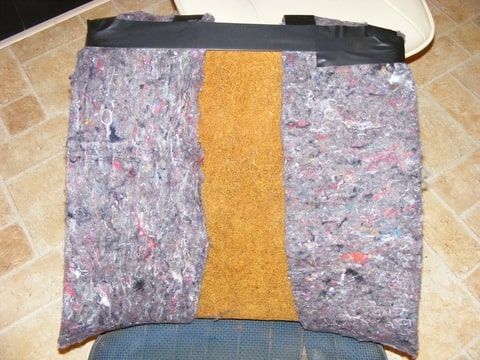
To keep the new felt in place I taped them around the edges with some cheap kind of Duct tape. This will make it easier to slide the new cover over it and keeps everything where it should be. I used the tape on the top and also on the side.
Foto-K3APQGGD-D.jpg


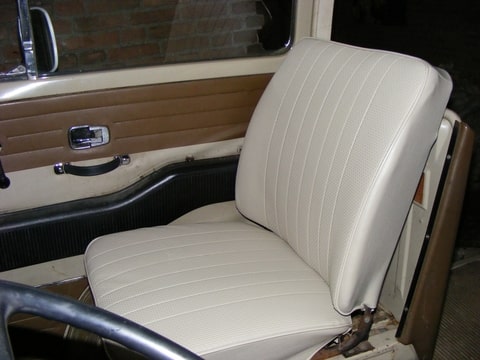
New cover is on, but the lower part has not been strapped to the back yet. This is a hard job to do. I had to stand with my full weight on the back while the seat was lying on the floor face down, to compress the springs. Then with some moderate force I managed to hook the lower section into the back.
Foto-3S4IBYND-D.jpg


The end result of the first cover. I believe I started with the easiest one, beacuse of the open back, but it still cost me 1,5 hour to get here. The next one will hopefully go a lot quicker.
Foto-68C66JYM-D.jpg


I will continue tonight replacing the rest of the seat and perhaps start the same procedure on the drivers side.

Resto-raider said:
I didn't use a new hair pad because the one on there was still in good shape although it is still the original one. Today I replaced the seat base cover and this hair pad had to be replaced because it was all sagged and the structure was gone.

I managed to finish the seat tonight. I needed another 1 to 1,5 hours to finish it because the seat base is harder to do than the back.

Old cover
Foto-CNXDFTVQ-D.jpg


Old cover taken off
Foto-NY4GUKMQ-D.jpg


Old hair pad removed
Foto-3QRKQIKX-D.jpg


New hair pad installed
Foto-EBNV3QW4-D.jpg


Plastic over the hair pad and felt to make it easier to slide the cover over the base.
Foto-3GYLFYLB-D.jpg


Slit the cover over the seat base, but did not pull it over the outer frame yet.
Foto-VSKZYODW-D.jpg


Compressed the springs and managed to pull the cover over the outer frame.
Foto-EWS6NMZL-D.jpg


Put the stuff on the backside on again.
Foto-MZWZ78XR-D.jpg


One bucket seat finished
Foto-H37QQIBW-D.jpg


Picture of the seat in the bus, taken in pitch black at 11 pm
Foto-UBNAMK6U-D.jpg
 
I did mine got the fill from the usual suspects i went for the foam rather than the coconut fibre or whatever it is and i got the seat covers from DB trim at blackpool nice guy and a good fit covers i think were about £150 for the pair - good quality. Tip if you are doing it yourself and particularly with foam cover them in clingfilm before you attempt to put the covers on - It's still like wrestling with a Anaconda mind! :suicide:
 
subheatadey said:
I did mine got the fill from the usual suspects i went for the foam rather than the coconut fibre or whatever it is and i got the seat covers from DB trim at blackpool nice guy and a good fit covers i think were about £150 for the pair - good quality. Tip if you are doing it yourself and particularly with foam cover them in clingfilm before you attempt to put the covers on - It's still like wrestling with a Anaconda mind! :suicide:


me too db trim good stuff, just watch pulling the rear corners on the bottom it gets a little tight and if you're over zealous RRRIIIPPP


Before


after
 
I put them in a clothes dryer for about 1 or 2 minutes. They slip on easy then. Use the plastic bag on the frames too. Separating the bottom and top sections can help too. Easy job.
 
Yeah a little heat helps we suggest the use of a hair dryer.

We have a 15% off offer on TMI till the end of this month.

its a 6 to 8 week lead time for the covers to come in.
 
One more tip, ditch the string they use to tighten up the covers around the bottom and replace it with bailing wire. The originals from the factory used wire. It makes things much easier and you will get a tighter fit.
 
Do you need felt on the seats? We’ve just taken ours off and debating whether to replace or ditch. Also need new wire, as the one inside is rusty and broken off.
 
Top