shabby - might be getting a new name

Early Bay Forum

Help Support Early Bay Forum:

This site may earn a commission from merchant affiliate links, including eBay, Amazon, and others.
A while back I had stripped and painted Rusbuster Fe - 123 on the Firewall, so I stored it in a nice dry area to find this :x


The thing was spotless and grease free so I'm not sure what caused this :? So I stripped it off again to find the rust worse than it was to start with. Its like its been sweating under the top layer. Same thing happened with the Fuel tank :shock:
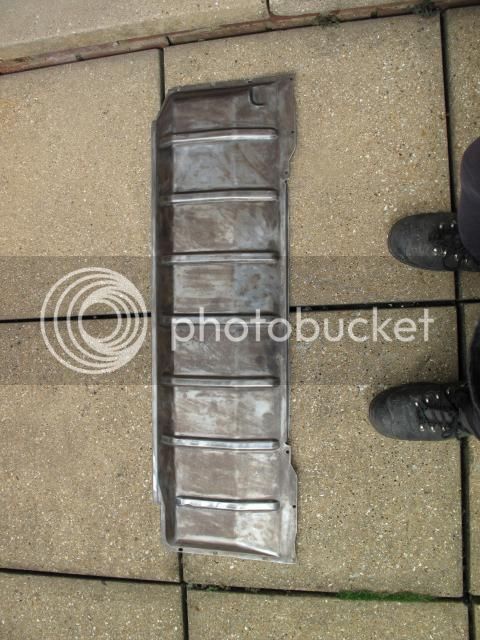


You can stick Rustbuster where the sun don't shine and I feel sorry for anyone that has used this because you put it on and its milky in colour and changes to black when its converted. Ballcocks :x Just makes it worse, I was going to use it under the van but not now. If I had used lots and a few years down the line found rust popping up every where Id be well pis sed off.
I'm a Ferro Betol convert, Its cheaper and you can see the stuff work. Just look at the small area done in seconds.
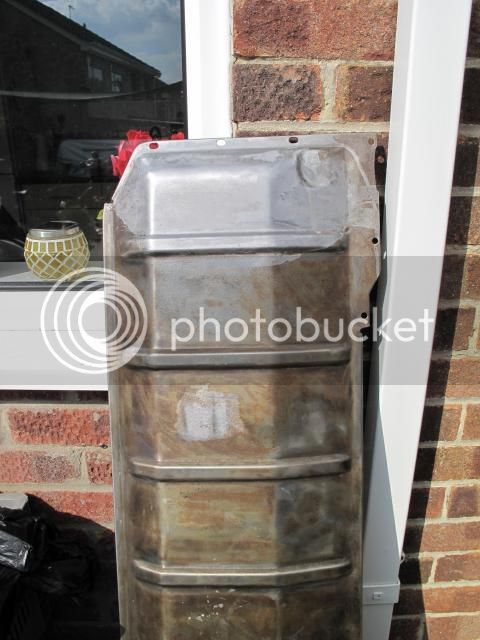


My tank didnt look too bad but rust was there under that grey paint. Not any more though, another day spent on my tank and she looks beautiful :D
Before


Half way


End, Ferro Betol applied ready for paint
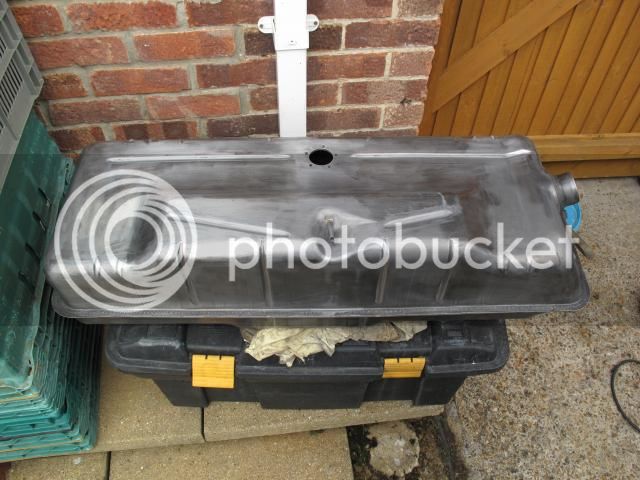
 
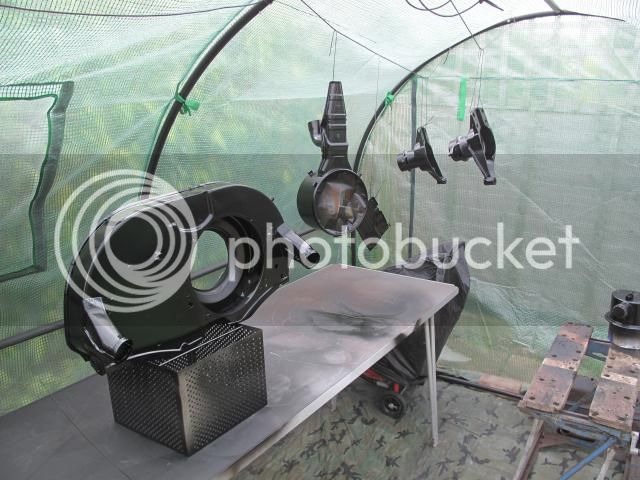
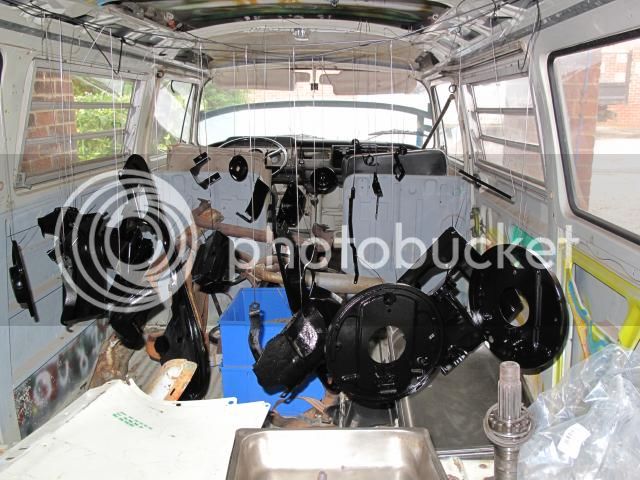
Started to spray an industrial 2 pack 70% gloss on my bits, its used on boats, engines, water tanks etc. Bit of a satin look when it dries.


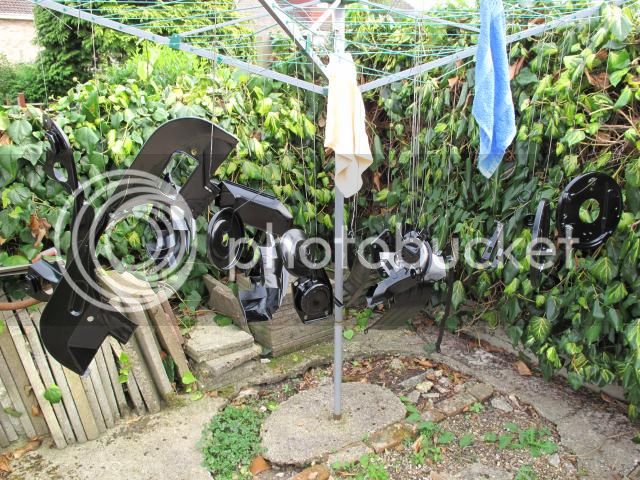
Quickly ran out of hanging space but I found this to be handy. :) It was ok but had to wait till the paint had set a bit before moving.


Black box.


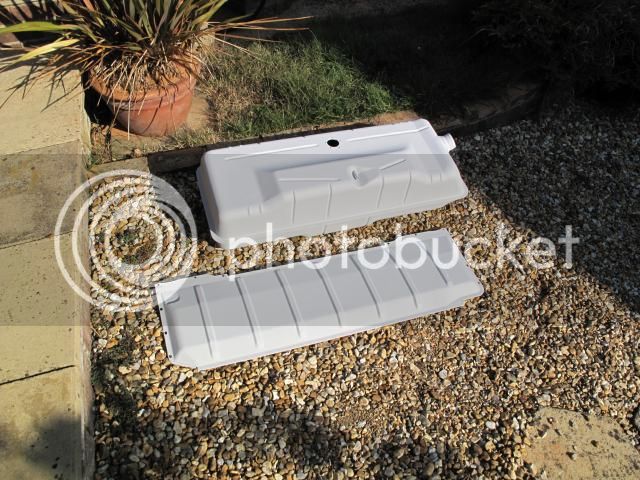
Primer on my tank


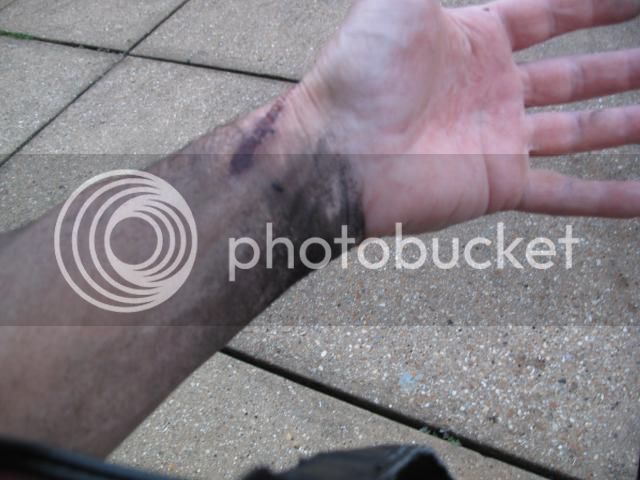
Got carried away and didn't notice this, should have seen my head. Had to sleep in the spare bed that night.


Then she wanted the washing line back so had to move the stuff again and the van has become a shed :( I spent more time moving stuff than doing any work. :lol:

 
I knew I should have left it alone last night, after getting bits of fluff on the first top coat applied to the petrol tank and firewall I decided to give the green house a clean out to get rid of built up dust, stripped and cleaned the spraygun down, got ready to give it another coat after wet n drying parts. Mixed the paint, started spraying to find paint spitting and leaking from my gun. :? Forgot to put the spring back on the needle :oops: Stripped the gun again, more paint in while spraying everything is fine hooked the gun on a box for a minute it fell over and broke the paint pot lid :| You just know when to stop. I might look to see the mess later today.
 
:lol: Fluff , Spring , Paint pot lid. :lol: I'm starting to wonder. :lol:
They do say it comes in three's. Don't stop now!

J & P
:D :D :D
 
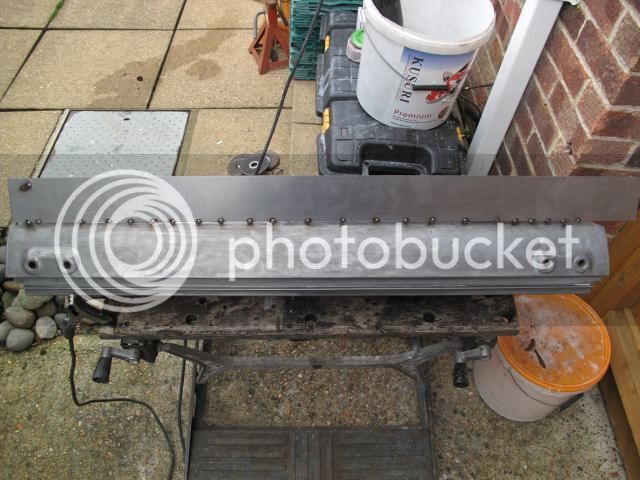
I felt a bit lazy so I did some more, the holes were bugging me so I cut them off.


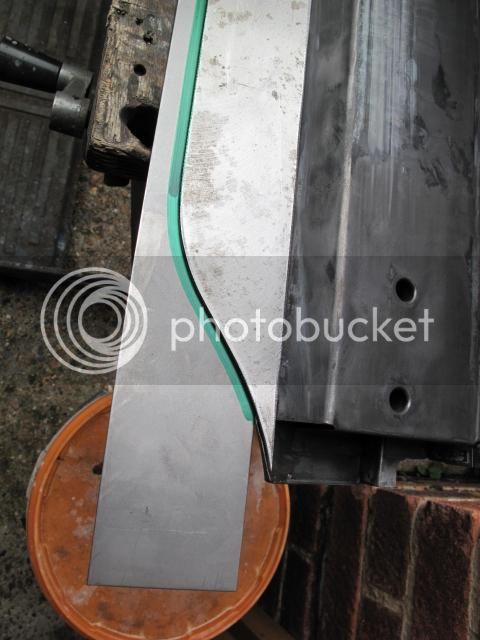
The cut was 4mm into the box flange so I would only have to clean off one side, also made a jig for forming the curve. Tacked on some tin I got for free :)


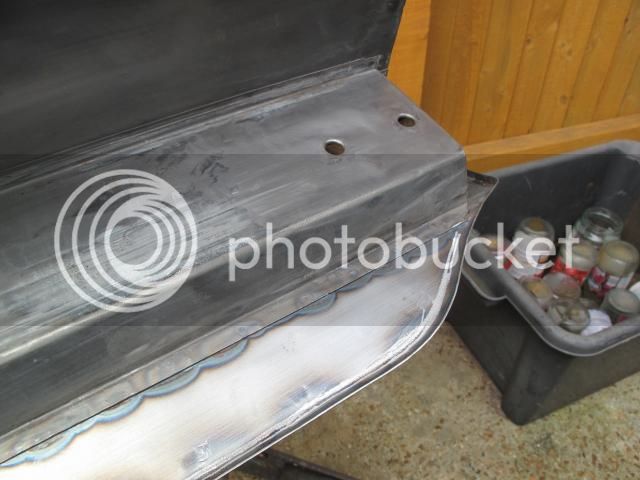
Used the jig to mark and form the curve.


Another job done and it saved me some money :D


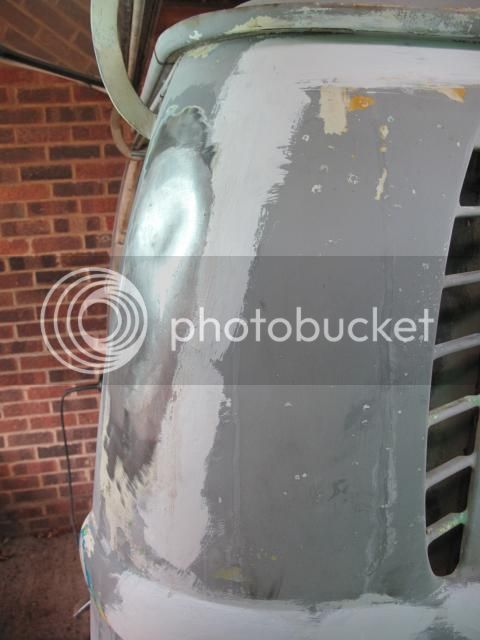
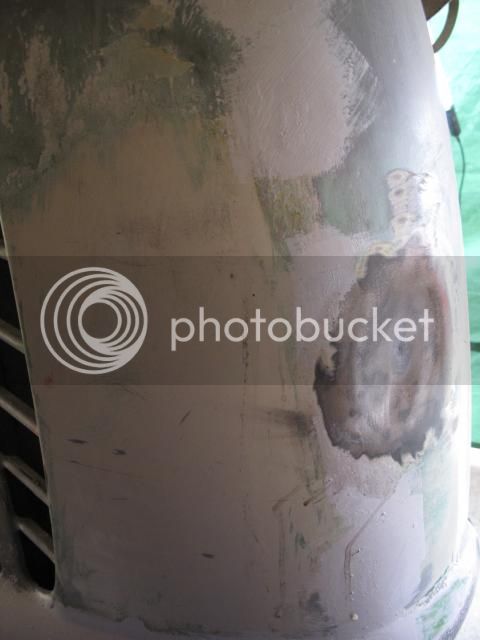
Next job, dents which were filled. Ill have a go knocking them out from inside with bits of wood. :(


gvee said:
Really nice work on the valance! :shock:

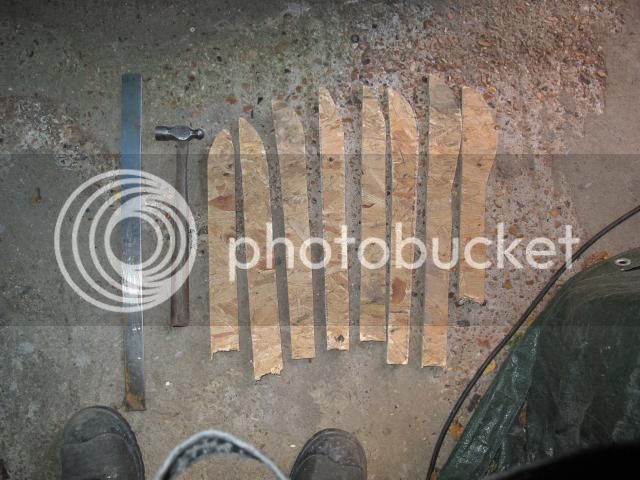
Thanks I need all the encouragement. Next I figured if I don't do the vents now all the crap will end up on my new battery trays once there painted so I,ll paint the vents inside from the top down. There is a load of grey over spray inside that needs to come out but first the dents, made some simple wood tools and allot of fiddling they popped out with the aid of heat.


I recon the only way i can do this now is paint the engine bay so its finished then continue with repair work, slap paint on to stop rust and when the time is right strip n paint the outside . I had hoped to save the original paint but most of it is not up to much and some had been removed under the grey crap.
 
Marriedblonde said:
Bloody hell. Loving the work going into this bus. I wish I was more handy :-(

Thanks but its not all fun :( I wish I`d have got a finished one now, ahhhh well best get on with it :lol:

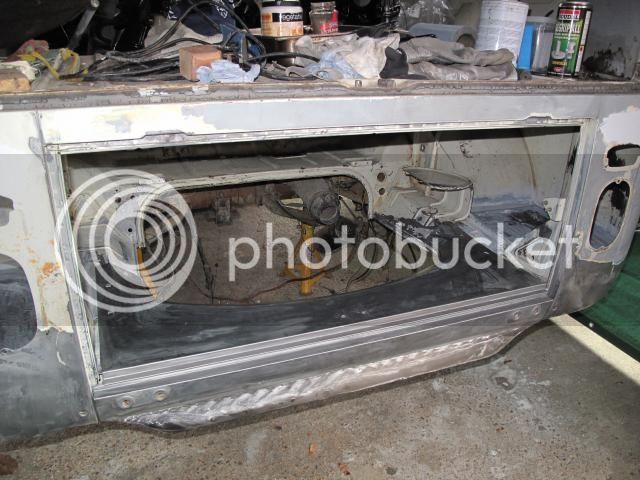
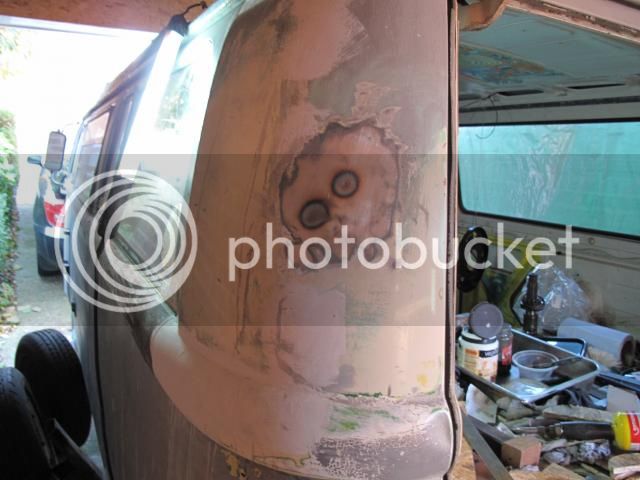
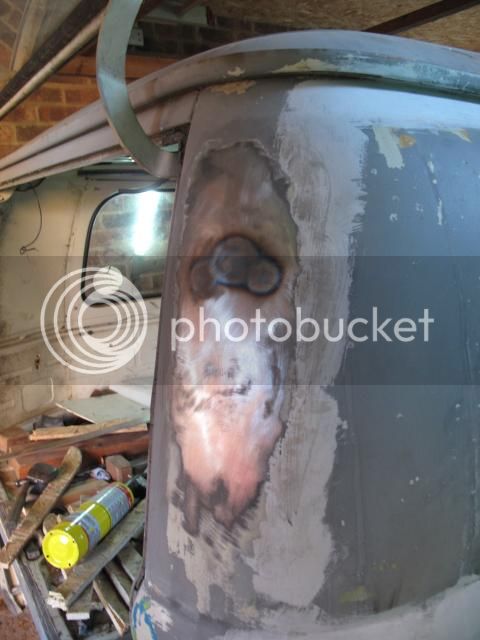
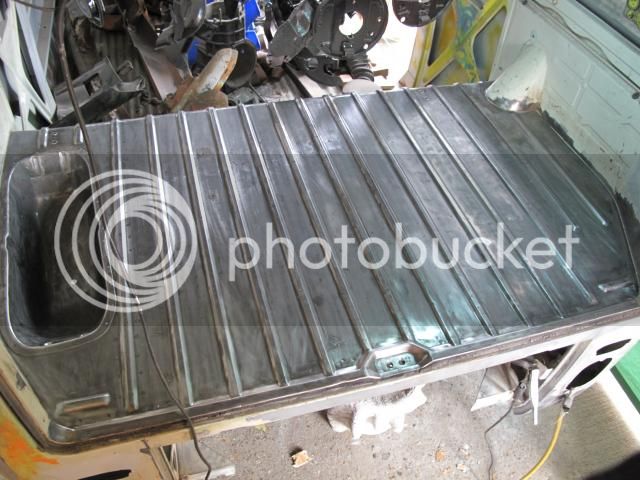
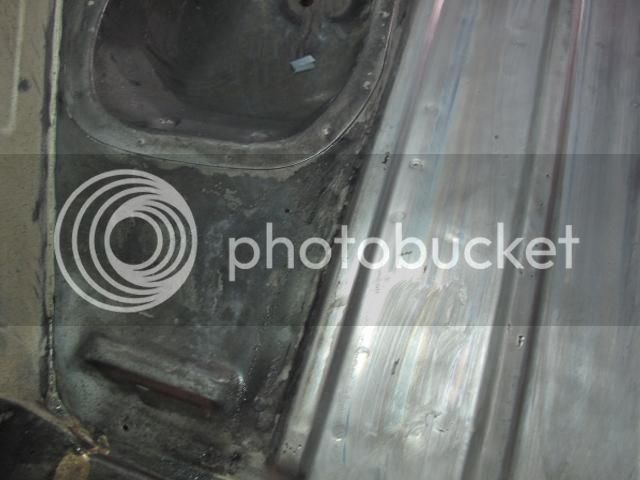
Talked myself into knocking out dents in the engine deck whatever you call it and check for any pin holes before I painted the engine bay but one thing led to another as it does and this happened got carried away with my grinder and wire wheel :shock:


Got it spotless and rust prevention Ferro Betol applied, had lunch came out for a look and it was a slimy jet black all over :? Cleaned it off again and the same happened :? :? :? Came to the conclusion the steel must be different on this panel who knows why :?: :?: I've used it lots on the engine tinware and engine bay with no problem just goes a grey colour.


cannot figure out why my pictures are half size :?
 
Fine job there sir. Hope it's not aluminium!( the side piece) Shouldn't think so. Keep up the good work.

J & P
:D :D :D
 
I'm a bit stuck due to the weather, I need sunshine and warmth so I can spray the engine bay :(
 
I know what you mean, even with a garage it's so cold and difficult working
with 20 layers of clothes on. Summers on it's way. ;) Keep up the good work.

J & P
:D :D :D
 
February and all went quite?????????????????????
Hope all is well. Weather is warmer , time to hopefully get back on it.

J & P
:D :D :D
 

Latest posts

Top