

A while back I had stripped and painted Rusbuster Fe - 123 on the Firewall, so I stored it in a nice dry area to find this :x

The thing was spotless and grease free so I'm not sure what caused this :? So I stripped it off again to find the rust worse than it was to start with. Its like its been sweating under the top layer. Same thing happened with the Fuel tank :shock:
You can stick Rustbuster where the sun don't shine and I feel sorry for anyone that has used this because you put it on and its milky in colour and changes to black when its converted. Ballcocks :x Just makes it worse, I was going to use it under the van but not now. If I had used lots and a few years down the line found rust popping up every where Id be well pis sed off.
I'm a Ferro Betol convert, Its cheaper and you can see the stuff work. Just look at the small area done in seconds.
My tank didnt look too bad but rust was there under that grey paint. Not any more though, another day spent on my tank and she looks beautiful
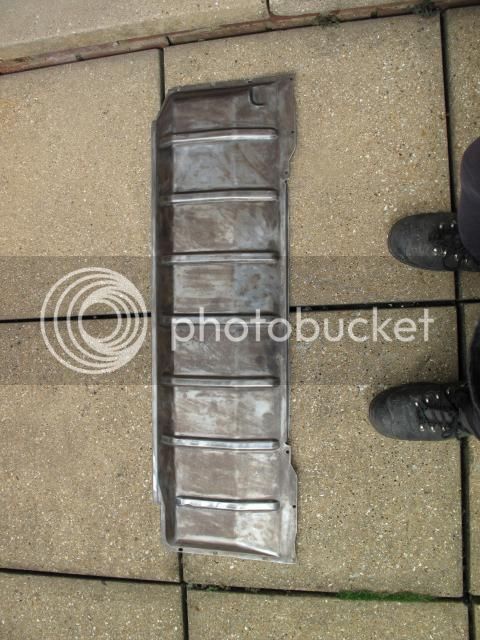
Before

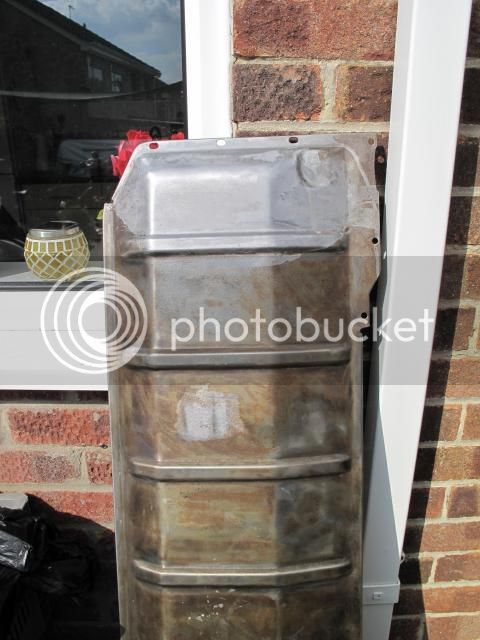
Half way

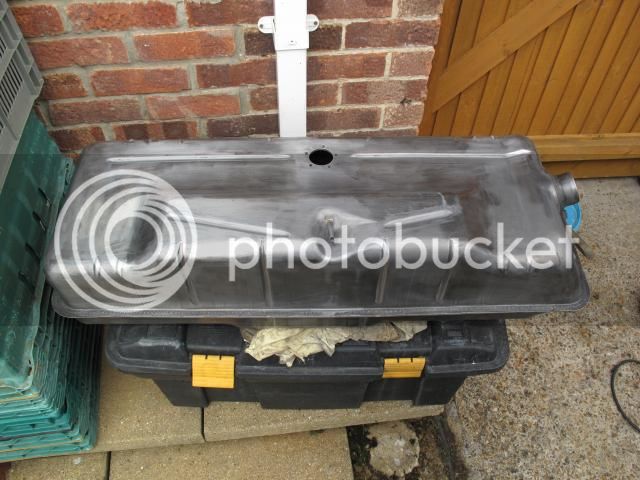
End, Ferro Betol applied ready for paint

The thing was spotless and grease free so I'm not sure what caused this :? So I stripped it off again to find the rust worse than it was to start with. Its like its been sweating under the top layer. Same thing happened with the Fuel tank :shock:

You can stick Rustbuster where the sun don't shine and I feel sorry for anyone that has used this because you put it on and its milky in colour and changes to black when its converted. Ballcocks :x Just makes it worse, I was going to use it under the van but not now. If I had used lots and a few years down the line found rust popping up every where Id be well pis sed off.
I'm a Ferro Betol convert, Its cheaper and you can see the stuff work. Just look at the small area done in seconds.

My tank didnt look too bad but rust was there under that grey paint. Not any more though, another day spent on my tank and she looks beautiful
Before

Half way

End, Ferro Betol applied ready for paint


