The Dropped Dough Ball

Early Bay Forum

Help Support Early Bay Forum:

This site may earn a commission from merchant affiliate links, including eBay, Amazon, and others.
On the road to getting the dough ball super tip top for the summer, these beauties turned up from the masterfull Delilahs!

Seriously hats off to them, their work is spot on and worthy of all the top buses! huge easy man hugs going their way as always. 8)


So a busy ol week on the bus!, engine out for a full service with tappets oil change, gear box oil change, new everything etc 8)

The main reason for the engine out was to put in a new clutch and upgrade the clutch release bearing to the later more reliable and strong release bearing and arm, plus will give it a potentially smooth as hell action to match the new buttys accelerator pedal linkage.

Its a later style low lift clutch with later style release bearing mechanism and bearing to suit.
Do not use late clutch and early Bering or it will explode! had it happen to me on another VW.


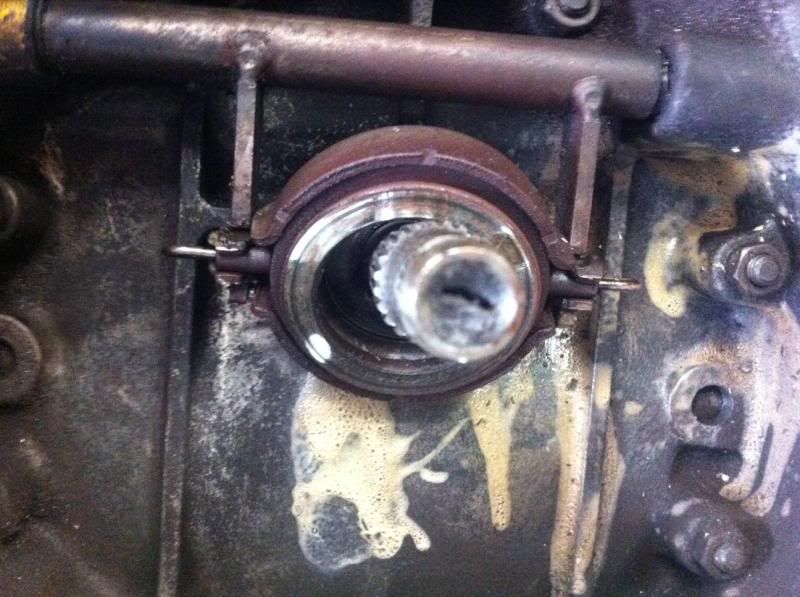
Old arm & bearing


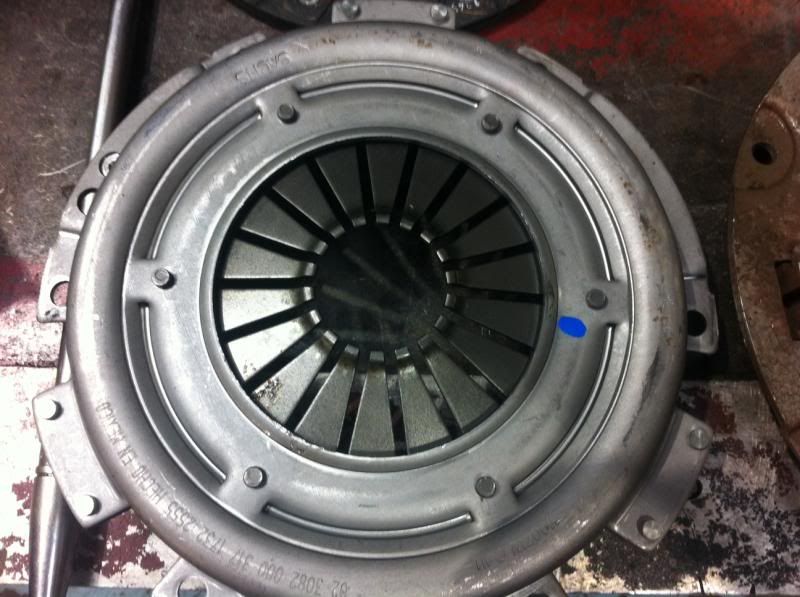
New style low lift clutch cover


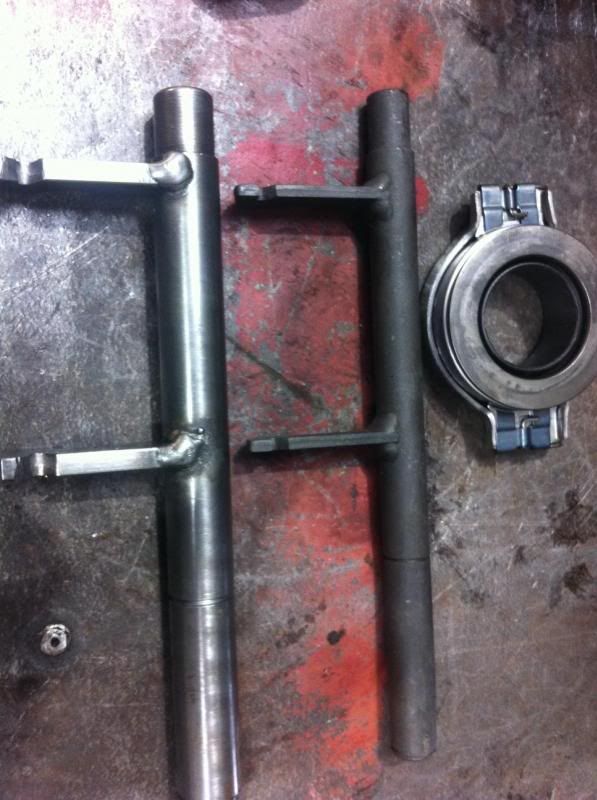
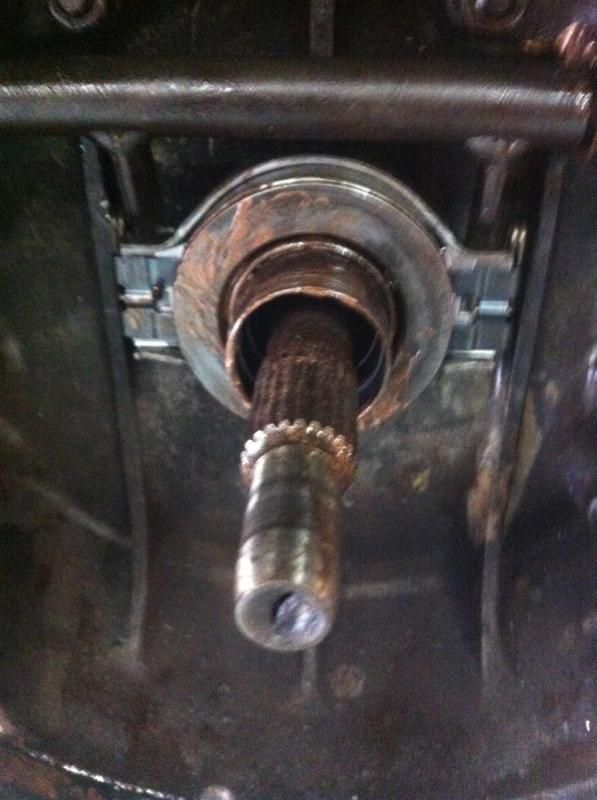
Later shaft on left, Early shaft on right, New type bearing


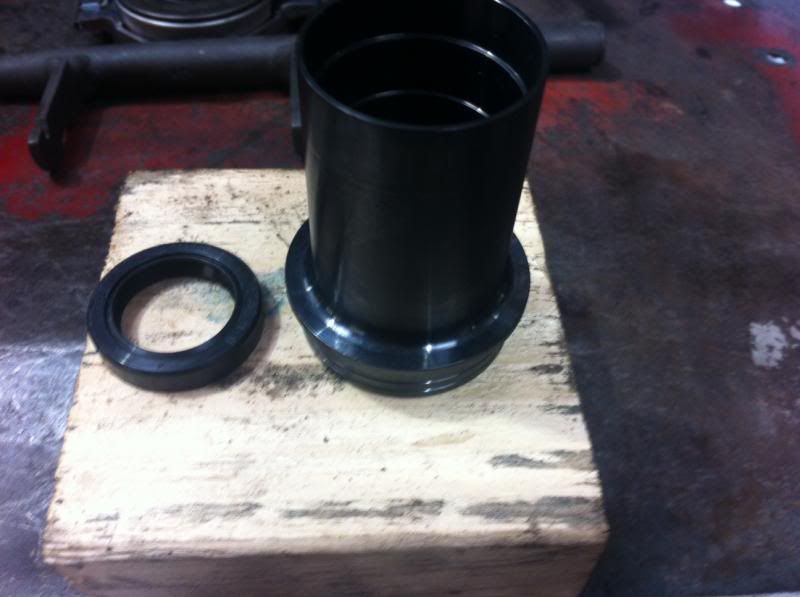
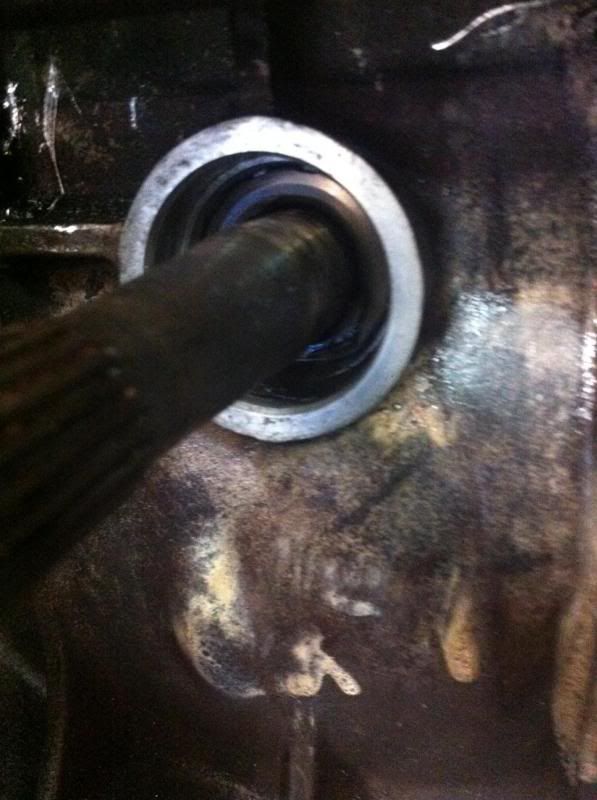
Adaptor and seal


Input shaft seal removed


Conversion complete! dont worry excess copper grease was cleaned off!


The Buttys RHD accelerator linkage fitted like a dream and the pedal is like a blinking modern car! After some discussion the spring wasn`t fitted as it seemed to be better for my tastes with the twin carbs being heavily spring loaded it wasn`t needed, pedal return was perfect as is.

The ride has gone from strength to strength and all the pedals are smooth as anything and its a real pleasure to drive. ******* hats off to Jase at Interpro for his hard work, its bloody lovely mate! the clutch is a thing of beauty! :mrgreen:
 
Vinco said:
Nice! where did you get the release bearing adaptor dude?


Cheers dooder, i think it was VW heritage dood 8)
 
8) looks spot on
i got the airbeam yet to put it up,her in doors dont know i bought it :lol:
 
Nice work - I will carry out the late clutch release bearing modification myself the next time I manage to chew through an early one!
Knowing my luck that wont be too much longer! Looks much beefier! 8)
 
robins said:
8) looks spot on
i got the airbeam yet to put it up,her in doors dont know i bought it :lol:

Cheers dood, lol :lol: the airbeam is awesome, i couldnt hide it from mine as she was the one who wanted it as it was so easy to put up! :mrgreen: 8)
 
StuF said:
Nice work - I will carry out the late clutch release bearing modification myself the next time I manage to chew through an early one!
Knowing my luck that wont be too much longer! Looks much beefier! 8)

Its an awesome conversion, once you do it, you will think why the hell did i not do that sooner!, it really makes changing gear much smoother and more confident. :mrgreen: 8)
 
Quick **** pic of the new accelerator linkage from Butty fitted, its a total dream after dream after a weekend of testing, driving around the mean streets of Bristol, will test any patience that an accelerator has.


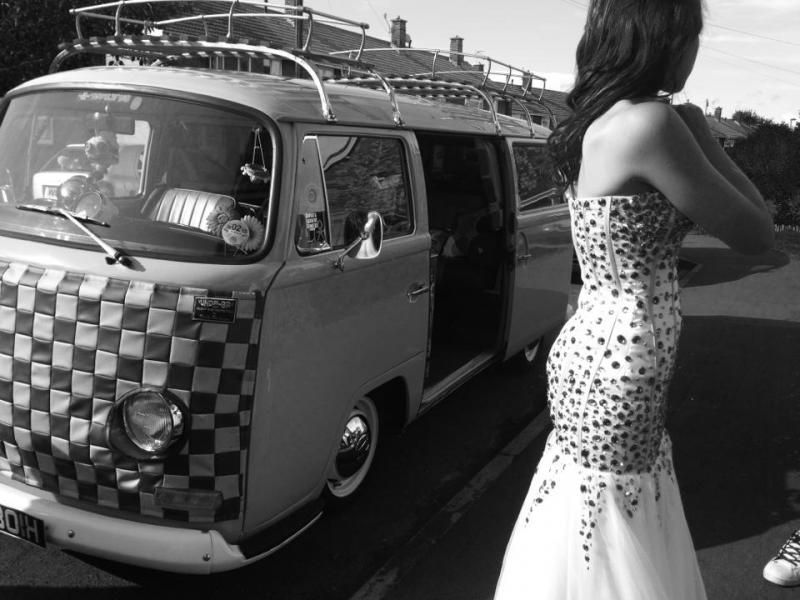
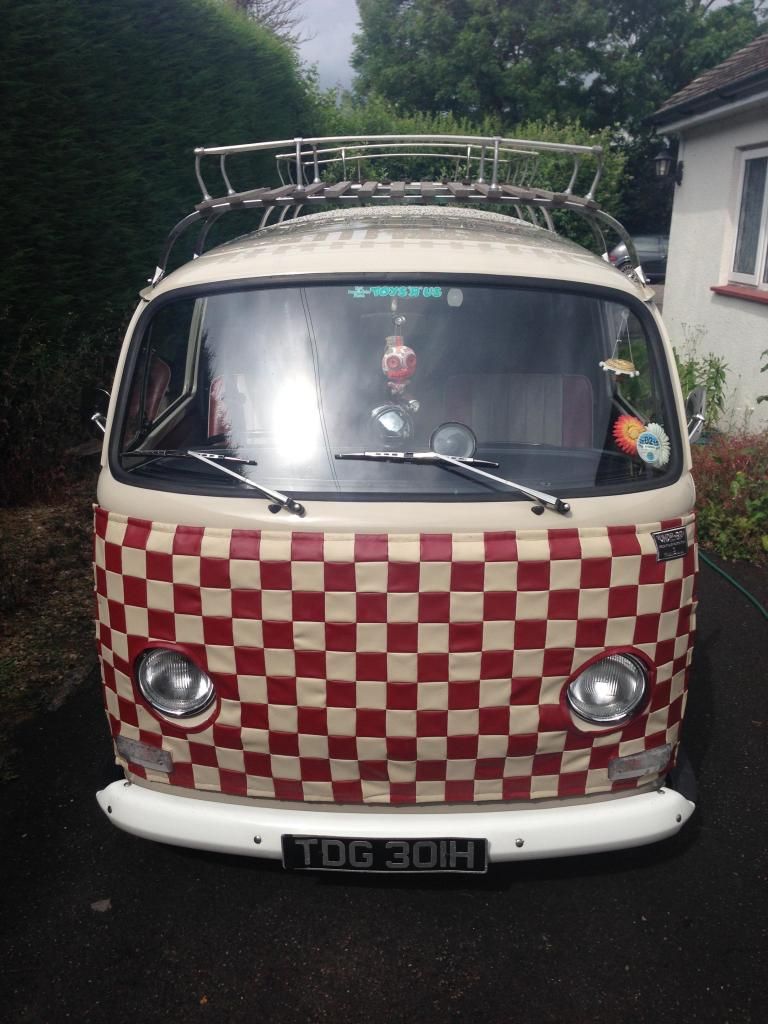
Next it was get the Dough Ball out for a clean and ready for doing a prom, for a good friend of mines daughter 8)


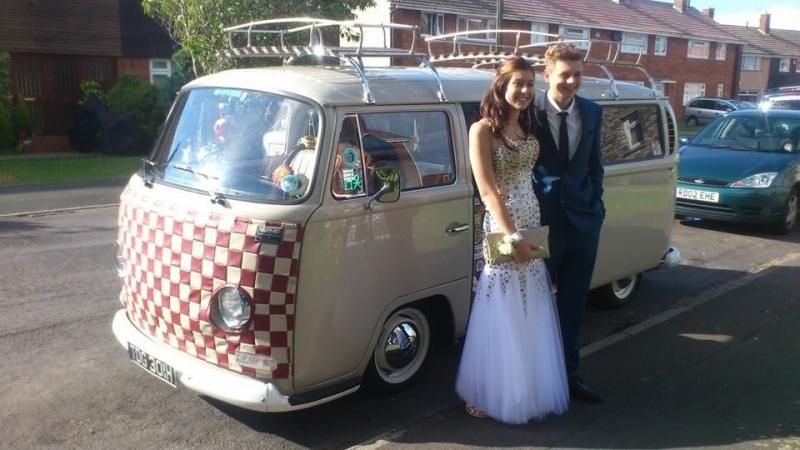
Then onto pic up the prom queen!


Me and the prom lady, she is just trying to eye me up to blag the van for free! lol

 
woz said:
Buttys accelerator conversion just keeps getting so many good reviews - must add it to the list!

Its spot on fella, a couple of adjustments i think then it will be perfect, but thats just personal preferences for me, so there can be more adjustment, but buy one and you will now be disappointed :mrgreen:
 
Glad you like it , its very hard to make a straight out of the box kit for these rhd buses but little adjustments and generally sorts it . Hopefully soon i should have ample stock of all the bits needed to build a big batch of them . Bung me details of what your tweeking and i will see if its something i can eliminate on future kits [email protected] the more info people can give me on subtle issues the more i can try and eliminate at the building stage , its all about making it better .
 
butty said:
Glad you like it , its very hard to make a straight out of the box kit for these rhd buses but little adjustments and generally sorts it . Hopefully soon i should have ample stock of all the bits needed to build a big batch of them . Bung me details of what your tweeking and i will see if its something i can eliminate on future kits [email protected] the more info people can give me on subtle issues the more i can try and eliminate at the building stage , its all about making it better .

Will do dooder 8)
 
Going to have a play around with the stereo electrics this weekend :shock: new amp and wiring, plus fitting a fan to the system to keep the amp cool (hopefully!) :mrgreen:
 
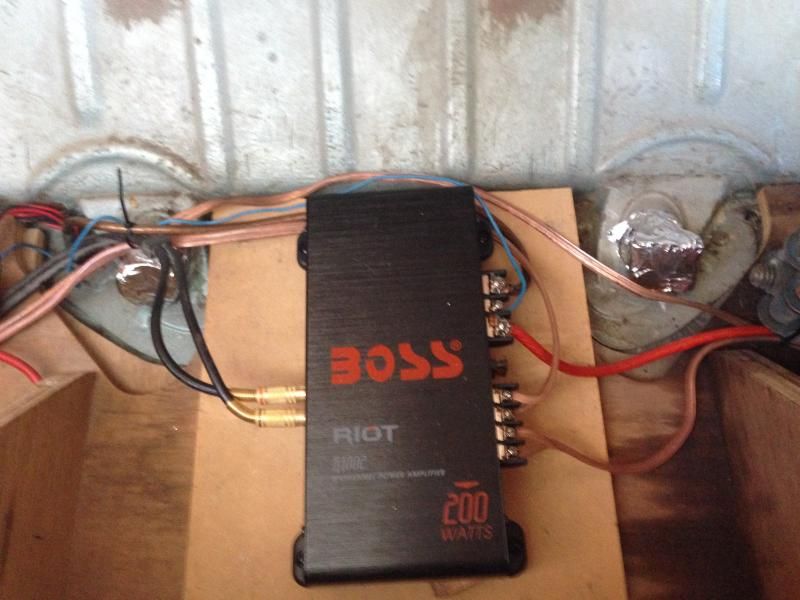
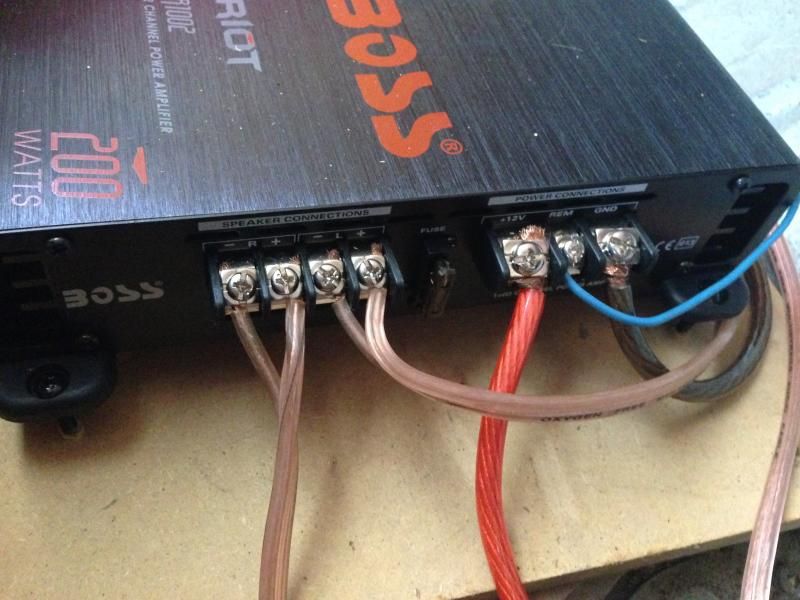
Well so far so good, changed all the wiring and amp down to a 200w jobbie as i rarely need tons of volume and base and that is more than enough for me and my wifes ears. I forgot to take some pics of the install so will do that this weekend. Ran it for 2 hours and it works like a charm so far!

I put the amp on 4 spacers so that it wasnt directly on the wooden floor of the bus and would give it some air all round it. Its a nice little install and i tidied everything up under the rock and roll bed as well, so its easy to get to everything. I changed the fuse holder and wiring, plus terminals to the battery and split charger. Im driving down to cornwall at the weekend in it so lets see if it can handle a long journey of bus engine heat and some hardcore punk :lol:

Fingers crossed! 8)
 
I cant believe it has taken me so long to seal off my rear vent outlets! ******* hell the heat piles out of the front now 8) just in time for winter huzza! 8) :lol:

pics to follow......... ;)
 
So looks like i have sorted out my weird cutting out stereo thing, by the application of rewiring and mounting the amp with spacers for better air flow plus sealing of my rear air vents to direct any heat through to the front. All works like a charm! roast up front and sound out back :lol: 8) I used a wooden bung with aluminium tape to seal and after 4hours driving it was totally fine. 8)

New smaller amp and re wiring
[/URL

Amp on spacers for better air flow. Gives it about an inch of height.
[url=http://s47.photobucket.com/user/CHRISESLER/media/Van%20Pics/IMG_3612_zps8e6558b4.jpg.html]
 

Latest posts

Top