UK RHD original paint 68 bay project.

Early Bay Forum

Help Support Early Bay Forum:

This site may earn a commission from merchant affiliate links, including eBay, Amazon, and others.

vwgillybilly

Well-known member
Joined
May 10, 2011
Messages
130
Reaction score
0
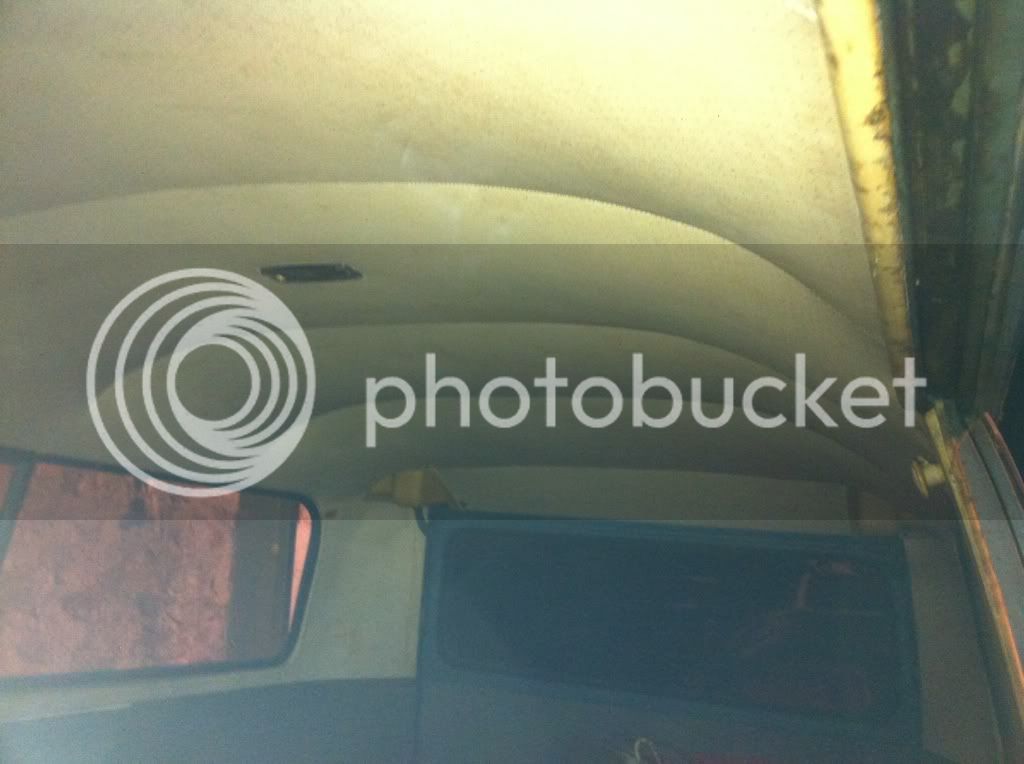
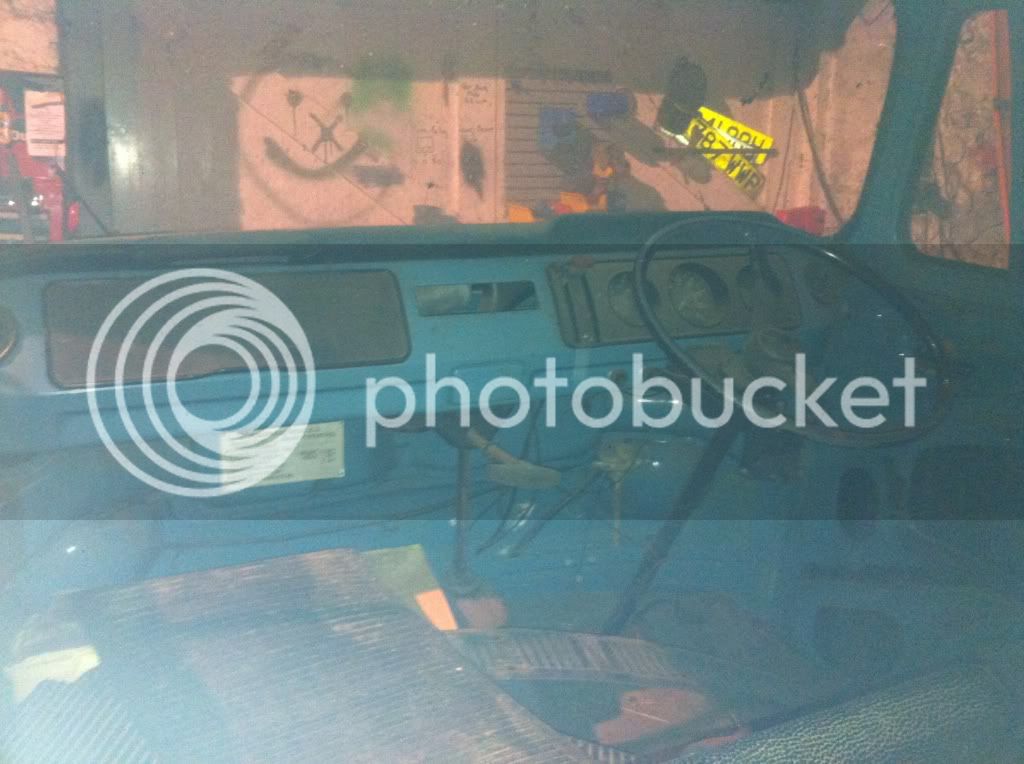
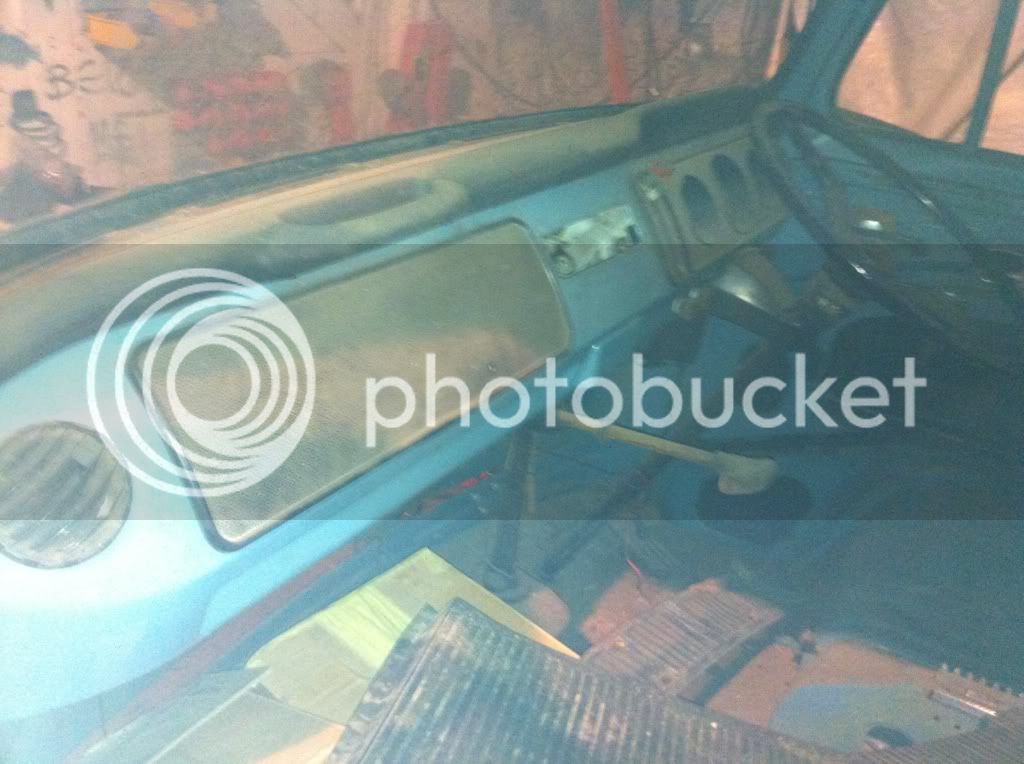
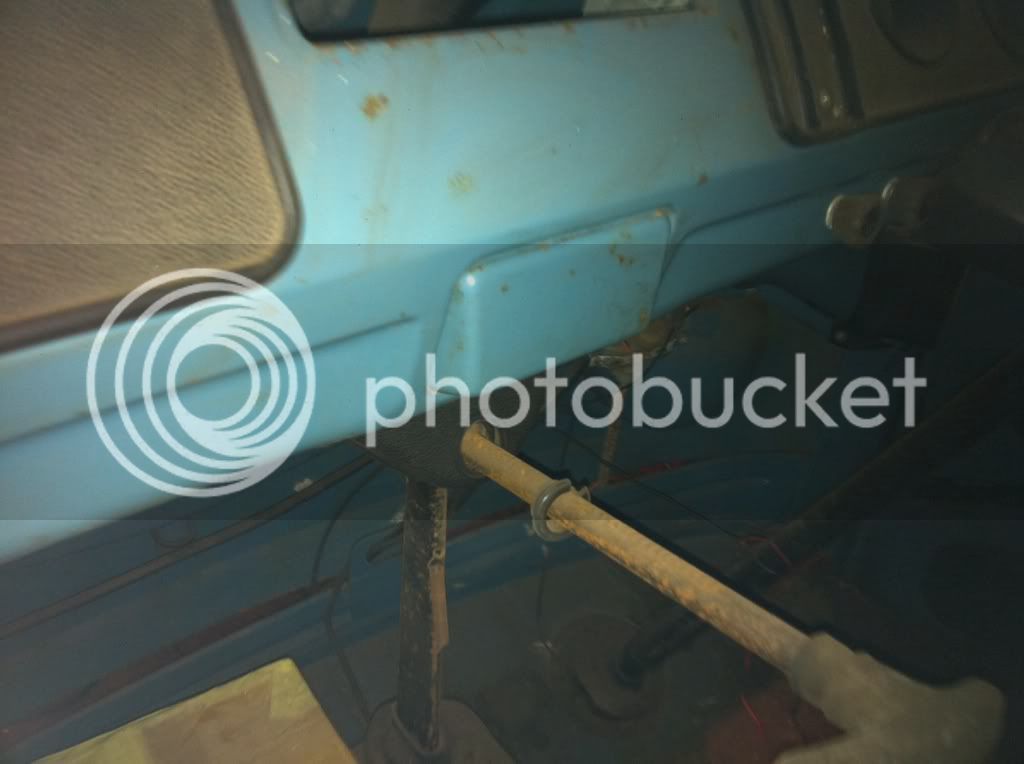
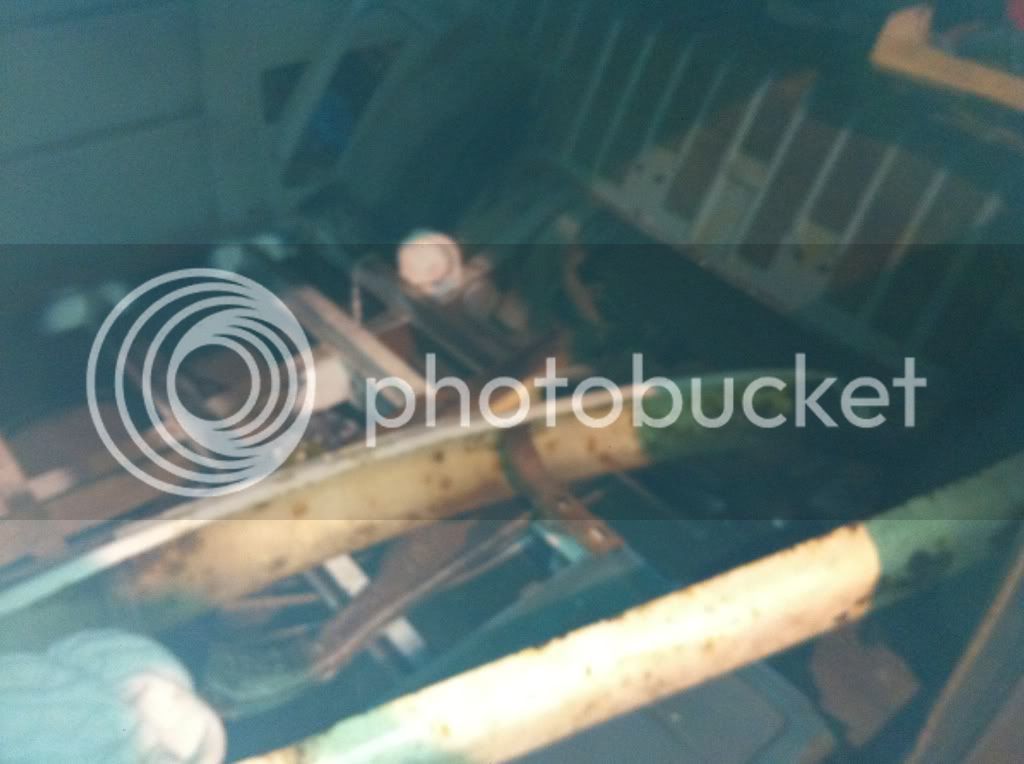
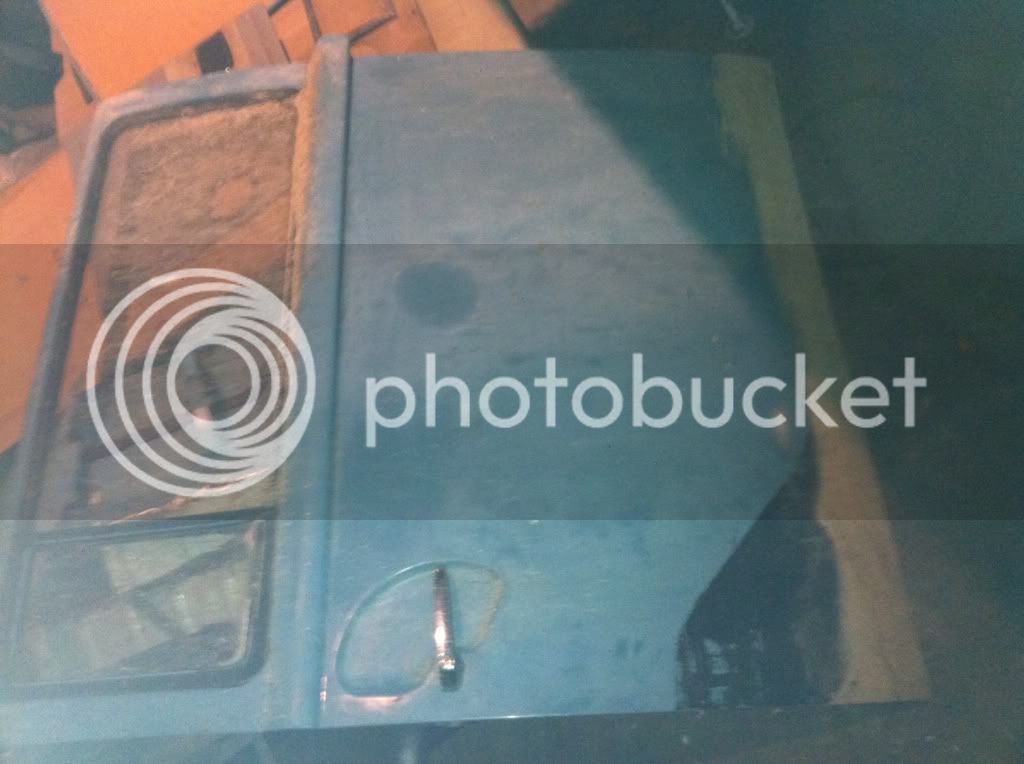
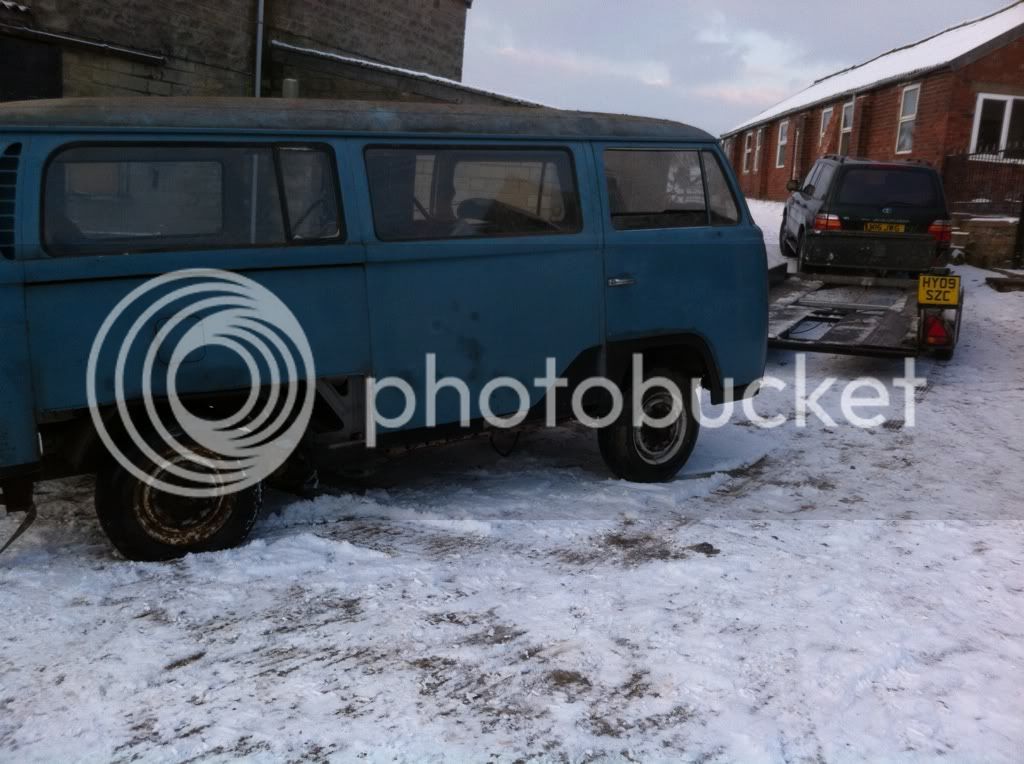
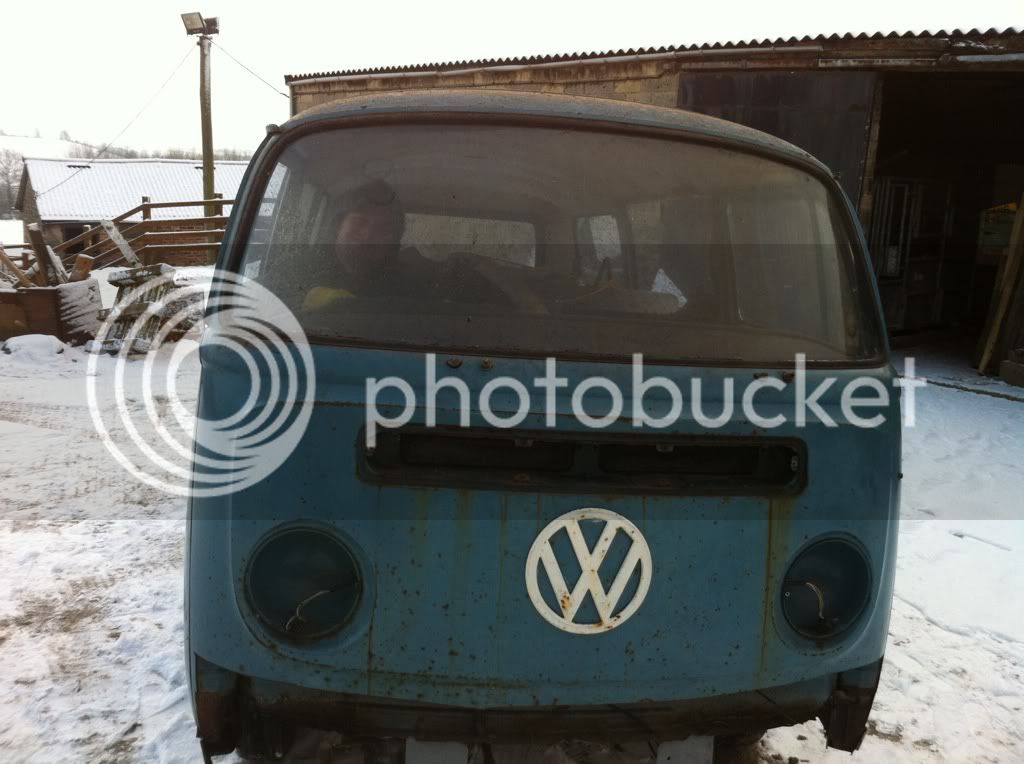
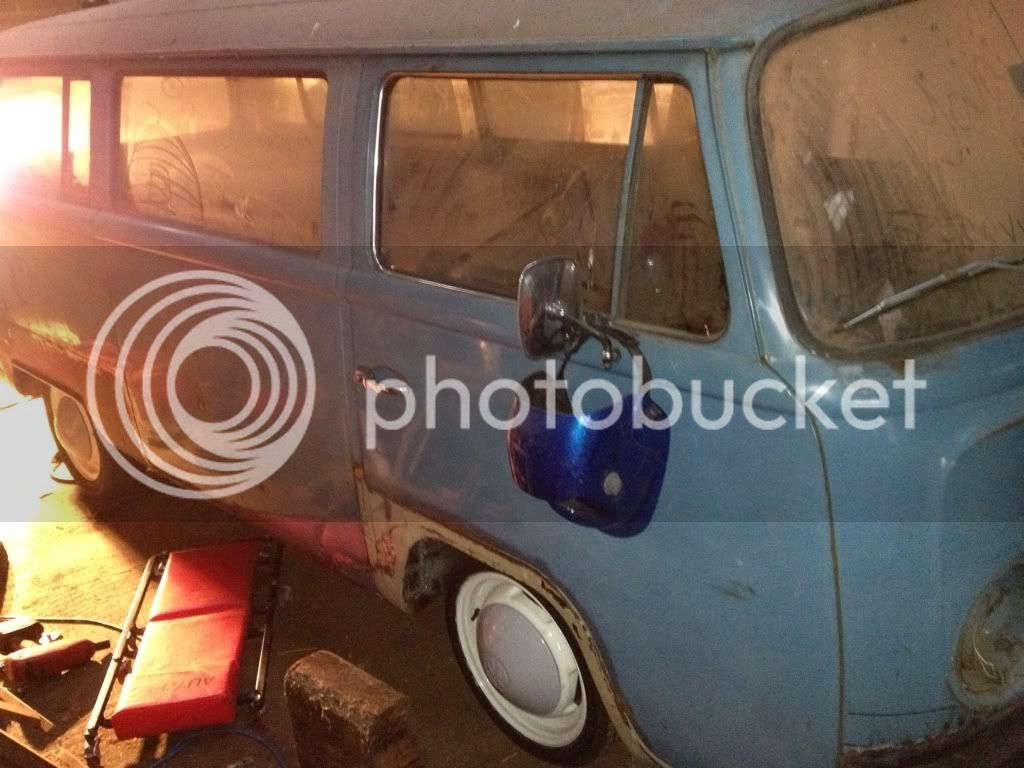
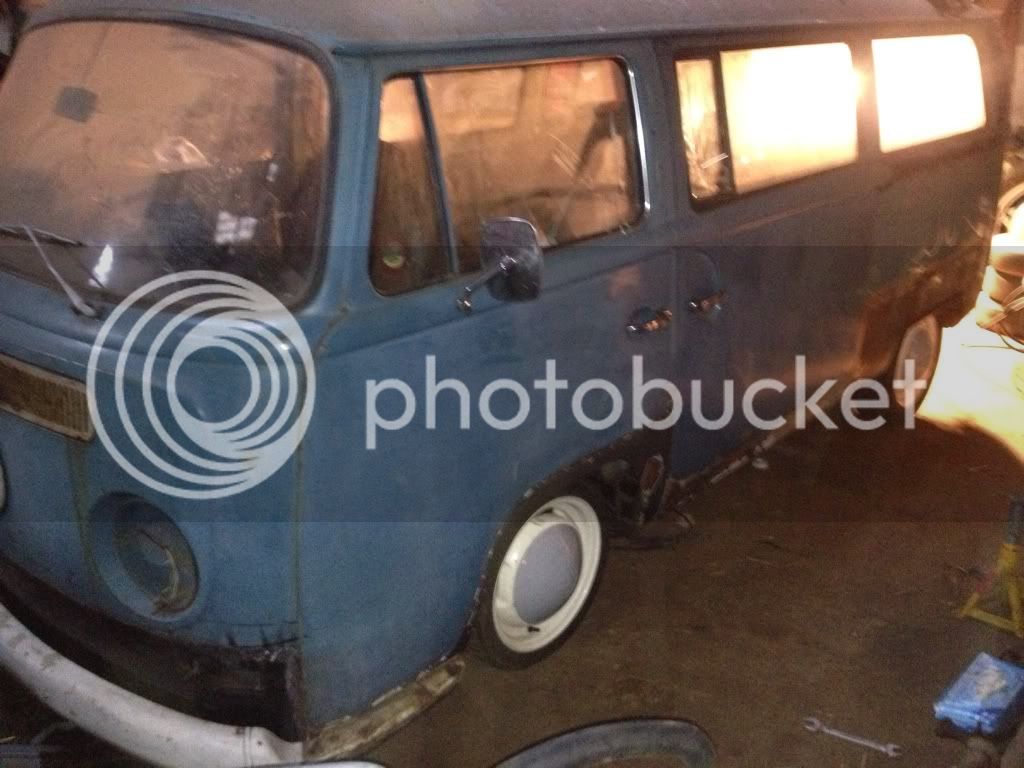
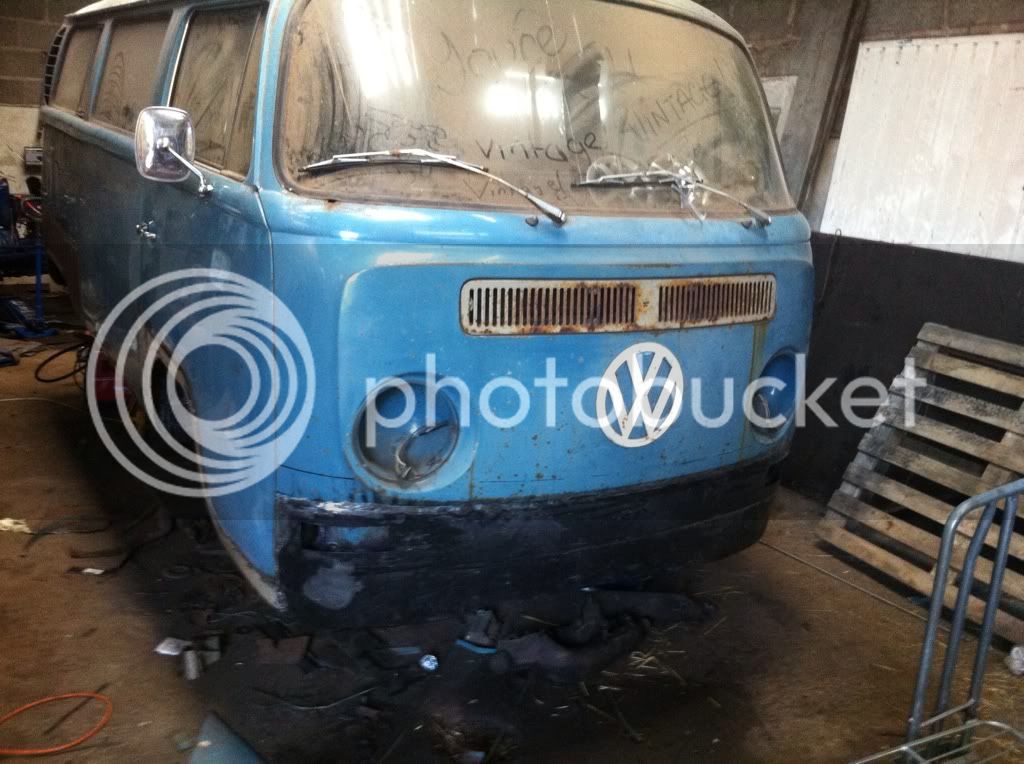
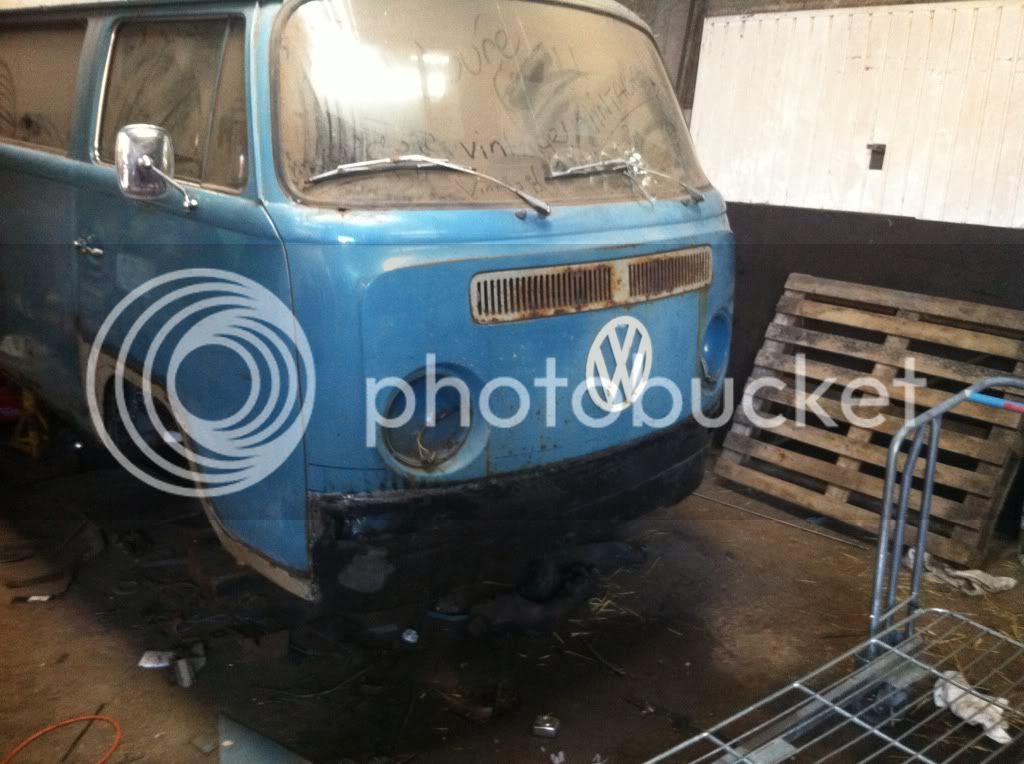
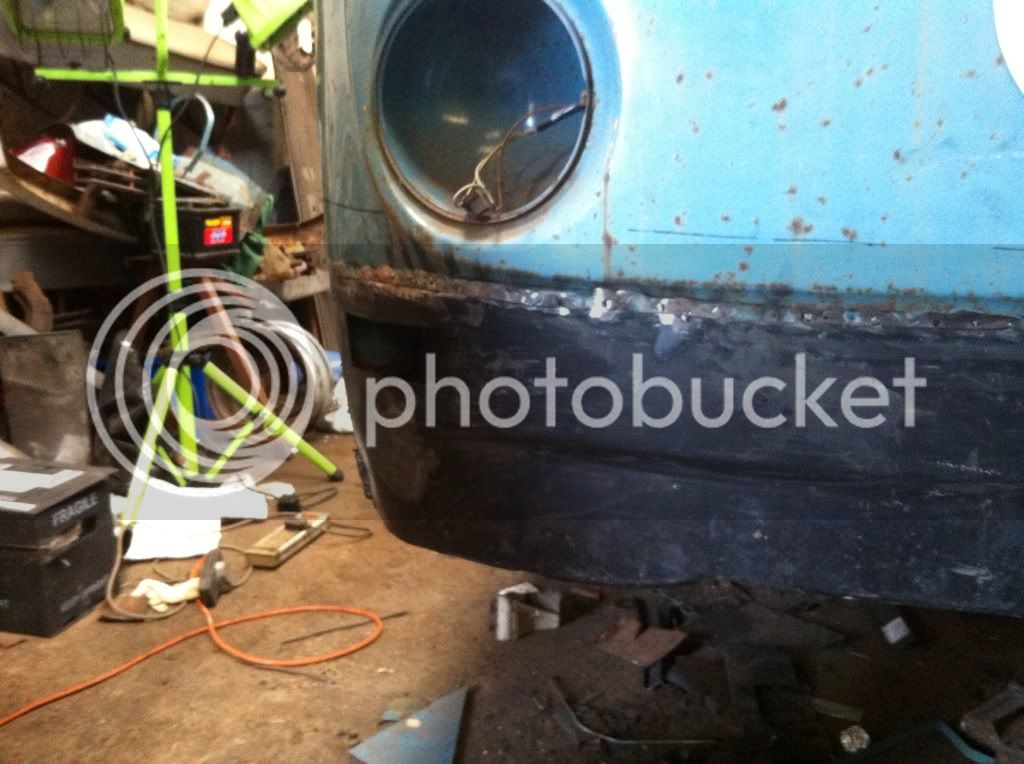
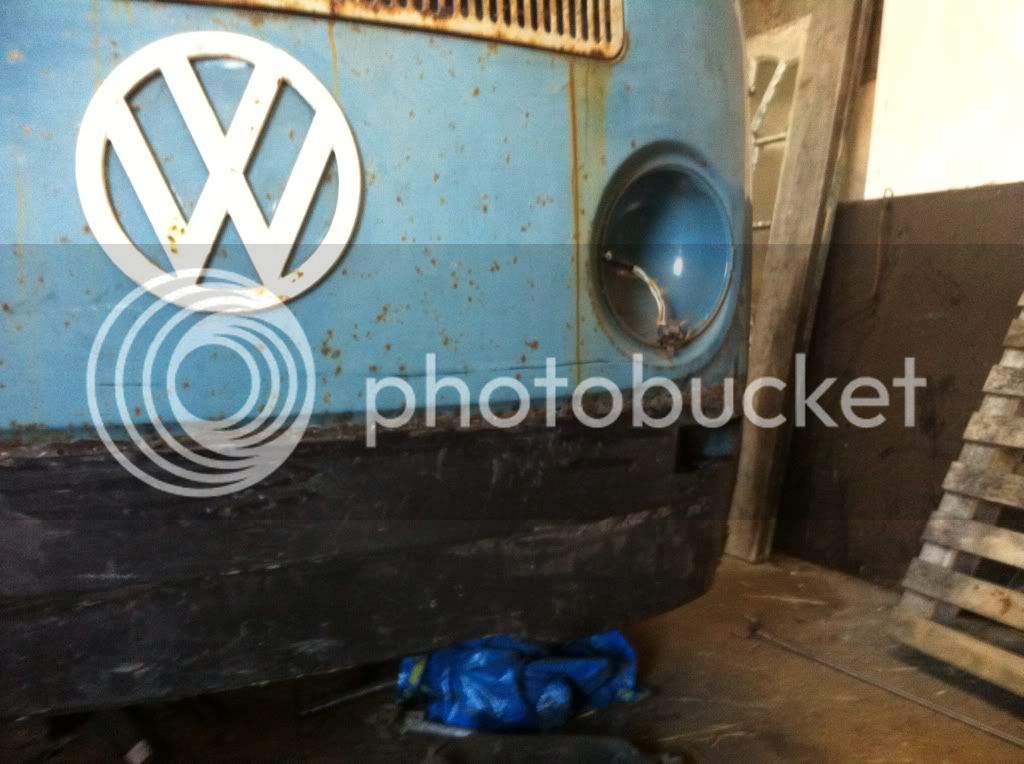
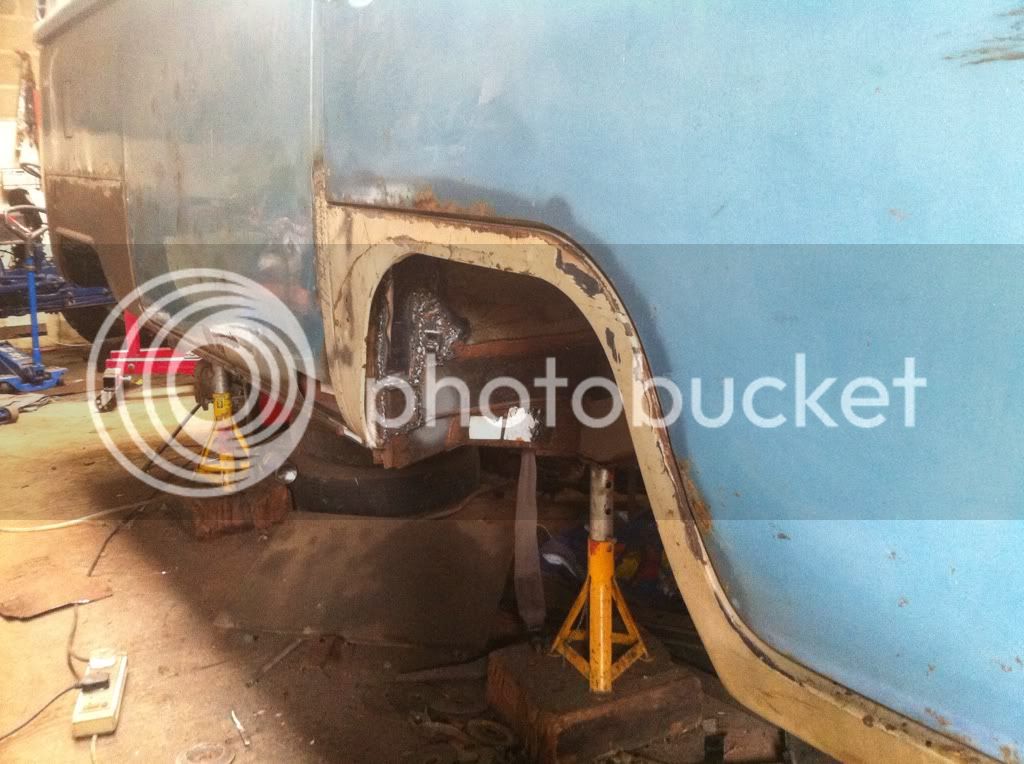
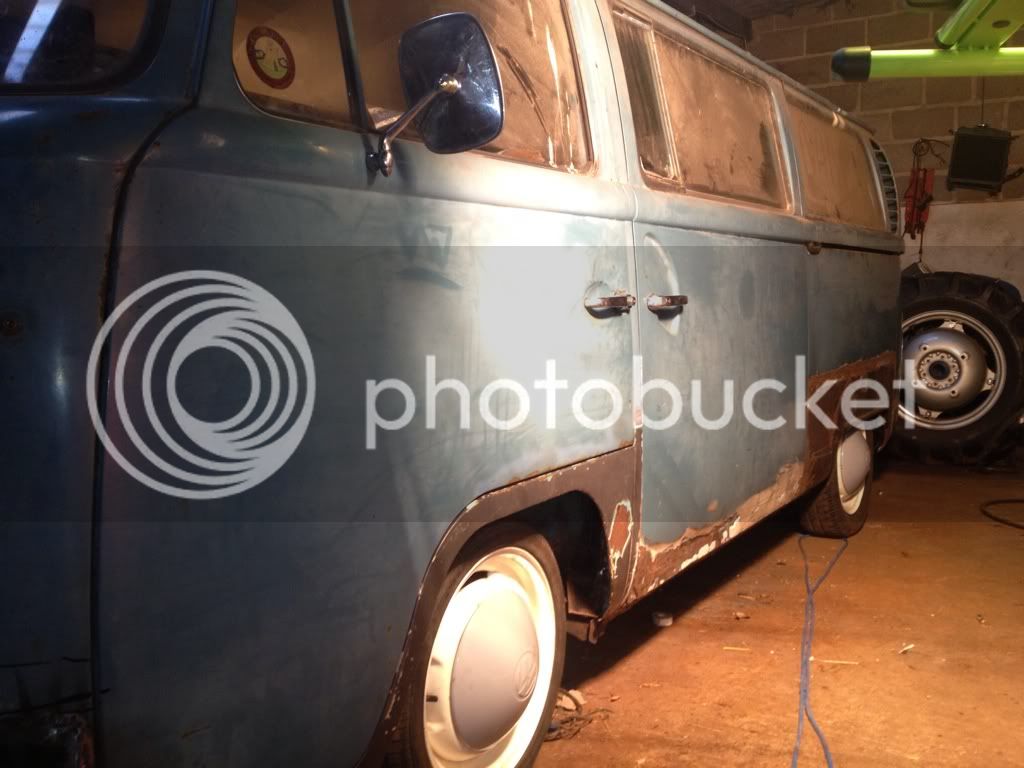
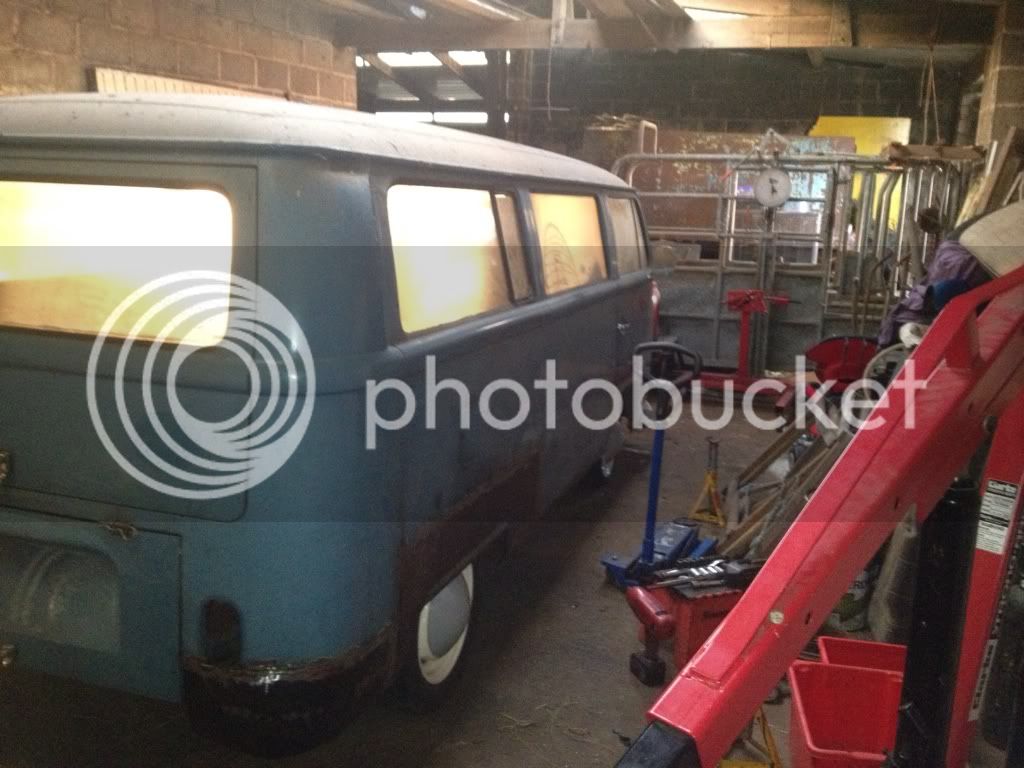
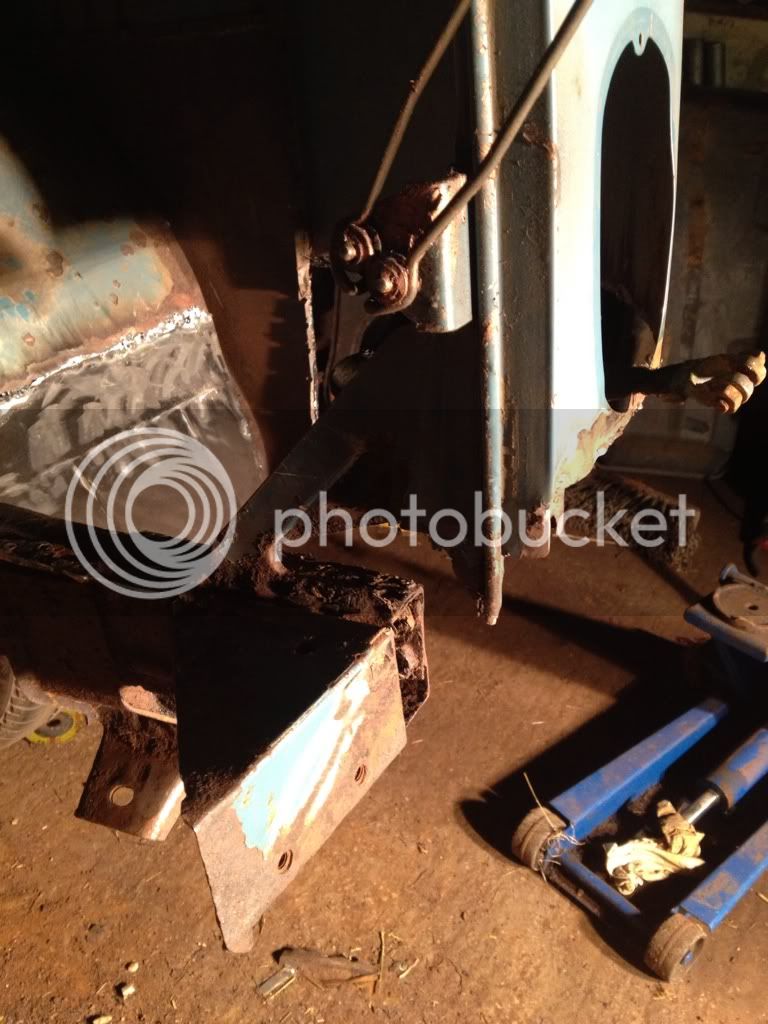
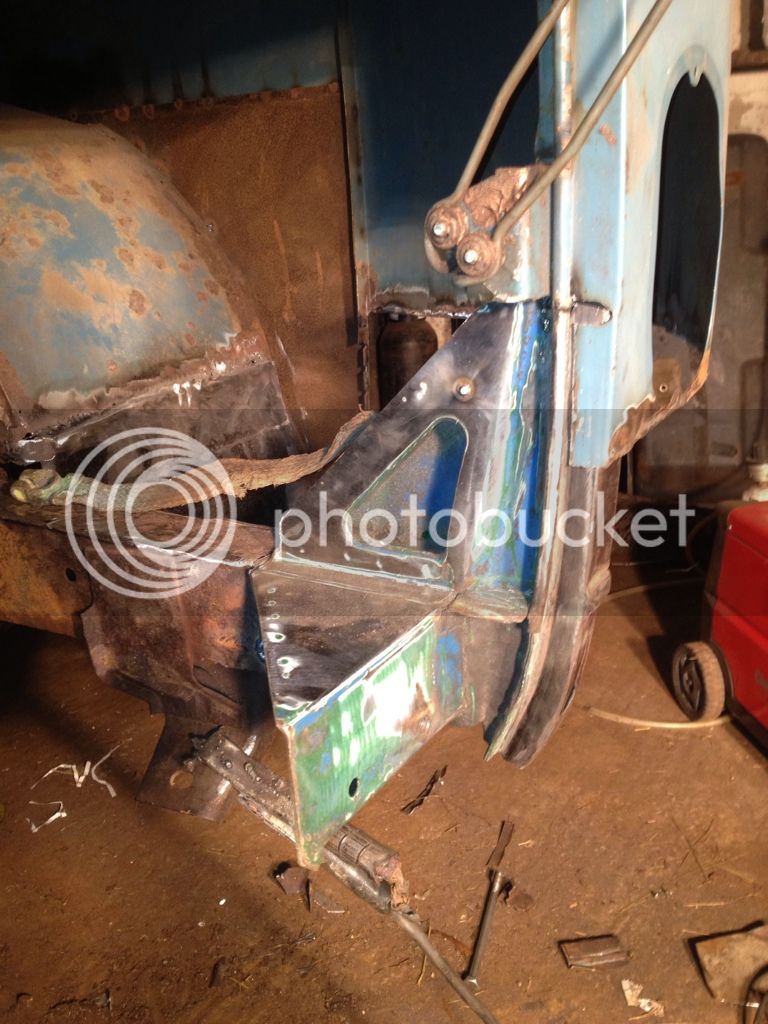
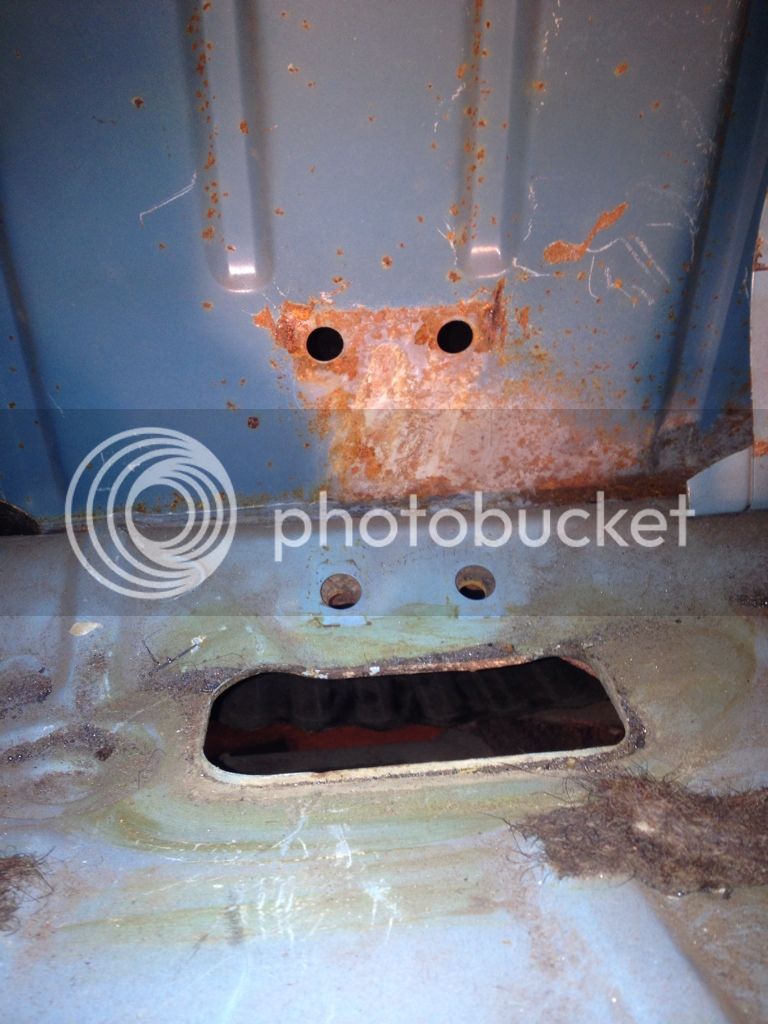
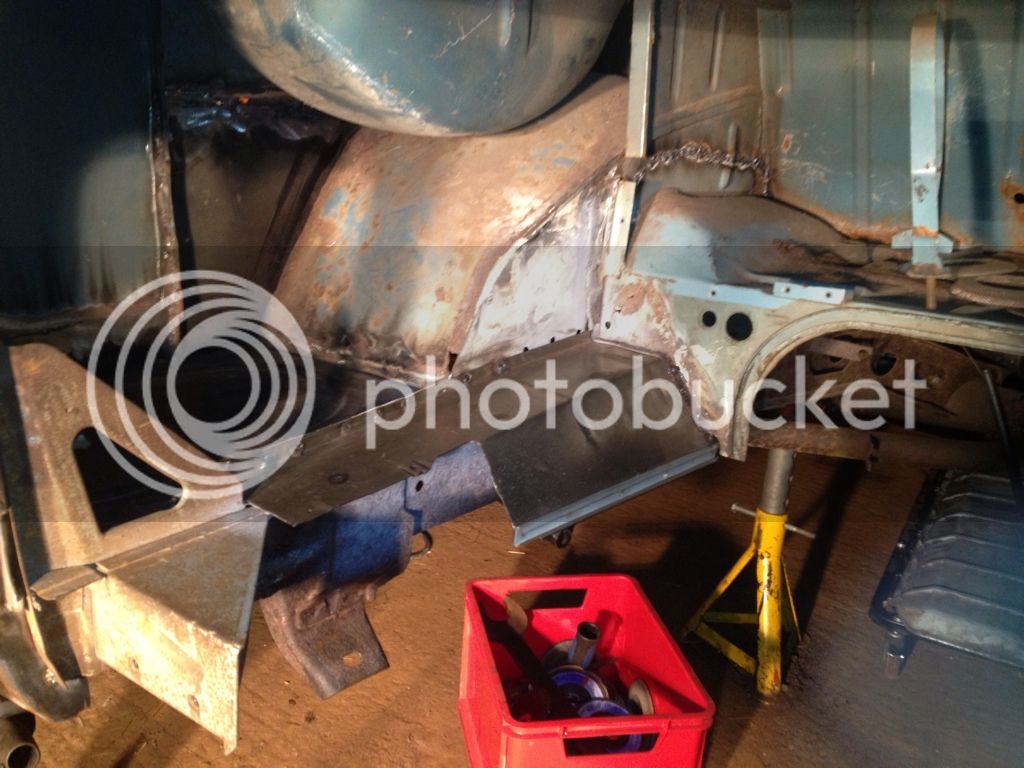
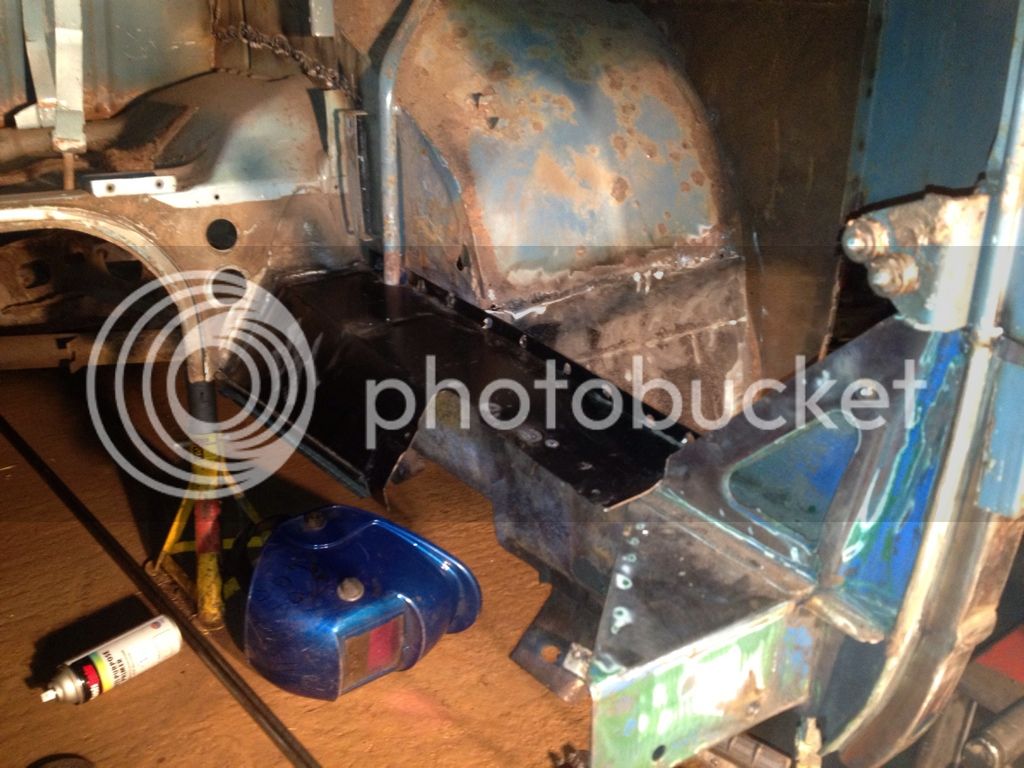
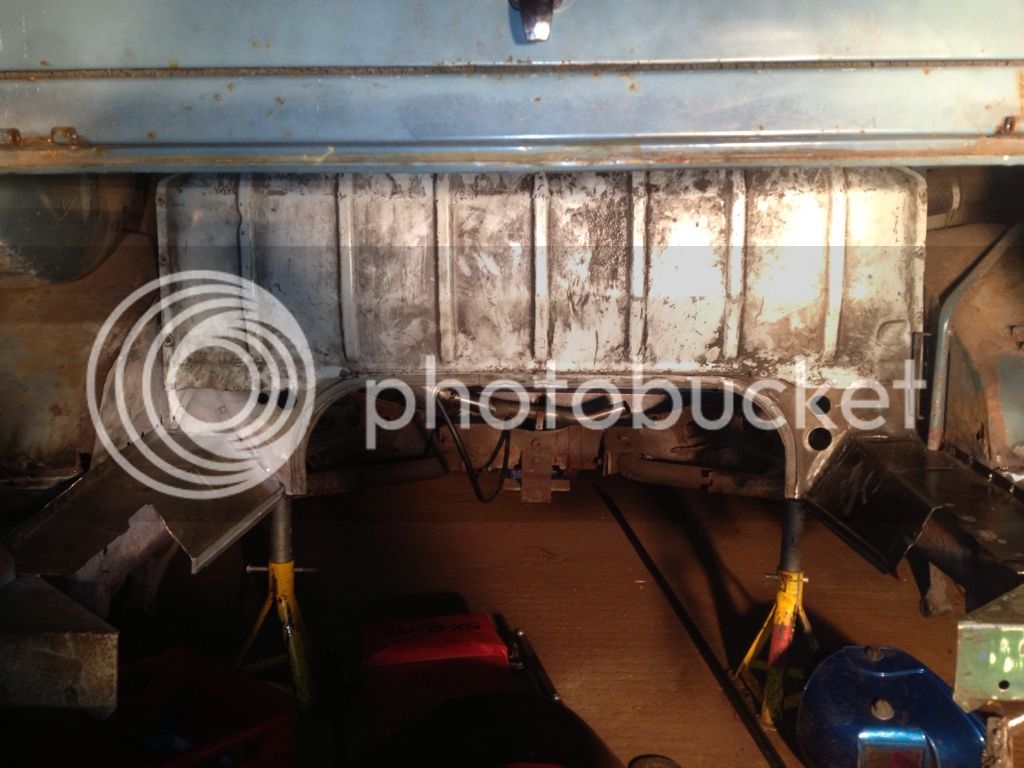
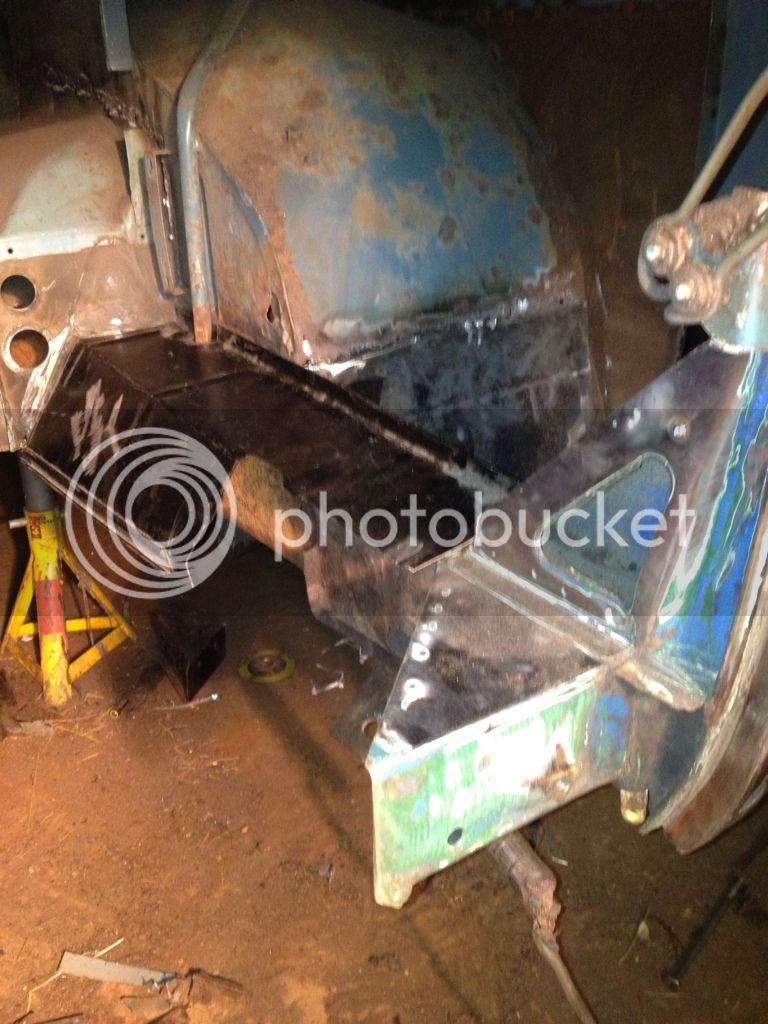
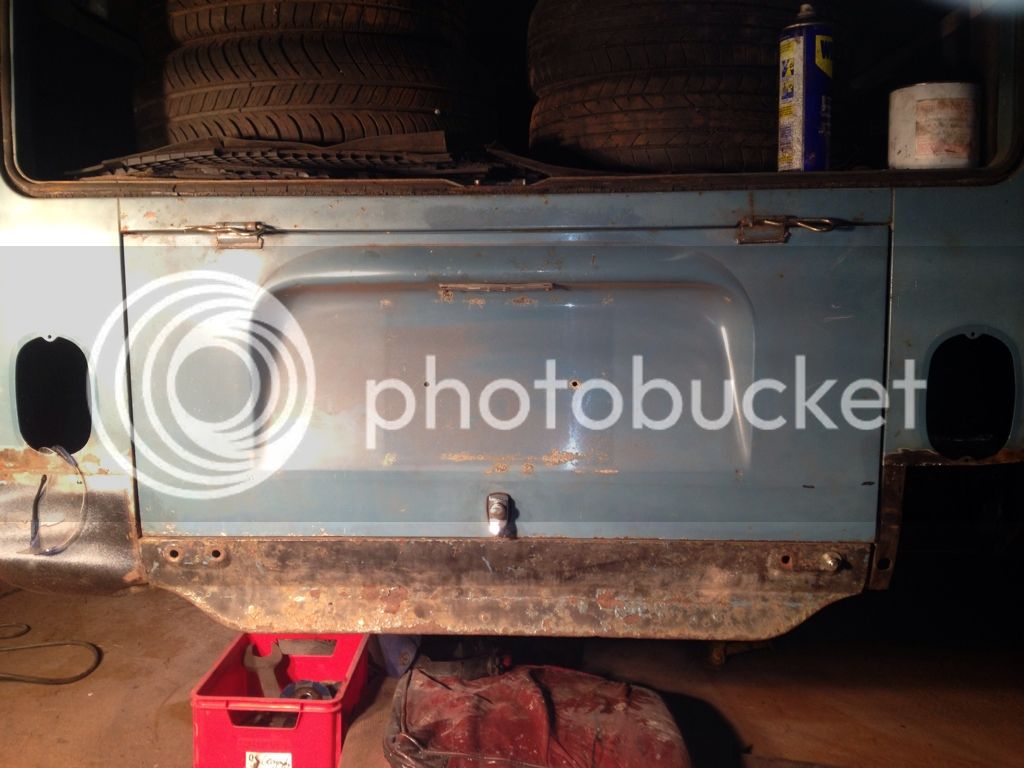
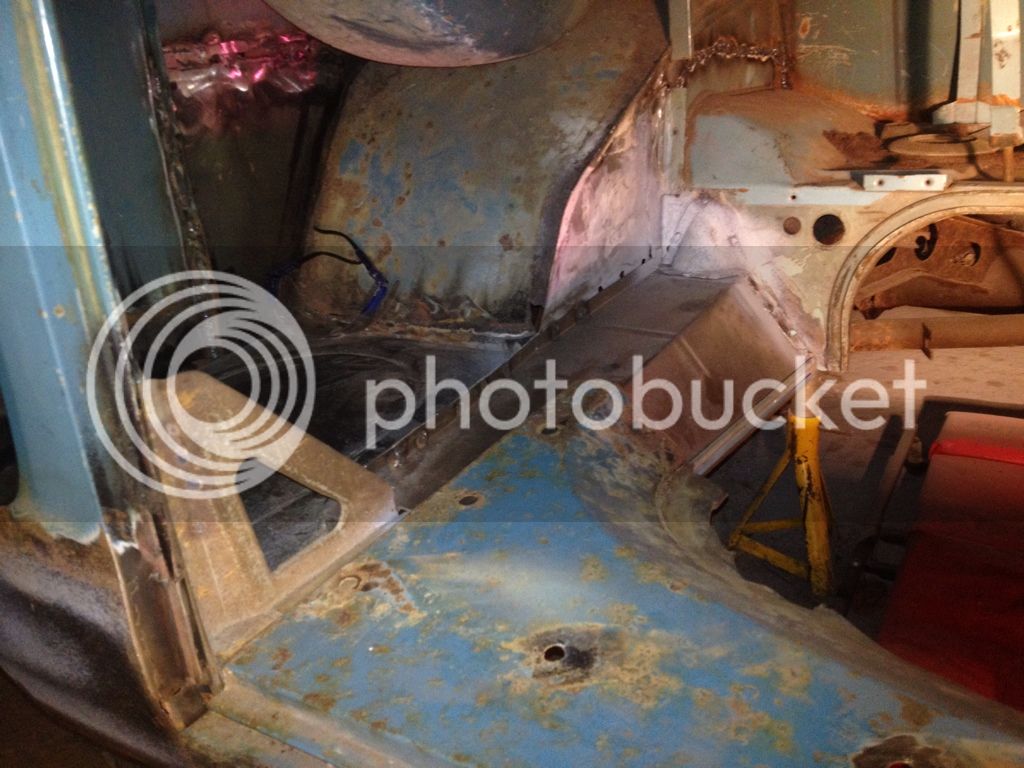
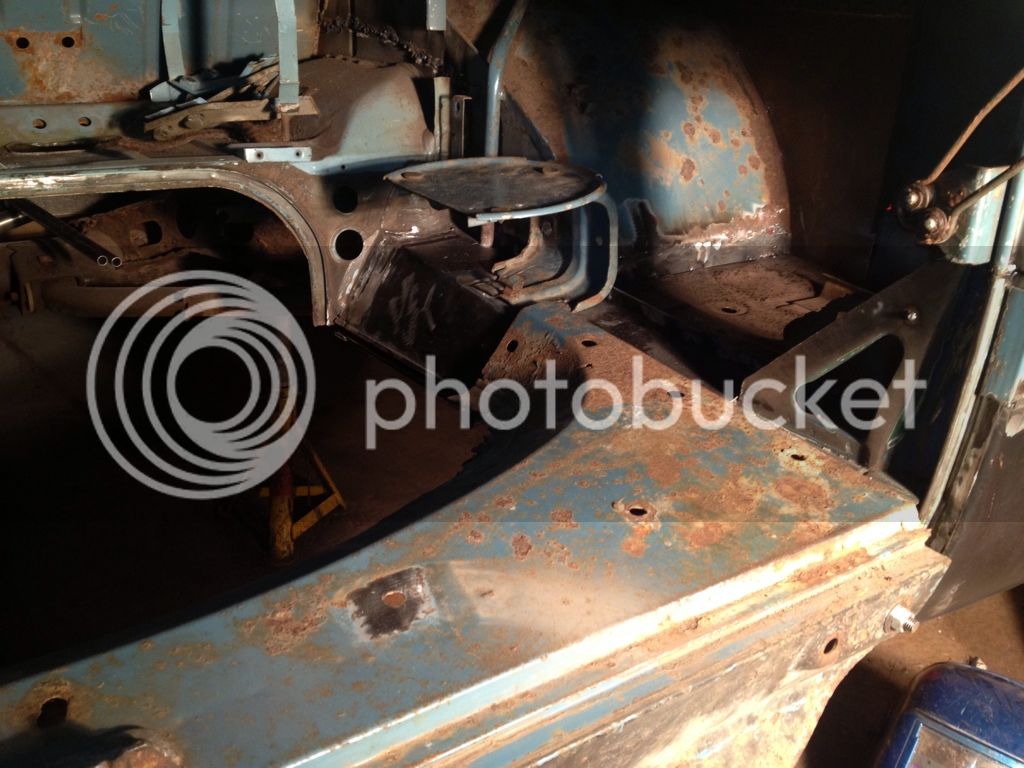
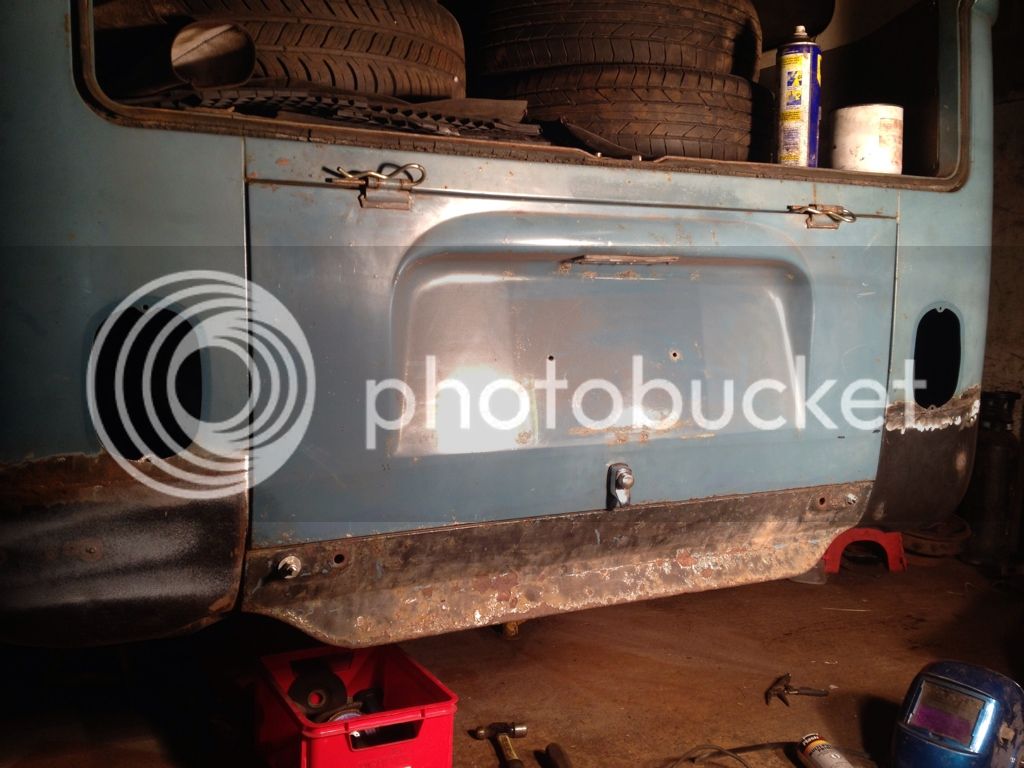
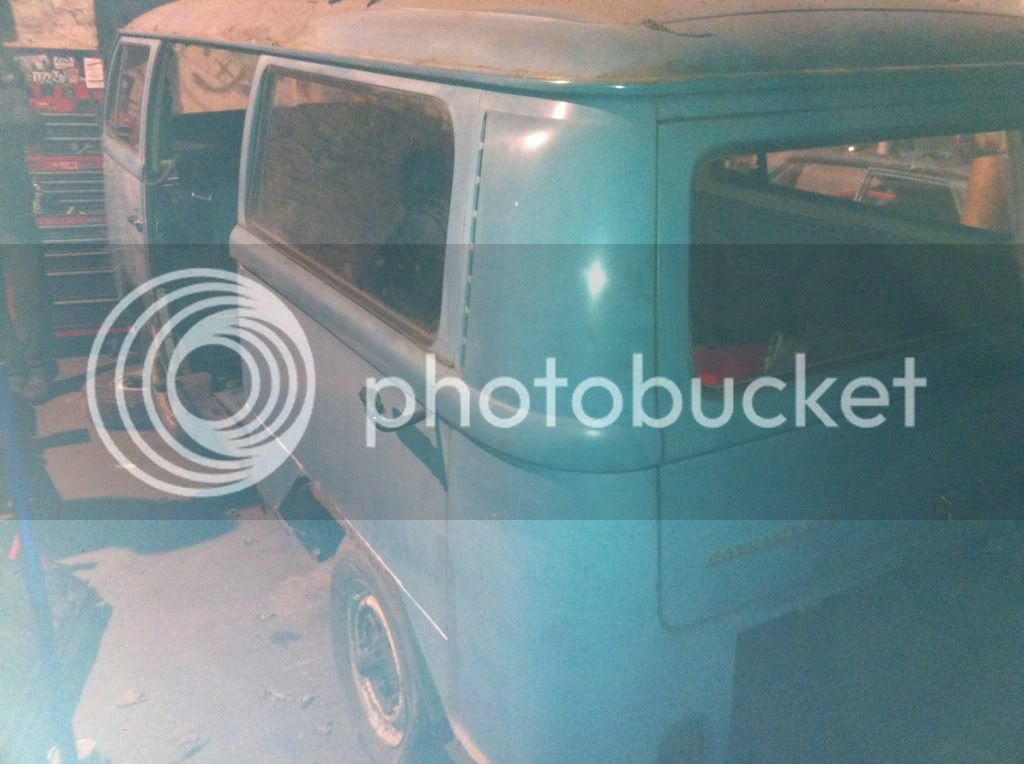
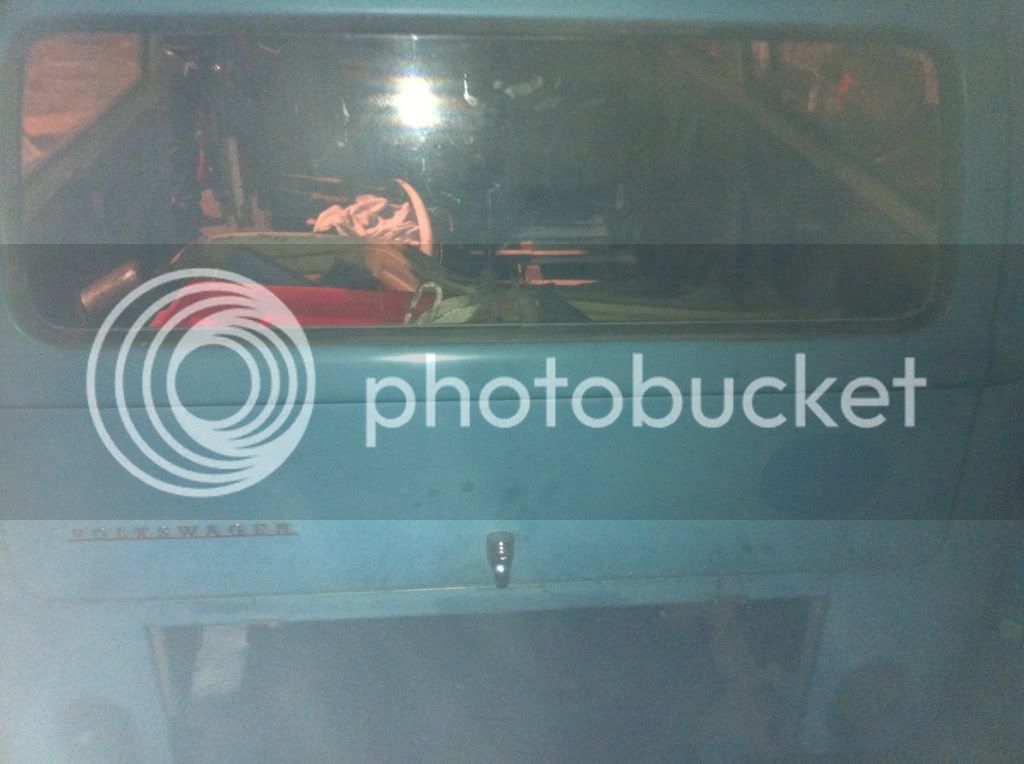
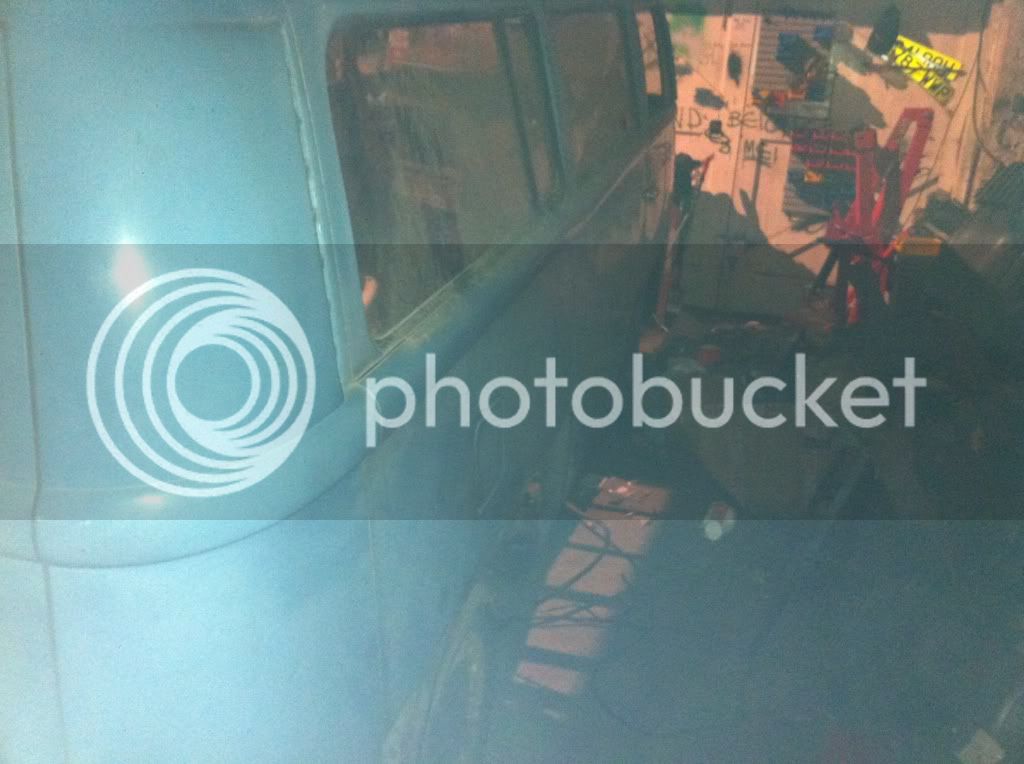
Here are some pics of the 1968 'F plate' bay that I bought as a project last year. It's a Neptune Blue mostly original paint patina monster that has 2 owners on the original buff log-book. It was originally a school bus for a special needs school. It has the original headliner, mostly original interior (the front seats were nicked) & is very complete. It does need work, including the lower front panel, lower 4" of sills, full cargo floor, bottom of rear corners, 2 front arches & 2 rear arches.
The rest is super solid.

See what you think.....

Gill.

be875b50.jpg


e2feeedc.jpg


4047d0ac.jpg
 
Good luck and looks like you are well on the way to saving the van (a UK bus too) :mrgreen:
 
Cheers guys, I appreciate the comments! I haven't really started it in earnest yet. All I have done is drilled out the decklid screws, tapped them out and re-fitted the lid. I've also put on a nicely patinated front grille.

I bought this off my mate who needed the money & he's done the majority of the work so far. The guy he bought it off did some work but most of it will need re-doing as I think he went in a bit gung ho when chopping out old metal.

Once it's welded my plans are to match & blow in the paint, polish it within an inch of it's life, clean up the interior, fit a narrowed link pin set up which I'm working on, fit adjustable spring plates, run a turbo motor & fit some Ercos. I'll keep the stock bits just incase!

This is my first serious venture into early bay territory as I've always had splits so I'll need all the help I can get!

Cheers.

Gill.
 
Loads more progress... I think it'll be a keeper now!

I'll let the pictures talk...

Gill.

6E39A778-DEF6-4AB5-A83D-430EB976EE2B-1121-0000020EFEB1A747.jpg


CA749451-629F-4365-97D6-93BD8FF1B129-1121-0000020F088F8E31.jpg


DB8E3B4F-8B3B-46F1-94E3-91ED4C5F2B1A-1121-0000020F12FAA281.jpg


B48175FF-071A-41EC-8C9D-A389C70C9DC3-1121-0000020F0F6B599B.jpg


8243D165-9625-47C4-A06A-660706AE16EC-1121-0000020F16C9381B.jpg


C2AC1758-045D-4ADA-AAAD-FB32205C63EB-1121-0000020F1AA27BAB.jpg


6AB1CC39-D63A-4728-841F-82F04D3CAA45-1121-0000020F213A50DA.jpg


D1111C47-428A-4B83-8C86-4C9C96E5E3FA-1121-0000020F2C5621D5.jpg


C71A3A63-23BB-4036-BE74-F0A7C3063387-1121-0000020F3006E171.jpg
 
Welcome back to the light side Gil. Glad you've re found your bay pride. Splitties are soooo overated. :lol:
 
Ha ha!

Cheers for the comments, it's only taken me two years to get properly motivated!

Really into this project now... More progress from last night...

I'm going to focus on getting the engine bay as straight and correct as possible, I'm a stickler for a clean engine room! Lots of tidying & neatening to do but believe me, this is already a vast improvement on the carnage wreaked by previous 'workmanship'. Fitting the tank cover was the acid test of how straight things are - it slid straight in & sits square - phew!!!

Hopefully tonight I'll refit the battery tray and off side rear corner.

Gill.

61F6A580-6B17-468D-861D-DCC0B2111F27-2108-0000035CF8E0849B.jpg


C5E1EE17-F0D2-464C-9818-B5C1AFE02E3E-2108-0000035CF4FF3758.jpg


B439DFA4-EF8E-45DB-A5A0-A9D34B8FD4C4-2108-0000035CE5E64DDB.jpg


D33C20E0-769F-4E75-BE16-56612C13537E-1565-00000265580321BD.jpg
 
Last night's progress...

A9CED3D1-AAFC-4C8B-90A0-CECC7971003D-317-0000002DC0A7FFB8.jpg


84577B96-5EDC-4E5F-ADF7-012B9D98F29F-317-0000002DBA6CA7D1.jpg


A078B2CF-2337-4112-BD03-087464E210BC-317-0000002DB34D48EC.jpg


06081572-4EB4-49C4-AFE7-B6ED27A16BF5-317-0000002DADCC8438.jpg


Some tidying up still to do but I finally have an engine bay!

Gill.
 
Good on you fella, doing a UK bus is not for the faint hearted! Looks like you have a good one though. All the best!
 
Thanks guys!

As UK buses go it's good! The main work has been rectifying previous bodges. If I'd had it from scratch it'd be done now! It'll be body colour underneath with no Schultz & I'm gonna blend the repairs with cellulose.

I don't think the stance can stay unless I notch the back... Gonna put it on adjustable spring plates & get it as low as possible.

Wheels are just splitty 15 inch steels...

More pics to follow...

Jobs to do...

Tidying welds, seam sealing, handbrake tubes, cargo floor & paint underneath. Engine is ready as are brakes etc. Gonna test it first then do prep & paint.

Need some grey walkthru seat covers!

Gill.
 
Looks a big project mate , but well worth doing , Uk rHD bus 8)

Would look cool running at that height too if you do get adjustable plates go for Slamwerks ones as the go a little lower than Creative ones ;)

Keep up the updates mate
 

Latest posts

Top