dubdubz
Well-known member
pics please :lol:
Thanks Alex - product is very good and I'm happy [ I didn't want this thread to be seen negatively :roll: ]
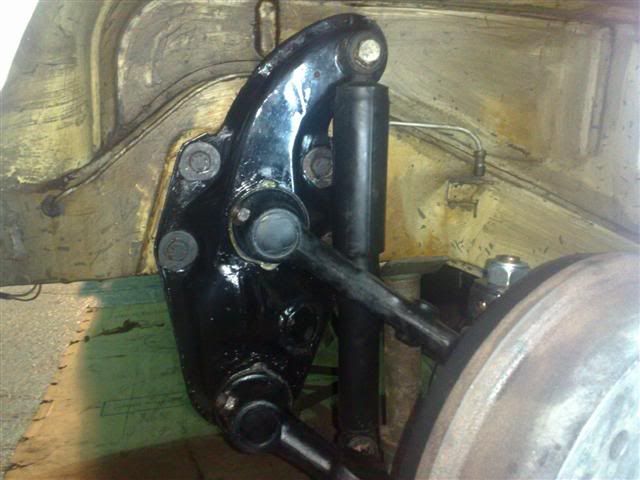
it was as there was a few 'not quite sure's' in my head I wanted to SEE others installations to satisfy myself that my solution was a generic common one....
:roll: you know when you wish you hadn't started a thread...............
Thanks Alex - product is very good and I'm happy [ I didn't want this thread to be seen negatively :roll: ]
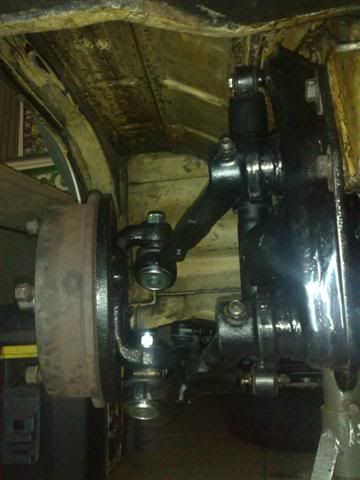
it was as there was a few 'not quite sure's' in my head I wanted to SEE others installations to satisfy myself that my solution was a generic common one....
:roll: you know when you wish you hadn't started a thread...............