You are using an out of date browser. It may not display this or other websites correctly.
You should upgrade or use an alternative browser.
You should upgrade or use an alternative browser.
Winter work thread
- Thread starter creationblue
- Start date

Help Support Early Bay Forum:
This site may earn a commission from merchant affiliate
links, including eBay, Amazon, and others.
- Joined
- Jun 1, 2023
- Messages
- 252
- Reaction score
- 276
- Location
- Bristol
- Year of Your Van(s)
- 1970
- Van Type
- T2 a
I was told these help a lot better on stopping power even if you have no servo fitted so you need to feed back how you get on with install and the stopping power.
Last edited:
I’d be tempted myself if I could run my 14s stock steelies. But it’s still a struggle to get discos 14 stylee, with wide fives AFAIK.
Ozziedog,,,,,,,,,,,drums is getting on my case at the mo.
Ozziedog,,,,,,,,,,,drums is getting on my case at the mo.
K@rlos
Well-known member
- Joined
- Sep 8, 2008
- Messages
- 5,342
- Reaction score
- 1,286
- Location
- Woodbridge, Suffolk
- Year of Your Van(s)
- 1970
- Van Type
- Westfalia pop-top
The brakes from Dave are outstandingSo stage one of the brake upgrade/modification completed, late bay shorter half shafts fitted with machined CSP Porsche drums, along with a new cylinder and new inner and outer CV boots.
The brake pedal is now solid, I’ve never in 17years had the brakes feeling so good! Handbrake is now 2 clicks and holds on a hill! Another first haha!
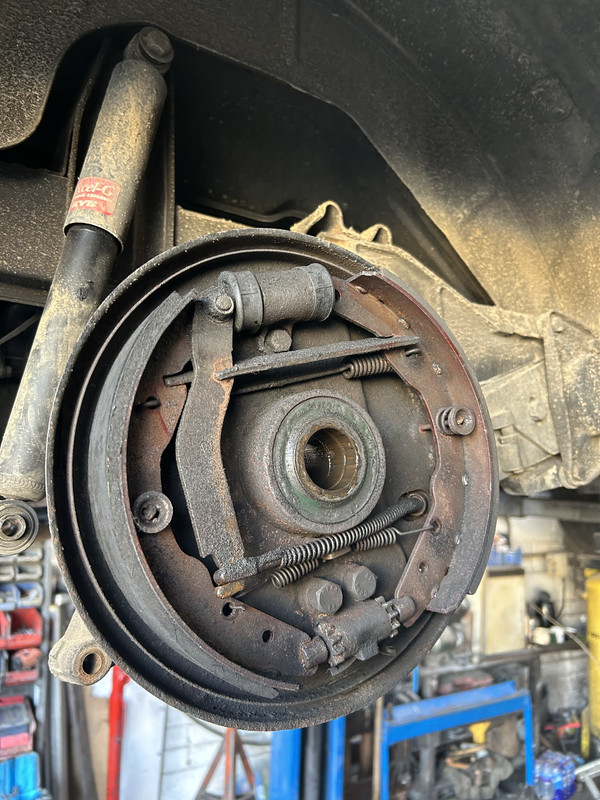
Here is the state of the old pads with a weeping cylinder, pads are soaked in brake fluid and were changed
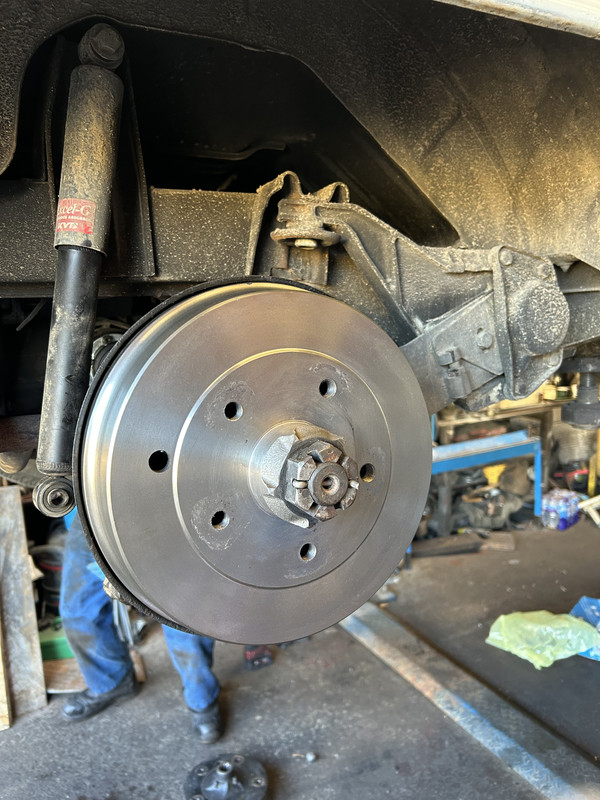
New Porsche pattern CSP drums machines for shorter half shafts thus giving more room under the arch for the wheels.
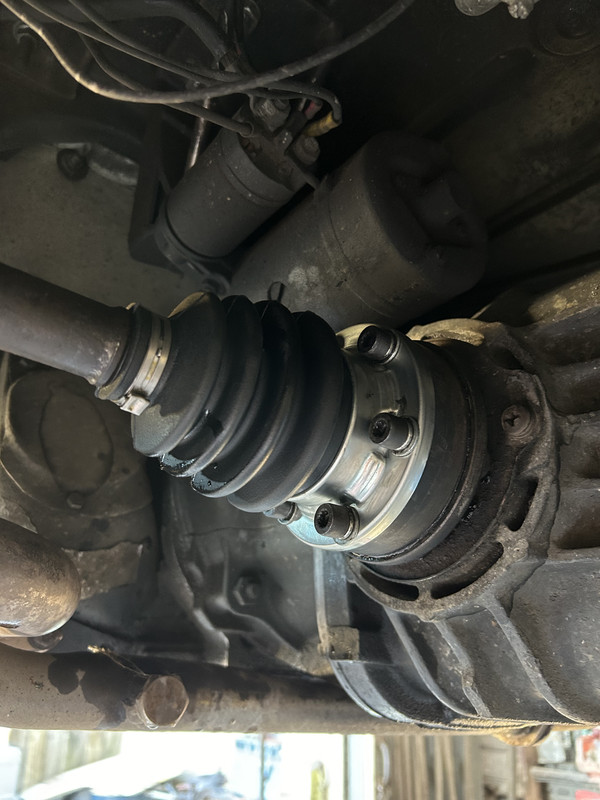
All boots were perished so replaced and re-greased
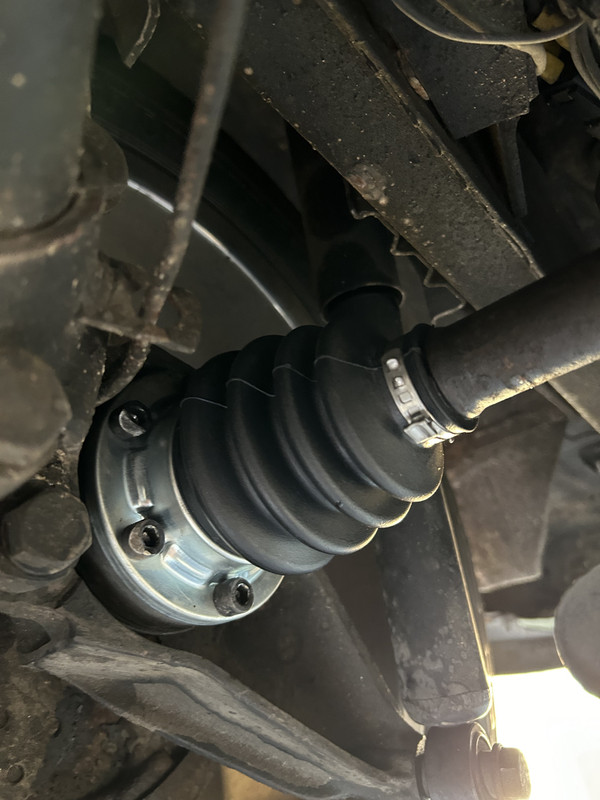
Rear tyre was so close to the arch it was ridiculous, now a good inch so able to take a wider wheel.....
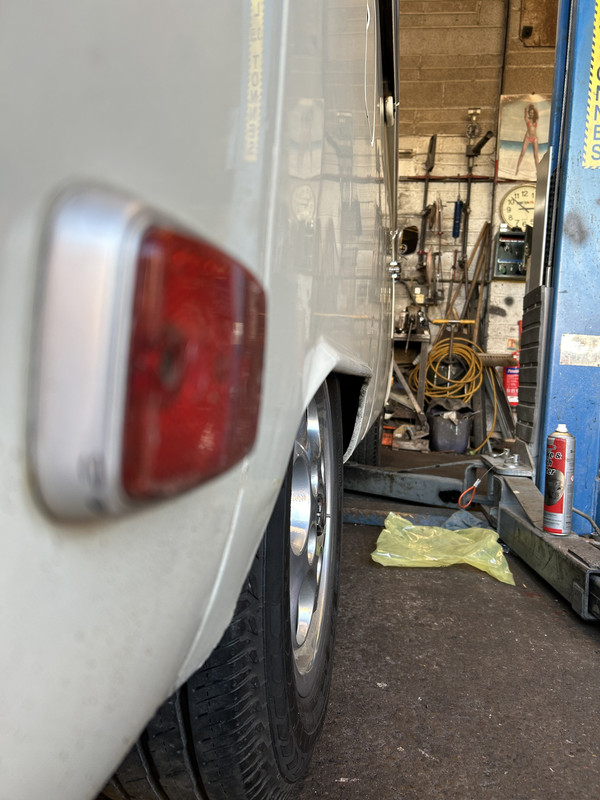
However, all this work hasn’t come without its issues. The Teledial rear wheels now rub on the adjuster arms. But I will be fitting different wheels which are 7” wide rather than 6” with an offset of 50 so need to measure up and get some spacers for these to fit with the centre caps.
I have ordered some Wilwood 4pot calipers and discs for the front, this will fit the late bay spindles on the Red9 wishbone beam. Should have some nice tuckage with the ET50 wheels, but I’m sure some issues will follow. Watch this space…
All above work carried out by CJ Motors in Bristol
- Joined
- Jul 5, 2021
- Messages
- 658
- Reaction score
- 451
Are those a conversion to replace the rear drums? Or all 4 corners?This kit has just arrived from pcd parts. Machining is superb, comes with bearings, brackets & fixings along with new flexi pipes
pichost
Looking forward to getting this on
Any chance of a guide price please?!
creationblue
Well-known member
These are for the fronts Ben. I’ve used a late bay kit as my Red9 wishbone uses late bay spindles but Dave @ PCD Parts does an early kit too. I’m not a fan of discs on the rear as every kit I’ve seen struggles to hold the van on the handbrake.Are those a conversion to replace the rear drums? Or all 4 corners?
Any chance of a guide price please?!
It’s really simple, the old drum (or disc in my case) slides off the spindle, you bolt the adaptor on to the existing calliper mount, slide the new disc on with new bearings that are supplied, nip up the lock nut on the shaft end and then mount the 4 pot callipers. Kit comes with new flexi’s and all bolts.
When I fit it I’ll take some pictures and do a guide

$28.56
$32.43
Airfix Quickbuild Volkswagen Light Blue Camper Van Brick Building Model Kit, Multicolor
Amazon Global Store UK

$27.95 ($13.98 / Count)
Marketplace Auto Parts Window Crank Handle Set of 2 - Chrome with Black Knob - Compatible with 1968-1978 Volkswagen Beetle
Parts Geek LLC
- Joined
- Jul 5, 2021
- Messages
- 658
- Reaction score
- 451
They look lovely and sounds like install is very well thought out!These are for the fronts Ben. I’ve used a late bay kit as my Red9 wishbone uses late bay spindles but Dave @ PCD Parts does an early kit too. I’m not a fan of discs on the rear as every kit I’ve seen struggles to hold the van on the handbrake.
It’s really simple, the old drum (or disc in my case) slides off the spindle, you bolt the adaptor on to the existing calliper mount, slide the new disc on with new bearings that are supplied, nip up the lock nut on the shaft end and then mount the 4 pot callipers. Kit comes with new flexi’s and all bolts.
When I fit it I’ll take some pictures and do a guide
I’ve got an old FutBus rear disk conversion that uses Golf calipers and I can confirm the handbrake is crapThese are for the fronts Ben. I’ve used a late bay kit as my Red9 wishbone uses late bay spindles but Dave @ PCD Parts does an early kit too. I’m not a fan of discs on the rear as every kit I’ve seen struggles to hold the van on the handbrake.
It’s really simple, the old drum (or disc in my case) slides off the spindle, you bolt the adaptor on to the existing calliper mount, slide the new disc on with new bearings that are supplied, nip up the lock nut on the shaft end and then mount the 4 pot callipers. Kit comes with new flexi’s and all bolts.
When I fit it I’ll take some pictures and do a guide
Nice looking brake kit.
I've got Golf calipers on the rear of mine, and the handbrake is excellent.I’ve got an old FutBus rear disk conversion that uses Golf calipers and I can confirm the handbrake is crapI think I could fettle it to get it better though.
Have you got any photos of your setup? Where did uou get your handbrake cables?I've got Golf calipers on the rear of mine, and the handbrake is excellent.
pgtips
Well-known member
- Joined
- Oct 20, 2009
- Messages
- 89
- Reaction score
- 88
- Location
- Essex
- Year of Your Van(s)
- After 1972
- Van Type
- Westy
I broke down at the end of summer so engine out over winter to figure out what went wrong. The engine still starts but no drive (auto).
Hoping its just flex plate nuts but expecting worse like sheared spline becuase I didn't hear anything flying about, I just instantly lost all drive. I tested later and same, no drive, in all gears.
Enforced delay to starting this job, I got manoeuvred into the kitchen by the Mrs(had to fit a kitchen) or I think my Mrs would've sheared mine off as well !
Kitchen almost done, aim to get it done this week then I can get cracking.
I got the bus into the garage up gravel drive using a extension bar on the rear hub nuts so now on a flat surface. Clear up enough room for the engine out and go from there. A new torque converter seal while its out.
Last edited:
creationblue
Well-known member
So I am getting all the paint fixed on the bus, the front panel has a rust bubble coming through under the windscreen rubber, and will get the stone chips and the wrinkles straightened out too. Also the jalousie windows will come out and the surface rust delt with, and finally the rear corner housing the battery, there has been a 50pence piece sided rust scab where the corner meets the tray, its been this way since I've had it (17yrs) and not got any worse, but above it some cracks in the filler are starting to lets some rust through so I will get that cut out and painted at the same time.
Now my bus is Pearl white and was painted some time in the distant past in the USA on a budget, also since Ive had it various panels have been painted so if you look close its many shades of L87 hence I'm not so precious about getting it all painted/patched.
Just thought of another job I'd like to do and that is to replace the dark (Berlin Westy interior) veneer with light (early bay campmobil). I recon it will make a massive improvement to my interior.
Will update when complete
creationblue
Well-known member
Bit of a hiccup in proceedings.
I was asked to measure the centre spigot of the CSP hubs when ordering spacers, I bought a cheap vernier from screwfix and sent the measurement over. Unfortunately the cheap option has cost me time and the cost of the courier to send them back to be skimmed. The 15mm spacers are too tight to go over the spigot whereas the 5mm spacers I had in the garage fit.
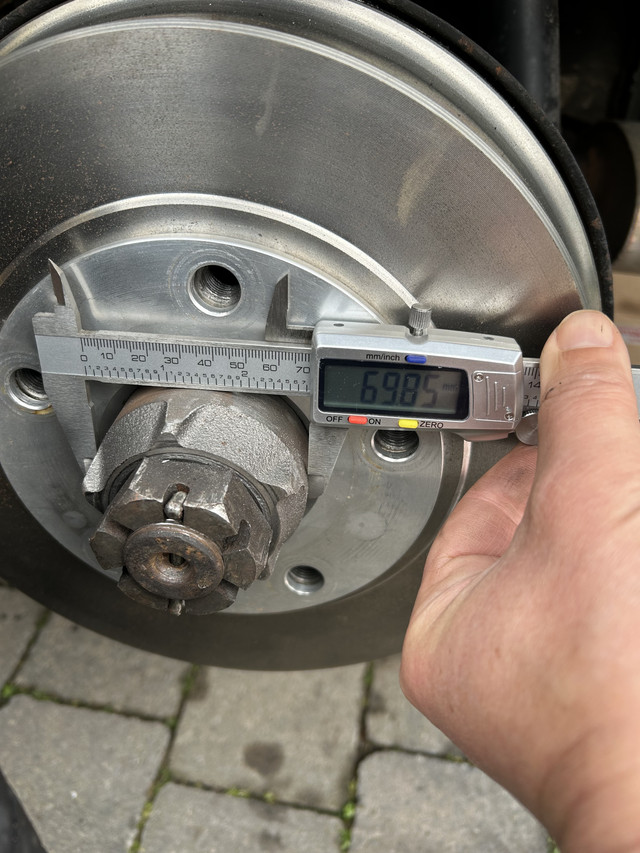
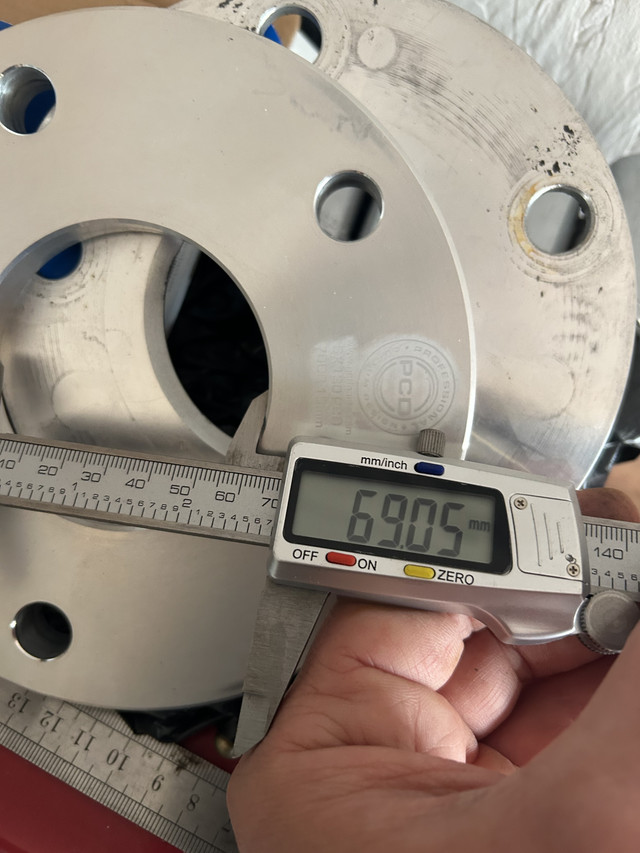
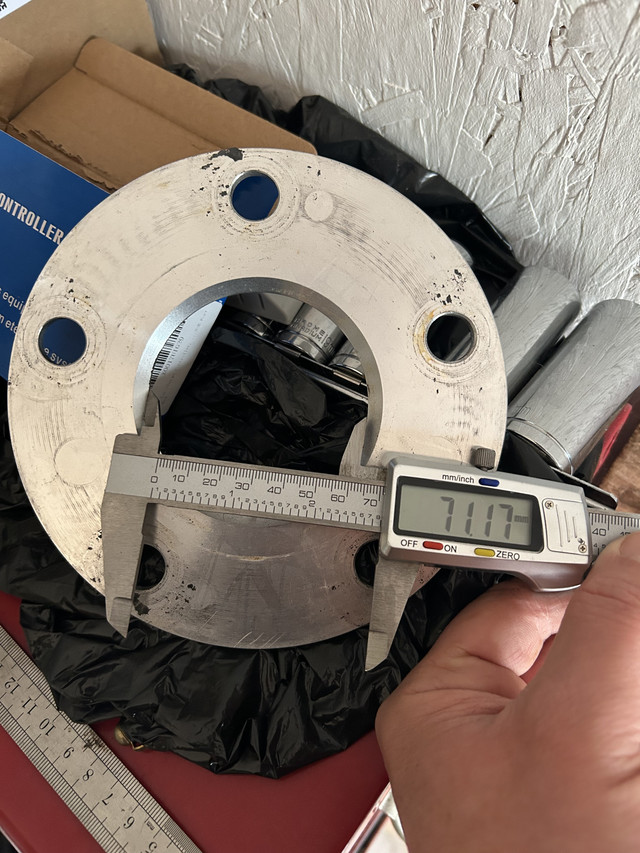
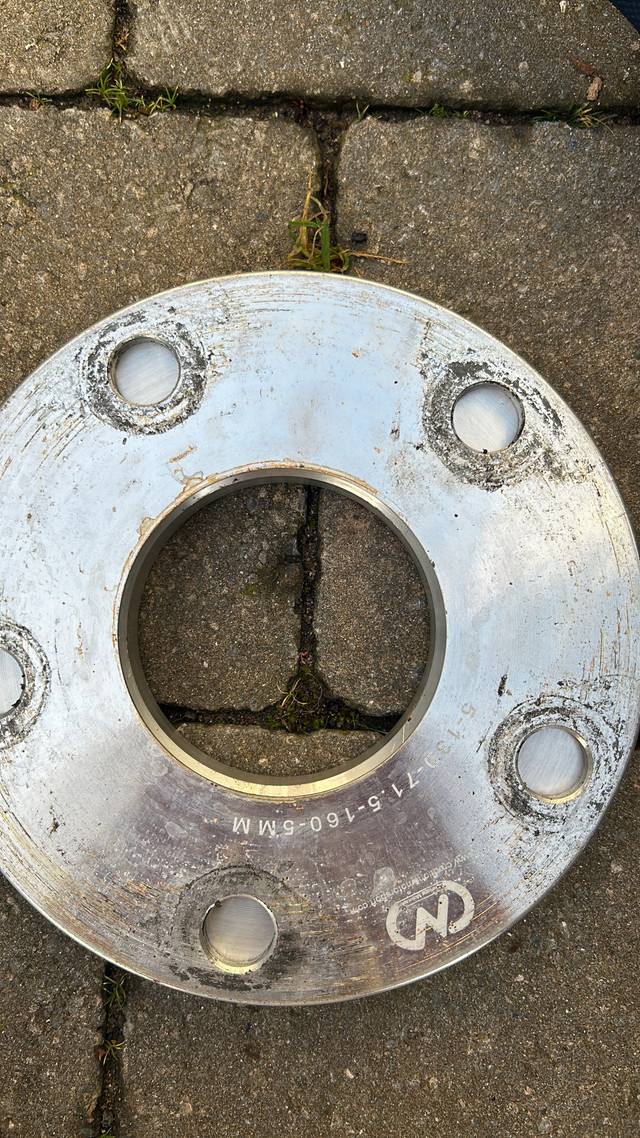
I was asked to measure the centre spigot of the CSP hubs when ordering spacers, I bought a cheap vernier from screwfix and sent the measurement over. Unfortunately the cheap option has cost me time and the cost of the courier to send them back to be skimmed. The 15mm spacers are too tight to go over the spigot whereas the 5mm spacers I had in the garage fit.


- Joined
- May 24, 2021
- Messages
- 143
- Reaction score
- 150
- Location
- County Durham
- Year of Your Van(s)
- 1970
- Van Type
- Microbus
Out of curiosity, i checked my CSP drums sat under my desk. Mine are both Ø71.5mm for that same measurement, so a bit of manufacturing variation seen here.
Good to know i can skim down a touch more if needed.
Good to know i can skim down a touch more if needed.
creationblue
Well-known member
So 15mm spacers are back and fit perfectly
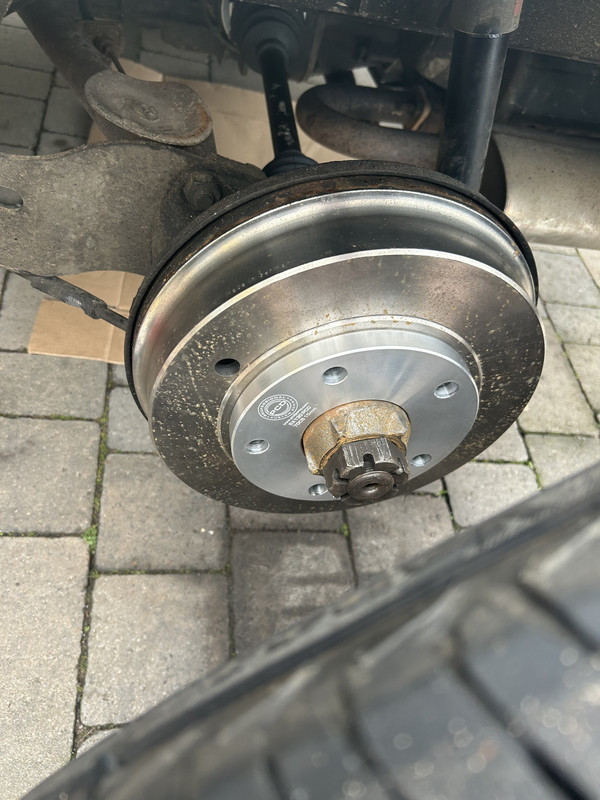
There is plenty of room now both on the inside and the arch side of the tyre.
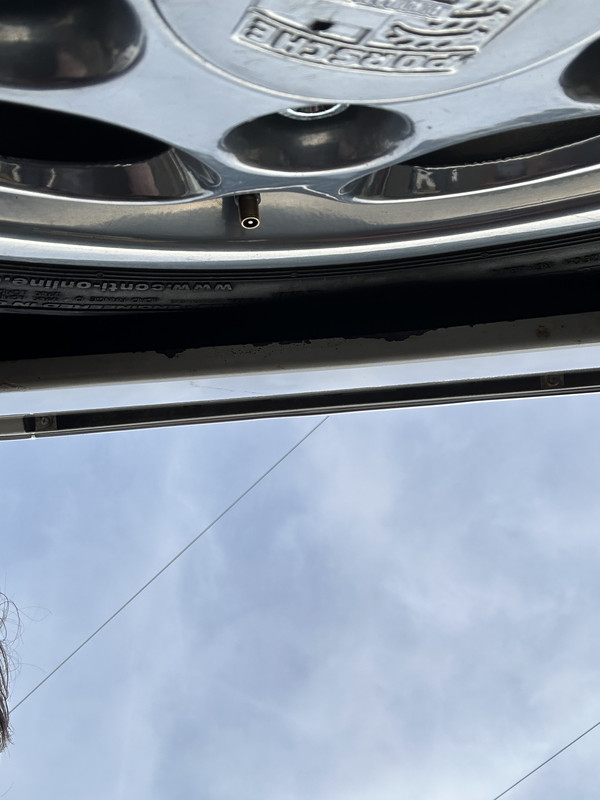
I’m toying with fitting the Porsche 16” wheels so tested them with the huge Boxster rear tyre and I’m not surprised they fouled the arch
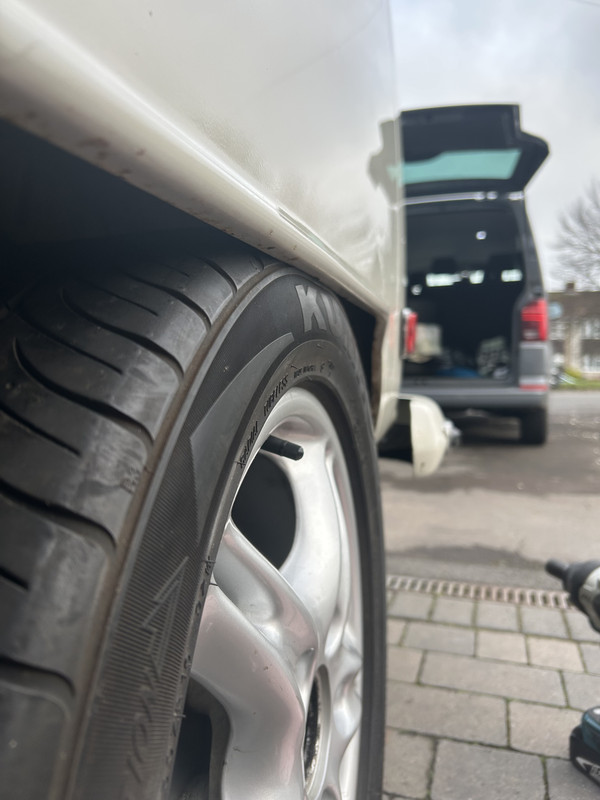
Actually they are not that far from fitting as the top of the tyre moves in on an arc when the weight is but back on the spring plates, I have ordered some 10mm spacers that will give the ET40 16” wheels the space I need before ordering the tyres in the new year…

There is plenty of room now both on the inside and the arch side of the tyre.

I’m toying with fitting the Porsche 16” wheels so tested them with the huge Boxster rear tyre and I’m not surprised they fouled the arch

Actually they are not that far from fitting as the top of the tyre moves in on an arc when the weight is but back on the spring plates, I have ordered some 10mm spacers that will give the ET40 16” wheels the space I need before ordering the tyres in the new year…
Just how many spacers have you actually got now ???
Ozziedog,,,,,,,,,are you in the hundreds yet bud
Ozziedog,,,,,,,,,are you in the hundreds yet bud
creationblue
Well-known member
3 sets. The 5mm were on my old Porsche when I changed the wheels and the rears fouled the subframe. The 15mm ones are now on the rear of the bus. The 10mm ones should be going on in the near future with a wheel with a different offset. Then I may need the 5mm on the front with the new brakesJust how many spacers have you actually got now ???
Ozziedog,,,,,,,,,are you in the hundreds yet bud
Similar threads
- Replies
- 8
- Views
- 320


