You are using an out of date browser. It may not display this or other websites correctly.
You should upgrade or use an alternative browser.
You should upgrade or use an alternative browser.
1970 tin top westy resto
- Thread starter tintintin
- Start date

Help Support Early Bay Forum:
This site may earn a commission from merchant affiliate
links, including eBay, Amazon, and others.
58herbie
Well-known member
will,
got fuse box today, so will get front part of loom in it over week end
jon :?
got fuse box today, so will get front part of loom in it over week end
jon :?
Quick update
One side preparation 99% finished
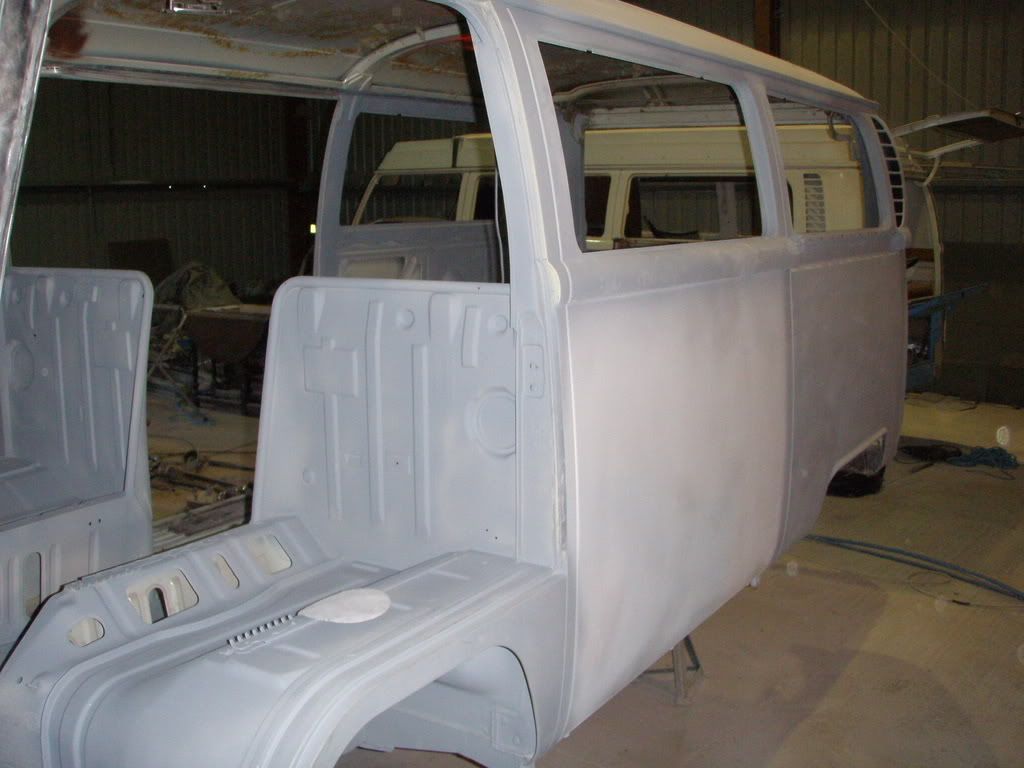
Interior work in progress.

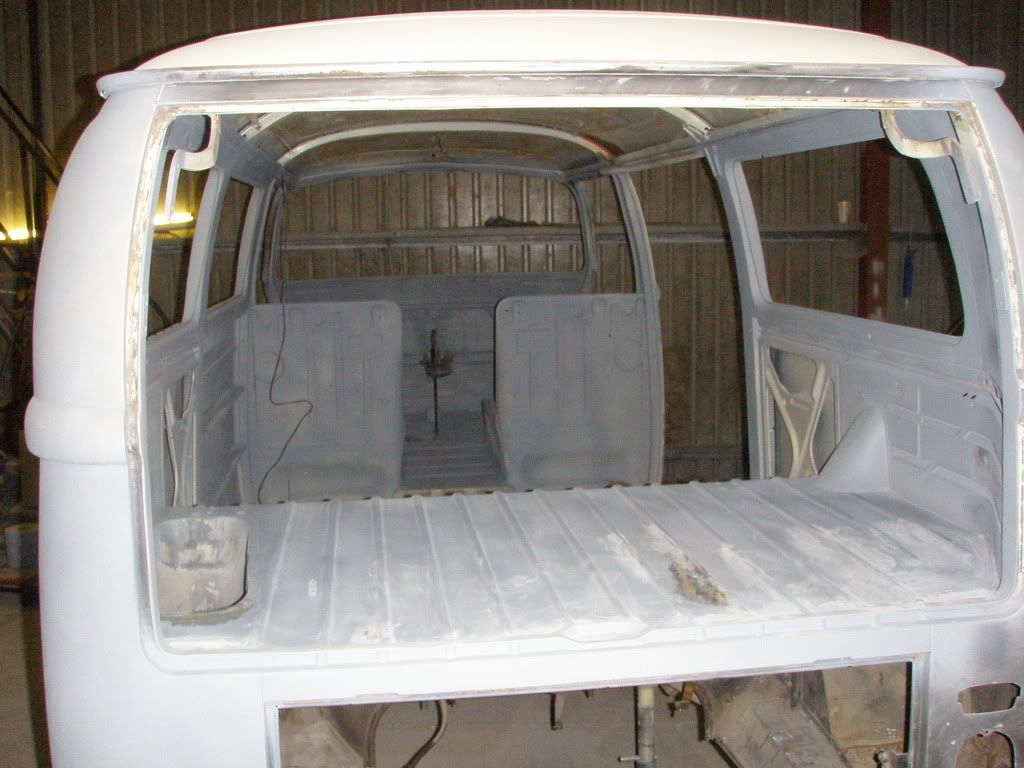
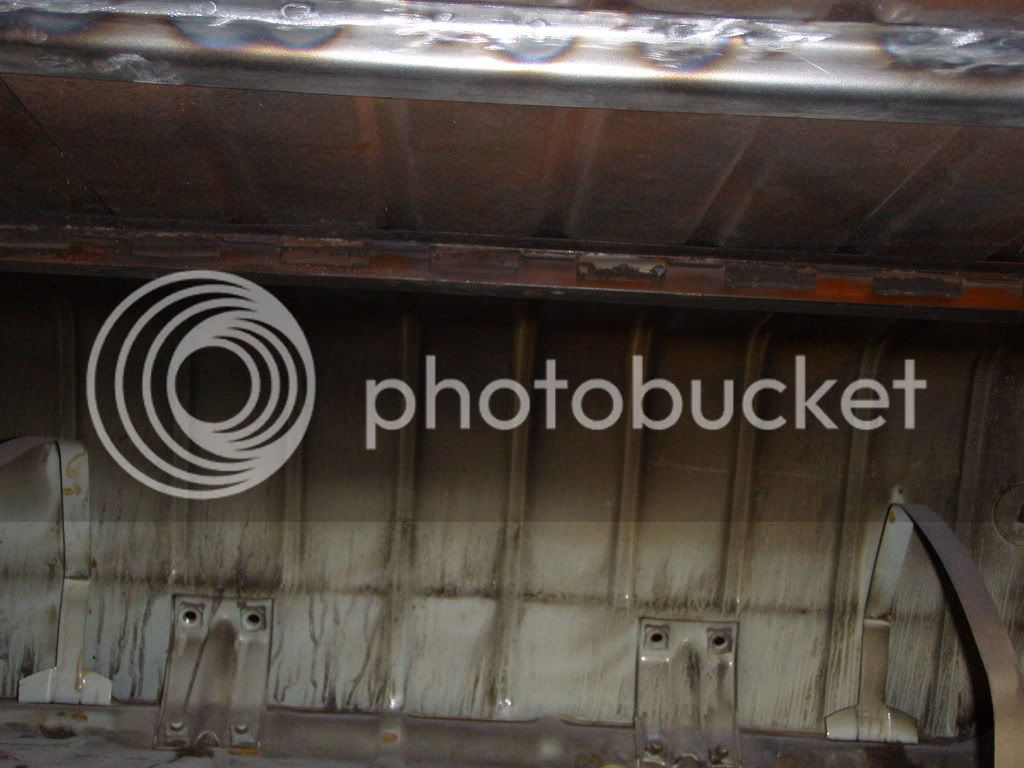
Final bits of welding in engine bay
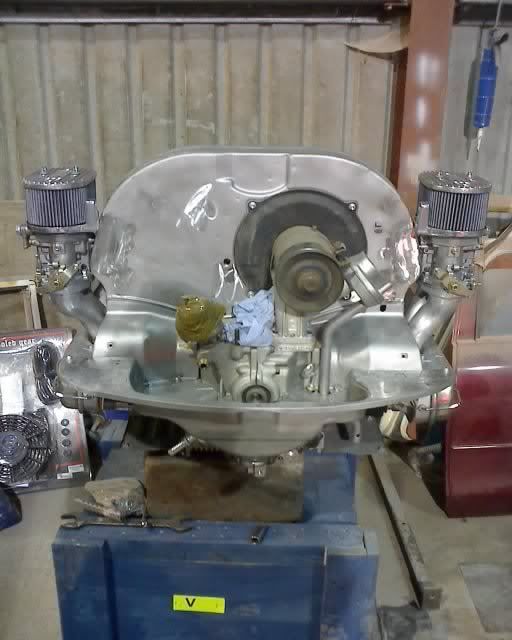
Picked up the engine today!
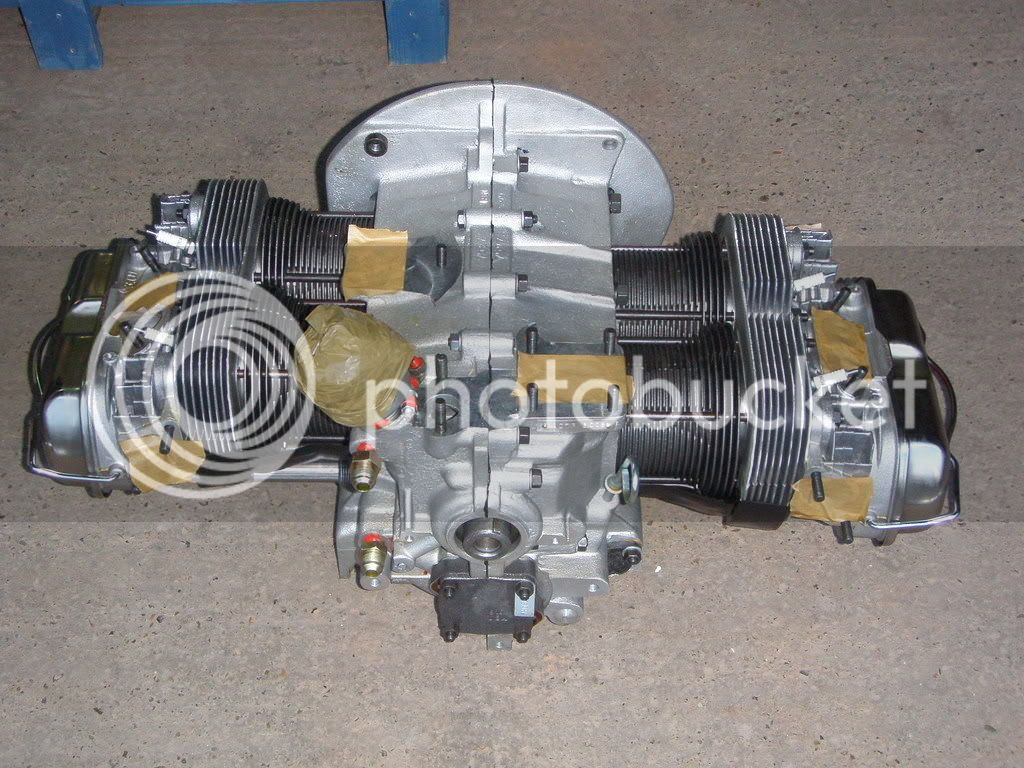
1776 SSP Remtec. The original tin ware will need a bit of modifying, but first it's off to the grit blasters over the weekend. Got a nice pair of DRLA40's from Eurocarb which are ready to fit.
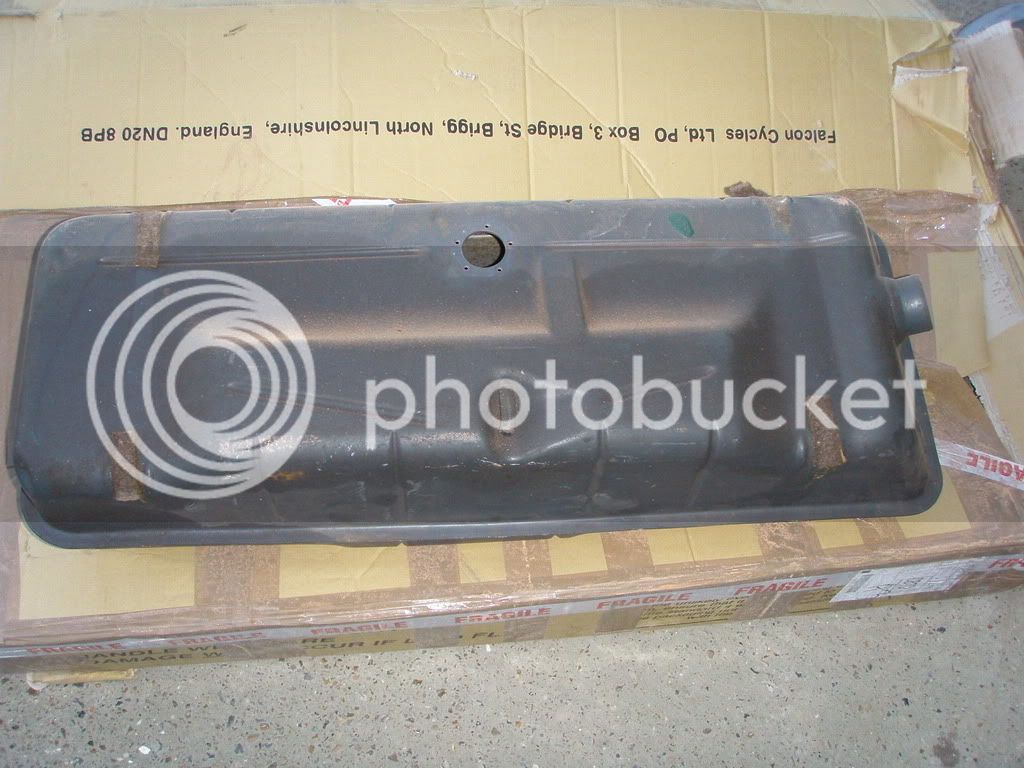
Replacement tank arrived - not nearly as noisy as the last one..
And today we decided at some point to hang the bus it from the roof and spray the underside while we're at it.. so much more to come...
One side preparation 99% finished
Interior work in progress.
Final bits of welding in engine bay
Picked up the engine today!
1776 SSP Remtec. The original tin ware will need a bit of modifying, but first it's off to the grit blasters over the weekend. Got a nice pair of DRLA40's from Eurocarb which are ready to fit.
Replacement tank arrived - not nearly as noisy as the last one..
And today we decided at some point to hang the bus it from the roof and spray the underside while we're at it.. so much more to come...
VWAIRCOOLED
Well-known member
Thats looking good dude 
Thanks very much,
Quick update....
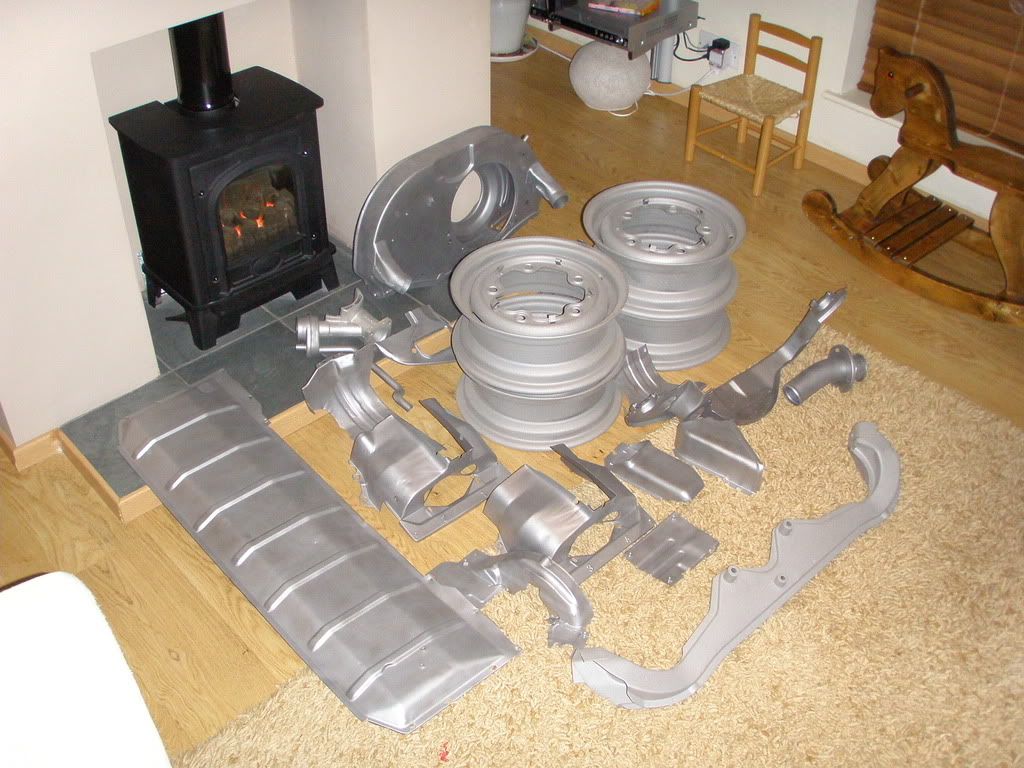
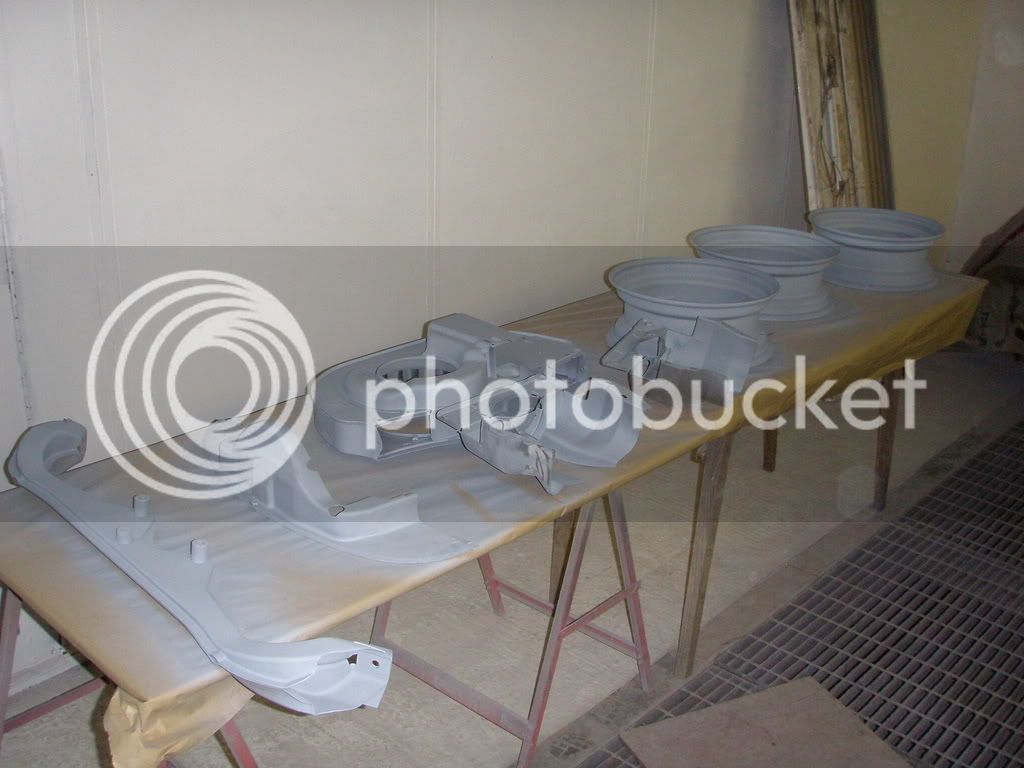
Just picked up the tinware and wheels from the grit blasters - I'd love a job like that - spending all day turning crappy bits of metal into shiny ones.. simple things and all that..
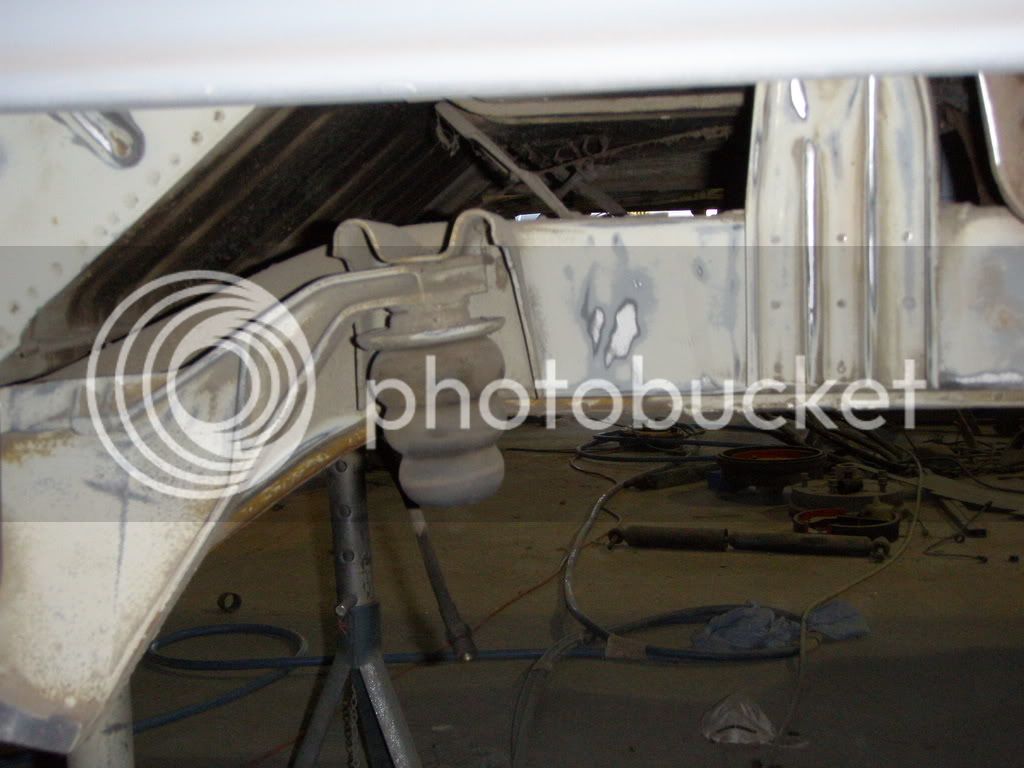
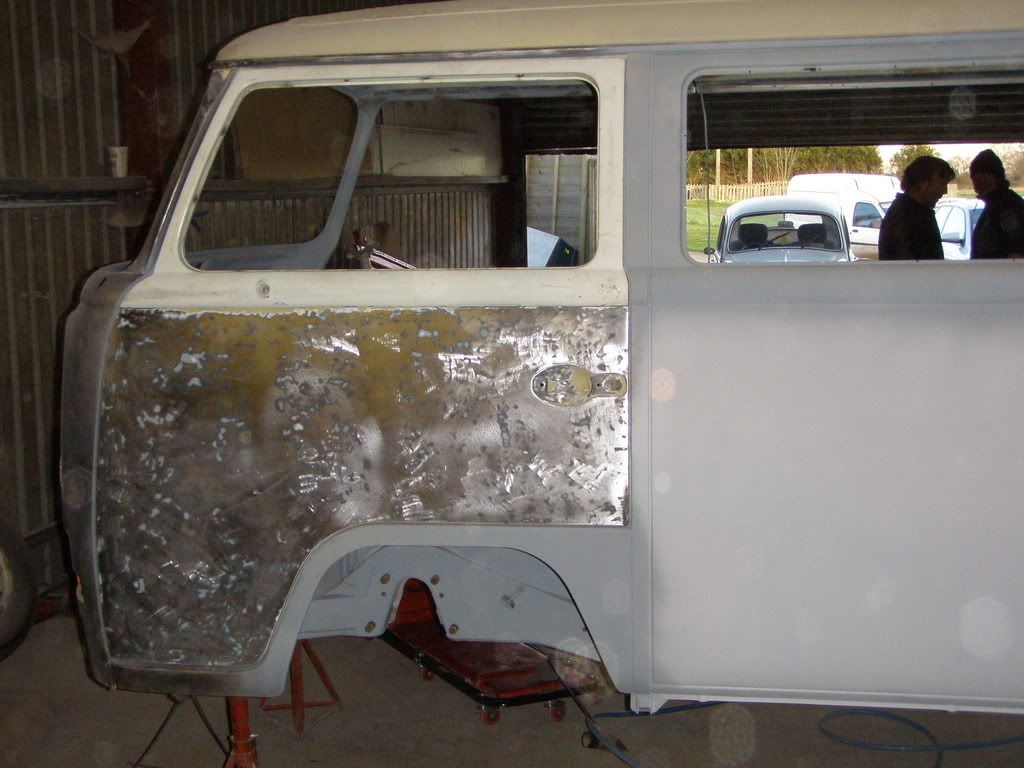
Prep' work started on the underside, it's more a case of cleaning & sanding than anything else.

The sliding door has been taken down to metal and is now ready for flattening..
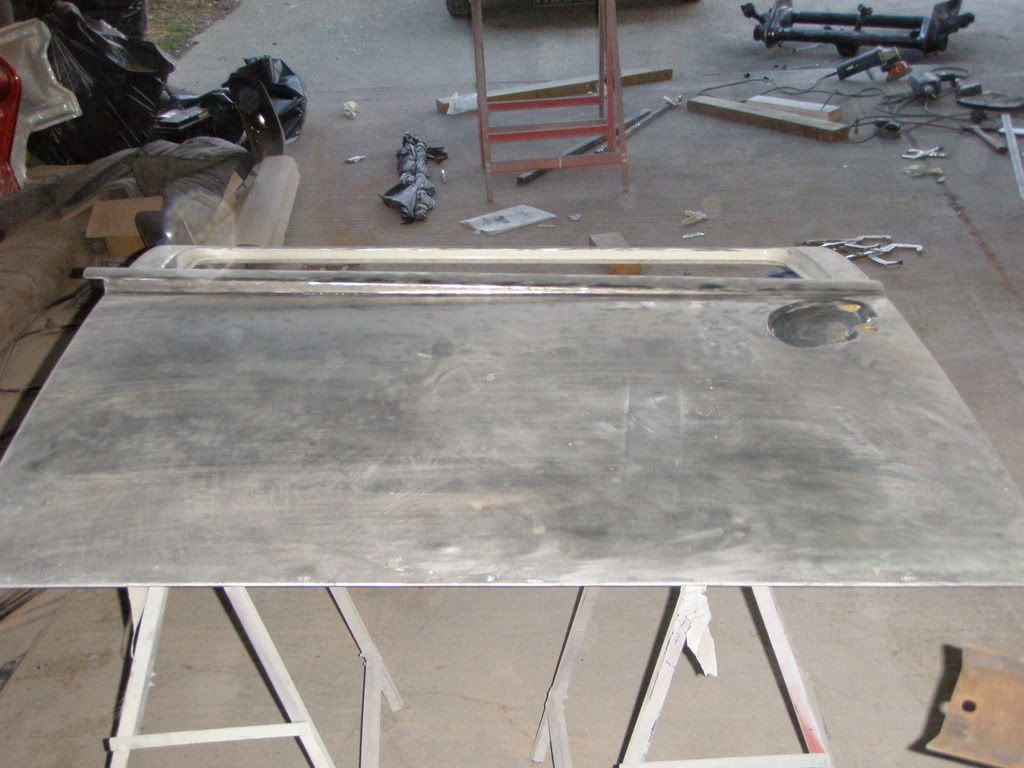
..and probably one more day required to totally smooth the passenger door...
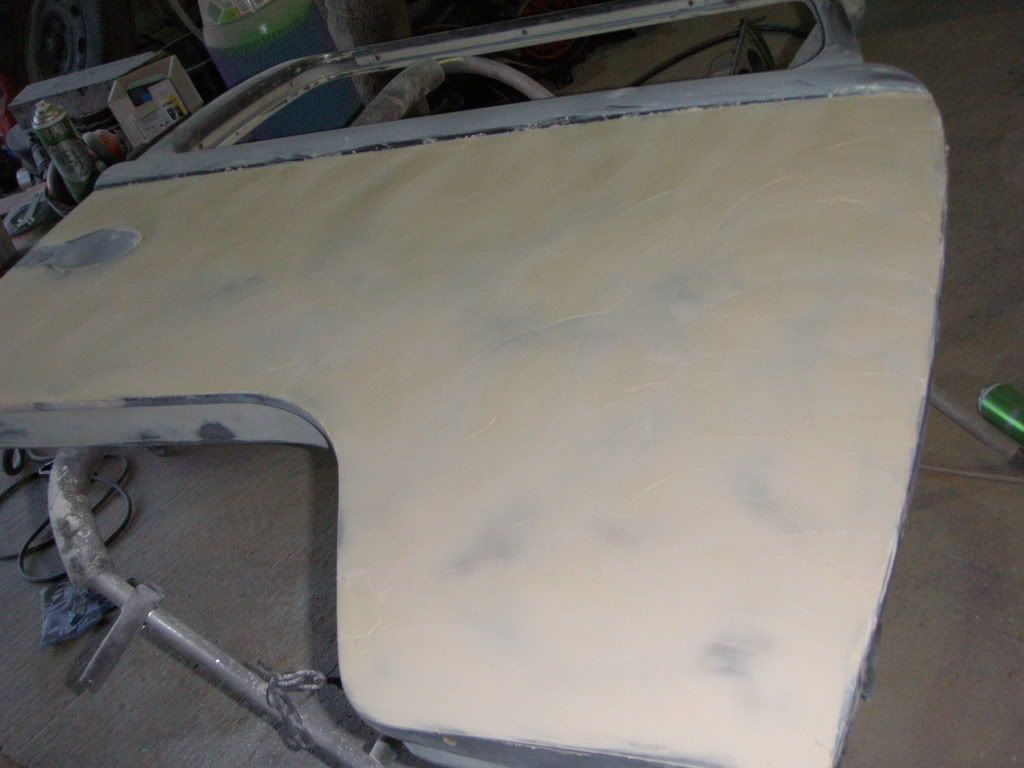
...and quite a bit more work required still on the drivers door
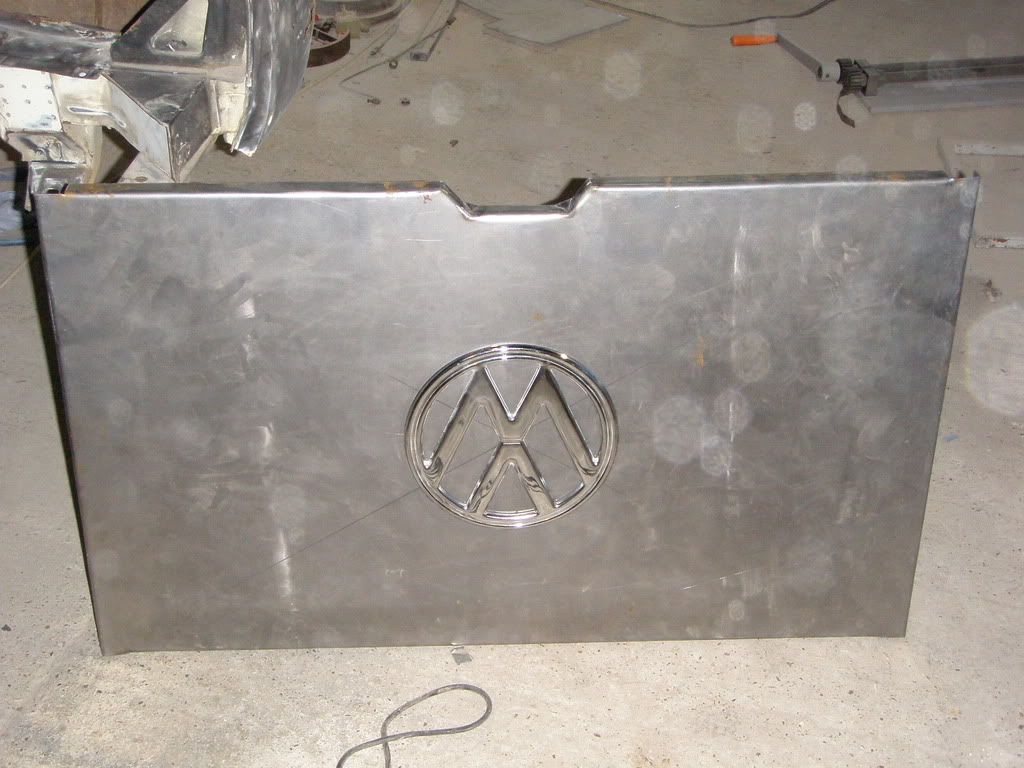
Dave's made up a metal plate to fit inside the engine bay above the engine & we thought it would be a good idea to build a logo into it..
We are aiming for two more weeks of prep' before the spraying begins! That's it for now.
Quick update....
Just picked up the tinware and wheels from the grit blasters - I'd love a job like that - spending all day turning crappy bits of metal into shiny ones.. simple things and all that..
Prep' work started on the underside, it's more a case of cleaning & sanding than anything else.
The sliding door has been taken down to metal and is now ready for flattening..
..and probably one more day required to totally smooth the passenger door...
...and quite a bit more work required still on the drivers door
Dave's made up a metal plate to fit inside the engine bay above the engine & we thought it would be a good idea to build a logo into it..
We are aiming for two more weeks of prep' before the spraying begins! That's it for now.


$9.94
$10.95
Empi 00-4428-B VW Bug, Beetle, Sun Visor Clips, Type 1, 68-79, Black, Pair
MOORE PARTS SOURCE


$10.00
Volkswagen Genuine VW Driver Gear VW Logo Specifications T-Shirt Tee - X-Large - Black
wolframitersqga


$9.37
Empi 4429 Ivory Sun Visor Clips for Vw Bug 1965-1967/ Vw Bus 1968-1979, Pair
MOORE PARTS SOURCE


$37.99
Window Sash, 1 Piece Windows,for Beetle 58-64 & 68-77, Pair, Compatible with Dune Buggy
Texas Air Cooled LLC


$7.91
$15.33
Door Panel Clips, for VW Aircooled Door Panels, 50 Pieces, Compatible with Dune Buggy
Appletree Automotive

$58.00
$69.99
Revell 07674 VW T1 Camper 1:24 Scale Unbuilt/Unpainted Plastic Model Kit
ChoiceToysUS


$32.43
Airfix Quickbuild Volkswagen Light Blue Camper Van Brick Building Model Kit, Multicolor
Amazon Global Store UK
Justin & Muttley
Well-known member
Nice work - this bus has got 'Show Winner' written all over it!!!
Quick update..
Dave dressed the engine to make sure all the tinware fitted - it did with a few mod's, any redundant holes were welded up to make it look as clean & simple as possible. We'll hide the coil round the back (?!) as long as I can get to it again!
The engine was then stripped again and the tinware and other bit's rubbed down and etched / primed ready for painting..
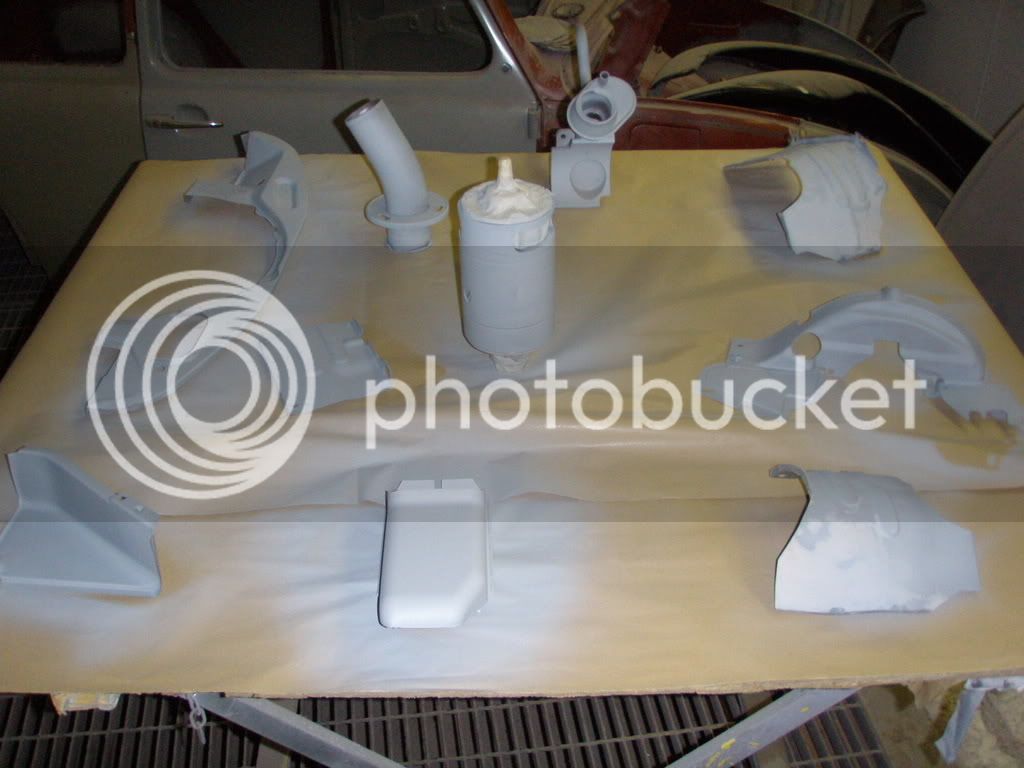
...meanwhile Joe's been cracking on with the bodywork, the front doors & sliding door is primed and ready to paint. The panel for above the engine has been finished off & primed and the VW sign in the middle looks great.
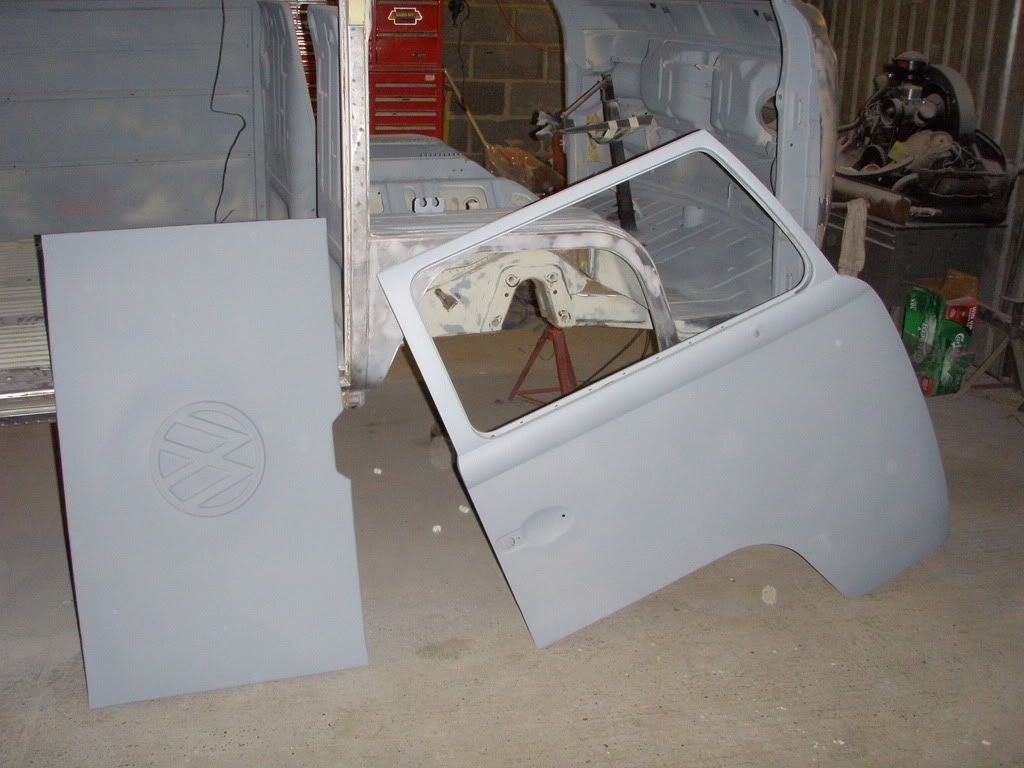

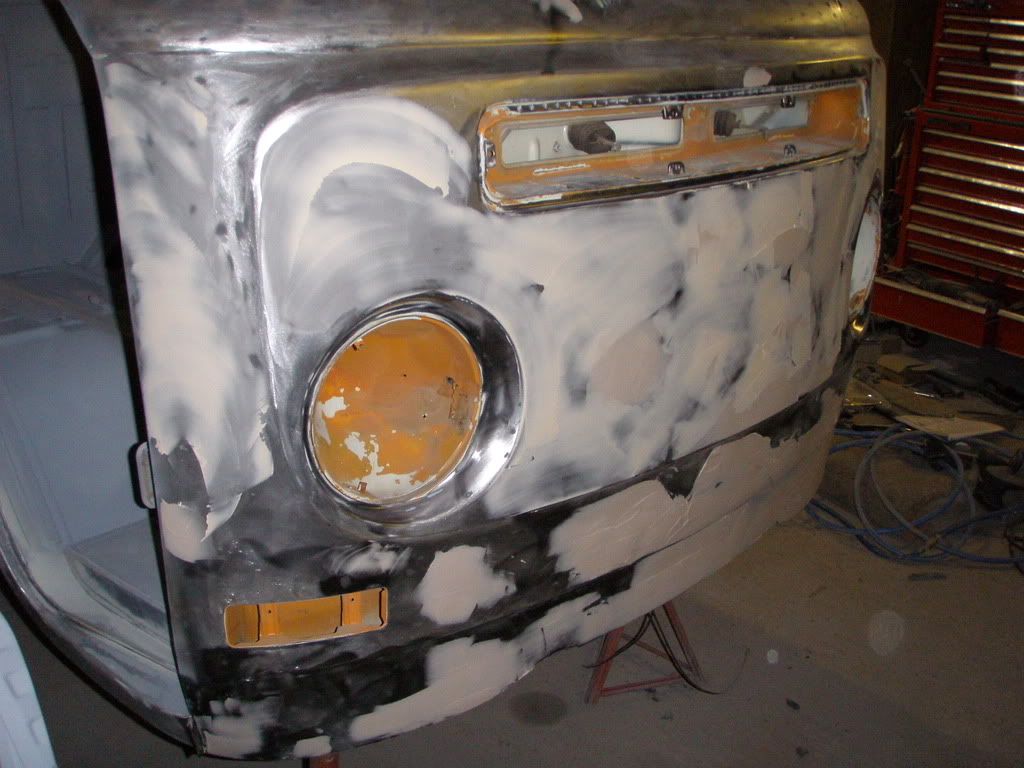
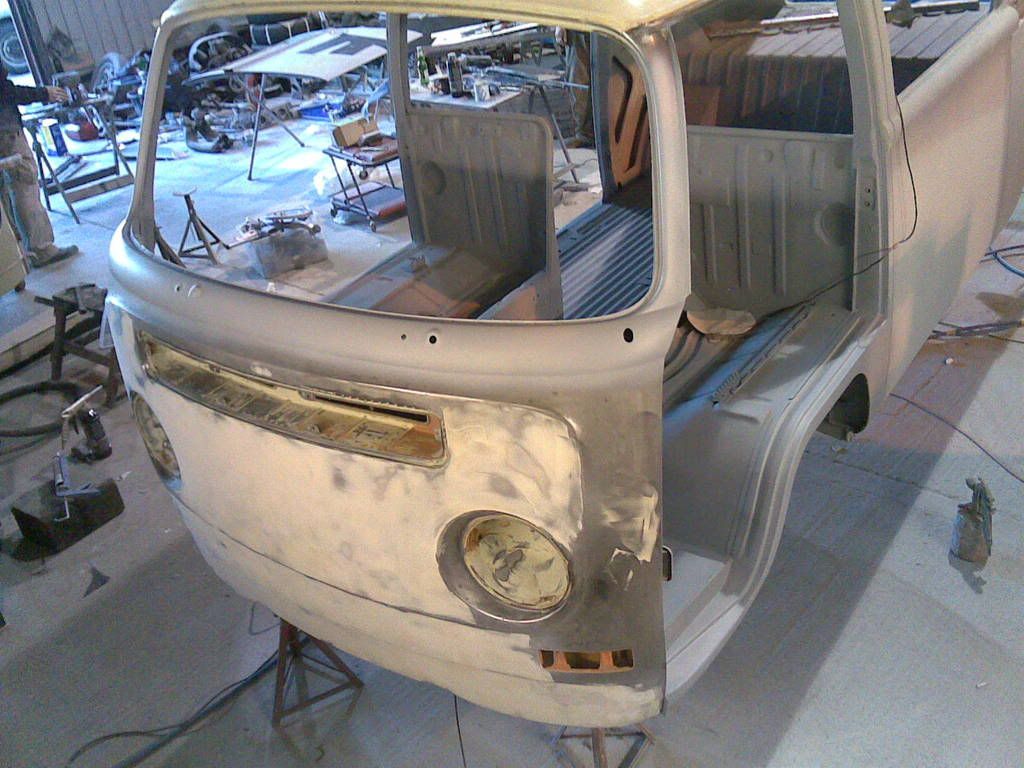
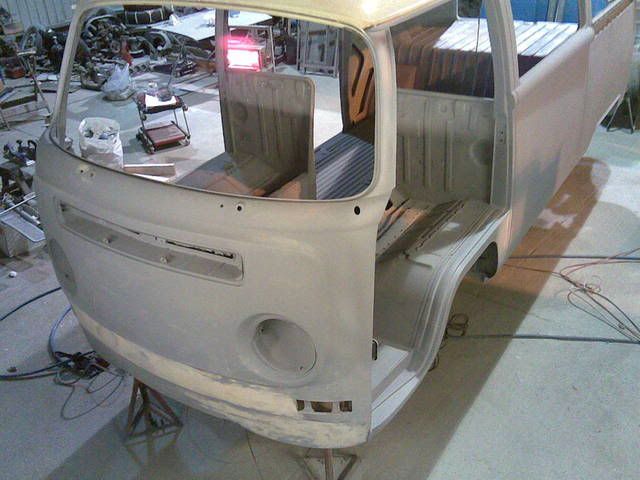
Joe's now started on the front..
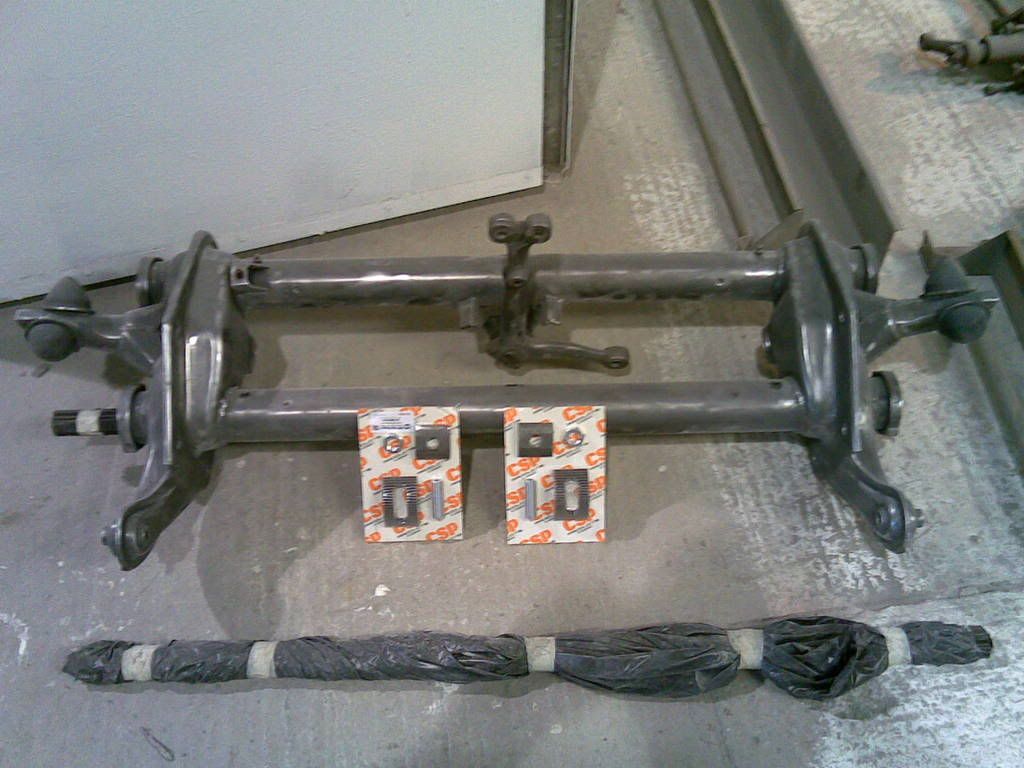
We sent back the bus boy's beam adjusters - they just didn't seem right - the milled teeth that are welded to the beam did not tie in well with the cast locking set. A set of CSP adjusters should be delivered any day so Dave can get to lowering it!
The stainless exhaust system just arrived from VW Speedshop. Not yet unpacked but the J tubes fitted fine and the silencer looks awesome.
That's it for now...javascript:emoticon('')
Very Happy
Dave dressed the engine to make sure all the tinware fitted - it did with a few mod's, any redundant holes were welded up to make it look as clean & simple as possible. We'll hide the coil round the back (?!) as long as I can get to it again!
The engine was then stripped again and the tinware and other bit's rubbed down and etched / primed ready for painting..
...meanwhile Joe's been cracking on with the bodywork, the front doors & sliding door is primed and ready to paint. The panel for above the engine has been finished off & primed and the VW sign in the middle looks great.
Joe's now started on the front..
We sent back the bus boy's beam adjusters - they just didn't seem right - the milled teeth that are welded to the beam did not tie in well with the cast locking set. A set of CSP adjusters should be delivered any day so Dave can get to lowering it!
The stainless exhaust system just arrived from VW Speedshop. Not yet unpacked but the J tubes fitted fine and the silencer looks awesome.
That's it for now...javascript:emoticon('
')Very Happy
Thanks for all the feedback - very much appreciated. I swore that I wouldn't do another resto' that wasn't solid after my 67' Beetle started dissolving after a year having spent a bucket on it years ago...
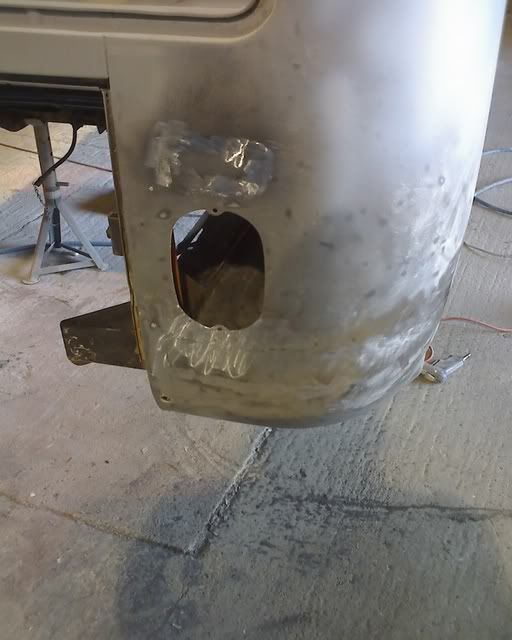
Dave's started the final bit of welding on O/S rear corner & managed to keep the seam in tact...
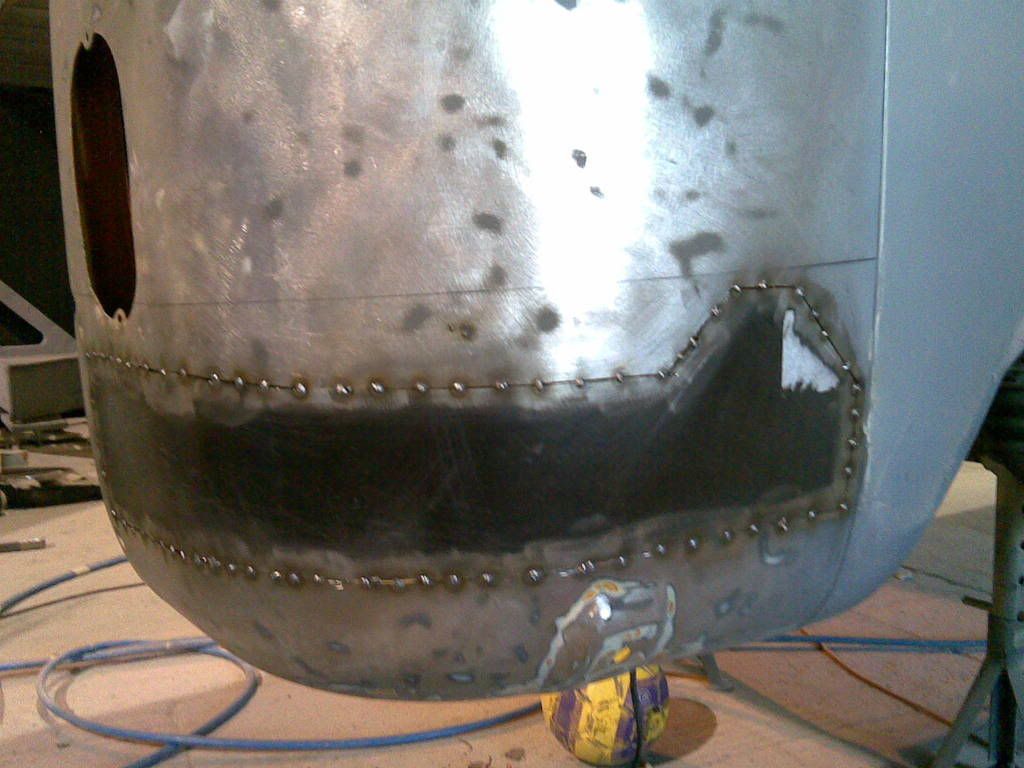

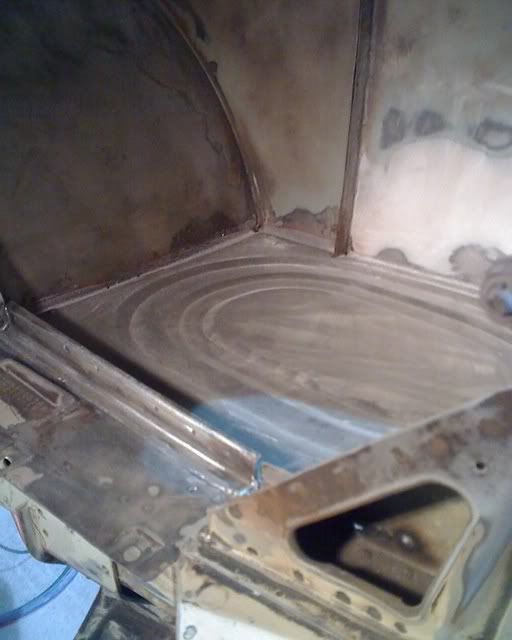
... and remade the battery tray ready for fitting..

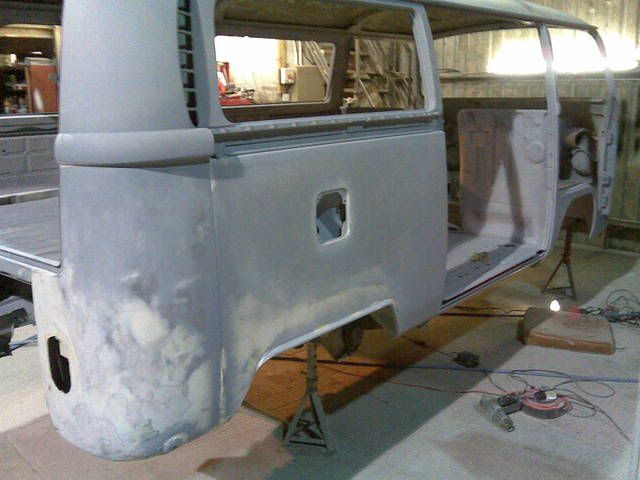
Both sides now 90% finished, primed and ready for paint...
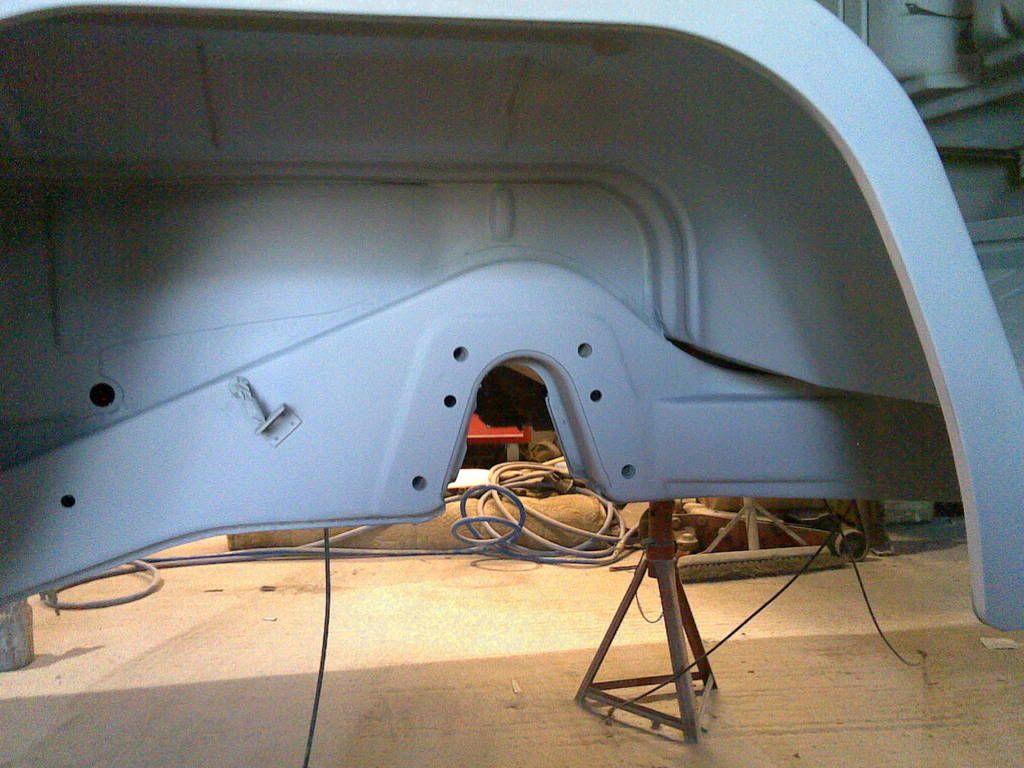
... final smoothing going on at the front end..
And the CSP's have arrived so Dave can now start on the beam..
Aiming to start painting next week, and today I ordered a hole load of Basket Weave and Smooth Grey TMI Vinyl and piping from the US of A for the interior!
That's all for now..
Dave's started the final bit of welding on O/S rear corner & managed to keep the seam in tact...
... and remade the battery tray ready for fitting..
Both sides now 90% finished, primed and ready for paint...
... final smoothing going on at the front end..
And the CSP's have arrived so Dave can now start on the beam..
Aiming to start painting next week, and today I ordered a hole load of Basket Weave and Smooth Grey TMI Vinyl and piping from the US of A for the interior!
That's all for now..
A
Anonymous
Guest
Only one word springs to mind......................... WOW! :shock:
Good work chap
Good work chap
- Joined
- Apr 2, 2007
- Messages
- 478
- Reaction score
- 26
- Location
- Berkshire
- Year of Your Van(s)
- 1972
- Van Type
- Danbury
Great Work!!!!
Moving on a bit..
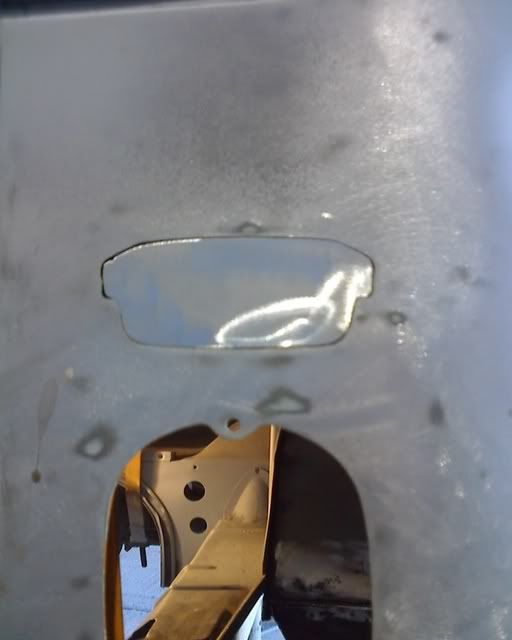
Reversing light hole covered and welded and corner finished...
.. Battery tray back in, welded & primed..
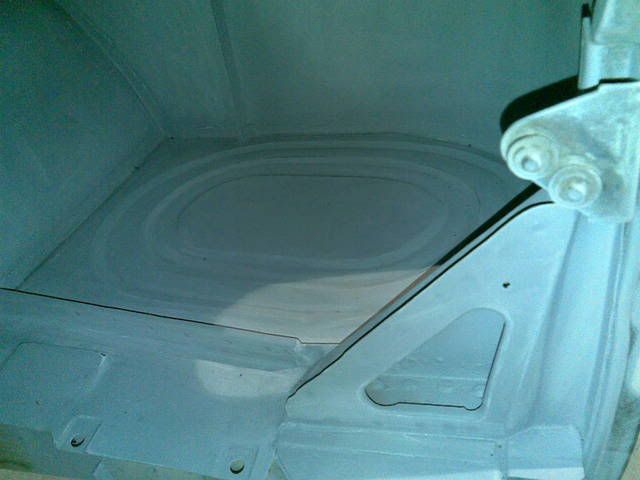
..the cover above the engine has been fitted and the VW sign is looking nice and subtle..
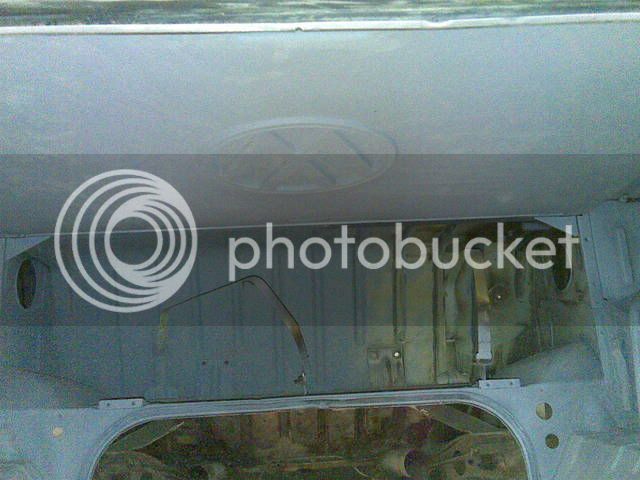
..Joe's finished the front and it looks like painting will start next week!!
... if he manages to finish the roof...............
Reversing light hole covered and welded and corner finished...
.. Battery tray back in, welded & primed..
..the cover above the engine has been fitted and the VW sign is looking nice and subtle..
..Joe's finished the front and it looks like painting will start next week!!
... if he manages to finish the roof...............
- Joined
- Apr 2, 2007
- Messages
- 478
- Reaction score
- 26
- Location
- Berkshire
- Year of Your Van(s)
- 1972
- Van Type
- Danbury
Again..... great work!
So impressed by the repair to the rear corner and reverse light blank.... absolutely invisible and no distortion at all either by the looks of it... very skillfull!
What technique was used? If only I could make repairs that perfect!
This is going to be one very nice bus when it is finished.... even as it is now I'm jealous! Can't wait to see pictures with the paint on.
Top job! :wink:
Thanks very much,
The blank was cut from another corner panel & Dave tack welded it first to stop any distortion before butt welding it - I guess through experience on working with this sheet thickness he knows the right power settings and wire feed rate (I haven't seen a gauge hidden away anywhere!)
If I were to do it it would end up a right old Sh*t pile...
I'm hoping for some paint to start touching the sides next week some time - I can't wait!
keep you posted..
VWAIRCOOLED
Well-known member
That is looking good dude 8)
Similar threads
Vehicle For Sale
LHD Westy
- Replies
- 0
- Views
- 737
Vehicle For Sale
Early Bay Deluxe 1971
- Replies
- 5
- Views
- 2K