pk1was said:
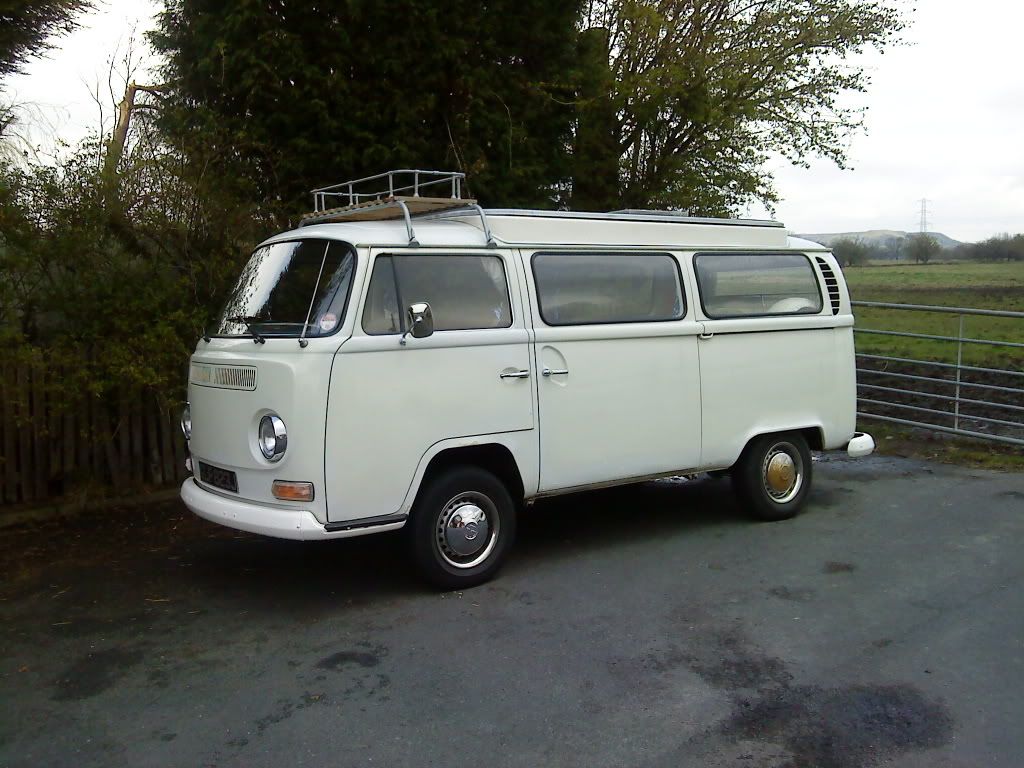
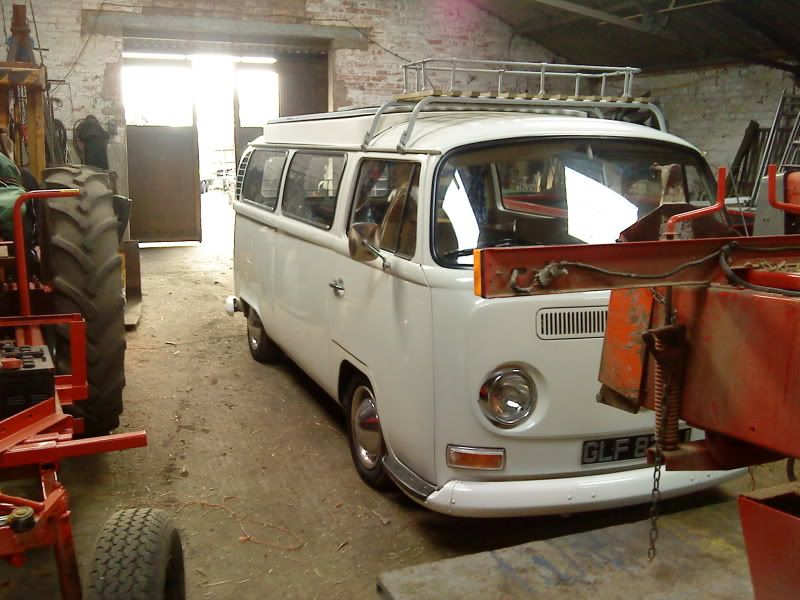
i want to lift/remove the fibre glass trim round the pop top to prep and paint the roof and gutters, anyone any advice on how its best done, before i attack it and make a balls of it
It's been a few years since I did the same to my own Devon roof. I kept a list of instructions which you might find useful. If you're going to lift the whole roof off in a oner then you'll need some extra muscle. Good luck mate!
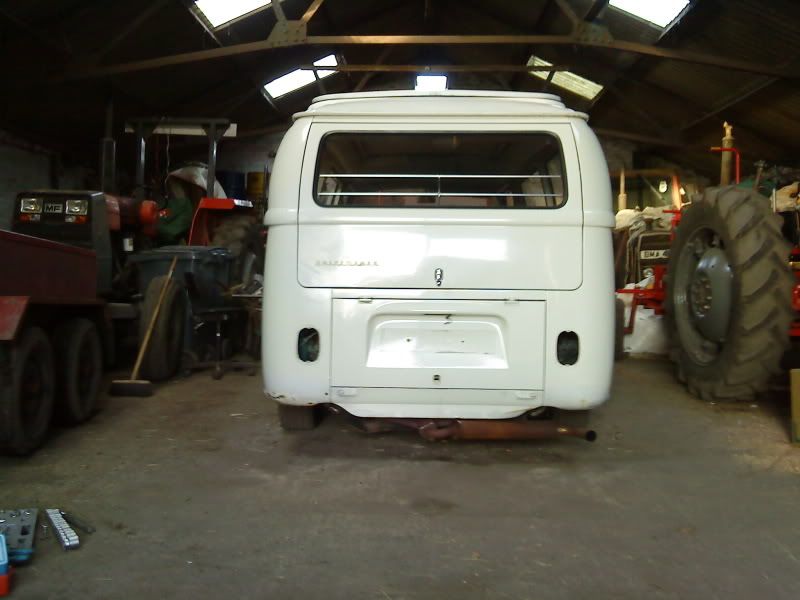
To take the whole roof off including the fibreglass skirt: To install the roof a hole was cut out in the roof of the van and a two inch upstand of roof metal was bent around the hole - this upstand is the exact size of the inside measurement of the of the fibreglass skirt. Inside the skirt there is a piece of timber that fits perfectly up against the upstand all round which is attached by screws drilled through the upstand and into the timber. With the pop-top up only undo screws that are horizontal. Pull the pop-top down and secure the brackets, then remove the screws that hold the bracket arms in place. If the roof has never been off before there will probably be some sticky, tape stuff between the timber and the upstand, you will need to get a bar in there and lift it up and it may take a bit of force. This way you can lift the whole pop top off without taking it all to bits.
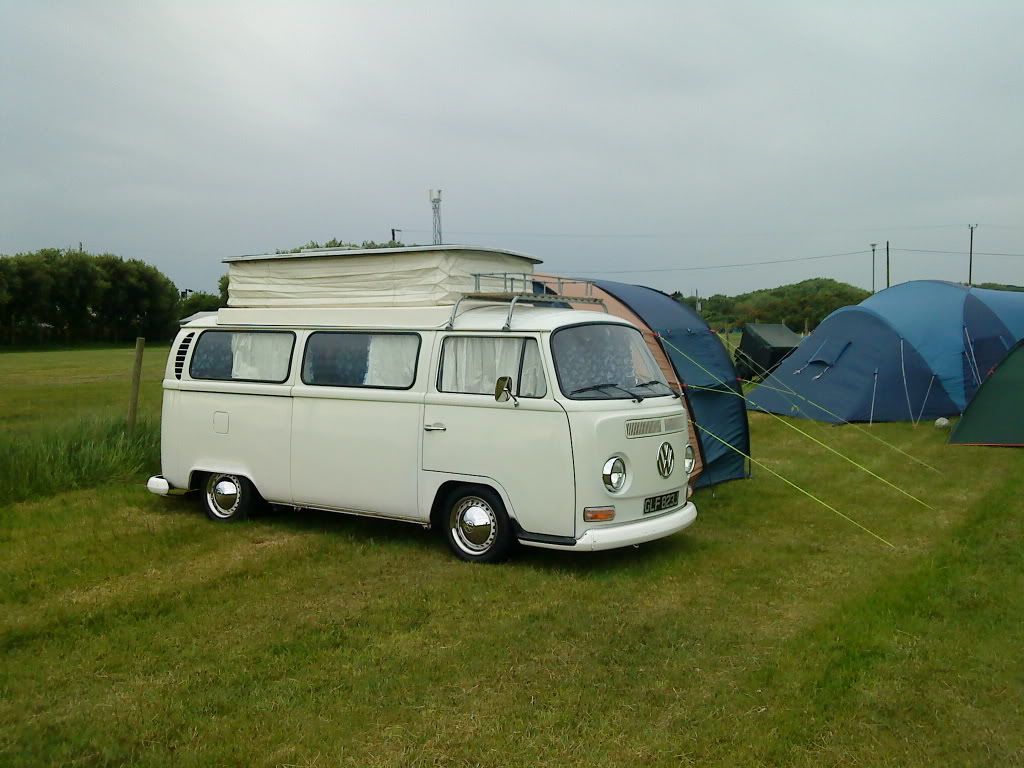
To replace just the bellows you don't have to take the fibreglass skirt off. You need to......
a. Raise pop-top, then working from inside the vehicle, look at the bottom where the bellows are screwed down around the outside of the frame. There are four aluminium strips - front, back and down each side which trap the bellows and screw down into the frame. Remove all screws - it may be necessary to grind or drill the heads out. Prise/lift the aluminium strips out taking care not to damage the aluminium strips as they’ll be needed again.
b. Once all screws are out, release the bellows, which will probably be stuck to the frame. Don't worry, it's surprisingly difficult to tear it.
c. With the bellows free of the van all the way round, lower the top and undo the five screws on each side holding the bracket for the supporting arms to the van. With the roof lowered it is recommended gaffer-taping round the supporting arms and the bar that runs the length of the roof, otherwise, once the screws are undone, the arms may spring out (under tension).
d. With the screws undone, the top should lift off. Two people can manage this, but you need to have a plan for being inside then outside the van to lower the roof off.
e. Drill out the rivets and remove the old bellows from the roof. You may need to unbolt the supporting arms where they meet the frame of the roof, as the bracket passes through the bellows at this point.
f. Using a rivet gun fix the new bellows. Seal every rivet with seam sealant. While the roof is off, if you've got any hint of a leak, re-rivet and seal the lot.