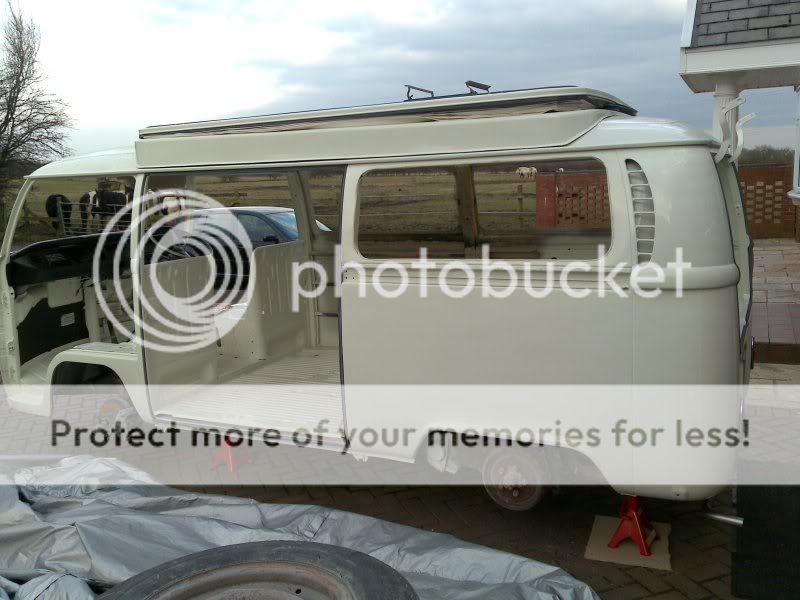
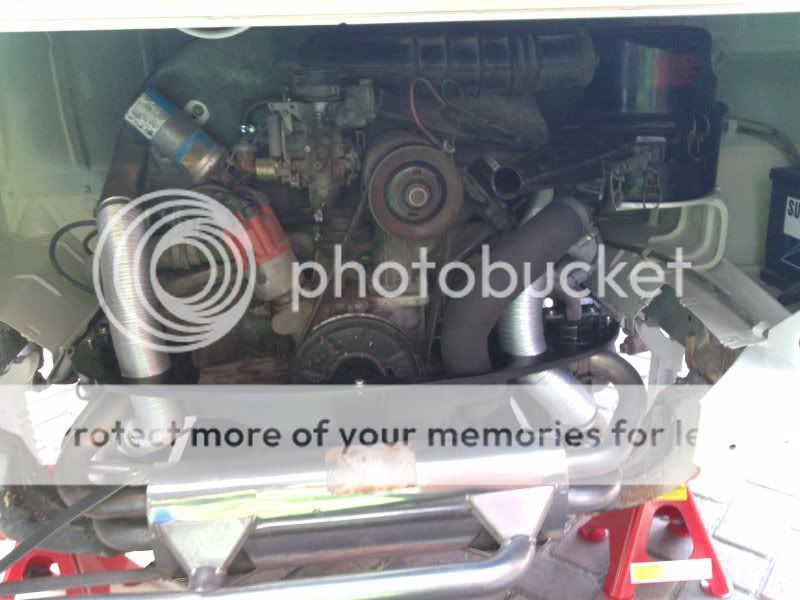
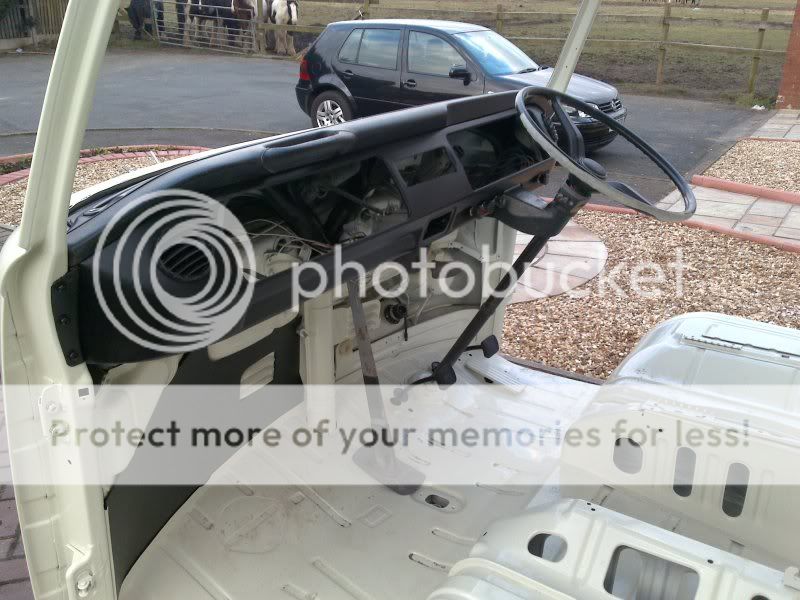
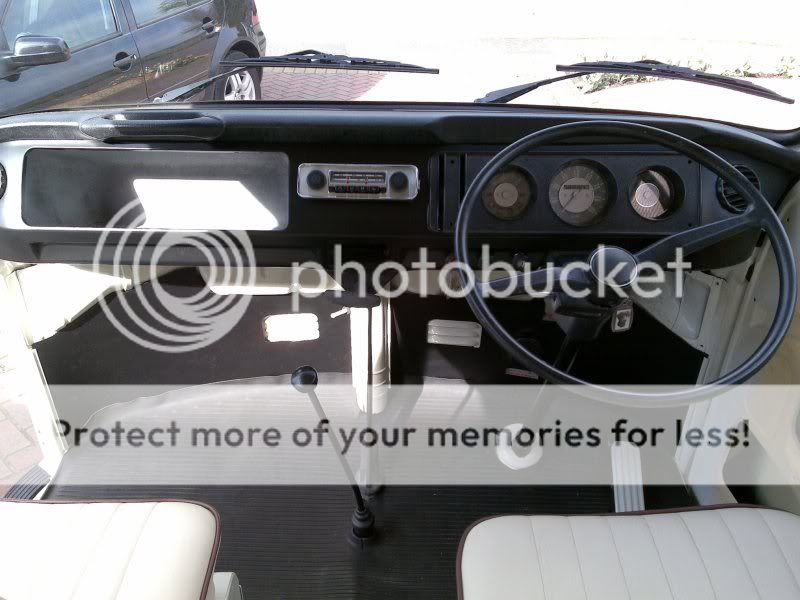
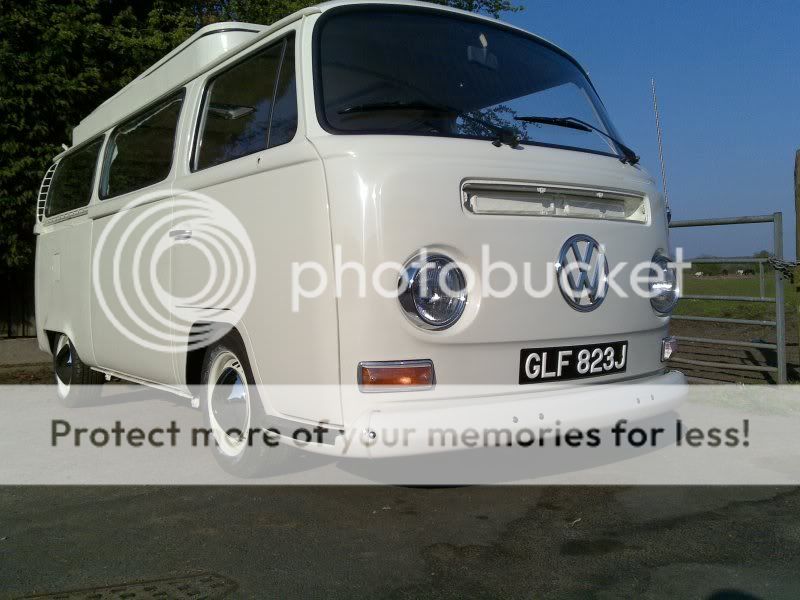
1971 Devon Sunlander Pastel White

Early Bay Forum

Help Support Early Bay Forum:

This site may earn a commission from merchant affiliate links, including eBay, Amazon, and others.
jonny

the roof is a right tw@t to put it bluntly. The new bellows come with no instructions at all, so it really is a case of guess work. you need to remove the metal rods from the old bellows, and cut new flaps for the rods and restraining tabs in your new bellows (one slip thats it) this was a 2 man operation, putting in the new J seal around the edge, absolute ball ache. trying to attach the bellows to the top section of the roof is another fiddle, you need to align the flaps for the arms which raise the roof to the holes on the roof and bang a clip on to the edge whilst holding the clip the bellows and a knocking device. the new clips are very tight fitting and due to the over hang of the roof you cant get a good swing on the hammer. i just got a few on and then lifted back on to the van (3 man job minimum). thats were im up to at the minute, i have attached it to the lifting arms and then give up. will do more during the week
 
pk1was said:
jonny

the roof is a right tw@t to put it bluntly. The new bellows come with no instructions at all, so it really is a case of guess work. you need to remove the metal rods from the old bellows, and cut new flaps for the rods and restraining tabs in your new bellows (one slip thats it) this was a 2 man operation, putting in the new J seal around the edge, absolute ball ache. trying to attach the bellows to the top section of the roof is another fiddle, you need to align the flaps for the arms which raise the roof to the holes on the roof and bang a clip on to the edge whilst holding the clip the bellows and a knocking device. the new clips are very tight fitting and due to the over hang of the roof you cant get a good swing on the hammer. i just got a few on and then lifted back on to the van (3 man job minimum). thats were im up to at the minute, i have attached it to the lifting arms and then give up. will do more during the week

hmmm i think i might have to book it into the campershop... i dont fancy all that twatting about, im a one man army at the moment too :|
 
done a bit since the last update, heres the pics now its back on the drive, plenty of work ahead.

10032010044.jpg

10032010045.jpg

10032010038.jpg

10032010041.jpg
 
That, my friend, is going to be so sweet once finished 8)

Good job :mrgreen:
 
my new roof arrived today in two huge boxes, i found out Campershop stopped doing a fitting service and only sell the parts. The parts service was super fast and they had everything i needed which was the complete repair kit with clear windows on the shelf and arrive here in N.I in nextday :D

I wanted to ask you if i could get a shot of your black vinyl top cover fitted that they supply? im not sure what it looks like.
 
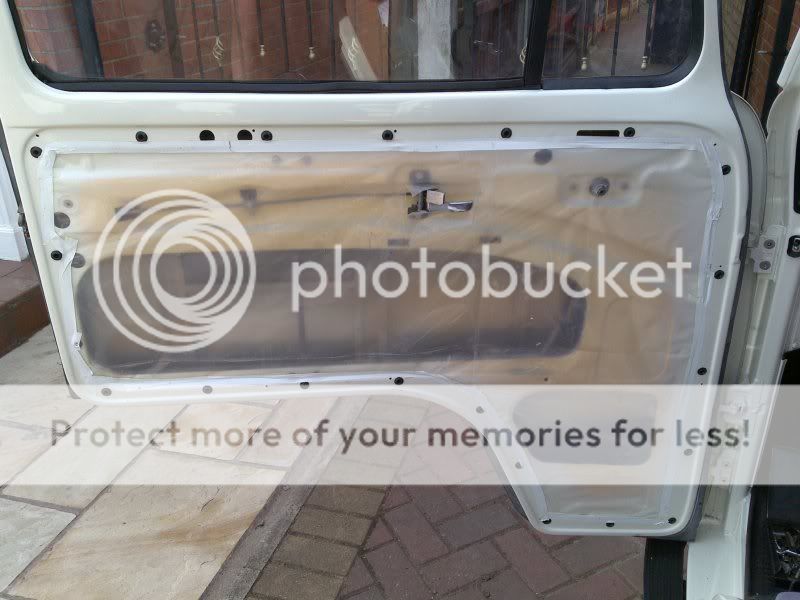
i just knew these doors would be a struggle.

need help.

firstly, the felt clips dont seem to fit in to the door recess at the top
secondly the outside scraper covers the holes that the felt clips sit in, and is slightly ill fitting which i presume i can just bend with my hands against the door
thirdly the felt seems to thick to get in the door at the top, by quite a way
does the quarter light go in before or after the scraper.

can some one help, please
 
is this any use?

http://forum.earlybay.com/viewtopic.php?f=31&t=6880" onclick="window.open(this.href);return false;
 
yes johnny it is, cheers. but its a bit worse than that, the doors arent playing ball at the moment.
 
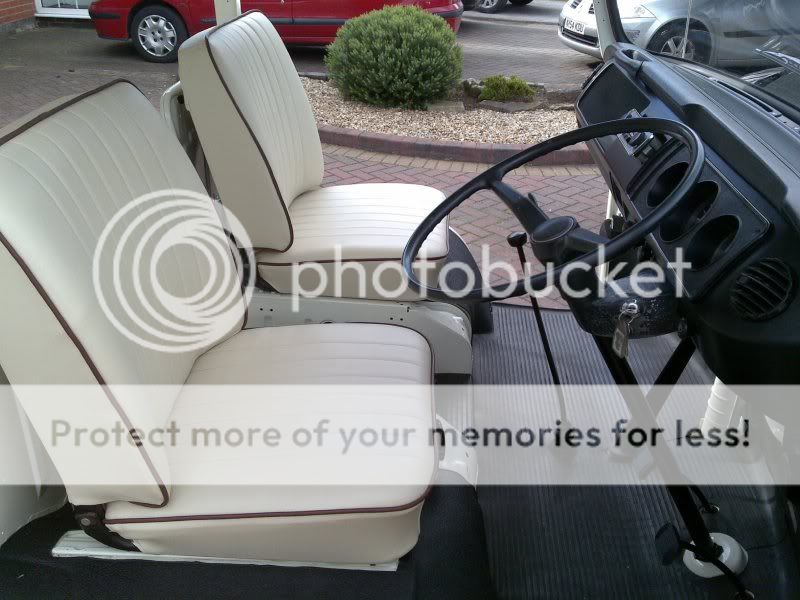
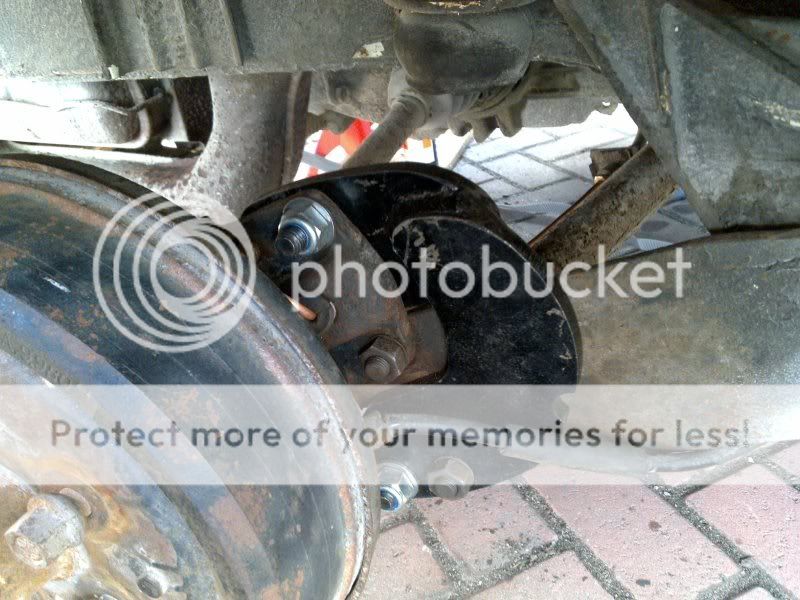
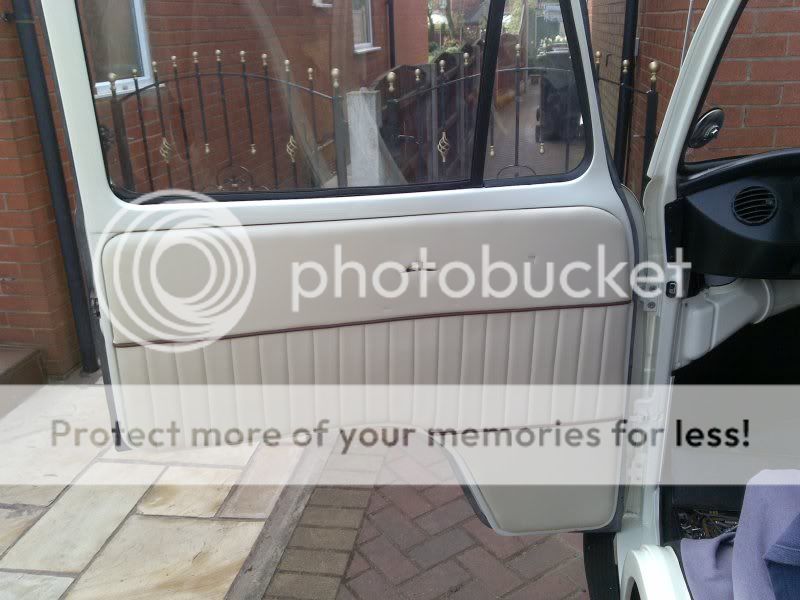
got a bit done recently, done the suspension horseshoe plates, replaced brake hoses, bled brakes, fitted driver door fitted front interior and windscreen, done a bit of undersealing. hopefully this week will see a lot more done.

04042010073.jpg

110420100791.jpg

110420100821.jpg

110420100811.jpg

04042010072.jpg

04042010068.jpg

11042010077.jpg
 
heres a few pics of where we are up to now, hope you likey

made my own vapour seals

24042010107.jpg


24042010108.jpg


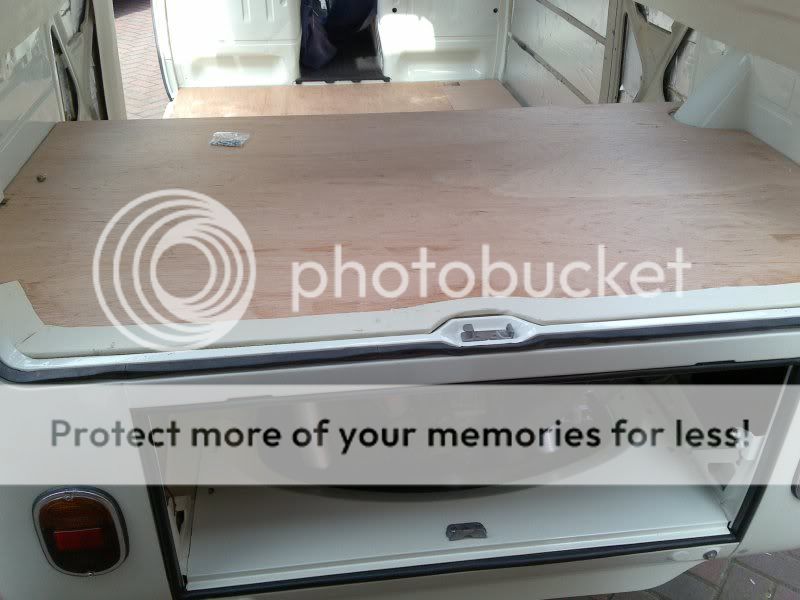
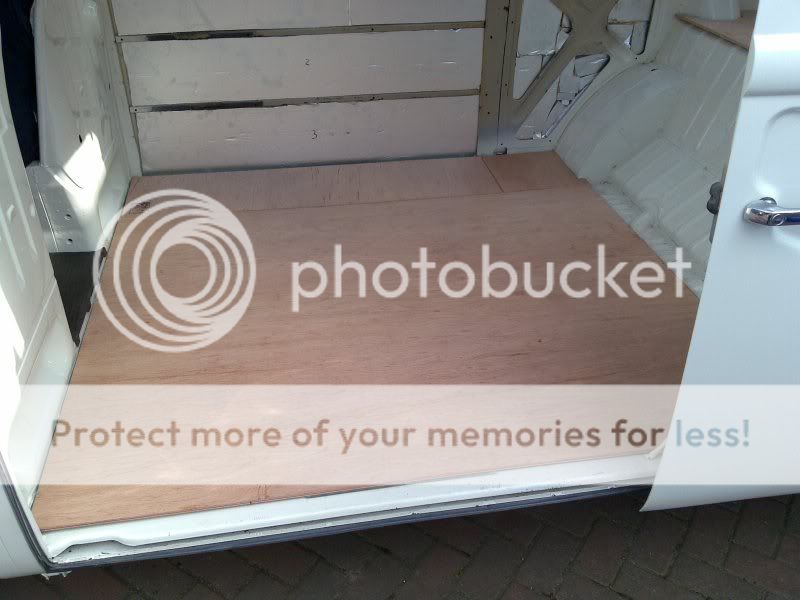
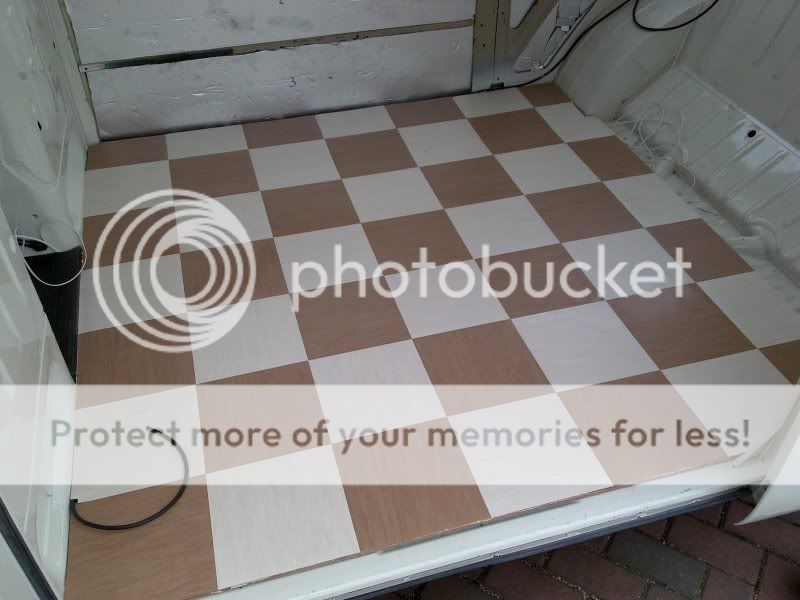
bit of woodworkery

15042010089.jpg

15042010088.jpg


this weekends work
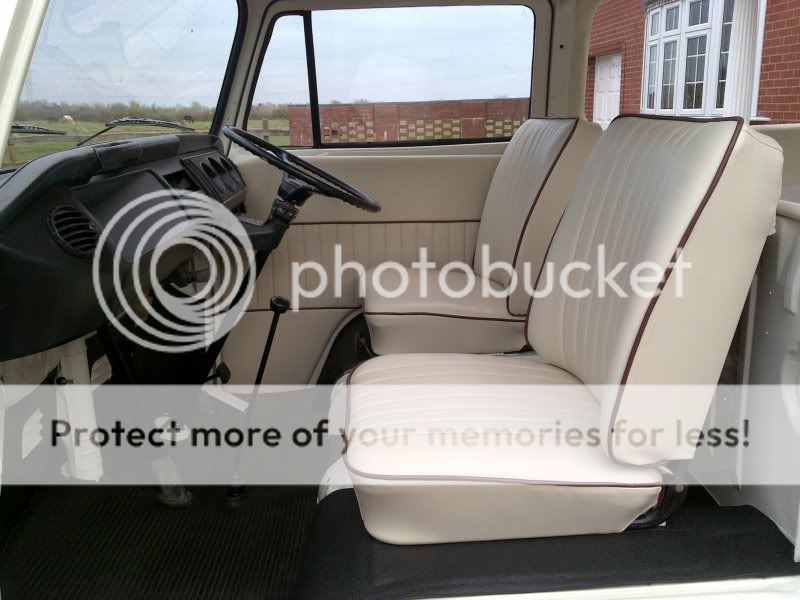
02052010112.jpg


took about 2 hours to put it down

this is where were at now

17042010092.jpg

17042010093.jpg

17042010094.jpg


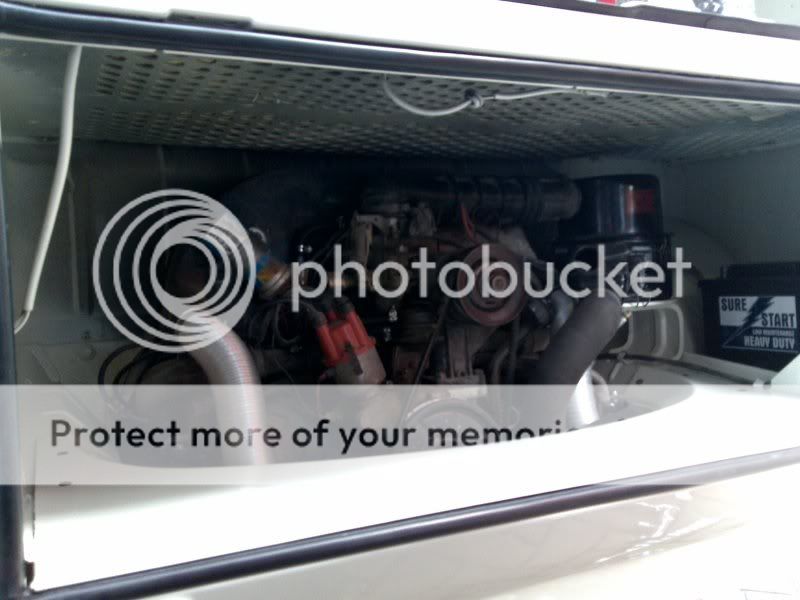
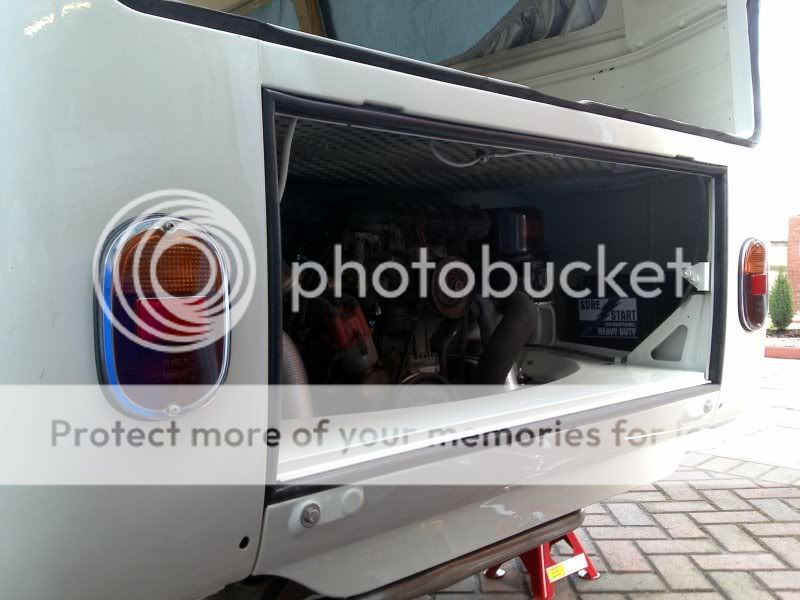
all the mechanical aspects have been completed today, seatbelts in etc
 

Latest posts

Top