Resto-raider
Well-known member
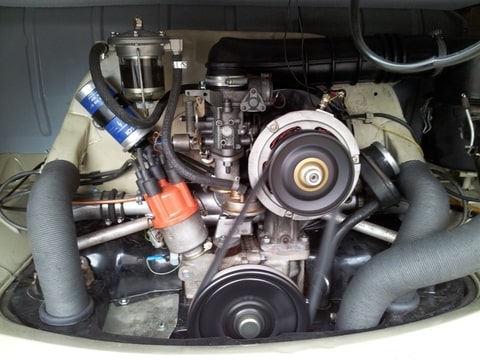
A couple of days ago I ordered my new 1641 engine. It could be ready in 2 weeks, but we receive our 'vacation-money' from our employer at the end of May. So the engine will be picked up May 28th. I then have a week to get it all working and officially imported and registered. After this week I have 10 days off from work, so it would be great if I could take the bus for a nice ride towards southern France, eventhoug I have nothing planned out yet.
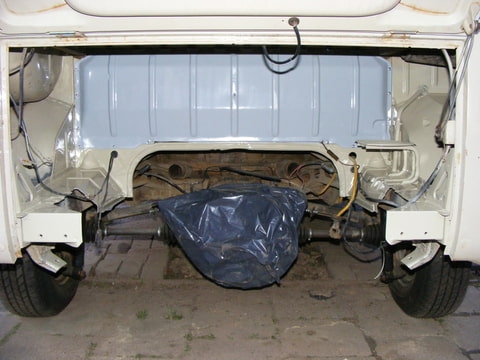
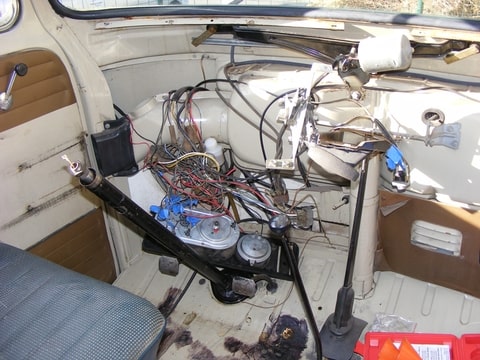
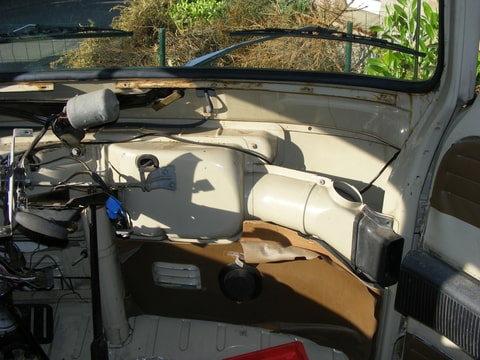
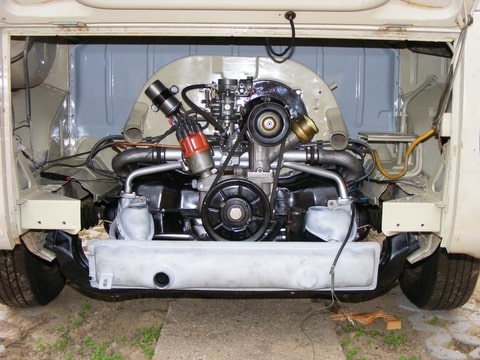
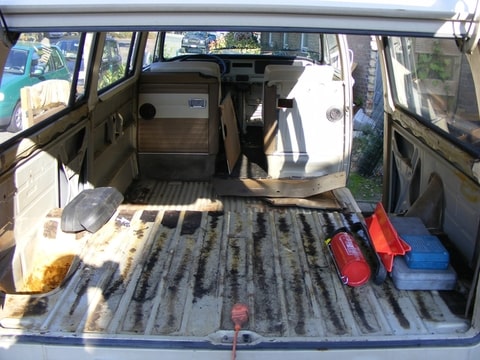
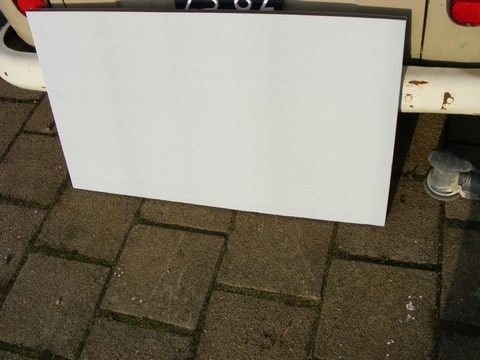
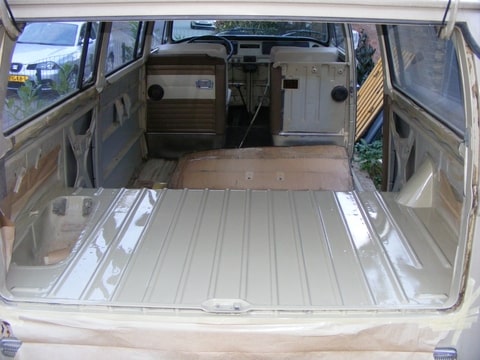
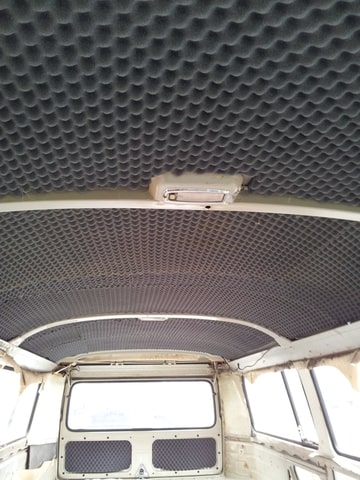
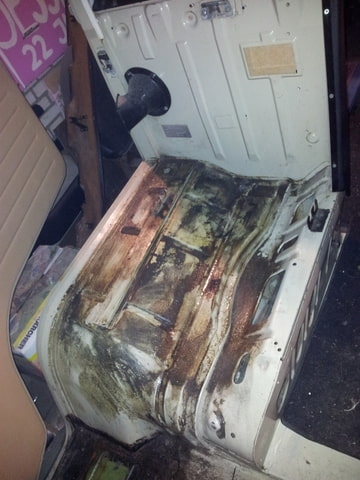
The other week I managed to sand and paint the engine bay. I can now put the firewall back in which has been resprayed as well. Not yet completely happy with the engine bay respray. I figured I didn't have to paint the spare wheel wel and the sides, but the colour difference is too big which means I have to paint these parts as well.
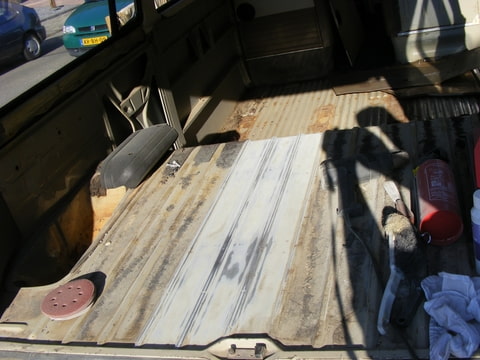
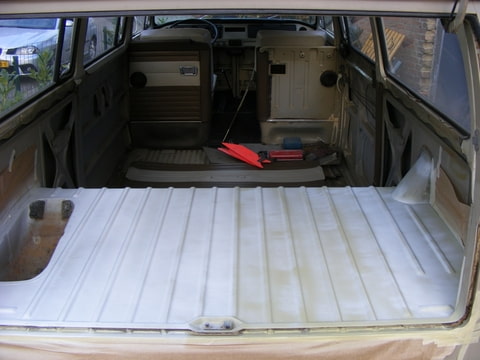
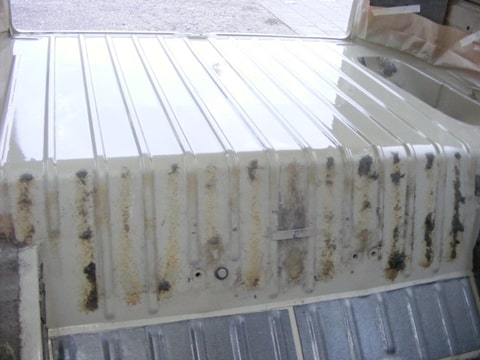
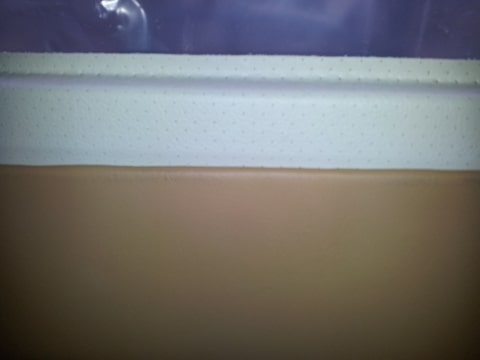
Primer
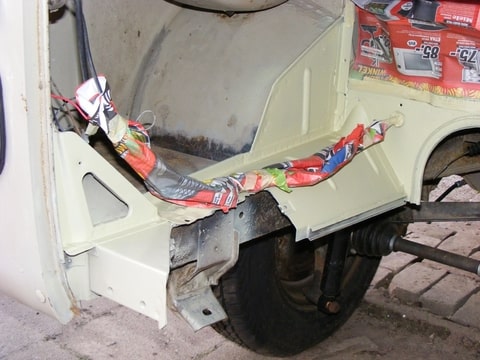
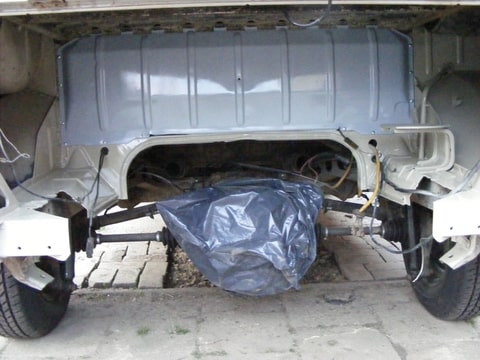
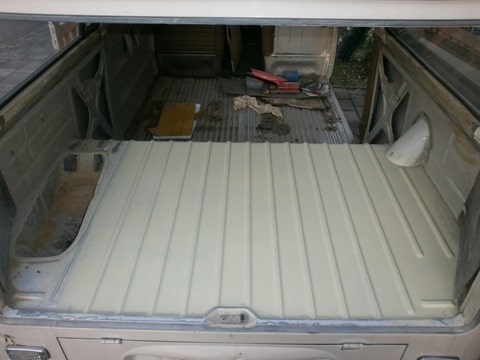
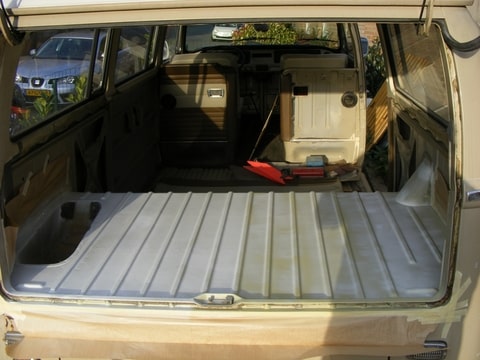
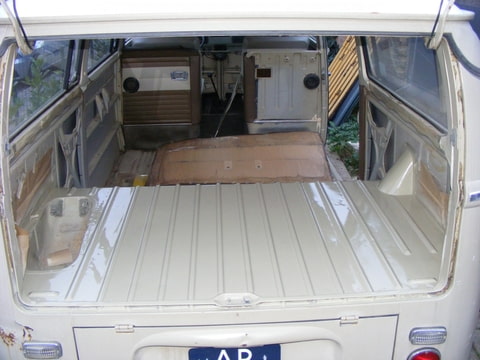
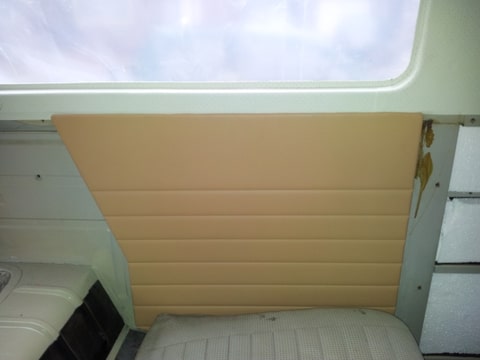
Painted

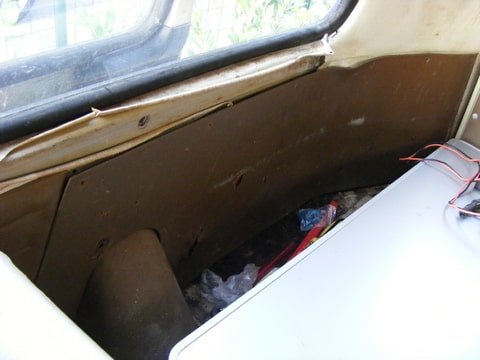
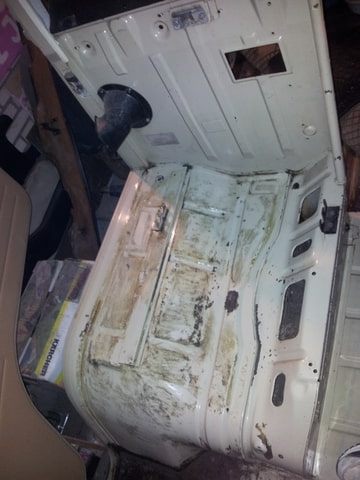
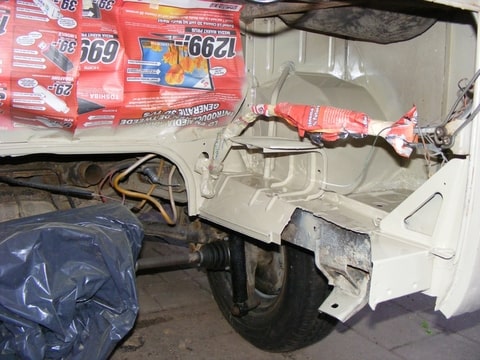
Primer

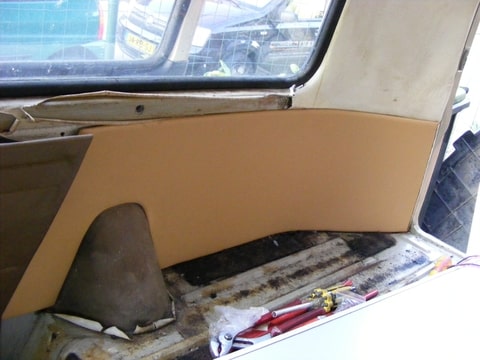
Painted
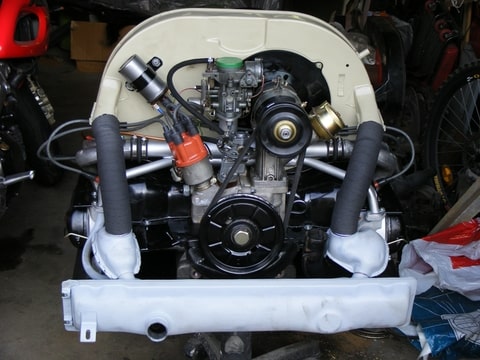
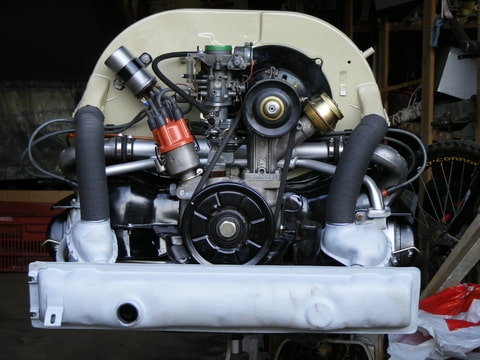
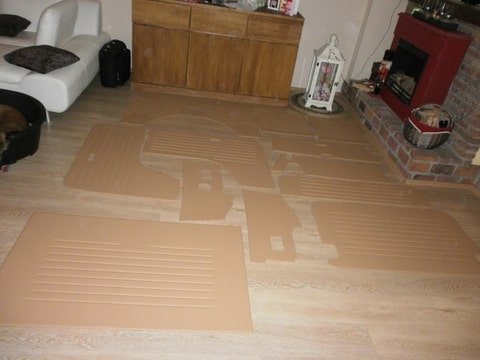
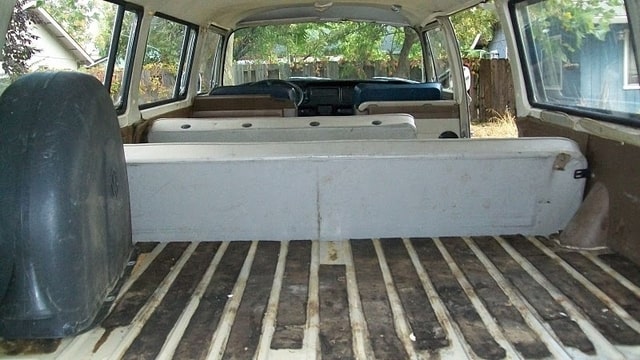
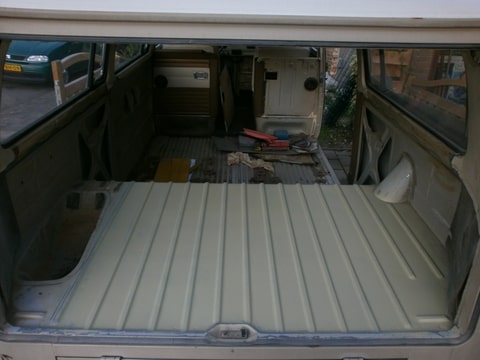
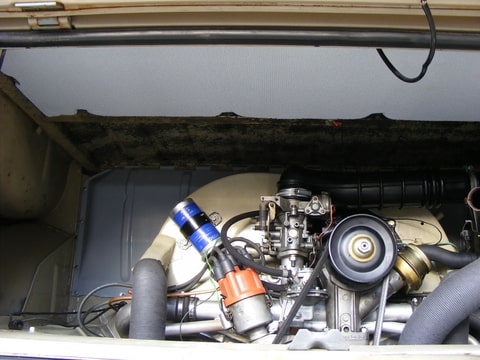
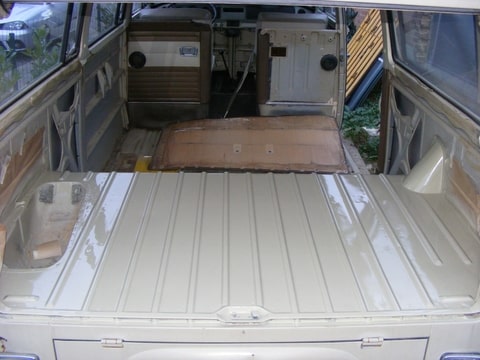
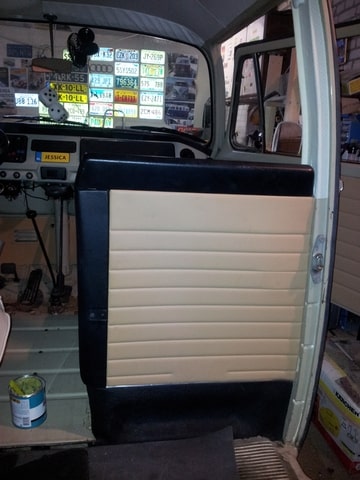
Complete view
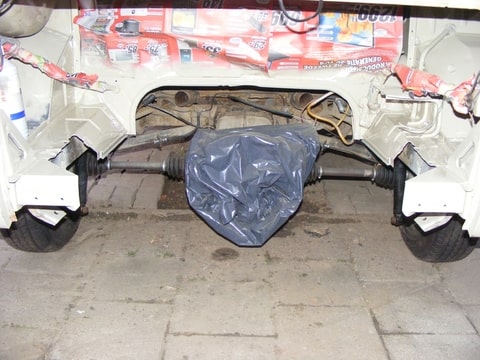
The other week I managed to sand and paint the engine bay. I can now put the firewall back in which has been resprayed as well. Not yet completely happy with the engine bay respray. I figured I didn't have to paint the spare wheel wel and the sides, but the colour difference is too big which means I have to paint these parts as well.
Primer
Painted
Primer
Painted
Complete view
 8)
8)