


hi ,black pipe is for dust extractor (hoover) i did put a small extractor fan on the first one i built but it didnt clear the dust fast enough and the filter clogged as well .theres a hole drilled the other side for air inlet and i just picked a hoover up at the boot fair ,works ok ,there is a small bulk head light inside to .make sure you line the cacinet with some sheet steel as the grit just makes mince meat of the wood else :lol: ,ile try and find some moor pics and post them tomorrowGwar72 said:Great detailed work done there..!! 8) I'm looking at making a blasting cabinet to and just wonder what the black pipe coming out from top right was for? Hoover extraction? I know you need a light and access for air pipe to come in but would be greatful for info. Cheers
You are using an out of date browser. It may not display this or other websites correctly.
You should upgrade or use an alternative browser.
You should upgrade or use an alternative browser.
71 delux driveway resto
- Thread starter dub boy
- Start date
Help Support Early Bay Forum:
This site may earn a commission from merchant affiliate
links, including eBay, Amazon, and others.
rite as a few of you know i nearly threw the towel in on reasto but had a little time away ,ive sorted through my pics and will put them up and the few panels i needed have now arrived .
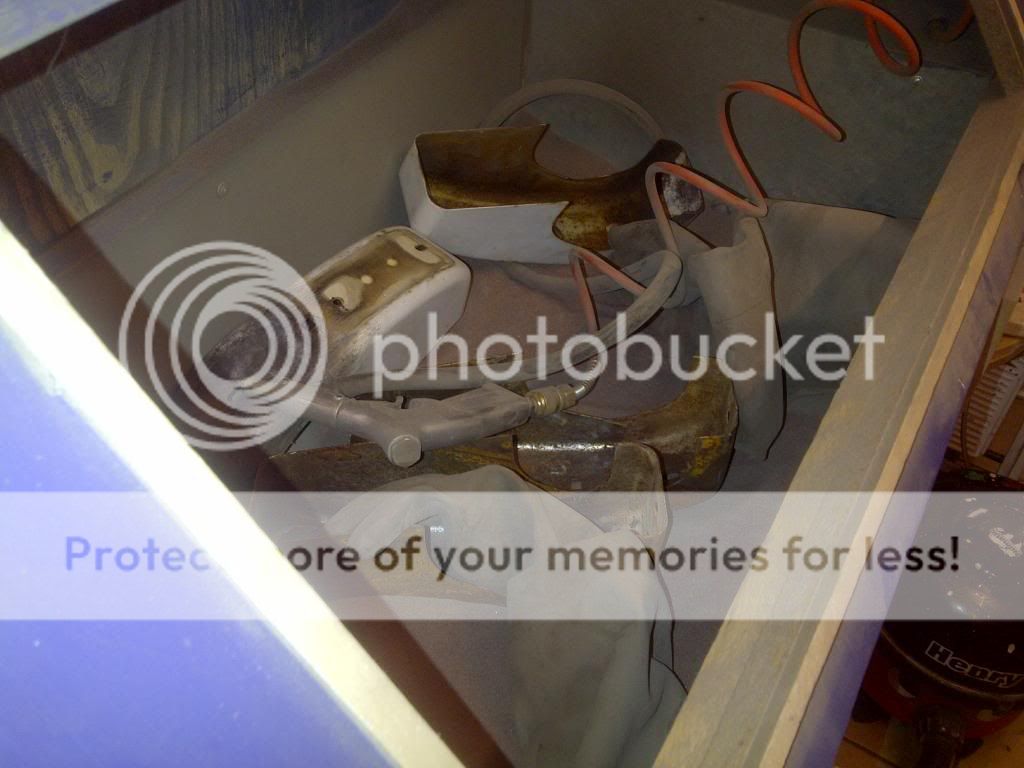
 a few have asked about my blast cabinet .i made it from old offcutts of ply wood and some conti boart i had in the shed ,its lined with thin steel plate as the wood was vanishing pretty fast :lol: ,i cut a window in the front wich doesnt last long but if i turn the shed lights off and just use the light inside it is easier to see. the pipe you can see at the top is for a vacum cleaner and the hole the other end is for air intake, the blaster itself is a cheap kit i got from ebay ,the pick up pipe is modified so it lies flat on the bottom of the blast cabinet ,wich is sloped to a troth in the cntr ,hope this helps
all the wireing ect is removed from the bus now the loom is not alote of use so will be makeing my own as lhd drive ones seem pretty hard to get hold of or they are us spec ,dash cluster is pretty ropy so will be on the look out for a good one or may put custom gauges
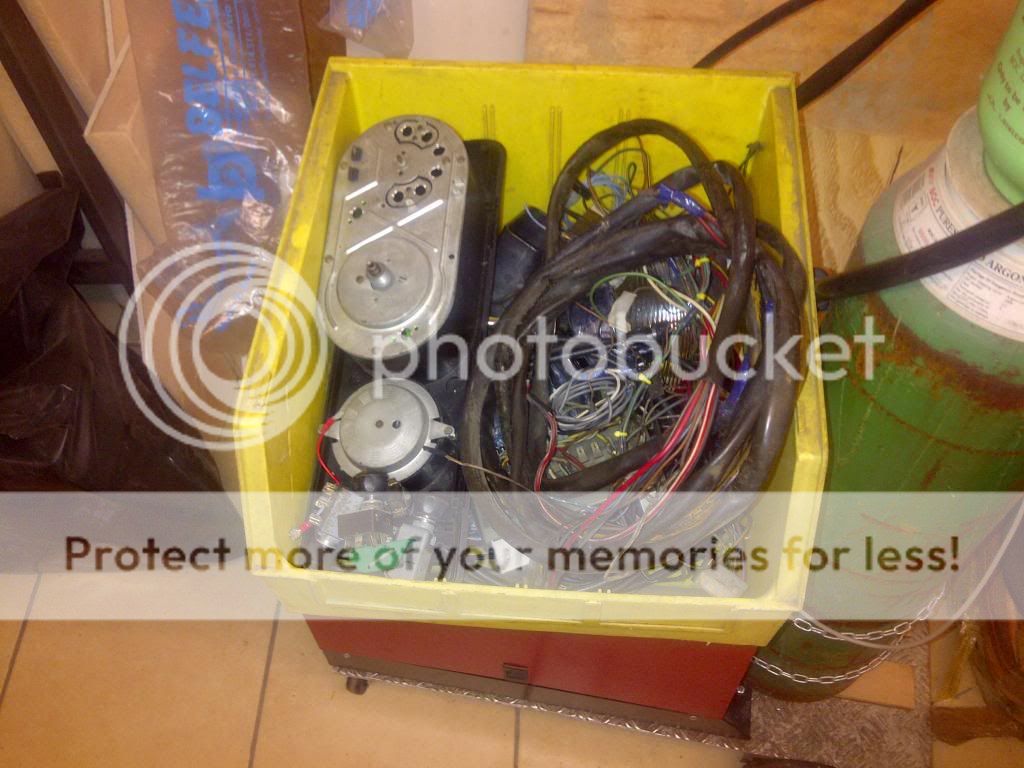 in but still trying to keep it stock.
,dash cluster is pretty ropy so will be on the look out for a good one or may put custom gauges
http://i1259.photobucket.com/albums/ii554/dubboy1/busresto028_zpsf0fca4cd.jpg[/img
[img]http://i1259.photobucket.com/albums/ii554/dubboy1/busresto029_zps03c47f17.jpg
got 90 %of the under body parts done these have been painted ,flatted and polished ,took for ever and got some greif of good lady ,her exact words WHO THE HELL IS GUNN SEE THEM ,my reply in a loud firm voice MEEEEEEEE :lol:


$76.30
SpoilerKing Rear Window Roof Spoiler Compatible with Volkswagen VW Jetta VI 2011-2018 (284R)
Spoiler King LLC


$24.97
Airfix Quickbuild Volkswagen Camper Van Red Brick Building Plastic Model Kit J6017, Multicolour
Amazon Global Store UK


$29.89
ハセガワ Hasegawa HMCC11 1:24 Scale VW Type 2 Pick-Up Truck Model Building Kits
Fun Fun Hobby Japan!


$9.94
$10.95
Empi 00-4428-B VW Bug, Beetle, Sun Visor Clips, Type 1, 68-79, Black, Pair
MOORE PARTS SOURCE


$7.75
Window Crank Cover, for Beetle, Bus & Ghia 68-79, Black, Ea, Compatible with Dune Buggy
Appletree Automotive


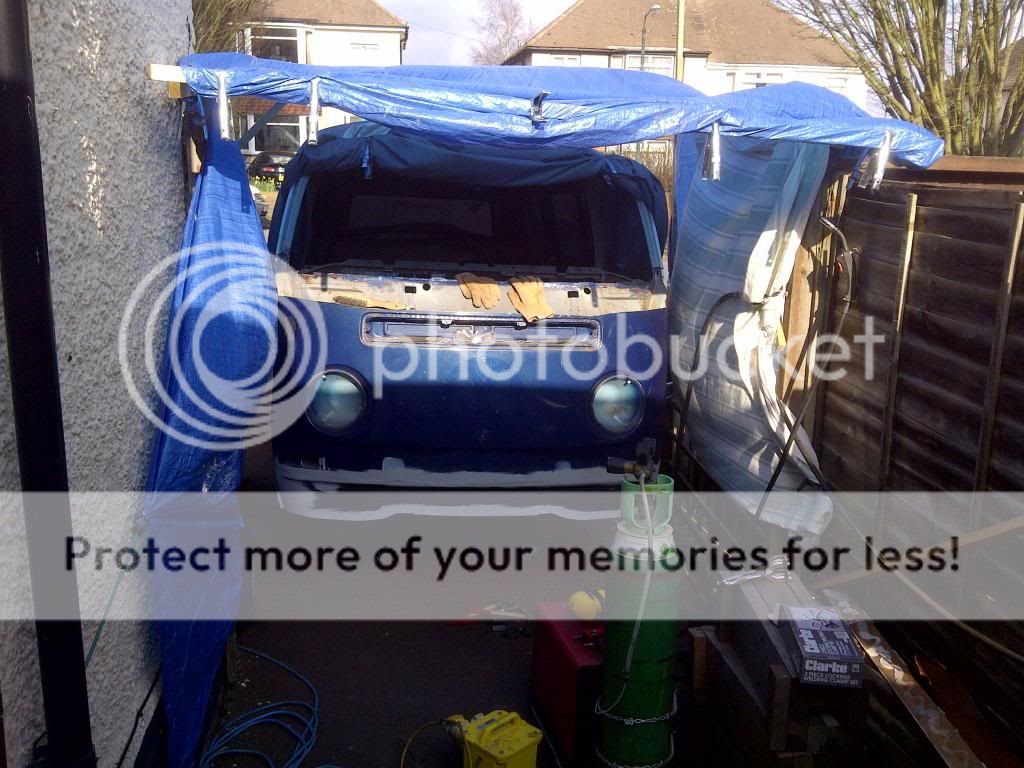
battery tray is done but no pic as of yet as it started to lash down and i had to pack up sharpish but i have just bought a box of clamps ,the same as the market traders use to hold there tarpaulin on there stalls so in the new year i gunna make a temp garage on the drive and if the neibors no likey well they can kiss my arse.
and if the neibors no likey well they can kiss my arse.no worries ,if you get stuck let me know but they are well worth makeing ,only thing i forgot to say was you will need a good size compGwar72 said:Cheers for the pics Dub Boy..! 8)
The weather has been pants ain't it but good work on the jobs your managing to fit in the dry spells..!!
the inner lower and outer valence are all in now but i lost some of my pics

some of the lower metal what you weld to was shot so took me ages to fabricate plates and bend into shape ,gutted i lost the pics of this as i was chuffed with the results of how it turned out ,then when you box it all back in you say to yourself whos ever gunna see it :lol: .
some of the lower metal what you weld to was shot so took me ages to fabricate plates and bend into shape ,gutted i lost the pics of this as i was chuffed with the results of how it turned out ,then when you box it all back in you say to yourself whos ever gunna see it :lol: .
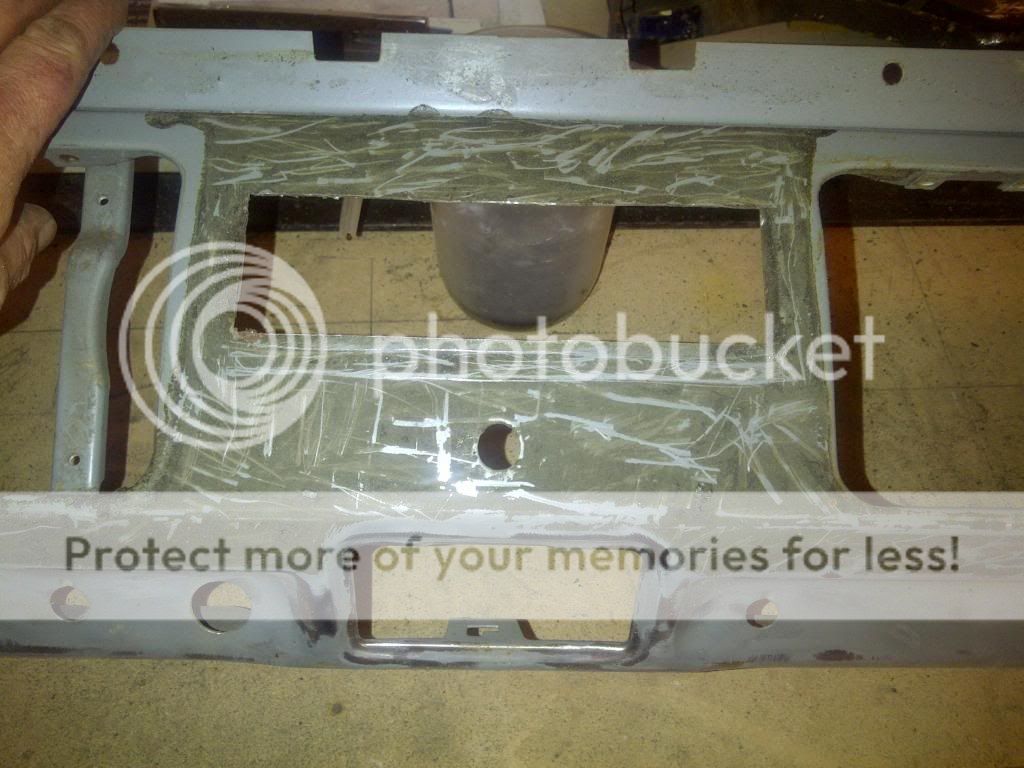
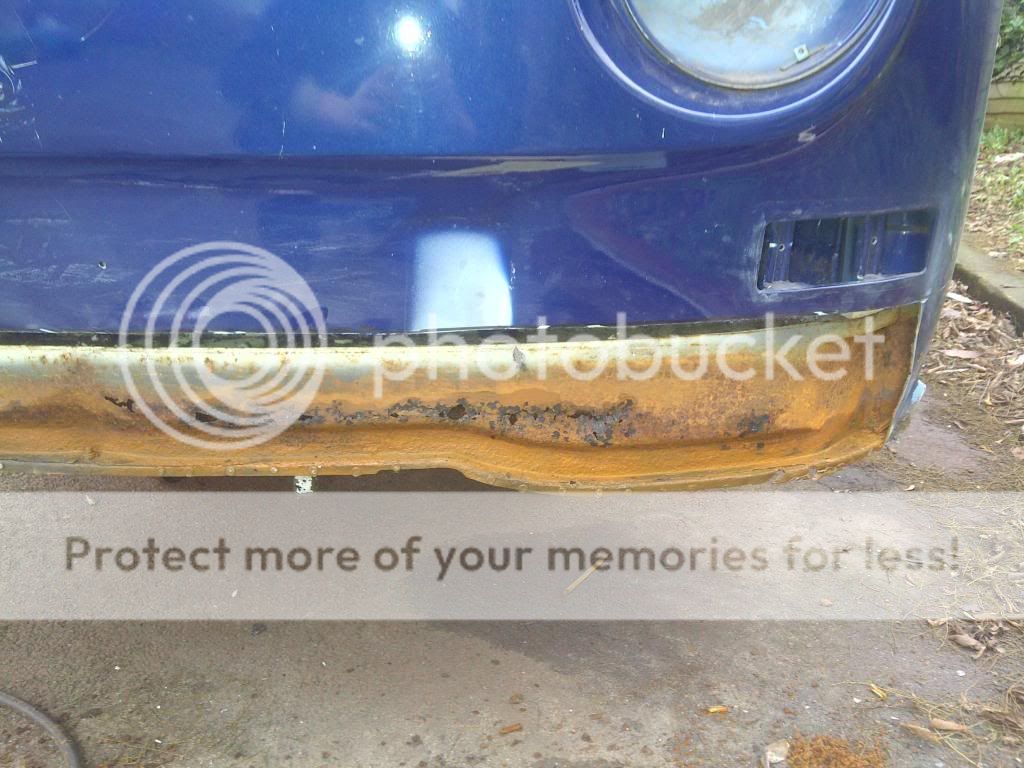
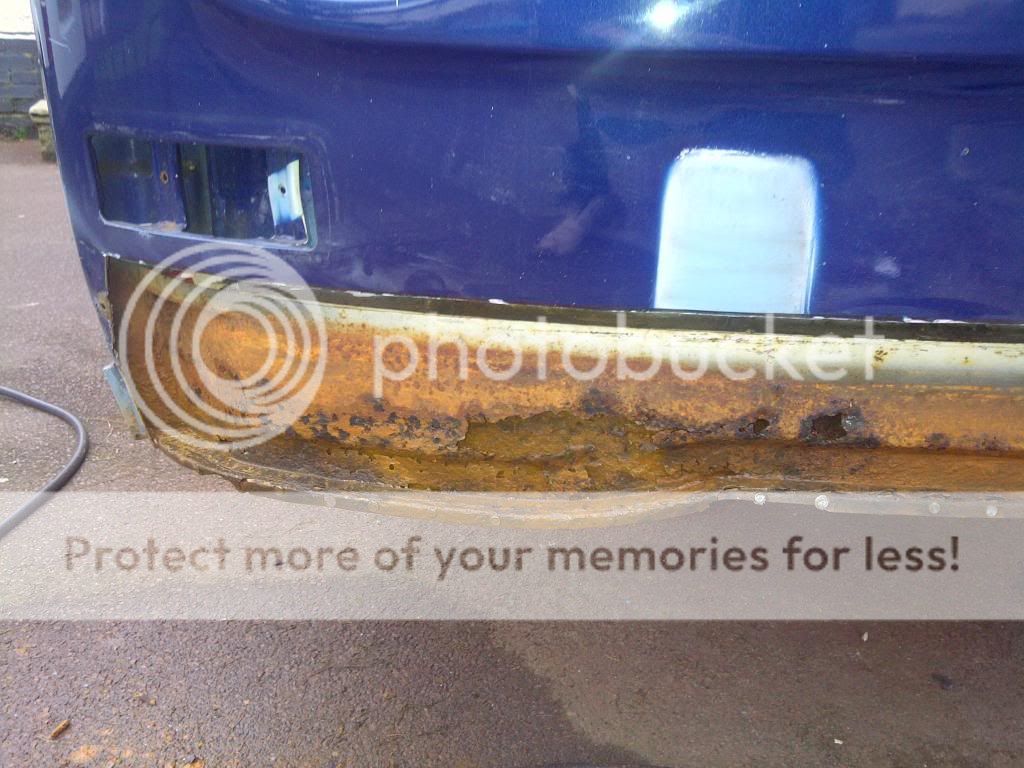
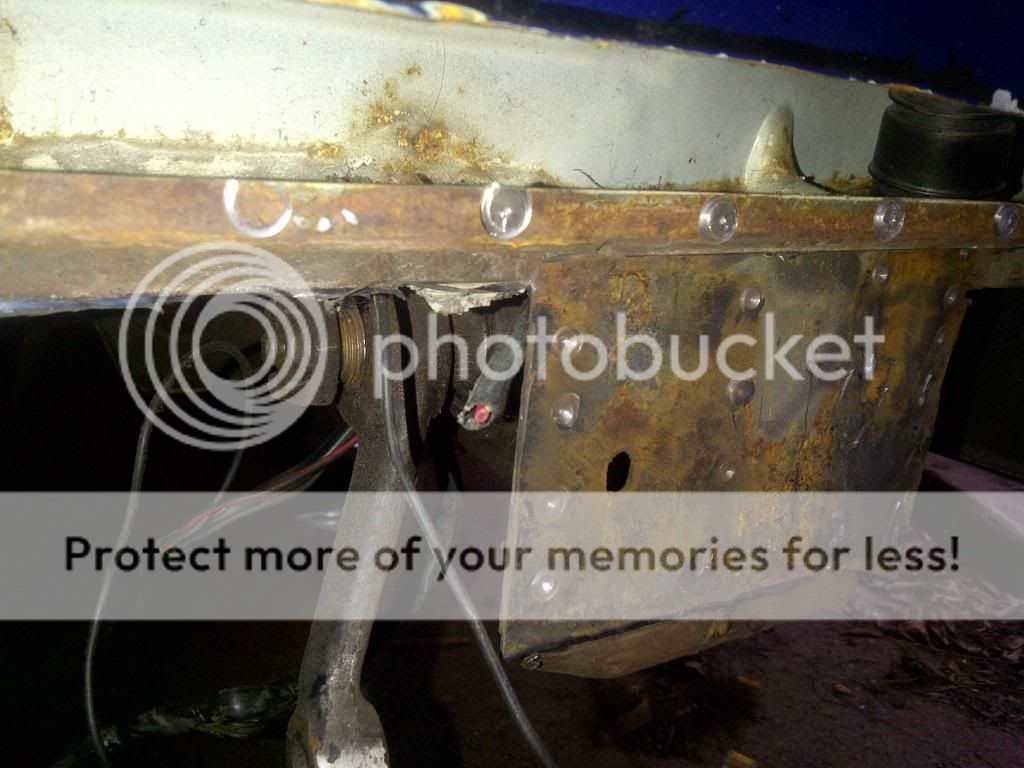
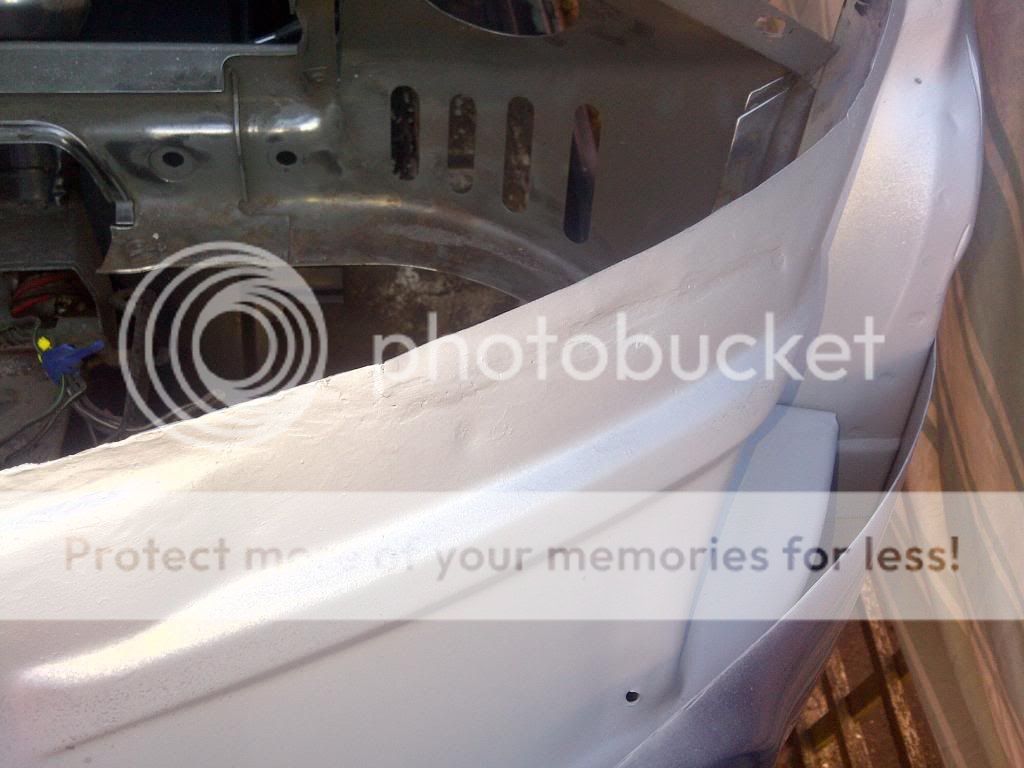
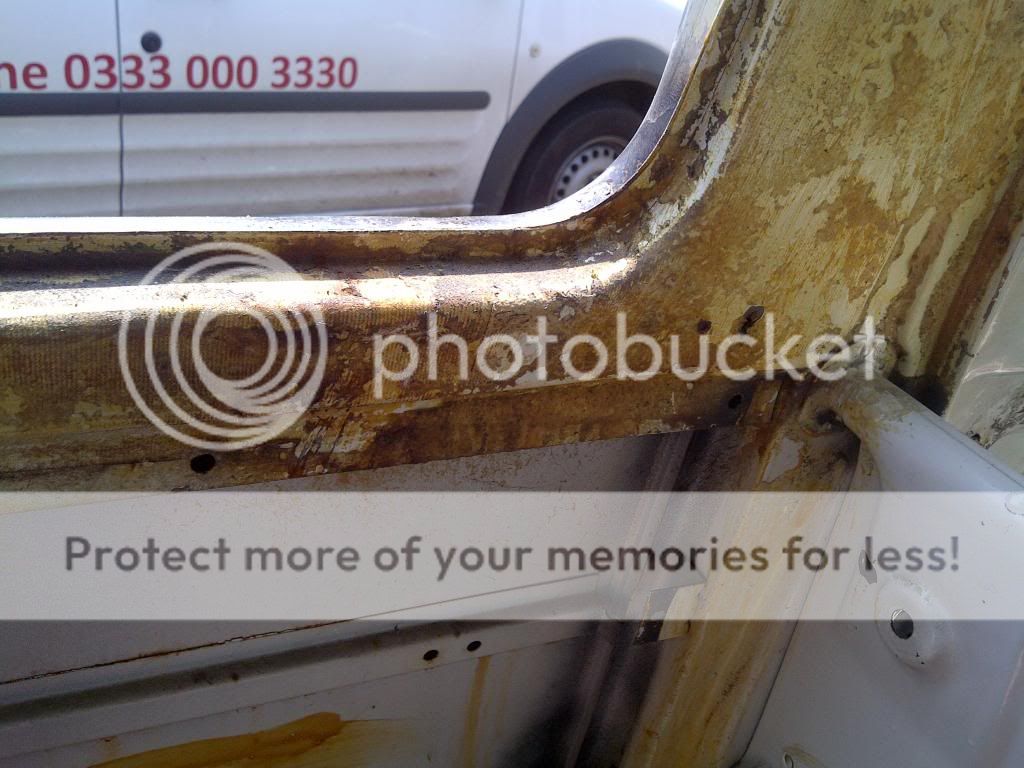
after finishing this i thought i would get the steering box of wich was one of the only bits left to remove ,after a few swear words and two broken pullers i made a copy of one i found on a thread on here and it worked a treat, next i thought time to start getting the glass out so i could start prepping for paint WHEN our summer weather gets here :lol: as i thought aall the welding was done and bang the bondo curse strikes again .if theres one thing that boils my piss is bodgeing ,the pics were taken after i had put a coat of primer round to weather till i got over the shock and made mind up what to do
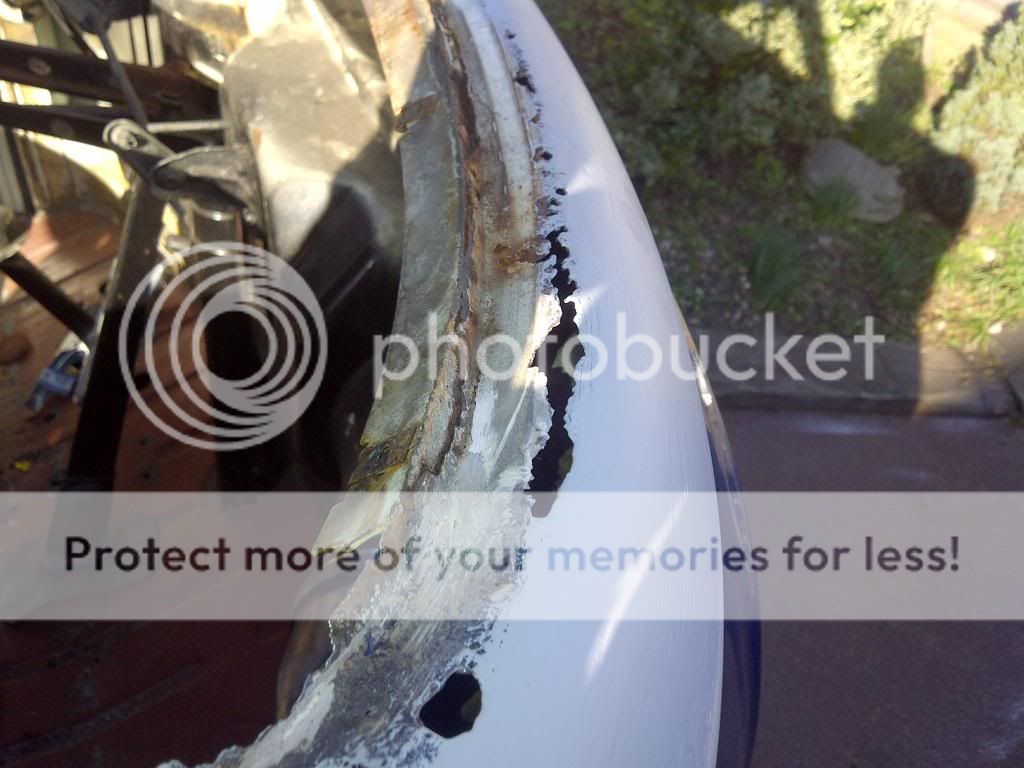
the time it must have taken to fill this was the first thought but why ,if it had been repaired when it started it wouldnt have gone like it ????? .
the time it must have taken to fill this was the first thought but why ,if it had been repaired when it started it wouldnt have gone like it ????? .
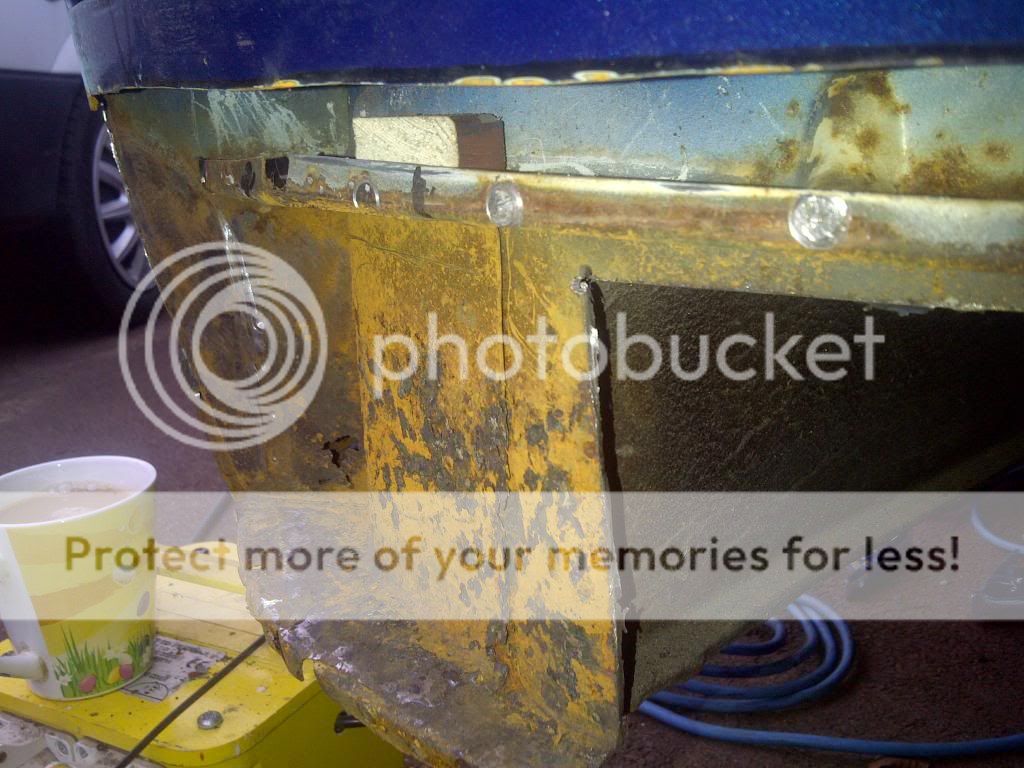
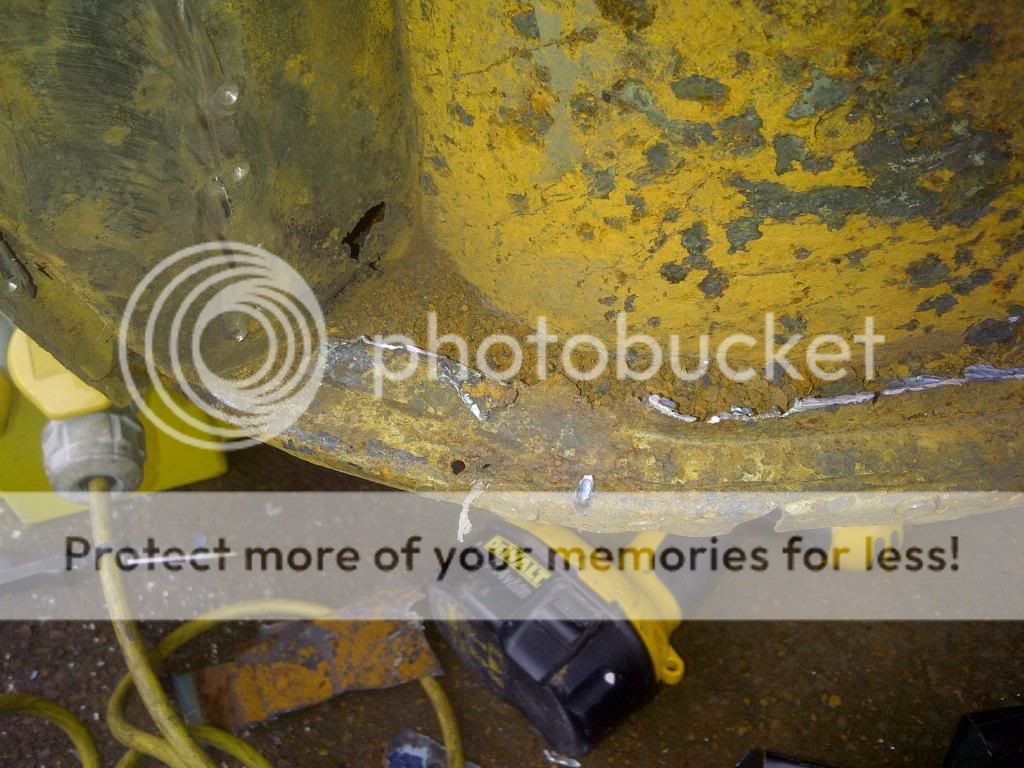
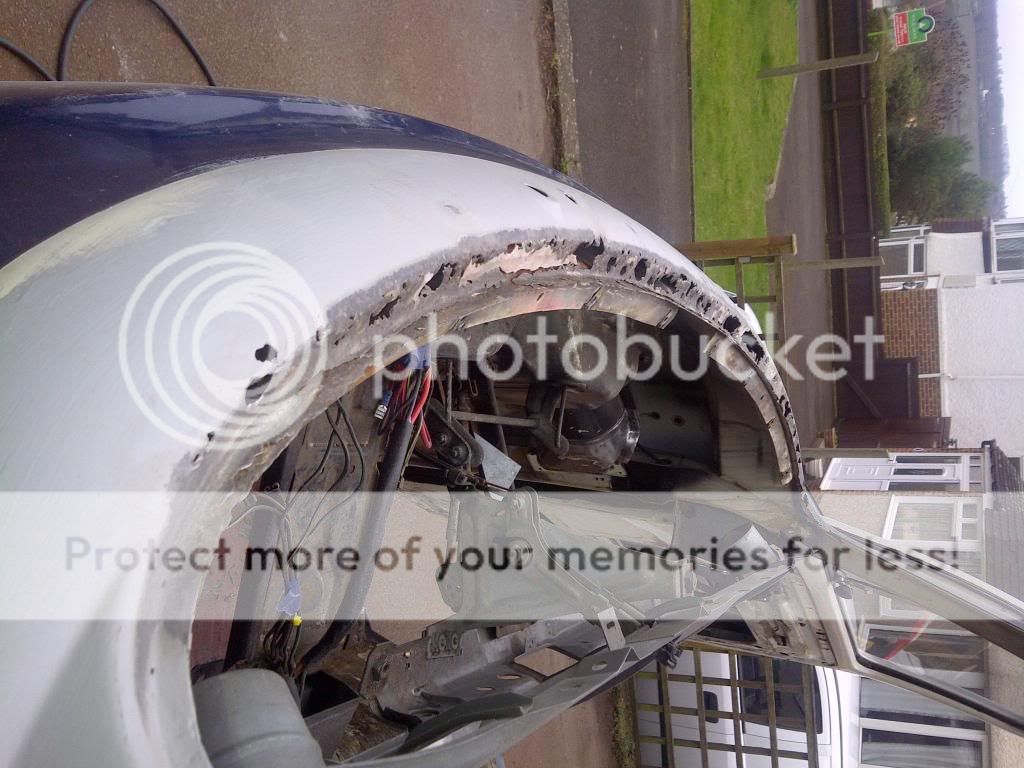
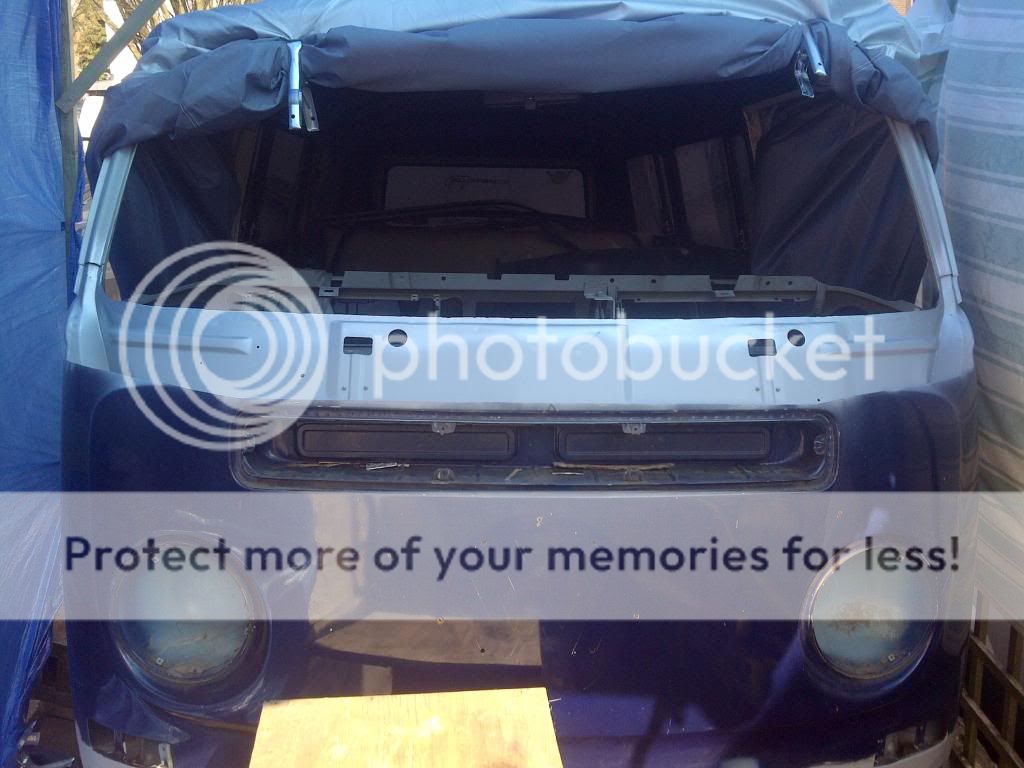
thought about a front cut but after all the work i had put into the lower panels i thought no so went to cool air and had a chat with big rich , only really had one choice ,he spent time chatting about options but due to the rot comeing out onto the swage line the screen repair kit was of no use so he suggested a front clip panel wich i was reluctant to do as it was munching my budget .so i went away and attacked the screen frame ,after cleaning it up it was worse than i thought the inner panel lip fell away as i cleaned it up :shock: gutting that it was such a small amount of the inner panel was gone .in the end i bought a front clip panel and cut the top of it as i didnt see the point in replaceing the rest of the panel as it was really clean, at the same time as buying the panel i bought a sheet of steel and spent hours makeing the inner lip as i didnt want to replace the whole panel.
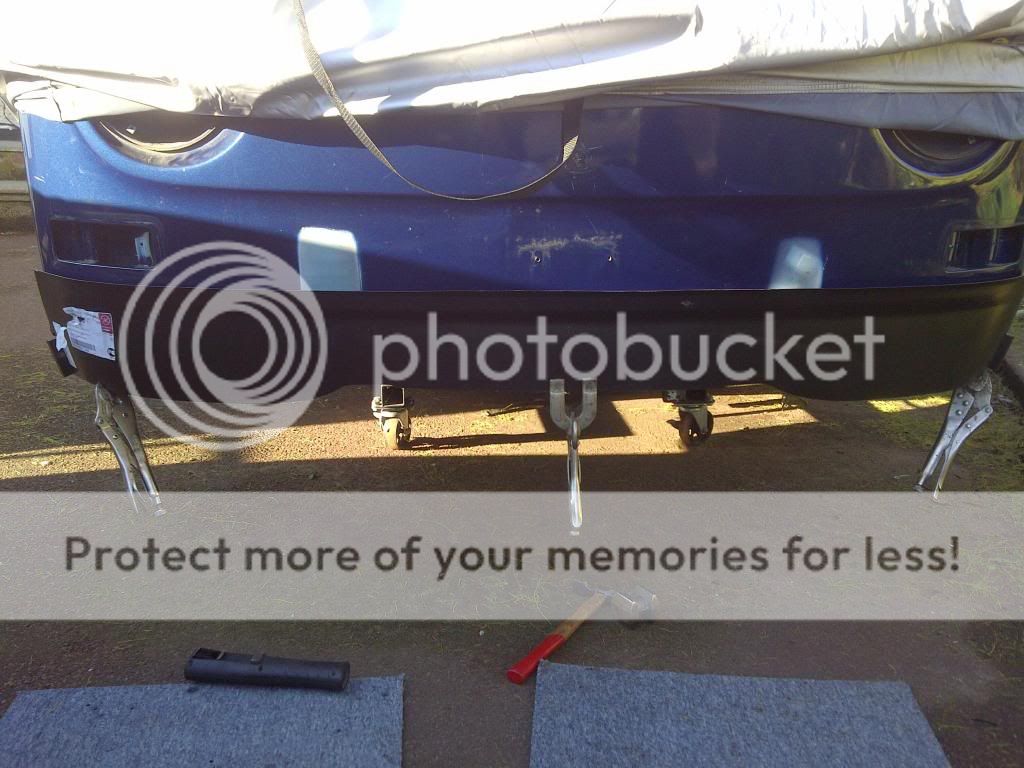
http://i1259.photobucket.com/albums/ii554/dubboy1/busresto048_zps022590f2.jpg[/IMGthis is the panel cut roughly in place .been out the front under a make shift shelter for two days trying to get it fitted ,will post some more pics soon :)
[img]http://i1259.photobucket.com/albums/ii554/dubboy1/busresto048_zps022590f2.jpg
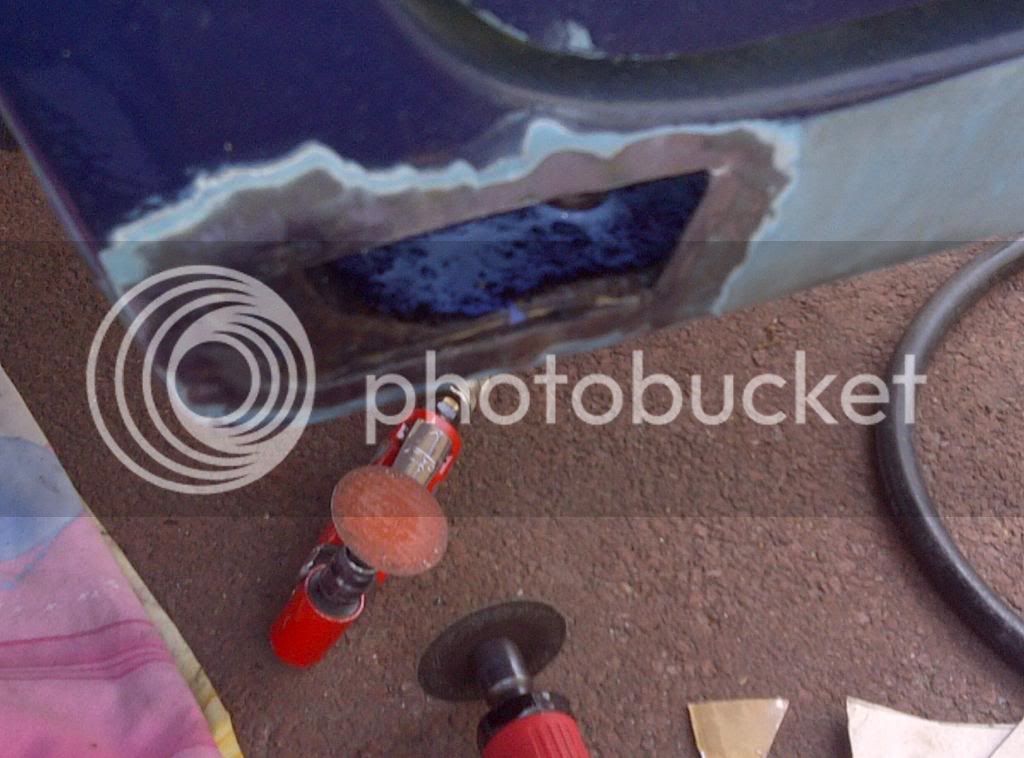
tried to work outside in the week but was just to cold with the wind and welding was a nightmare with gas being blown away causing crap welds. tried to put some sheets up but i didnt really help much did manage to get the screen frame all repaired saveing me buying the inner panel.
[took a while to repair the lower lip but alote less work than cutting the inner lower panel out
did manage to get the screen frame all repaired saveing me buying the inner panel.
[took a while to repair the lower lip but alote less work than cutting the inner lower panel out
took advantage of the sun today got two more small patches done and dusted. could kick myself really as i should of treated and painted the bus when it got over here but just loved driveing it to much to take it of the road :lol:

got two more small patches done and dusted. could kick myself really as i should of treated and painted the bus when it got over here but just loved driveing it to much to take it of the road :lol:
once again i am well behind with updates ,been busy in worshop due to pants weather ,lots of bits blasted and primed and after days of trying i managed to get the ignition barrel apart

found the caseing polished up nice so been haveing ago at that to .
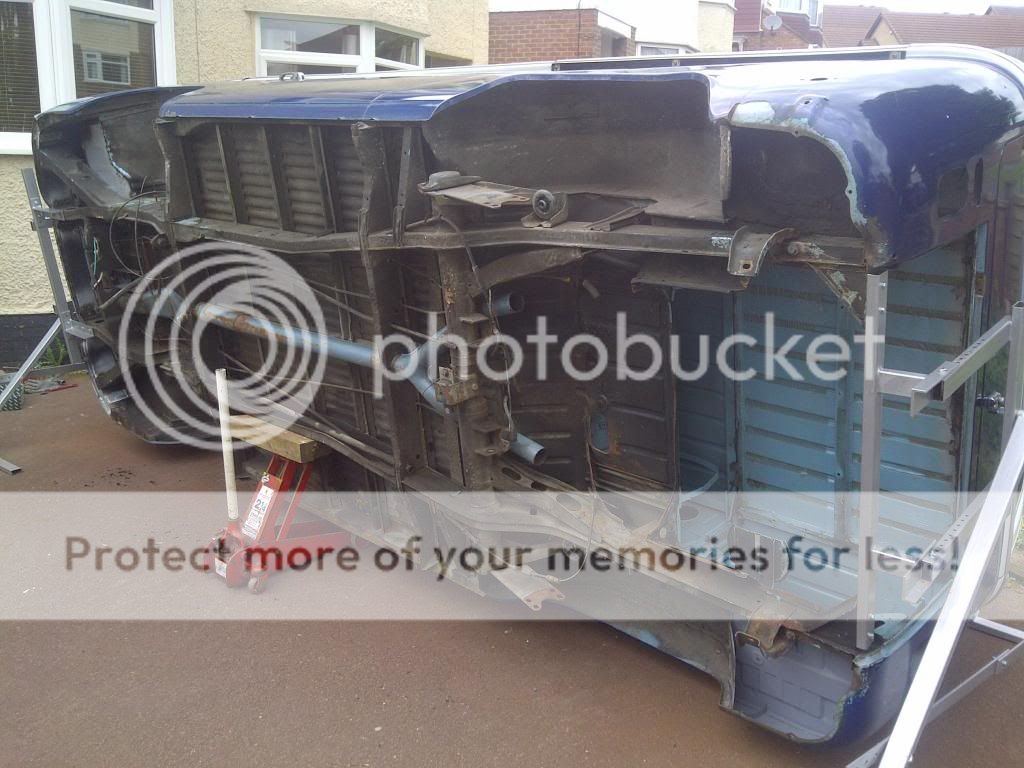
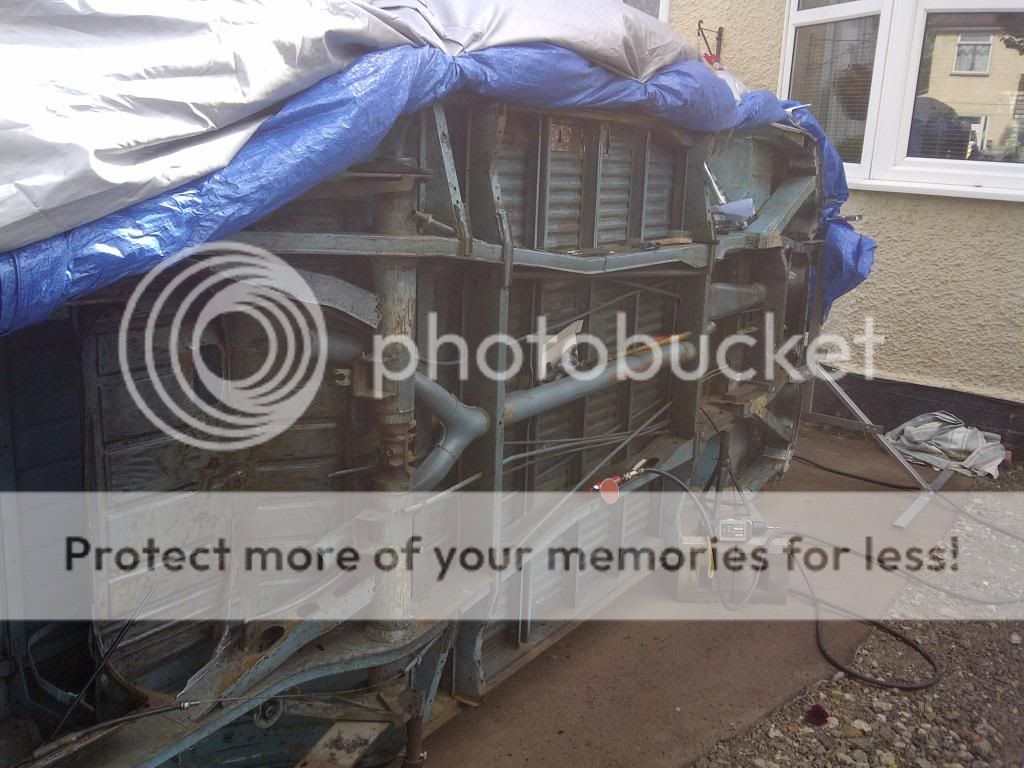
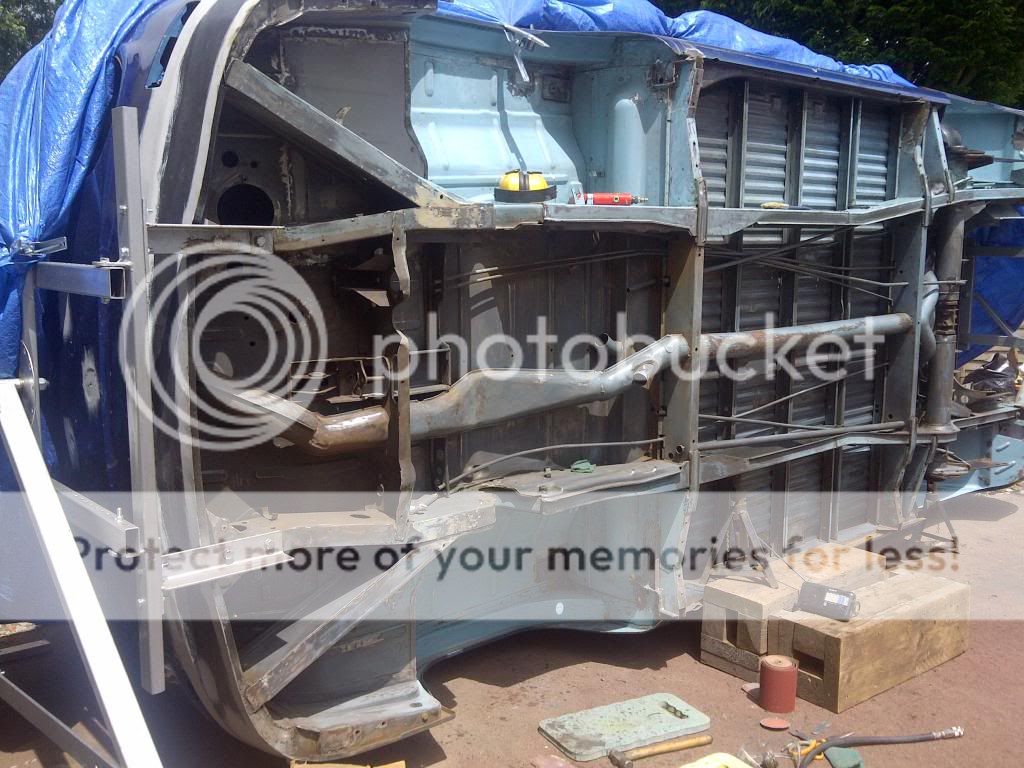
managed to get the bus rolled over and its taken five days to scrape the underseal off :shock: ,next job is going to be washing the residue of with thinners ,god knows how long this will take :lol:

found the caseing polished up nice so been haveing ago at that to .
managed to get the bus rolled over and its taken five days to scrape the underseal off :shock: ,next job is going to be washing the residue of with thinners ,god knows how long this will take :lol:


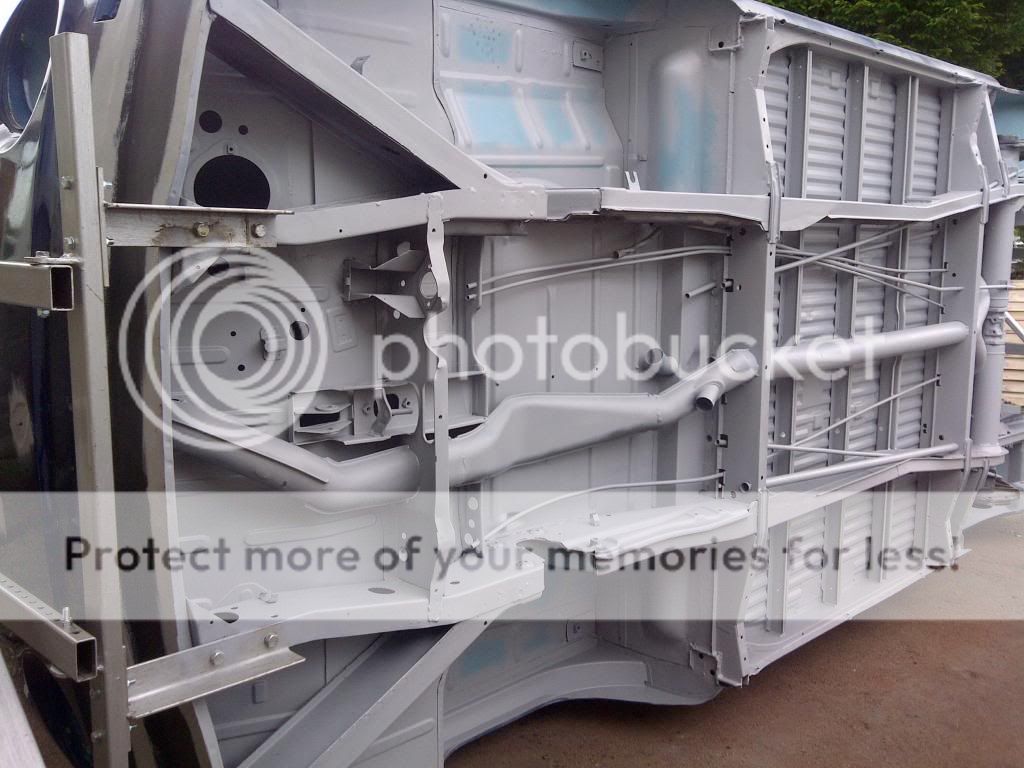
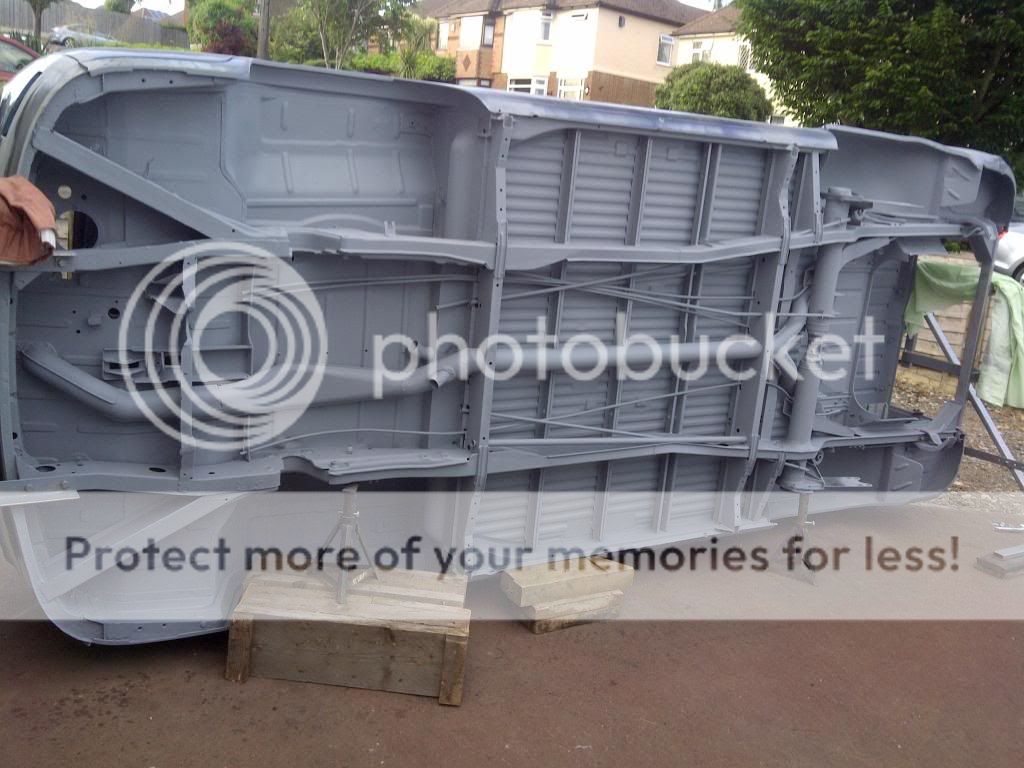
taken me three weeks to clean the old underseal off ,washed it down with thinners and panel wipe. went over the lot with some scotch pads to key it up for primer then gave it a good coat of gravitex ,will paint the underside when the rest of the body is preped


sadly the head liner didnt come out as i hoped ,was going to sell it but as you can see from the pics the guy who fitted it liked his glue :lol:

the whole interi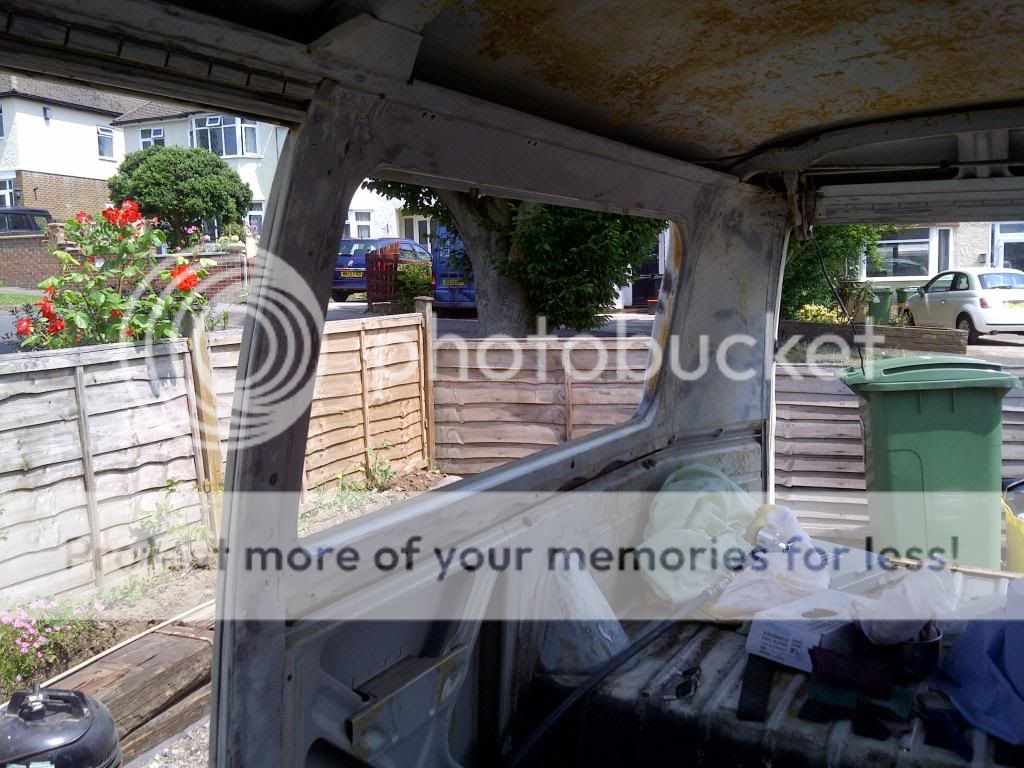 or is like this ,its taken ages to get it off ,had use thinners for this and as for the roof itself i scraped it first


the whole interi
 or is like this ,its taken ages to get it off ,had use thinners for this and as for the roof itself i scraped it first

Similar threads
Vehicle For Sale
Early Bay Deluxe 1971
- Replies
- 5
- Views
- 2K