- Joined
- Oct 26, 2010
- Messages
- 3,247
- Reaction score
- 17
- Location
- Leeds
- Year of Your Van(s)
- 1971
- Van Type
- Panel
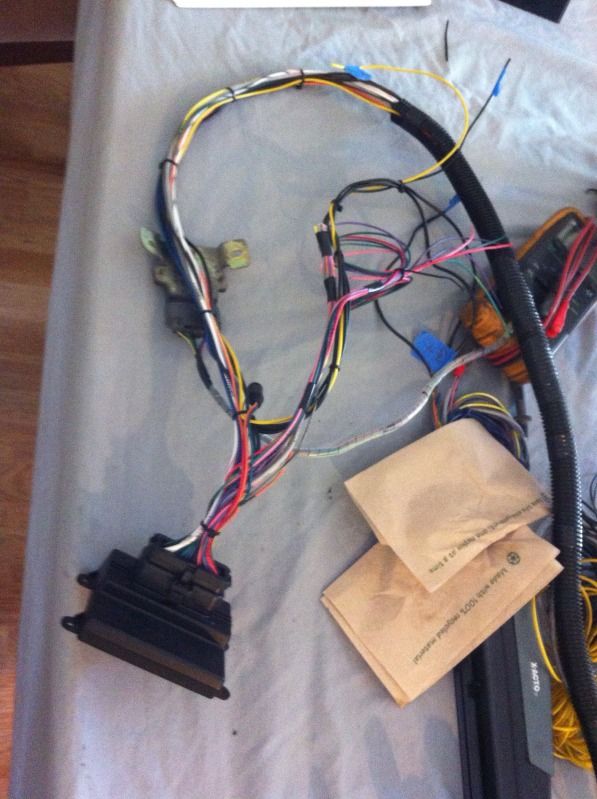
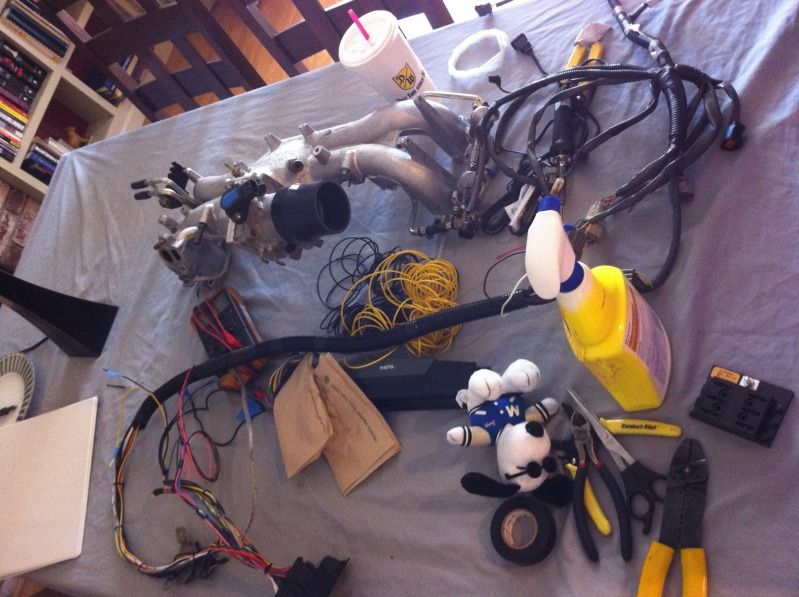
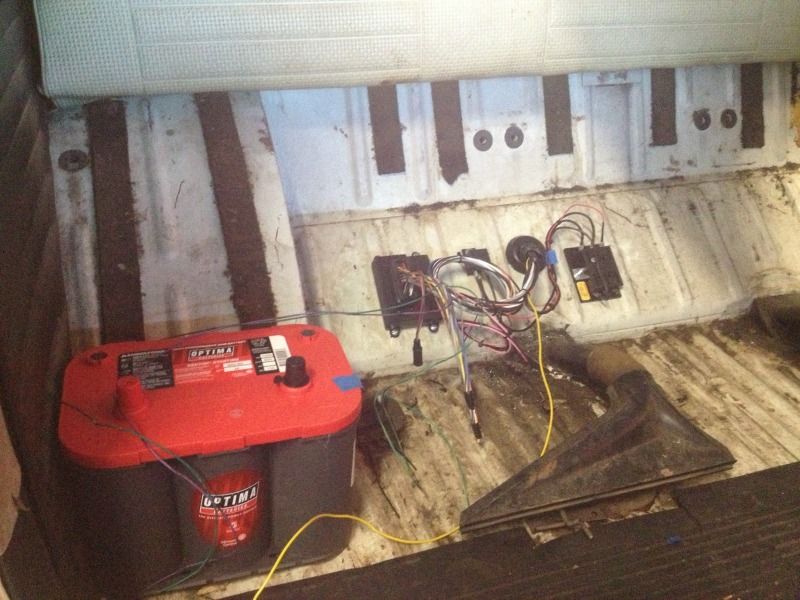
Edge of seat!LEEP said:In process build pics are up next, hang in there...
Can't wait to see them

Edge of seat!LEEP said:In process build pics are up next, hang in there...
 ).
).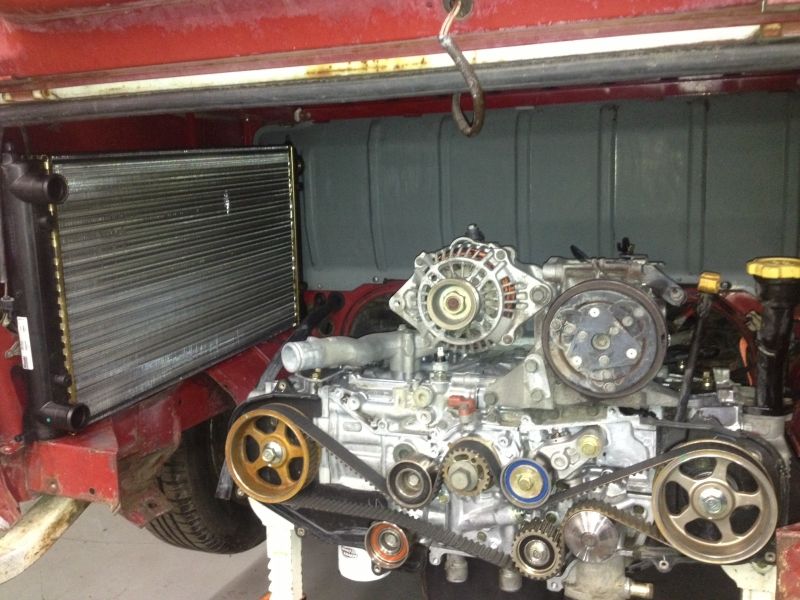
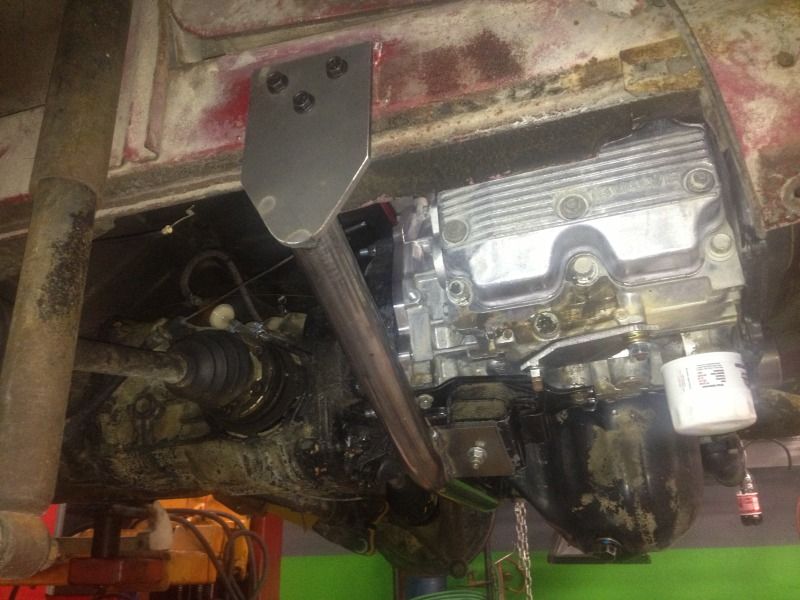
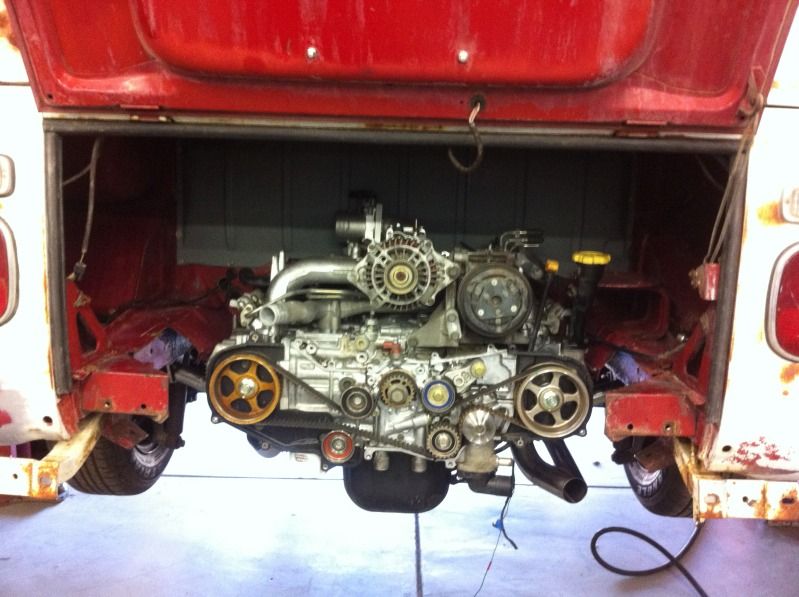


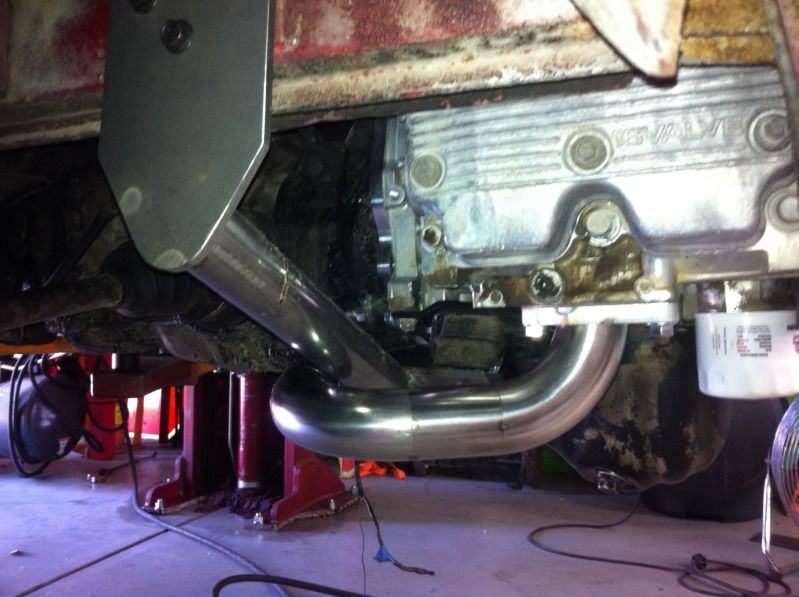
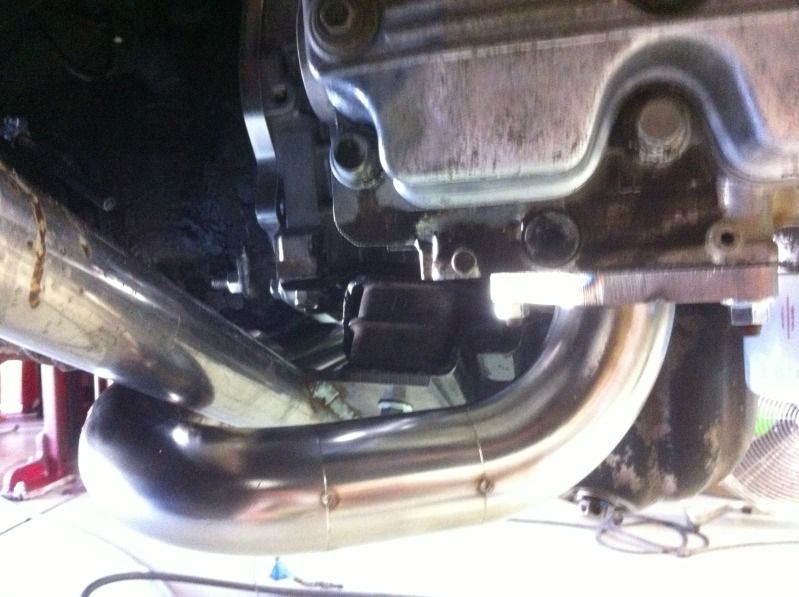
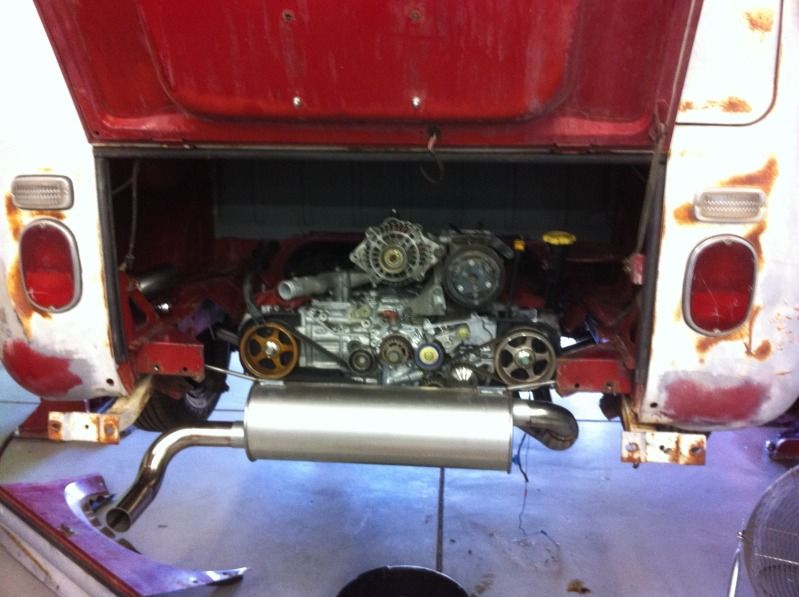
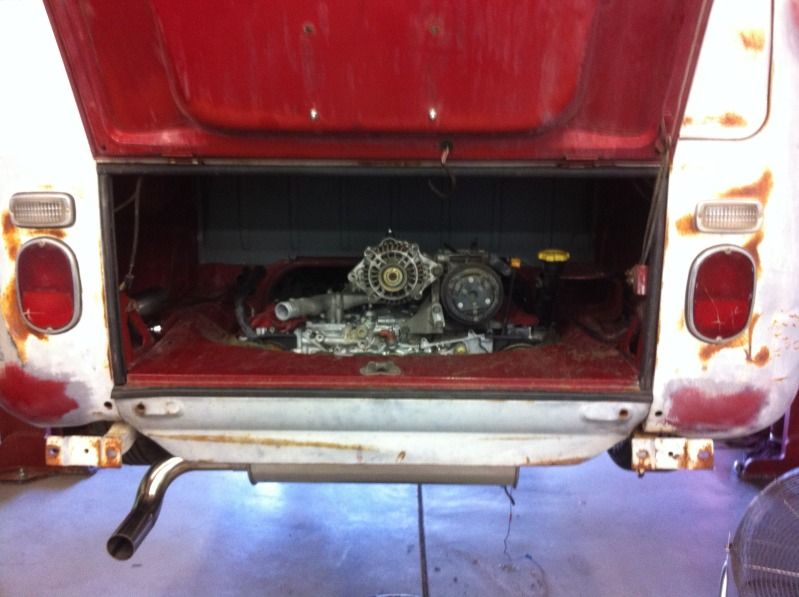

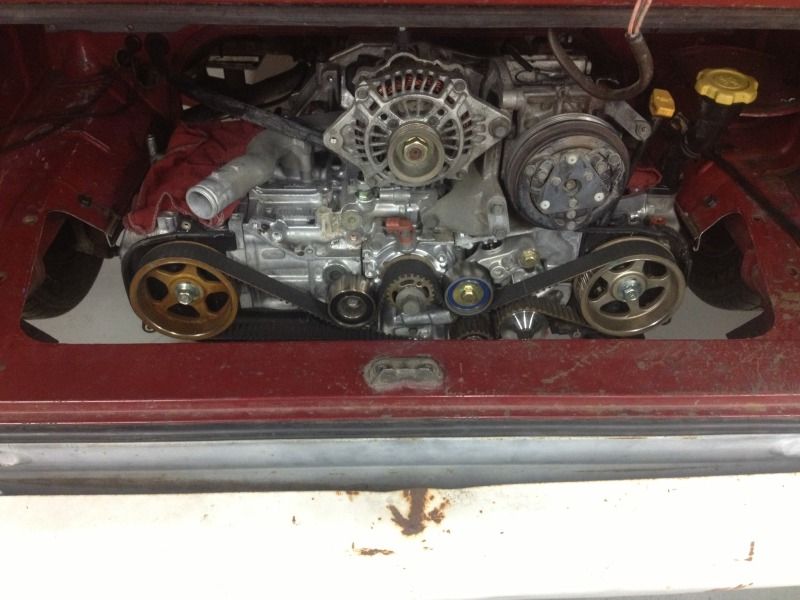
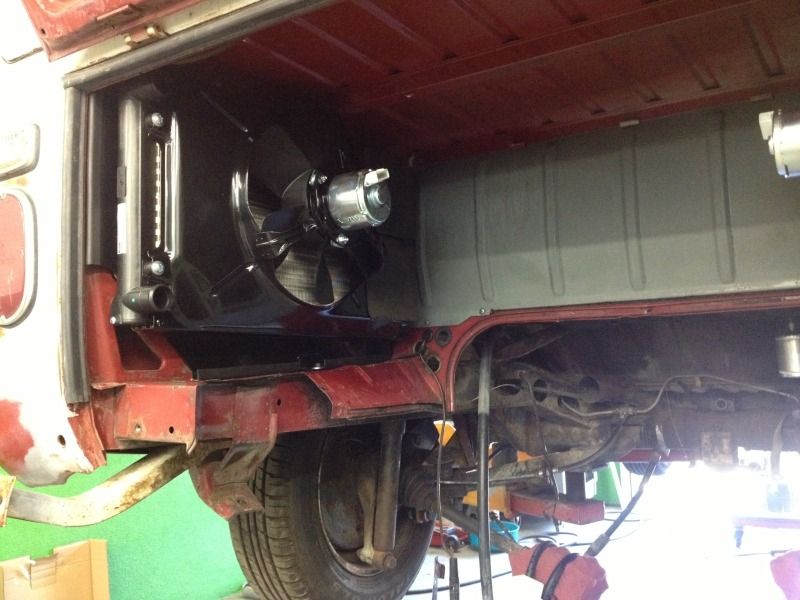
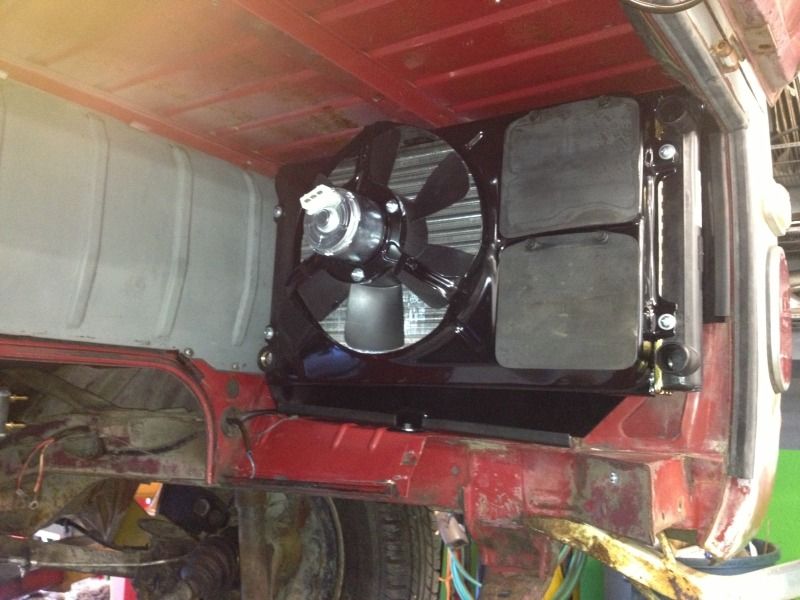
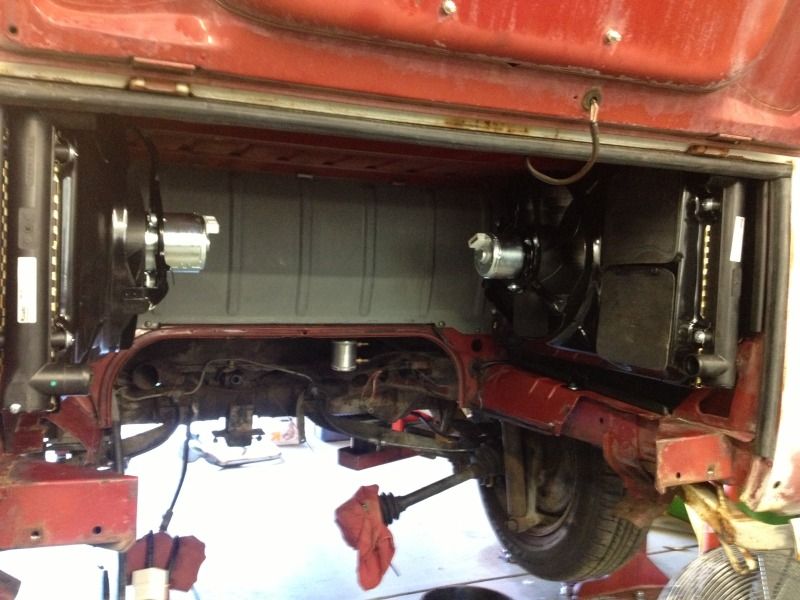
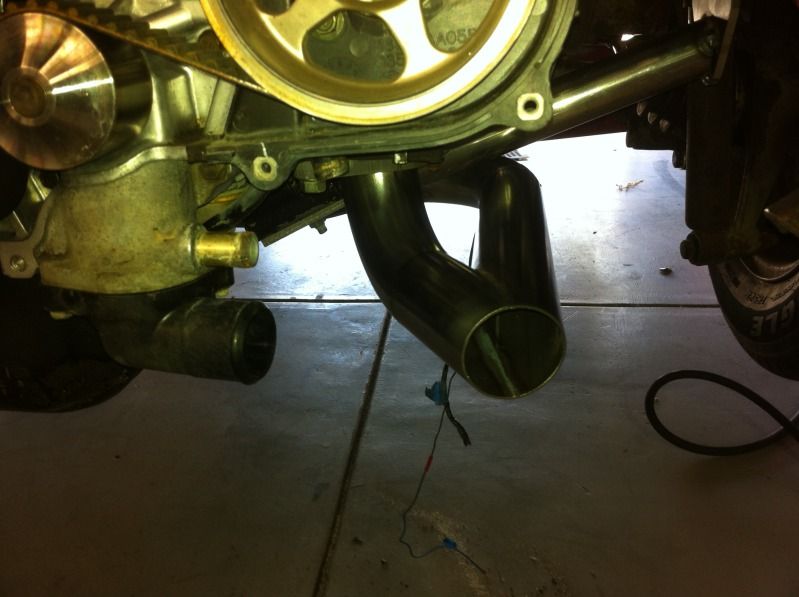
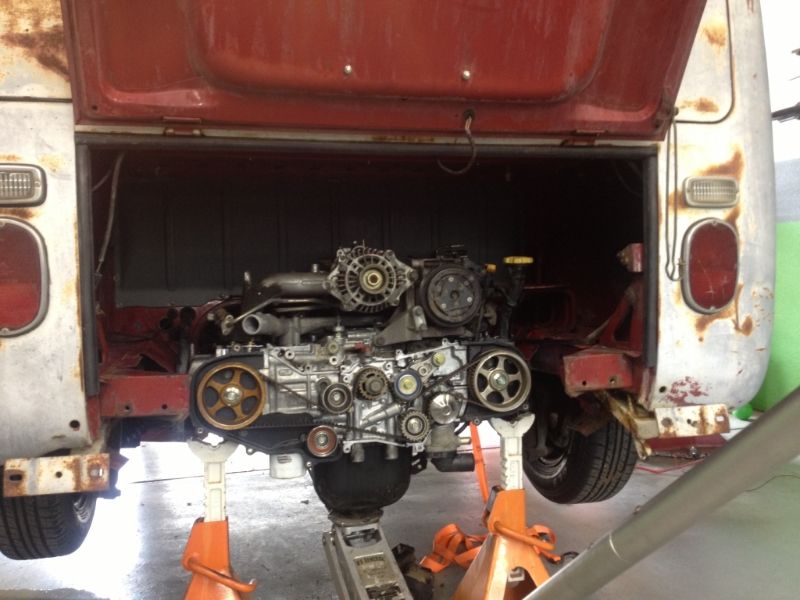
Seem to be cooling fine, no overheating problems in the months I have been driving the bus daily, and that includes a few 100 degree days. I have not taken any long trips with it yet so I can't speak to prolonged highway speeds, but around town the coolant temps only get to maybe 200-205 deg. F at a stop light after a good run or after driving hard, parking, letting it heat soak, and then starting up only a few minutes later and idling at a light.baj said:How are you finding the radiators in the engine bay, are they doing there job well.
Thought of putting mine there but didn't think there would be enough air flow.
Yes sir, right away sir! :lol:dubdubz said:more pics +1 :shock: :msn4: