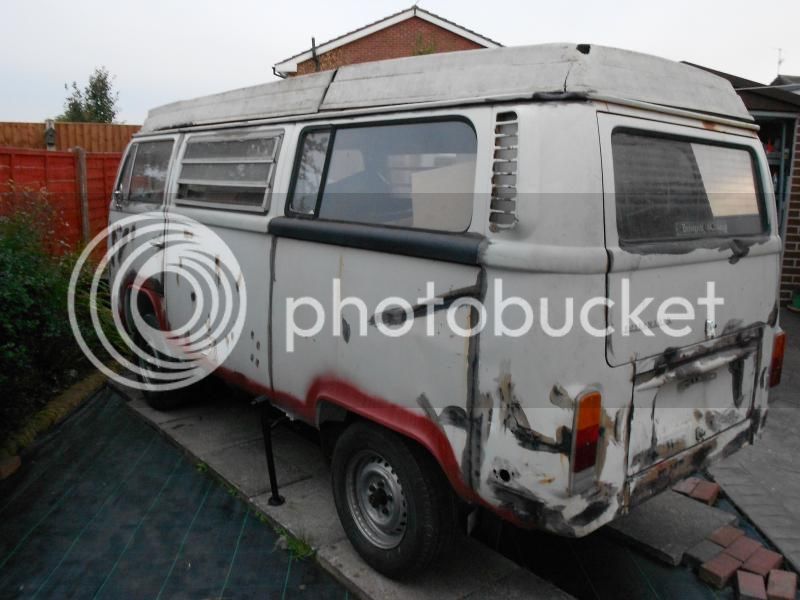
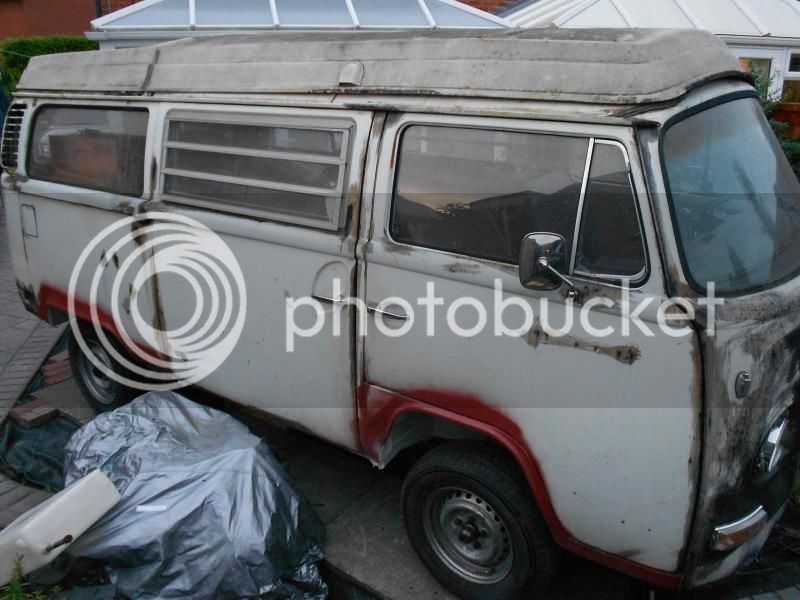
72 Westy Crossover Baltimore Resto - Bodyshop resto starts

Early Bay Forum

Help Support Early Bay Forum:

This site may earn a commission from merchant affiliate links, including eBay, Amazon, and others.
Thanks guys.

For anyone doing brake pipes, my tip is use plumbers solder to make a mock up, especially if like me the old ones were cut off.
 
I've been asked on lengths and tools I used for the Brake Pipes. I bought a Sykes Pickvant tool See http://sykes-pickavant.com/products/braking-tools/pipe-flaring-tools" onclick="window.open(this.href);return false; I got just the basic kit which does 3/16 same as 4.75mm. It makes great DIN bubble flares and you can make them on the van which helps when they are threaded through holes. I got the tool for just over £100 from an eBay Trader.

You will need a 25 foot roll of Copper/Nickel. Don't get Copper as apparently it work hardens and is harder to bend etc. I bought Saville Made in England which was a bargain £13 from an eBay Trader.

The lengths are as below but bear in mind this is for a 72 and vans with front brakes and servo.

Front
2 x Caliper to Flex Pipe 18cm
2 x Flex to Centre T Piece 42.5cm
1 x Middle T to Master Cylinder 60cm

Rear
1 x Master Cylinder to Rear Lower Brake Balancer 49.5cm
1 x Middle - LH T Piece to Right Flex Pipe 44 cm
2 x Flex Pipe to Hub 58.5 cm

Middle Front to Back -I fitted to the front upper Brake Balancer them routed to the back then cut to suit so don't have a meassurement but roughly 220cm.
 
What rear wheel bearings did you use .....I had major probs with genuine heritage ones failing mot first time out
 
lhu128l said:
What rear wheel bearings did you use .....I had major probs with genuine heritage ones failing mot first time out

Got them from Schofields. I think they were Meyle German ones.

Yours had play then I assume? I found the Meyle ones quite tight.
 
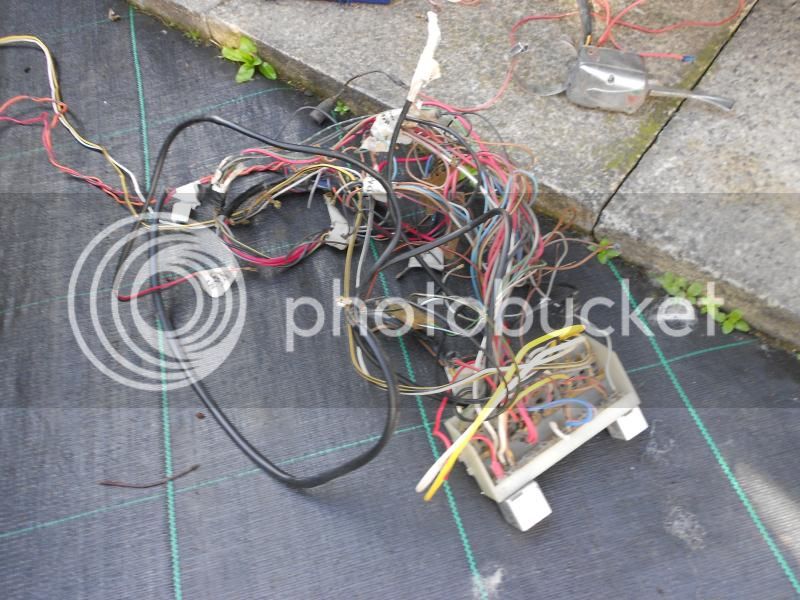
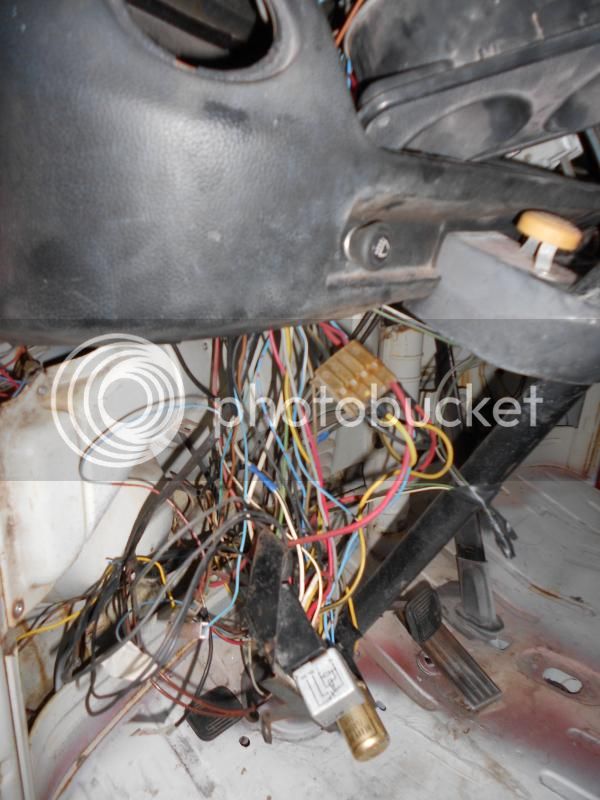
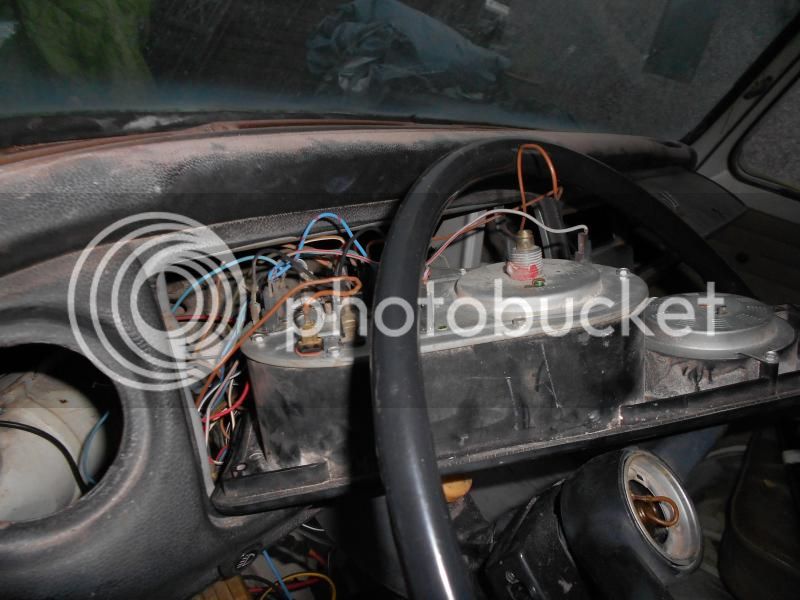
Electrics....what a mess. I focussed this weekend on the cab electric and fitting the new Fuse Board as it was missing. Th also found no loom to the rear, numerous other cables missing, lights on the cluster.....nightmare. So armed with the loom from my 71 and both wiring diagrams I've managed to wire up everything. I can't try anything yet as the loom to the back had been cut and I've still go to sort the engine loom which has also been cut and missing. But pleased with the progress so far.

At least I now have wheels on the van and front lights and indicators.


She's Alive.....woohoo!

Had a good weekend on the electrics. A bit of a set back yesterday when I found the ignition switch was broken and in pieces, so I pinched the 71's ignition switch. I also found that the ignition lock was not working correctly and the steering lock piston was stuck. So I stripped it down and lubricated it, and now it works superb, so happy with that. I thought I was looking like I needed it replacing.

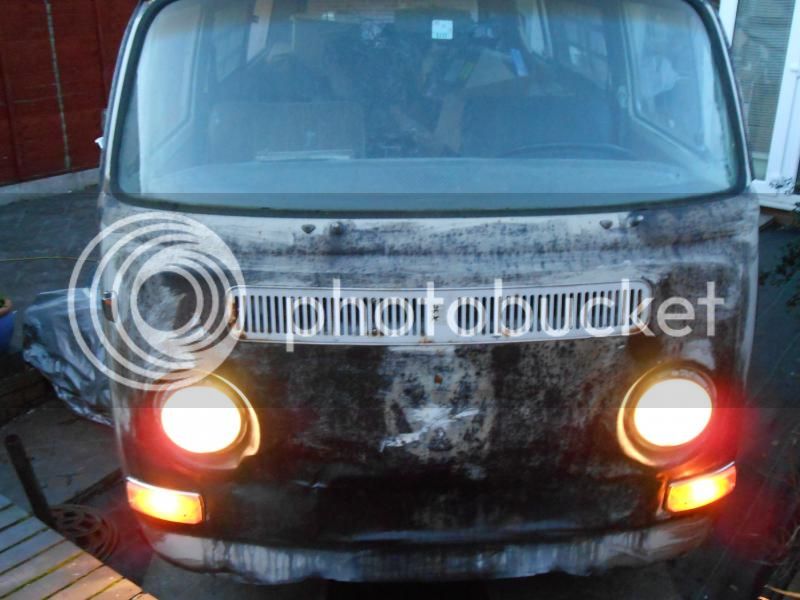
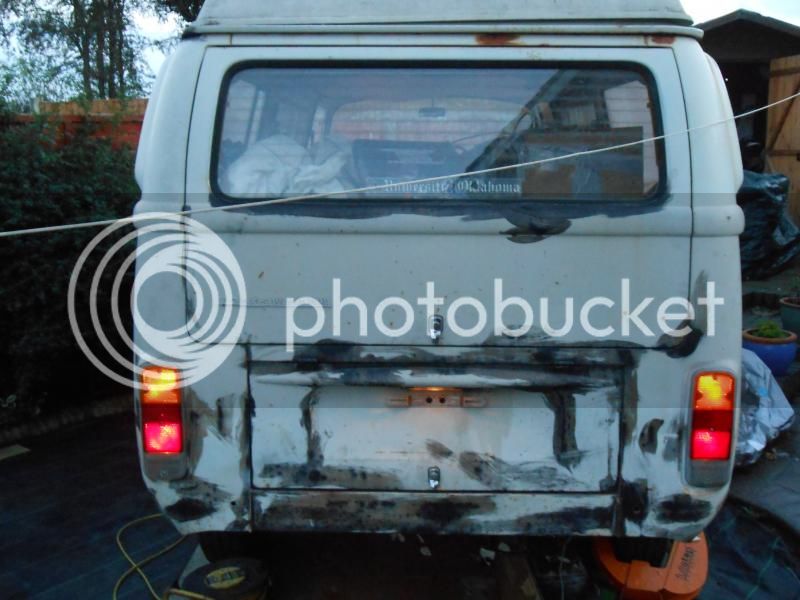
So far everything is working that I need for the MOT. Brakes, side lights, indicators and hazards, headlights, horn etc. I've even altered the wiring to stop the indicators being on all the time aka US spec. These pics are with the Hazards on. I'm also pleased that the new indicator stalk works. The van came with a Chevy Truck on clamped to the Steering column. I managed to get a 72 only for a decent price. All I now need to sort is the reversing lights just as soon as I have the gearbox in, hopefully next weekend. I've checked the wiring in the engine bay and the coil lead is live with the ignition on and the starter solenoid live on turning the key to start, so fingers crossed.


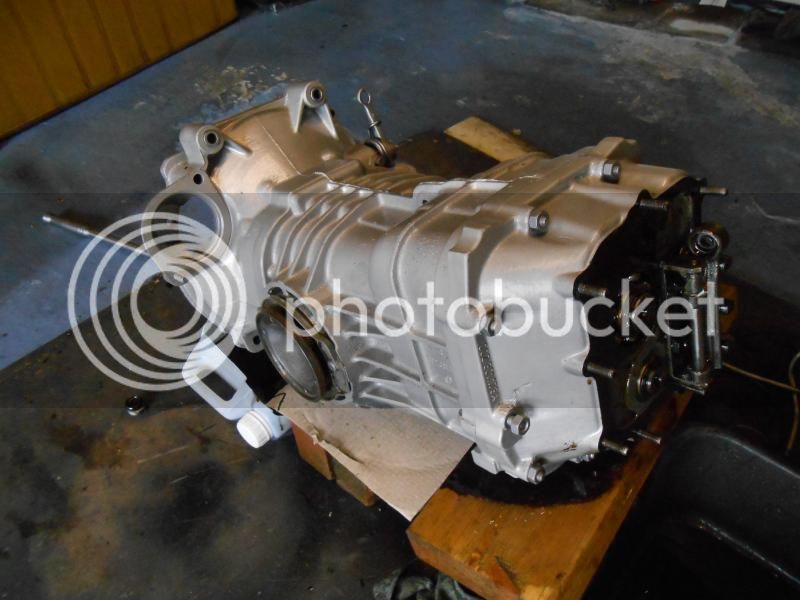
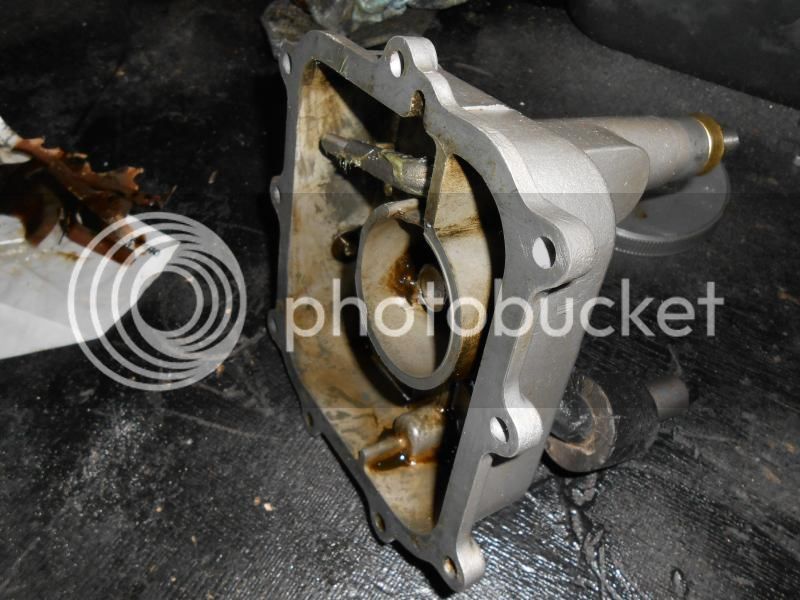
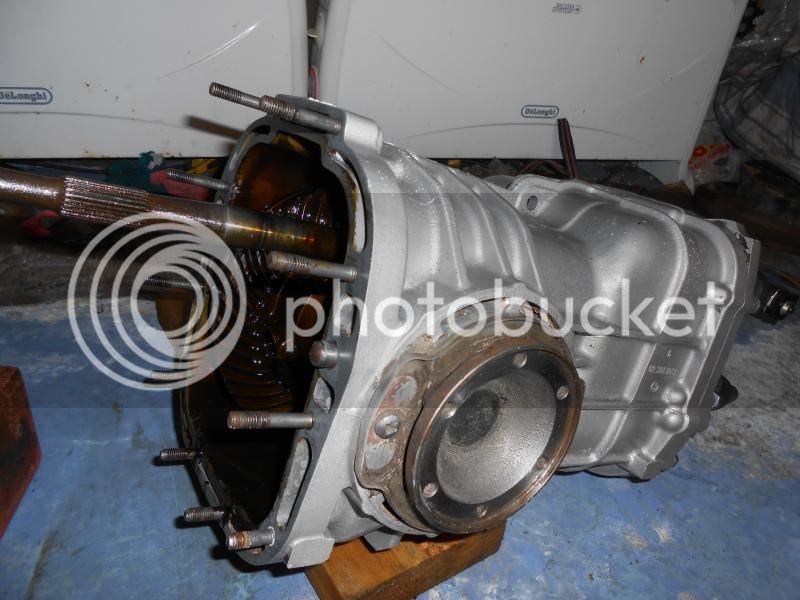
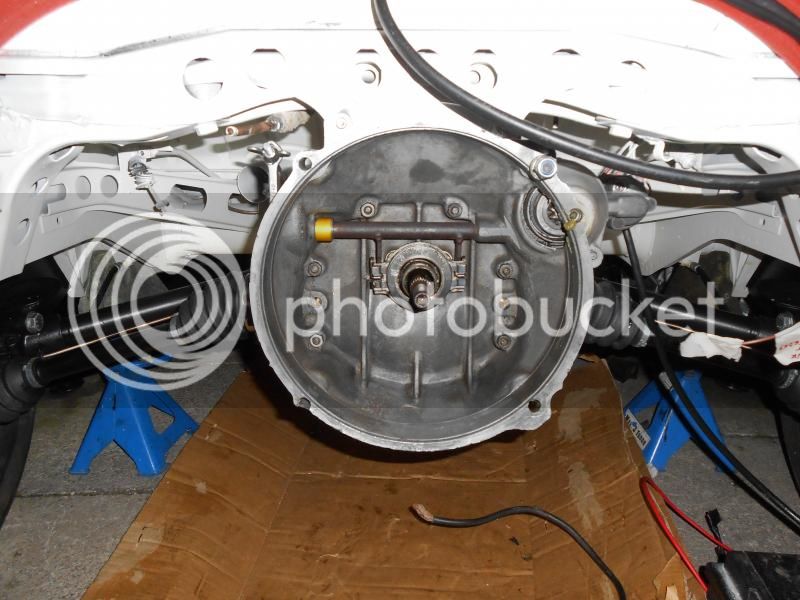
Yesterday's job was mainly the gearbox. I've replaced the socket on the end of the hockey stick, plus the nose cone bearing and seal. Then having noticed there was a leak on the input shaft I replaced the oil seal. I read on Samba that it was possible to remove the seal without removing the bellhousing using a couple of self tapping screws. Tried that and it didn;t work so the bellhousing had to come off...doh! A bit of a set back was the Gear Lever which I'm missing the stop plate and the pin on the ball end is missing.

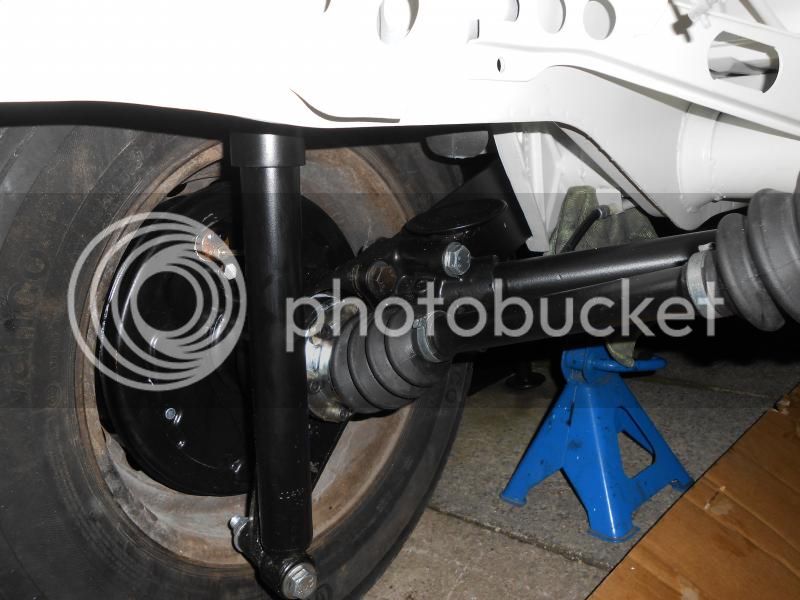
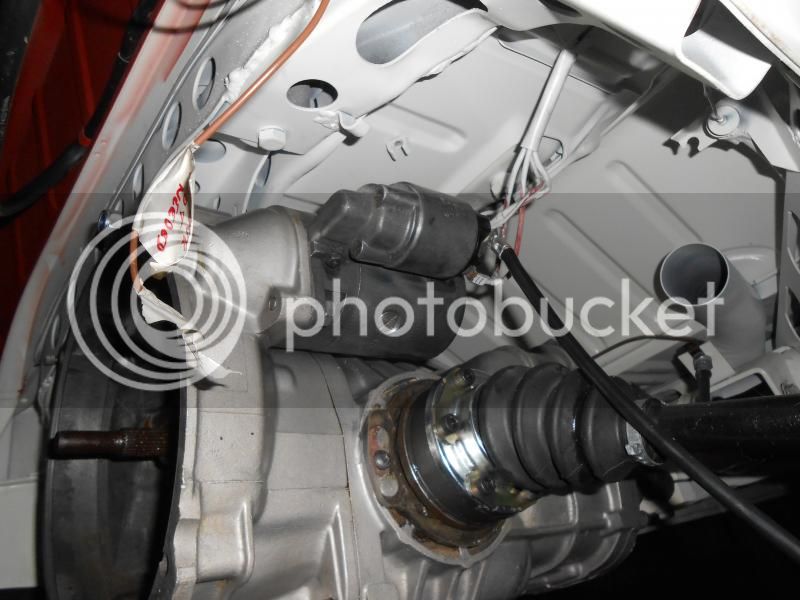
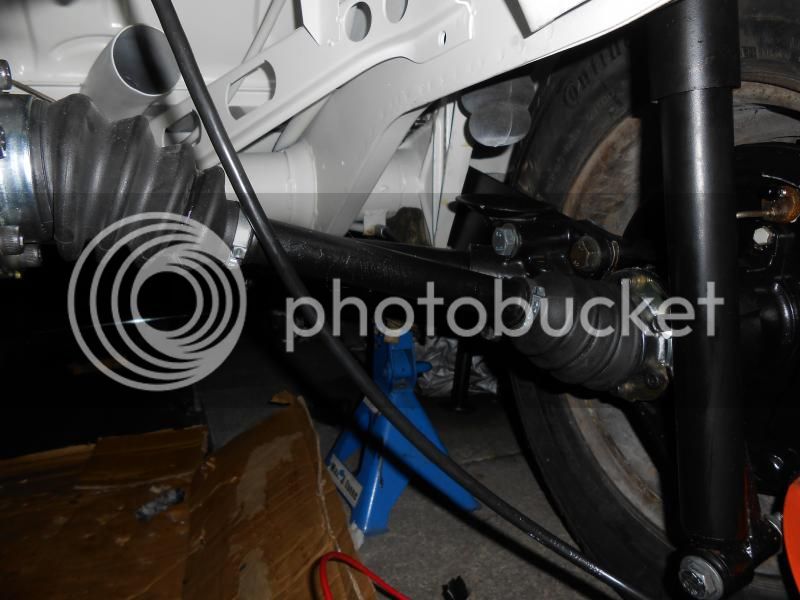
Today I fitted the drive shafts which have new CV joints and gaiters. Also fitted the starter motor which works when the ignition key is turned which is good. I still need to wire up the reversing lights but getting close to be ready to fit the engine.


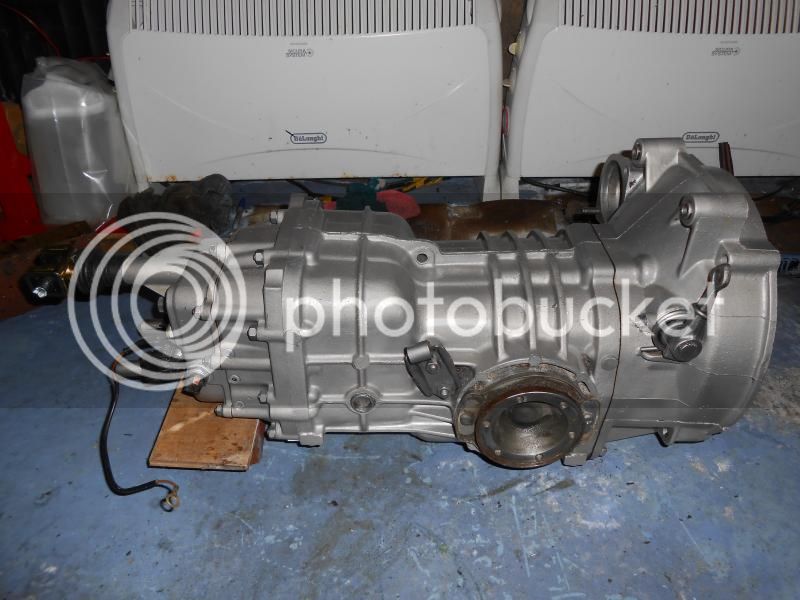
Almost seems a shame to put the gearbox back with it looking so clean 8)

Great job :mrgreen:
 
gninnam said:
Almost seems a shame to put the gearbox back with it looking so clean 8)

Great job :mrgreen:

I now, came up brilliant. I wish I'd have taken a before picture. Cost me £60 to have it bead blasted by the same guys who did the underside.
 
Engine fitted today. I still need to connect the servo, fuel and electric before I can try starting it. I still don't know if it runs but was told it does. All I need is it to get me through the MOT for now as I will have it rebuilt eventually.


Latest posts

Top