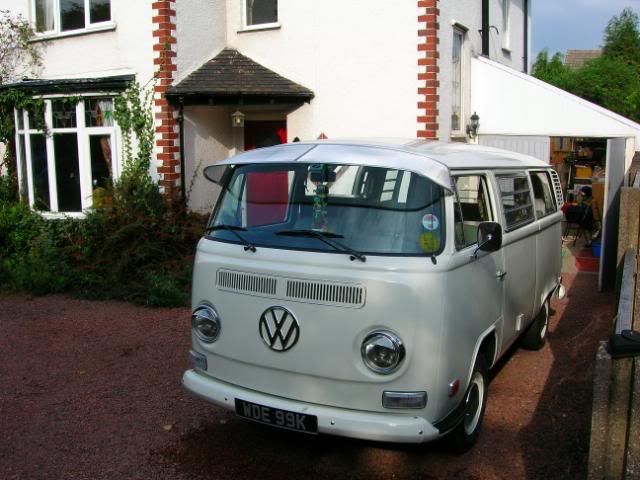
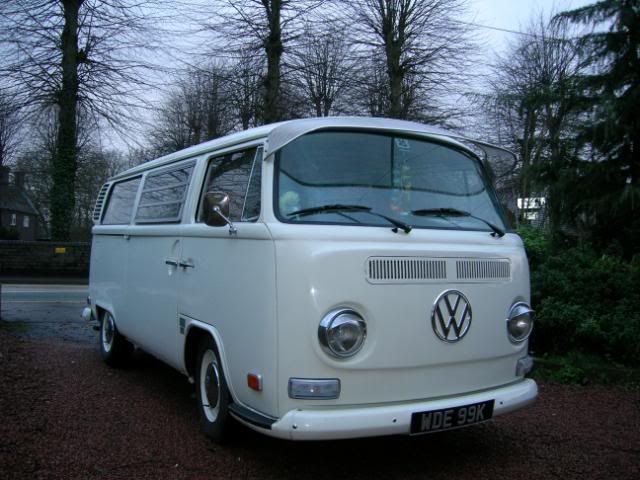
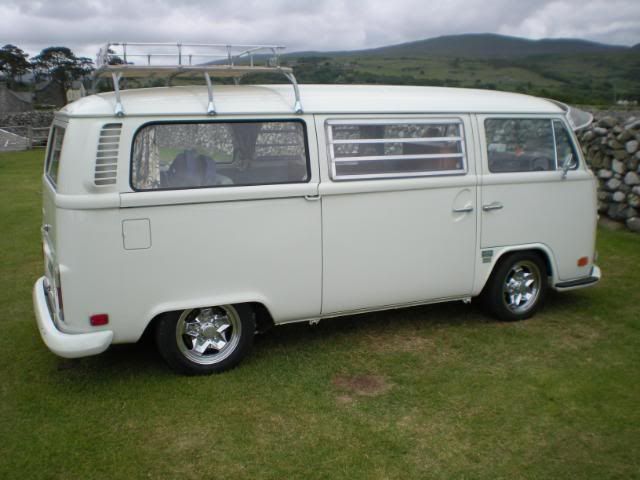
72 westy tin top, slammed NOW WITH COOKIE CUTTERS !!

Early Bay Forum

Help Support Early Bay Forum:

This site may earn a commission from merchant affiliate links, including eBay, Amazon, and others.
looking good 8) .

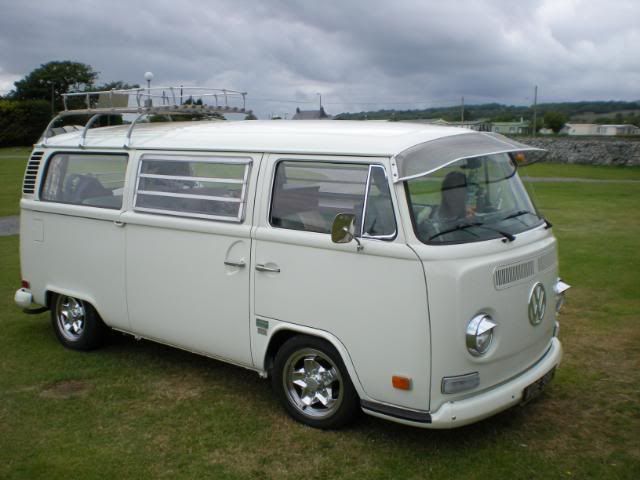
I agree about the colour, it looks like a mix of old and new, a solid colour would really match the beautiful upholstered finish and blend everything together.

really sweet bus
 
Thanks Johnny,
origionaly intended to finish the cupboards with laminate/formica as i've not made any thing like this before and expected them to look a little rough. only treated them to make them waterproof, but quite pleased with the way they have turned out so will probrably just paint them over the winter.
also just fitted deluxe grill trim and sunvisor bought at vanfest..

DSCN0633.jpg

DSCN0631.jpg

DSCN0636.jpg


just need to get the Foksy adjustor fitted (next week with a bit of luck) so it can be lowered.
 
You have done a most excellent job on the interior and I agree with a paint colour
similar to your upholstery - will look soooo nice and relaxed 8)

Visor and grill trim looks swanky too :p
 
thanks Gninnam, never too sure when "enough is enough" with accessories, but i guess you can't have too many on a bay !!. Just got 2 sets of white VW mudflaps delivered, but won't fit them until it's been lowered (booked in for the week after Billing). also just ordered a set of adjustable spring plates for the rear off Creative Engineering. after reading a few threads about it being difficult to remove rear wheels on some low vans, thought this might be the best bet.
 
Hiya Chris,

Just read this whole thread through, you've done a great job on your van, congratulations!

And you have a lot of patience too, such a bummer with the accident and the bad reactions on the paint, I think I'd be in tears by now!!

Love the colour combo in the interior, and the units look great! That's what I love about owning a VW, the scope to make them individual and personal to you is endless, everyone's van is different, and each one great in it's own way...... 8) 8)

Keep up the good work and I look forward to more.....

Carole
 
Thanks for the positive comments Carole

I know some may feel it's wrong to take out a perfectly good origional interior and replace it with a non origional one. but it didn't suit the way we wanted to use it, (we spent a week away in it before we came to this conclusion). We bought the van to use regularly for camping so decided to make one to suit our needs. we are happy with the new layout and it will probrably be added to as we continue to use it. (double drop down buddy seat to attach to wardrobe has been ordered and a swing out folding westy table is next on the list).
the origional interior has gone to a good home. Panalvan (off here) has bought it and fitted it to his westy to replace his knackered one so it is still being used as intended.

patience has been stretched a bit thin recently. worst thing has been the amount of time the van has been back in the bodyshop this summer, mostly just standing there waiting for the work to start. had a nightmare with the rear bumper. replaced the origional tatty one with a fibreglass from No More Rusty Bits at the start of the year when the van was resprayed. really happy with this but got smashed in the accident in June. body shop kept "forgetting" to order the new one, eventually getting a steel replacement (made for a splitty but told it would fit with some bracket mods,) at the end of September !! only took 4 months!! well, bus went back in to have it fitted, but.... the holes for the bolts have been drilled too high up the bumper and the nuts pulled too tight causing the bumper to bulge and distort. AGHHHHHHH. looks crap. not happy !! have decided to get another fibreglass one, get the bodyshop to spray it, and i'll fit it myself. But this will probrably be another job to add to the list to keep me busy over winter!
 
Just a quick question, in the first pic there appears to be something attached to the side of the wardrobe to the right of the grab handle.

What is this, i have noticed i have screw hole in my panel int he same place and wondered id this ws something that was standard fiy???


Cheers
 
Hi USABayDaz, not 100% sure,but think it is the strap that holds the cab bunk in place when stored on topof the wardrobe. i have looked back through some old interior pics which pretty much confirmed my suspicions
hope this helps
 
well after quite a while waiting, the front adjustors and rear adj. spring plates have been fitted. its lower than at first intended, but the ride quality is still pretty good, even with standard shocks.

before

DSCN0636.jpg


after

015.jpg

012.jpg

009.jpg


the pics aren't very good. i took them in the rain when it was overcast, but will take some more when i get chance.
there is currently about 2 inches clearance between the top of the front tyre and the underside of the wheel arch. and plenty of room at the back.
the front sits slightly lower than the back at the moment, but this will change once i've got the new wheels (black and polished fuchs). with lower profile tyres on the front it will bring the front down more, so i'll bring the back down to level it out and then measure up for new uprated shocks.
 
not been able to get on here for a couple of weeks or so. thanks for the encouragement guys. have used it quite a lot over the last few weeks and am happy with the ride quality but it will be better with new shorter shocks as it does "clonk" when it goes over pot holes and if i hit speed bumps at the wrong angle or a little too fast.
but thats a small price to pay !
would love to go as low as yours egotrippin, as having seen yours in the flesh i know how good it looks, but dont think its practical for my set up.
hey Surf will keep a look out for you. had the van lowered and other work done by a guy in Norton Canes!
here's a couple more pics i took,
005.jpg

002.jpg

001.jpg
 
well, after a lot of faffing about, have finally got the new wheels fitted. had nightmare with adaptors that didnt fit, van falling off the jack !! and 195 tyres not fitting under the rear arches but after having them polished, a trip to machine 7 for some (very expensive) adaptors, and fitting 185/65 tyres at the rear and 185/55 's at the front, they finally went on. took the pics while we were away in north Wales last week, but they were already a little grubby by then. realy pleased with how they turned out.........................

059.jpg

060.jpg

049.jpg

061.jpg

062.jpg


just need to get new shorter shocks to tighten up the handling and improve the ride quality.
 

Latest posts

Top