Ashys dormobile resto

Early Bay Forum

Help Support Early Bay Forum:

This site may earn a commission from merchant affiliate links, including eBay, Amazon, and others.

Ashys

Well-known member
Joined
Oct 11, 2012
Messages
94
Reaction score
0
Location
Chopper town
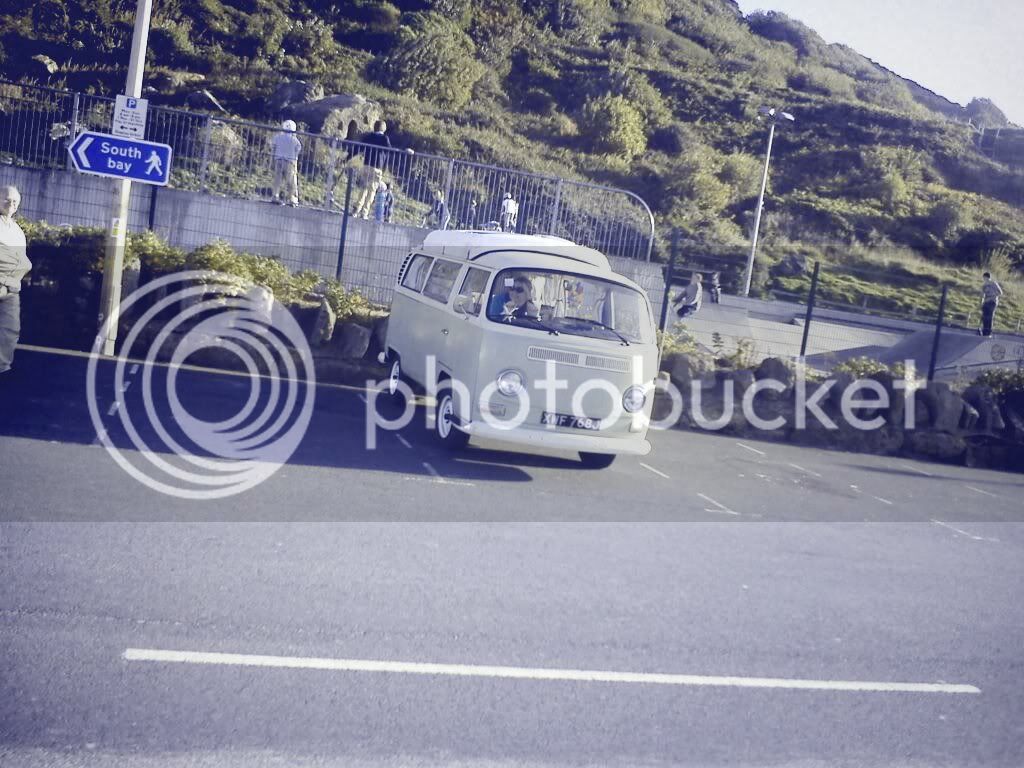
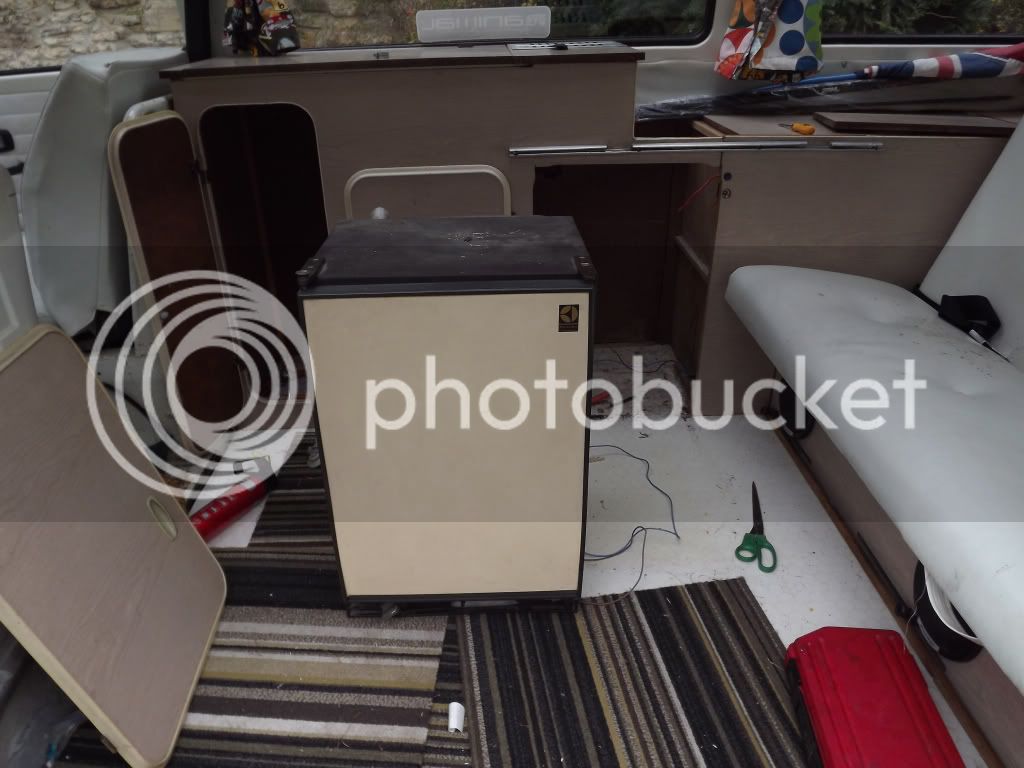
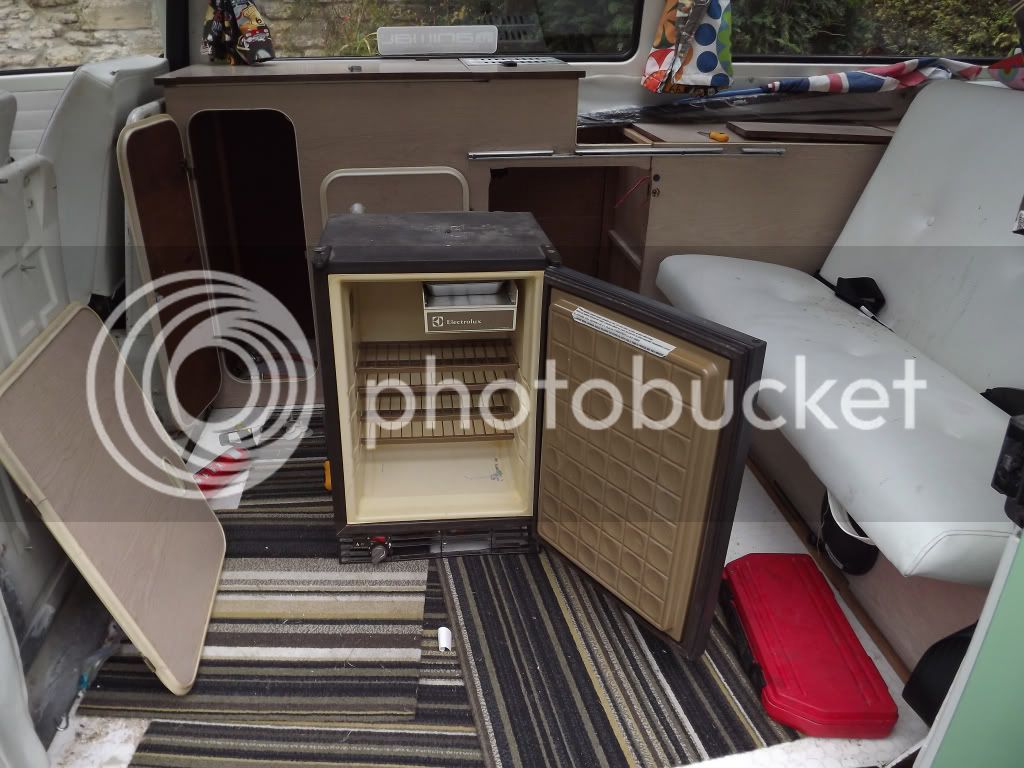
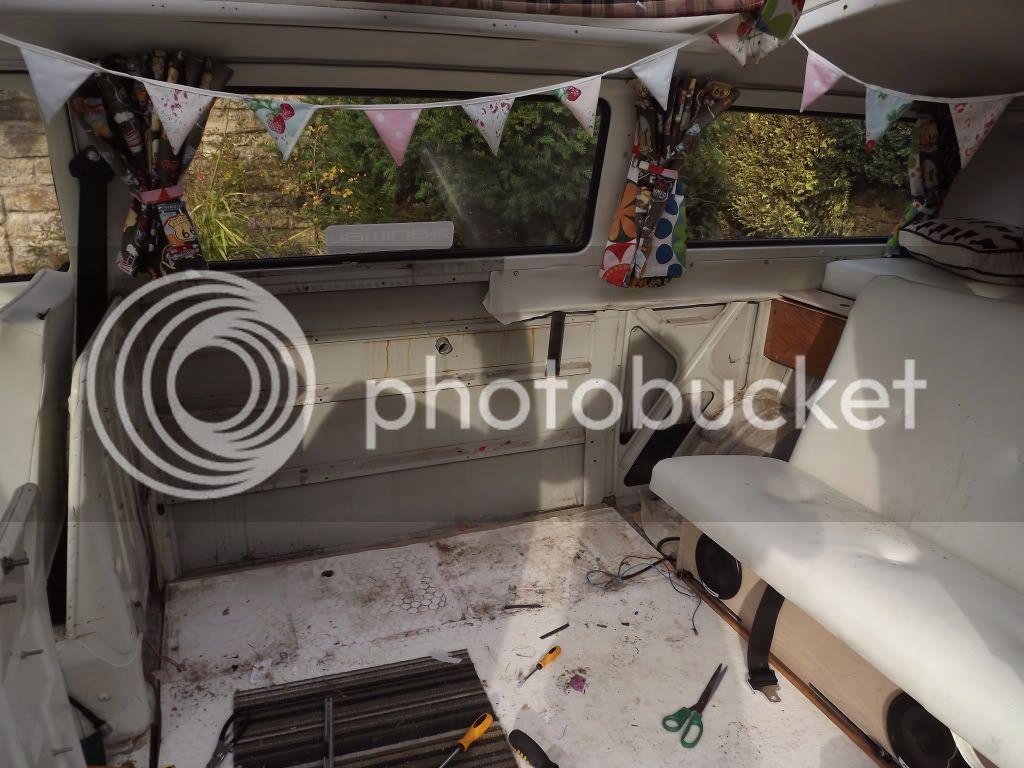
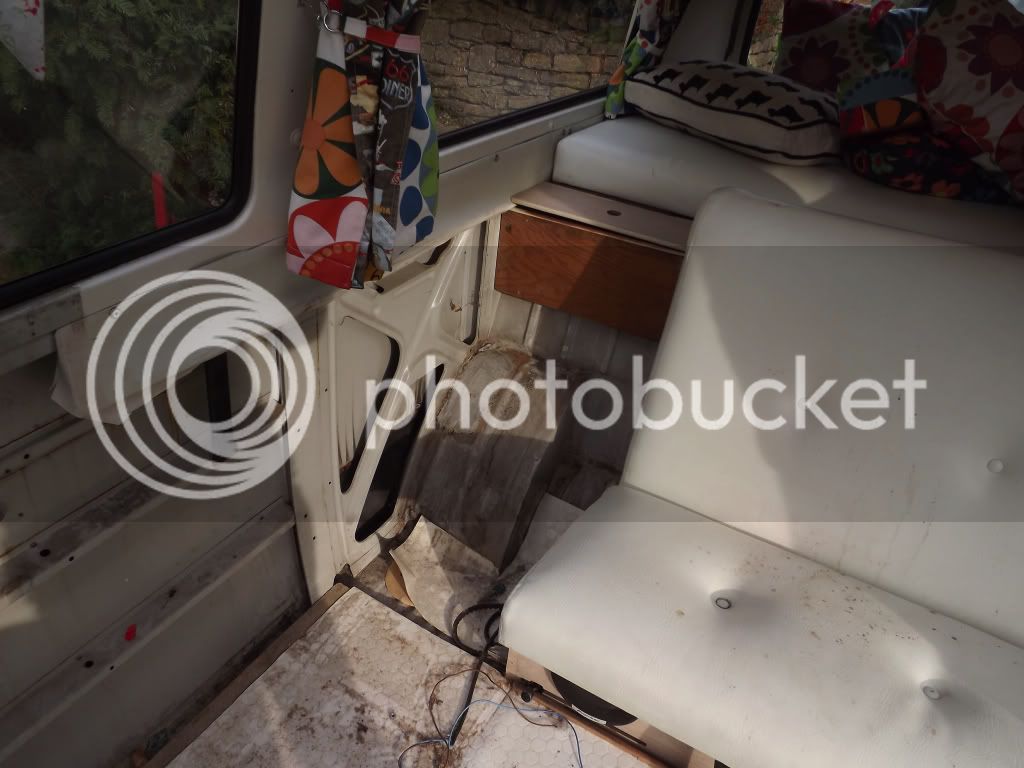
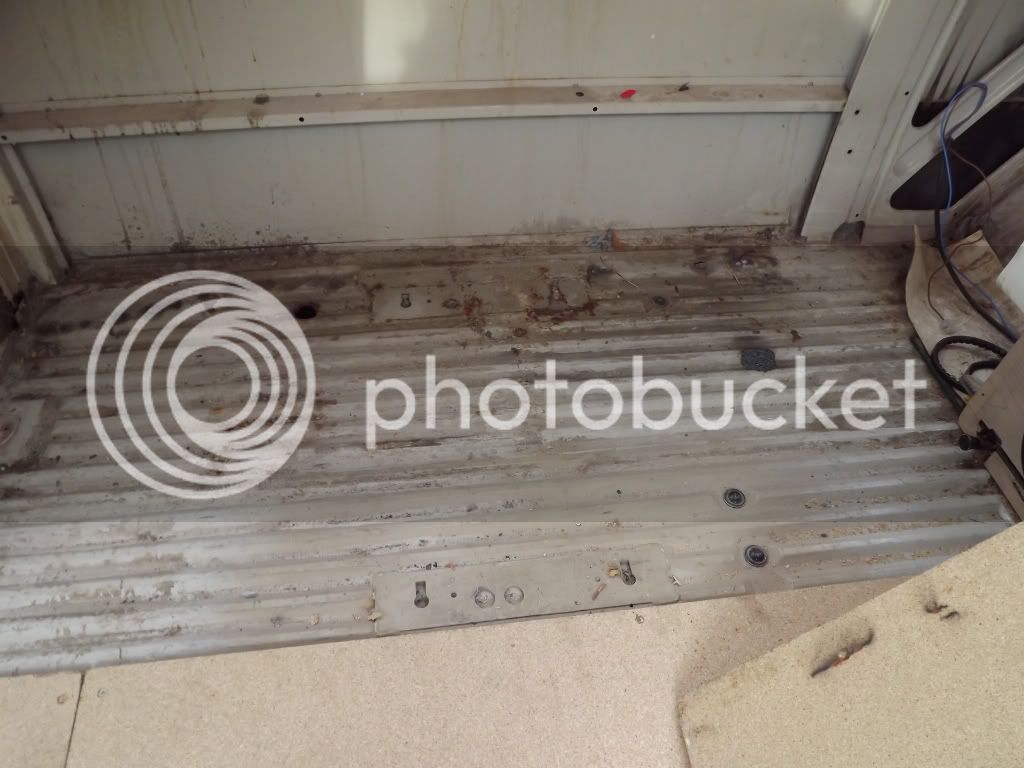
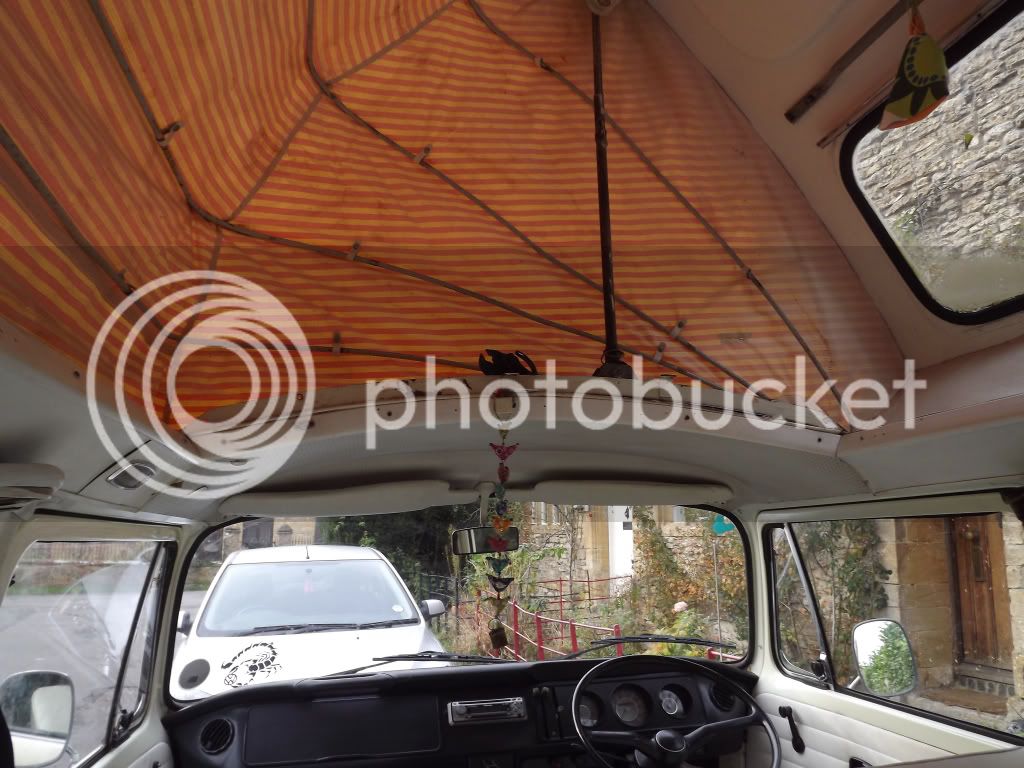
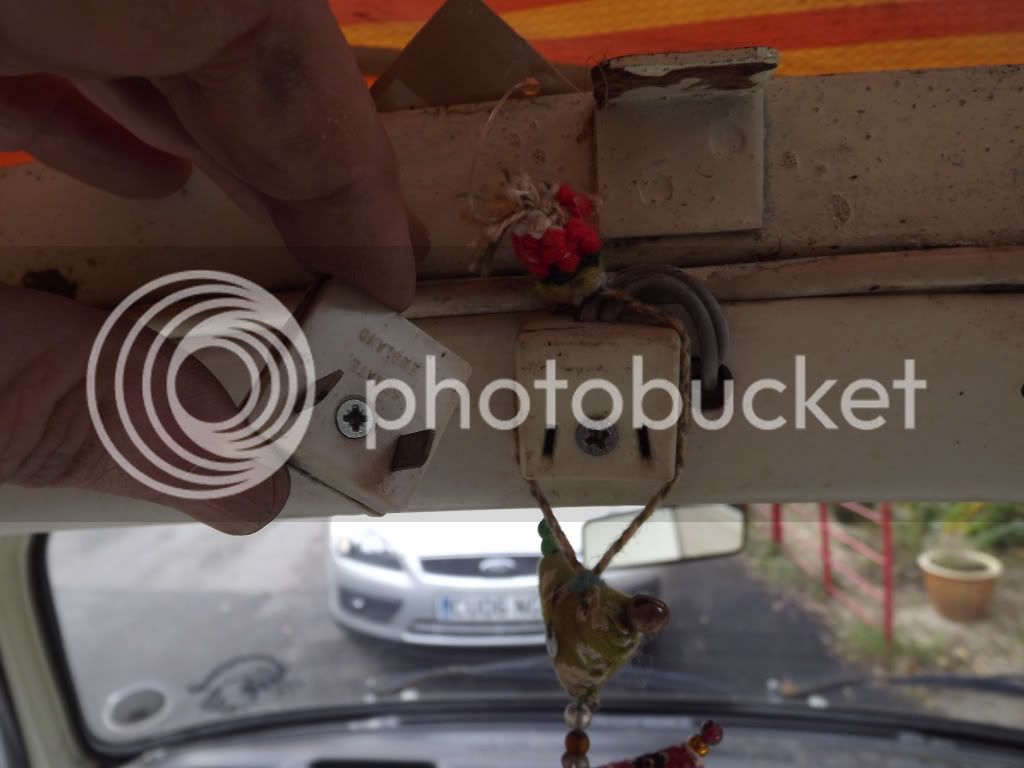
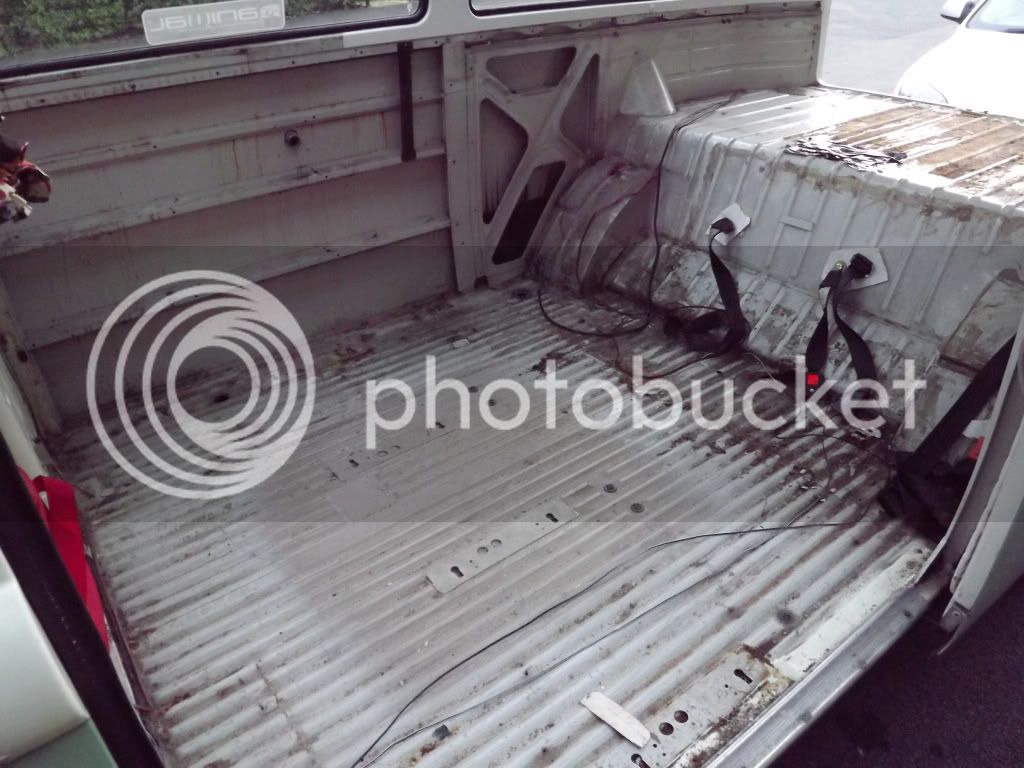
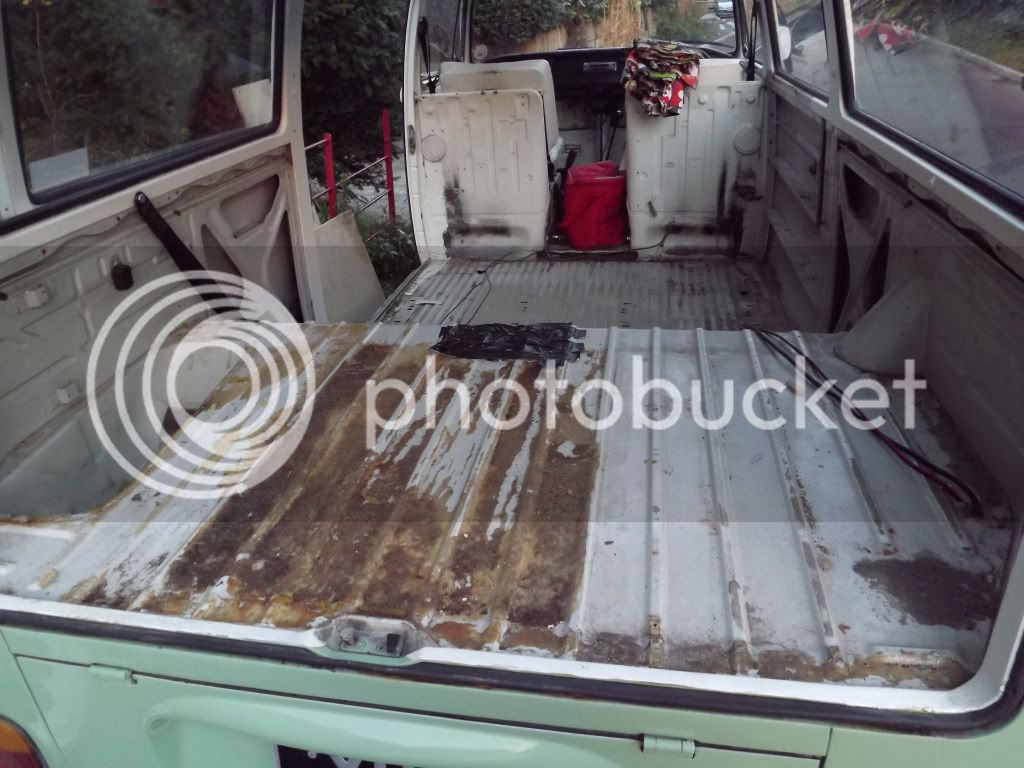
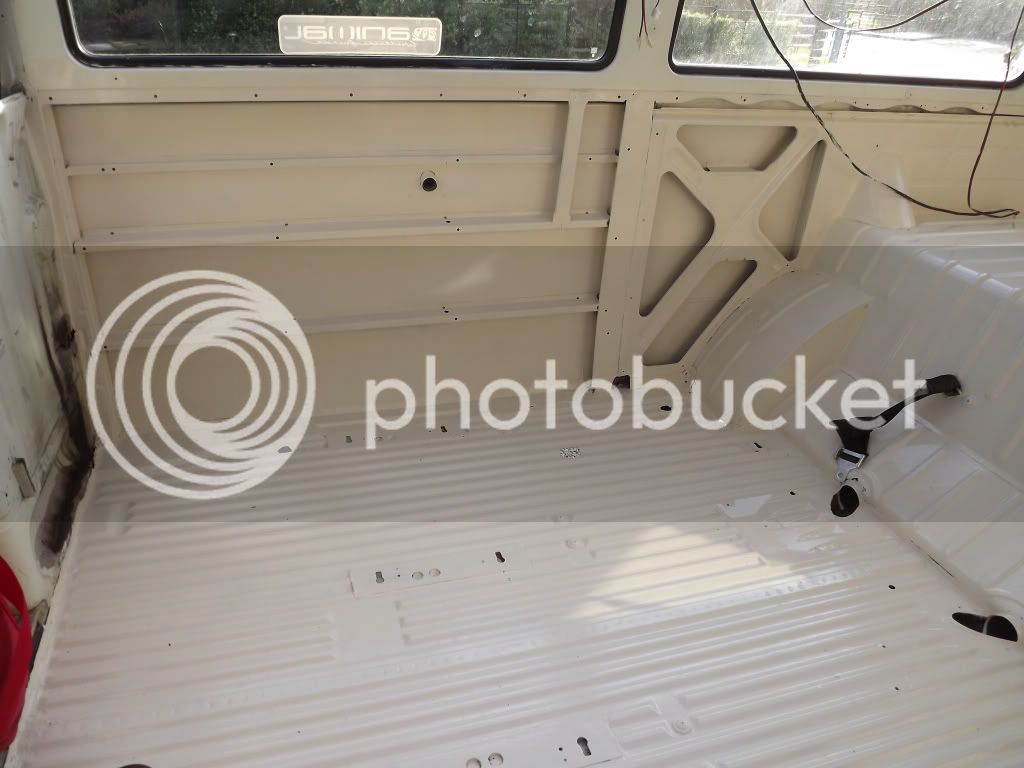
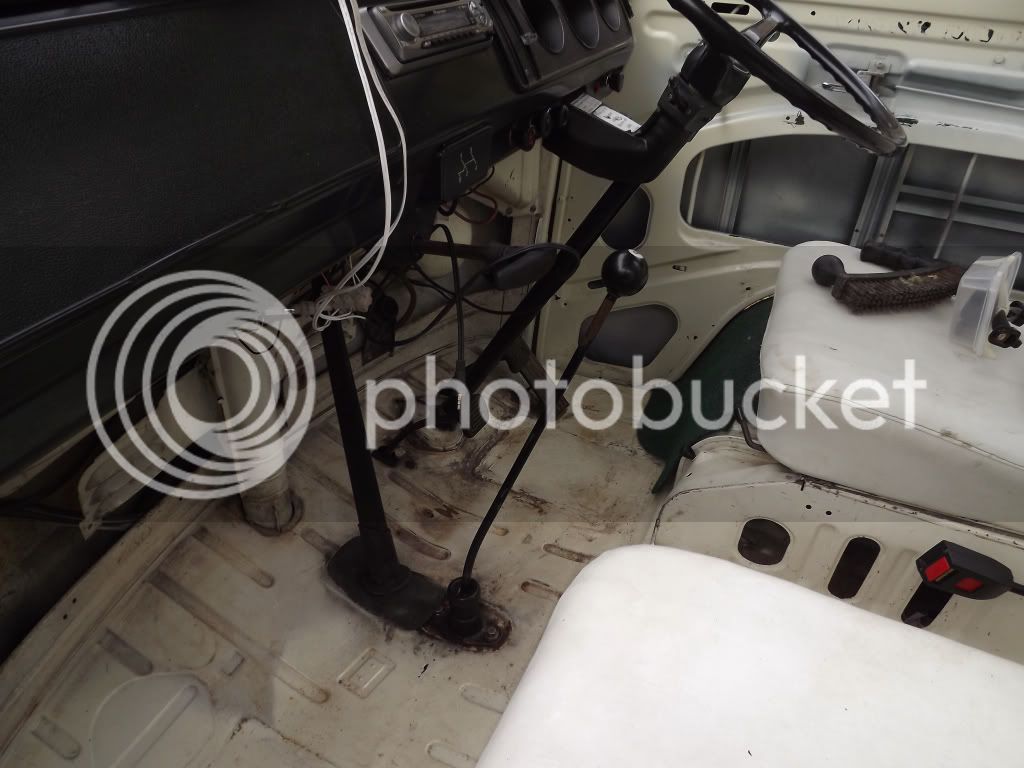
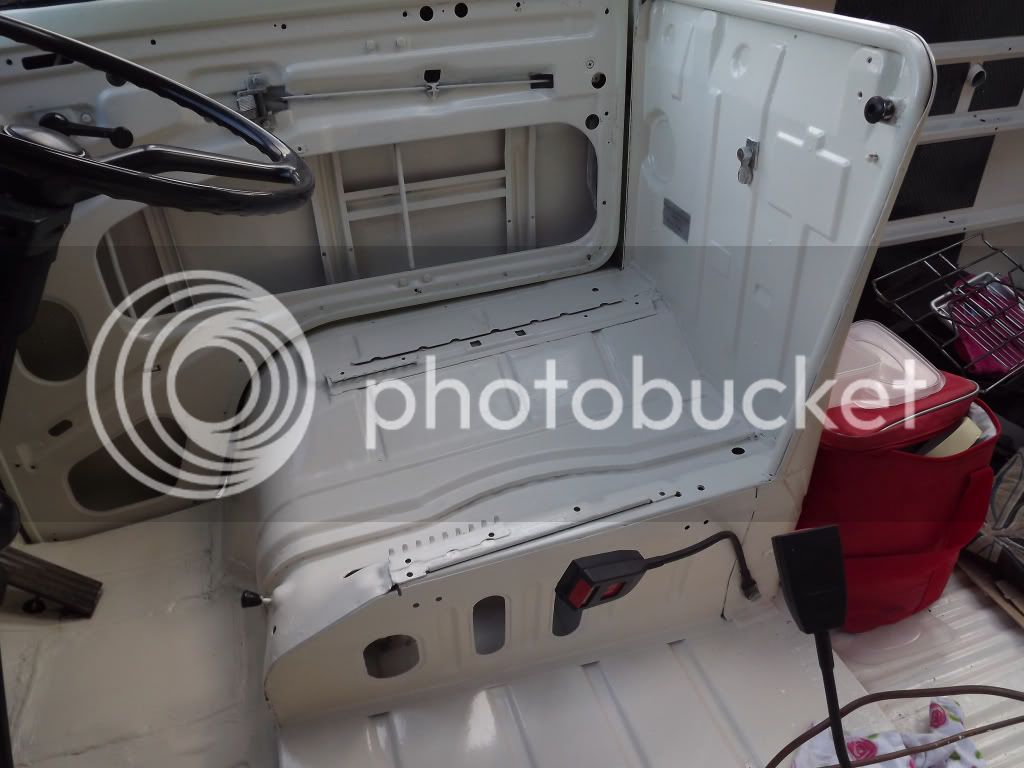
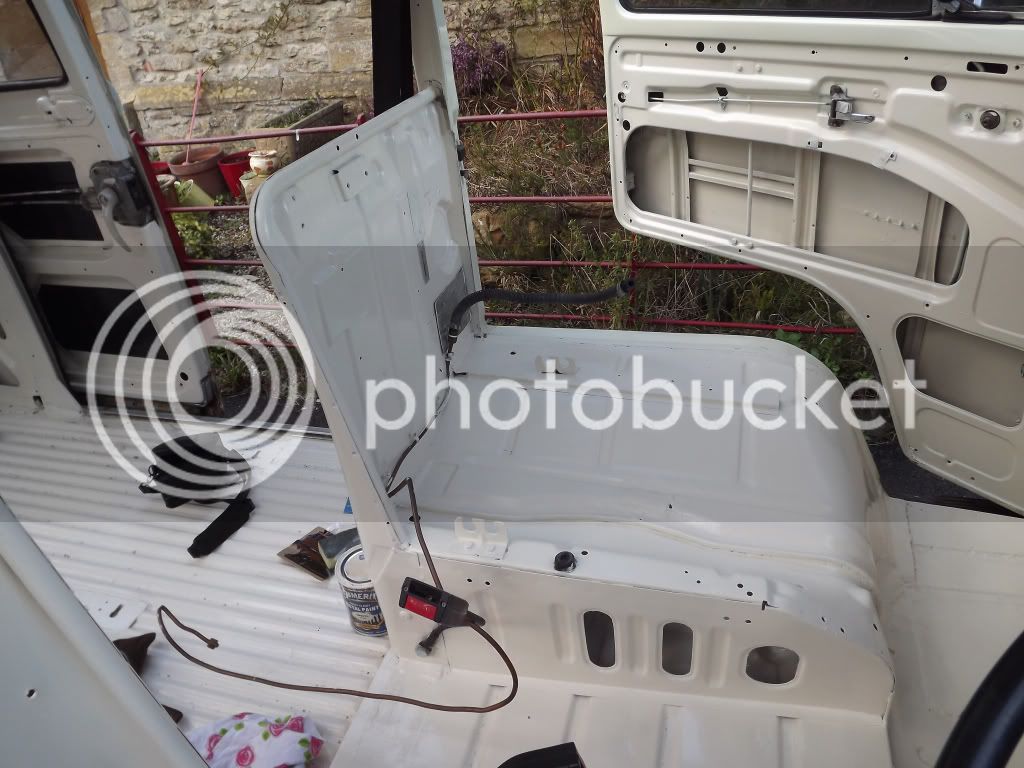
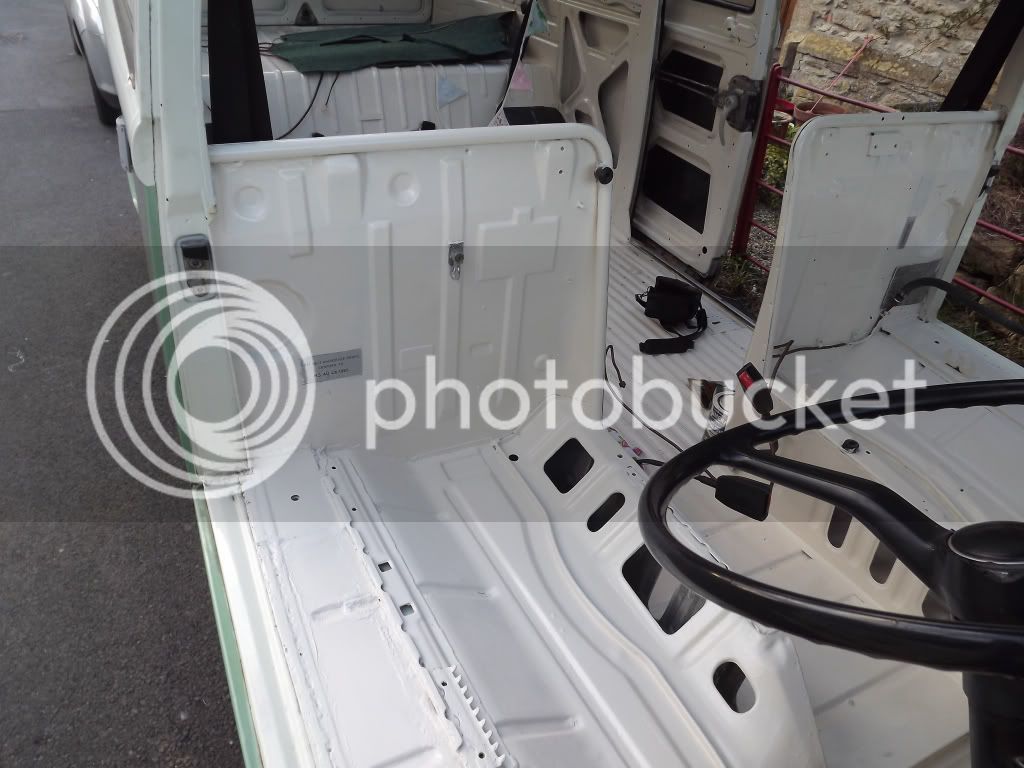
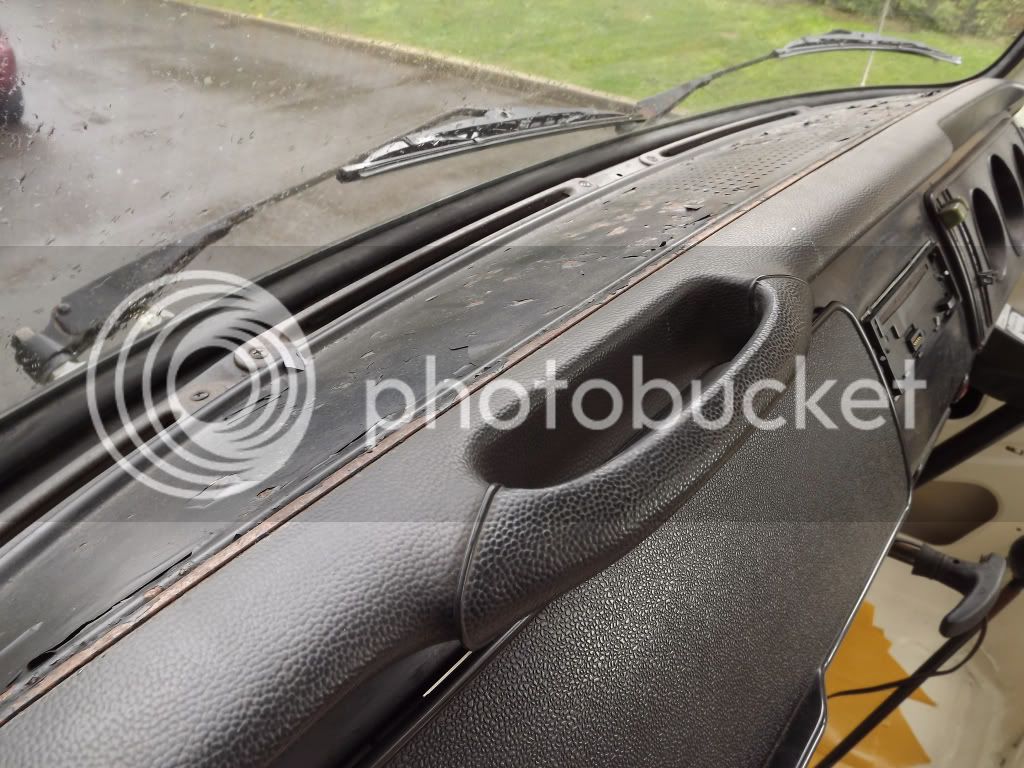
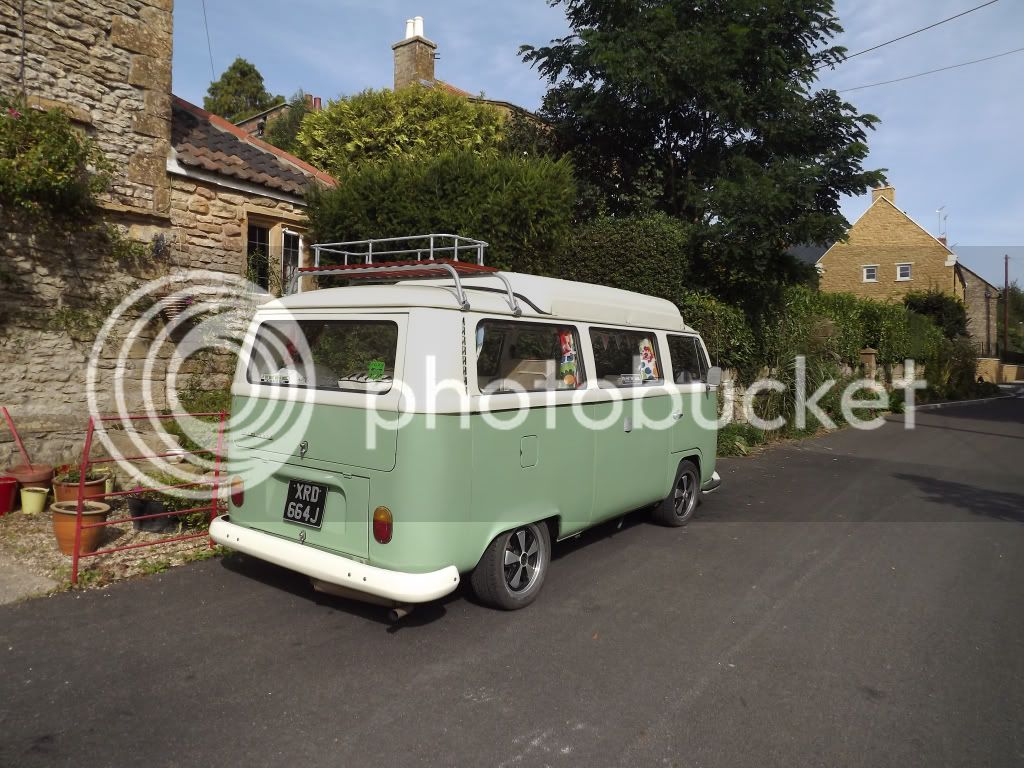
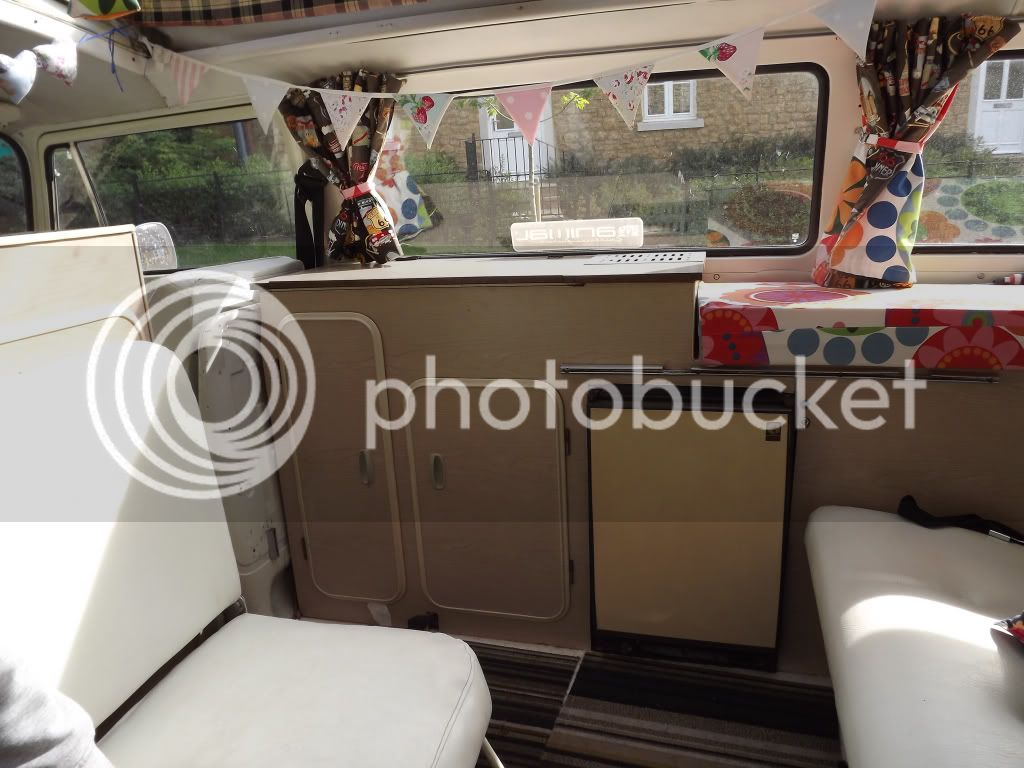
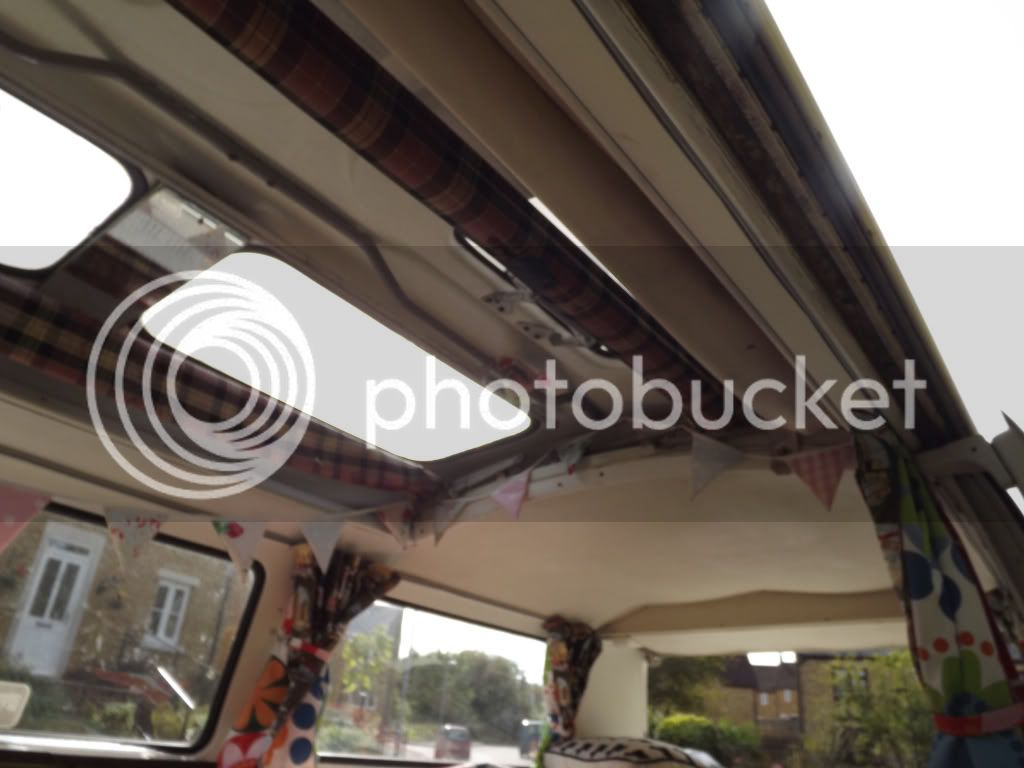
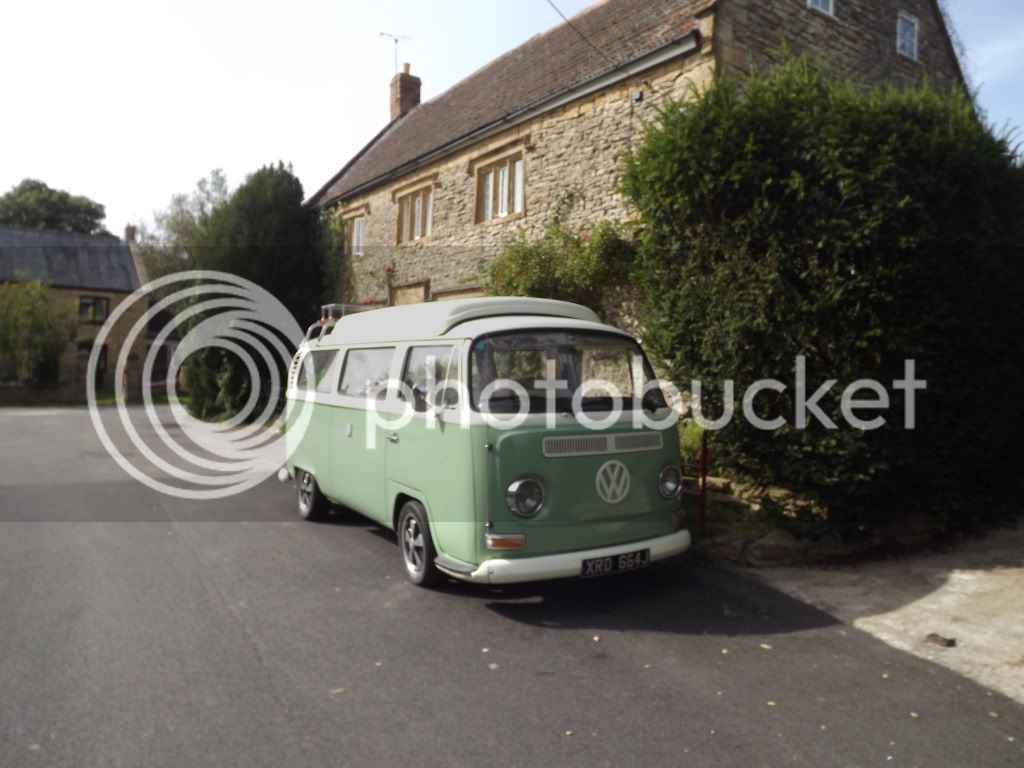
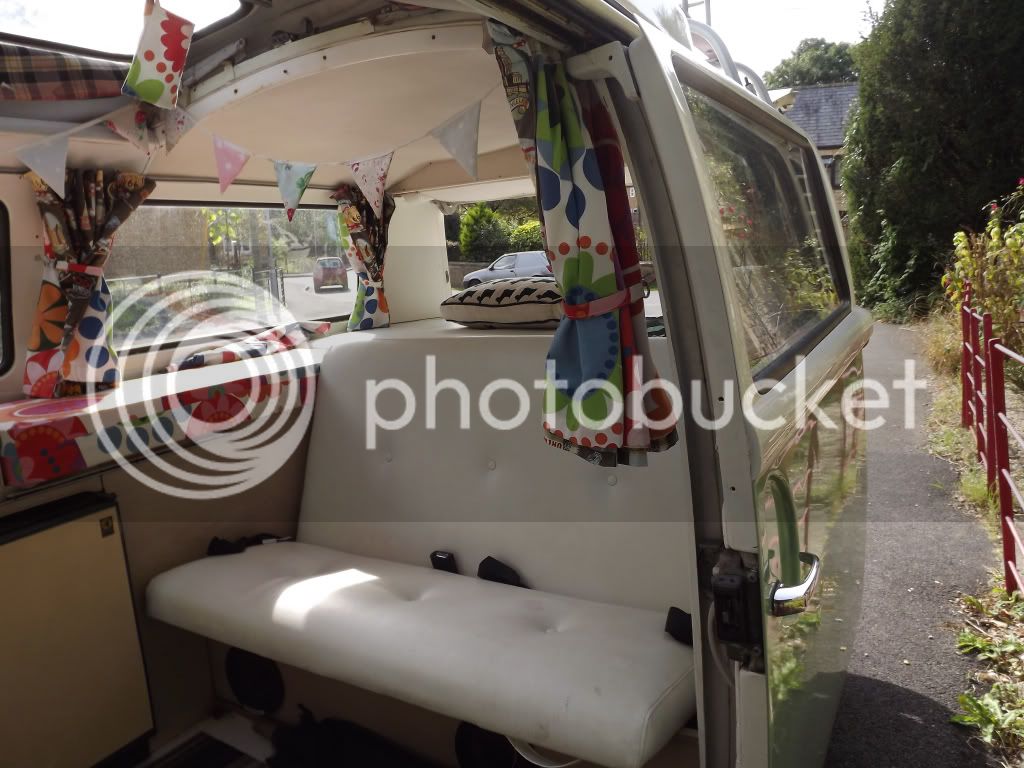
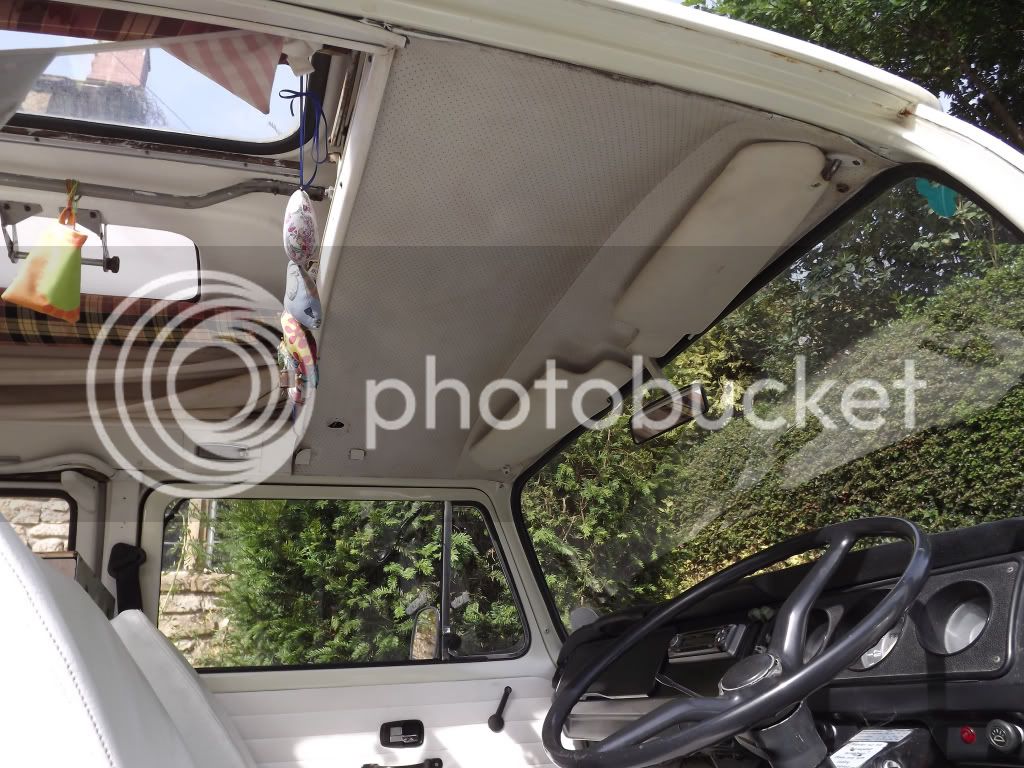
Some exterior and interior photos before work commences
[photobucket][/photobucket]
[photobucket][photobucket][/photobucket][/photobucket]
[photobucket][/photobucket]
 
35ccda28b8cd0069afc1b6131a8315a5.jpg
6ac1ed2cf0c517da6e32a2ca67893044.jpg

a78ad38ada4b3dec1120b97fcf350e53.jpg
43936e5dba3347f3682e5e802bec5636.jpg
de51f8e4575c6de87f367c5843deeda8.jpg
665bbd2cfbc5026f13412c8de5d360c8.jpg
 
Thankyou for your comments. The problem is the interior is looking really tired , I want to keep the general layout as is because it works for all the family, BUT do I completely rebuild the units with new formica facia panels and re-upholster the seats/panels to match OR keep the original melamine panels and restore to the original dormobile spec/ colours. Really appreciate any feedback because at the moment I am split 50/50
Thanks
Mark
 
Your van your choice (even though you don't know which one you want :))

If it was me and this is what I am doing with mine is a to build with new and better wood and coverings (keeping the same layout as you say)

Hope that helps ;)
 
Thanks Andy, your absolutely right if I replace with new wood etc then hopefully it will be good for a number of years to come,
Mark
 
As stupid as this will sound it was the colour that encouraged me to drive the 140+ miles to view her. The decision is made, I am going to completely rebuild all the units etc ,started stripping her out and will update with pics as it progress's. Vohringer looks great just got to decide on colour.
Mark
 
Started work at last
005cef1b0c2d7fd042f1e5b405461398.jpg

Fridge out going to turn the space back into a cupboard, coolbox is brilliant
ae252b18f398262d0788f3524a0d64a1.jpg

4cb92b722f148b9d352d7c8d120a6c29.jpg

Panels look pretty good
396bd7861c7e25d2bb52fbf841bb3ac0.jpg

Bit of work to do here!!!
31d7b38dcd38e7175e6bae375bdf0ffb.jpg

Floor looks ok hope the rest is same condition
95b45ddc1f12bd2c246c0210f6900f57.jpg

Bunks need paint & re-upholster, but mechanism works fine
69a85e494a8132d4ab9178b2967afebf.jpg

Bunks out can now crack on with removing all the plastic trim
8e4ad1feaef05e0cc2004806267d1e04.jpg

Can anyone help me out with this? The 2 wires disappear under the head lining.
Next weekend is removing the rock & roll & front seats. Hope this is not boring for you all but it's my first attempt so taking things slowly and photographing each stage.
 
Mine had a fluorescent light fitted there, so perhaps someone changed it for a different fitting?
 
Ah that makes sense, not sure what they had fitted there but I will check next weekend and see if there's any current. Ideal place for a light, thanks for your reply.
Mark
 
Couple more photos showing the rear completely stripped out, only issue seems to be some work to do around the sender unit.
8e52006991425e7b5c08a53fcf249eae.jpg

ad58c33440595d789fc6f1808f6f4340.jpg

Next step it to start the prep work for paint etc
 
What with work commitments and having to work outside a quick update on the slow progress, still happy so far,
d62d8b4b244ef5076fb08b871b1c581e_zpsdfc344b5.jpg

3f483b59e6b81593308bcc75ff87d163_zpseb4441dc.jpg

Next is to get the front to same finish
6fcabceca90511e21d8154536f0f069a_zpsb3cb371e.jpg

After that it's in with the sound proofing... Seats and door cards booked in for re-upholstery 1st week march ,but no pressure!!!!!!! Oh and all the cupboards to re build let's just hope for some dry weekends.
 
Couple photo's of the front seats and cab area finished painted
4508d1ed942cac15d40e4328263a932c_zps61031317.jpg

9d7dea17c1c634f8fad401dd0999fe91_zps16ce80a6.jpg

42a0e54693039213a4116f73e8e23955_zps65801789.jpg

As you will see from the this photo parcel shelf needs some tlc
d725f2801fc87e3bcf1b19830d87dd8d_zpsf84b729a.jpg

Parcel shelf out, what a nightmare job that was!!!!! And as stated numerous times before in various posts I've read one job leads to another so I discovered one of the heater control cables has snapped, not sure how difficult to replace but I will be asking for advice very soon!!!!
c896e4961b4fd708d0188676bb8aefbd_zps3533ed5b.jpg

Next weekend it's out with the instrument panel then all off to the paint shop...
 

Latest posts

Top