Cheap and cheerful

Early Bay Forum

Help Support Early Bay Forum:

This site may earn a commission from merchant affiliate links, including eBay, Amazon, and others.
I love that cooker, I was raised in africa those pics make me home sick! Keep up The good work. Spent 11 hours preping my 1970 for primmer today :|
 
So I was told the keep the front yard clean and tidy or privileges would be withdrawn :? A simple yet elegant solution presented itself in the form of the following

IMGP0072.jpg


IMGP0054.jpg


Nice, hey!
 
Now it is time to start playing with the interior. I have looked at many brochures etc, and decided a swing out kitchen a la Devon would be the thing, and a three quarter bed, so as to give lots of storage, First thing was to make a template for the contour of the rear.


IMGP0071.jpg


I screwed together 4 pieces of thin play as per picture and then transferred the shape to a piece of old chipboard

IMGP0058.jpg


The reason for using chipboard is that I want to dry fit all the interior cupbords and get exact dimensions. I am building the interior from melamine faced board and I will have all the main components machine cut, so the edges are perfectly square and not damaged. Even with special saw blades I still find the melamine splinters

IMGP0056.jpg


IMGP0055.jpg


12082012607.jpg


I am using memphis cherry, and buying doors to match from the local equivalent of B&Q

15082012614.jpg
 
Here is the cooker unit, partially finished

08082012596.jpg


I installed a sturdy piece of what I believe is oak from a redundant hatstand, bolted from the other side of the bulkhead

14092012658.jpg


and made a pair of pintles from 2 hinges

IMGP0338.jpg


IMGP0339.jpg


and this is how the installation looks

13092012657.jpg


12092012655.jpg
 
As my bus is based on an early deluxe ii has the waistline moulding but unfortunately the 2 rear corner pieces have been lost over the years. As they seem to be made from unobtainium I decided to make some.
I cut 3 strips of very thin ply to size

IMGP0410.jpg


which I then glued and fixed to the side to dry

IMGP0415.jpg


then a bit of filler and paint and hey presto!!

27092012665.jpg


23092012664.jpg


It will be interesting to see how they cope with the severe sunshine and storms
 
Carrying on with the interior, I have decided to go for the retro look, with colour coordinated tartan.

IMGP0402.jpg


IMGP0403-1.jpg


IMGP0391.jpg


And I have found a lovely period radio, with 6 short wave bands, ideal for listening to the BBC World Service, and it actually works!!
06102012678.jpg


Now for a complete change, I bought a genuine Westfalia roof for 14 pounds last week, and am having it re canvased with matching blue canvas, and will be cutting a bl88dy big hole in the roof when it gets back from having the engine fitted next week!!

07102012683.jpg
 
Here is the bed layout, took a bit of jiggery pokery to stop it collapsing but it has turned out well.at least I hope so!! ;)

23092012660.jpg
 
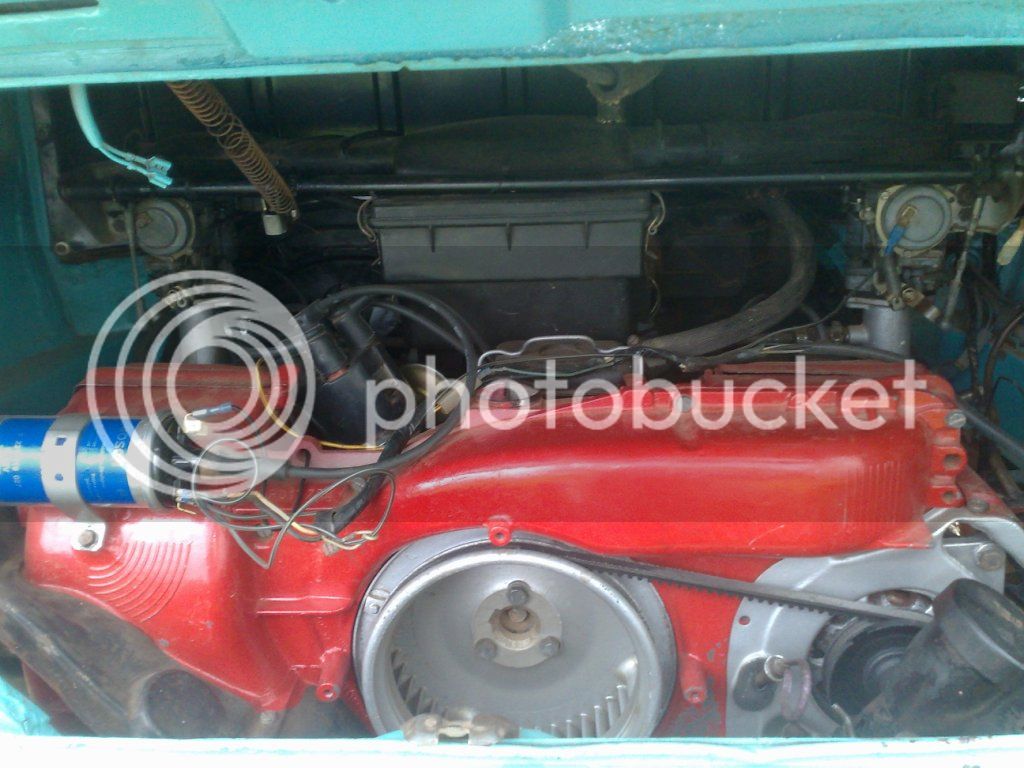
So, after waiting for ages for the engine to be fitted, we finally had it running, and my "expert" tells me it sounds good. Then I had the brake servo repaired twice, a new master cylinder and then a complete replacement servo and mc from another of my buses and it still was not right! Eventually took it to another mechanic, Van Den Brinks, ho have a scrap yard full of old combis,and he told me there were parts missing from the back brake adjusters. No wonder they could not bleed it.
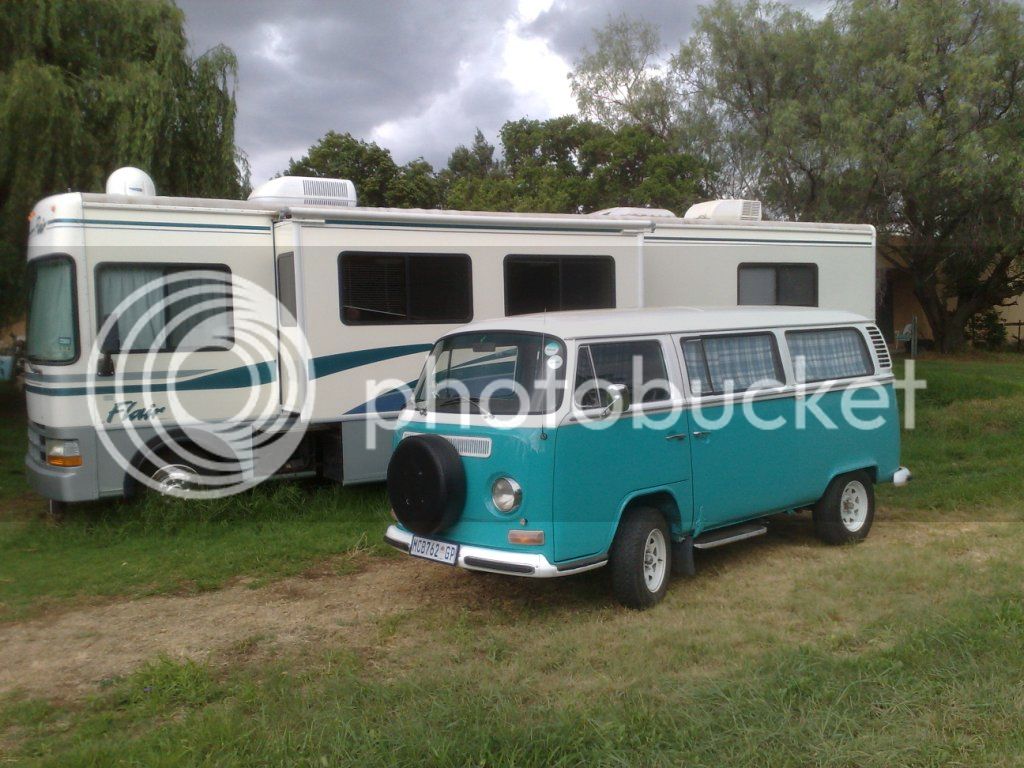
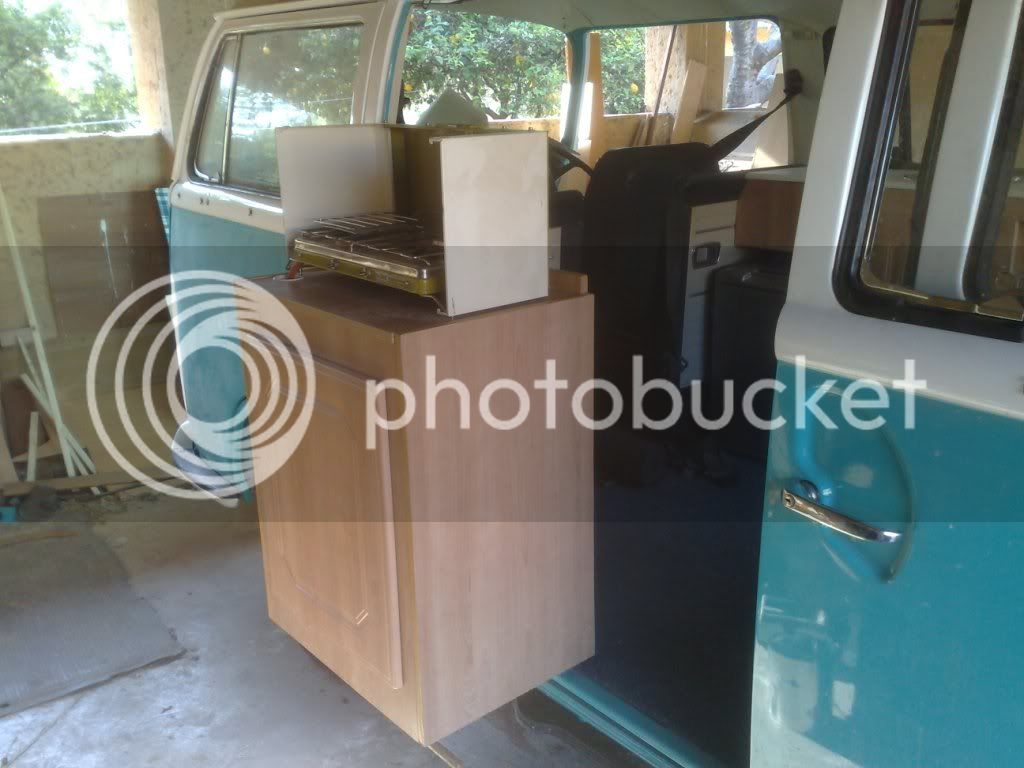
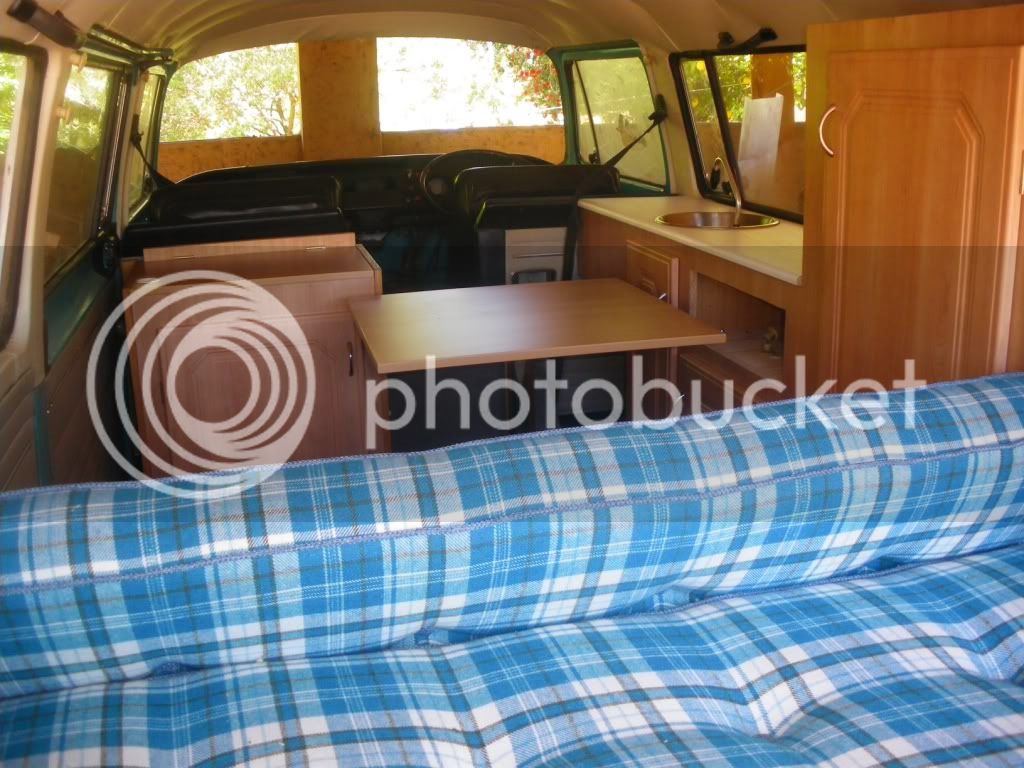
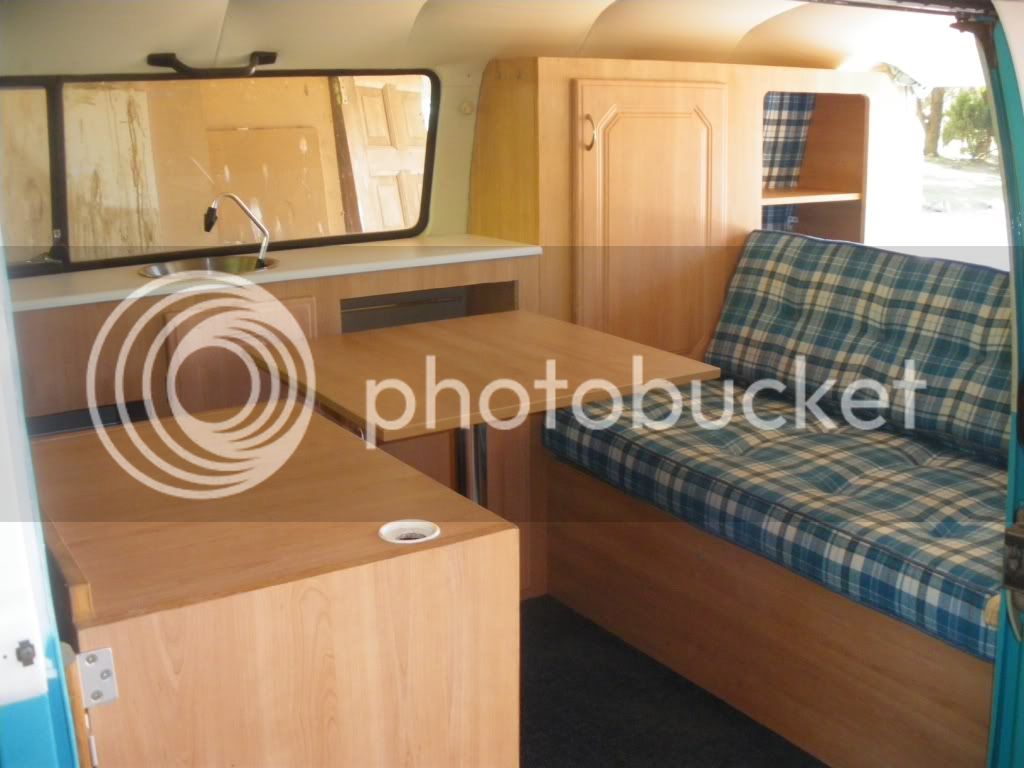
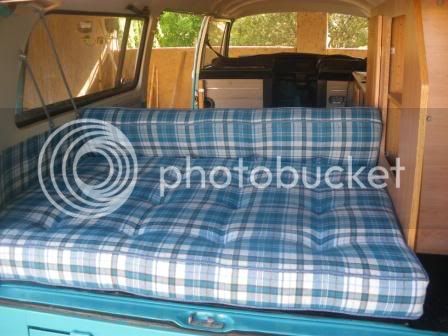
Now here is the rub. it was finished and ready to roll, slightly over budget, and only about 6 month late, but was looking great, at least in my opinion


[/URL

[url=http://s1066.photobucket.com/user/imjakethepeg/media/291020131006.jpg.html]


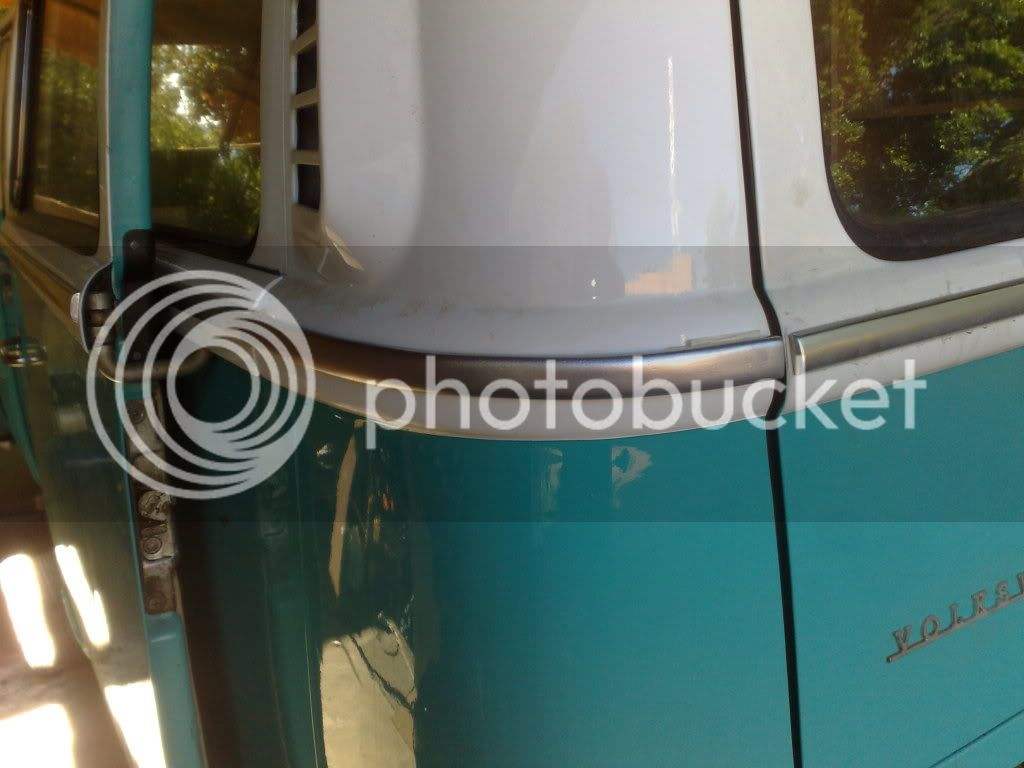
When what should turn up but this


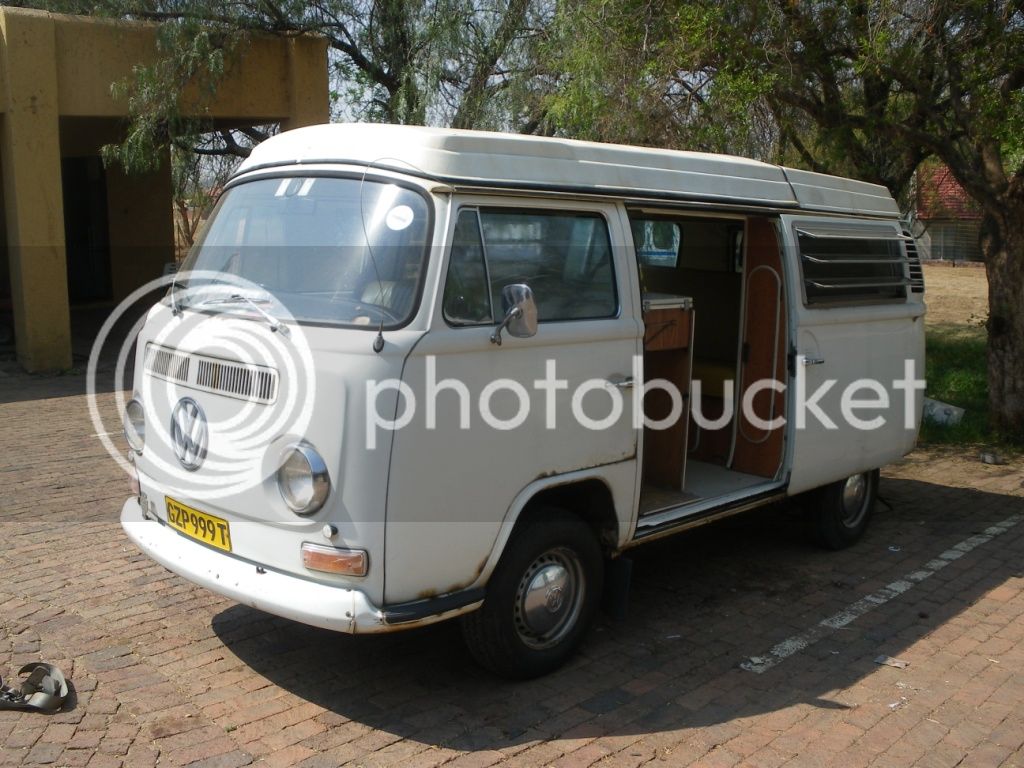
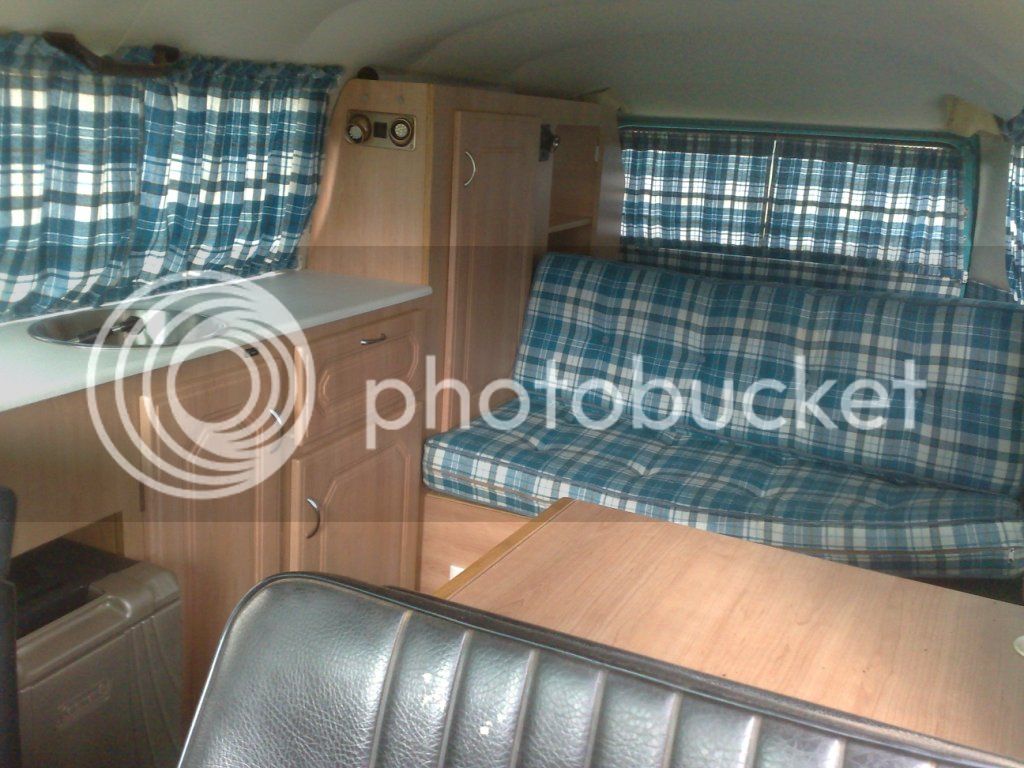
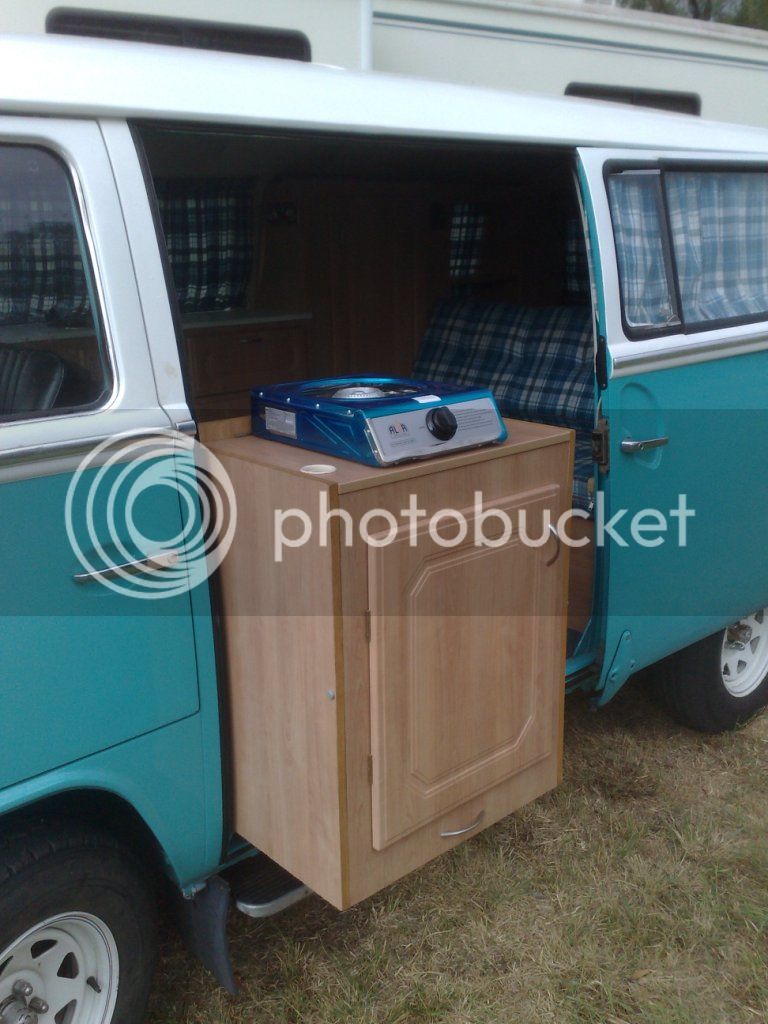
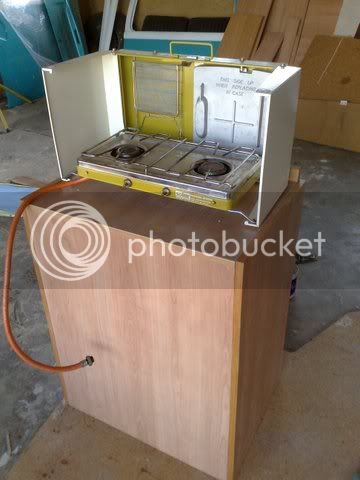
a 1972 one family owned crossover bay westfalia, all original interior, with only some slight surface rust, and a type 4 2 litre fitted. Dilemma!! So I advertised the niagara blue camper, and it was immediately bought by a young couple from Argentina, who wanted to travel from Johannesburg to Mozambique, then to Mombasa in Kenya, then by sea to Mumbai and travel round India. Full marks for bravery nil point for common sense, and they wanted to eave within the week. I explained that it had not run under its own power for over 20 years and that it needed a good shake down run of at least a thousand km to show any problems, but they reckoned they had to leave within the week. nyway, to cut a long story short, a week later they came to there senses, (in fact they found out the enormous paperwork needed for a trip like that) and I refunded them their money. But karma is good, and a few days later sold it for more to a local guy who knows what he is letting himself into! I will be fitting the pop top for him next week, and will put that on the thread so you can see how that went
 
With much trepidation I cut a cruciform into the middle of the brand new headlining to let it hang down whilst I cut a big hole in the roof


Then the roof


Fortunately I had a real westy parked next to it, so was able to make cardboard templates to locate the hinge fixing holes, which was nice


Then transfer to recipient combi


Make up some corner pieces from 2mm alloy


et voila


Latest posts

Top