Cunning Bus Project

Early Bay Forum

Help Support Early Bay Forum:

This site may earn a commission from merchant affiliate links, including eBay, Amazon, and others.

cunning plan

Well-known member
Joined
Jul 15, 2008
Messages
2,625
Reaction score
1
Location
Northamptonshire
Year of Your Van(s)
1968
Van Type
Clipper / Microbus
Edit:

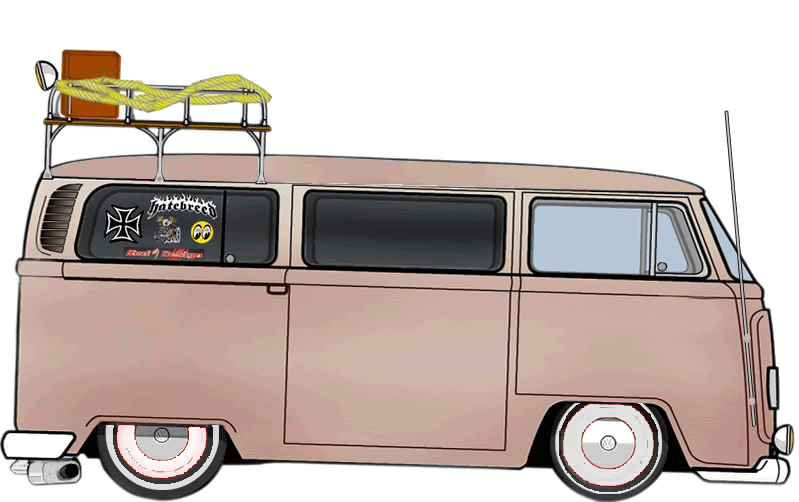
Here is what I hope to build...
4ba42852.gif


Edit:

Disregard disks brakes in this post from a Crossover, I won't be using them. Vented conversion kit planned..

Edit:


_____________


Right, may as well make a proper project thread..

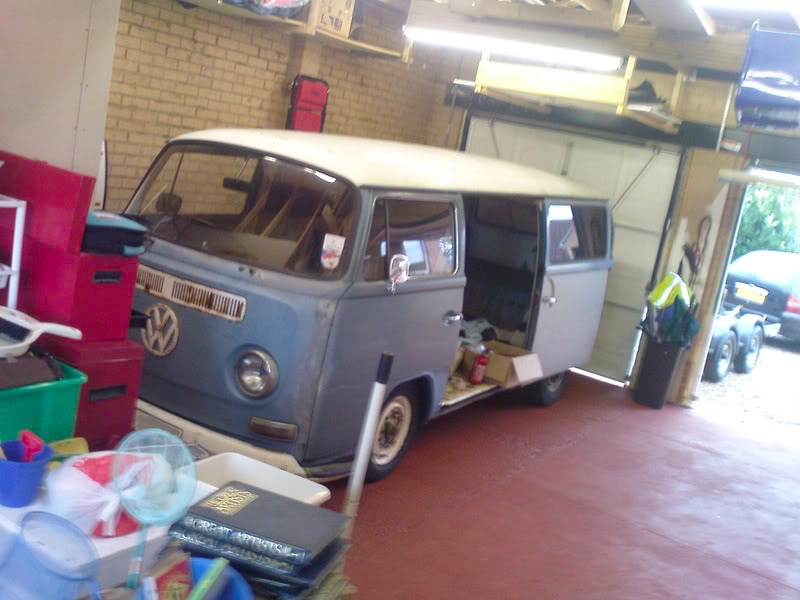
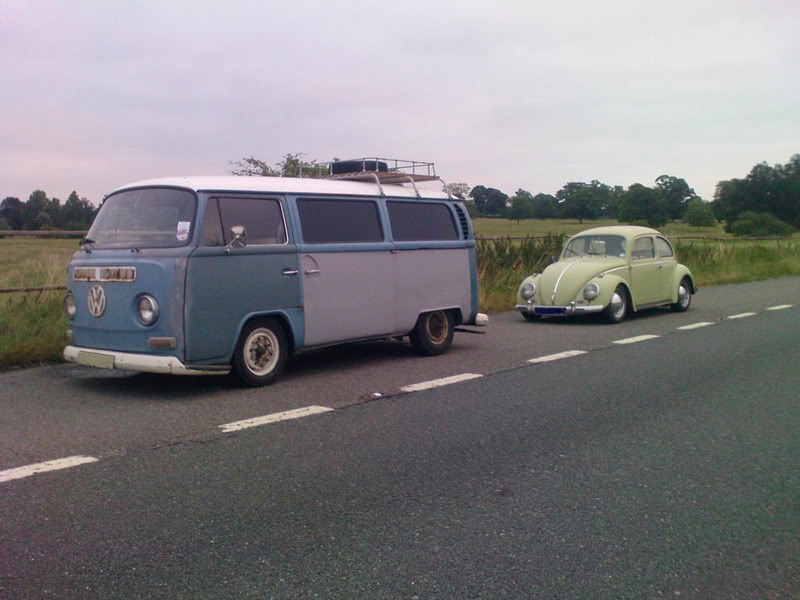
To bring you up to date, I bought this 1968 bus 'Clipper' with a home-made camping interior as a toy after selling my wedge a while ago and you NEED a toy...
I01Uv.jpg


It needs alot of panel work but the rest is pretty solid and it was at a reasonable price for the age. The plan was to run it as it was for the summer then decide if I wanted to keep it....

I ran it for a few days but noticed the ride was total sh!t, to the point that the smallest bump in the road would have you bounced out of the seat!! I asked you guys if all lowered buses ride that badly and was asked to post some pictures of the beam to try to work out what the PO had done to the bus.. http://forum.earlybay.com/viewtopic.php?f=4&t=8336" onclick="window.open(this.href);return false;

It was decided that the bus had been bodged which was the reason for the poor ride and a weedeater beam was needed and new shocks, bascially a new set up..

So I thought while I was at it, I would swap the dodgy drum breaks out for some discs from a '71 bay that I bought from an EB member 'JP' - Nice guy, held on to them for me for a few weeks then met me on the way back from a holiday in Cornwall..
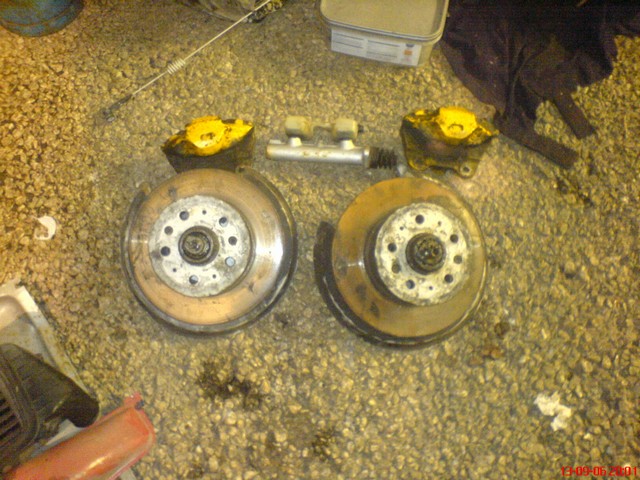
brakes.jpg


While all this was going on an oil leak needed to be fixed which wasnt a major issue, it was the oil-pump gasket..
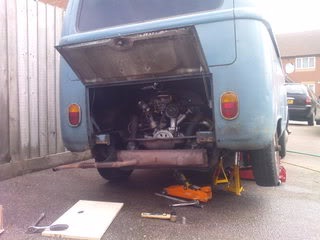
LU7k8.jpg


So I repaired that.. Cool. But no, then the van kept stalling when warm.. Asked about it here again and a carb re-build was needed to eliminate it from the potential issues.. I bought a £10 rebuild kit from GSF (who I have to say delivered for free and next day - impressed) and rebuilt and cleaned the whole carb..
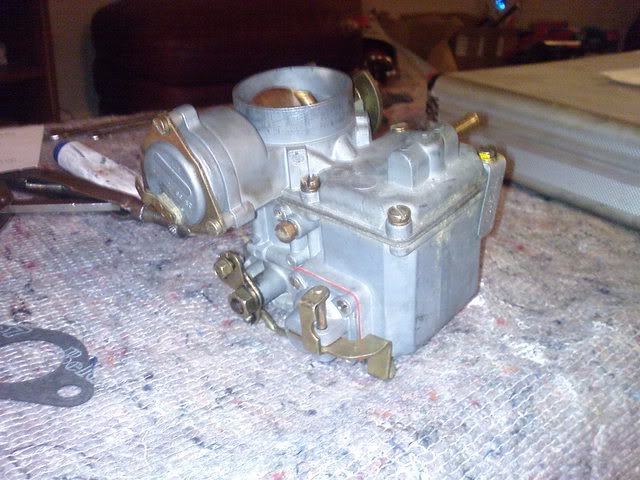
2okHd.jpg


So, I put the carb back on then relised that all the settings would be out so I bought (I know, yeah, MORE money) a Bentley manual from Cool Air, which again, is pretty good, much better than haynes for explaining things..

Carb back on and tuned like 3 times..
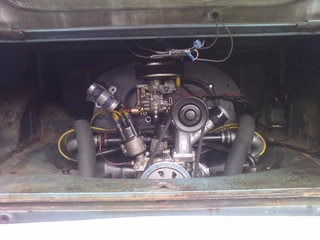
T8APS.jpg


Still cant get the thing to idle when hot. It starts on the key when cold and chugs away nicley, about 1 minute when the choke starts opening it starts to splutter, then it will stall unless you blip the throttle..

I figured that I elimated the carb from the equation, it must be an air leak somewhere meaning the engine is fine when its compensated with the choke but as that opens it doesnt have the compression?? < Im guessing here...

Any ideas?
 
Hi!

I would check the idle shut off valve, should click when ign on if you take off the wire and touch back on the terminal - it's a solenolid type thing.

Worth a check, and only takes secs to do. If this is gone, it wont idle, will pull throttle, just no idle.

Otherwise, maybe a bit of grit in the idle circuit??

cheers!

Alistair
 
aogrady said:
Hi!

I would check the idle shut off valve, should click when ign on

Hey, I tried this when I got back today and there is a nice tap when you touch the feed to the shut off valve solinoid thingy..

Anyother ideas? :?: :(
 
Araon said:
any visable/feelable movement on the throttle spindle?


Not quite sure which bit you mean? If the stepped part of the choke, that is quite loose is most directions. the throttle leaver just moves as normal.. If you mean the main flap bit at the bottom of the carb, thats all been cleaned and moves freely on the spring..

:?
 
hmm, been playing with it and it just will not idle... Anyone got anymore ideas of what to try or is it a compressionless engine that needs to be rebult?

:?:
 
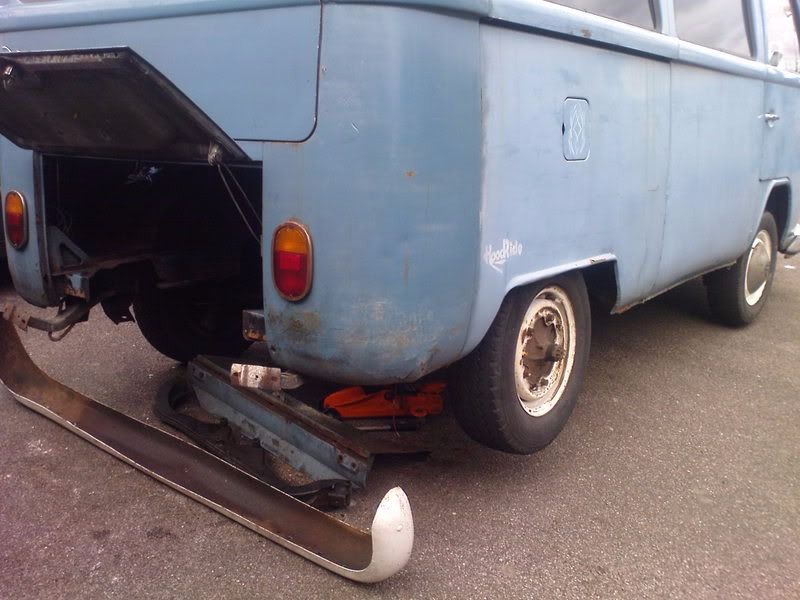
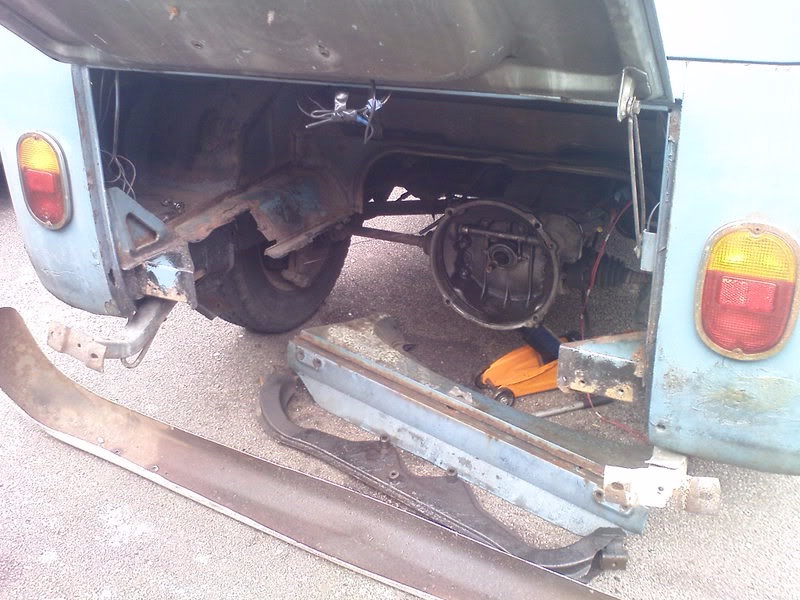
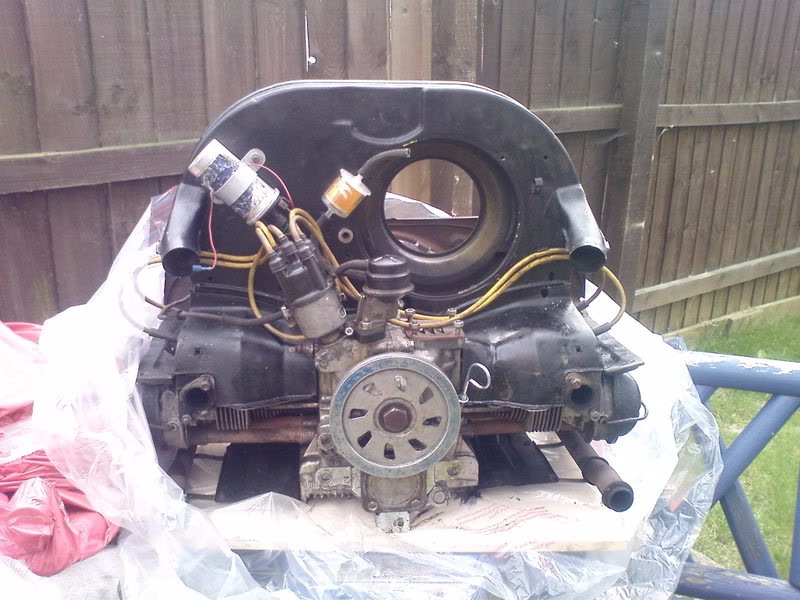
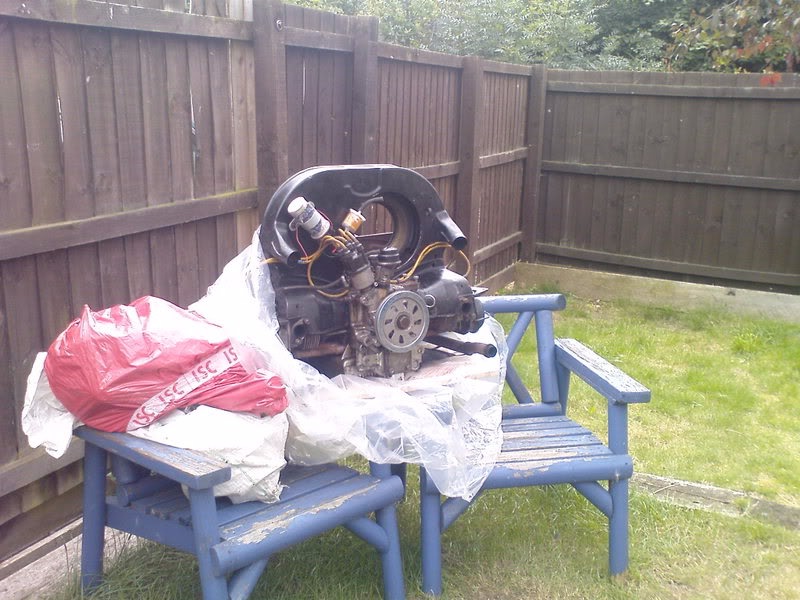
Still having issues with the idle, looks like it could be either compression or carb/ignition/air leak combo..

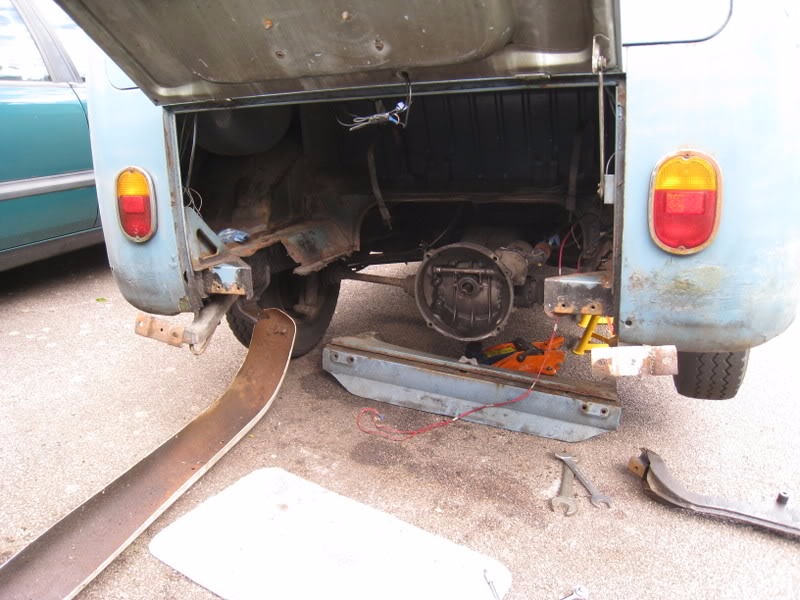
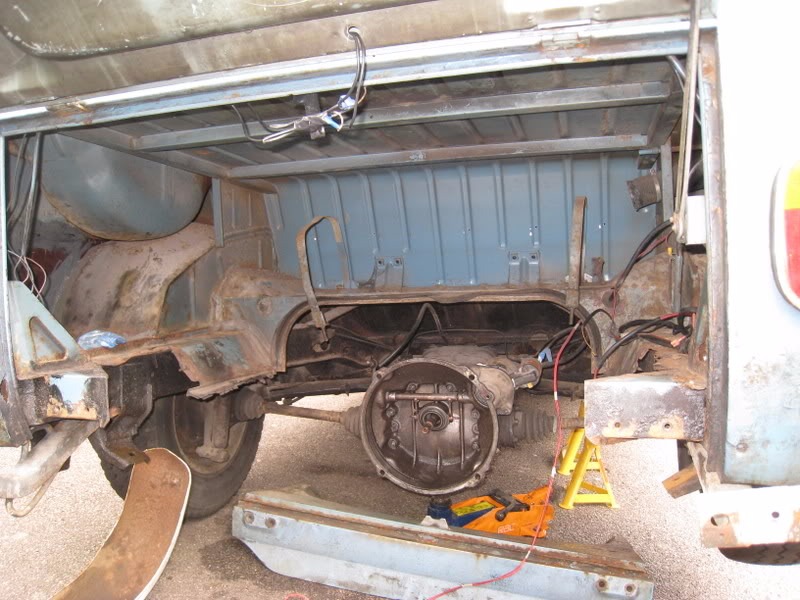
So, engine out anyway so I can begin work on the engine bay POR15, welding, wiring etc etc.

lsgh6.jpg


R1VWt.jpg


LMK1n.jpg


yY75Q.jpg
 
Bit more progress:

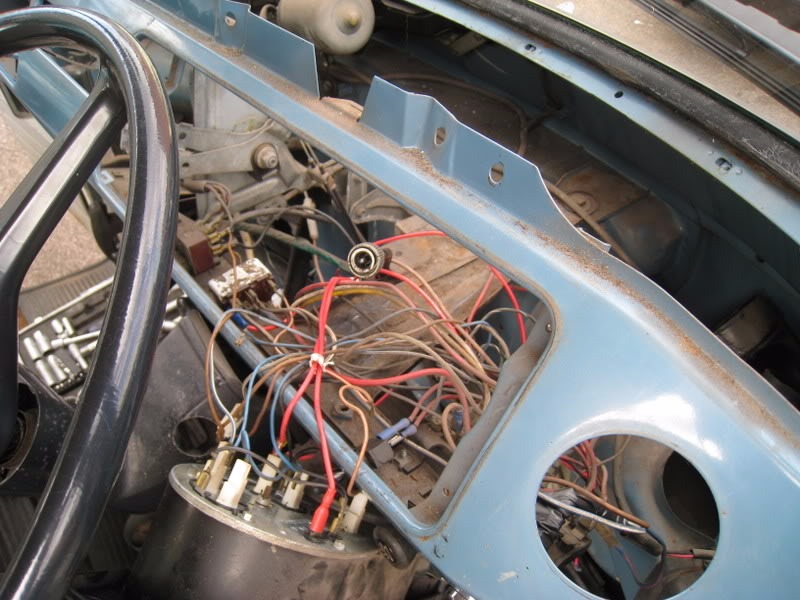
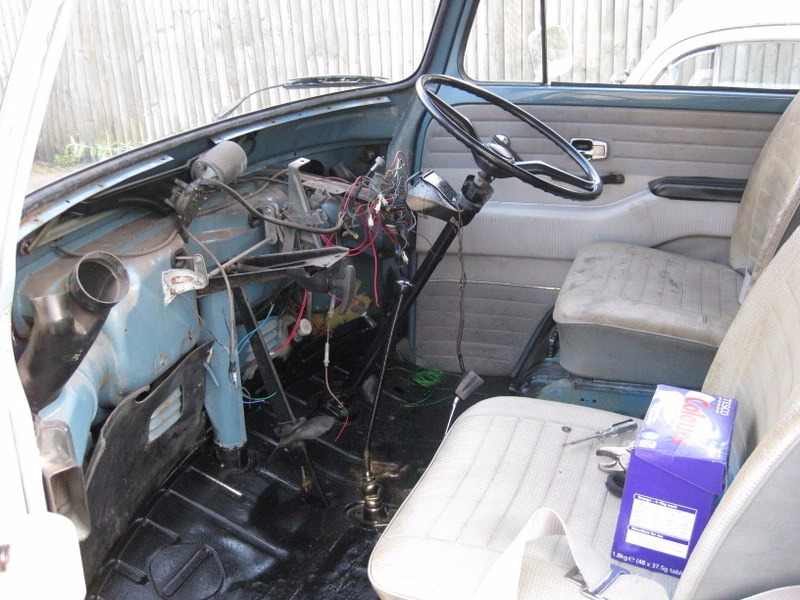
Dash out to repair the windscreen lower seal and to sort the fuel gauge out which wasnt working and the wiring..

3VeCi.jpg


gjotm.jpg


Directly earthed the gauge and it went straight to full as has been advised by you guys so I know the gauge is working.. Im pretty sure its the wiring on the way to the tank which is pants so I will re-wire it, along with a new sender just incase as I dont want it going wrong when its all back in place..


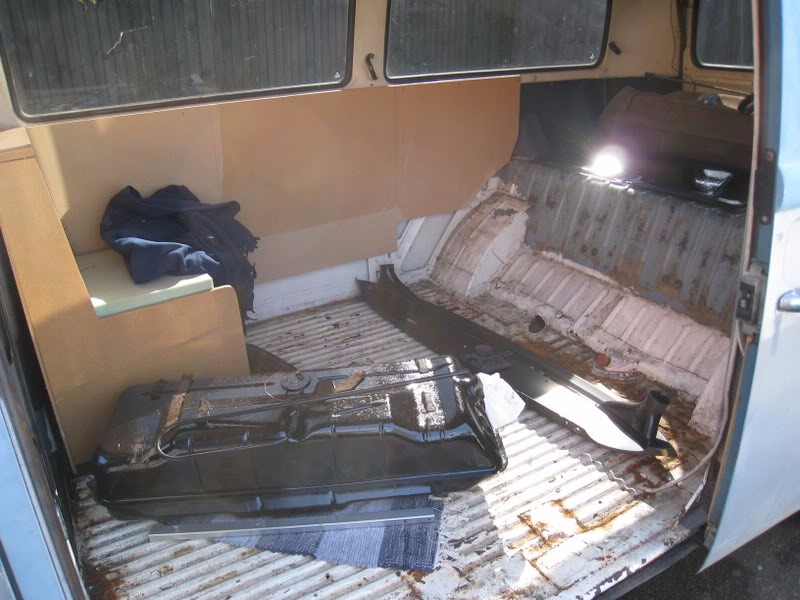
So I took the fuel tank out aswell:

VOMFS.jpg


nhDYB.jpg


Not *too* bad considering its age and abuse. Needs alot of wire-wheeling and POR15.

0KqSZ.jpg


And some welding.. WTF is this? Looks like some cheap tacky way of welding, its a small plate that seems to have been glued on......................................... :| :roll:
 
Did a little more to the bus yesterday when the sun was out :roll:

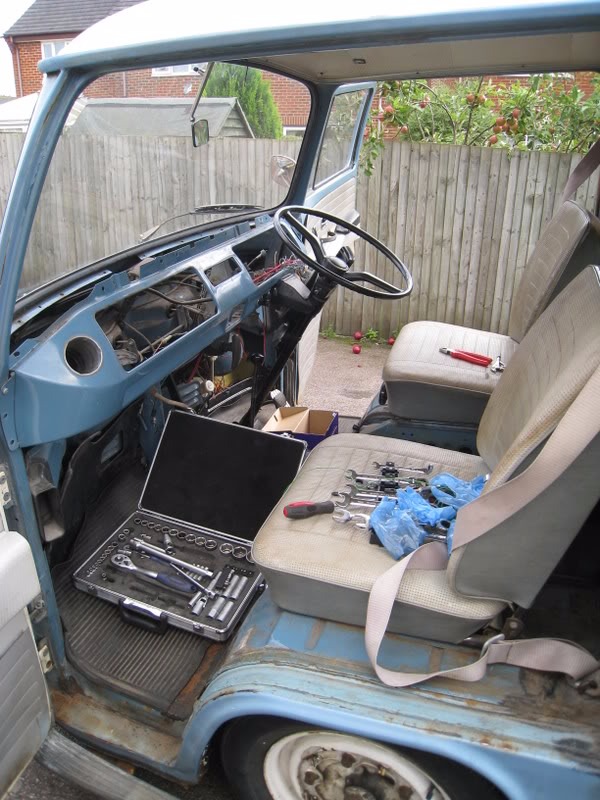
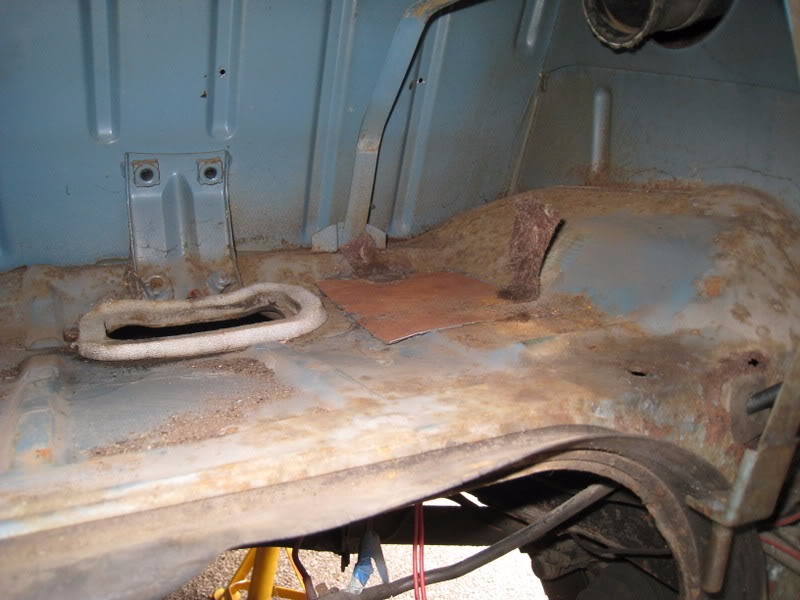
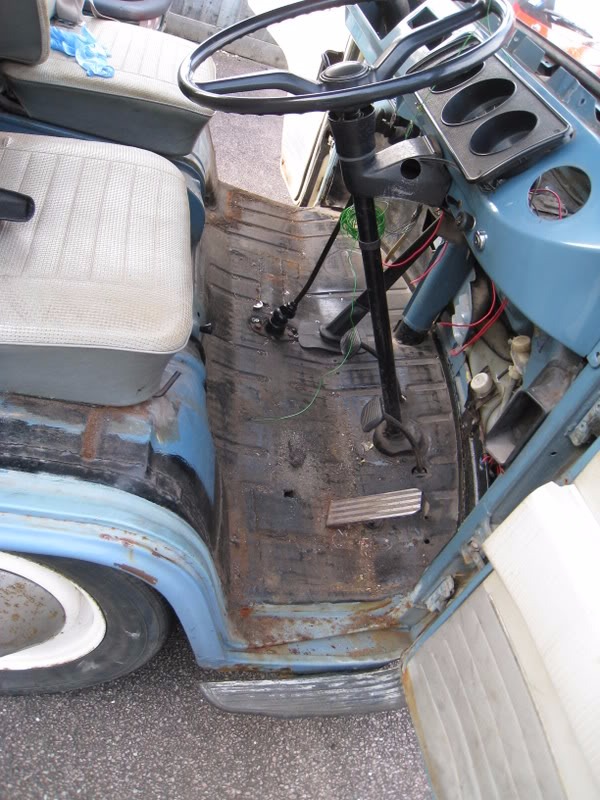
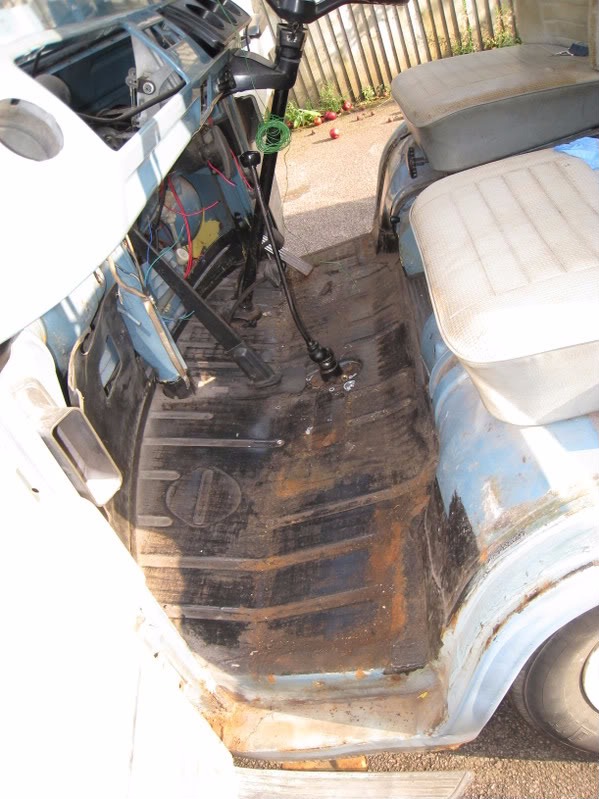
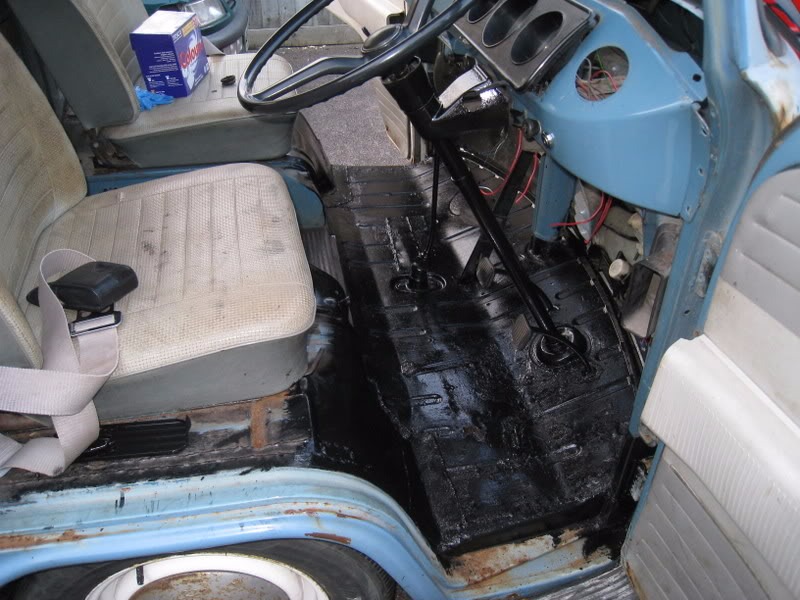
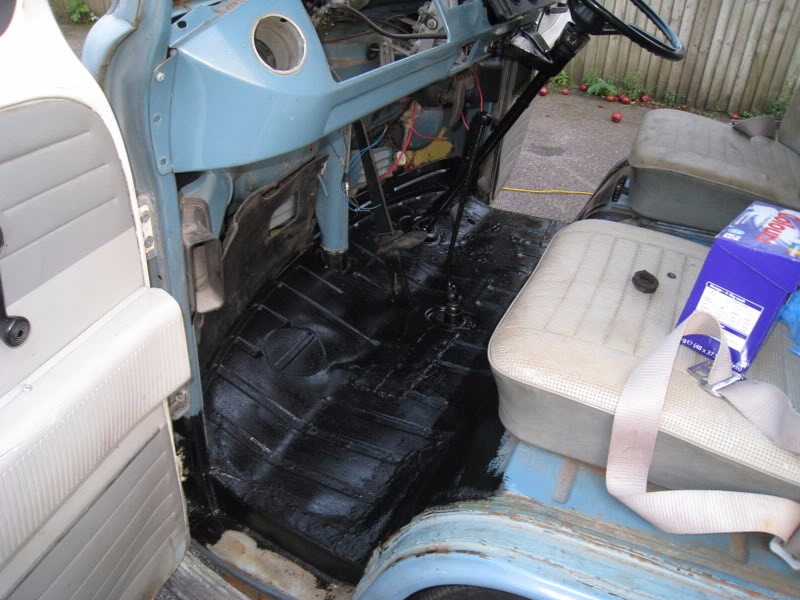
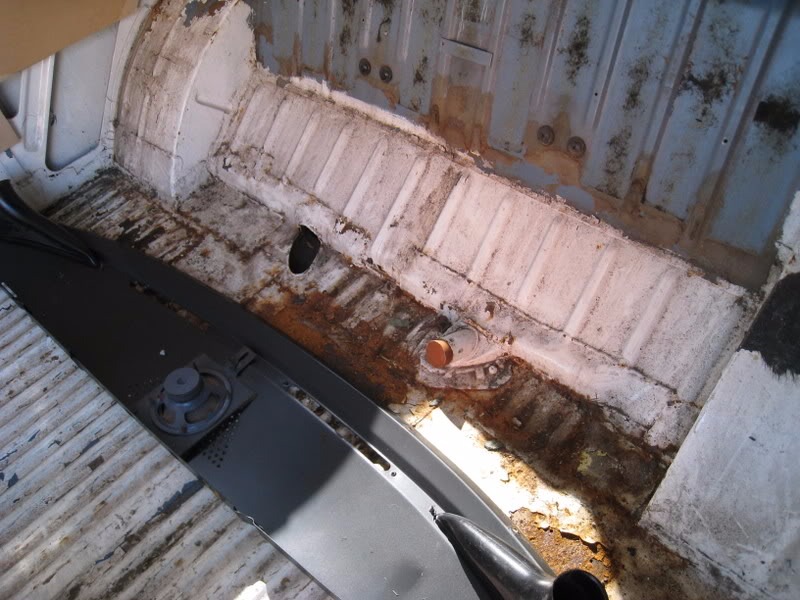
I am in the middle of sorting the wiring out but I figured I wanted a nice clean working area, so I decided to repair and clean up the front cab floor. I lifted up the front rubber mat and it was not *that* bad, I think it must have had alot of the floor replaced at some point, I can even see that someone has had a good go at it with Hammerite. Although none of this I know for sure as there was NO history with the bus, pretty much just the V5 :?
nkJfS.jpg


Passenger side had a bit more surface rust with evidence of a long retangular repair about 30cm long. Seems to have been welded in quite well.

zfoB6.jpg


I wirebrushed and cleaned up the whole area chipping away the flakes, then got the POR15 out.

lSJB0.jpg


iPKwH.jpg


POR15 = good stuff
beavisnbutthead.gif


Finish the wiring next I think along with completing the dash, putting it all back together etc..
 
Slow but a bit more has been done..

3sy7k.jpg

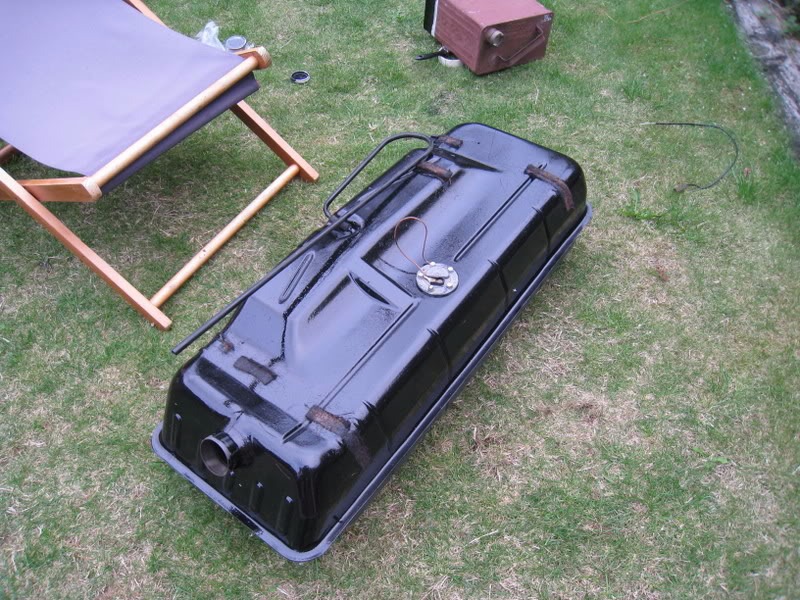
A (nearly) new tank with a good sender bought from downhillhotrod on here.. A good coat of POR15 should help it stay new..

w5znr.jpg

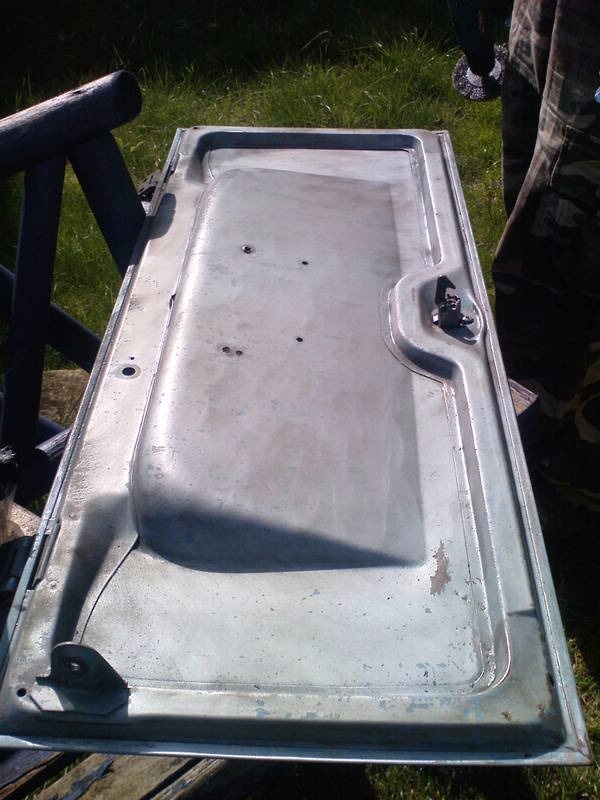
Decklid off and the engine-facing side cleaned up.

BfVOh.jpg

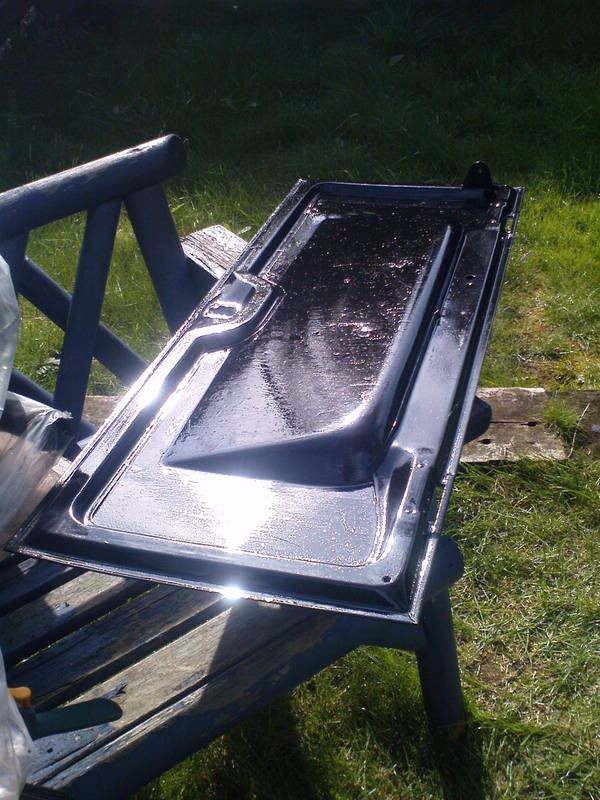
POR15

a0J9c.jpg

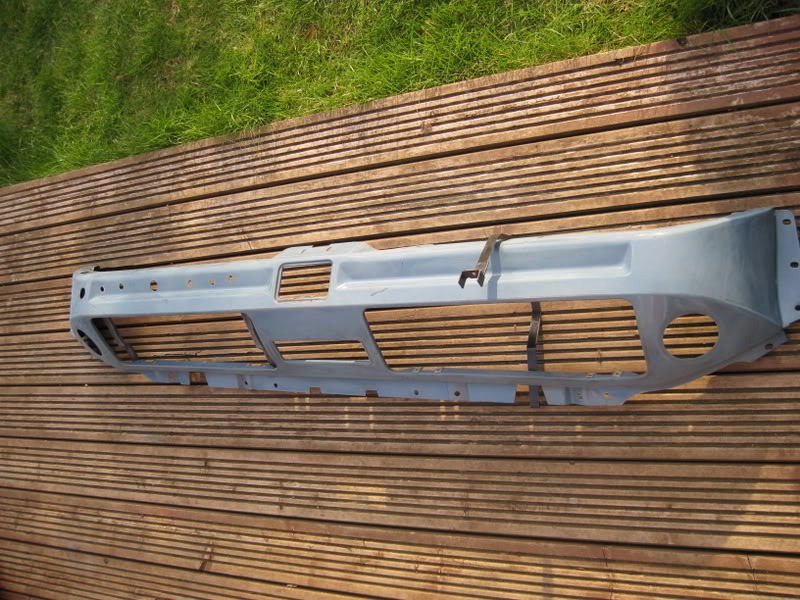
Dash is totally out now so i can get to all the wiring and clean up the inside of the front panel.

HJbxD.jpg

Dash cleaned and keyed ready for me to decide where I want everything..
 
Threads like this put me to shame! Although (touch wood) i don't need to do any welding at the moment.

How easy or hard is the dash to get out?
 
halfpint_fighter said:
Threads like this put me to shame! Although (touch wood) i don't need to do any welding at the moment.

How easy or hard is the dash to get out?

Thanks dude, im only just starting though :cry:

The dash isnt hard to get out, its just aukuard, the black section top section is really tough to remove without thinking 'fuk it' and just breaking it loose becuase of the way the bolts are located so close to the underside of the dash, put your hand up (oorr errr) and feel around for the bolts holding the black bit to the metal dash and youre see what I mean :x

Once the black top section is off the rest of it comes out pretty well with easially accessable fixings. Ive just taken 1000000000000 pictures of what wire goes where so im not totally lost when I rewire.. THATS the plan anyway :lol:
 
Tanks Sparky :)

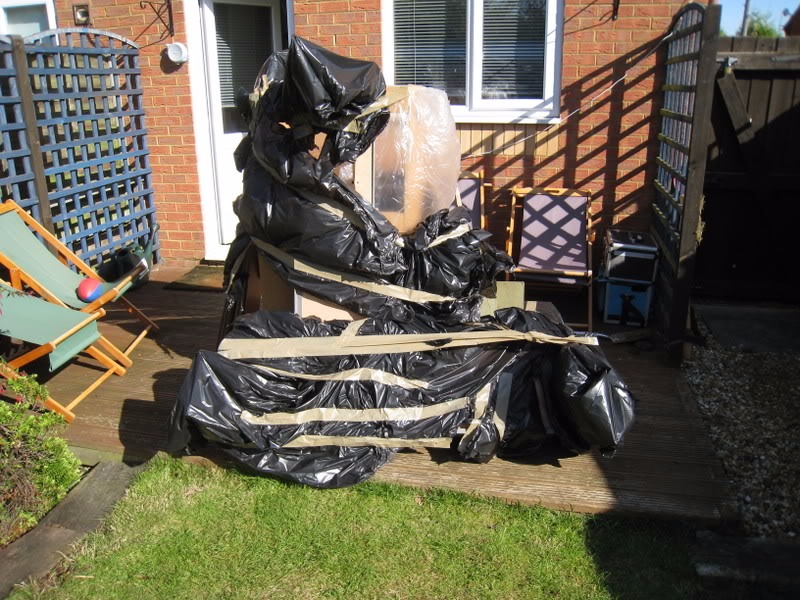
Planning to take the bus to my parents house in Norfolk as they have a haauugee garage, so its a nice and dry place to work on it over the winter. So im organising a trailer etc.

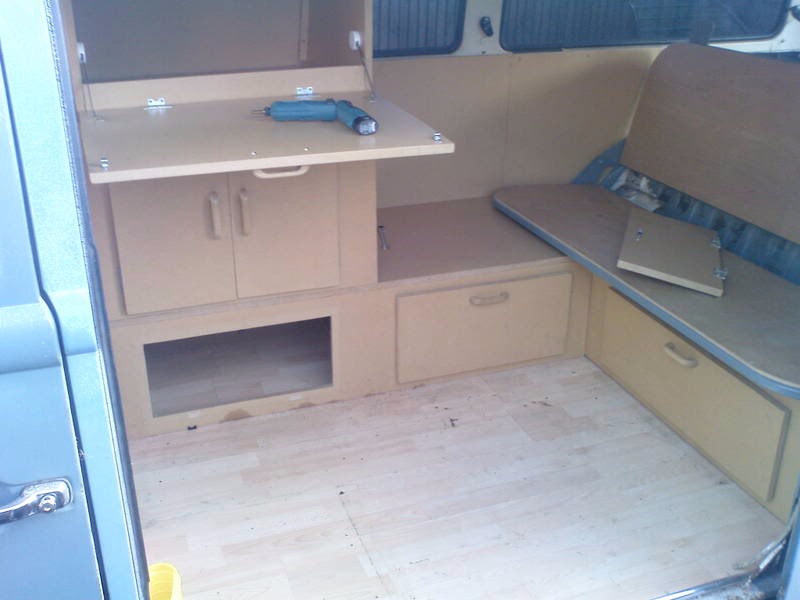
So before I get it on a trailer I need to put all of the parts im accumilating in the back so the PO's homebrew camping interior had to come out and be put on egay :roll: http://cgi.ebay.co.uk/ws/eBayISAPI.dll?ViewItem&ssPageName=STRK:MESELX:IT&item=140273597659" onclick="window.open(this.href);return false;

GXJfD.jpg

Making a start stripping the interior..

eT0ay.jpg

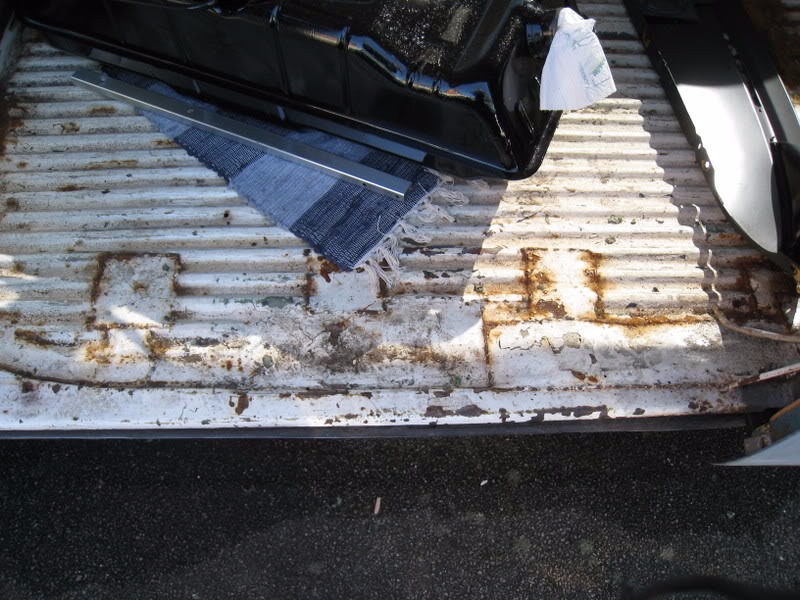
All out, wasnt looking forward to lifting up the laminate floor but i was quite supprised at the *reasonable* condition of the floor.

5fXJP.jpg

Interior all wraped up waiting for a new owner..

8zGRD.jpg

Its a shame when people spend alot of time and money installing an interior but fail to rust proof the covered areas... Still i hammered on it and its solid, just needs a clean up.

Kf7cY.jpg

Shes had some welding done in the past!
 
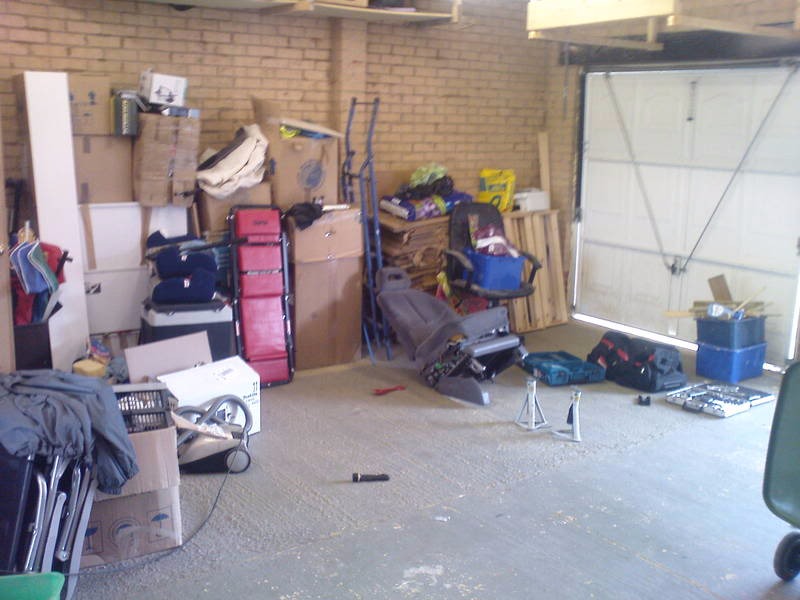
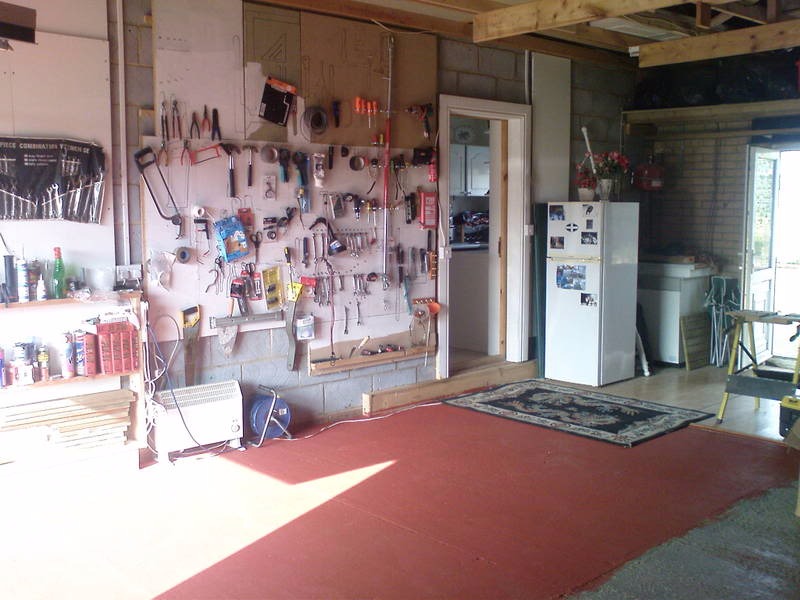
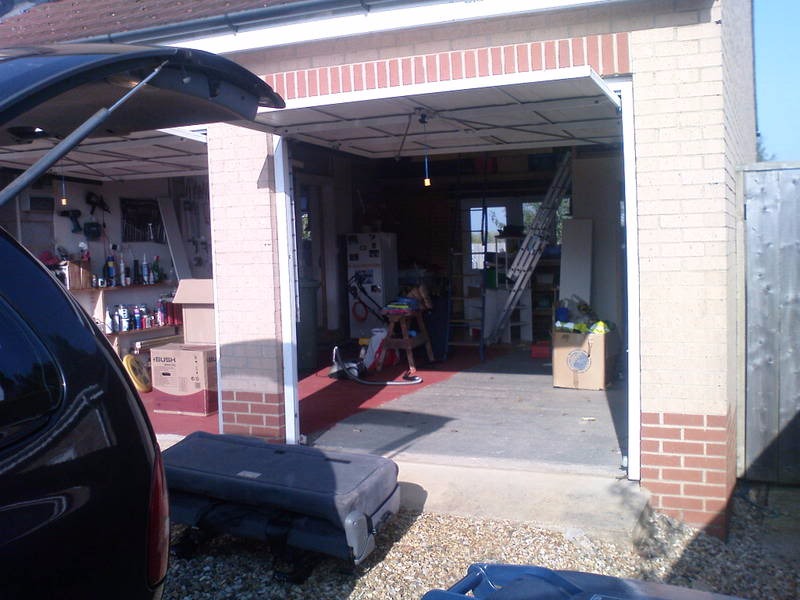
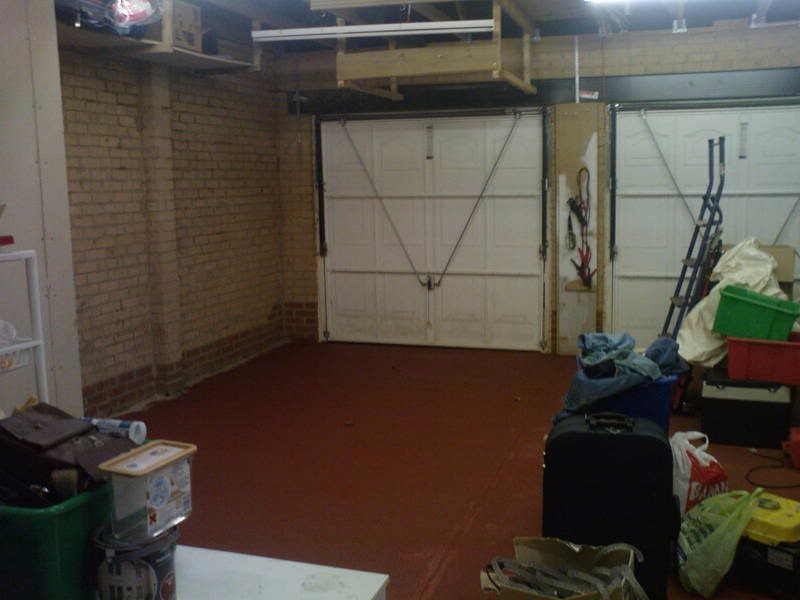
Right, loads of work to do over the winter. I managed to get into my parent's garage but the first job to do was to clear it out and paint the floor.

S9XZo.jpg


t9ryN.jpg


6wyeB.jpg


3pDyF.jpg

The garage has really good lighting and we have tried to seal all of the gaps so it shouldnt be *too* cold over winter. The main thing is to have that fridge stacked full of beer and pizza :mrgreen:

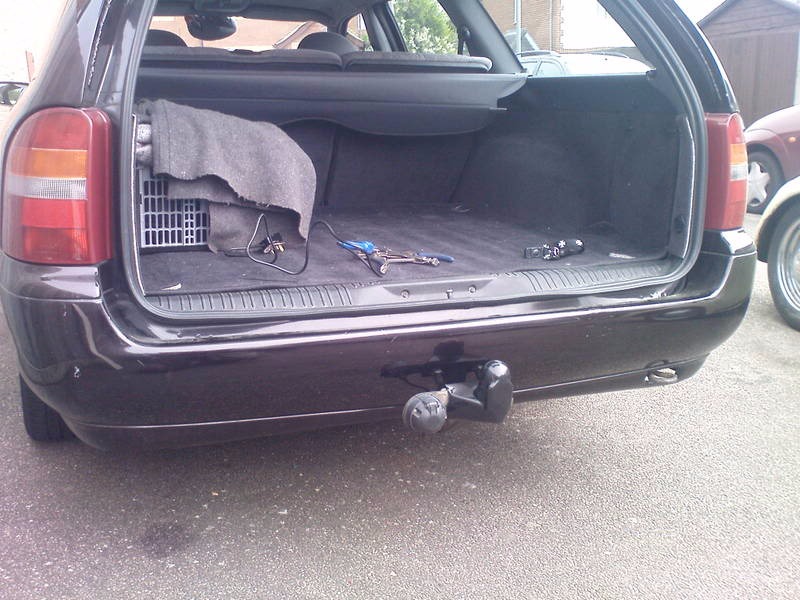
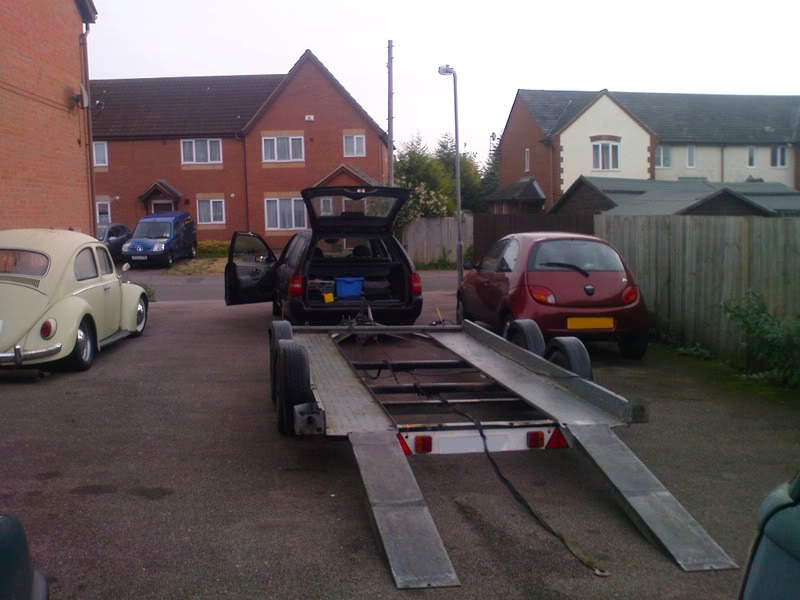
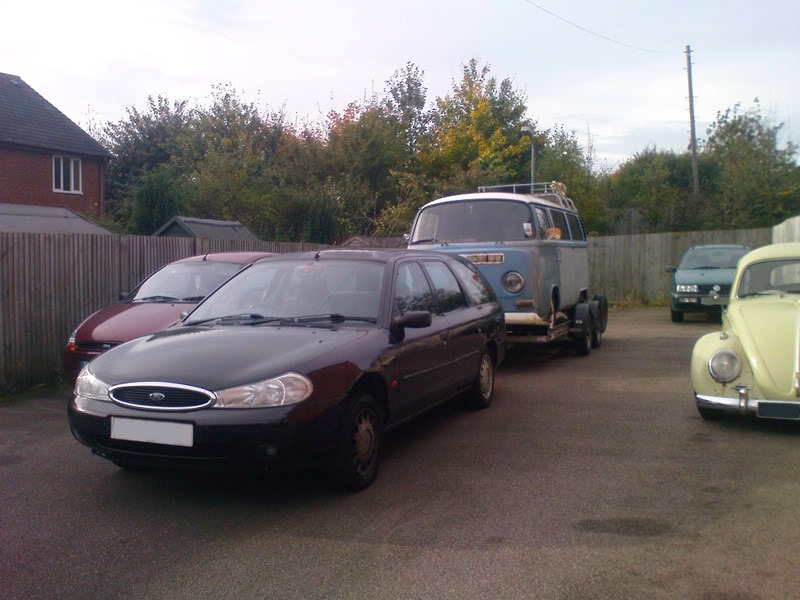
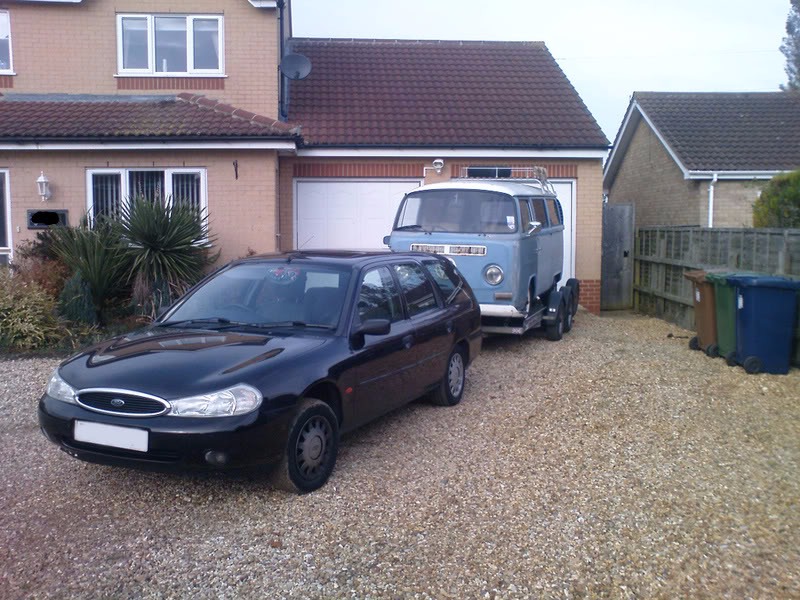
The next issue was getting the bus to the garage. Its in Norfolk and Im in Bucks. So, I found a 16' trailer that a neighbour kindly agreed to let me rent, the only problem being I didnt have a car with a towbar. So off to a scappy near my parent's house to get a towy for £25 with electrics. Pretty good deal I figured.

obS9U.jpg

Fitted, was a little bit of a bitch on the near side as the silencer and heatshilding was in the way.

4XLyY.jpg

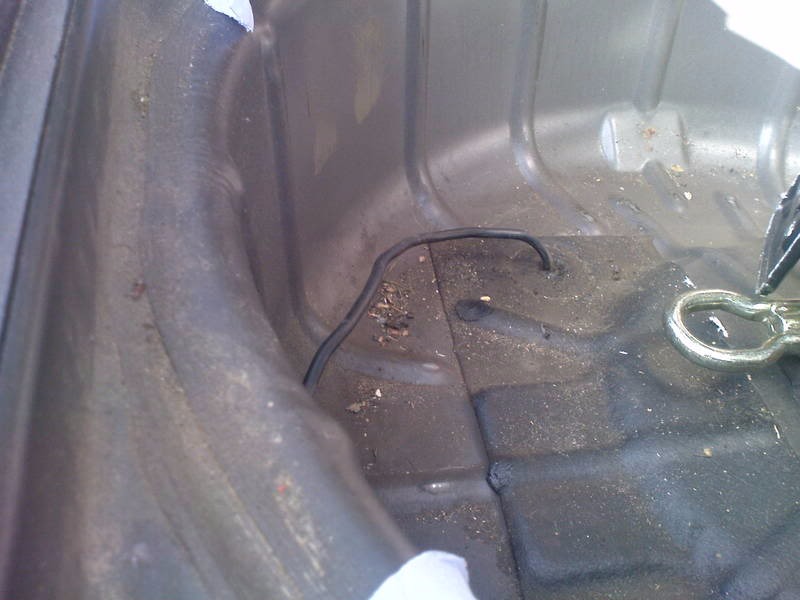
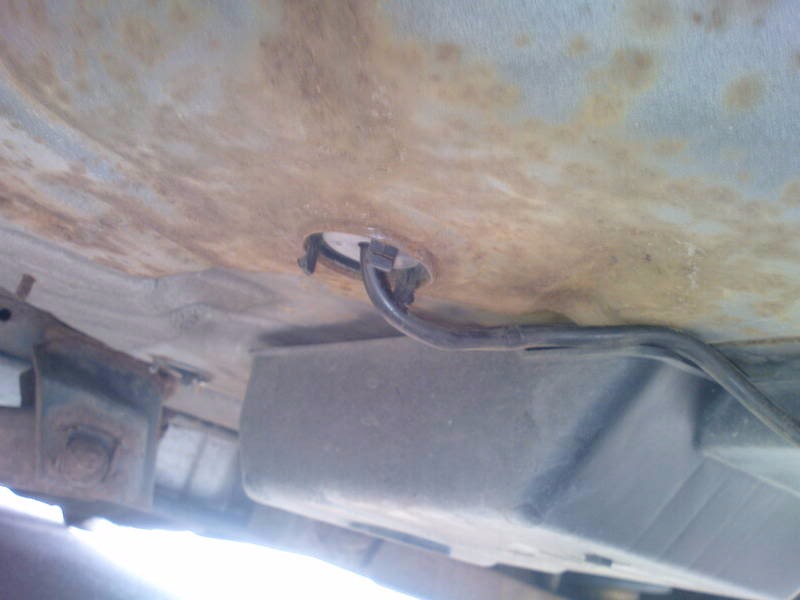
Next was the wiring, a neat little hole in the plastic bung in the spare wheel well.

LNpIy.jpg

Job done.

This weekend it goes to Norfolk so i can finially start to do most of the big stuff like beam and pannels :shock:
 
Towing to Norfolk:

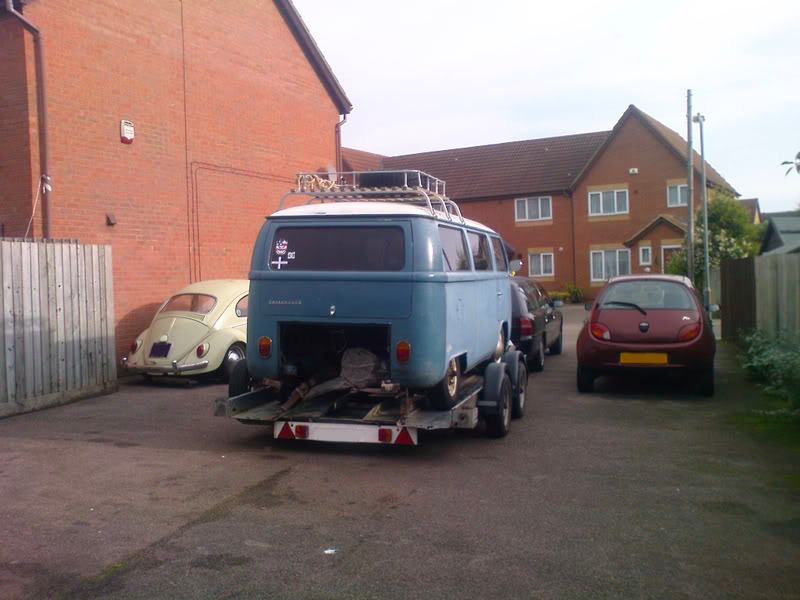
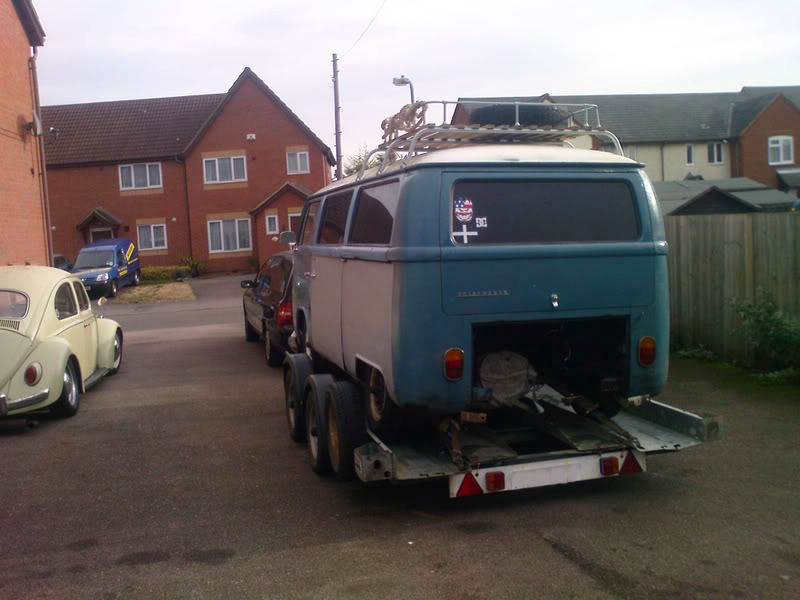
Was a bit of a struggle getting the bus onto the trailer becuase it was so dam cold and the bus was supprisingly heavy even know it had no engine or interior.. The winch just about managed to pull it up onto the trailer. I hate doing that part though as Im always worried the cable is going to break and come flying back :shock:

ZcK9v.jpg

A nice big rig :mrgreen: :shock:

jaEz8.jpg


6vmZd.jpg


JmrB5.jpg


There was supposed to be more pictures inbetween everytime we stopped, you know like a layby cool shot. But my girlfriend who I hired as the cameragirl for the weekend forgot her camera so I had to use my phone...

eBhTq.jpg

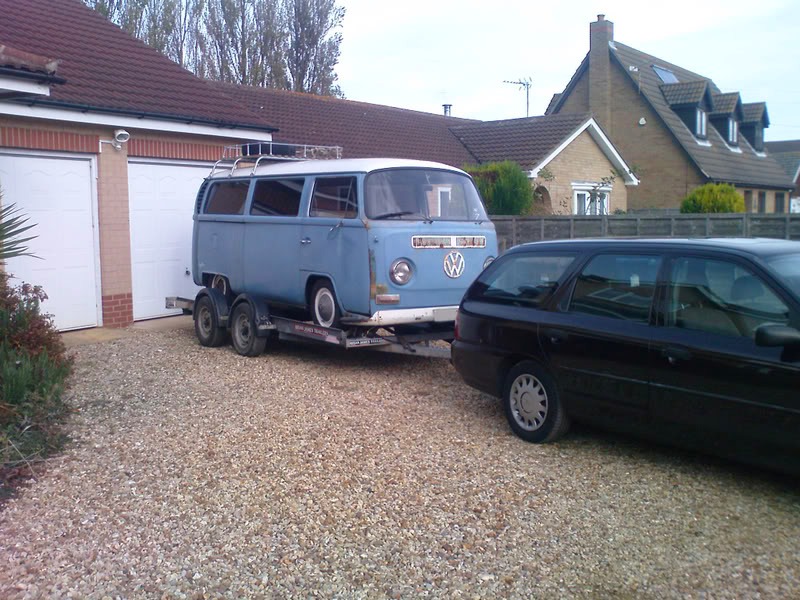
In Norfolk! Longish drive, quite slow but the trailer seemed quite stable at a steady 50 where possible.

yMxJG.jpg


aWCMp.jpg

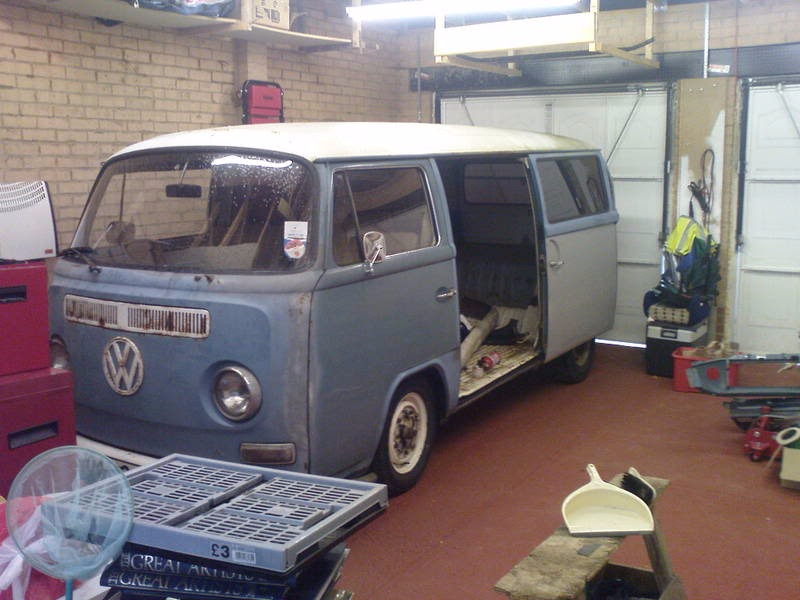
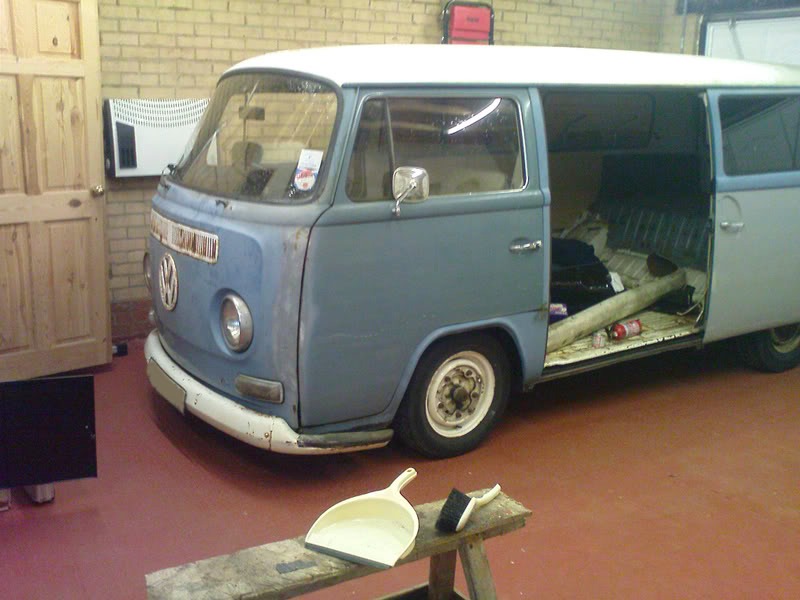
Inside the garage, finially. Had to take the rack off but needs to come off for reconditioning anyway..

Jn3ku.jpg

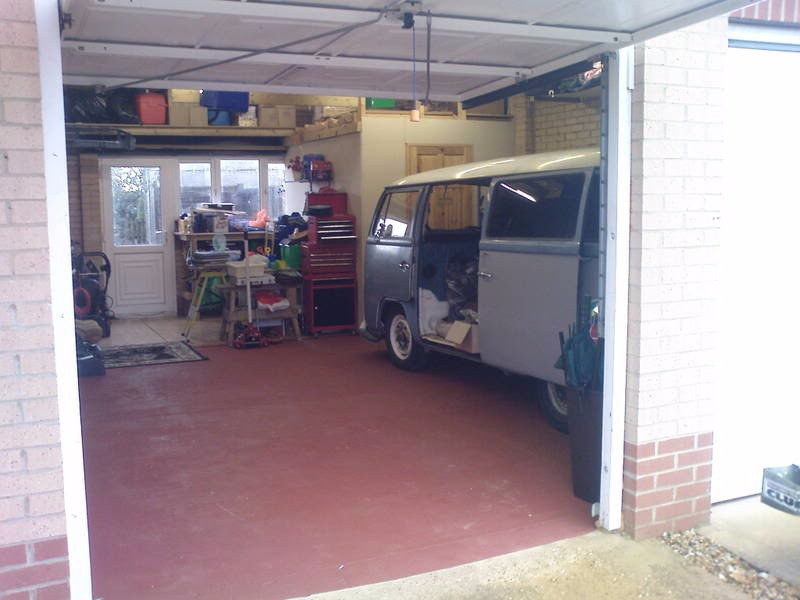
Got good space all round for work..

yl9SA.jpg

Nice and dry 8)

ryXd9.jpg


The Ford Mondeo has not been built as a tow car, but I was quite impressed with its performance, the ol' gal did well.
 
Glad you got there safely and the garage looks ace, i wish miine was as big and tidy.
 
Tanks gents, the garage is a luxury I am grateful to be using, which is why I helped my Dad do so much work to it getting it cleaned up and painted etc.

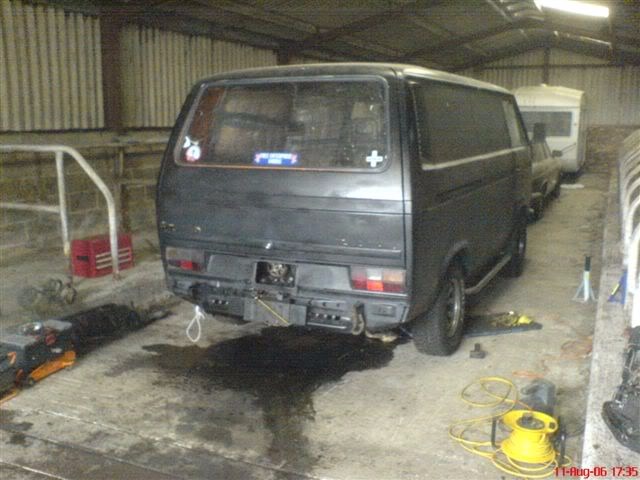
The last house they were in was tiny and had a rubbish garage to the point it wasnt worth having it. When I had my Wedge I had to find a local barn to work on it (Ive since had to move out - DOH).

bNBHP.jpg

Cold damp, stinking but cheap and a rather hot stable girly :lol: 8)

Eye candy will keep coming :D
 

Latest posts

Top