Endre D
Member
- Joined
- Jul 27, 2009
- Messages
- 18
- Reaction score
- 0
Hello all!
I thought I'd share my latest project with you all, and hopefully get some good advice when needed (I'm new to early bays )
)
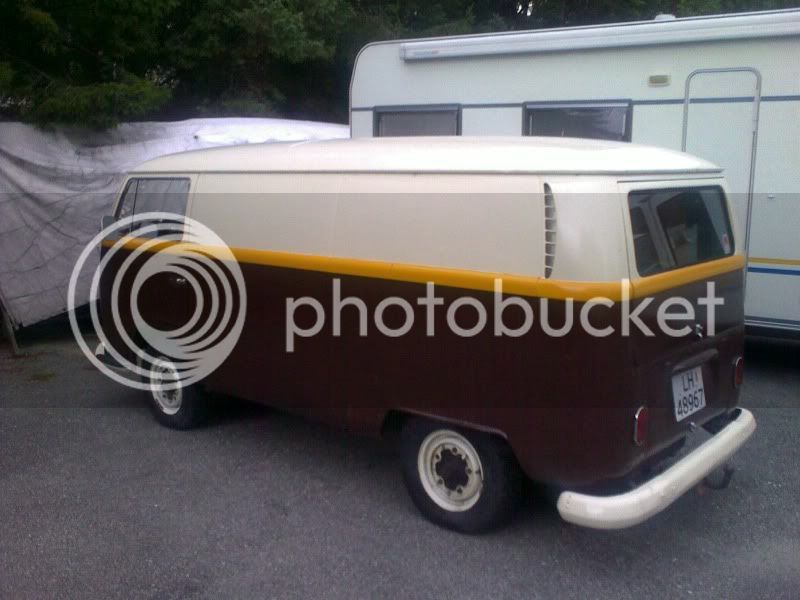
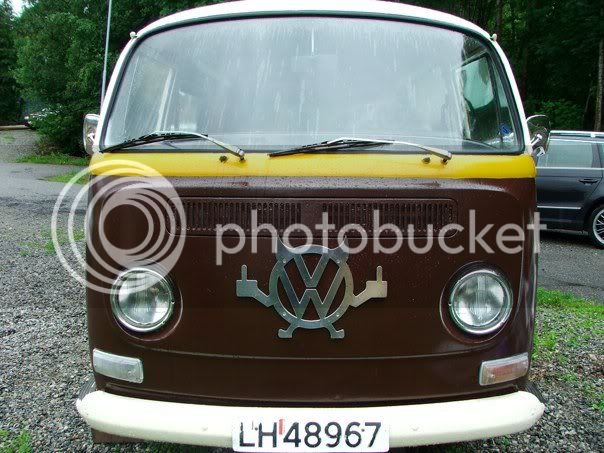
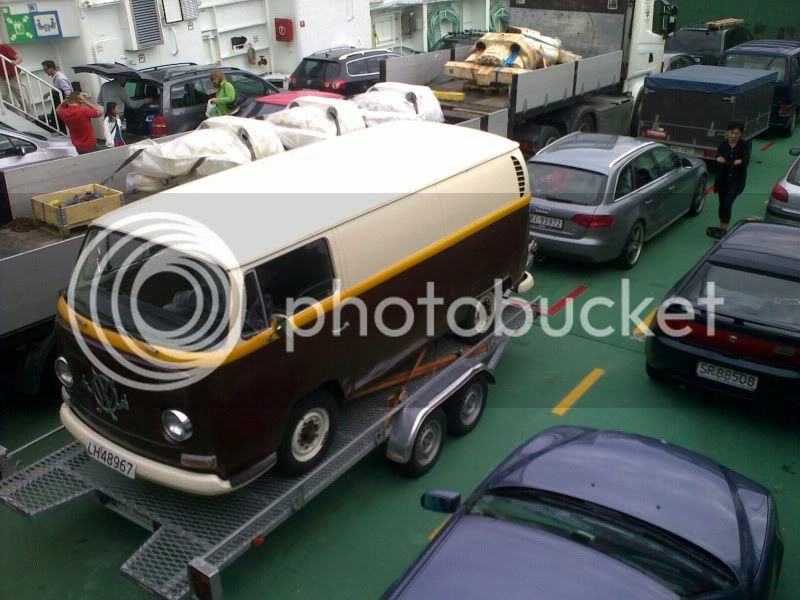
The car is a 69' panel that I picked up from a fellow norwegian VW enthusiast, a good 6 hours drive (and a bunch of ferries) from my hometown Stavanger.
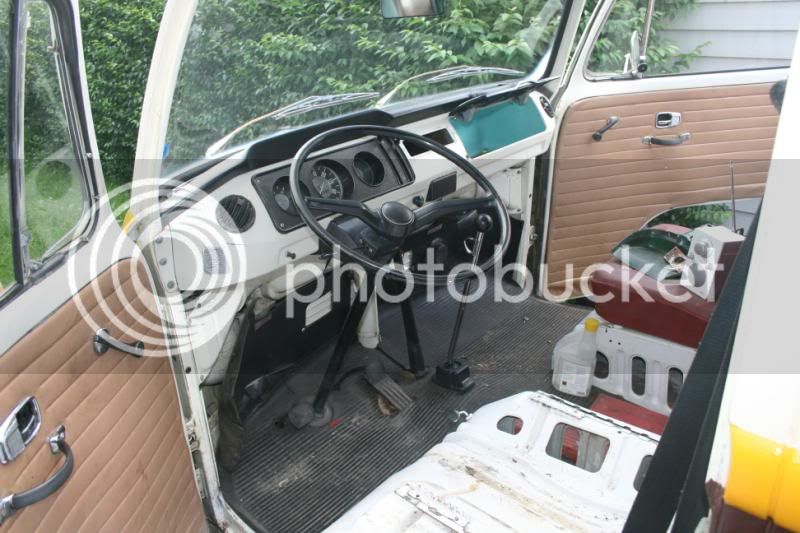
Started on the inside;
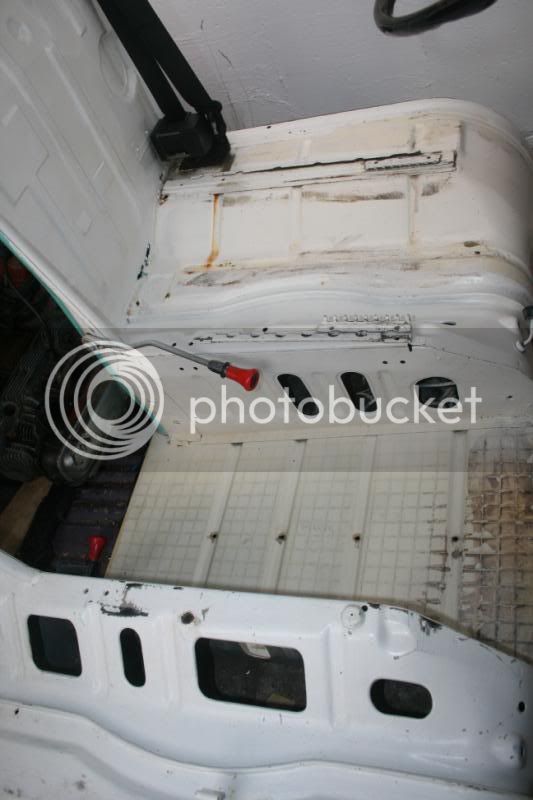
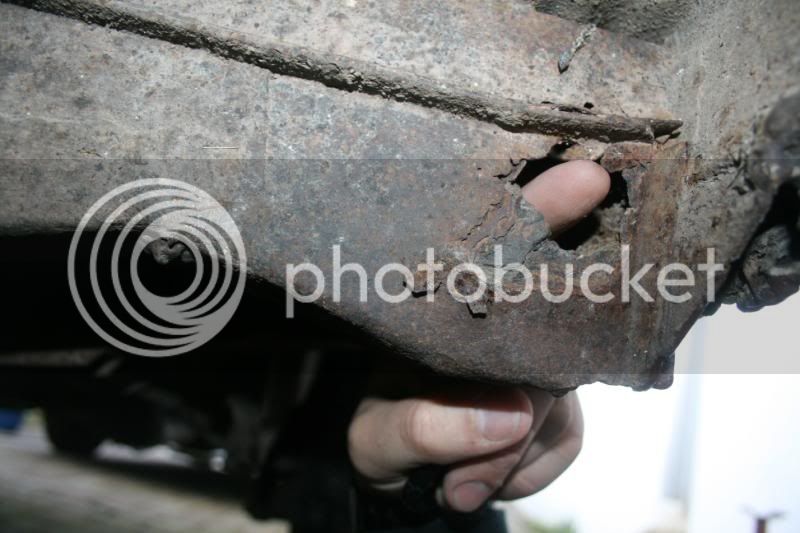
Ouch, time to learn how to weld. Holes!
In need of a good cleaning!
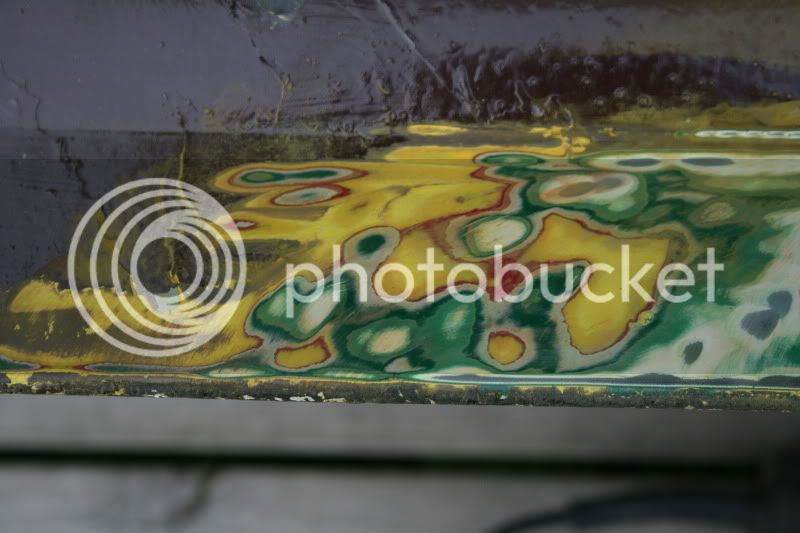
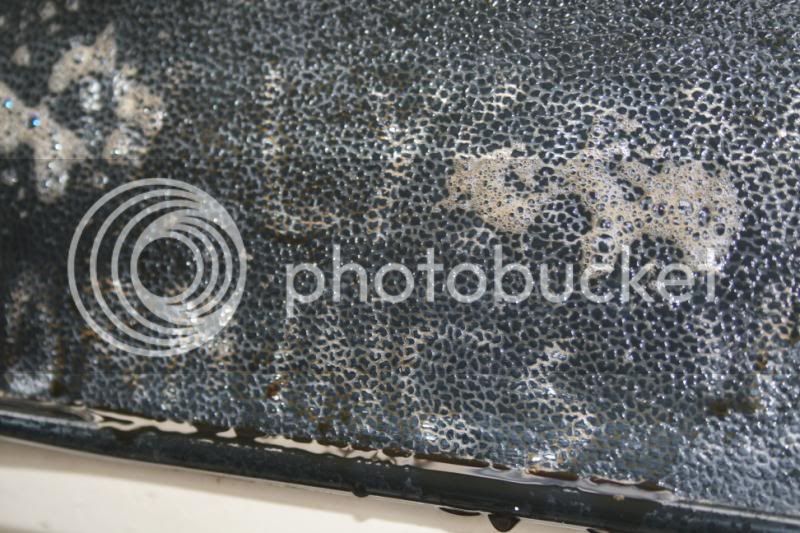
Interesting colour on the de-greaser on the glove box lid..
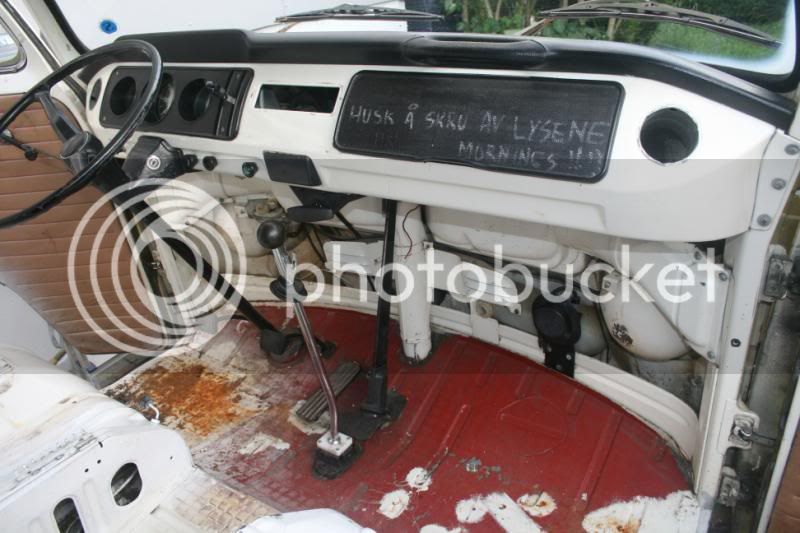
Washed it out a bit on this pic. The glove box says "Remember the lights!" in norwegian..
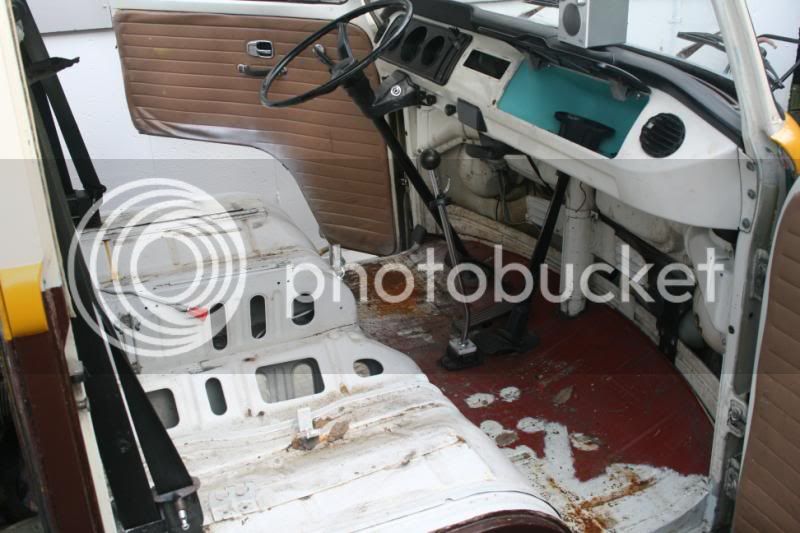
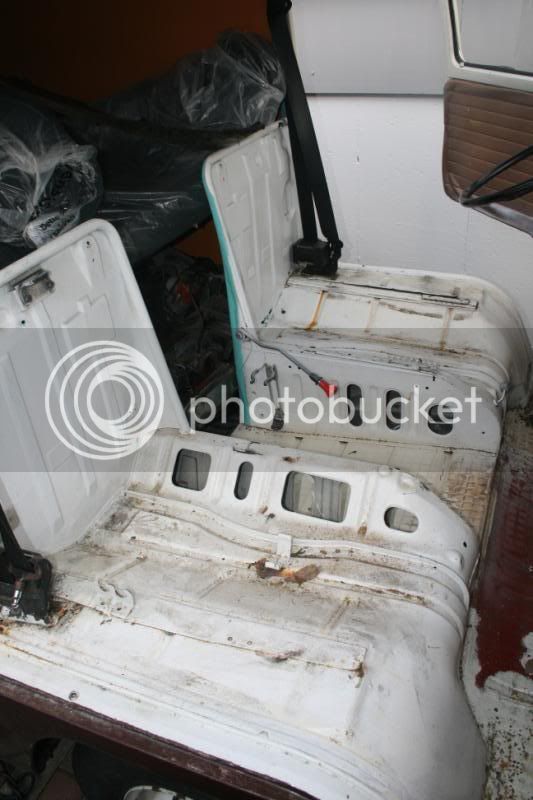
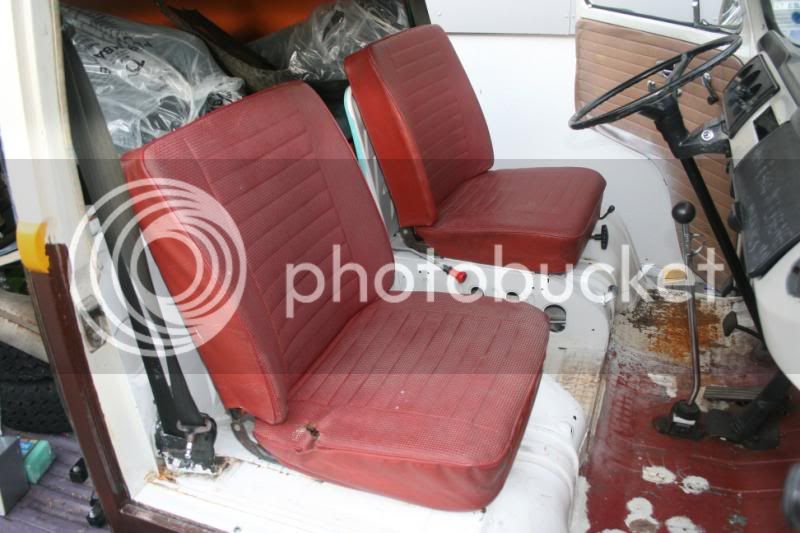
On the floor between the seats you can see the original color, Lotus white. My plan is to take it back to this color, since i think it's beatiful - and I have a 67' beetle in the same.
The car is a walkthrough originally, but the original seats were missing, and the gap between the seats closed with a sheet of plywood (!). Luckily i got a hold of some original seats, that i picked up on the great norwegian VW-event, SCC, this weekend.
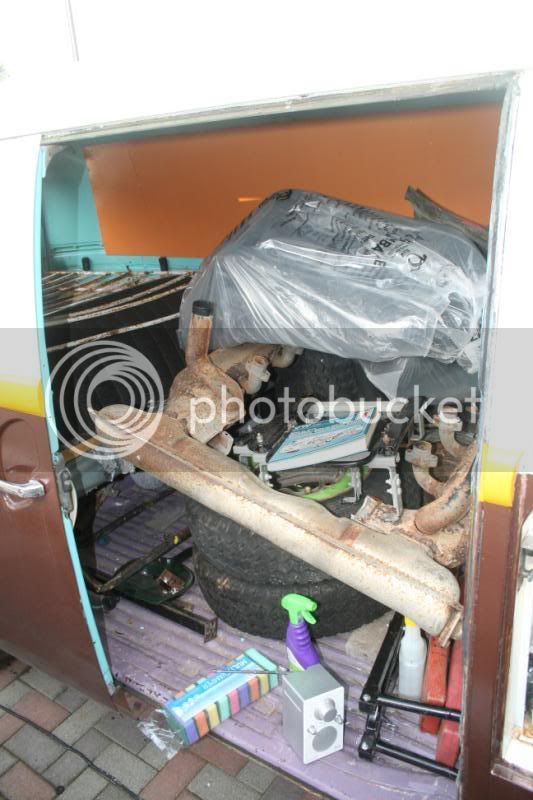
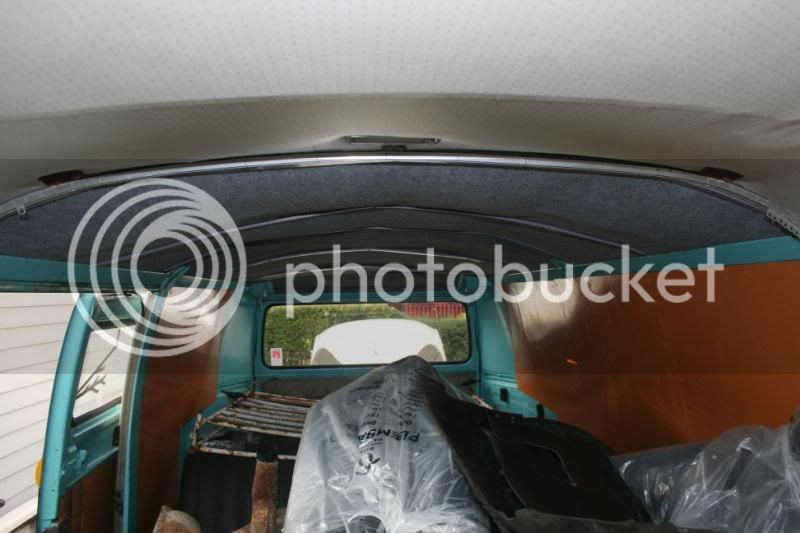
Haven't cleared out the back yet, but enjoy the colors! :lol: Real hippie-bus
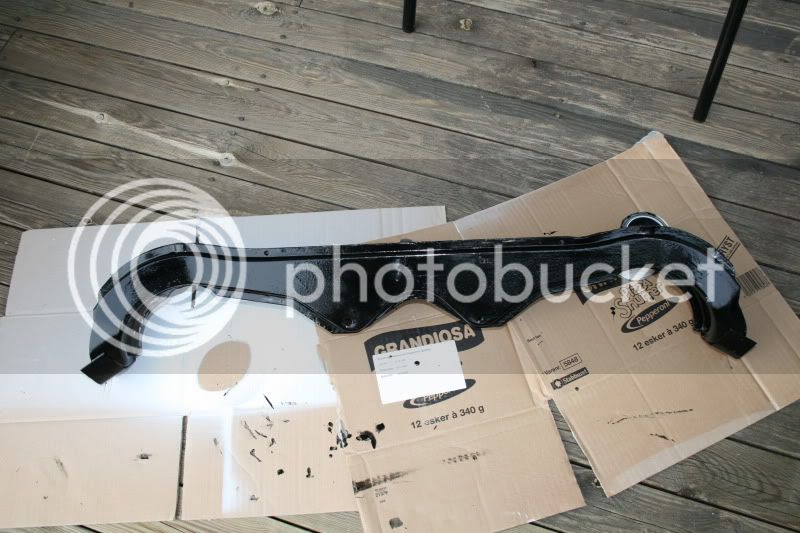
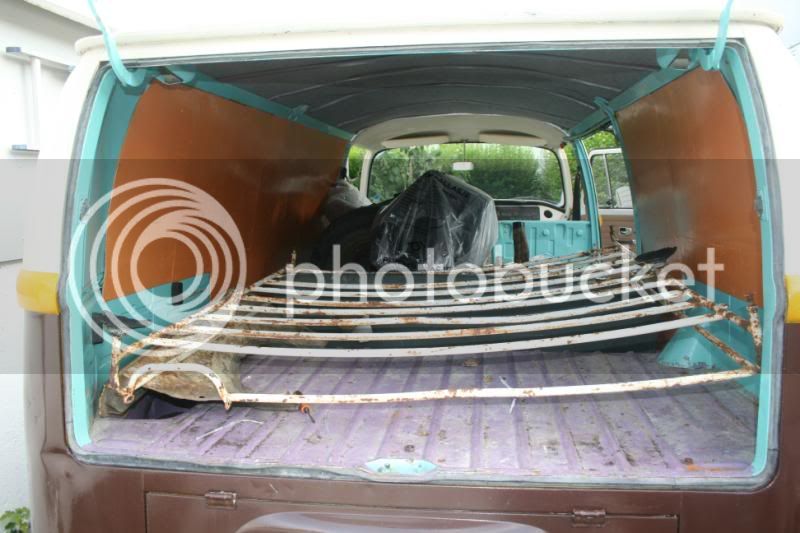
A real beat-up luggage rack was also included;
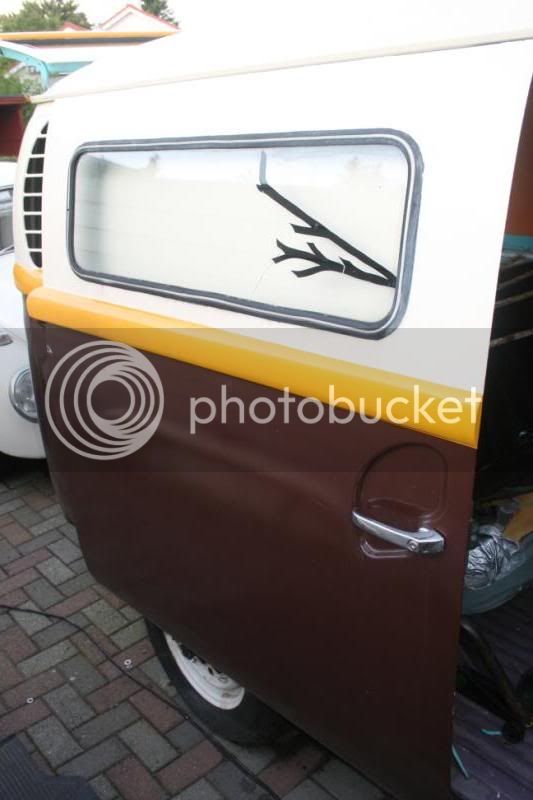
The sliding door has got an aftermarket window of some sort, which is also broken. I'll have to get hold of an original door or weld in a piece of sheetmetal here.
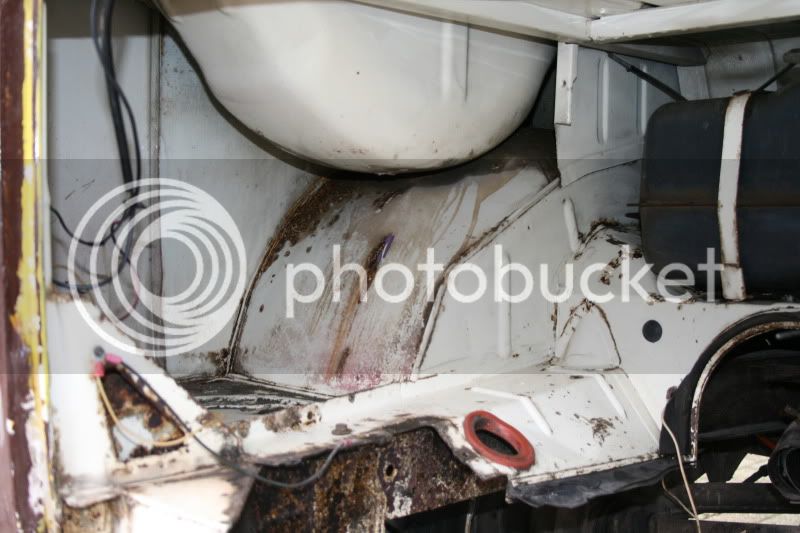
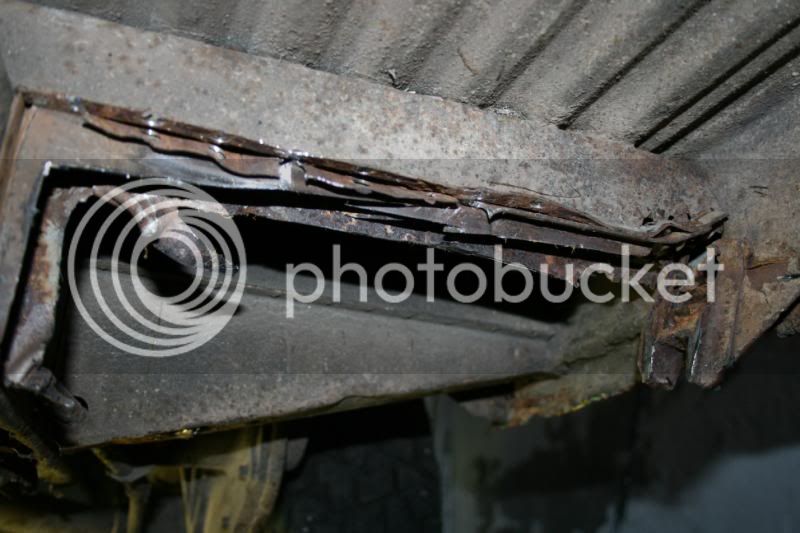
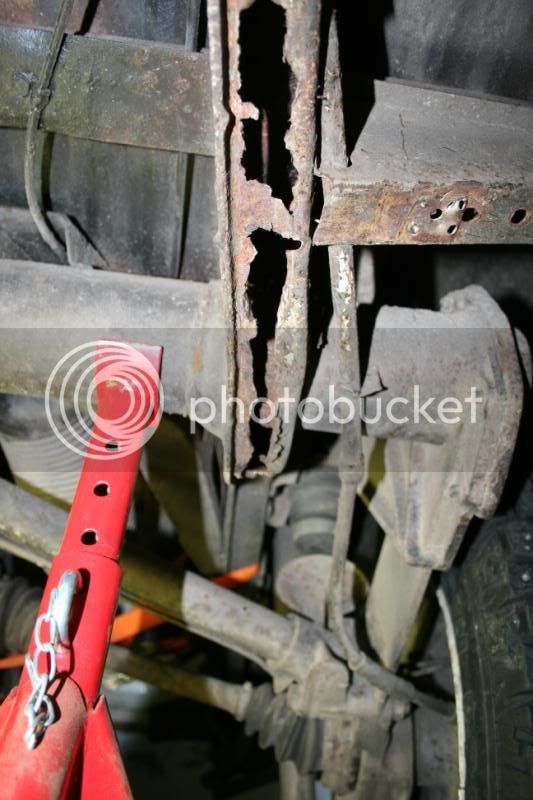
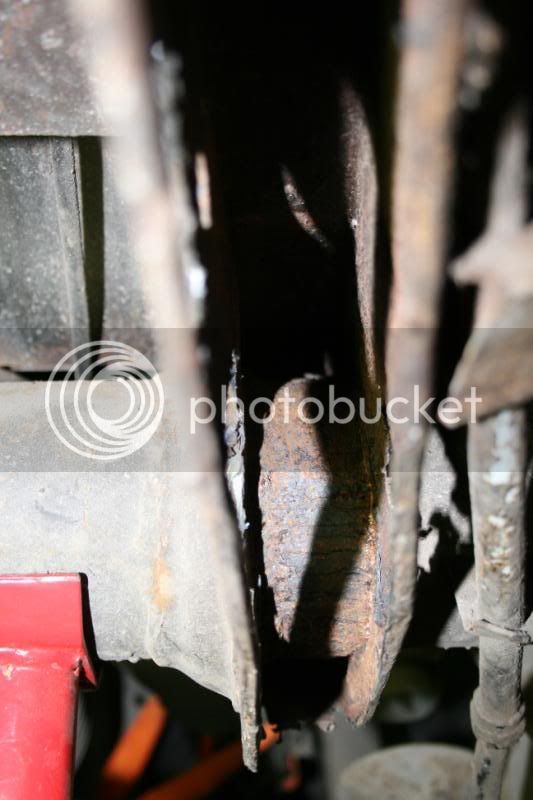
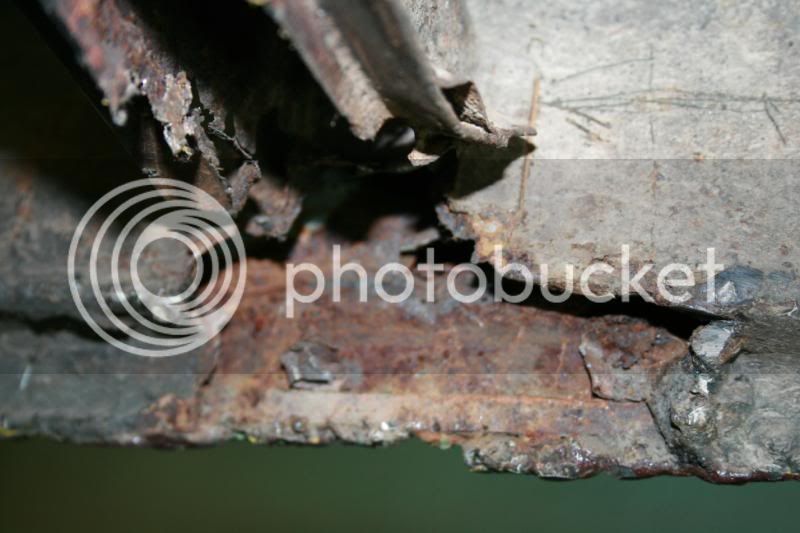
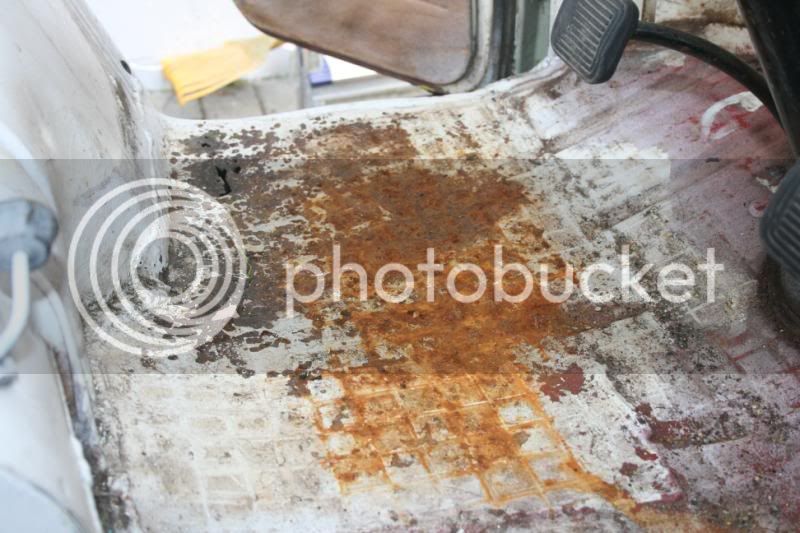
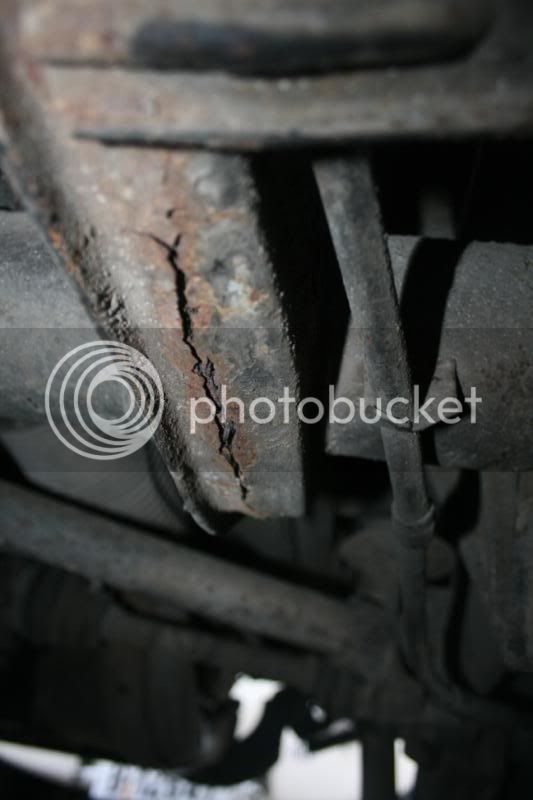
On to the not so pleasant suprises.. this doesn't look so good, but i suppose it can be fixed? that beeing said, this is about the only bits of serious rust on the whole car.
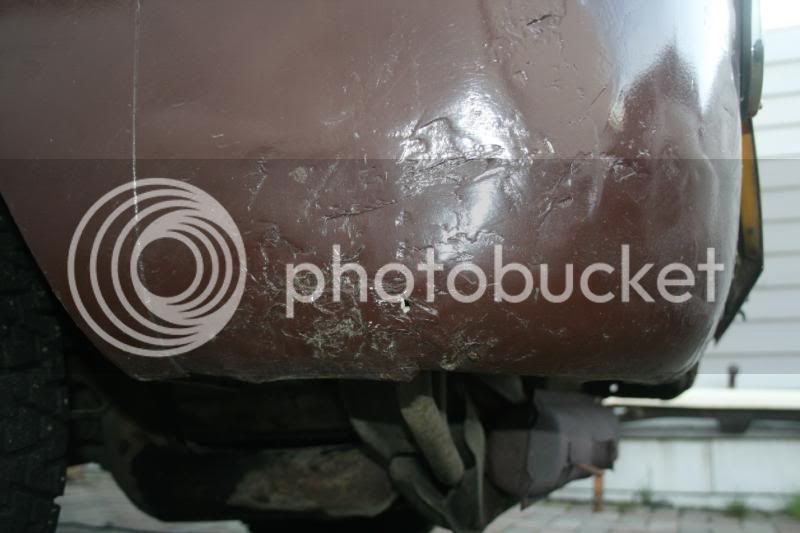
A bit of bondo on the rear corners;
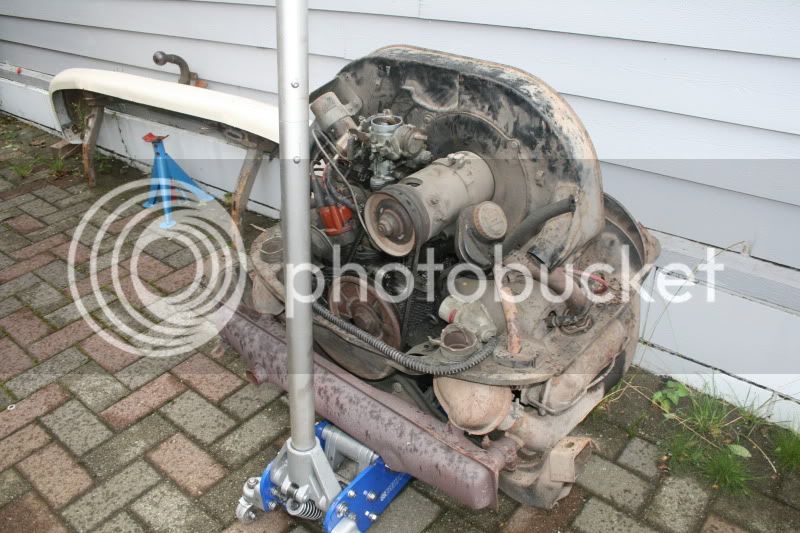
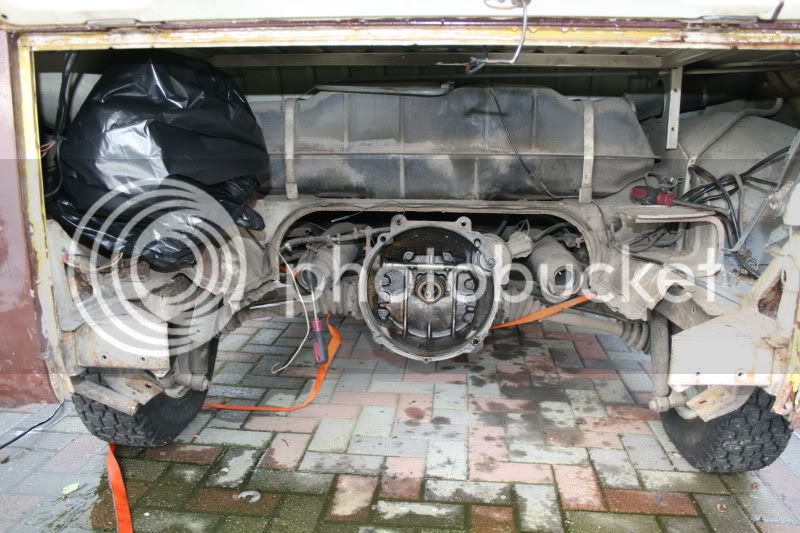
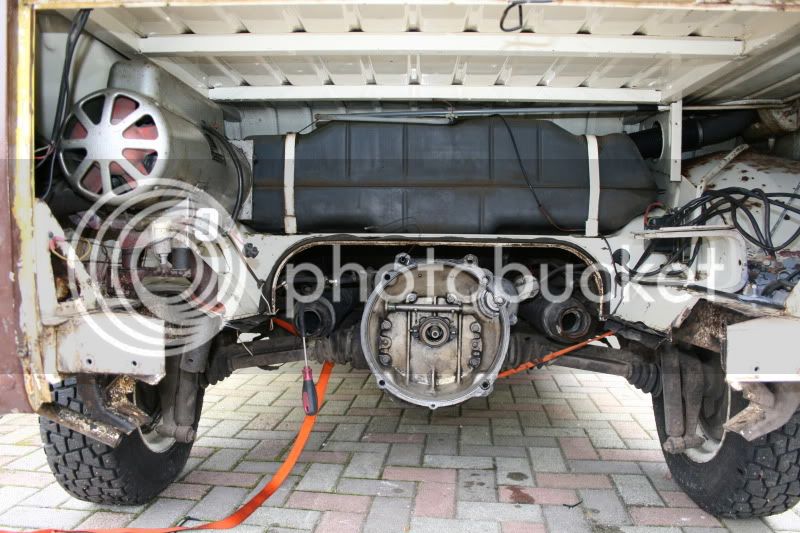
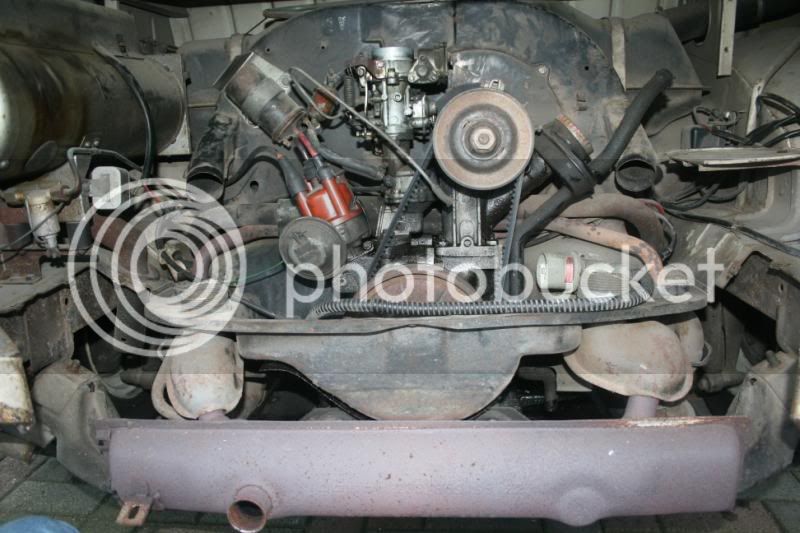
The original engine is still in, but not working.. I'll be putting in a pepped-up 1600 I just built instead
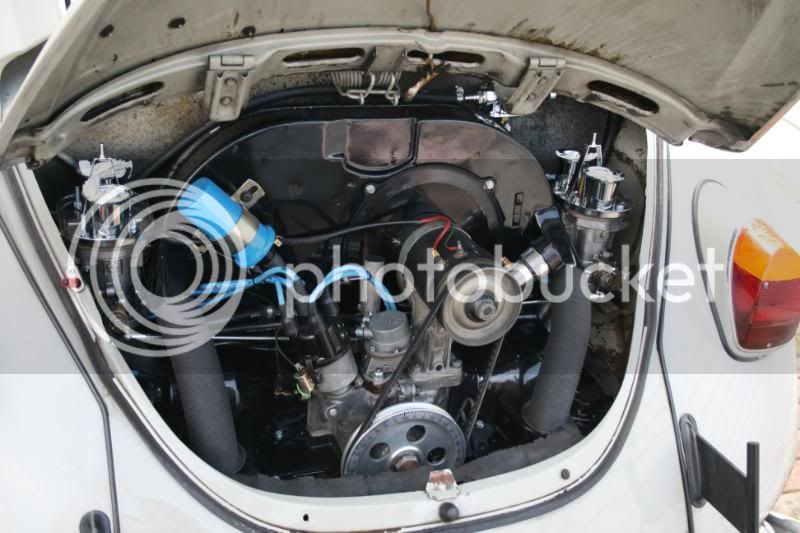
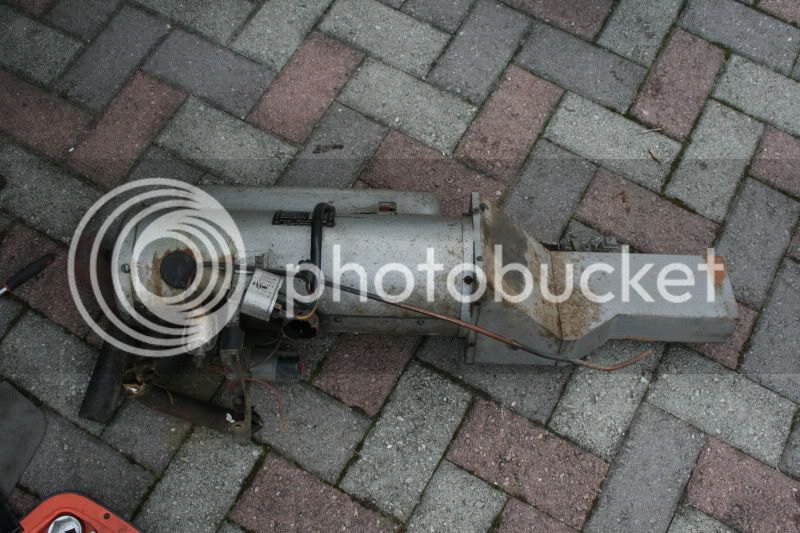
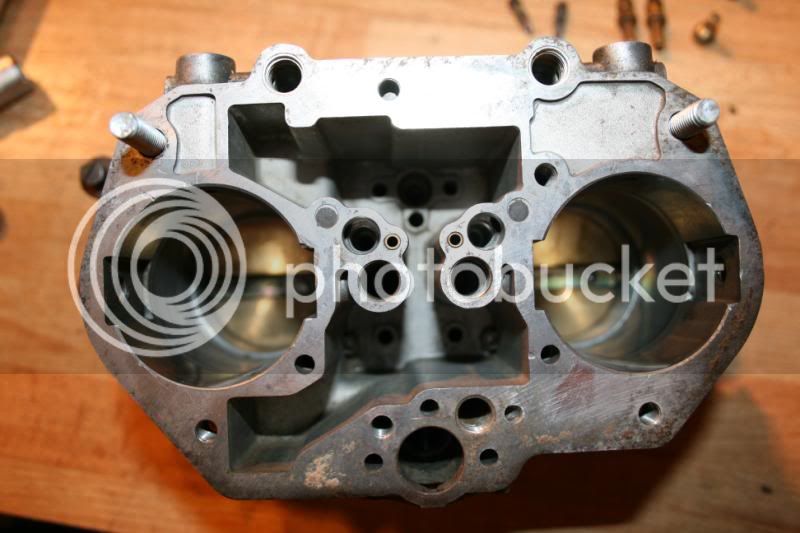
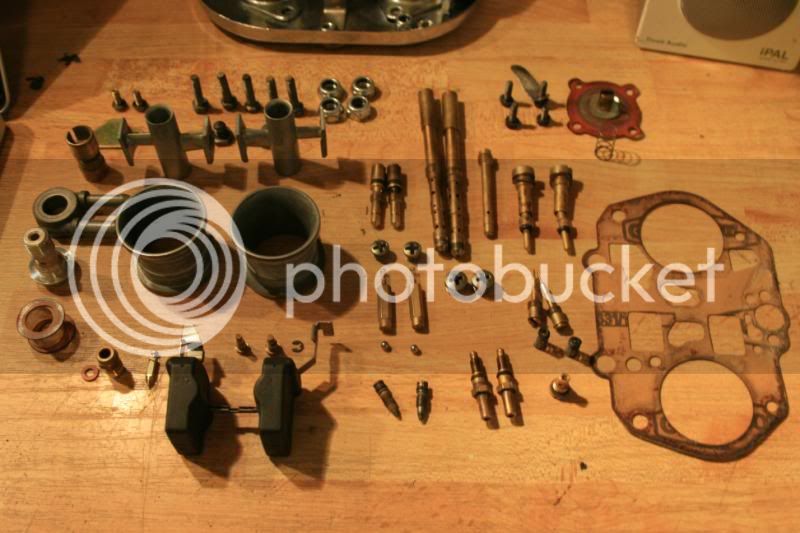
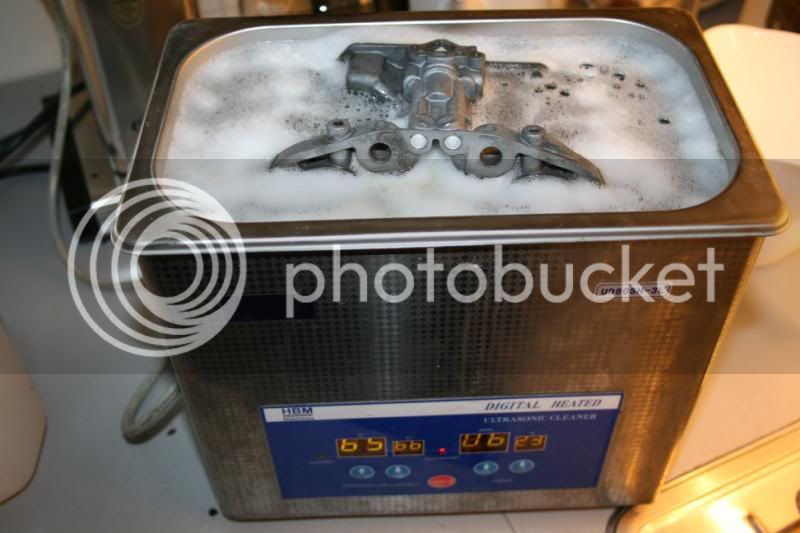
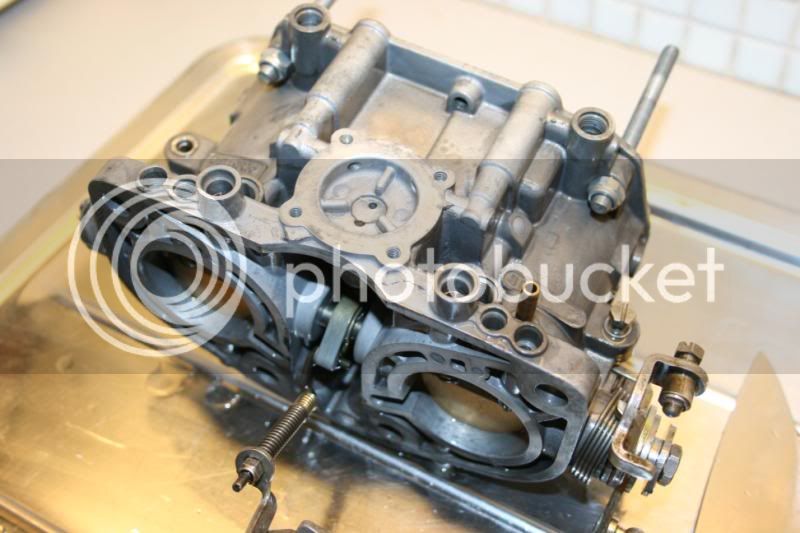
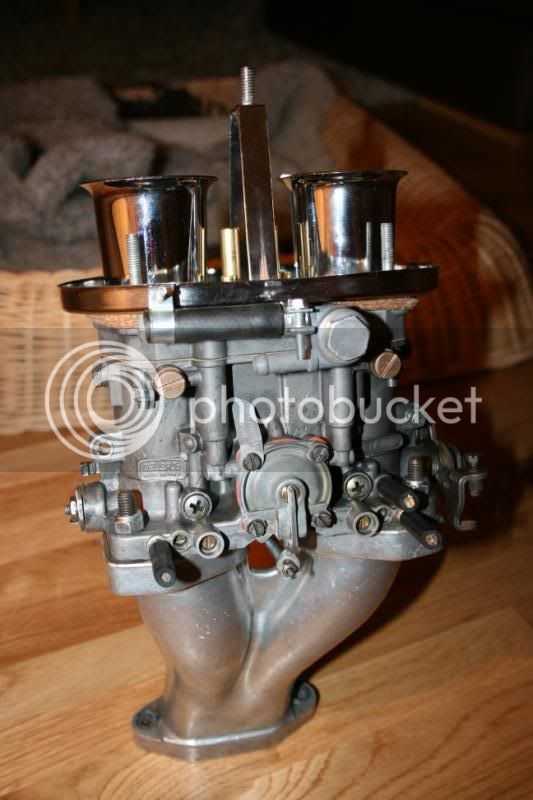
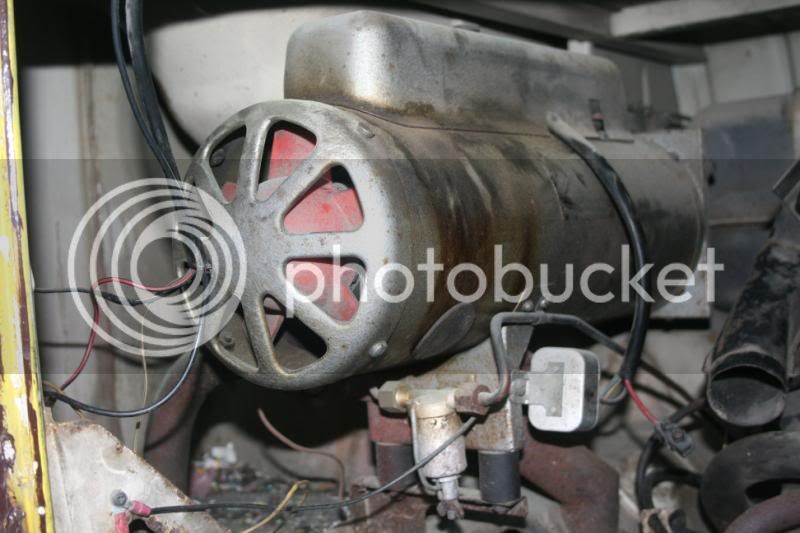
Big-ass Eber is also in place.. Might have to move this somewhere else to make room for dual Dell'Ortos..
This is probably never gonna be a show-stopper, but i'm hoping to make it into a fun car to cruise around in!
Stay tuned for more..
Cheers, Endre
I thought I'd share my latest project with you all, and hopefully get some good advice when needed (I'm new to early bays
)The car is a 69' panel that I picked up from a fellow norwegian VW enthusiast, a good 6 hours drive (and a bunch of ferries) from my hometown Stavanger.
Started on the inside;
Ouch, time to learn how to weld. Holes!
In need of a good cleaning!
Interesting colour on the de-greaser on the glove box lid..
Washed it out a bit on this pic. The glove box says "Remember the lights!" in norwegian..
On the floor between the seats you can see the original color, Lotus white. My plan is to take it back to this color, since i think it's beatiful - and I have a 67' beetle in the same.
The car is a walkthrough originally, but the original seats were missing, and the gap between the seats closed with a sheet of plywood (!). Luckily i got a hold of some original seats, that i picked up on the great norwegian VW-event, SCC, this weekend.
Haven't cleared out the back yet, but enjoy the colors! :lol: Real hippie-bus
A real beat-up luggage rack was also included;
The sliding door has got an aftermarket window of some sort, which is also broken. I'll have to get hold of an original door or weld in a piece of sheetmetal here.
On to the not so pleasant suprises.. this doesn't look so good, but i suppose it can be fixed? that beeing said, this is about the only bits of serious rust on the whole car.
A bit of bondo on the rear corners;
The original engine is still in, but not working.. I'll be putting in a pepped-up 1600 I just built instead
Big-ass Eber is also in place.. Might have to move this somewhere else to make room for dual Dell'Ortos..
This is probably never gonna be a show-stopper, but i'm hoping to make it into a fun car to cruise around in!
Stay tuned for more..
Cheers, Endre