junglefacejake
Well-known member
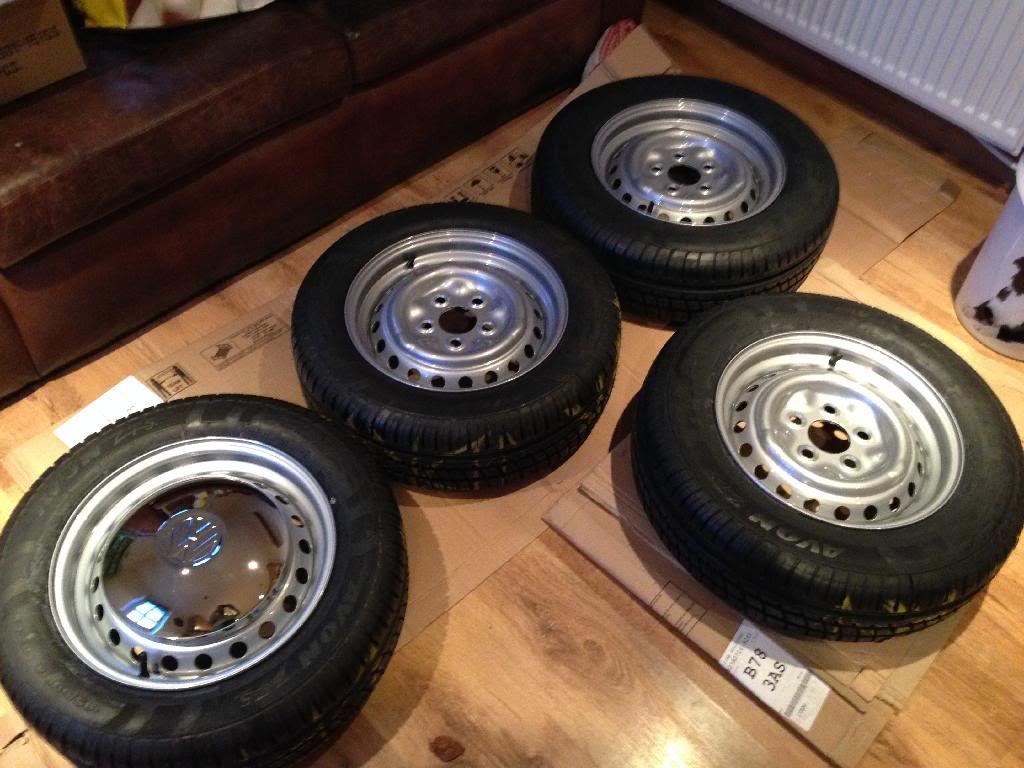
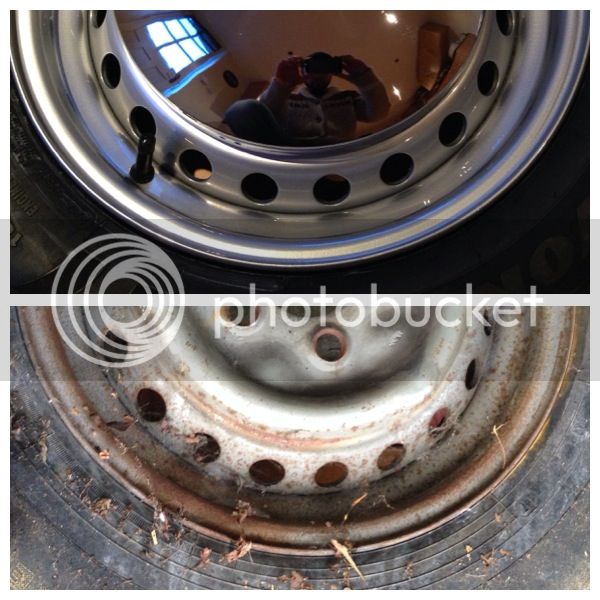
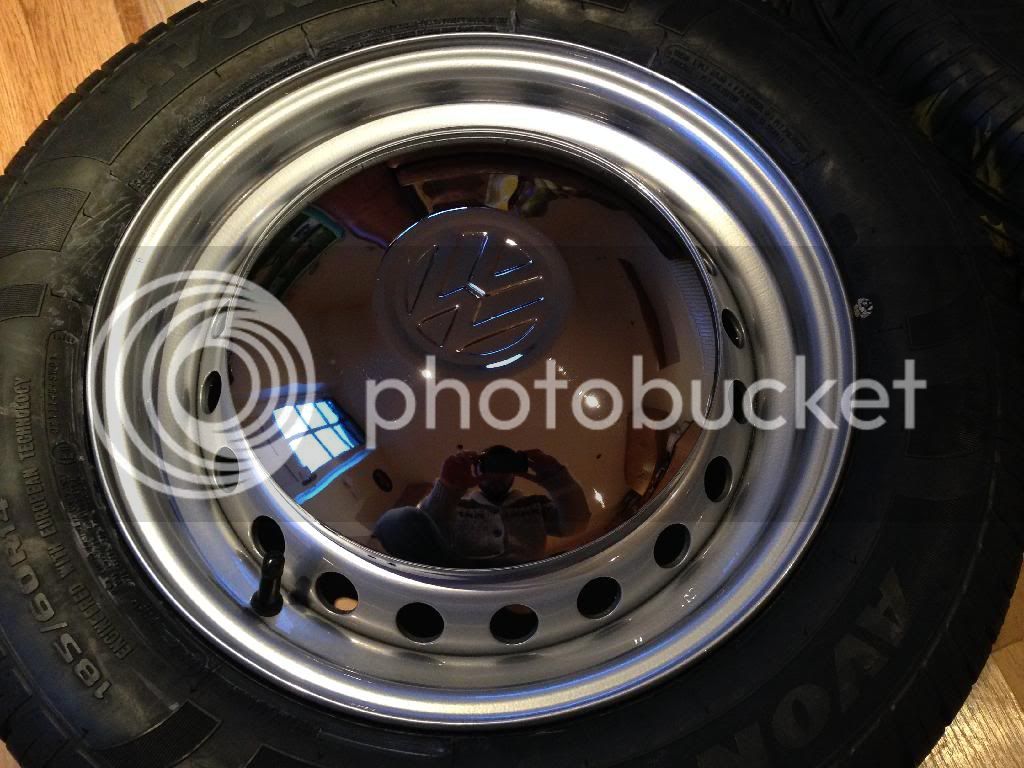
SHINY!
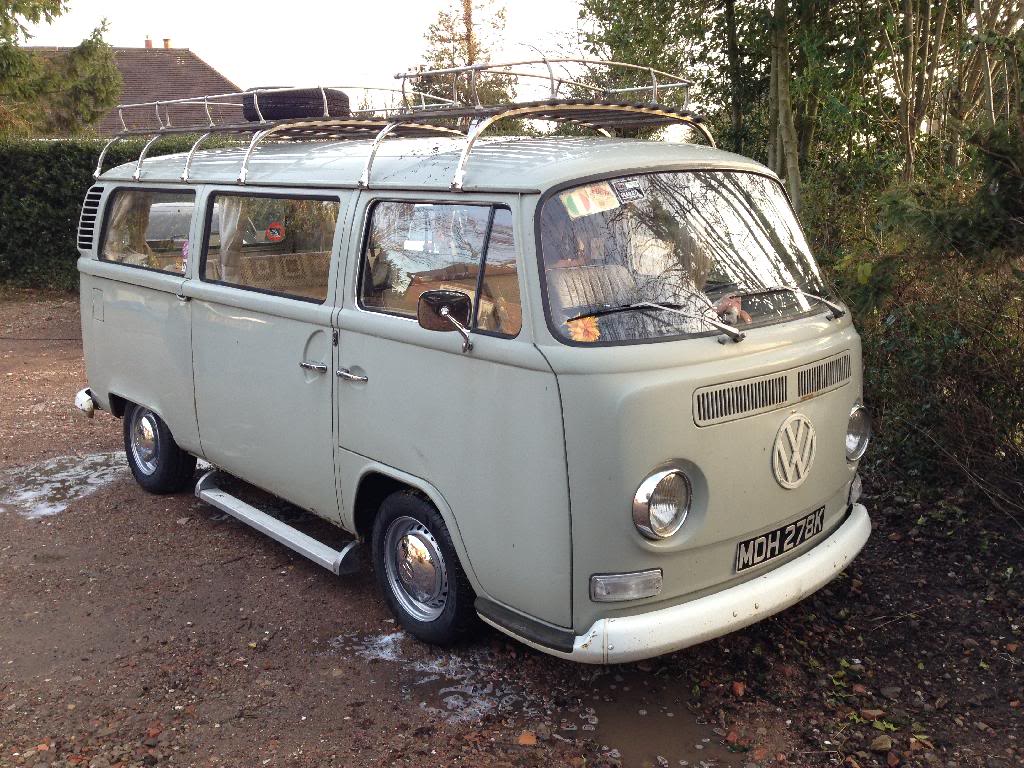
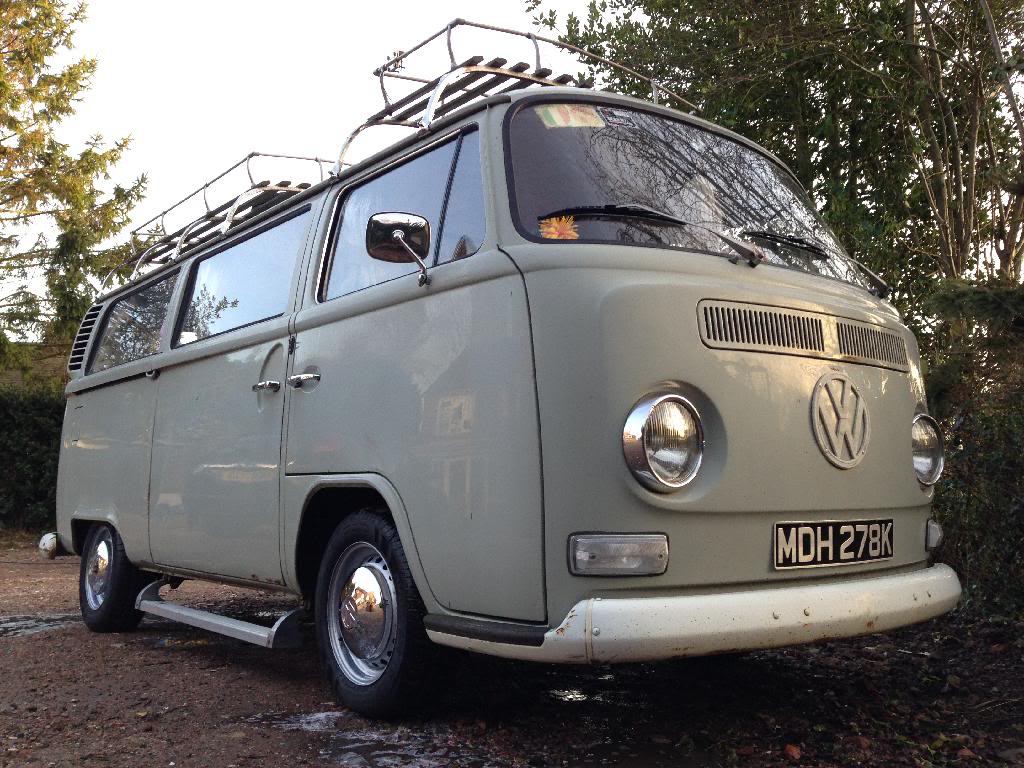
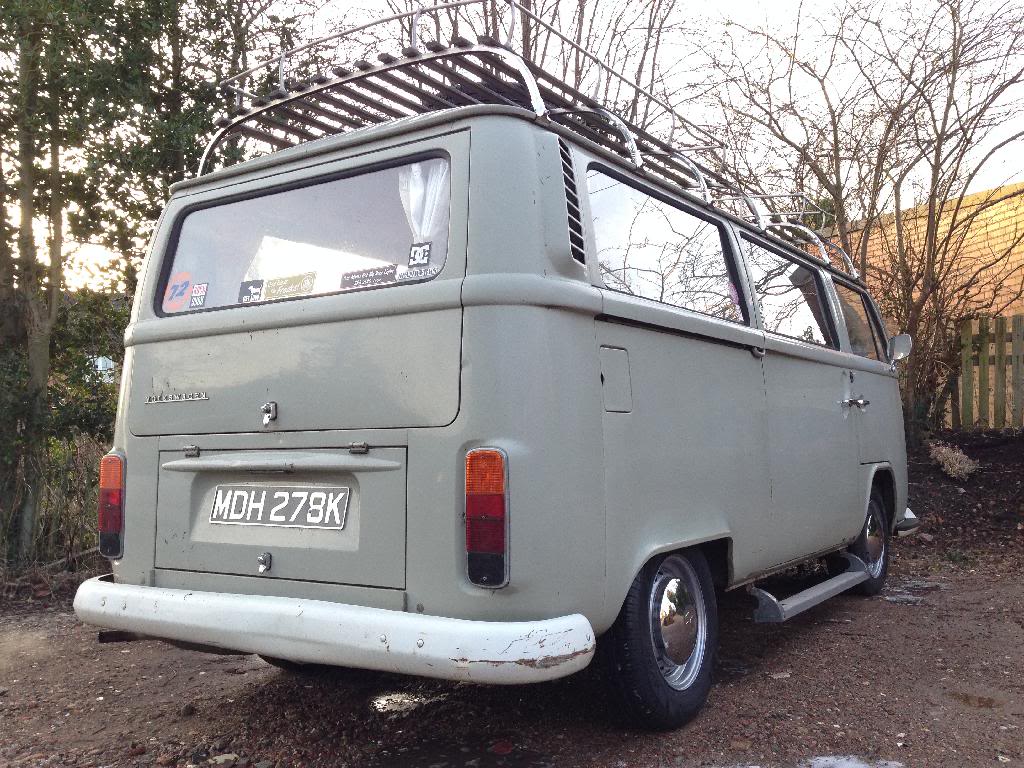
How is the project going?
No need to remove the paint but be sure to re torque the wheel nuts after driving on the new wheels for about 50 miles. I know of a few people who didn't and we're very lucky.
Hope "everything" is going ok")
How is the project going?
No need to remove the paint but be sure to re torque the wheel nuts after driving on the new wheels for about 50 miles. I know of a few people who didn't and we're very lucky.
Hope "everything" is going ok