61 stu
Well-known member
way cool 8)


Airtime said:No wonder you're chuffed, it's awesome! :shock: 8) 8)
Well done!


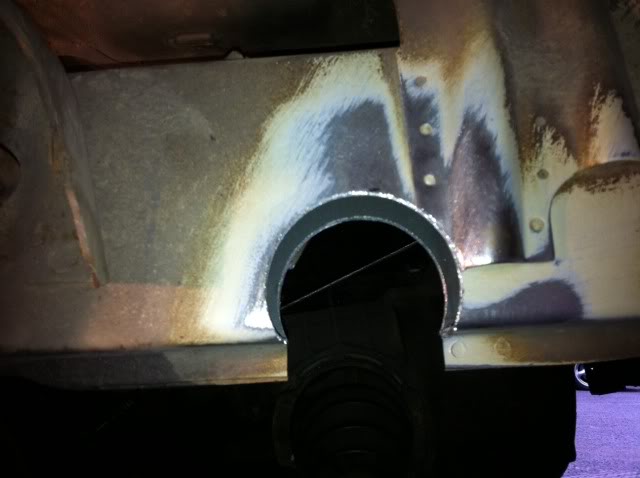
davesmith84 said:Does anyone know the best way to remove a snapped exhaust stud? I only broke one so I was actually quite chuffed - I have read some people have had all four snap on them!
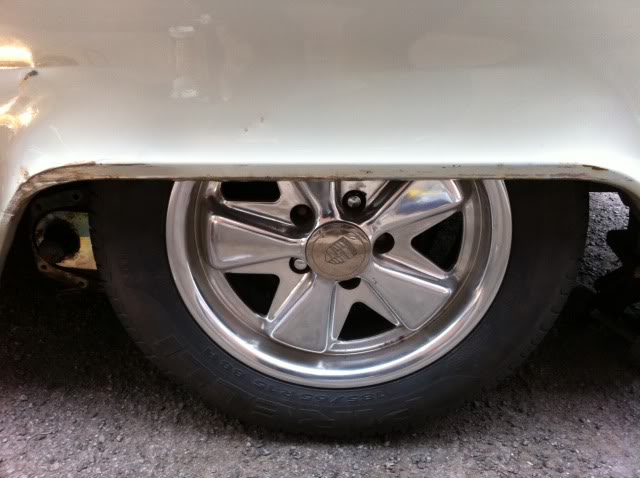
ecvwfan said:First off....................Perfect stance!! Well done!
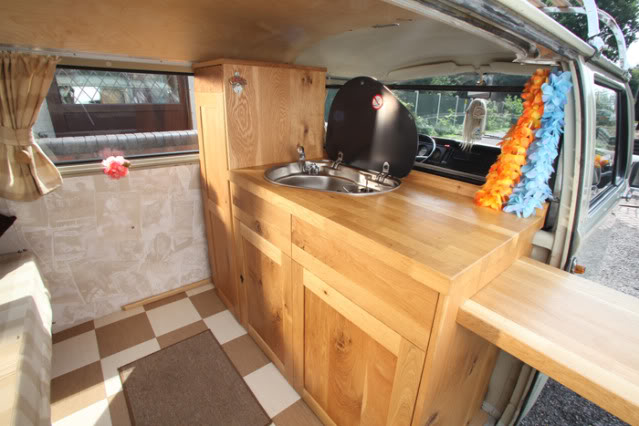
Now for a question...............Does your cabinet with the fridge and sink also have a stove? If so can we see pics?
Geeze said:Still one of my favourite crossovers
davesmith84 said:Does anyone know the best way to remove a snapped exhaust stud? I only broke one so I was actually quite chuffed - I have read some people have had all four snap on them!
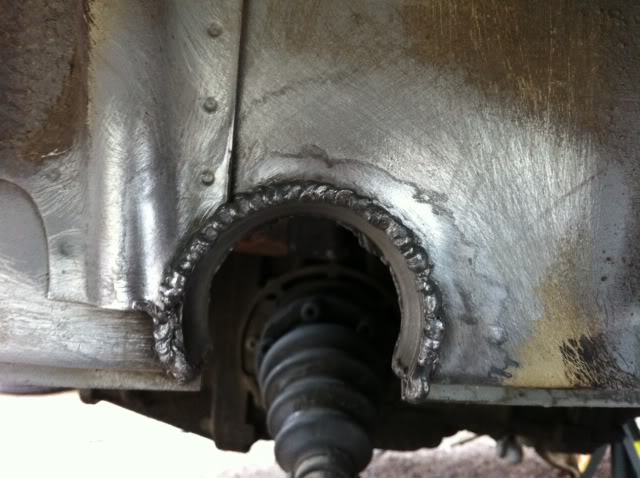
Snapped studs are a bane and everyone has their own technique.
Has the stud sheared level with the head or is there a stub of it poking out?
If there is, then welding a nut on the end will often let you winch the remains out (heat from the welding helps loosen the stud too).
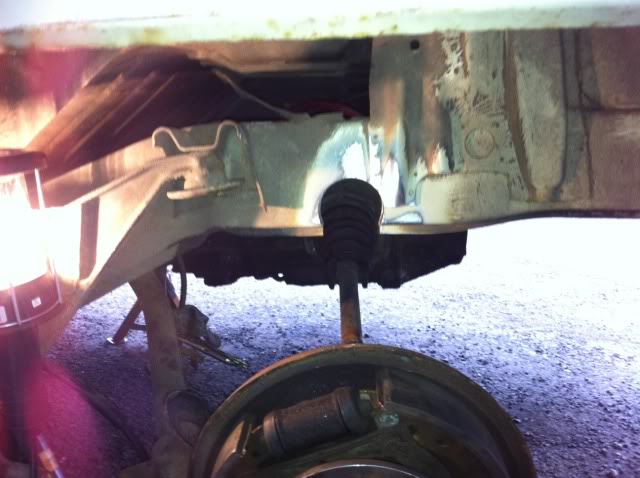
Failing that, opinions are divided. Usually it's a case of drill it out (make sure you centre punch bang on centre first!), others recommend easy-outs but if it snaps you're in trouble. If you drill go for drilling then a left hand thread drill bit will sometimes winch the remains out before you get out to the case, which is always nice.
Have also heard good reports on this stuff though not tried it myself yet:
http://www.wurth.co.uk/catalogue/pdfs/UK-CD_07_0186.pdf" onclick="window.open(this.href);return false;