help with fitting engine bay seal

Early Bay Forum

Help Support Early Bay Forum:

This site may earn a commission from merchant affiliate links, including eBay, Amazon, and others.

mginty

Well-known member
Joined
Aug 1, 2008
Messages
391
Reaction score
3
Location
South of Bristol somewhere in Somerset....
Year of Your Van(s)
1970
Van Type
Dormobile
I can't find anywhere that shows fitting instructions to fit the engine bay seal - can anyone help?
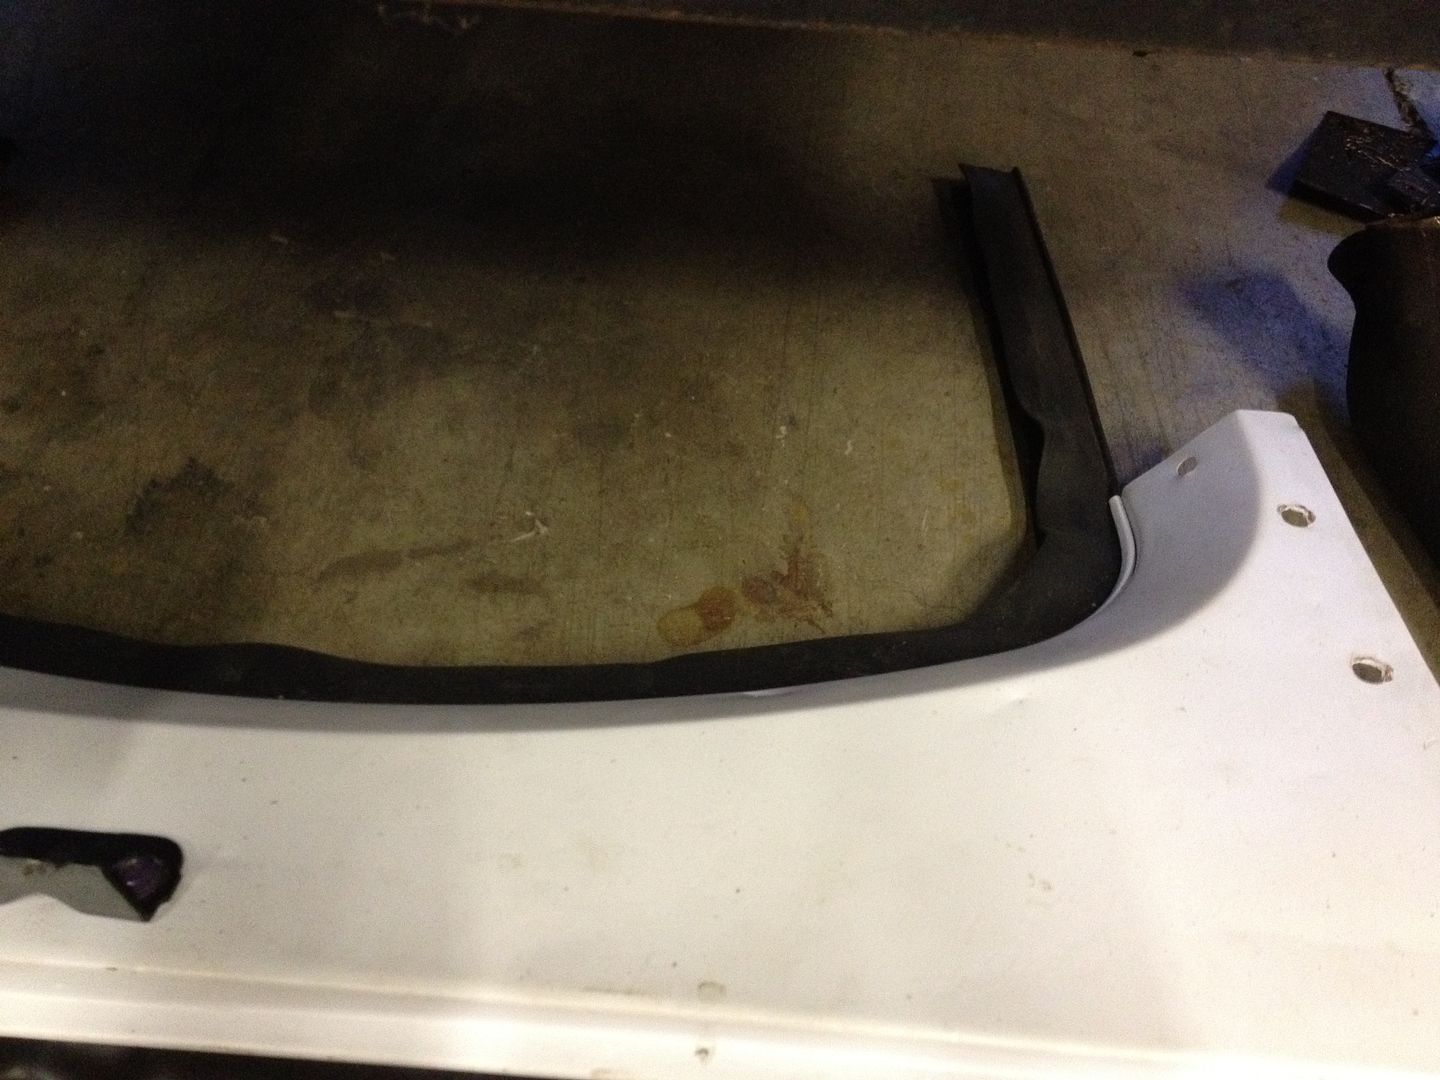
There are 2 - the gearbox one and the rear valance seal.
I think I have the gearbox one already fitted so here's what I think needs to be done to fit the rear one:

remove rear bumper
remove rear valance - does this include the top section?
fit seal around the sides of the engine
install rear valance and fit seal around edge
(which way up does it go?)
seems straightforward I think. Have I missed anything?
cheers
 
hi fella this is how i did mine ,your trying to create a airtight seal around engine so that the heat from exhaust(stop overheating ) and debrie(so stuff like crisp bags etc get stuck in fan and cause overheating) wont get into your engine bay........then as your bombing along youve got all that lovely cool air being pulled into your engine bay by the vents making a nice cool motor :D

remove rear valance ;)
clean out the groove add a little lube...... :roll:
fit seal around the sides of the engine ;)
install rear valance and fit seal around edge ;)

seal goes either side of the tinware ..... :D

chris
 
The seals I used were angled. I fitted them angled down wards so that when the valance and tinware is fitted it pushes up against the seal making it air tight and secure.....if that makes sense?!
 
I just used WD40 to get mine to slide in. The rear apron I did as a whole. Some people cut them and have the sides seperate from the apron part. With the WD40 I ran mine through the apron till it was sticking out evenly on both sides. Then I just slowly (with WD40 sprayed on the channel) start working the sides in as I move the apron closer to the bus. My seal is a double rubber, so I have one side of the rubber on the bottom of the engine tin and the other on top of the tin.

Here's a somewhat bad photo of it in the apron.
IMG_2693.jpg
 
Originally the seals were four part. One over the back. One on each side by the rocker covers and one on the removable rear valence.
 
justcruzin said:
I just used WD40 to get mine to slide in. The rear apron I did as a whole. Some people cut them and have the sides seperate from the apron part. With the WD40 I ran mine through the apron till it was sticking out evenly on both sides. Then I just slowly (with WD40 sprayed on the channel) start working the sides in as I move the apron closer to the bus. My seal is a double rubber, so I have one side of the rubber on the bottom of the engine tin and the other on top of the tin.

Here's a somewhat bad photo of it in the apron.
IMG_2693.jpg

Exactly how I fitted mine.
 
Yup, I cut mine into 4. One over the back, 2 either side above the shrouds and then the last around the apron.
 
You'll save yourself lots of time and scuffed knuckles if you make sure the channel is cleaned out properly, someone also told me wd40 is bad for rubber? I used grease as it is in contact with rubber in CV joints and ball joints? Good luck
 
well I managed to fit the seal on Sunday whilst dodging the showers and helping my son play Wallace's workshop (online wallace & gromit game...)
It's tricky doing kerbside restos!

Anyway, took the rear bumper off and the rear valance. Seal over gearbox @ back already on although fit wasn't as good as it could be so sorted that out.

loads of wd40 (which is fine for rubber) and got the seal in the valance:
182.jpg

Here you can see the split where one part goes above the engine and the other below, hopefully making it airtight ;)
183.jpg

Tried fitting it all in one go as suggested below but couldn't manage the angles and sliding each bit on so cut the ends off as others have done.
186.jpg

Glad I did that as although the channels were clean of gunk (thanks for the tip), about an inch or so from the end (each side) closest to the firewall and thus furthest away, the channels were crimped somehow which meant I couldn't get the rubber in...grrrr!!! Can't get anything in there to try and pull the crimped bit out so ended up cutting the arms of the 'T' on the seals about an inch or two from the far end. Luckily only the bottom of the channel was crimped so the top arm of the 'T' could still go in ok. Got them both in while the sun was out. :D
184.jpg


185.jpg

And here's the rear valance back in
187.jpg


188.jpg


189.jpg


To aid the fitting I took the oil bath out...jeesh that was filthy so I cleaned it up a little and got most of the gunk off. Checked inside and there's hardly any oil and what is in there is very sludgey. Got the worse out and also cleaned some stuff from the actual filter...found bits of cardboard hosing in the bottom of the filter and also found a washer in the oil bath which I think is from the heat exchangers (it's about a 5 cm diameter and matches some other washers which I'm not entirely sure are from) :shock:
Ran out of time so next job is to clean the oil bath properly !! and also fit the splash pans to the rear bumper.
Expect I'll have some more questions about that! :?
 
mginty said:
well I managed to fit the seal on Sunday whilst dodging the showers and helping my son play Wallace's workshop ?
Awesome info. I am about to replace my seal as soon as it arrives.
I have never taken the apron / valance off....Do you have to remove bumper first? 1970 earlybay.

Also, Anyone know the original size screw/bolt size that attach the apron on the inside? I believe 3 on each side?
Mine are mix and match right now.
 
Yes, bumper has to come off to be able to remove the valance.

As for the bolt/screw size but to be honest, it doesn't matter. They're held in with speed fasteners, so as long as your screws aren't too long and nip up tight, you'll be fine.
 
gvee said:
Yes, bumper has to come off to be able to remove the valance.

As for the bolt/screw size but to be honest, it doesn't matter. They're held in with speed fasteners, so as long as your screws aren't too long and nip up tight, you'll be fine.

If the vehicle is as it left the factory then the valance can be removed without removing the bumper.
 
I did not know this! My bumper is quite tight to the body so I assumed there wouldn't be clearance. Pardon my ignorance! :oops:
 
As Trikky said and to be honest, I didn't even remove the valance, just cleaned the channels from above and below, made sure there were no notches for the rubber to catch on, plenty of grease and slowly fed the seal through the channel from one end, guiding it as I went. Just took patience, but it wasn't hard to do, after all the seal is designed to fit the channel.
 
Trikky2 said:
gvee said:
Yes, bumper has to come off to be able to remove the valance.

As for the bolt/screw size but to be honest, it doesn't matter. They're held in with speed fasteners, so as long as your screws aren't too long and nip up tight, you'll be fine.

If the vehicle is as it left the factory then the valance can be removed without removing the bumper.

Thanks to all. I jumped right in, the valance came off without removing the bumper. Cleaning all that up as well as fixing a badly rusted battery tray. Hopefully that will go smooth.
 
Mmmmmm. mines a crossover and has the thick "I" section seal a real pig to fit as you can't really fit it before the engine goes in, or have i got the wrong seal, replaced it for the same as was in and rotten.. :?
 

Latest posts

Top