Introducing Earl

Early Bay Forum

Help Support Early Bay Forum:

This site may earn a commission from merchant affiliate links, including eBay, Amazon, and others.

Mikew

Member
Joined
Jun 30, 2012
Messages
20
Reaction score
0
Firstly g'day from the sunshine coast, QLD
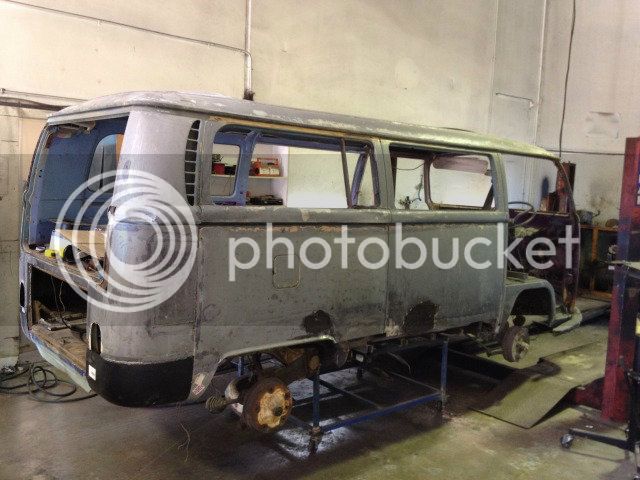
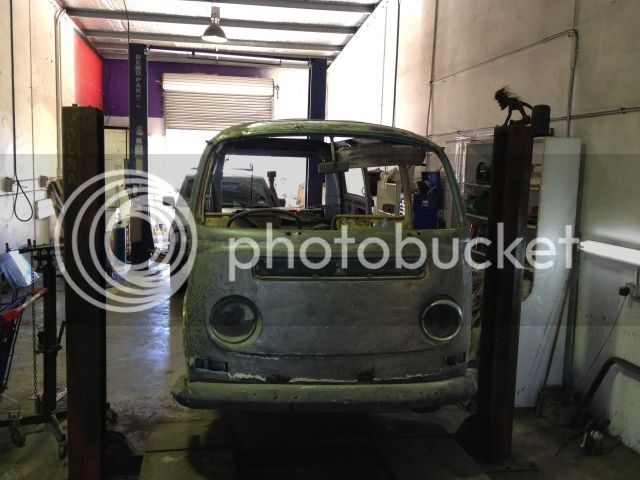
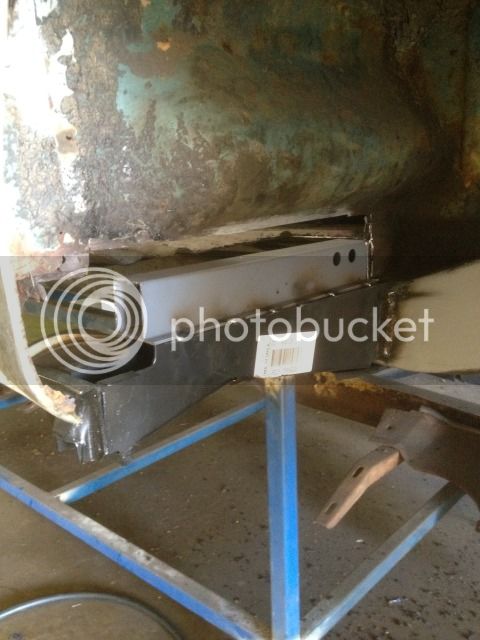
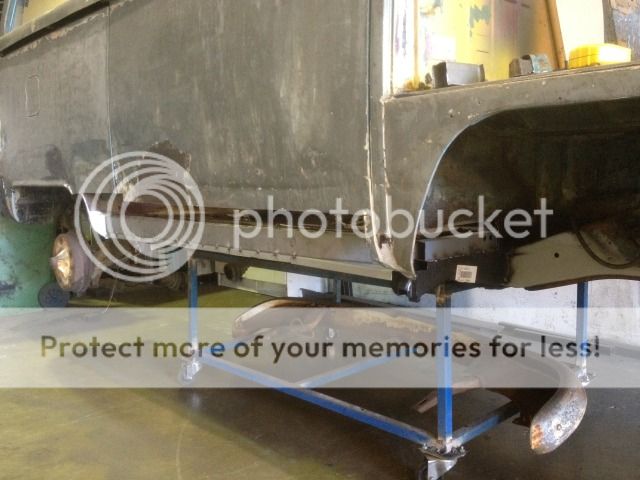
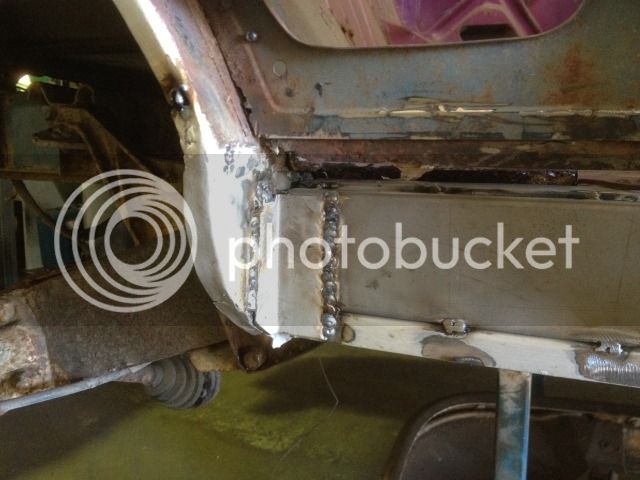
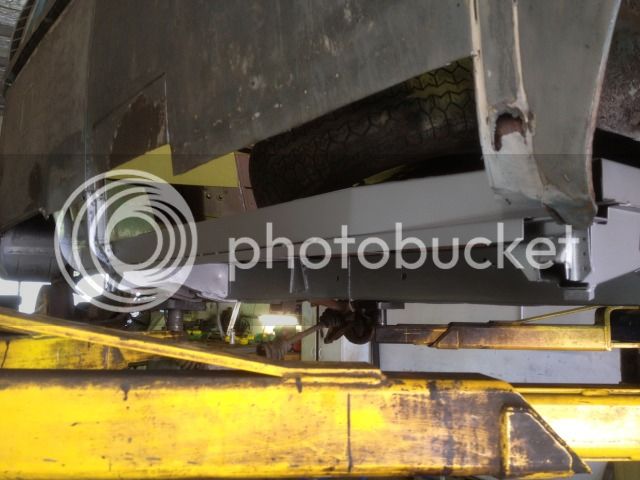
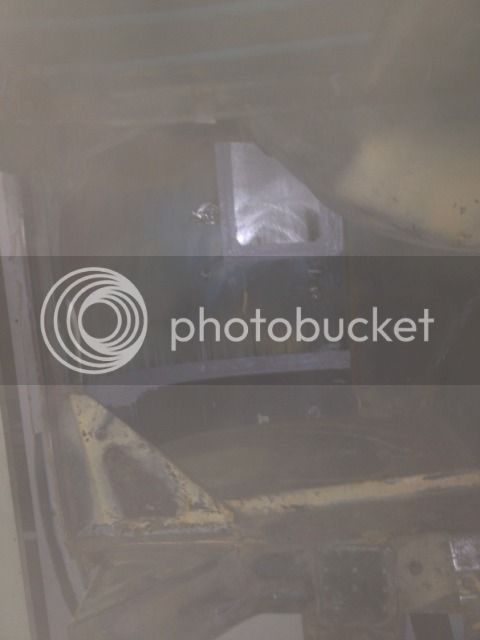
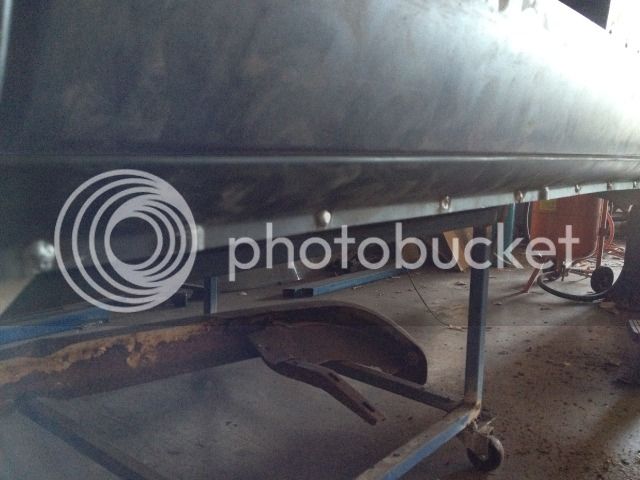
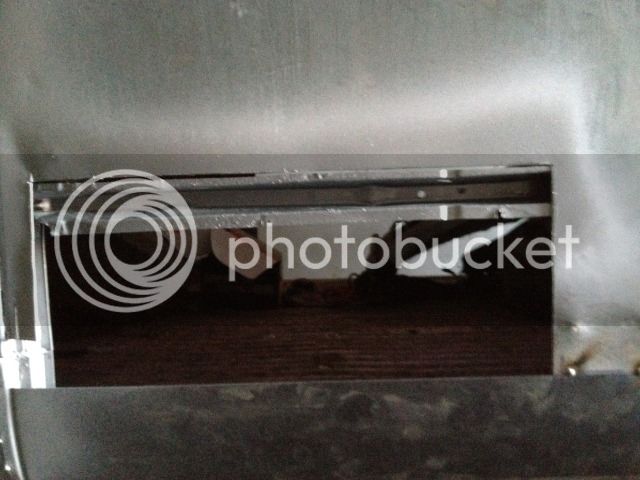
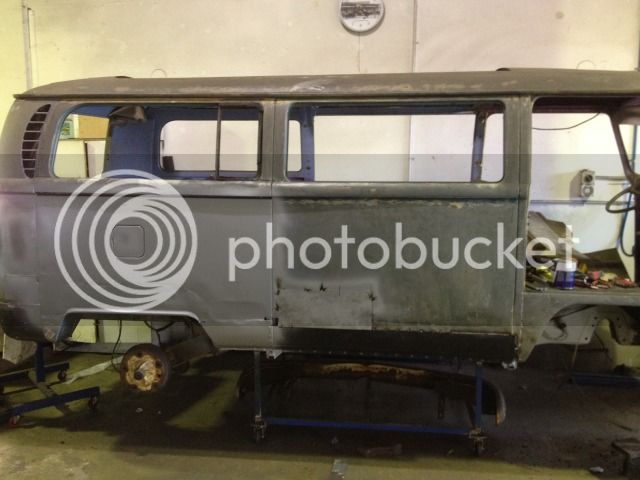
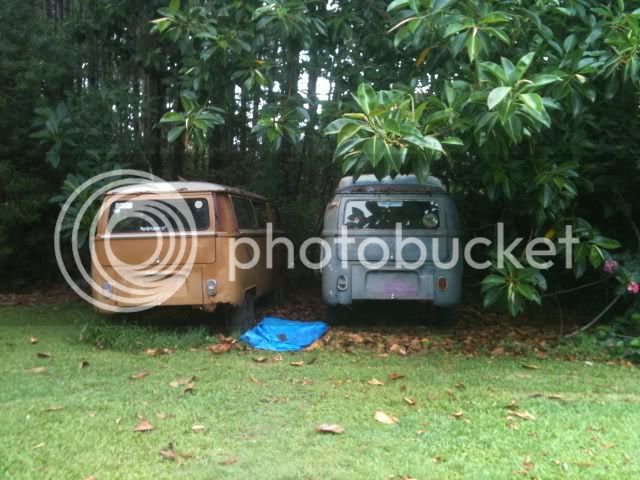
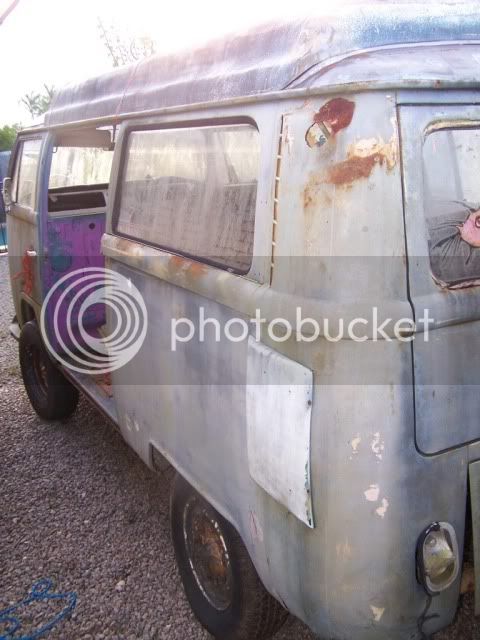
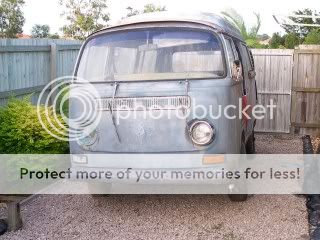
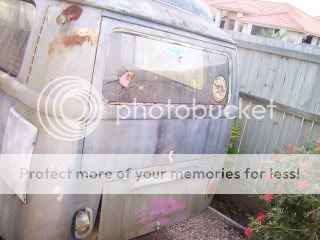
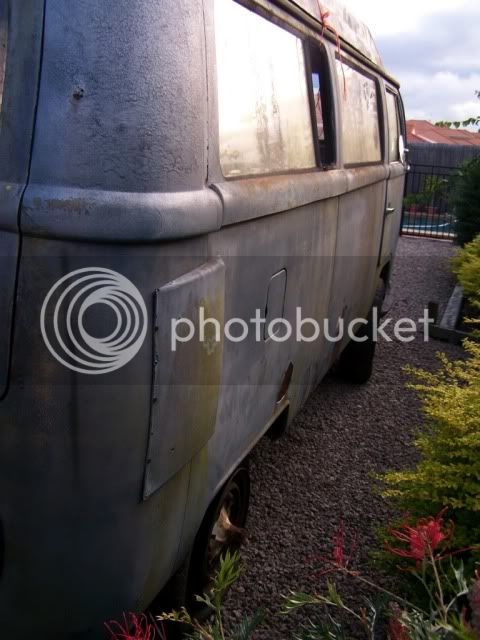
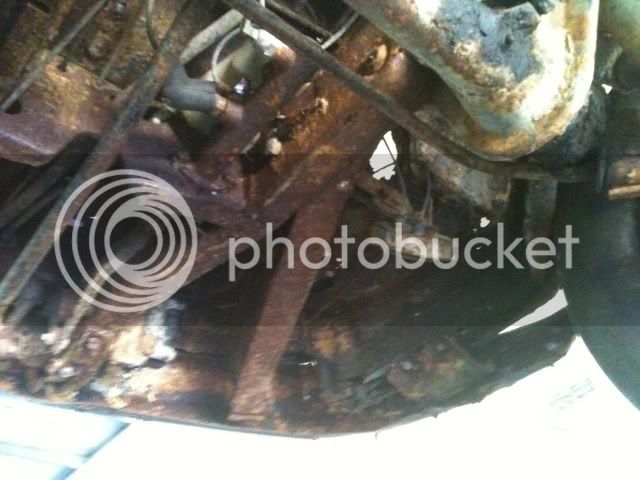
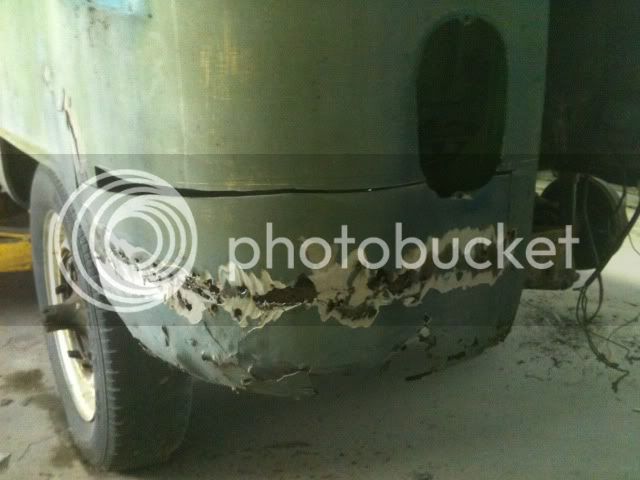
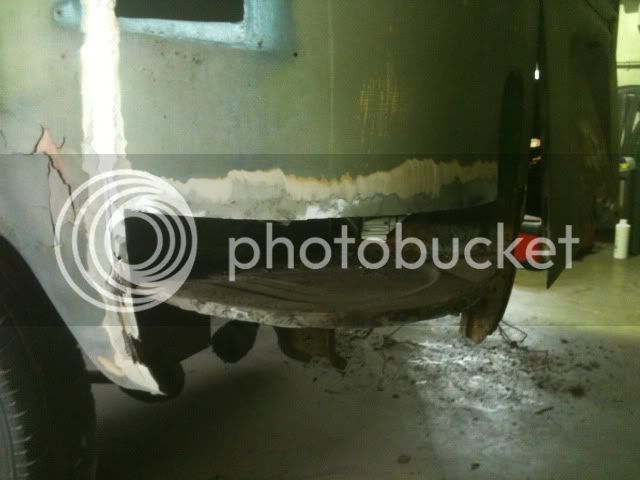
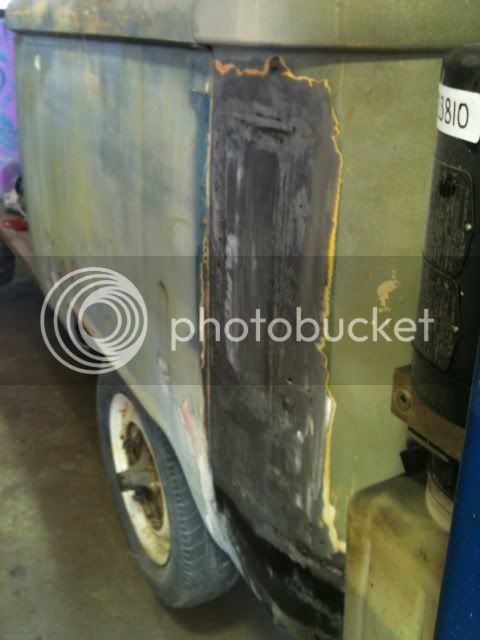
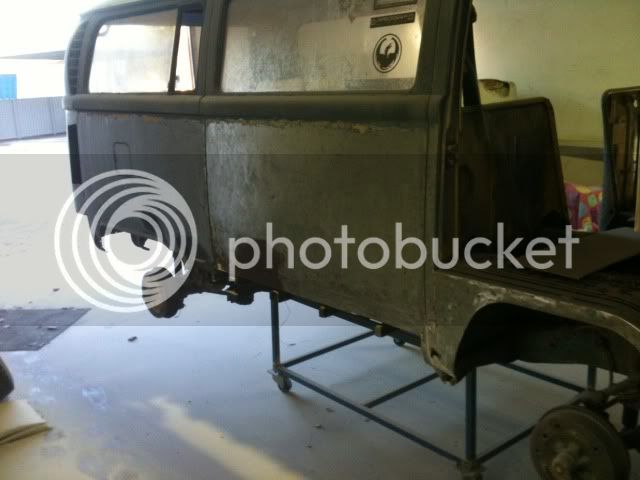
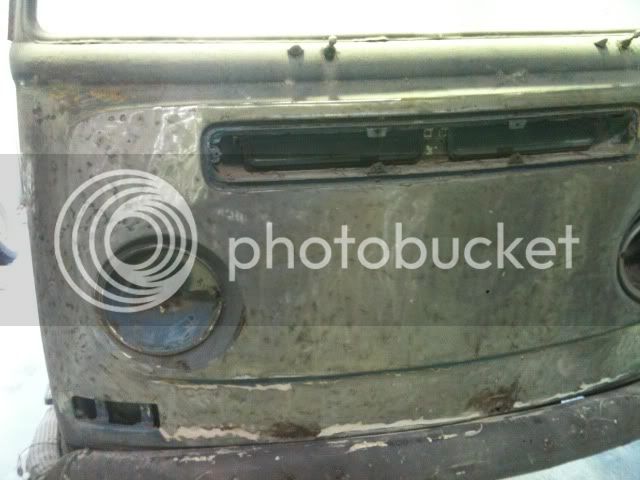
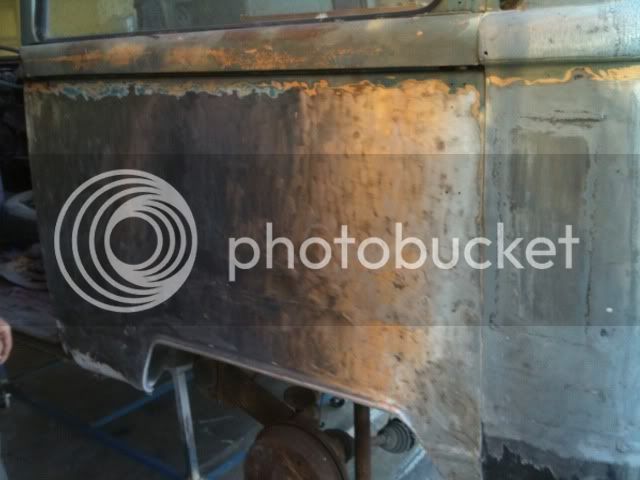
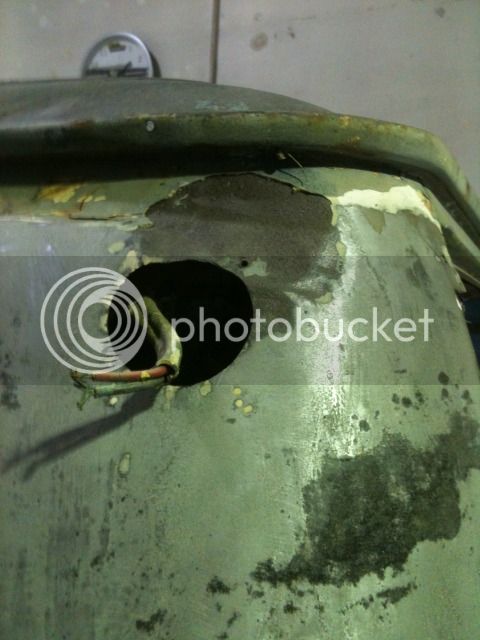
My name is mike, originally from Swansea in south Wales and regretfully selling my 69 bus over there I have started a slow Resto on my Australian built 1970 Kombi which appears to be a sopru conversion.
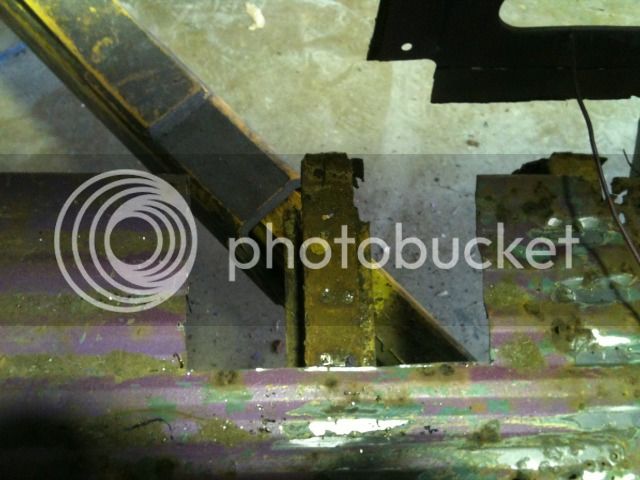
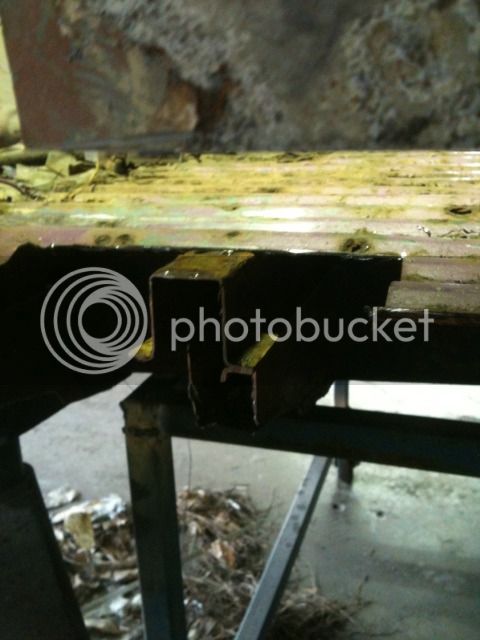
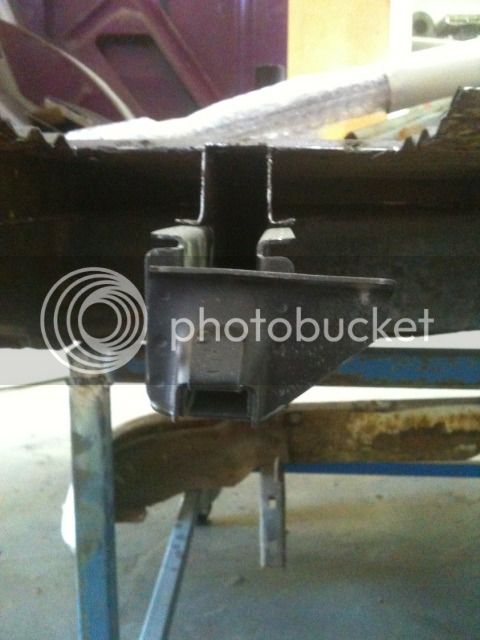
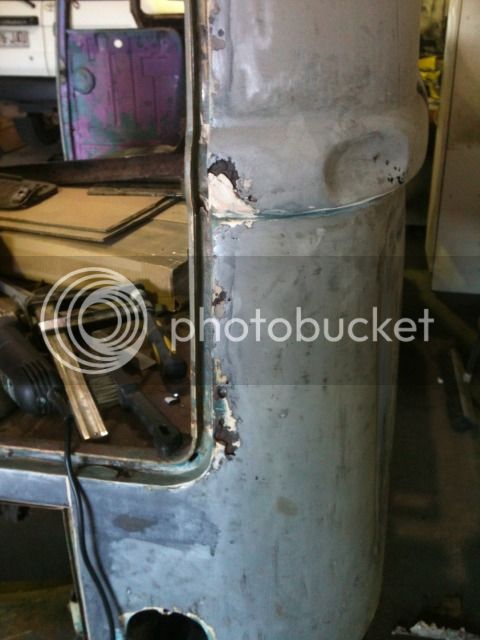
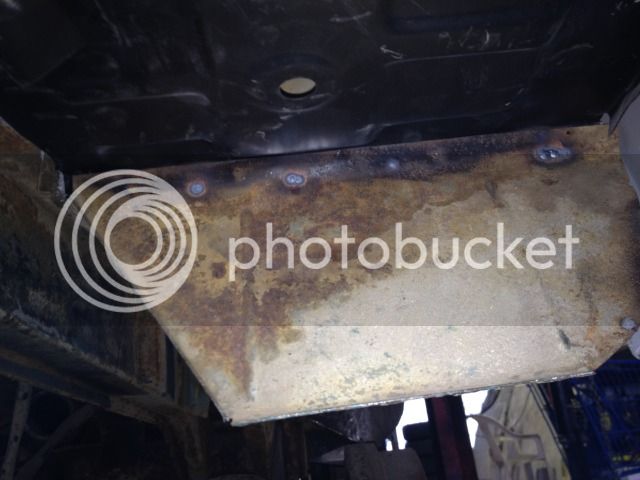
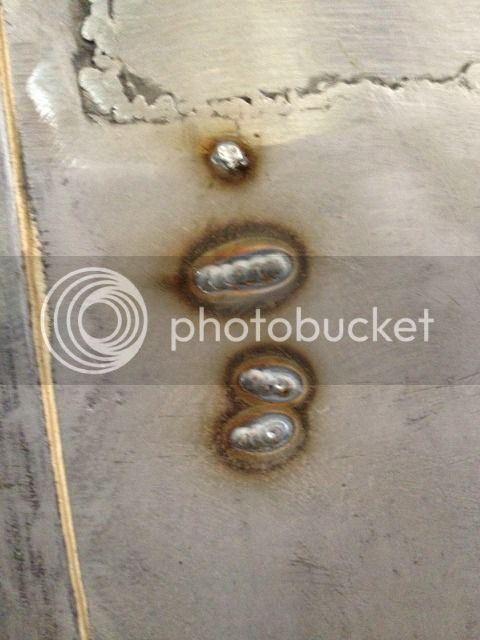
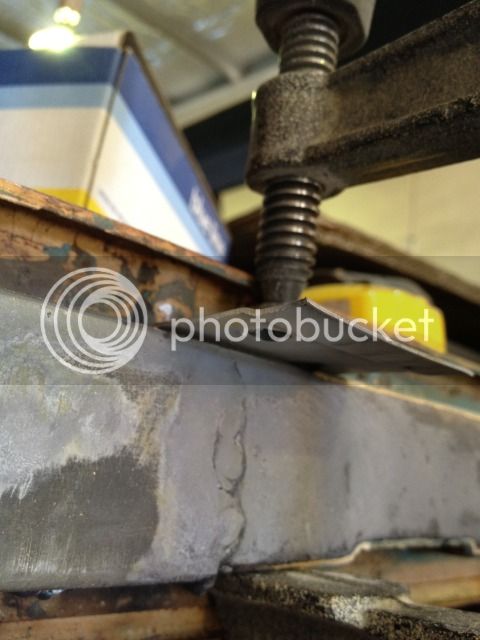
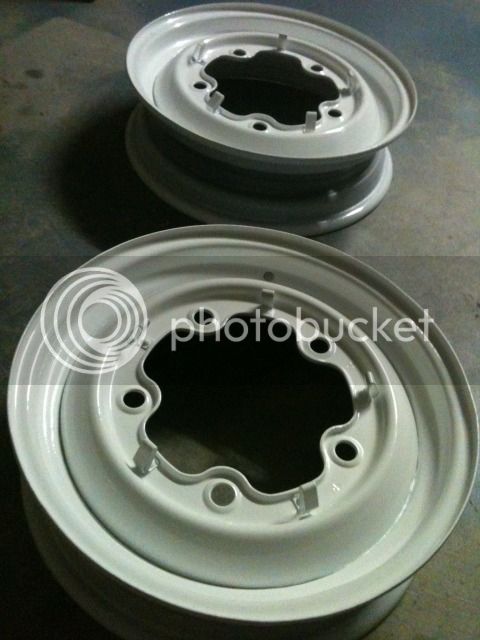
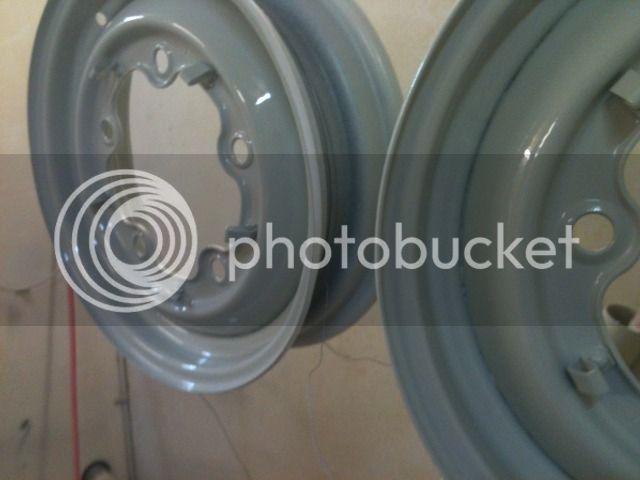
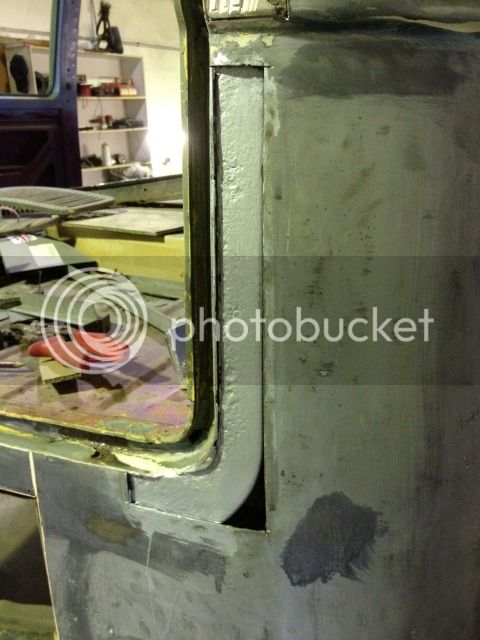
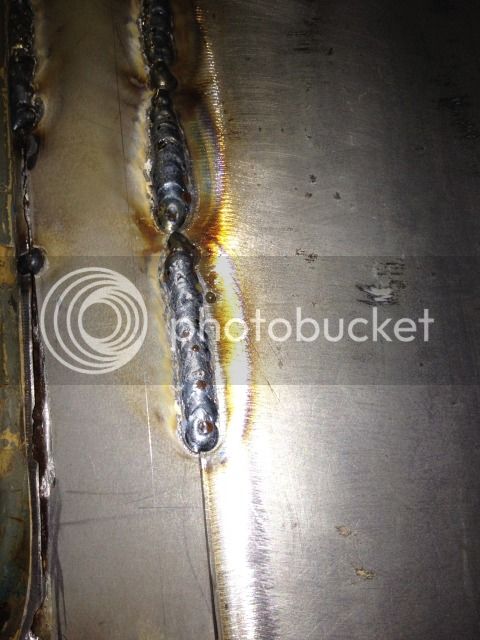
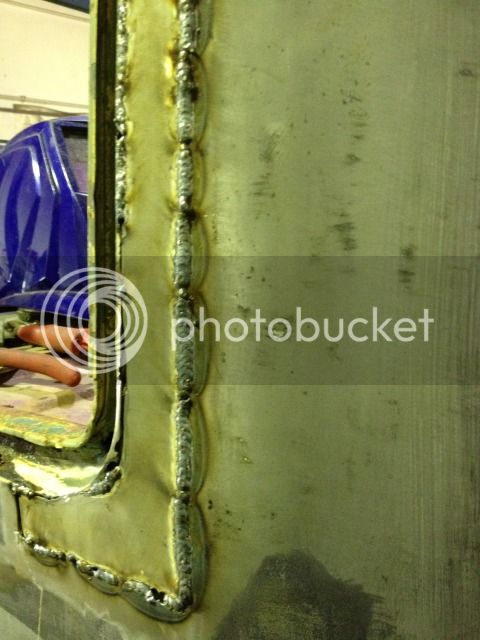
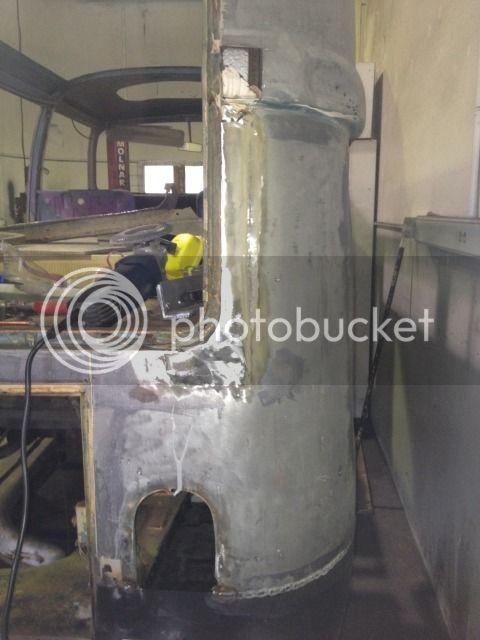
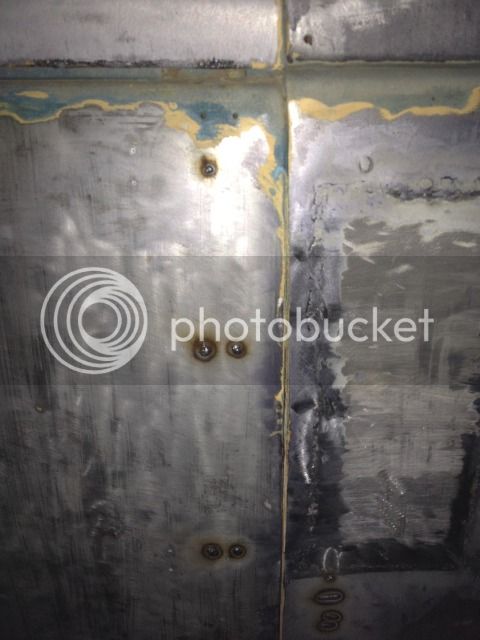
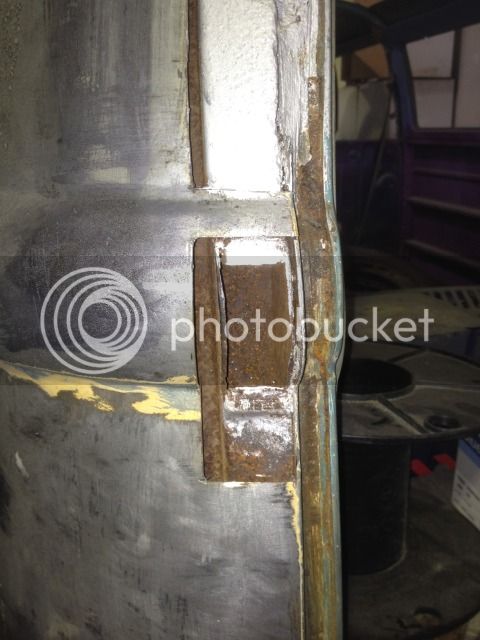
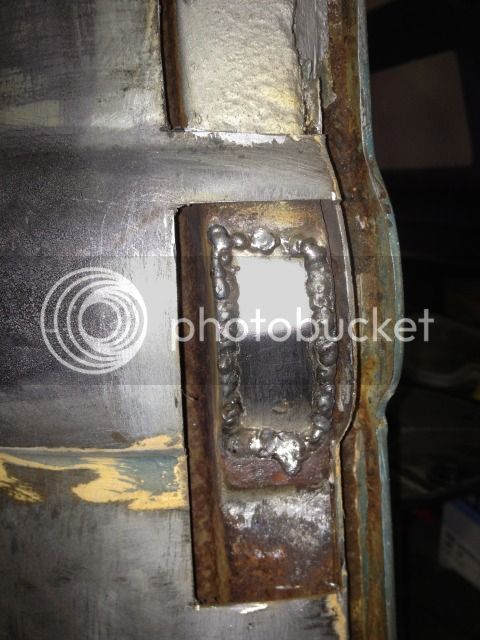
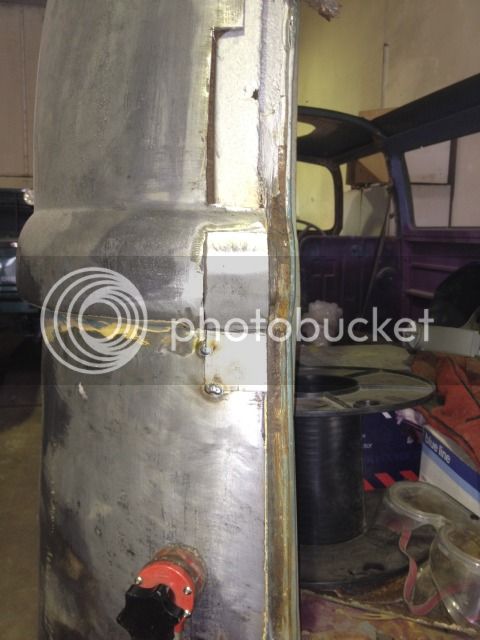
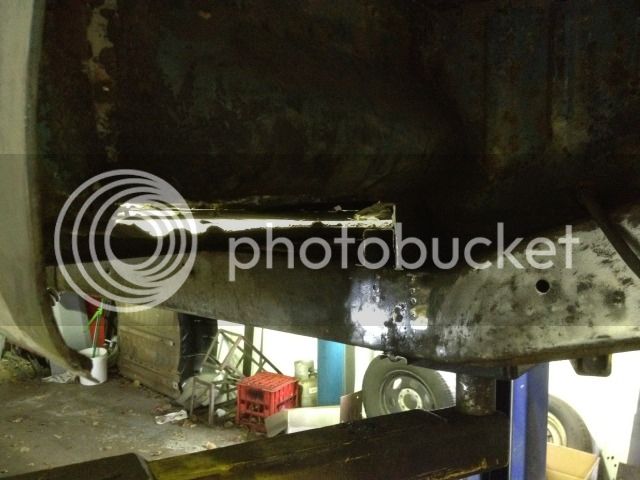
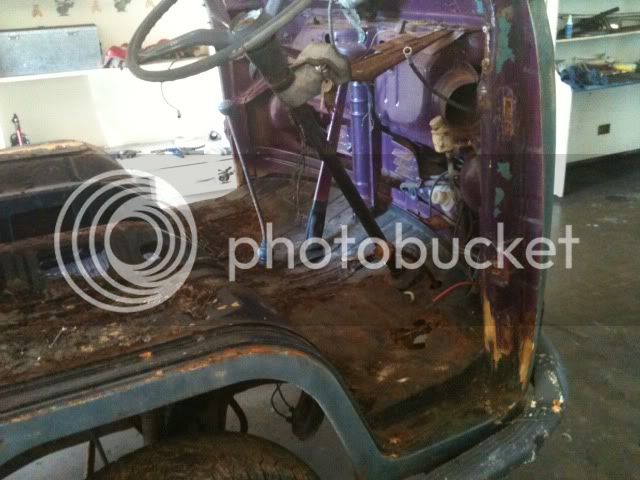
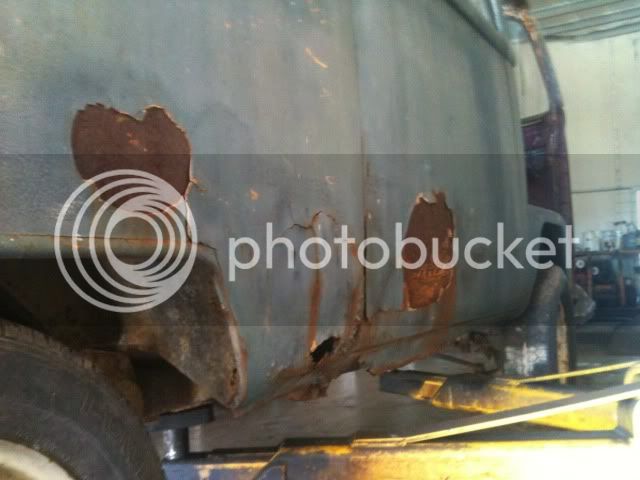
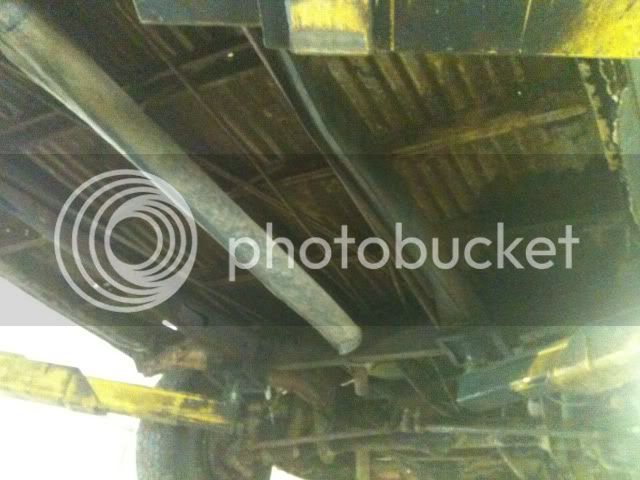
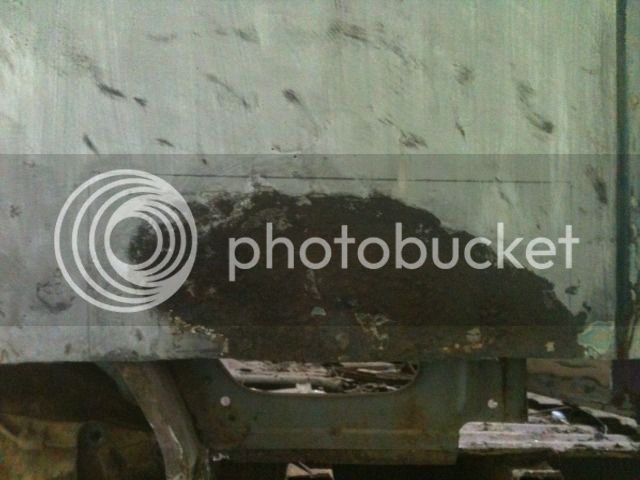
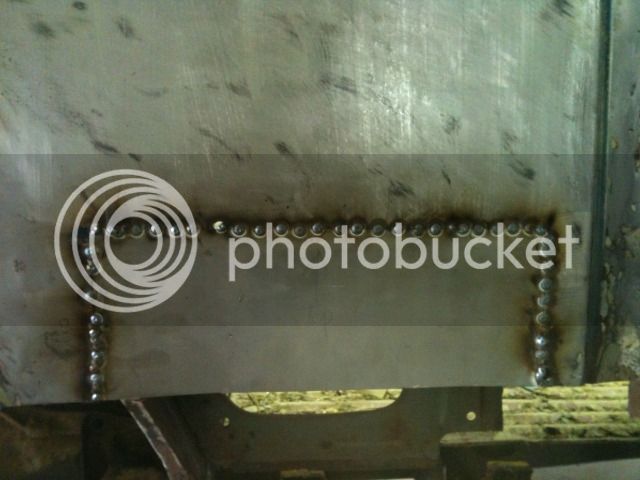
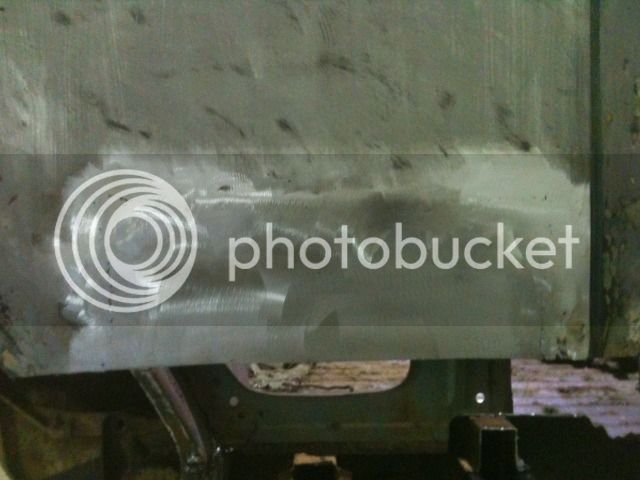
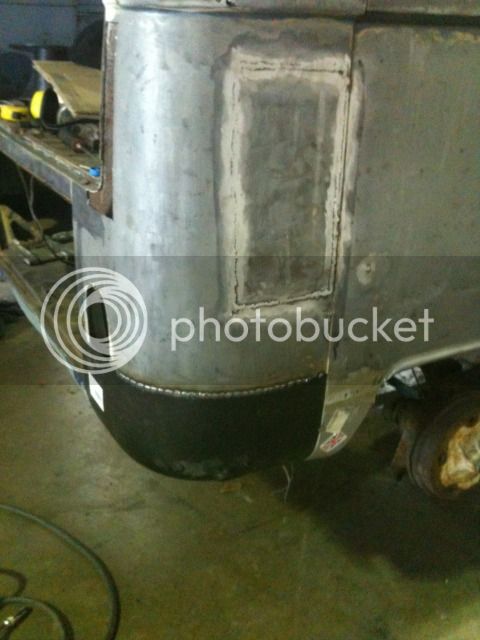
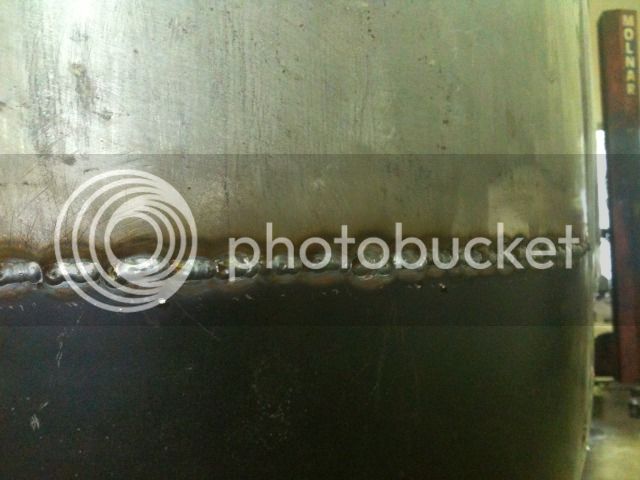
She's a rusty beast which for someone that's never welded before would appear to be too big a job, Ive been told several times to scrap it, I'm getting stuck in and learning the art of welding by trail and error by myself.
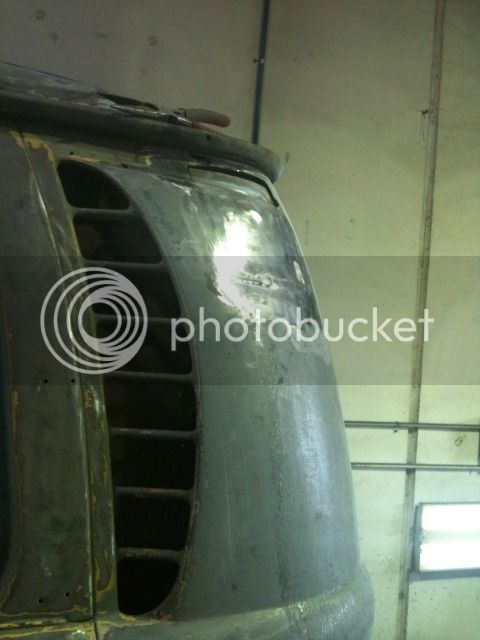
earl is worth saving as early bay's are the nicest looking..

Been working on it for 3 months or so now, witha young family i have very limited time i have managed to store it next to my work enabling me to spend half an hour to an hour a day( when I get a lunch break!!)

Pics to follow later.. Mike
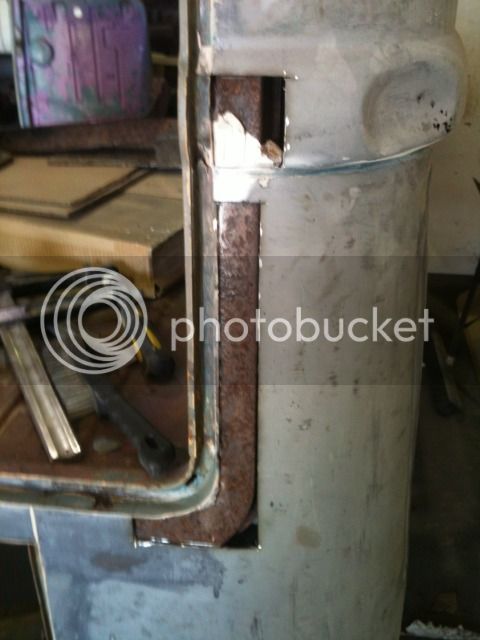
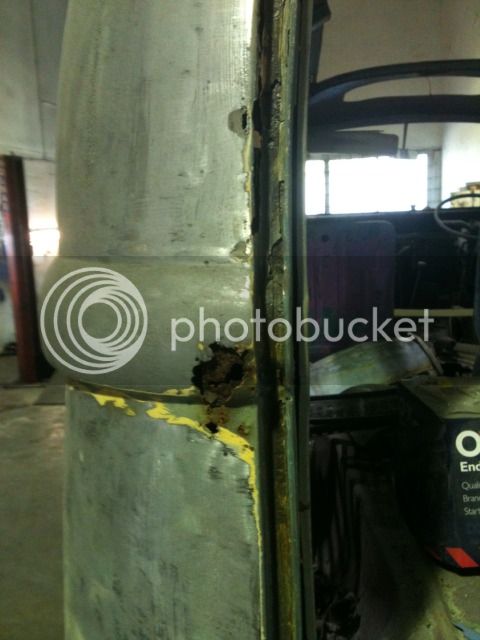
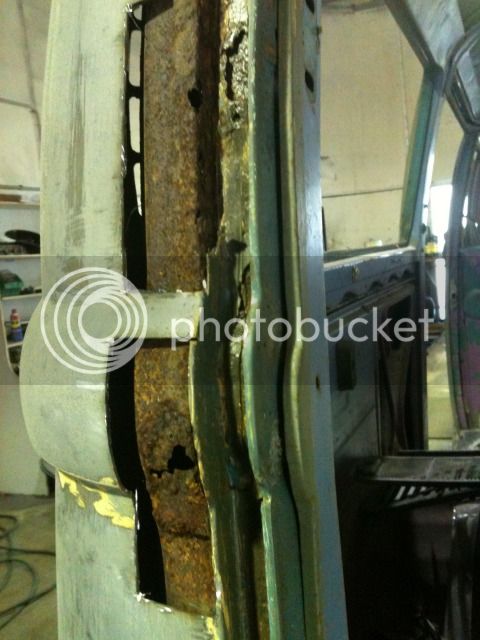
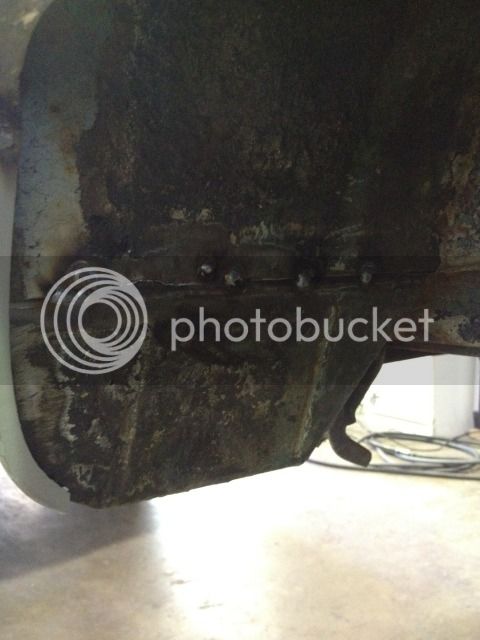
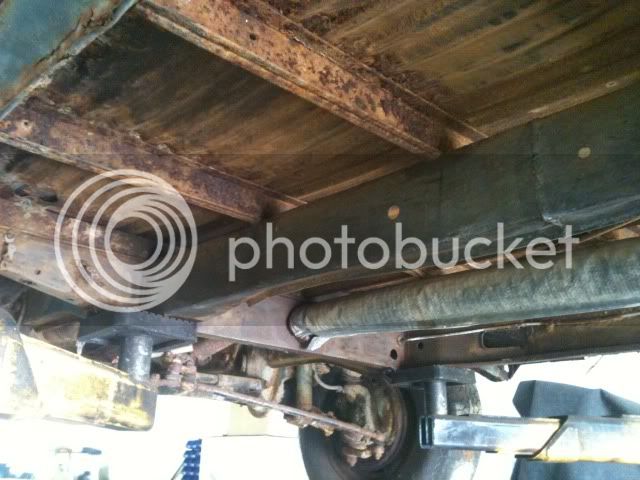
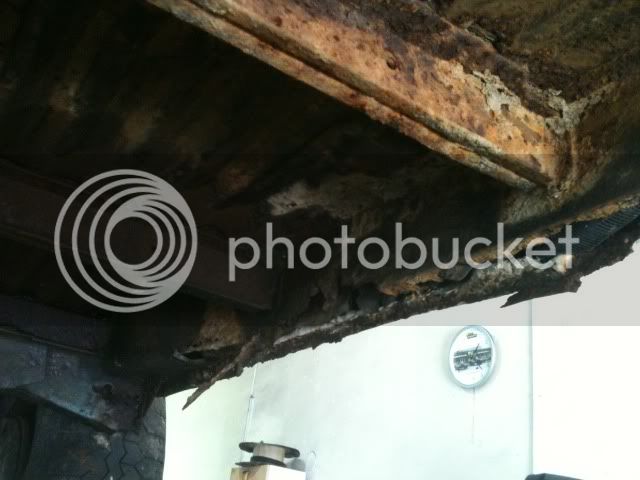
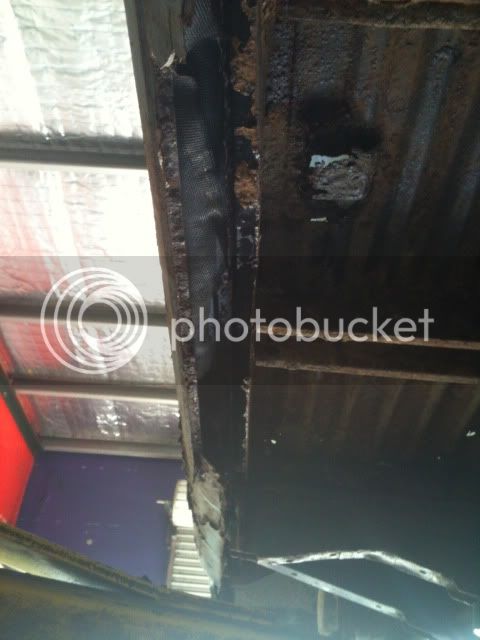
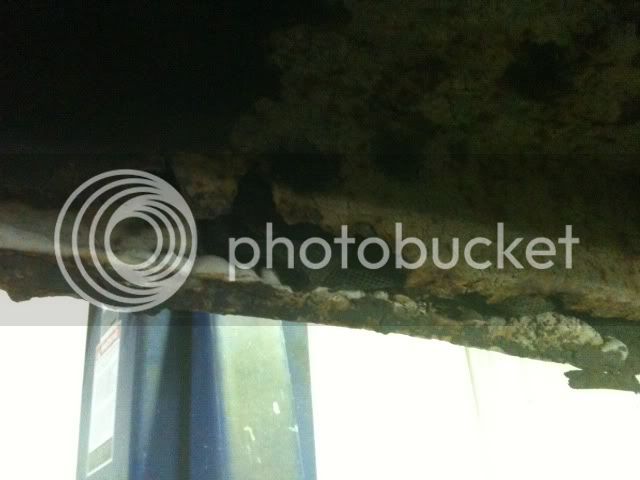
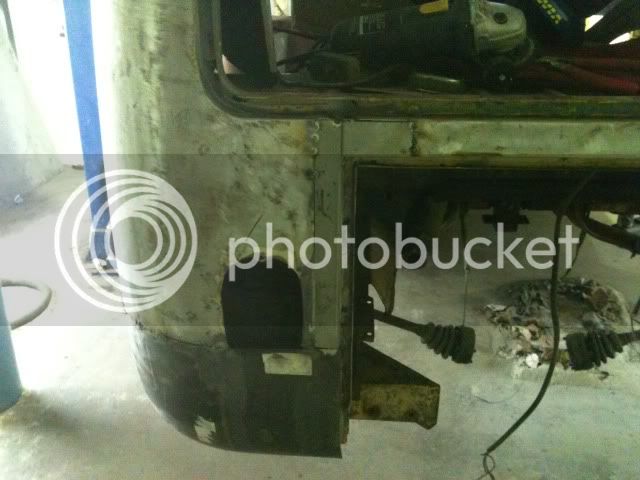
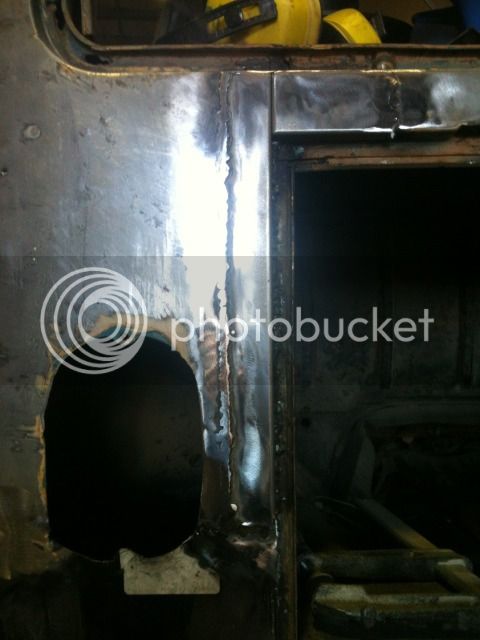
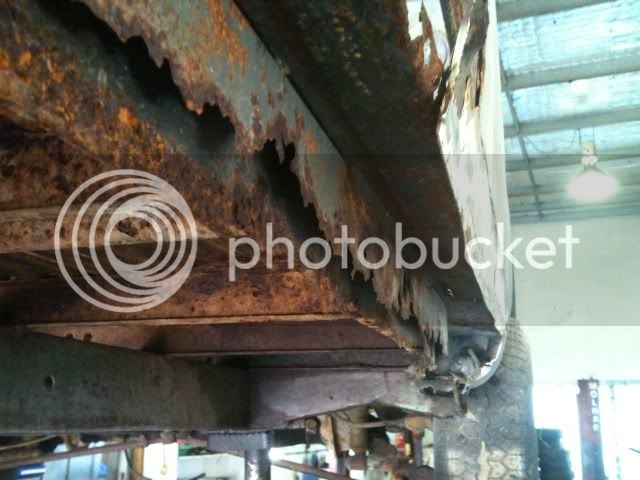
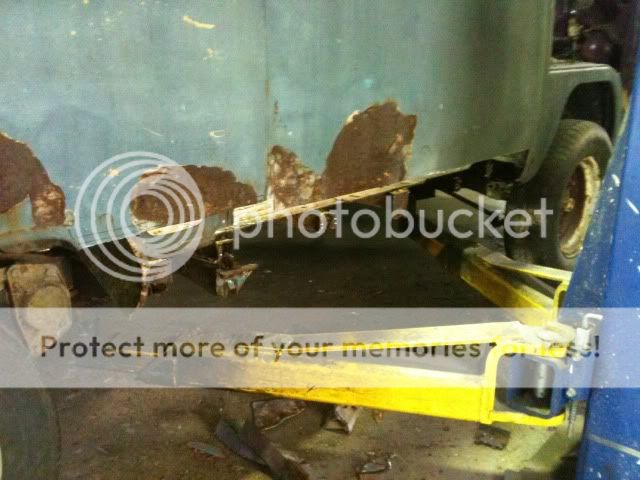
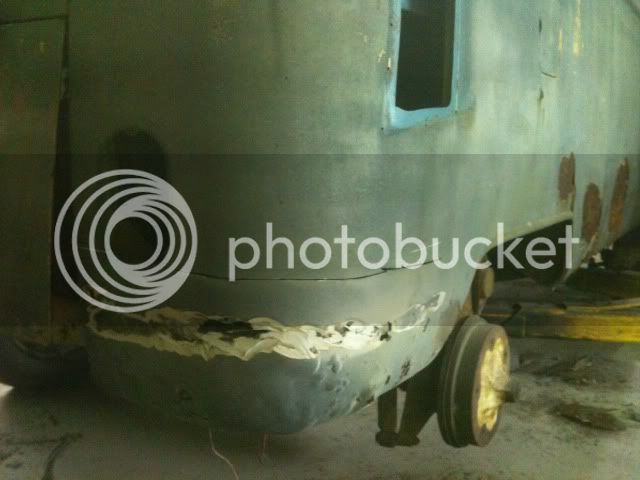
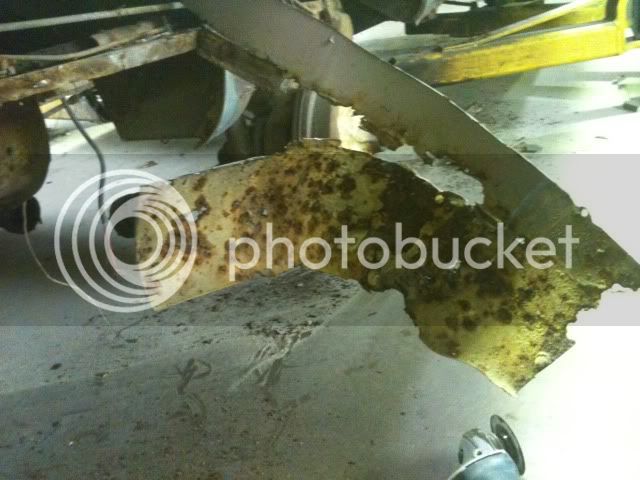
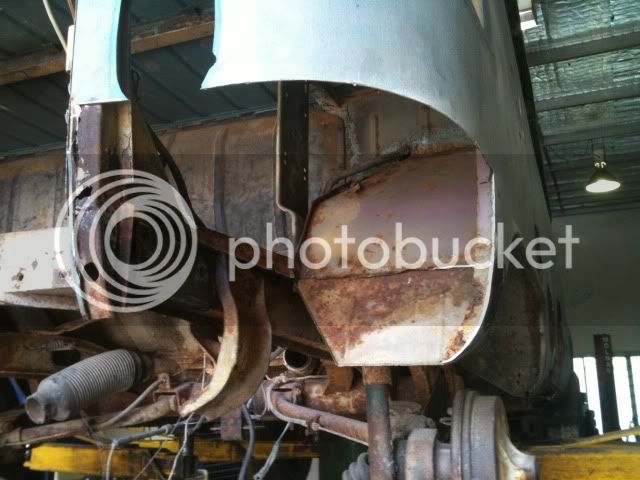
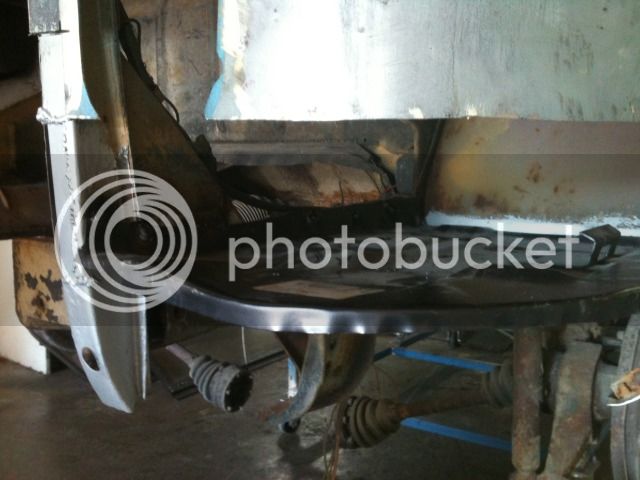
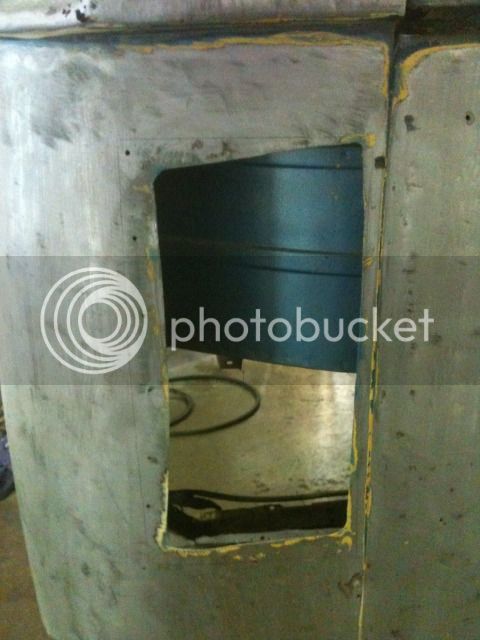
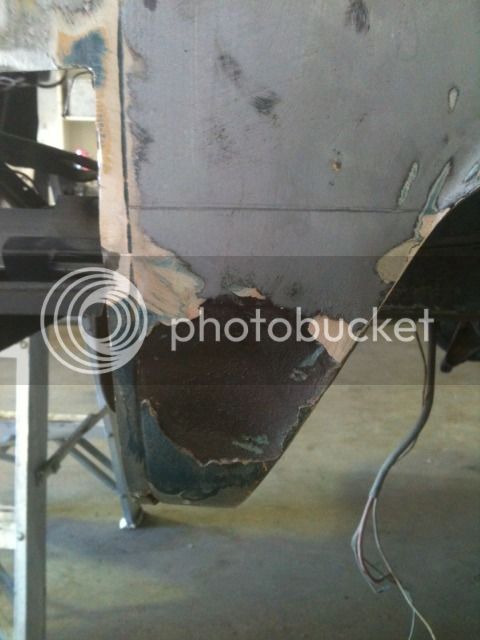
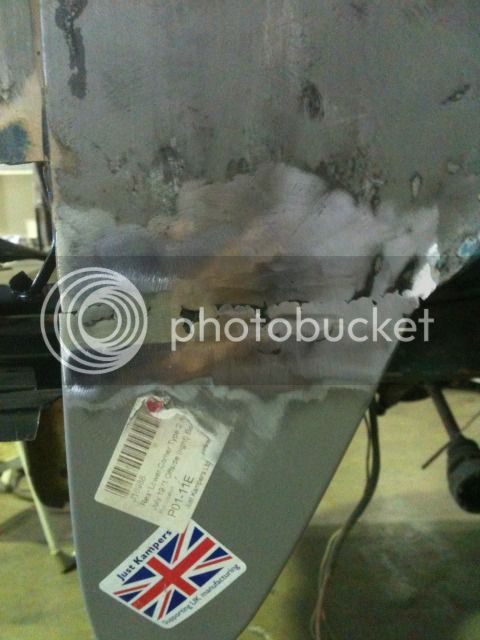
 
This is where my both 1970 models have sat for the 4 years I've had them and they have deteriorated a fair bit in that time so needed to start one of them and camper would be more practical with the family..
4EFD13DA.jpg

7F2AC933.jpg

Looking sad

100_4821.jpg

100_4822.jpg
 
Welcome Mike , looks like you have a couple of nice projects there , Are they nice and solid on the chassis etc,

Keep the pictures coming dude and get stuck in ! 8)
 
Chassis in good shape really, all surface rust which i have wire brushed and coated with some rust convertor/primer for now, got some Rust Bullet to paint with under there when the time comes, all 4 jacking points are the only concern underneath, not terrible but need replacing.

after a bit of wirebrushing.
FE53346B.jpg

8D2EE60D.jpg

Both inner sills are shot, drivers side had a good effort with fibreglass matting and passanger side just had some news paper and filler...
002C71BD.jpg

4CA0EBA1.jpg


23089829.jpg


under front is intersting, again heavy use of fibreglass to make up inner step. good use of an old road sign in passanger floor.
DD927A91.jpg

92AB7586.jpg
 
going to jump through my millions of pictures but this is what ive done so far...

no welds holding rear corners to the tray's just body filler..
72F42764.jpg

B10EB5DC.jpg


first time welding on the van at this point, i have welded some parts of front door all with gassless wire which was ok at this point, i changed to gass halfway through and you can probably tell at which point that was but i can't believe how much better it is welding with gass!!
CF726120.jpg

87D92F0F.jpg

found some surface rust behind which i have cut out completely and re welded in a new piece then covered
0127F1A7.jpg

0789EC29.jpg


removed inner, middle and outer sill drivers side.
FB9905B0.jpg

03AEA826.jpg


0124FCAC.jpg

87EEB59B.jpg

battery tray also out
E03E31DA.jpg

new in.
98F332A2.jpg


had to square up the added vent holes and weld in new metal
34437521.jpg

small section behind drivers wheel arch
6B590CD5.jpg

E548F27D.jpg

Stripped the paint from the outside and painted with rust convertor, really suprised on how good the panles are above the bottom 8"
598927F9.jpg

29B09A09.jpg

88AACD5A.jpg

remove power socket hole
28019F29.jpg

A8536C50.jpg

CD1DF59F.jpg

cut out some rusty bits
B3120D65.jpg

2495E06C.jpg

E8DA9172.jpg


this was this weekends work and my latest welding effort
E411FF0E.jpg

BB11825D.jpg


Sorry for the dumping of images but belive me i have missed out on 10X as many..

Cheers
MIke
 
For someone who learning to weld as you go along you're doing a really great job! The way you're going you'll have a cracking bus in no time.
 
Thanks guys, hoping to be ready for paint in 12 to 18 months, fingers crossed I can get it done by then.

What I haven't given is a little background, I bought the honey brown deluxe off eBay 4 years ago, his dad had this one sitting next to it which raised my eyebrows obviously and he agreed to sell it to me at the same price as his son's ( yes I did buy them!!) ($250 each but after only exchanging $50 (for Earl the blue one) and a set of widened early beetle wheels I had in the shed, 2x 3 hour round trips later the we're both mine.

I got them 4 years ago which they sat in my mates garden as in first pic till now, I have just spoken to John the dad and blue Kombi owner to try and get a history, interesting, he had it for 1 year and got it from a wreckers which his mate owns, before that it sat in a guys front garden for over ten years, John took the twin port 1600 out for his beetle which with a new battery started straight up, puffed out some smoke for a minute and all good, he still has that motor and done nothing to it, he recalls his son pissing himself after betting the motors stuffed!

Anyway thought someone might be intersted!!

Mike
 
Cut out rear drivers jacking point and part of the top hat:

C5DD9E2F.jpg

0EC5C002.jpg


Welded the new jack point in, didn't look right and after test fitting the inner sill I was amazed on how much of an angle the sill support piece is on, what's the go with crap reproduction parts! Looks like I'll drill out the spot welds and weld back on once sill is in.. Is the normal for these parts? Got the other 3 to do.

ACF4AB8A.jpg


Cut some more rust out, cut more than just the bubbles to make sure sound in behind.

A8627D28.jpg

5C2BA493.jpg

ADA52ED4.jpg

D87B6C77.jpg
 
Welded the rear wheel arch section back in today and played with the welder settings
8FA9DF8A.jpg


Got good penetration through the tray and out the back piece of metal
94862E84.jpg


Just playing seeing if I can shrink a dent that's always been there mainly to check weld penetration before doing the arch
140E7D88.jpg


Test piece: boring for most I know but trying to get it right
E0FD5AD2.jpg


Not sure if you can make out the pool underneath is pretty much the same As the top
01915685.jpg


Took some better pictures of how it looks today 3 months into the van
1970.jpg
F0D63808.jpg
 
good old pattern parts :roll: I have found the inner sills are the thickness of the metal to tall,bend made to high,and they dont match the drop in the floor leaving you a 8mm gap and the jacking points arnt right.need to do this on my panel some time so feel it for you.
 
The sills appear to have a good fit but i was only holding in position but im sure there were some differences but wont be sure till i start putting it back together in a week or 2.

Stayed on at work yesterday and painted up 2 of the wheels which i had sand blasted last year to sample part of its new colour scheme, not 100% yet of colours but it might end up original blue.

Primed ready:
2C22EE7C.jpg


Colour for wheels is VW Silver white:

17029919.jpg


Very early to be painting i know but i have a pile of wheels at home to get through..
 
Small update: spent 2 hours tonight, after wirebrushing and sanding I painted rust bullet, then made a repair section to cover up, blew a couple of holes but otherwise very very happy.

45E9DFA3.jpg


340E8FEE.jpg


2B3AF6E5.jpg


Really dissapointed with the lack of time spent this week, maybe better next week

Mike
 
Ground up ready to repair the bubble section now and tidy light cutout and some primer on this side before the weeks out provided i get some time

679D15C4.jpg


There are a silly amount of drilled holes possibly used for some kind of poppers or something maybe for a awning?? So I started welding them up, there is also a number of them on the drivers side for some reason??, might count them tomorrow
A6F1BD3B.jpg


That was yesterday,
Got 1 hour today, spent most of it bending and shaping the 2 pieces, decided to mount the first section from behind to leave more weld there for strength, painted rust bullet before tacking the cover piece in to fully weld tomorrow.
20EF0B14.jpg


6C8EB01E.jpg


C58840FB.jpg
 
Thought id give a bit of an update:
: Front jacking point and outrigger
: inner and middle sill, which involved extending the inner to match the original with a 90 degree fold at the end
: rear small sill
: seam seal the back of the rear welds
: got the outer sill welded in after coating the inside with rust bullet:
2345D0E7.jpg

81D7B745.jpg

EFD1FCE1.jpg

D343ABB4.jpg

8C0D5DBC.jpg

3CE5215C.jpg

C9556185.jpg

F46D147C.jpg

60E39A99.jpg

9E0A6E1F.jpg

D8612DEC.jpg

once the welding is finished i'll get to the panel beating

inside the rear of the side finished waiting for the hammer/dolly and seam sealer,
D7FB28D0.jpg


Sorry for the dump of images but now upto date.

Mike
 

Latest posts

Top