Lowlighter
Active member
- Joined
- Feb 26, 2009
- Messages
- 41
- Reaction score
- 0
Hiya to one and all. I have posted a few pics in the gallery and it was sugested that I should start a Thread on Our 1972 Crossover bay,.
Few of the pics you may have already seen, Just thought I would keep them all on this Thread.
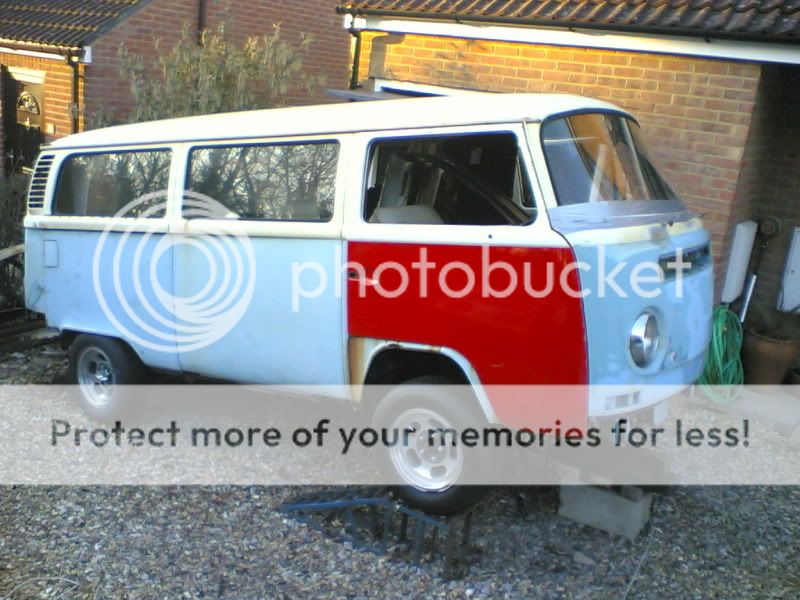
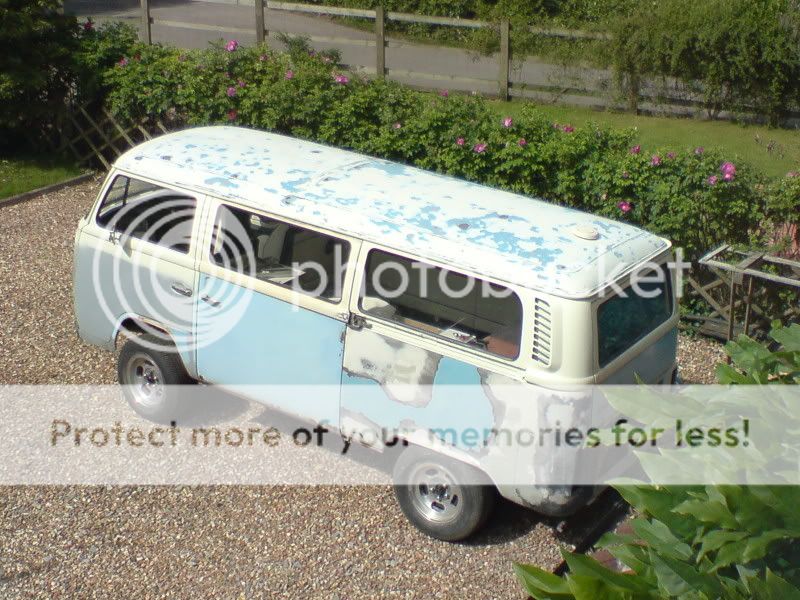
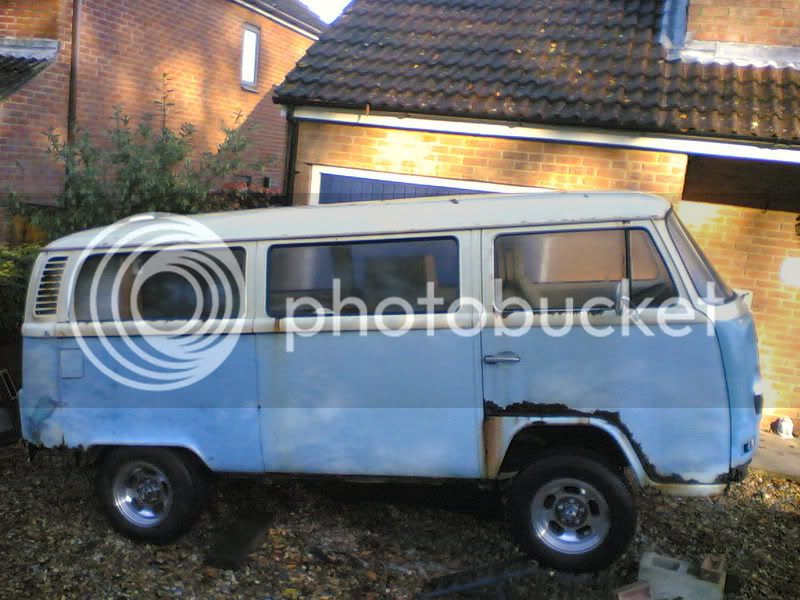
Well here she is our 72 Bay the day that we got her, what do you think?
J n J
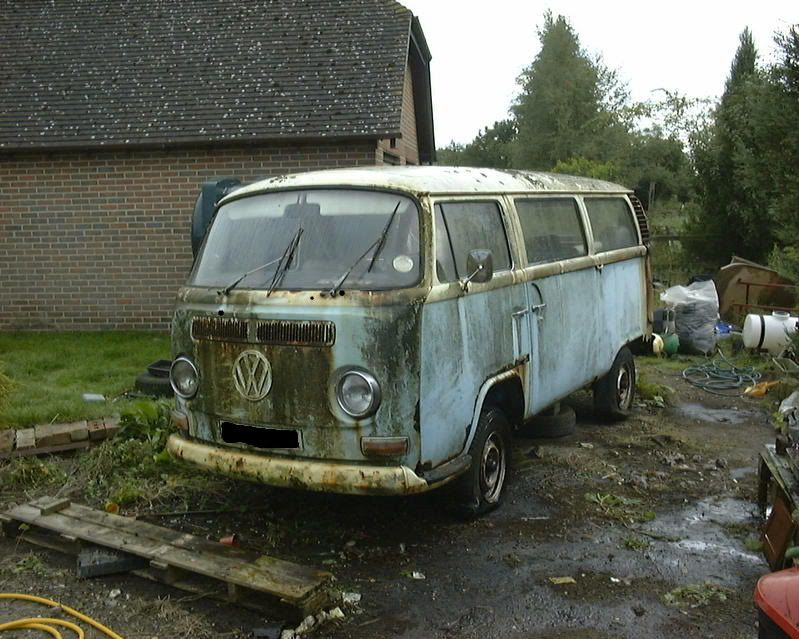
The story goes that the PO went out to buy his wife a winter coat and came back with this camper, (think she got her coat eventually) he was the only owner from new, it has only done 38,000 miles. The key broke off in the ignition in 1985 and she has stood since then. His wife wanted it to rot to pieces but he said that he would only sell it but only to someone who promised to repair it, so thats where I came in. he had been offered £400 for it from somebody else but then accepted £350 from me Here she is after her first wash.
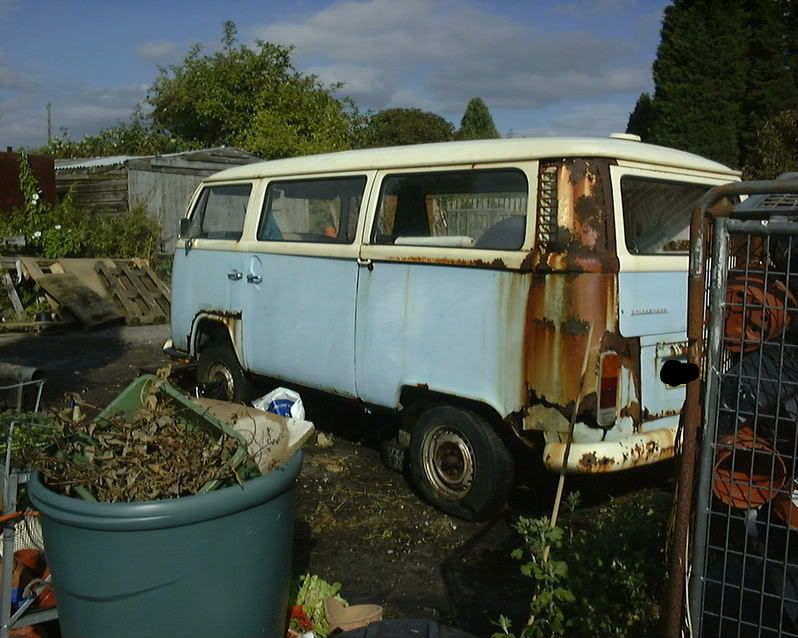
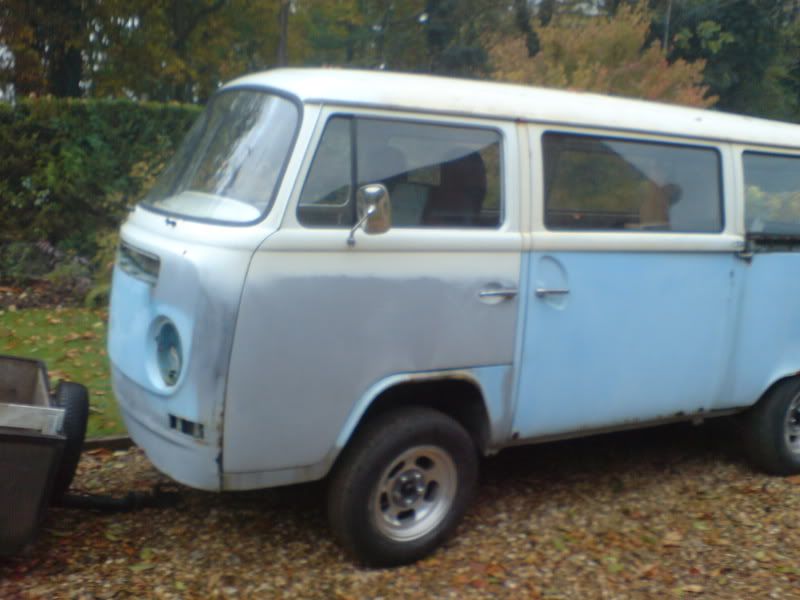
All the tyres had perished so I had to borrow a set of wheels to move her, half of the wheel studs broke off while changing the wheels, I put a battery on and got it on a trailer by turning the engine over with it in reverse, she had no brakes so was a bit scary anyhow all went well and I got her home.
The roof gutters are fine,I have done a little work since then,here are a few more pics,
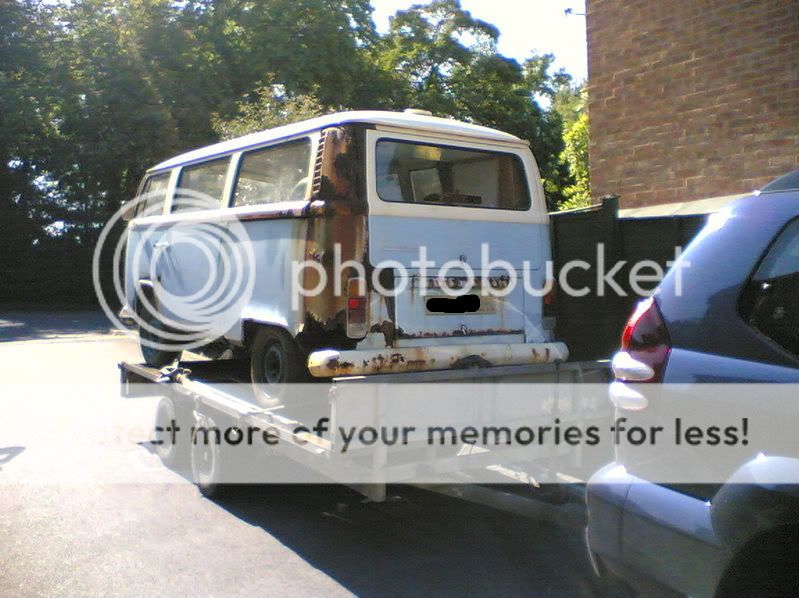
Arriving at my home this was her first journey for many years,
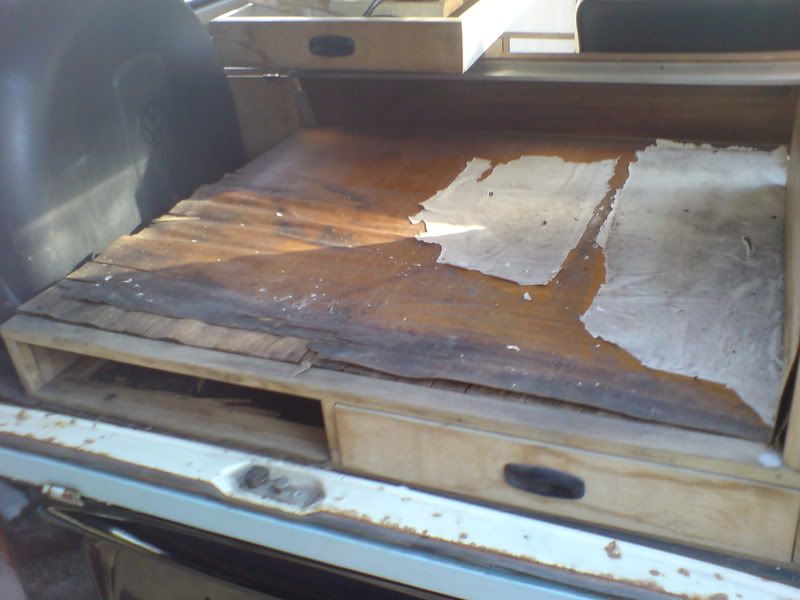
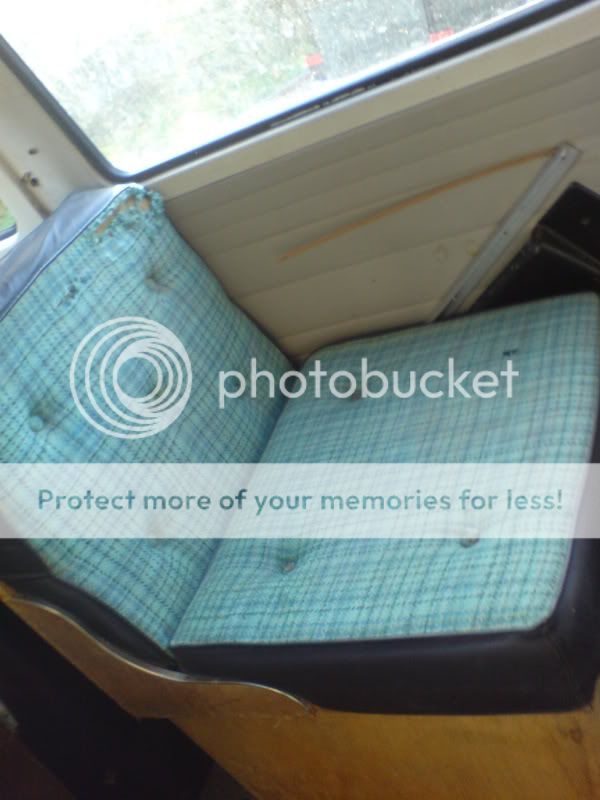
the inside is a Devon conversion unfortunatly a bit of water damage,
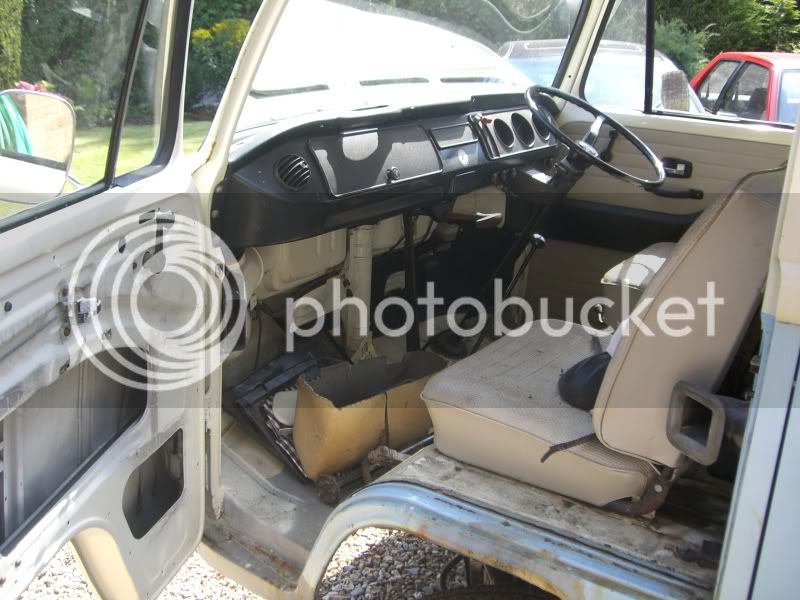
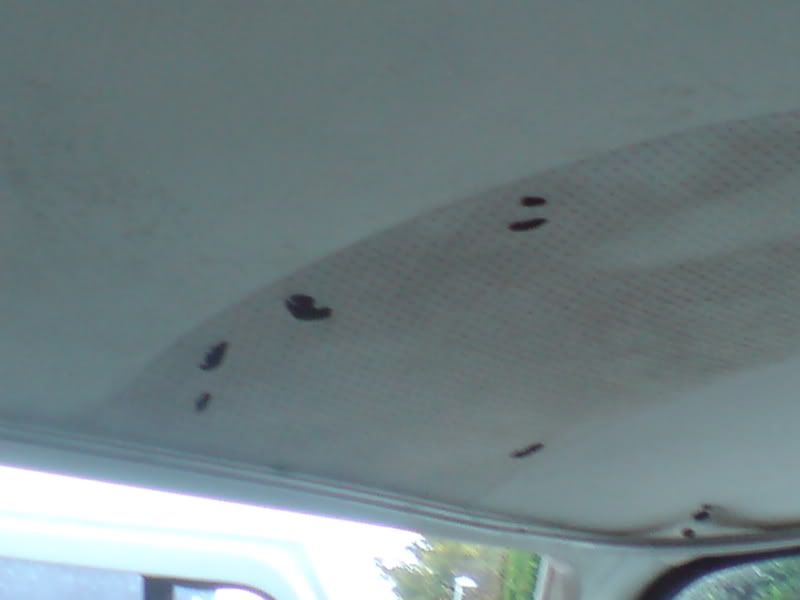
cabs not too bad apart from some mouse damage, they had eaten the owners manual and stuffing from under the front seats climbed up into the head lining and made 2 nests out of it.
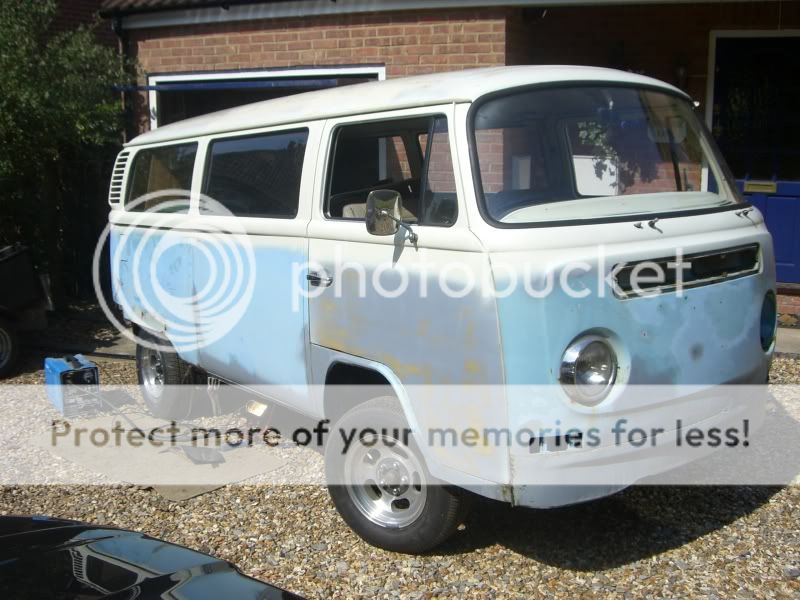
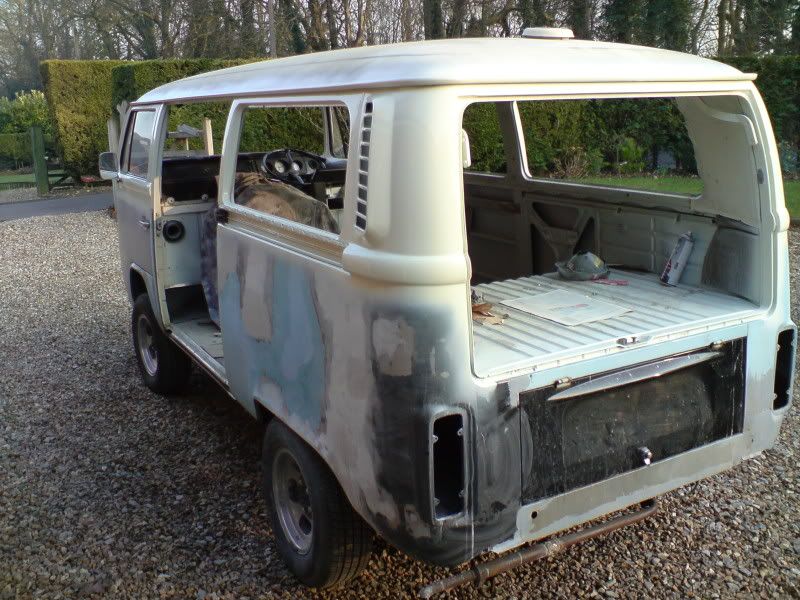
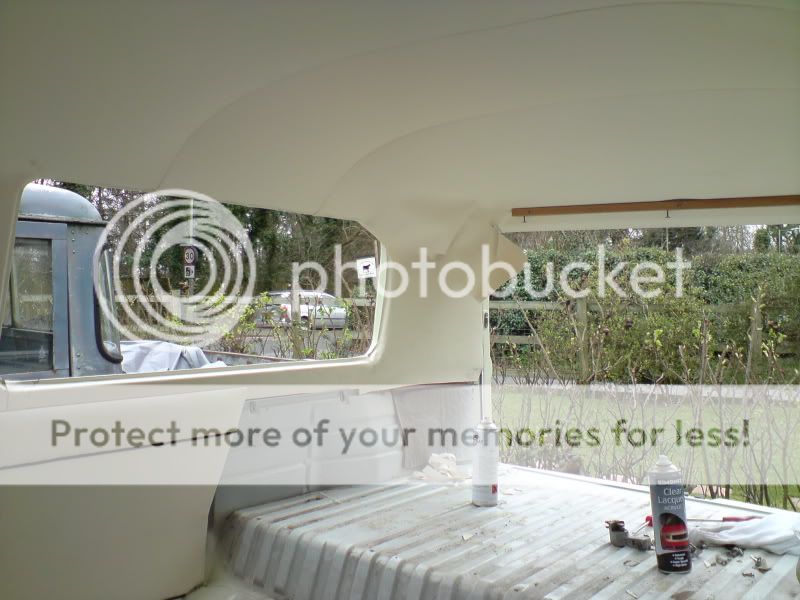
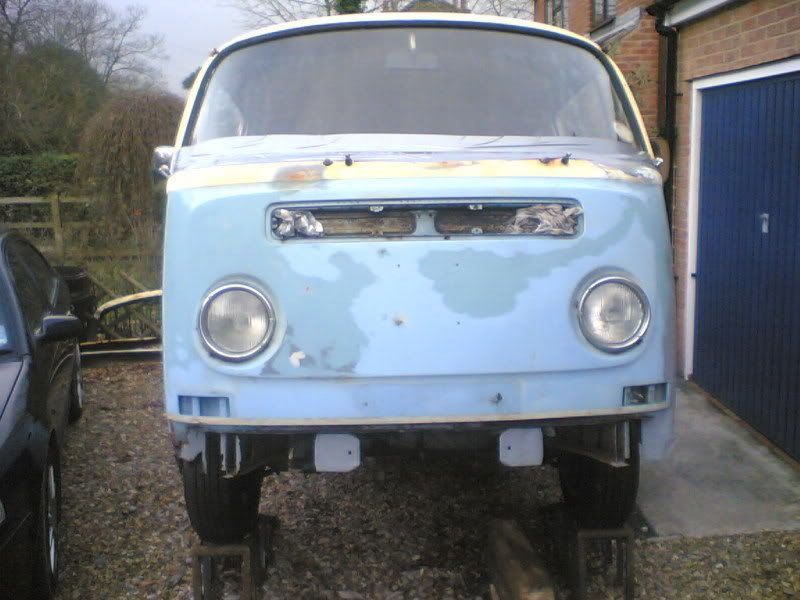
I started restoration a while ago and the pics I have posted were at the begining, here are some more as I went along,I started on replacing the near side sill and worked clockwise around the van, the n/s/f wheelarch was patch repaired as it was in pretty good nick.
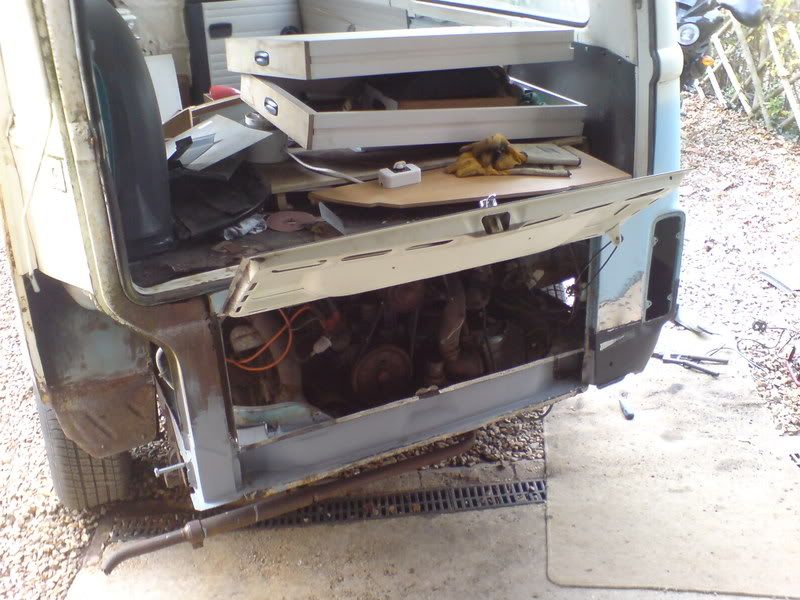
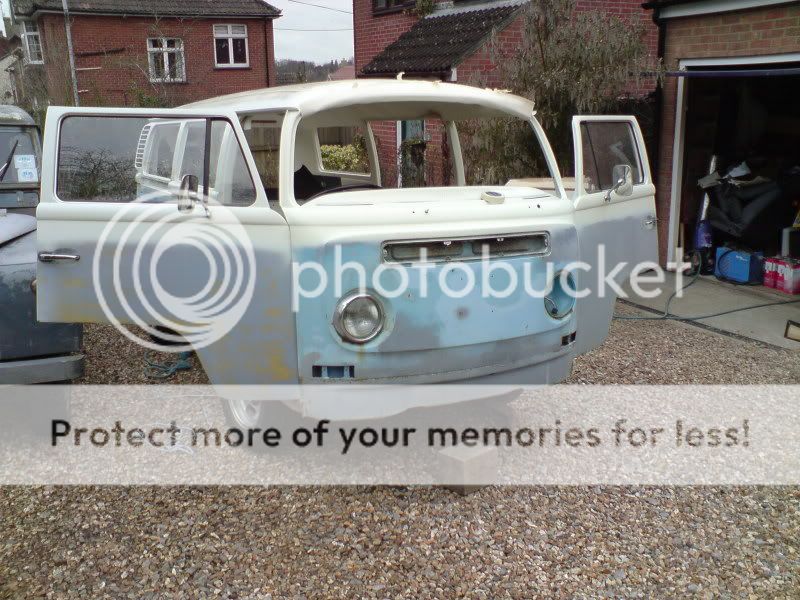
Here is the bottom of the front panel and cross member cut off and tape around the window to stop the rain getting in,
Got some wheels and tyres these came from an inported bus from New Zealand, what do you think?
Few of the pics you may have already seen, Just thought I would keep them all on this Thread.
Well here she is our 72 Bay the day that we got her, what do you think?
J n J
The story goes that the PO went out to buy his wife a winter coat and came back with this camper, (think she got her coat eventually) he was the only owner from new, it has only done 38,000 miles. The key broke off in the ignition in 1985 and she has stood since then. His wife wanted it to rot to pieces but he said that he would only sell it but only to someone who promised to repair it, so thats where I came in. he had been offered £400 for it from somebody else but then accepted £350 from me Here she is after her first wash.
All the tyres had perished so I had to borrow a set of wheels to move her, half of the wheel studs broke off while changing the wheels, I put a battery on and got it on a trailer by turning the engine over with it in reverse, she had no brakes so was a bit scary anyhow all went well and I got her home.
The roof gutters are fine,I have done a little work since then,here are a few more pics,
Arriving at my home this was her first journey for many years,
the inside is a Devon conversion unfortunatly a bit of water damage,
cabs not too bad apart from some mouse damage, they had eaten the owners manual and stuffing from under the front seats climbed up into the head lining and made 2 nests out of it.
I started restoration a while ago and the pics I have posted were at the begining, here are some more as I went along,I started on replacing the near side sill and worked clockwise around the van, the n/s/f wheelarch was patch repaired as it was in pretty good nick.
Here is the bottom of the front panel and cross member cut off and tape around the window to stop the rain getting in,
Got some wheels and tyres these came from an inported bus from New Zealand, what do you think?