My 1969 Deluxe

Early Bay Forum

Help Support Early Bay Forum:

This site may earn a commission from merchant affiliate links, including eBay, Amazon, and others.
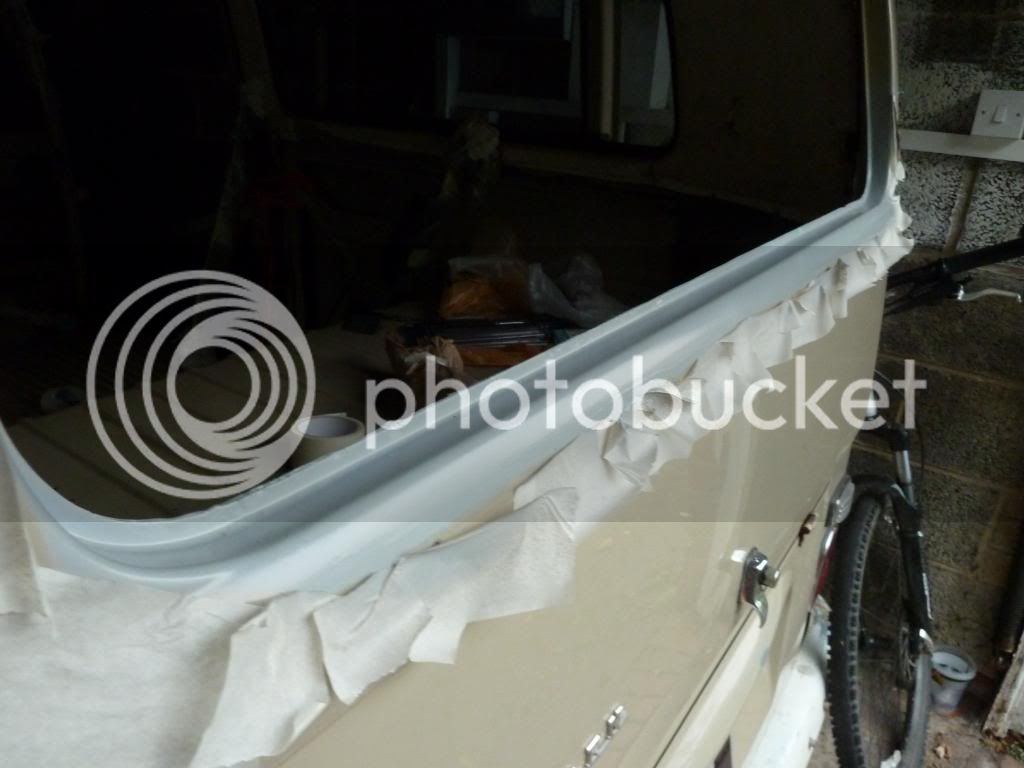
Now, what to do about these window surrounds.

(Also, this is a lesson to always do things yourself and never to trust the 'experts'.


Doing the same job on mine at the moment (also a beige bus - snap!).

I'll post the photos when I can find find them but this is a quick summary of what I did...
1. Removed back window rubber, taking trim out first same as you.
2. Was confronted with same condition as you,ie couple of rough jaggered rust spots in the window lip (or whatever it's called)
3. I wire brushed the loose rust off & then filed the rough edge smooth.
4. Next I used 2 coats of POR 15 (and the clean and prep/metal ready stuff aswell).
5. Thencouple of coats of acid etch primer.
6. Then a couple of coats of top coat.
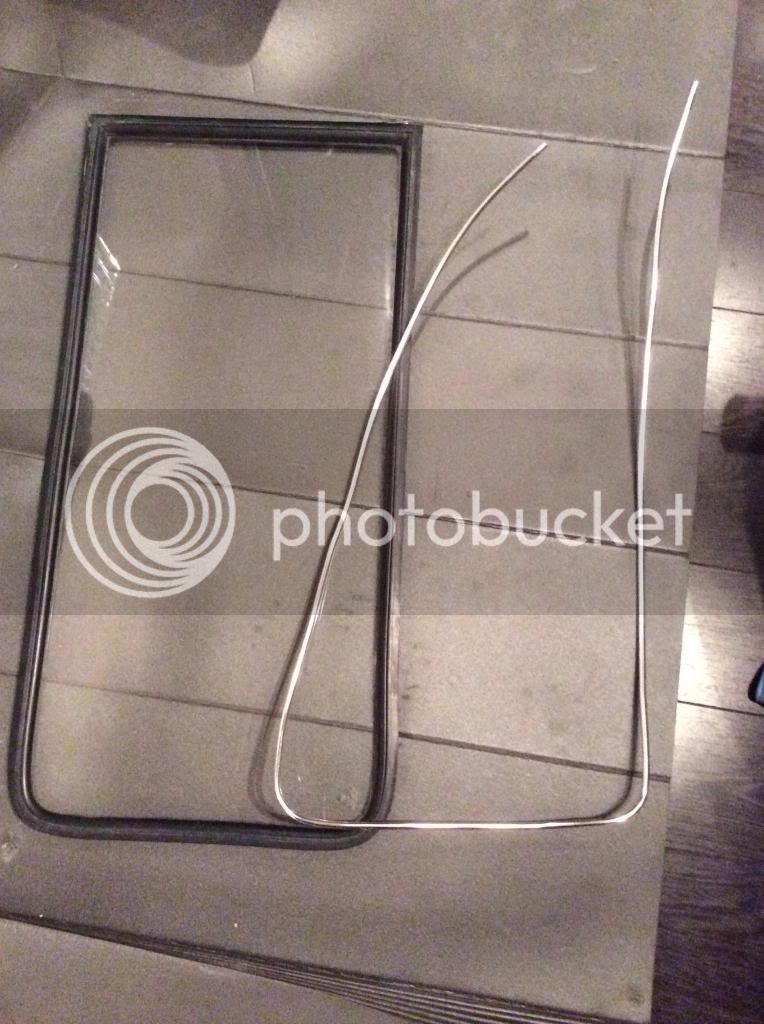
7. My window is ready to go back in bar fitting the metal replacement trim - which you definitely need patience for.

I'll see if I can find the photos.
 
Walt said:
Now, what to do about these window surrounds.

(Also, this is a lesson to always do things yourself and never to trust the 'experts'.


Doing the same job on mine at the moment (also a beige bus - snap!).

I'll post the photos when I can find find them but this is a quick summary of what I did...
1. Removed back window rubber, taking trim out first same as you.
2. Was confronted with same condition as you,ie couple of rough jaggered rust spots in the window lip (or whatever it's called)
3. I wire brushed the loose rust off & then filed the rough edge smooth.
4. Next I used 2 coats of POR 15 (and the clean and prep/metal ready stuff aswell).
5. Thencouple of coats of acid etch primer.
6. Then a couple of coats of top coat.
7. My window is ready to go back in bar fitting the metal replacement trim - which you definitely need patience for.

I'll see if I can find the photos.

Cheers Walt, excellent advice. I have some POR15 and primer, just need to get a top coat from somewhere. Photos would be excellent.
I dread the metal trim job, it's so flimsy!
 
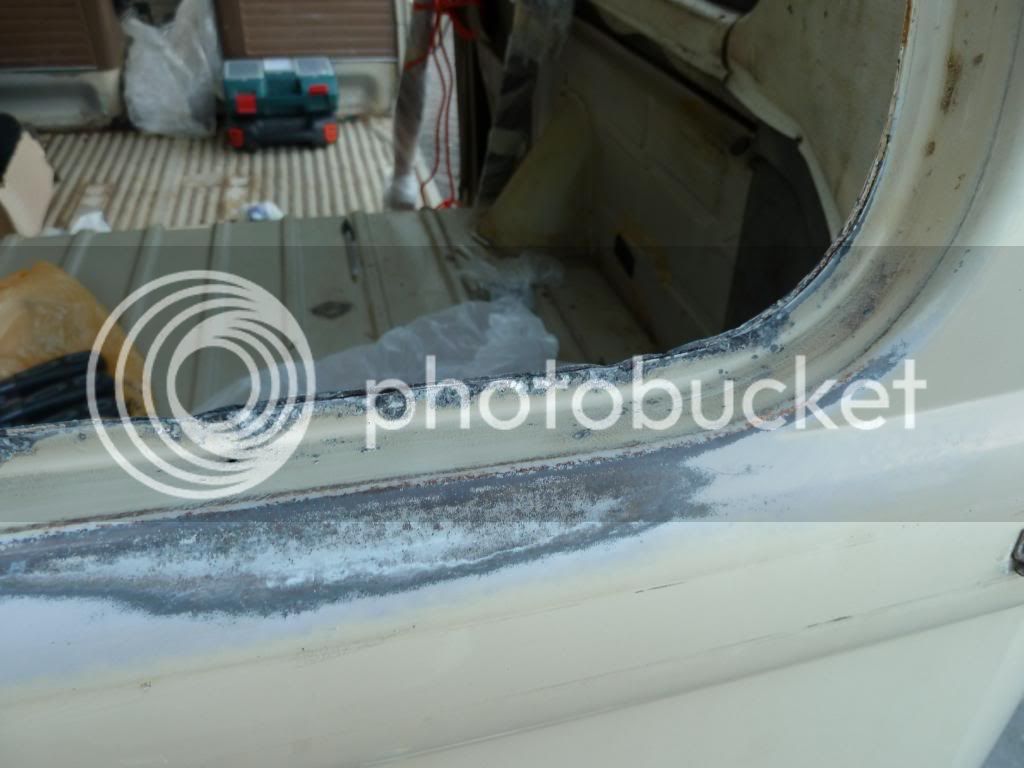
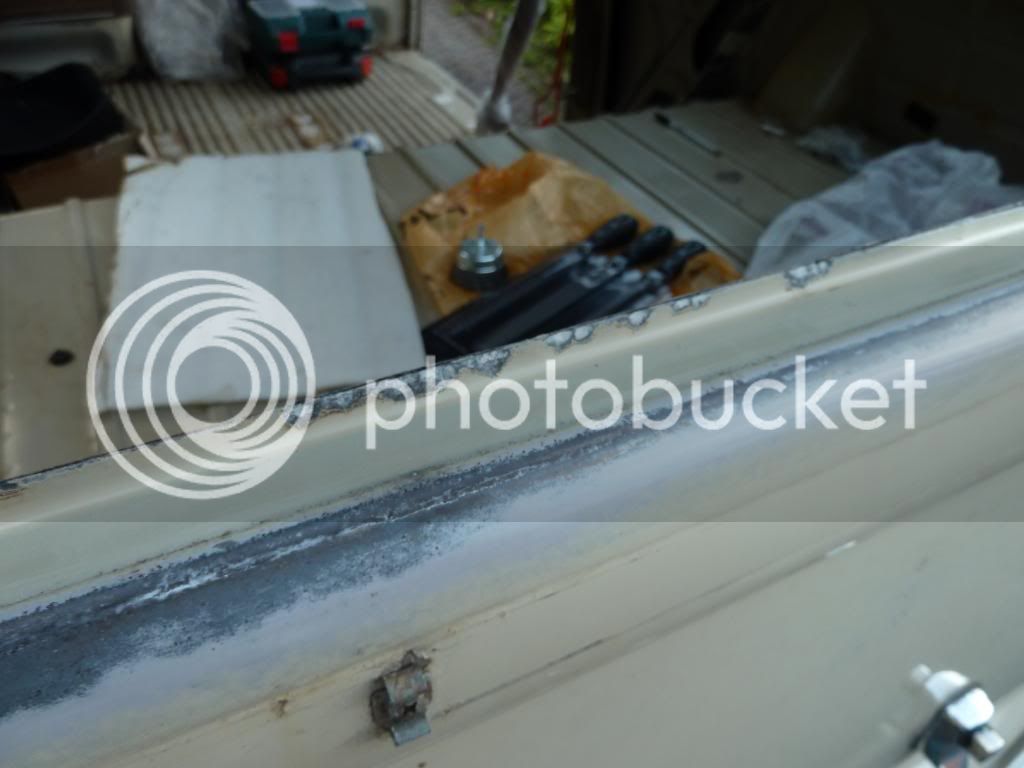
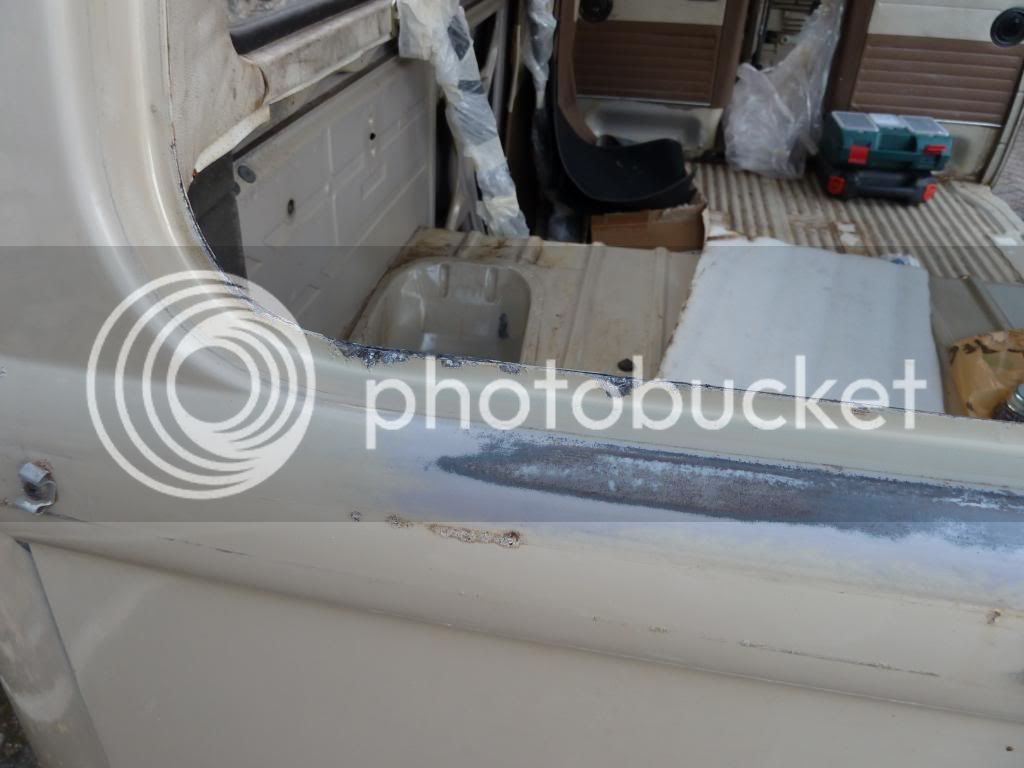
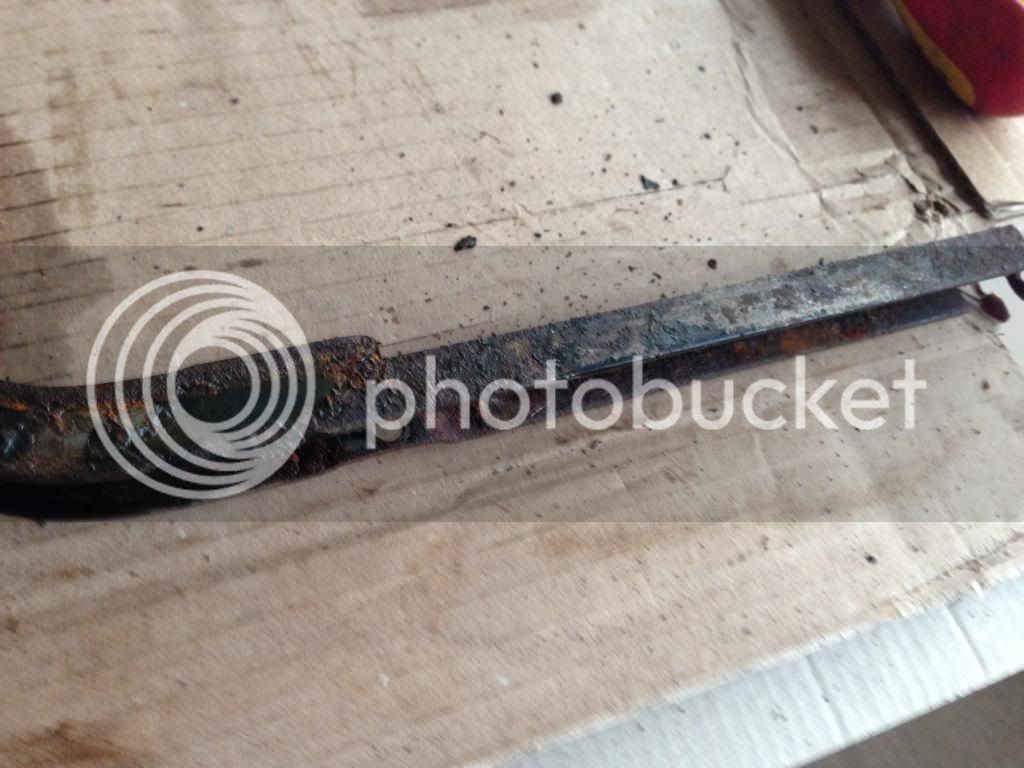
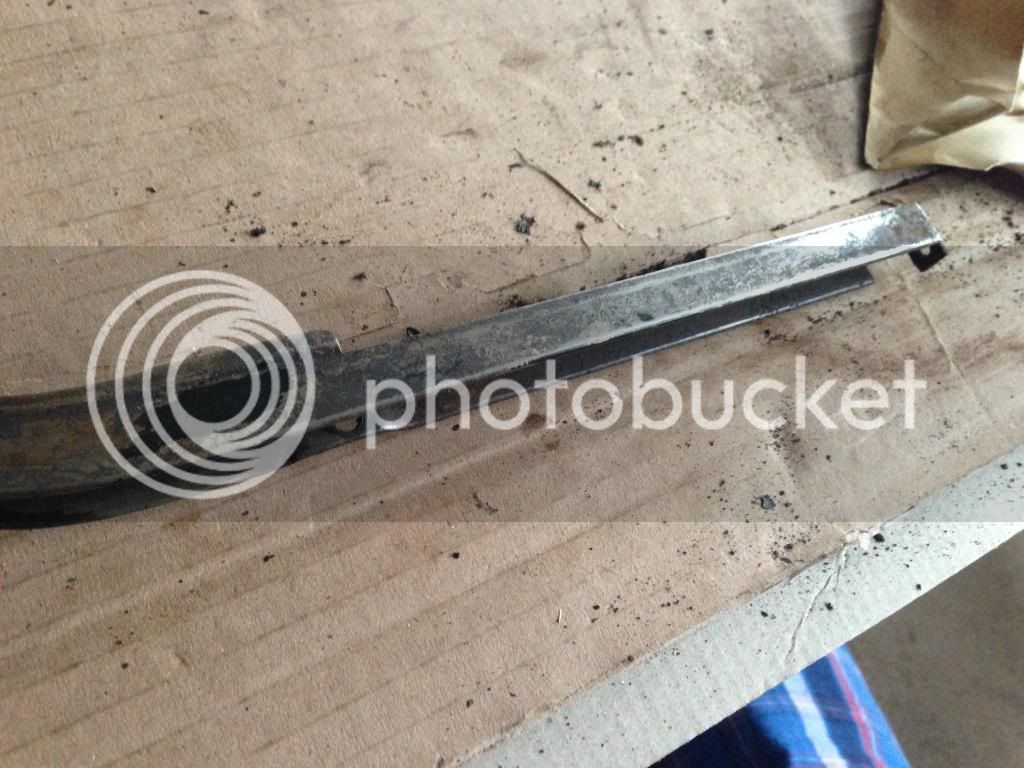
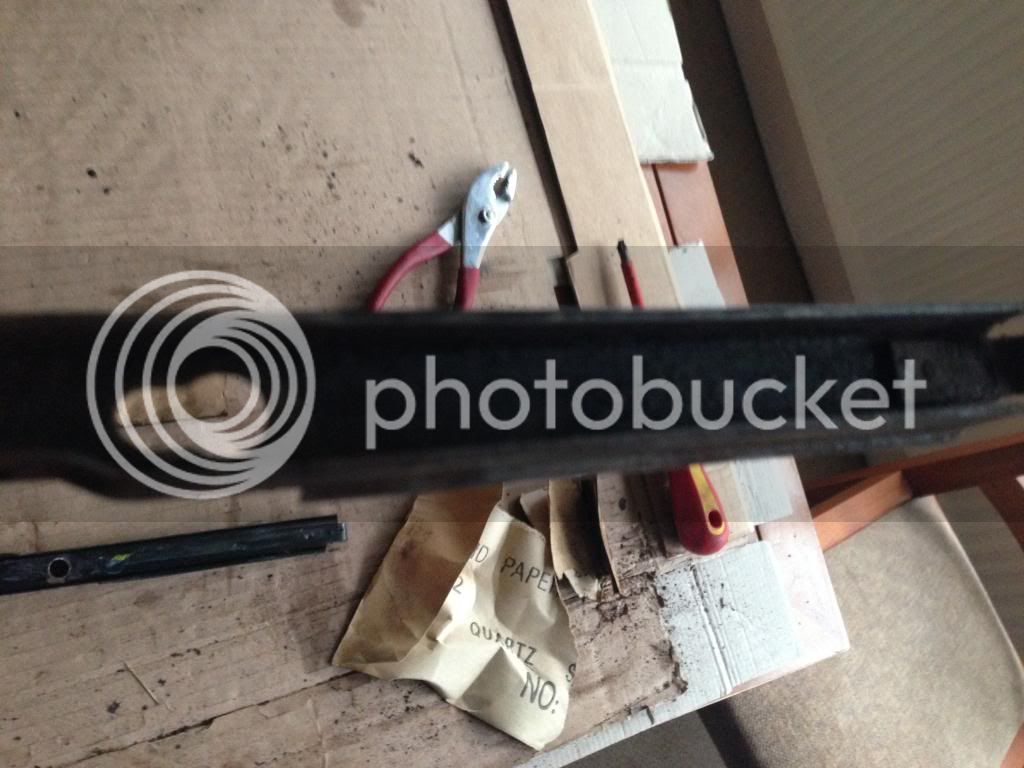
Couple of photos after the rust was removed and before the edges were smoothed off...

Window1_zpsdc787dc7.jpg


Window2_zpsab9f30dd.jpg


Window3_zps81e6dccb.jpg


For the top coat I just decided to seal the primer in a few coats of satin/matt grey. I'm OK with this and the finish as the tailgate has a couple of dings/marks etc, so although it would be great to have it sprayed the original savannah beige, I doubt I'd get anywhere close to the faded colour it is now.

Also forgot to mention I used wetNdry paper between coats aswell.

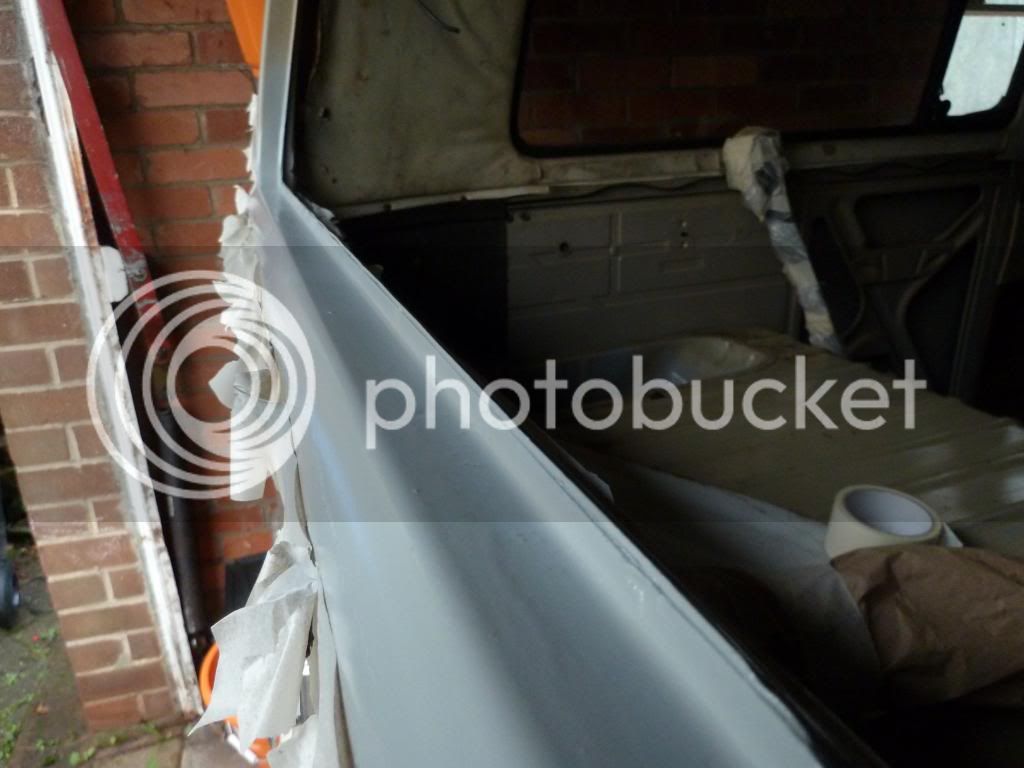
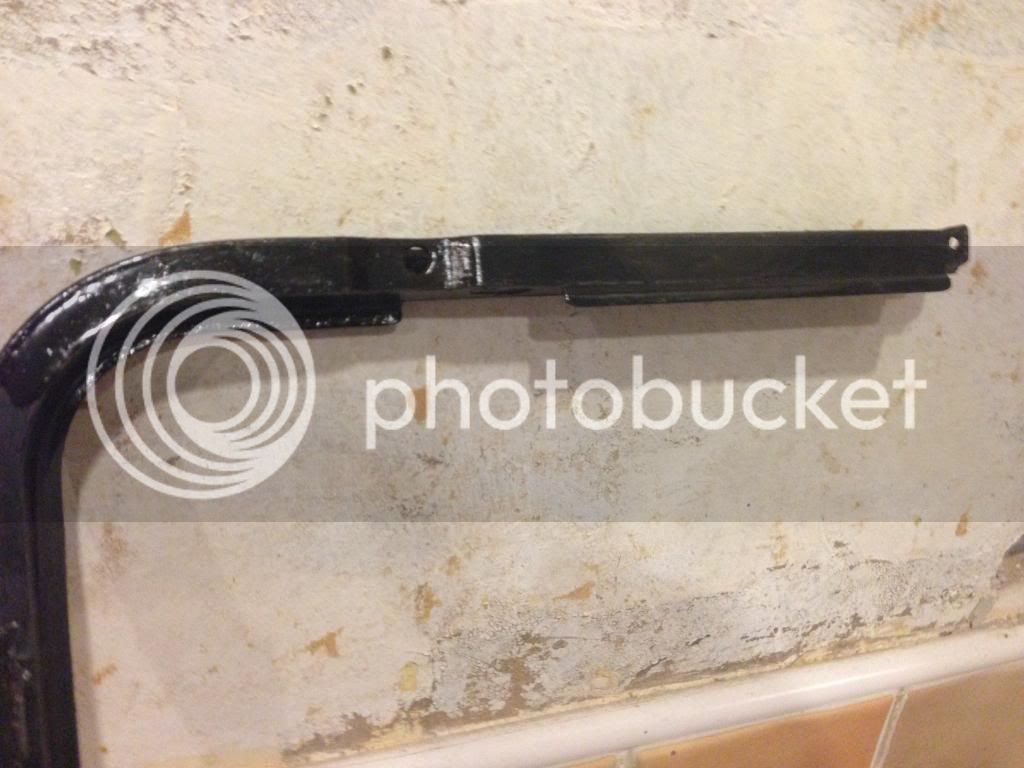
How it is now...

Window4_zps11946a7f.jpg


Window5_zps55bb99a4.jpg
 
Cheers Walt these are great. Moving the bus into a garage this week so should be able to try and tackle it. Will update this thread with pics.

squareweave said:
The trick is to flex the rubber around the trim, not vice versa. Its really not hard, just patience and time and it goes in quite easily. Make sure you have lots of silicone spray on the rubber too so it slips in nicely.

Cheers. Did you use any special tools?
 
mate that's a lovely bus!

shame you lost some of the og paint on those window repairs tho :(

anchor wax or laquer on the primer/metal would've saved it
 
Lee C said:
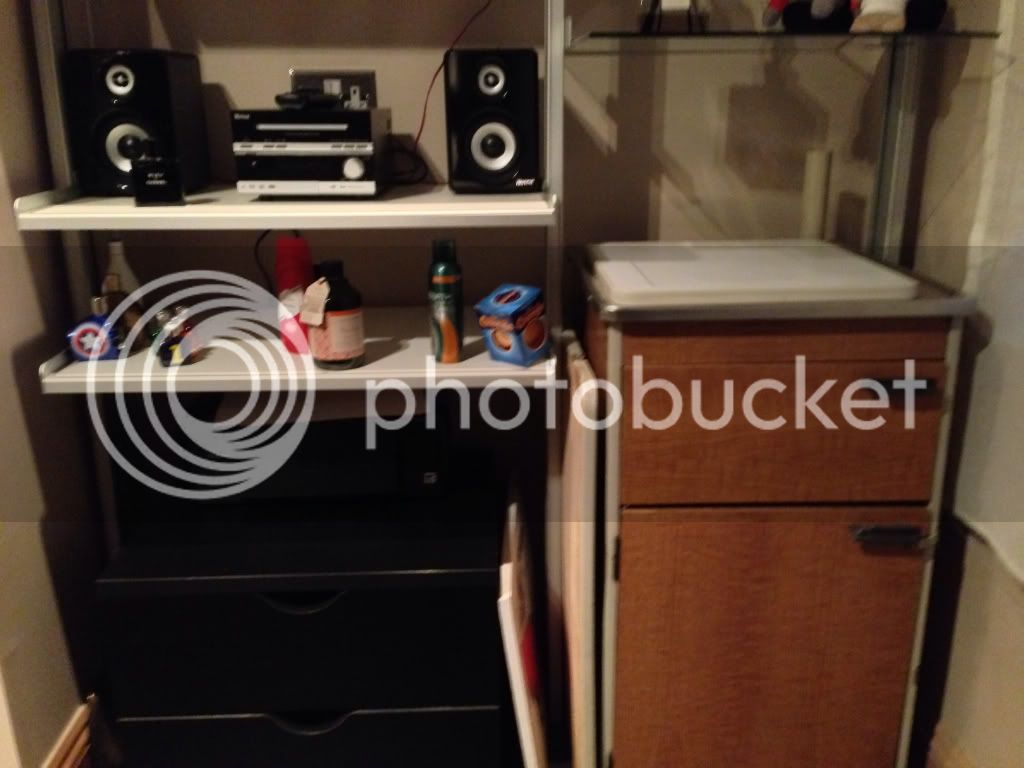
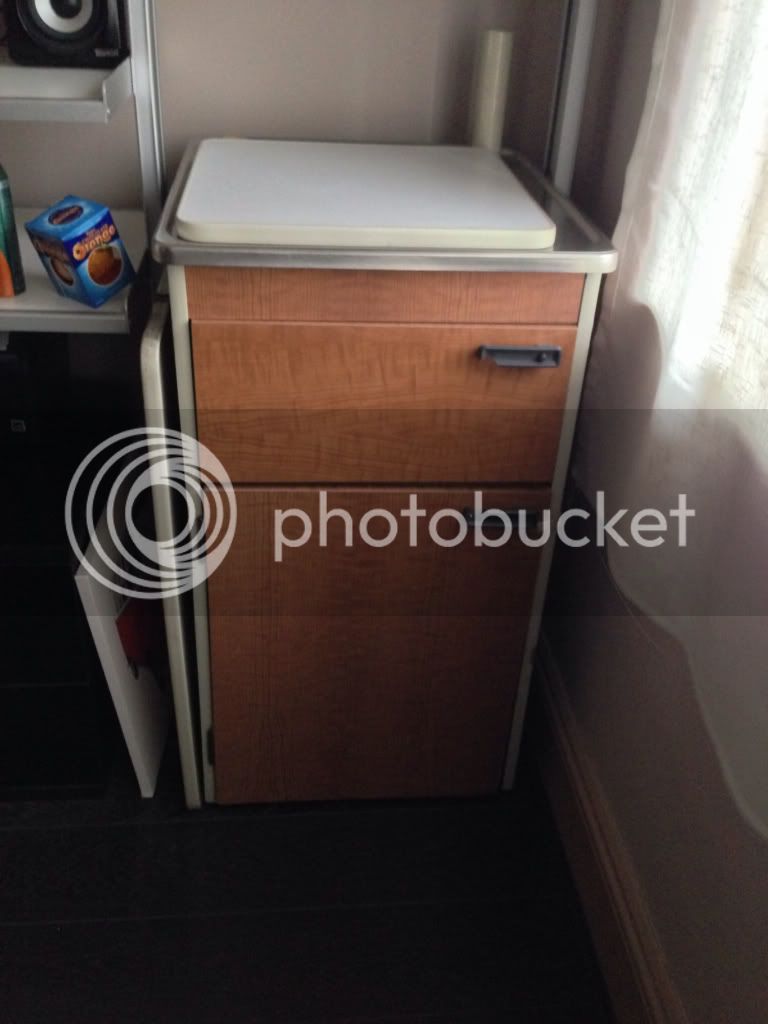
Haha ikea circa 1969.

StripedHemi said:
mate that's a lovely bus!

shame you lost some of the og paint on those window repairs tho :(

anchor wax or laquer on the primer/metal would've saved it

Just to point out the pictures above of the window repairs aren't of my bus, it's Walts bus.
 
Supertramp said:
The rust sits in the exact points water was leaking in, that's no coincidence.
I've also got a couple of NOS black frames to start restoring all the 1/4 windows. On one of them the pin has snapped off so will have to have that drilled out and restored. The other two are fine.

Now, what to do about these window surrounds.

(Also, this is a lesson to always do things yourself and never to trust the 'experts'.

hi mate, do you mean the pin on the bottom of the quarter window? I've took my quarters out and all three the bottom pins are not attached, to be honest I'm struggling to see how they attached in the first place or if they just pushed in to the square shape, how you thinking of repairing yours?
 
bluenose said:
Supertramp said:
The rust sits in the exact points water was leaking in, that's no coincidence.
I've also got a couple of NOS black frames to start restoring all the 1/4 windows. On one of them the pin has snapped off so will have to have that drilled out and restored. The other two are fine.

Now, what to do about these window surrounds.

(Also, this is a lesson to always do things yourself and never to trust the 'experts'.

hi mate, do you mean the pin on the bottom of the quarter window? I've took my quarters out and all three the bottom pins are not attached, to be honest I'm struggling to see how they attached in the first place or if they just pushed in to the square shape, how you thinking of repairing yours?

Yes it's a metal pin at the bottom of the 1/4 window. It's attached to the chrome part that holds the glass and I believe welded into place. I only had one window with a snapped pin so just bought a replacement window for about £20.
Window fitting this week, not looking forward to it.
 
Thought I'd post as a mini (and not great) 'how to' on restoring your 1/4 (vent) windows.

We start off with a rusty D frame:
IMG_2680.jpg


This is then sanded down to remove rust:
IMG_2681.jpg


And painted (I used Krust black paint):
IMG_2682.jpg


IMG_2690.jpg


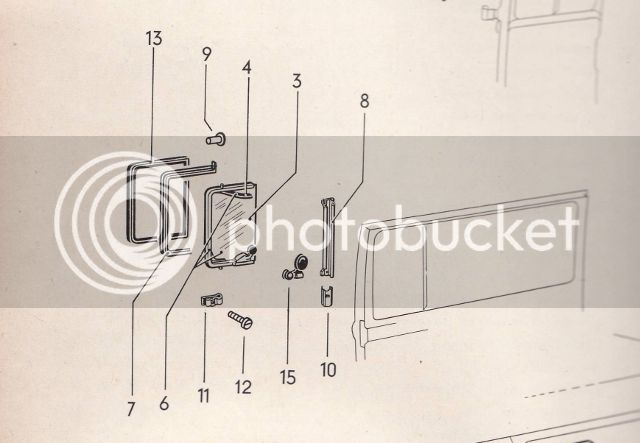
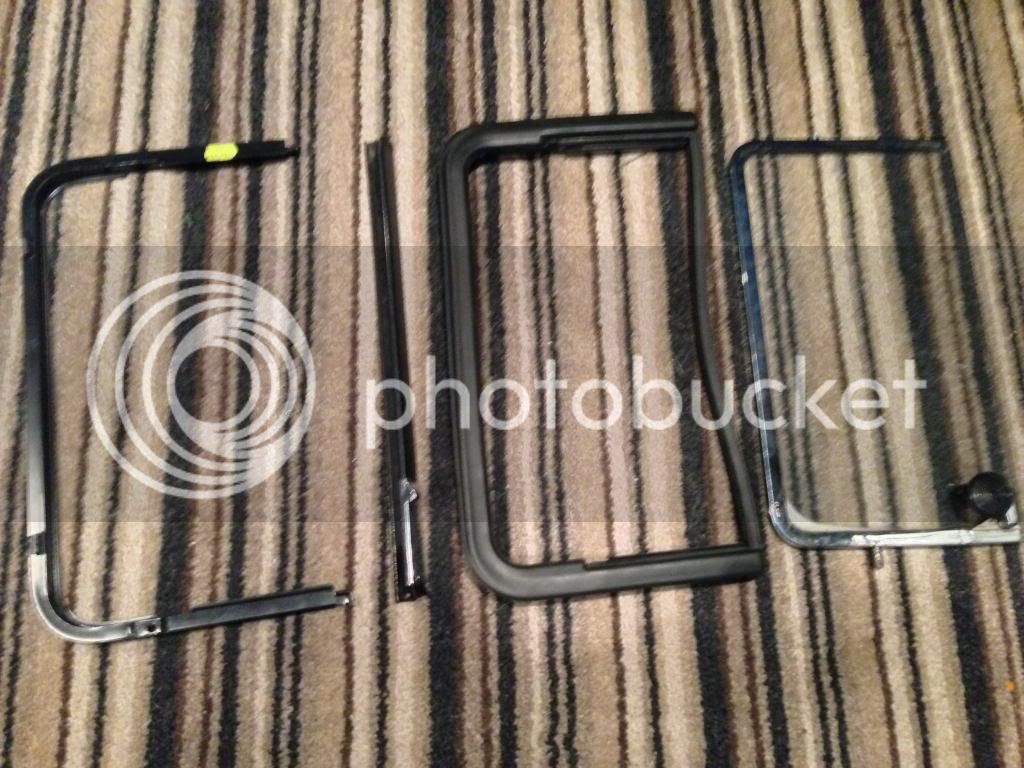
So now we collect all the needed parts as per this image:
zw0q.jpg


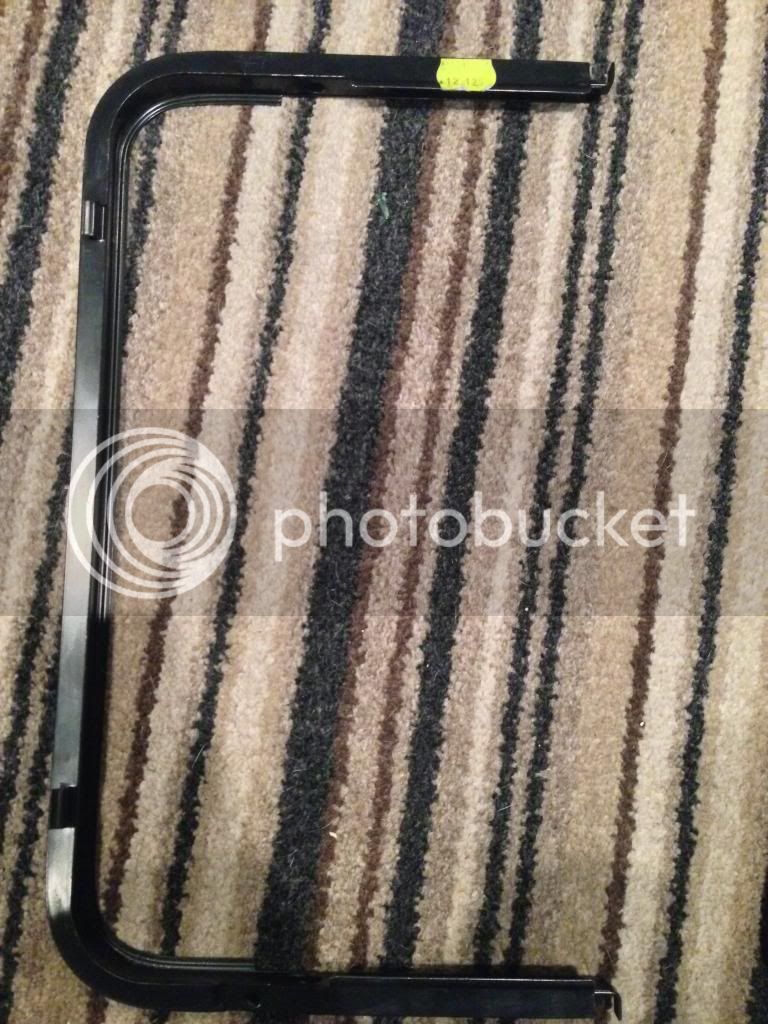
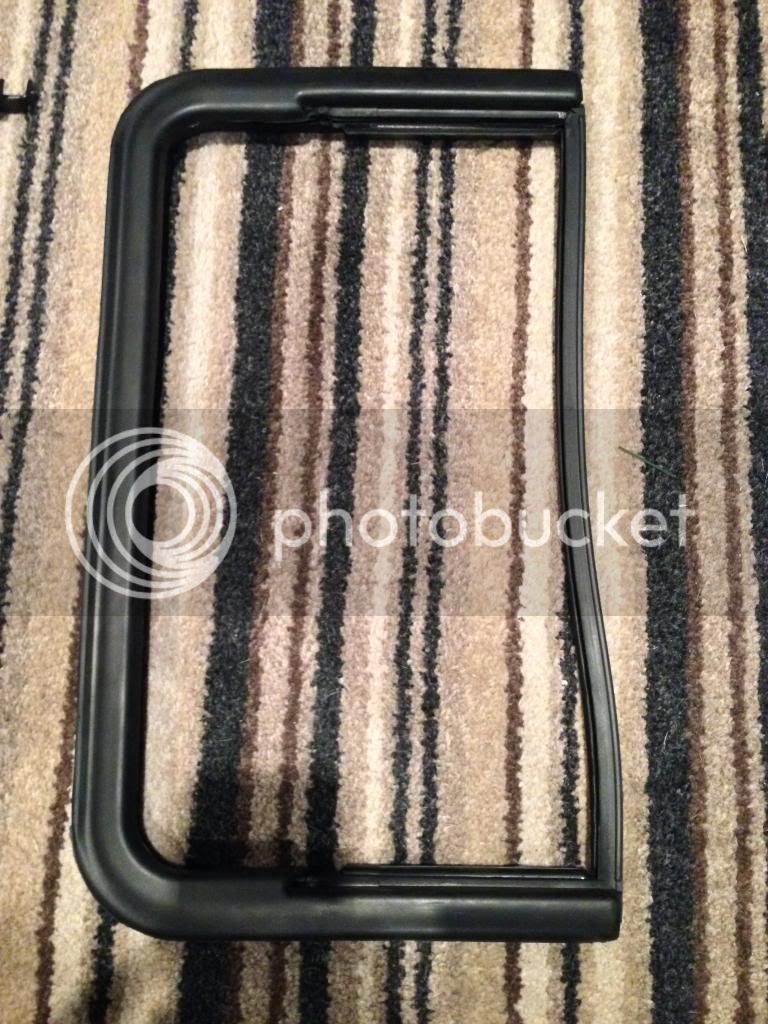
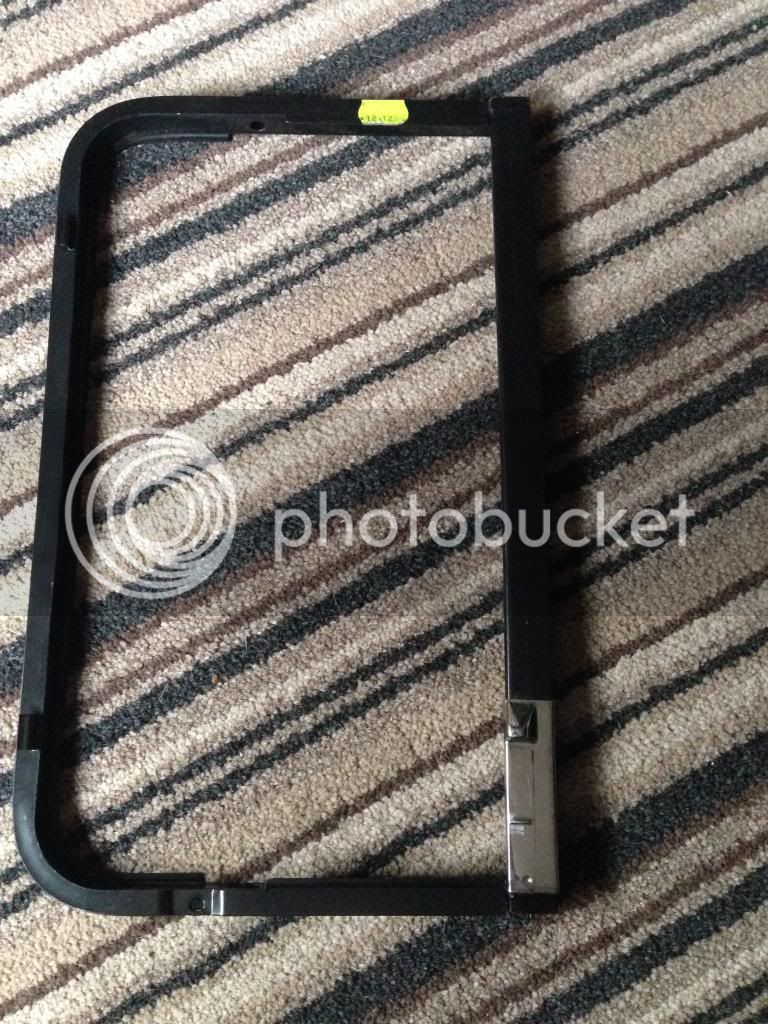
Black D frame:
IMG_3200.jpg


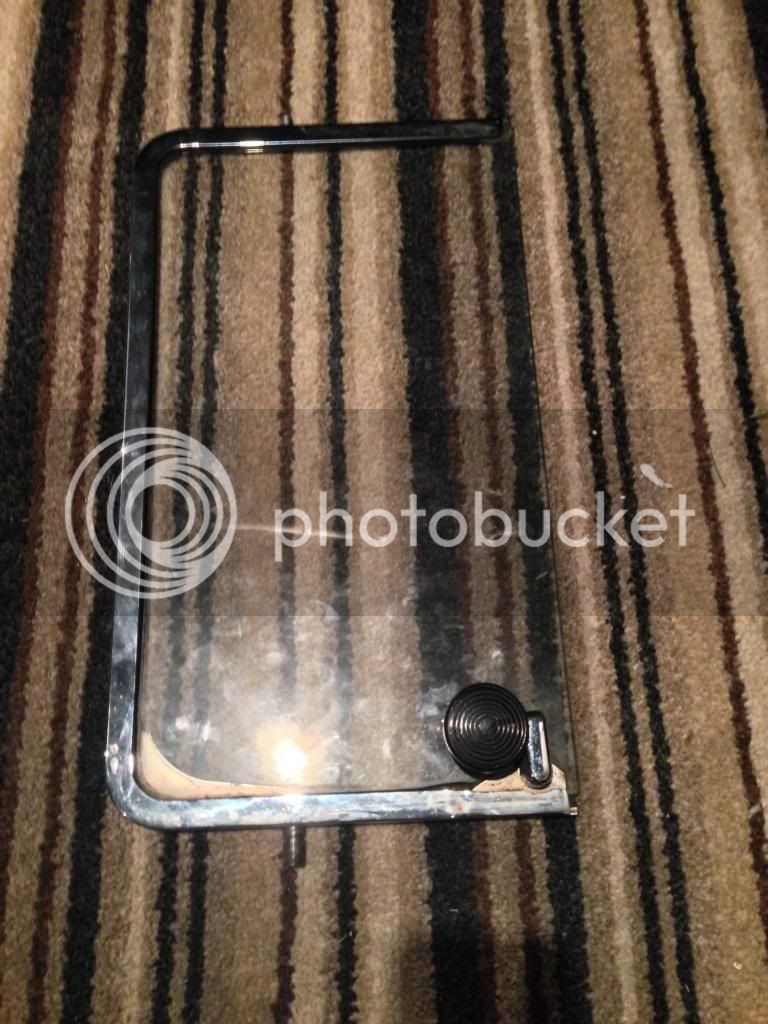
Chrome (or black in some cases) frame with glass in:
IMG_3202.jpg


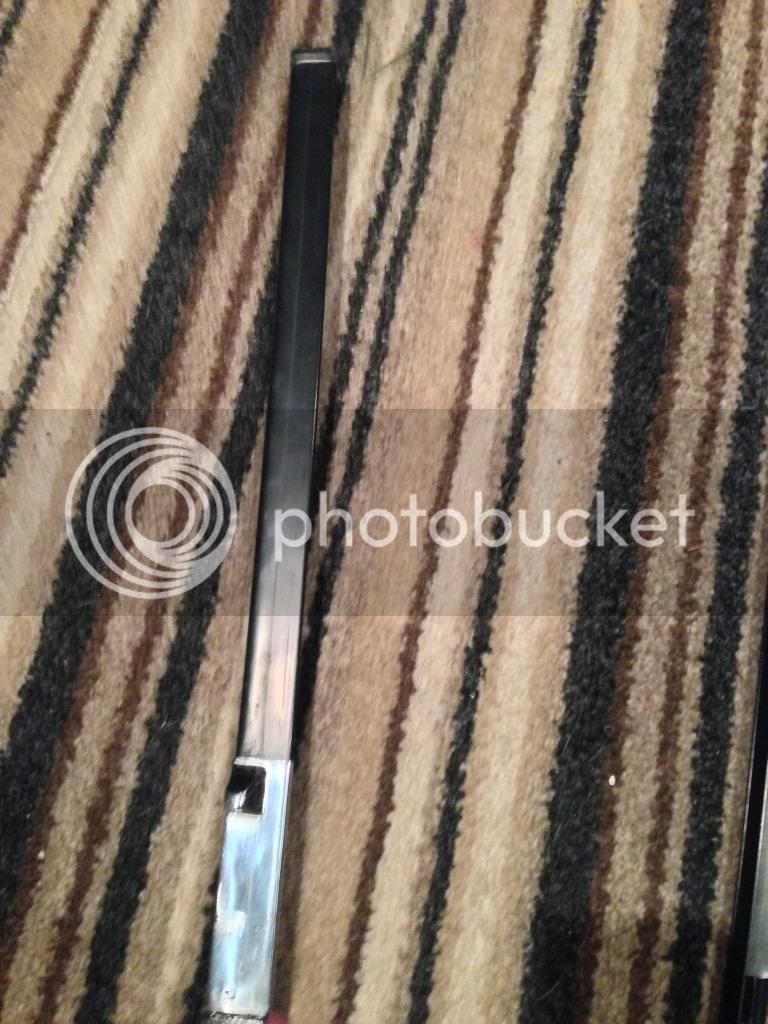
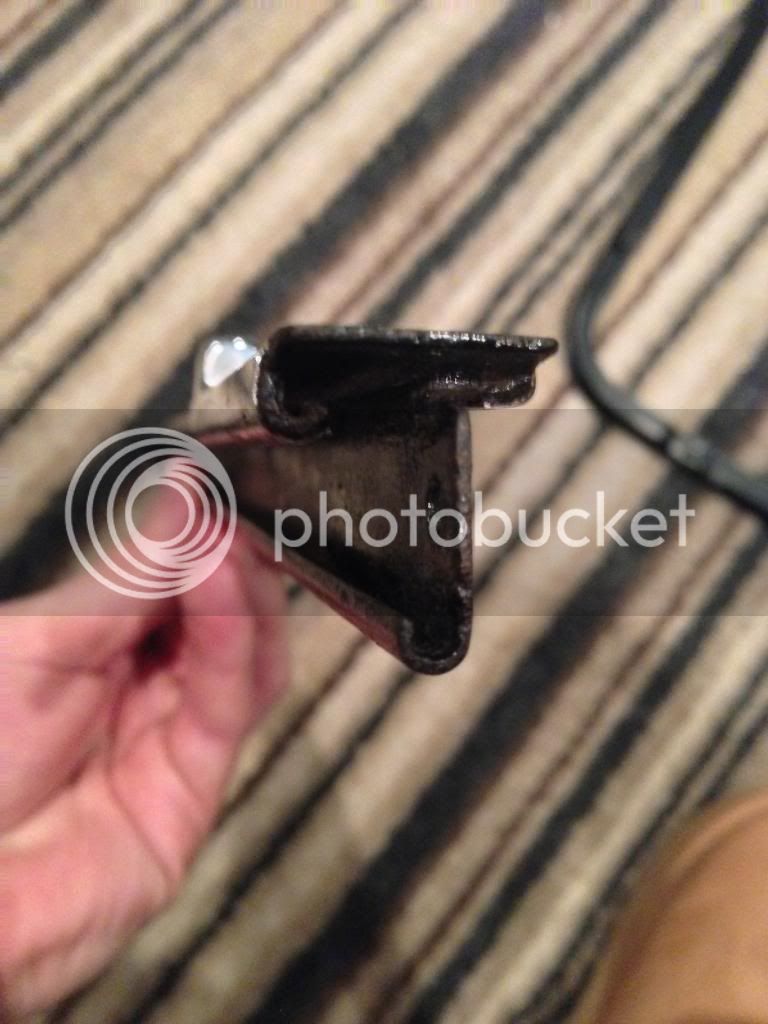
Vertical bit (with chrome on the bottom):
IMG_3203.jpg

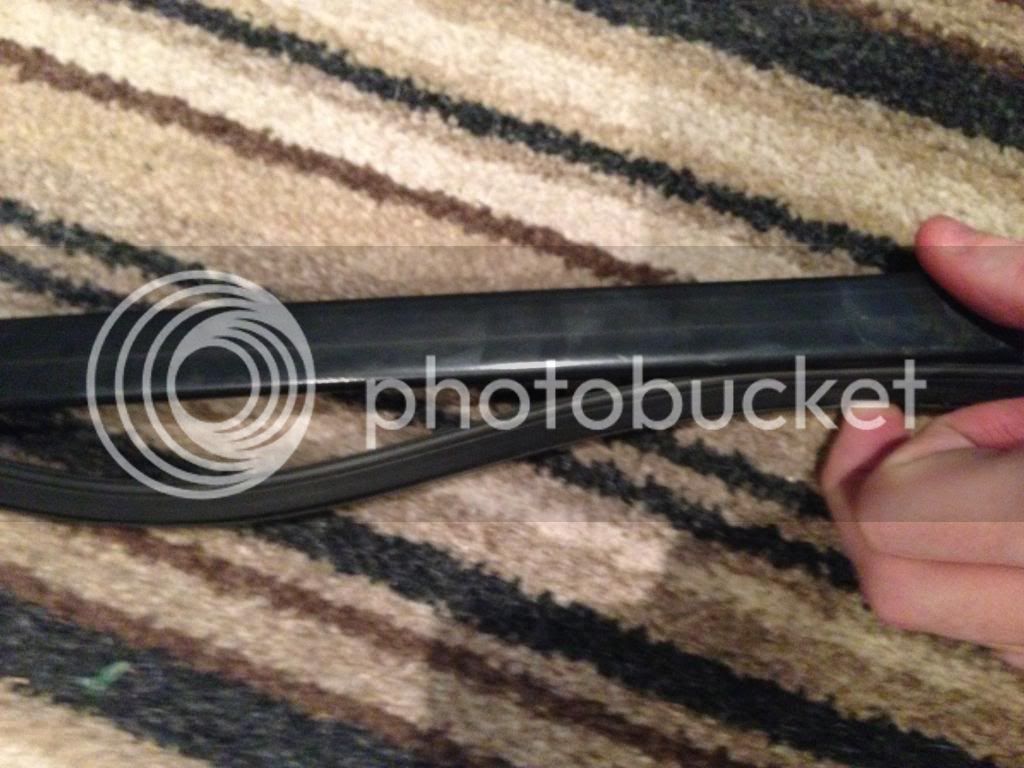
Seal (REPRODUCTION SEALS FOR VENT WINDOWS ARE TERRIBLE!!!):
IMG_3201.jpg


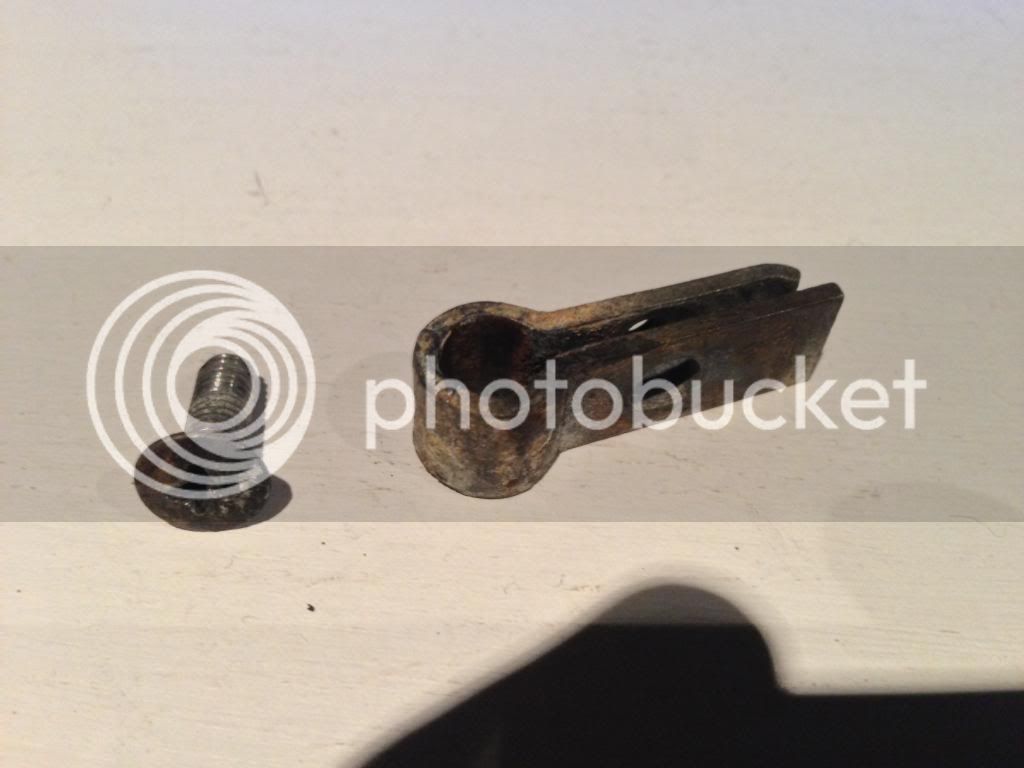
Little clamp/screw for the pivot:
IMG_3204.jpg


Altogether now!:
IMG_3196.jpg


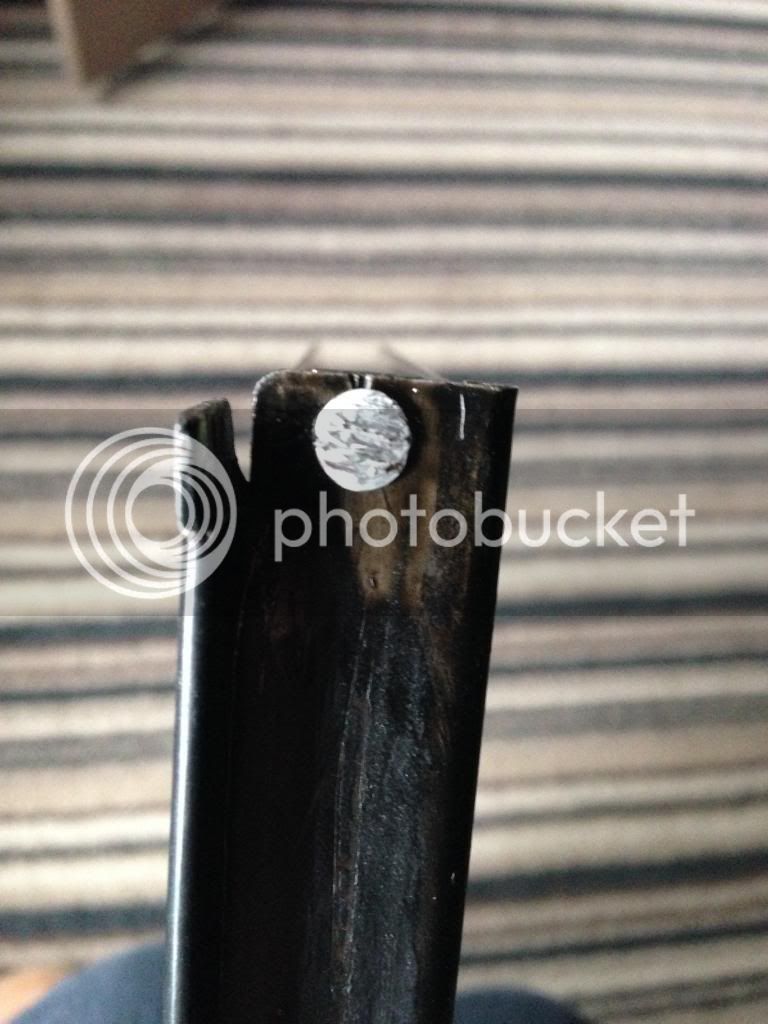
First rivet vertical frame to D frame like so:
IMG_3234.jpg


To look like this:
IMG_3233.jpg


Then wrestle with the seal. This is a nightmare with reproduction seals as they don't quite fit, either having too much seal or the holes don't line up. I started by putting the thin section into the vertical frame first as this was extremely tricky (I used the end of a spoon):
IMG_3209.jpg


It sort of tucks into this bit, patience required!:
IMG_3199.jpg


Once the seal is finally on add the chrome glass section. This required a certain amount of brute force and lube (plenty of it). Long pivot in first then the top pivot. I used the end of the spoon again to prise it in.

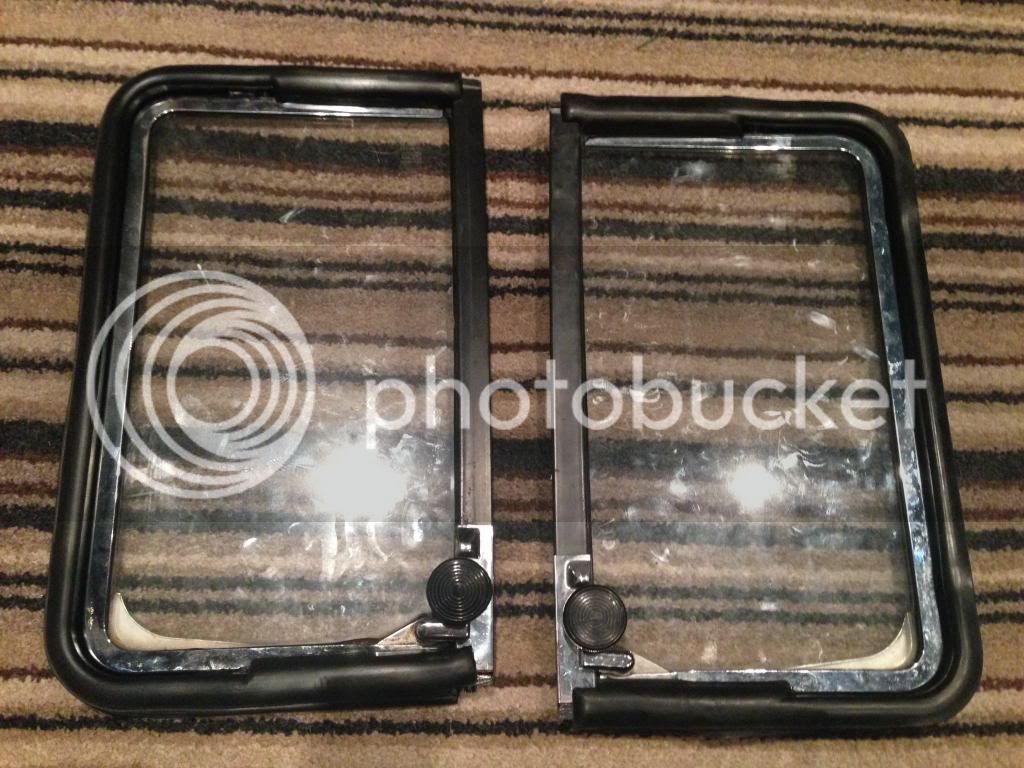
Eventually you get these, fingerprints and all!:
IMG_3235.jpg

Horrible job, but hope this helps.
Now to get them on the van.
 
By the way if after all this effort they still leak I'm ripping them out and putting sliding windows in.
 
Supertramp said:
Thought I'd post as a mini (and not great) 'how to' on restoring your 1/4 (vent) windows.

We start off with a rusty D frame:
IMG_2680.jpg


This is then sanded down to remove rust:
IMG_2681.jpg


And painted (I used Krust black paint):
IMG_2682.jpg


IMG_2690.jpg


So now we collect all the needed parts as per this image:
zw0q.jpg


Black D frame:
IMG_3200.jpg


Chrome (or black in some cases) frame with glass in:
IMG_3202.jpg


Vertical bit (with chrome on the bottom):
IMG_3203.jpg

Seal (REPRODUCTION SEALS FOR VENT WINDOWS ARE TERRIBLE!!!):
IMG_3201.jpg


Little clamp/screw for the pivot:
IMG_3204.jpg


Altogether now!:
IMG_3196.jpg


First rivet vertical frame to D frame like so:
IMG_3234.jpg


To look like this:
IMG_3233.jpg


Then wrestle with the seal. This is a nightmare with reproduction seals as they don't quite fit, either having too much seal or the holes don't line up. I started by putting the thin section into the vertical frame first as this was extremely tricky (I used the end of a spoon):
IMG_3209.jpg


It sort of tucks into this bit, patience required!:
IMG_3199.jpg


Once the seal is finally on add the chrome glass section. This required a certain amount of brute force and lube (plenty of it). Long pivot in first then the top pivot. I used the end of the spoon again to prise it in.

Eventually you get these, fingerprints and all!:
IMG_3235.jpg

Horrible job, but hope this helps.
Now to get them on the van.

If you think they are hard to put together, you should wait til you fit them into the van and try and get the glass in next to them.
You will need G clamps, a block of 4x2 and a good rubber mallet!
Mind you mine don't leak anyore :D
 
krusty said:
If you think they are hard to put together, you should wait til you fit them into the van and try and get the glass in next to them.
You will need G clamps, a block of 4x2 and a good rubber mallet!
Mind you mine don't leak anyore :D

I wasn't aware that it was difficult to get them on the van using the string method? Clamps and mallets? Why?
 
Because the rubber is so stiff compared to the og seals. ) new seals are made with different polymers to the og ones.
The cheaper seals drop in easier but the good ones are very tight to keep the water out.
The tighter the seal the more water tight it will be.
 

Latest posts

Top