My 1970 Danbury Resto

Early Bay Forum

Help Support Early Bay Forum:

This site may earn a commission from merchant affiliate links, including eBay, Amazon, and others.

niklee1

Well-known member
Joined
Apr 24, 2012
Messages
456
Reaction score
0
Location
Bromley
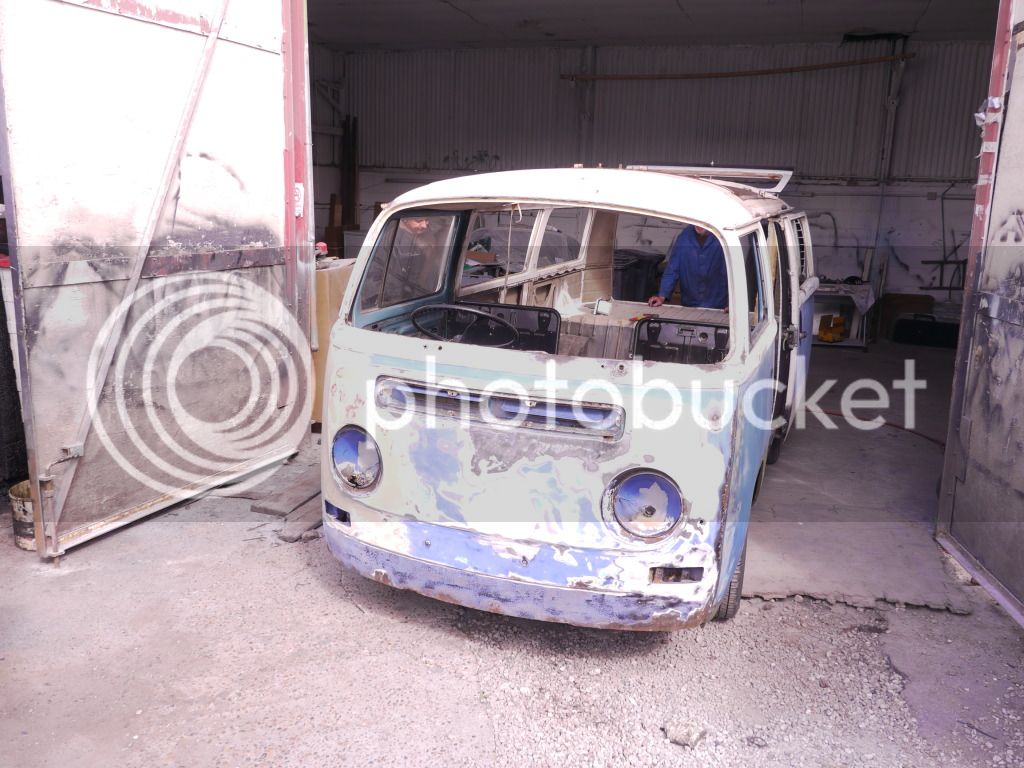
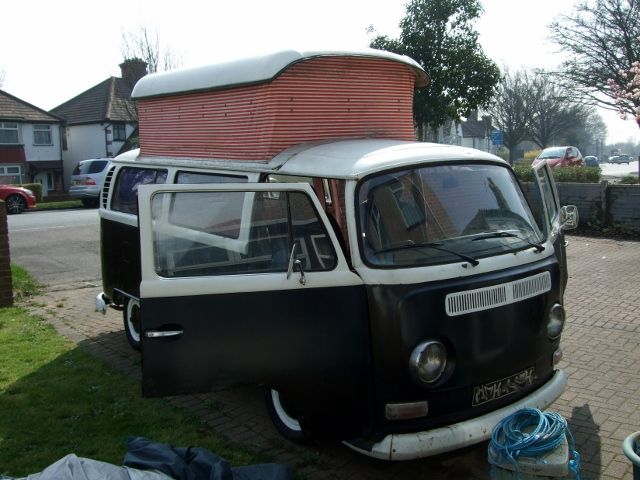
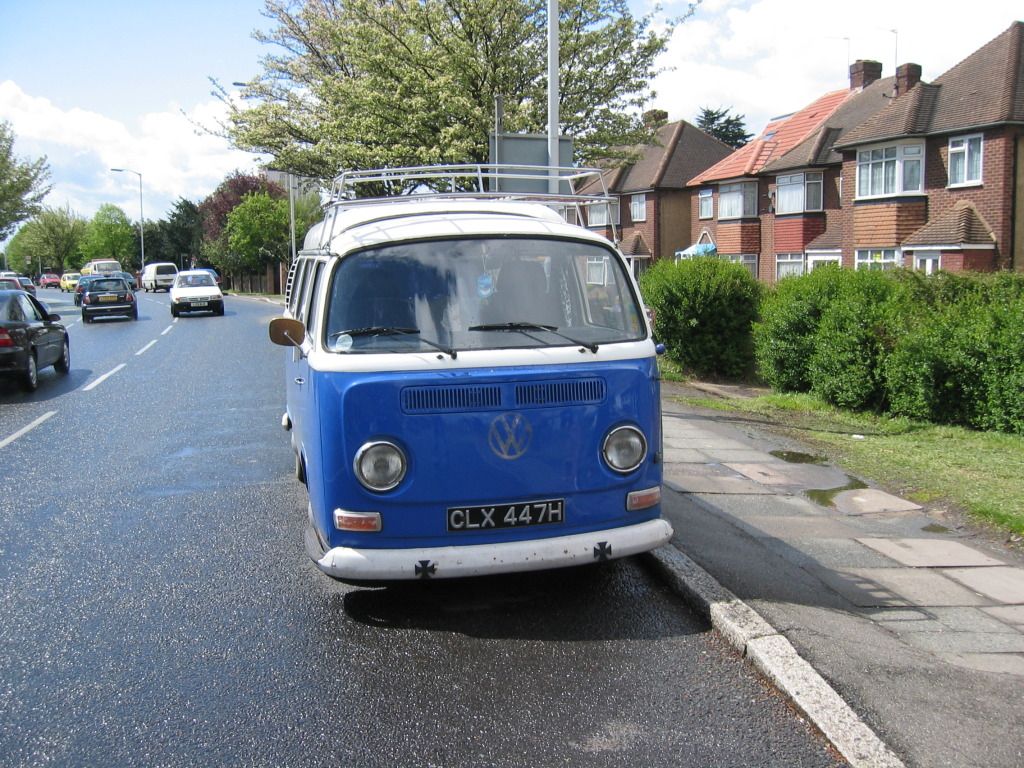
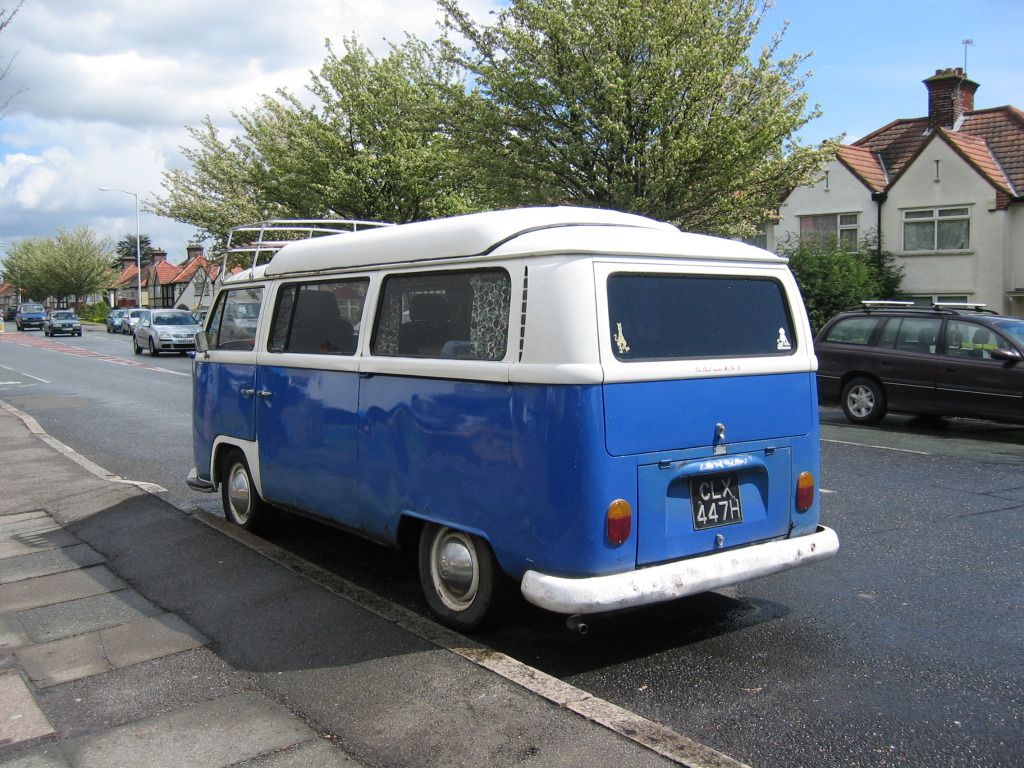
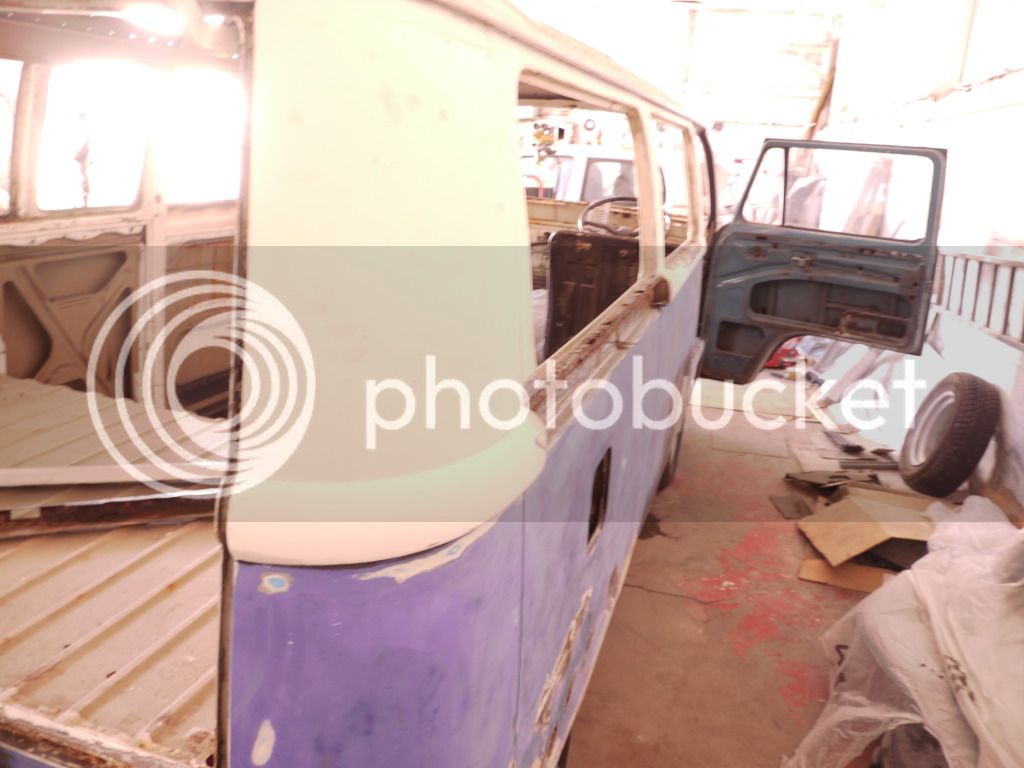
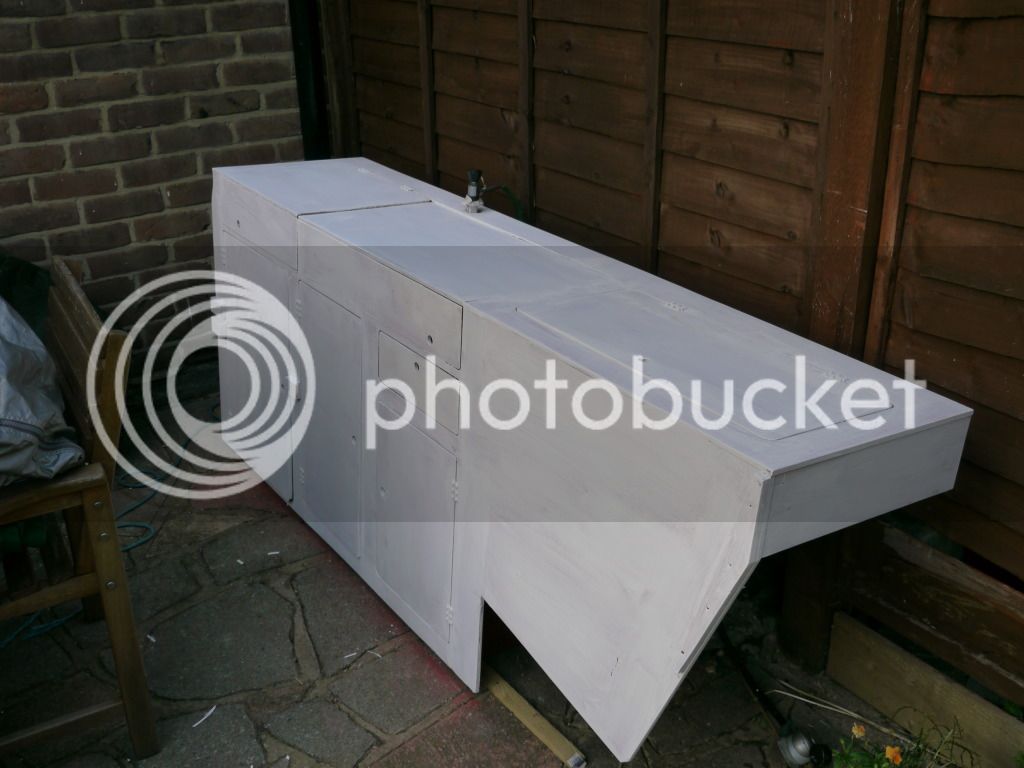
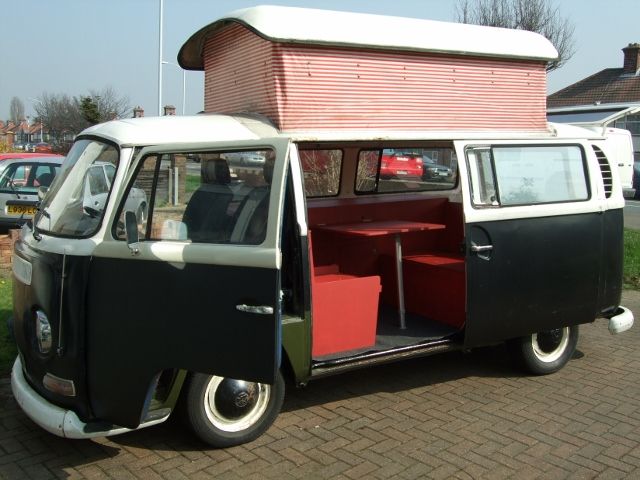
First of many pics of the resto of my 1970 Danbury. I bought this with the intention of slowly restoring it whilst still driving around in it....
DSCF2919640x480.jpg

:)

photo5.jpg

photo2.jpg

photo4.jpg

photo7.jpg


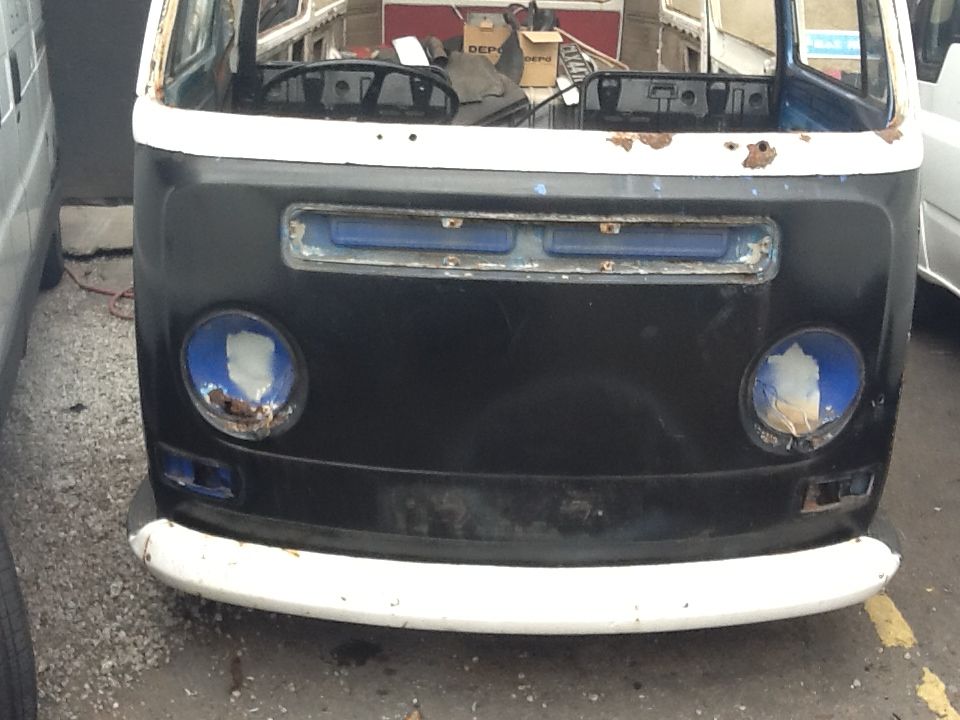
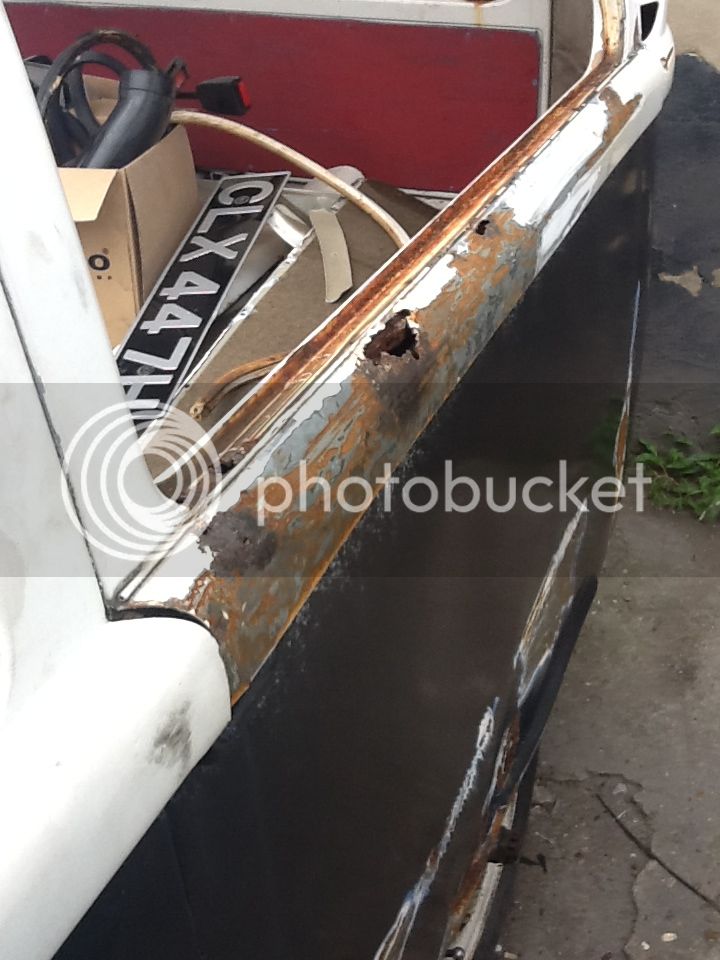
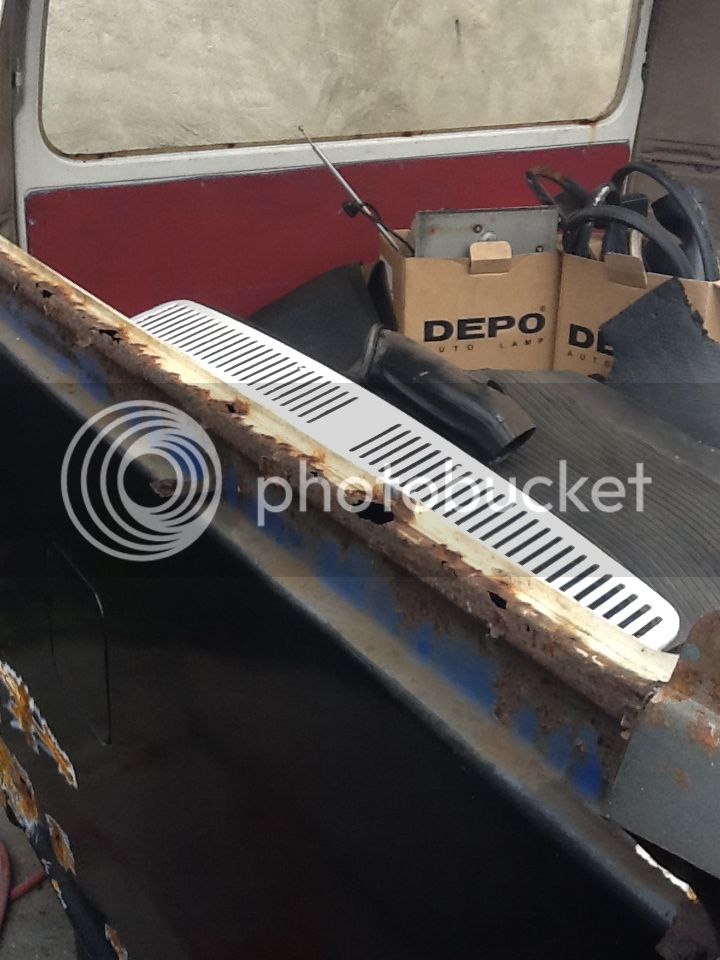
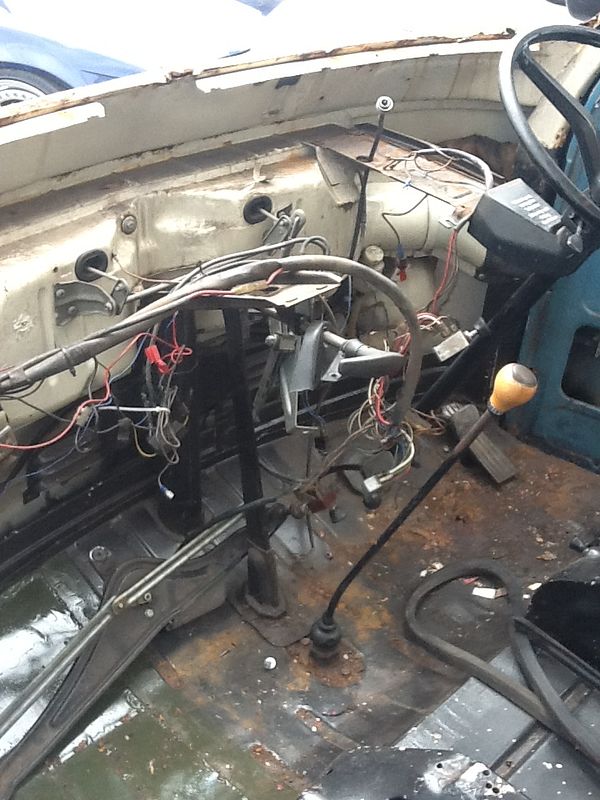
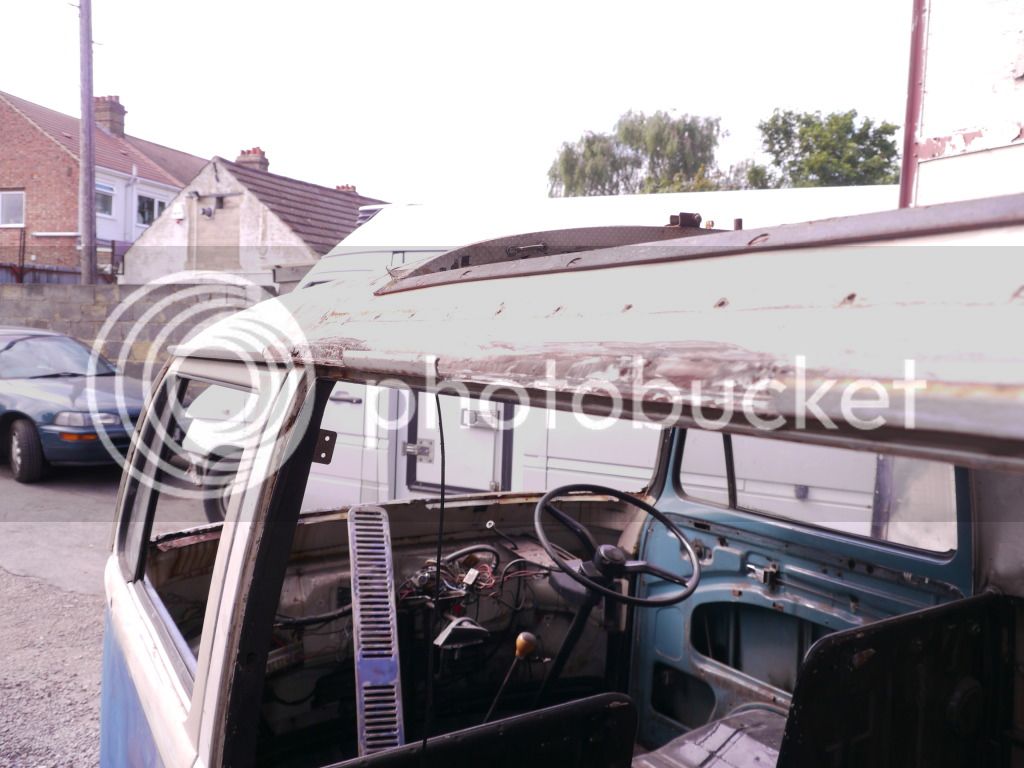
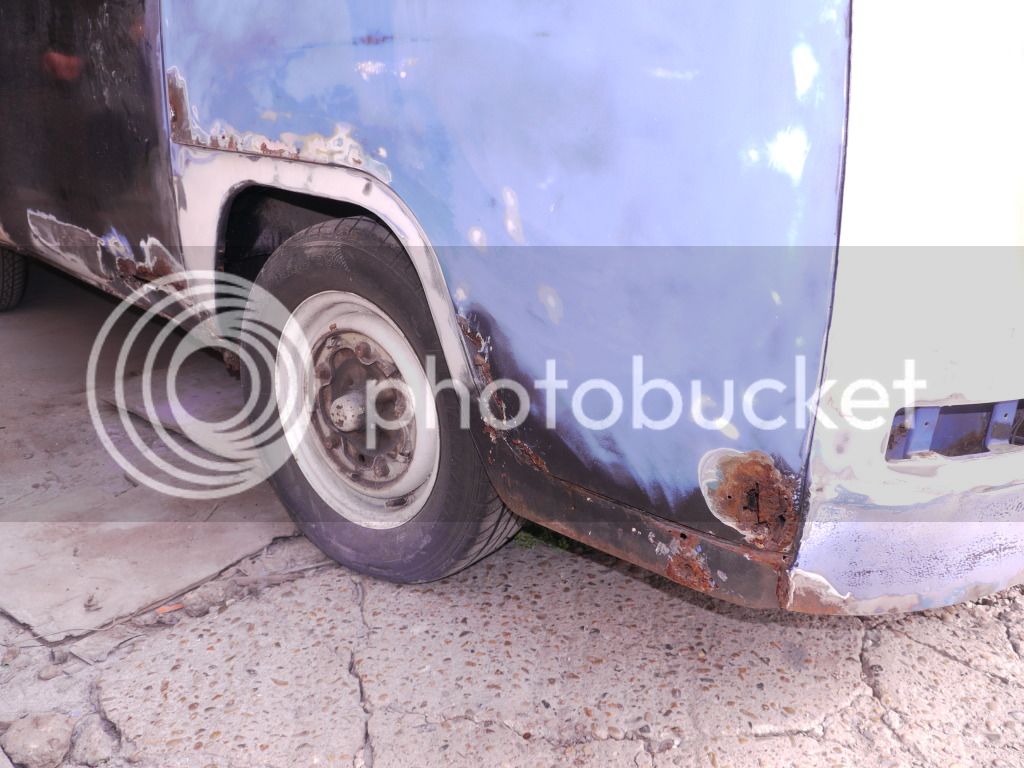
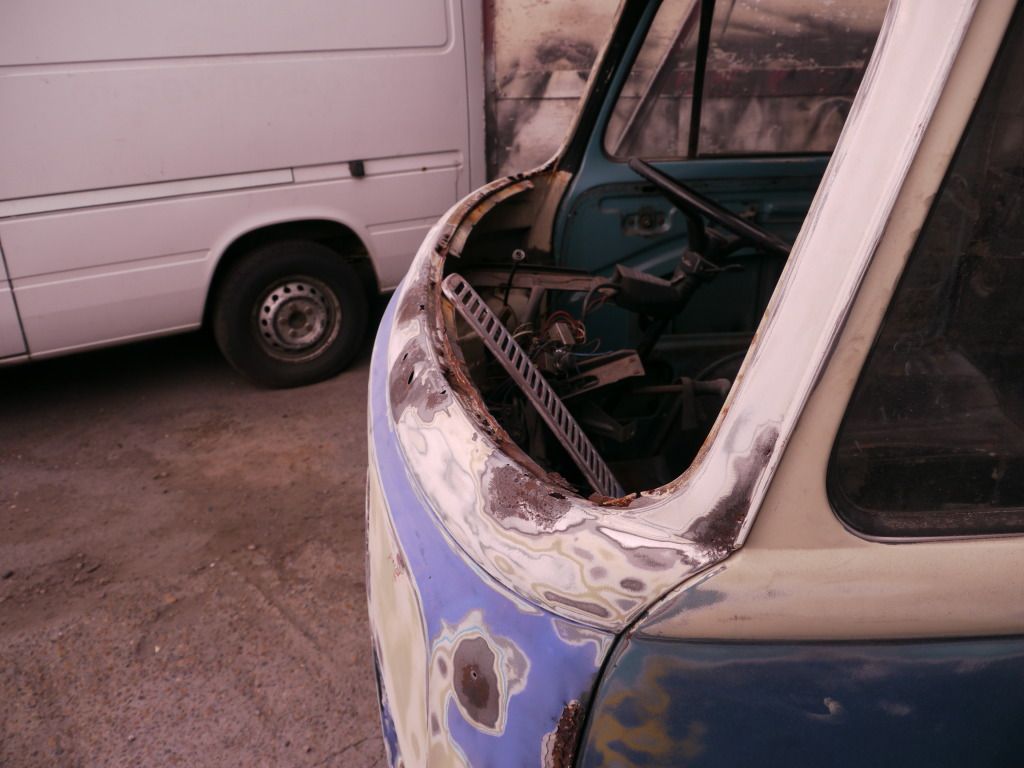
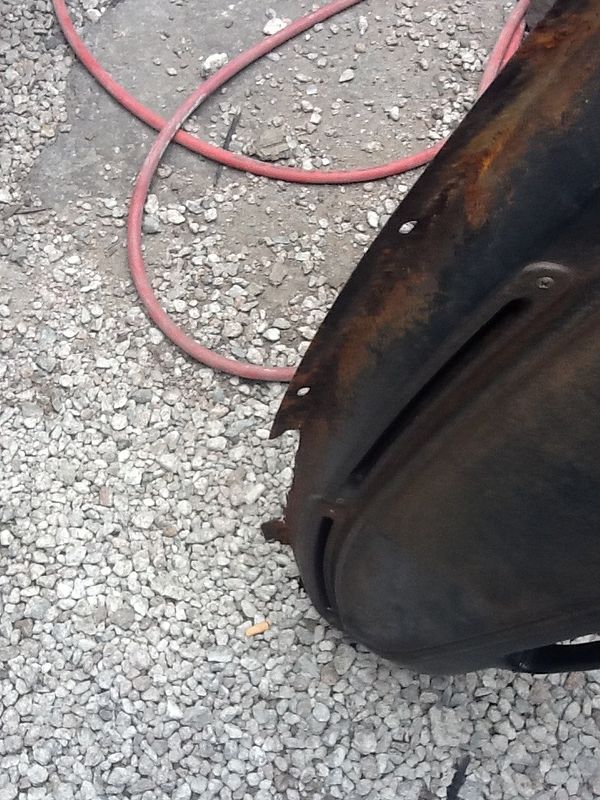
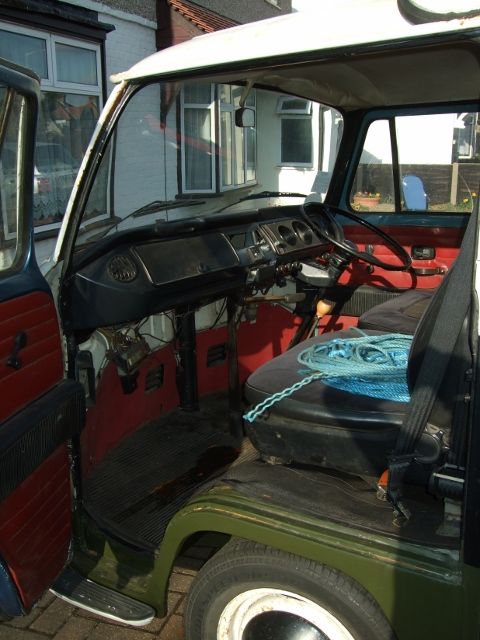
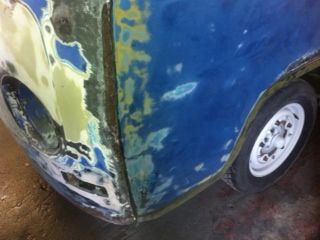
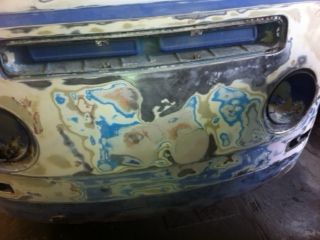
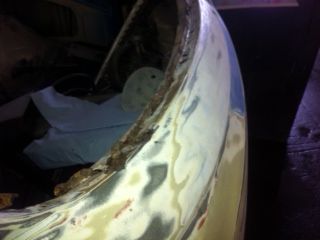
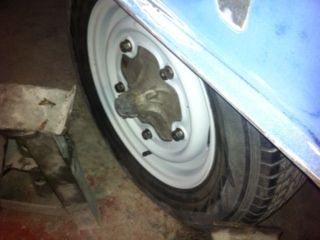
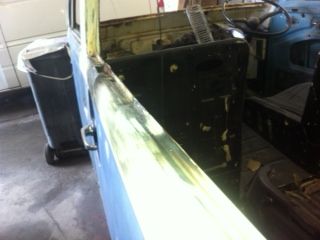
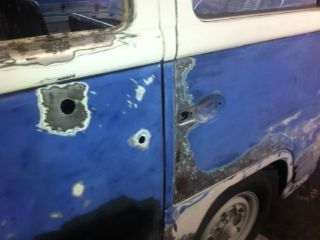
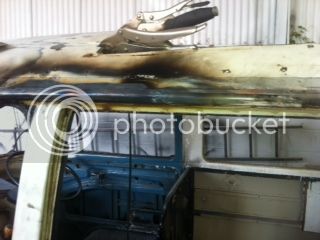
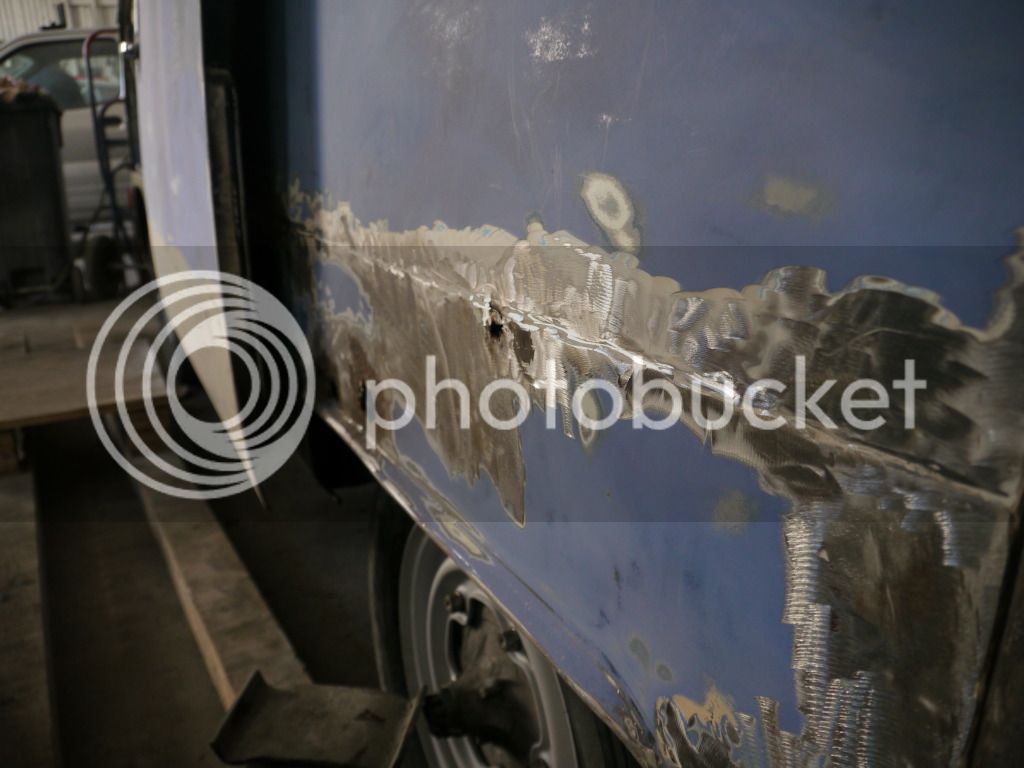
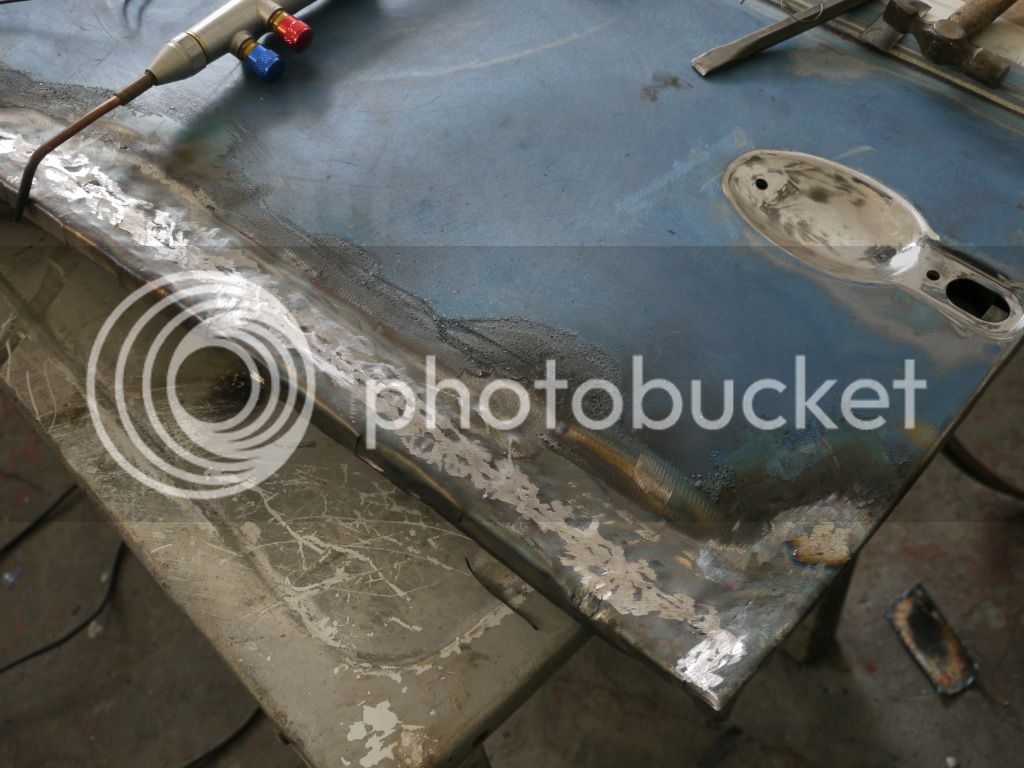
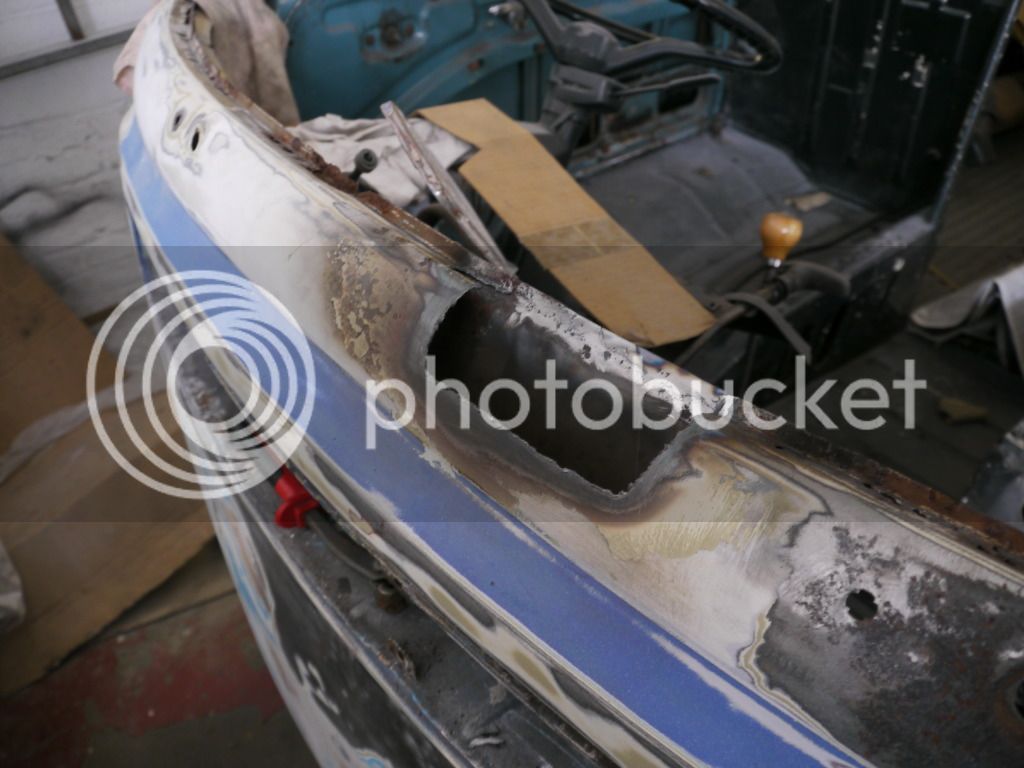
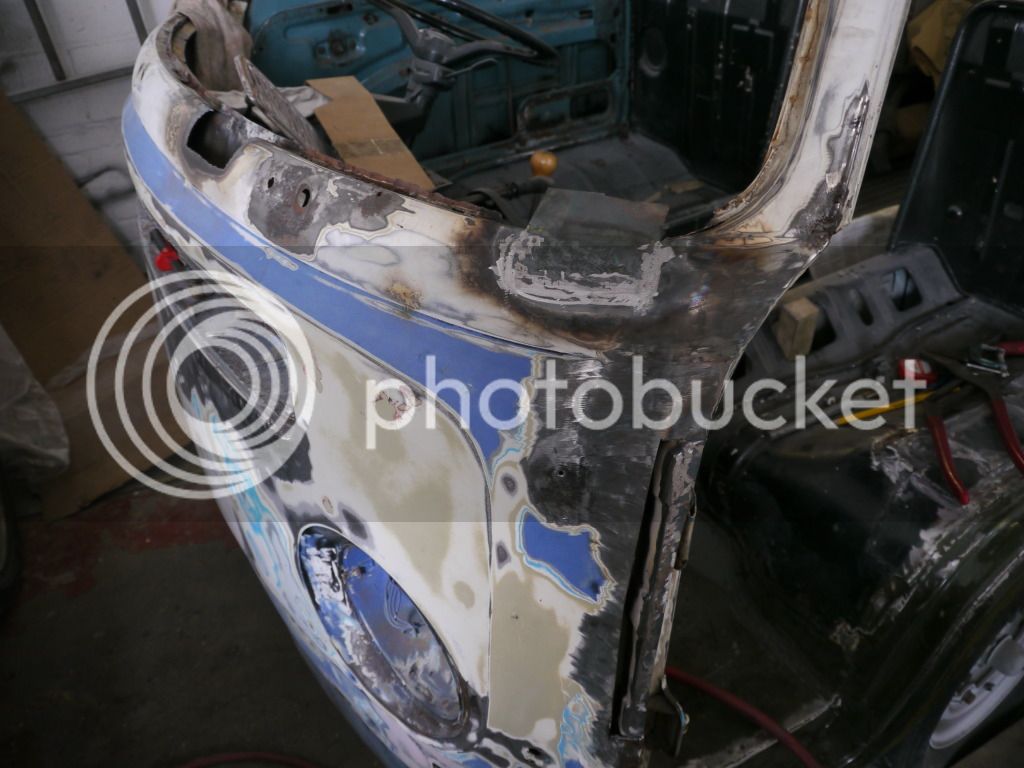
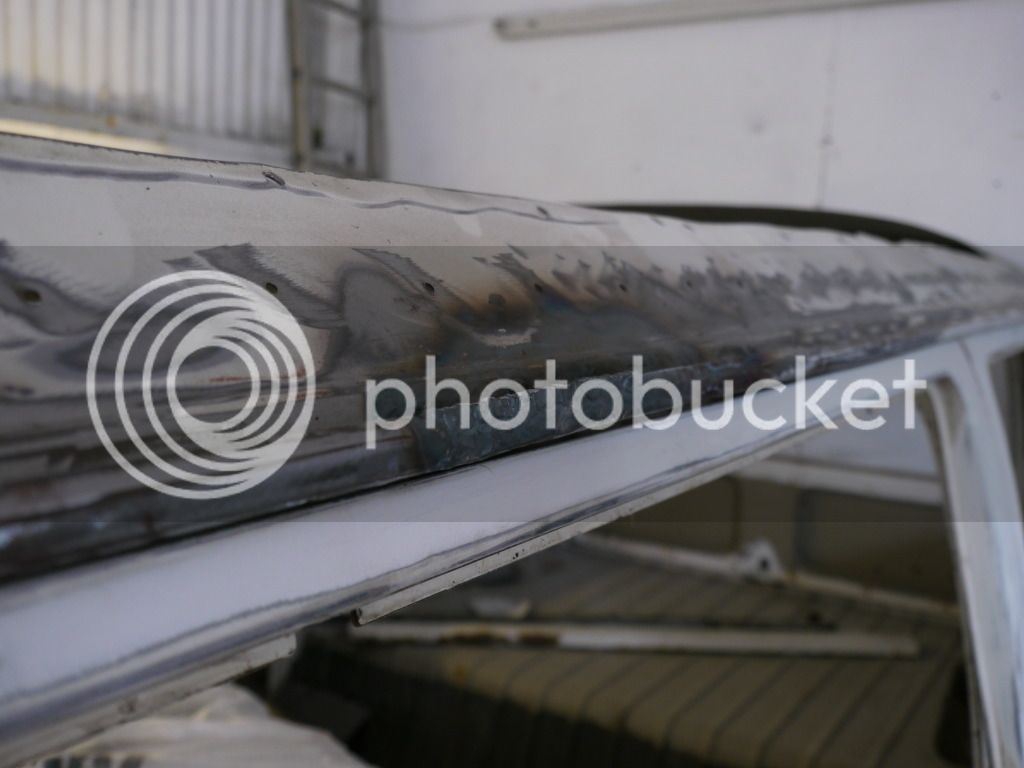
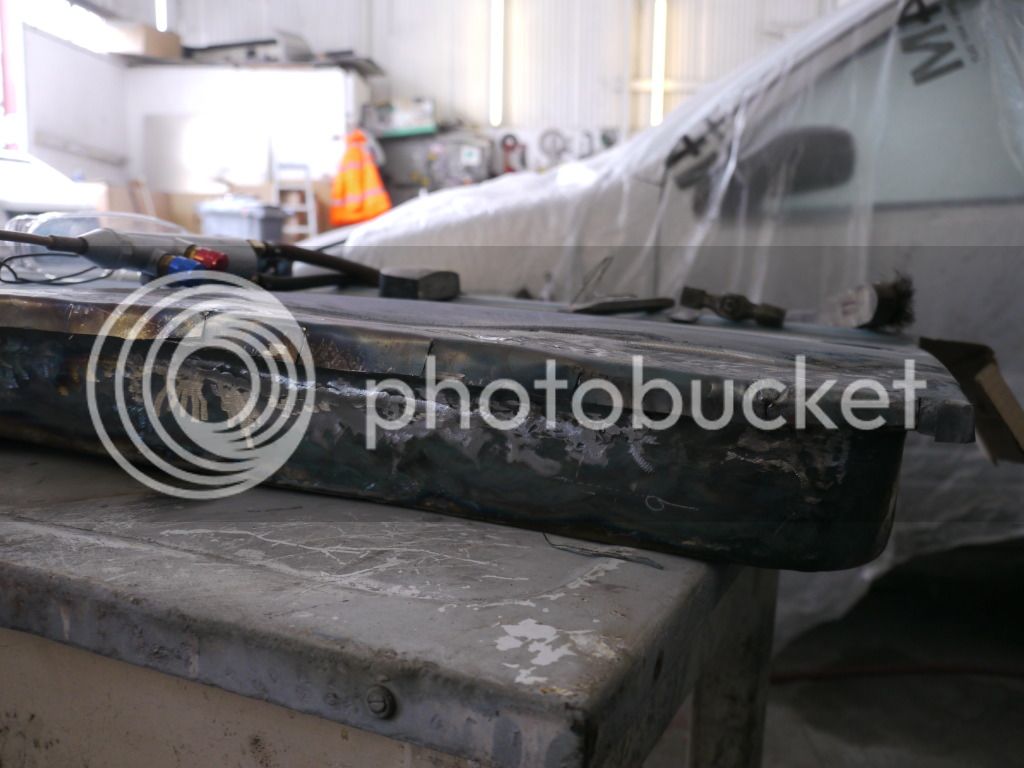
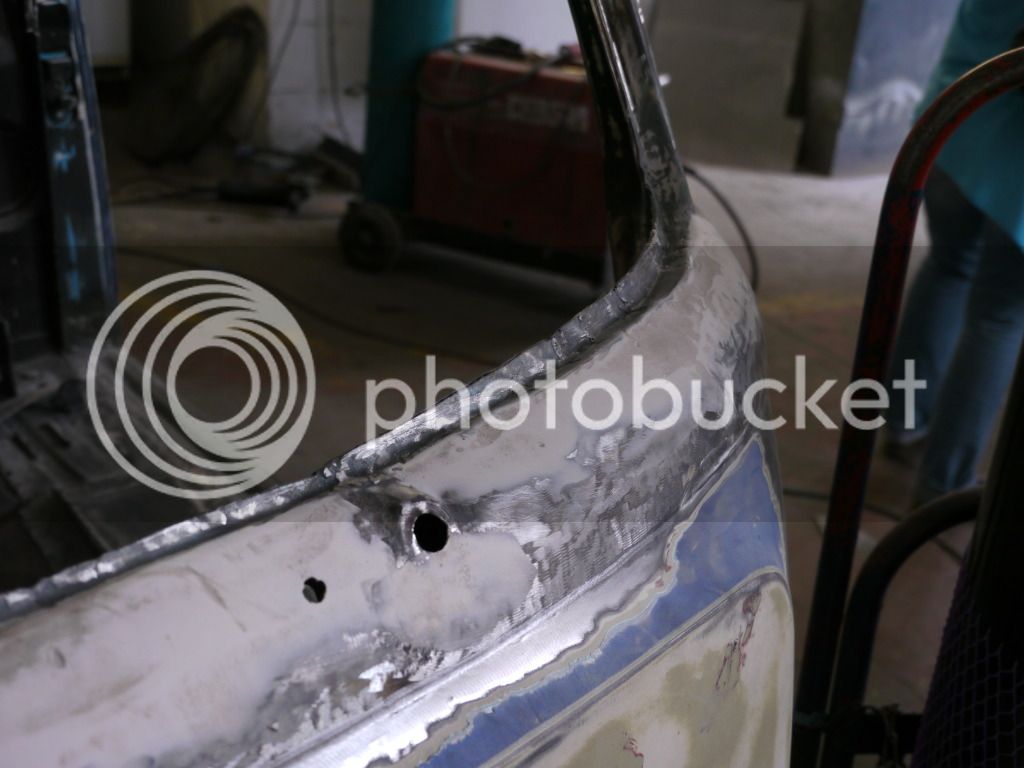
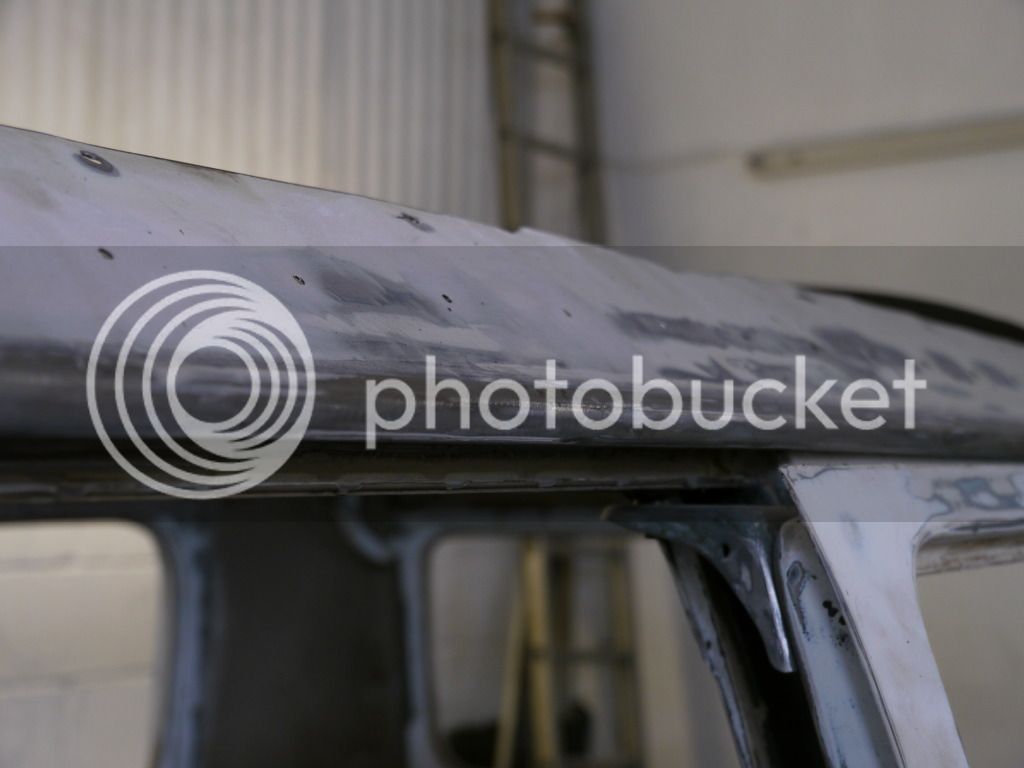
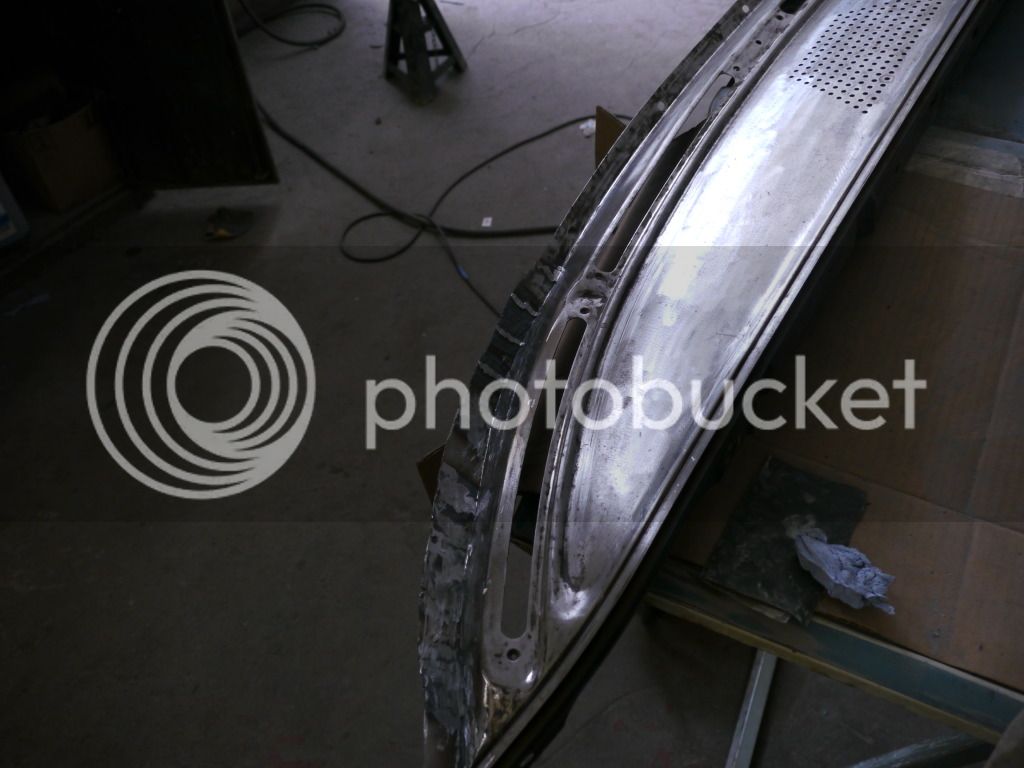
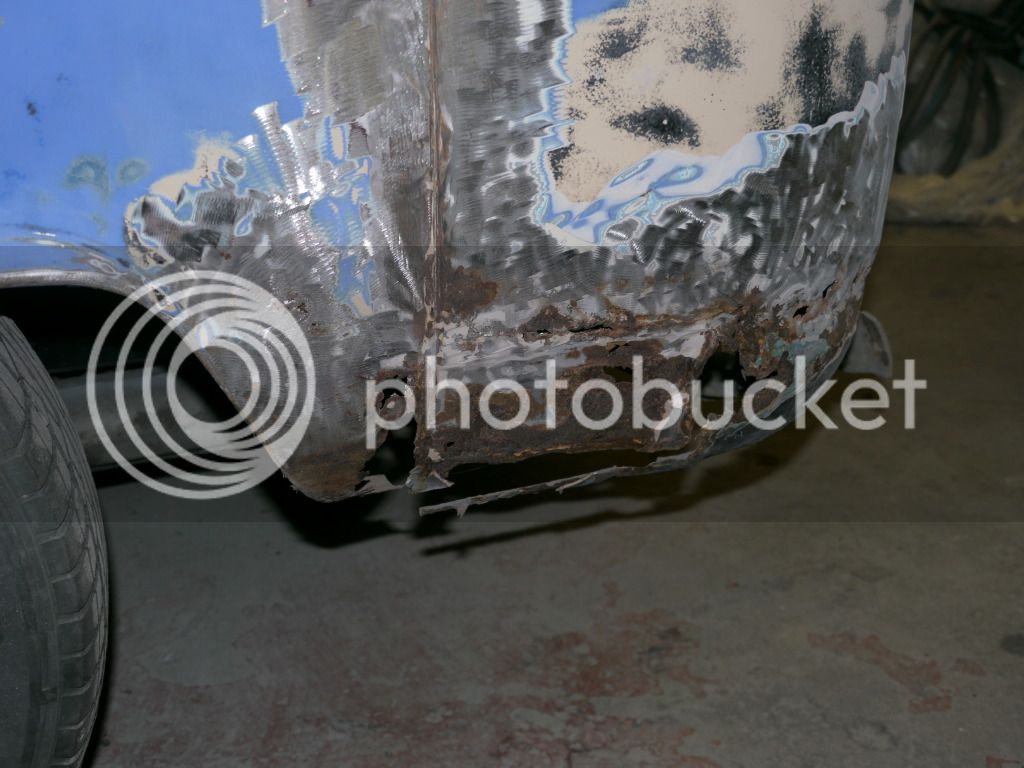
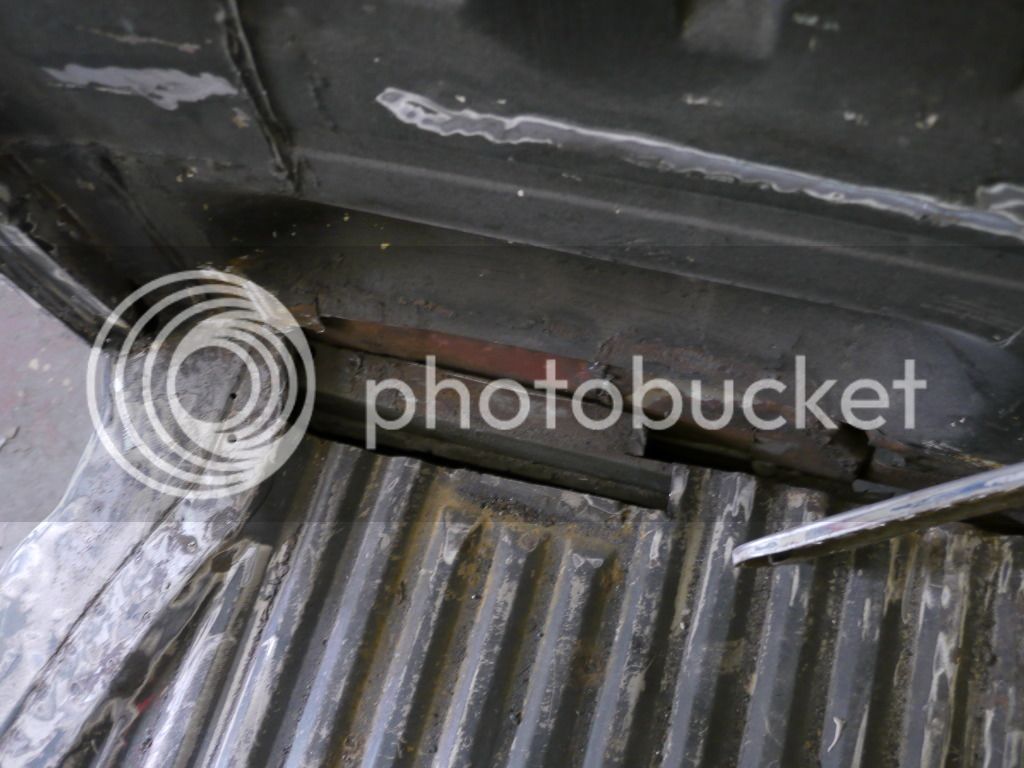
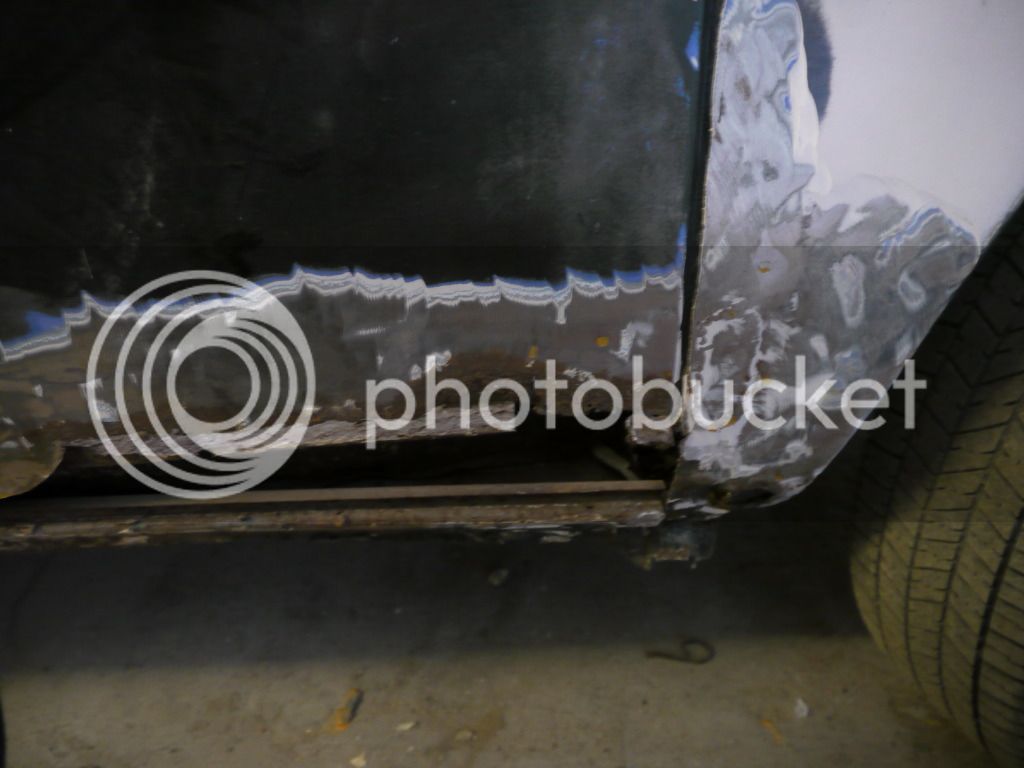
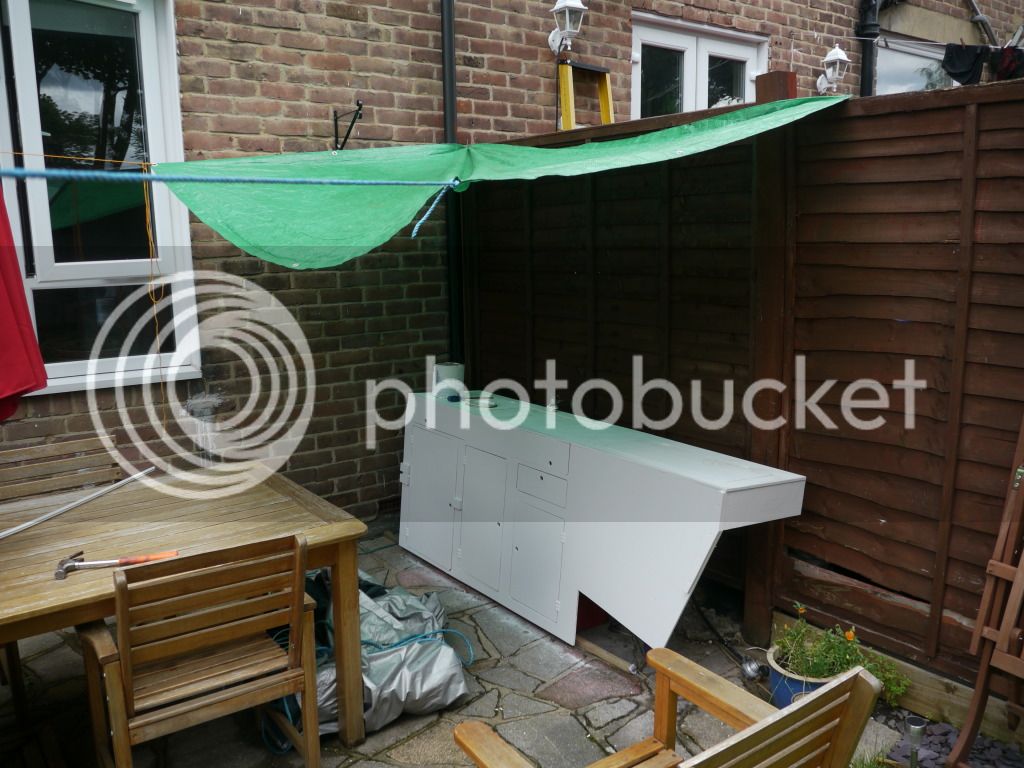
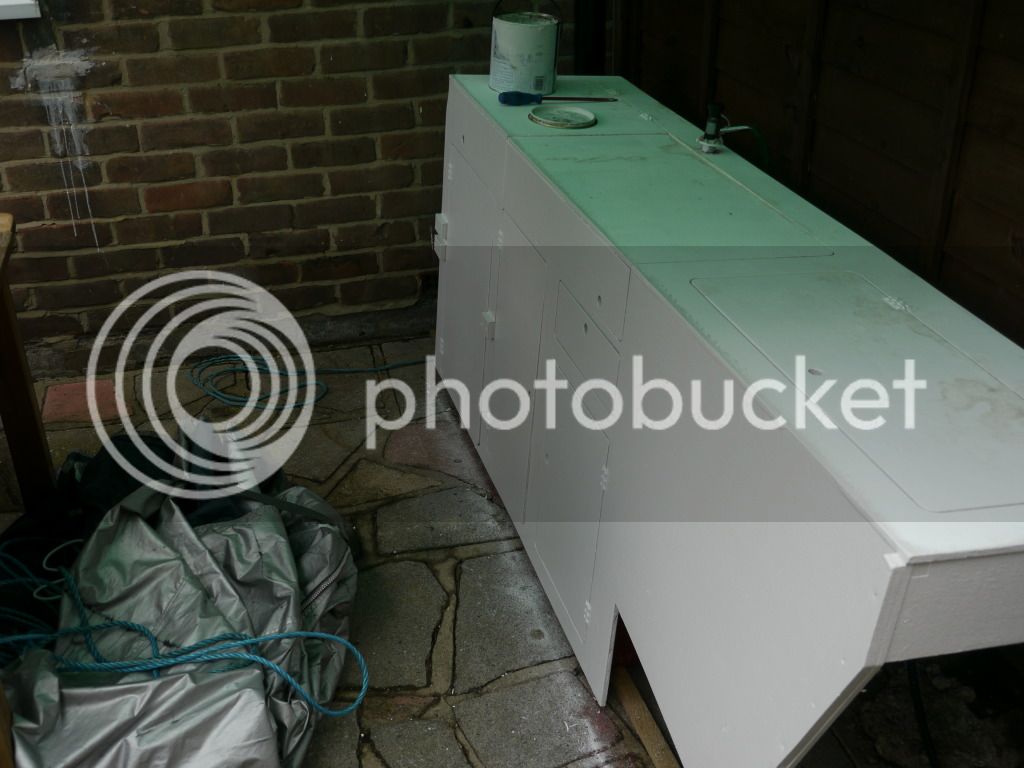
We started to strip it down and discovered the dreaded tin-worm had a feast!!!
 
That should keep you busy but it'll be worth it.

Might be worth investing in Johnny's CD manual...see other thread.

Good luck with this, and keep the pics coming.
 
Found a few more old pics which were kindly sent to me by the previous owner Paul.

DSCF2922640x480.jpg

017480x640.jpg

018480x640.jpg
 
Hi All
No pics today but I have been reliably informed that the van has to be finished in time for the Summer Dubbin' show on the 11th/12th August!!! All the stops have been pulled, all the fingers have been removed (and crossed) and the steam has been raised to maximum and angled forward so here's to a very busy month of grind-grind, weld-weld, paint-paint, sweat-sweat,cry-cry!!!! LOL
Will get some more pics uploaded by the weekend.....
 
Been back to the restorers to get an update and drop off some parts.

Will add some pics as soon as I get them uploaded.

The guy who is doing the bodywork is cutting out every piece of rust and replacing with fresh metal, bit by bit using sheet material NOT replacement panels as the metal is then not really flimsy and is the same thickness as the original german quality. Should make for a much better result and he repaired my 1972 Beetle earlier in the year and the results were amazing.

Did make a start on the interior, thought I would tackle the covers myself as I have had some sewing experience. :)

P1060569.jpg

The foam

P1060574.jpg

The fabric all cut and ready for the sewing machine

P1060573.jpg

The semi-finished (just need to hand sew a section of the rear to seal completely and cut off the ends of the cotton)

P1060570.jpg

The buddy seat cushions finished, :D only 4 more to go!!! :|
 
P1060580.jpg

Door with all rot removed and fresh metal...

P1060578.jpg

Slow process but well worth the effort!!! :)

P1060577.jpg

This shows the process of adding sheet metal before folding into shape.

P1060576.jpg

This is the newly welded gutter (was a little hot still!!!) :oops:

P1060575.jpg

Another of the door, I will take a picture of this bit when it is painted and compare the two images so you can see the end result. :)
 
A couple of pics of the cushions, only 2 left to do.

P1060581.jpg


Upholstery grade corduroy in black.

P1060589.jpg


But now i am finally able to get outside and start the rubbing down and re-painting of the cupboards. :bliss:

P1060595.jpg


P1060600.jpg


The buddy seat undercoated

P1060601.jpg


The buddy seat with the seat cushions.

P1060603.jpg


:D
 
niklee1 said:
I also had the dash out for a general clean-up and re-paint.

Started with the dash pod...
P1060606.jpg


...then stripped it down...
P1060605-1.jpg


...cleaned up the plastic surround...it amazing what a nail brush and a bit of fairy will do!!!
P1060618.jpg


Cleaned, sanded and repainted the metal rings that hold the glass in place.
P1060612.jpg

P1060613.jpg


This finished dry assembled dash (need a little glue to hold the rings in place, as usual!!!)
P1060624.jpg


And while I had the spray can out...
P1060611.jpg

...and the back!
P1060619.jpg

This is a matt black so dries like this!
P1060617.jpg

Which is pretty cool for this!!!
P1060629.jpg

The two together...
P1060630.jpg
 
Thought I would tackle the remaining two covers for the rear seats/bed.

P1060639.jpg

The covers cut to shape ready to sew, with mum's machine kindly donated on semi-permanent loan. Thanks mum :D

P1060635.jpg

Finished centre cushion. well i have to hand sew the last bit but will do that tomorrow.

P1060636.jpg

The very last piece of foam to be covered.... :bliss:
 
More interior cushions finished off only one left to complete the set!!!

More of the welding has been done and it is really starting to come together
P1060648.jpg


Guttering looking more like...well guttering :D
P1060651.jpg


And do you remember this?
photo6.jpg

Well look now :D
P1060655.jpg
 
P1060640.jpg

P1060643.jpg

Started on the main part of the interior with a quick whitewash.

P1060647.jpg

P1060652.jpg

P1060653.jpg

Few more pics of the holes to be welded up...
 
My temporary cover to keep the all too frequent showers ruining my new paint, it's white with a hint of chocolate...apparently!
P1060661.jpg


The main kitchen unit, note the staining on the top where the damp has got in. Going to dry this out then treat it and paint a contrasting colour, maybe black to match the seat covers.
P1060662.jpg


The rear seat base
P1060665.jpg


Various panels and inserts, there are loads of them!!!
P1060663.jpg


The buddy seat and another insert!!! :?
P1060666.jpg
 

Latest posts

Top