


G
Guest
Guest
did you use nitromorse? and did you rinse with water?
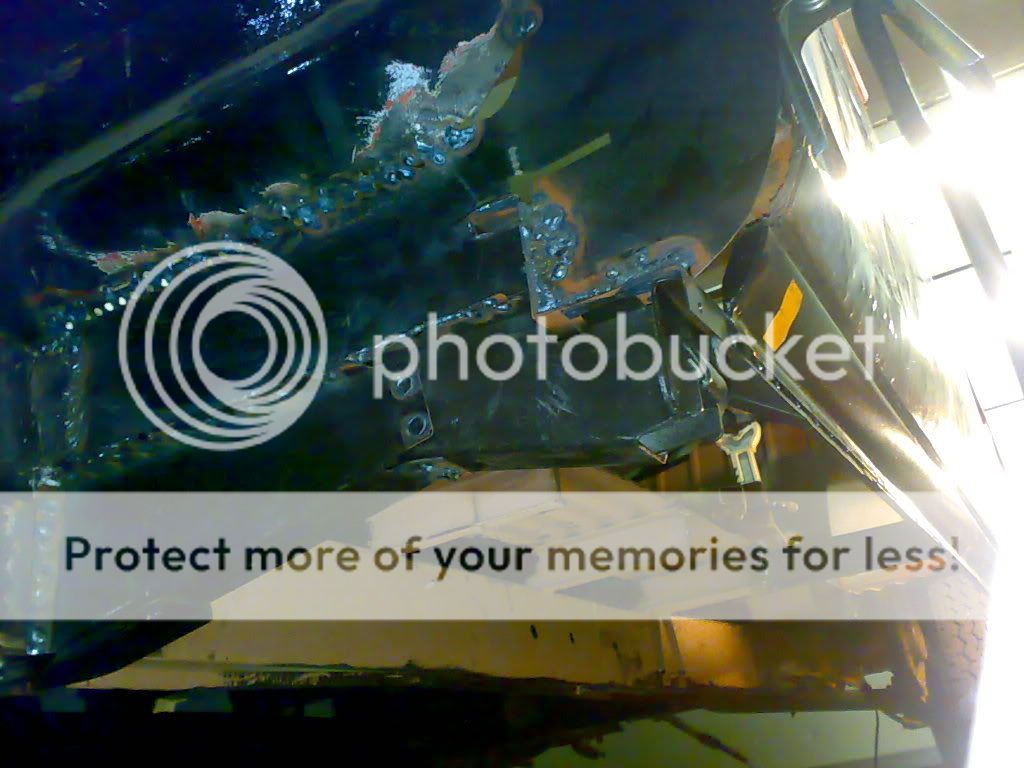
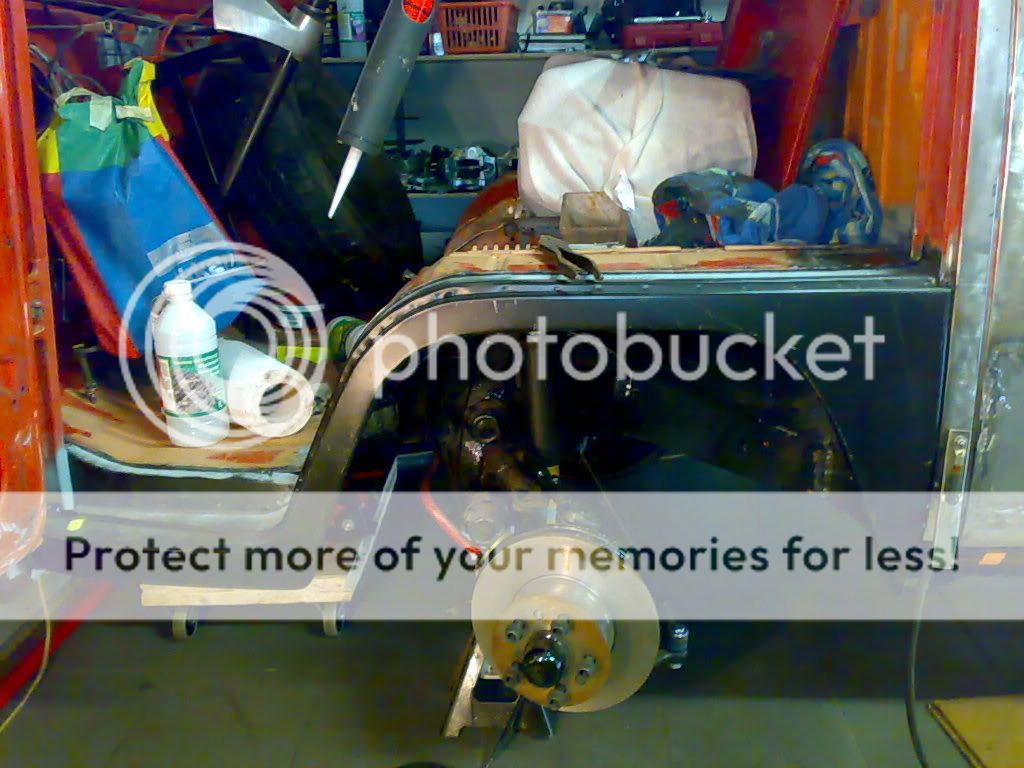
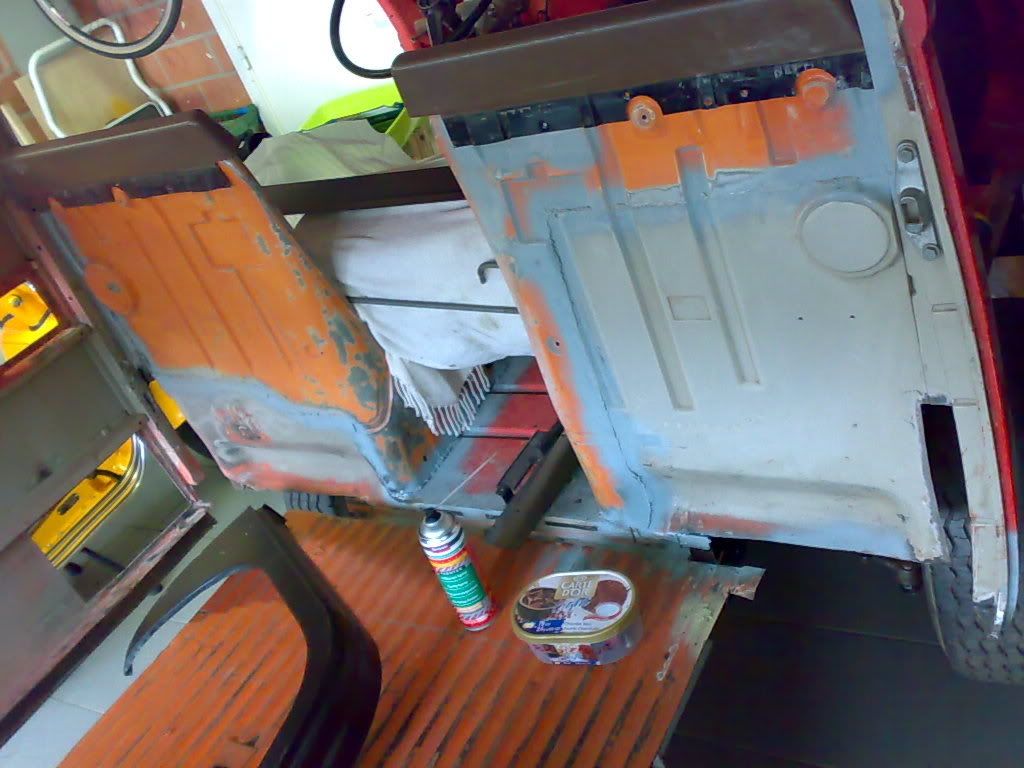
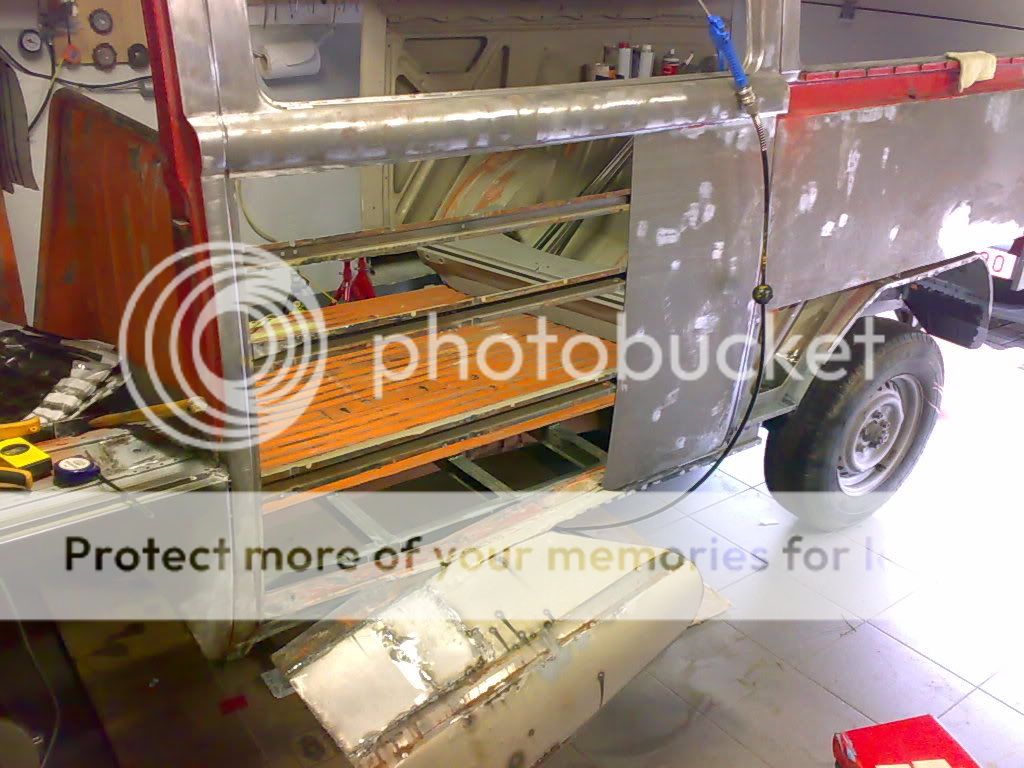
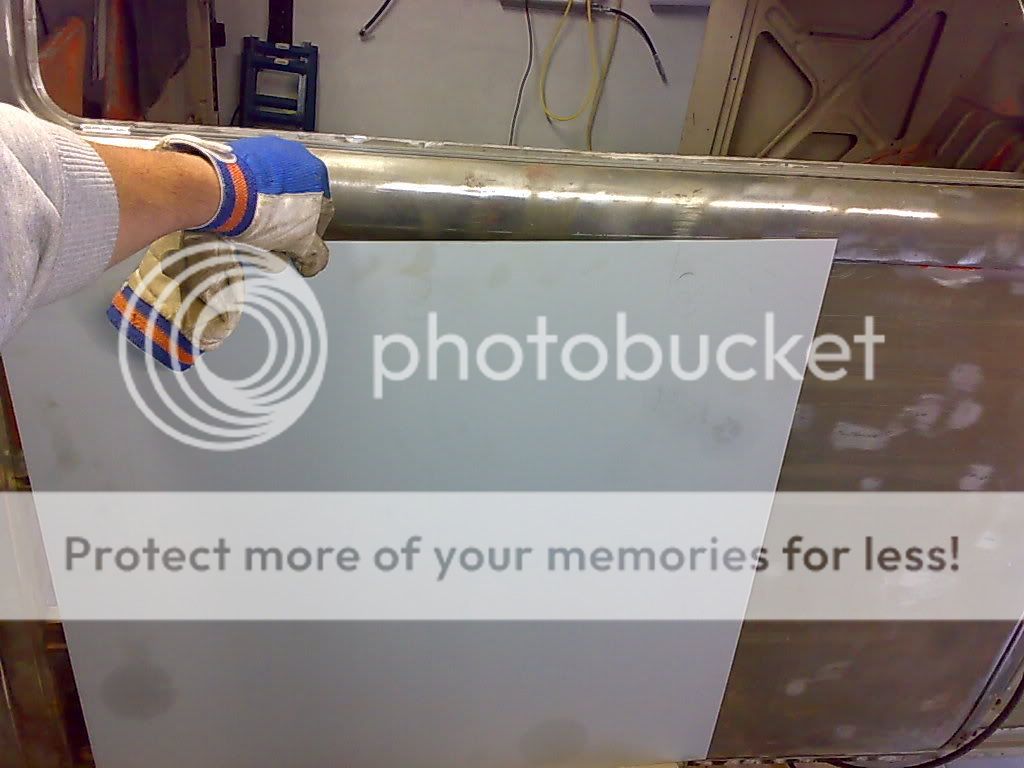
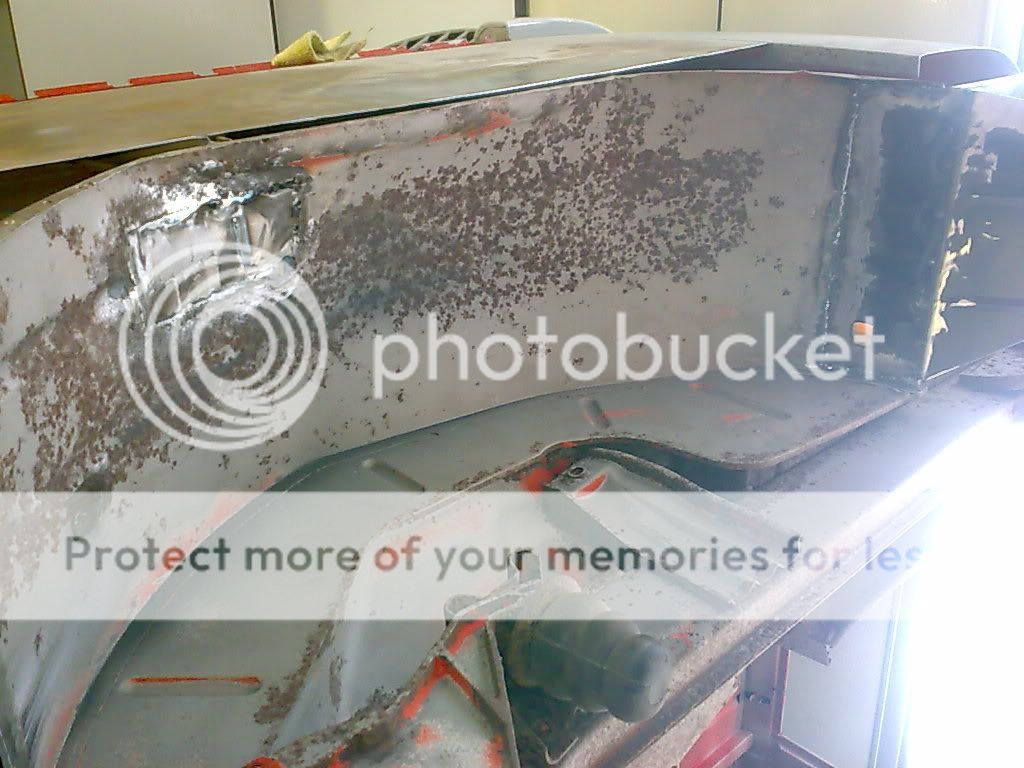
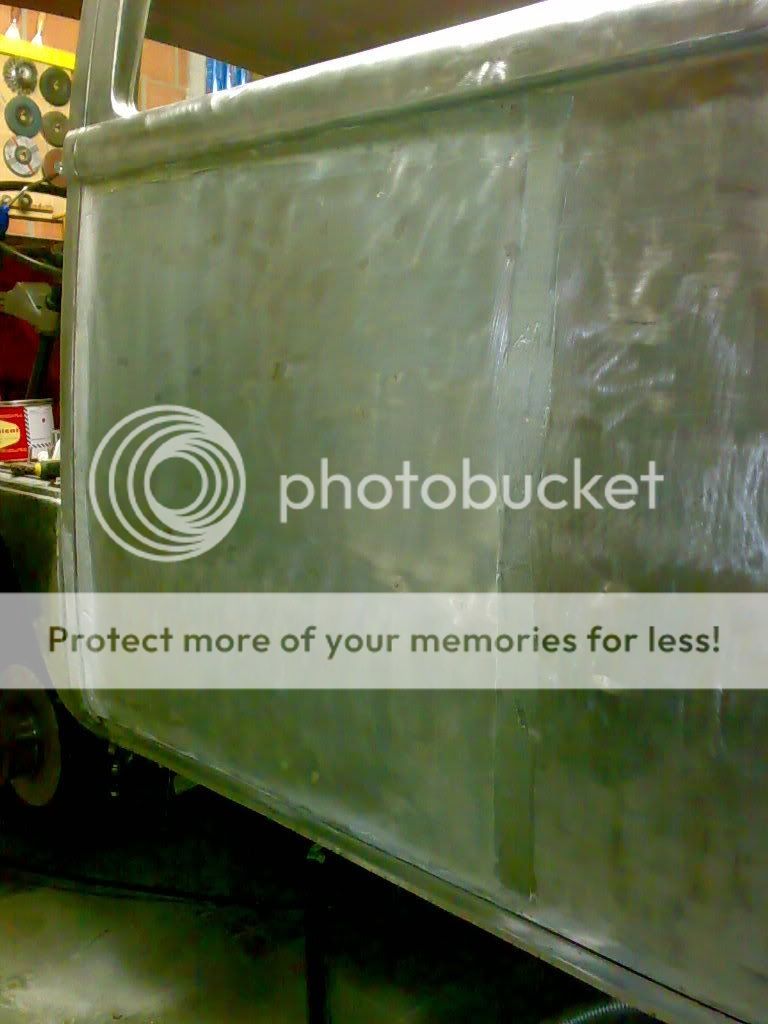
nice to see a nude bus
nice to see a nude bus


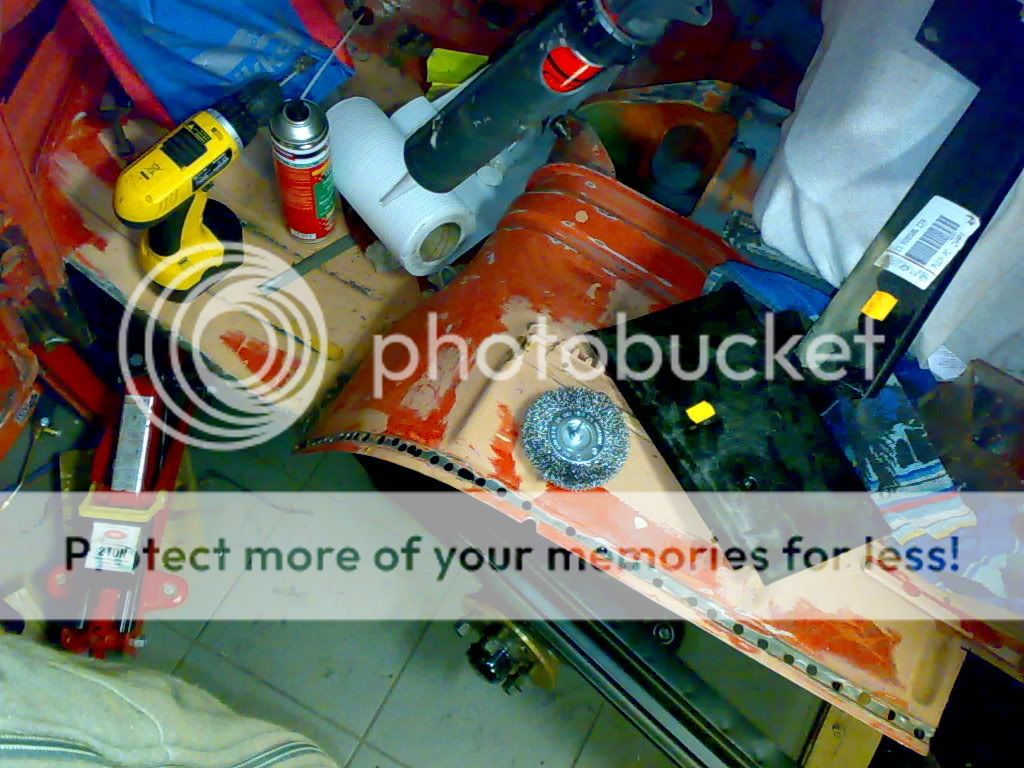
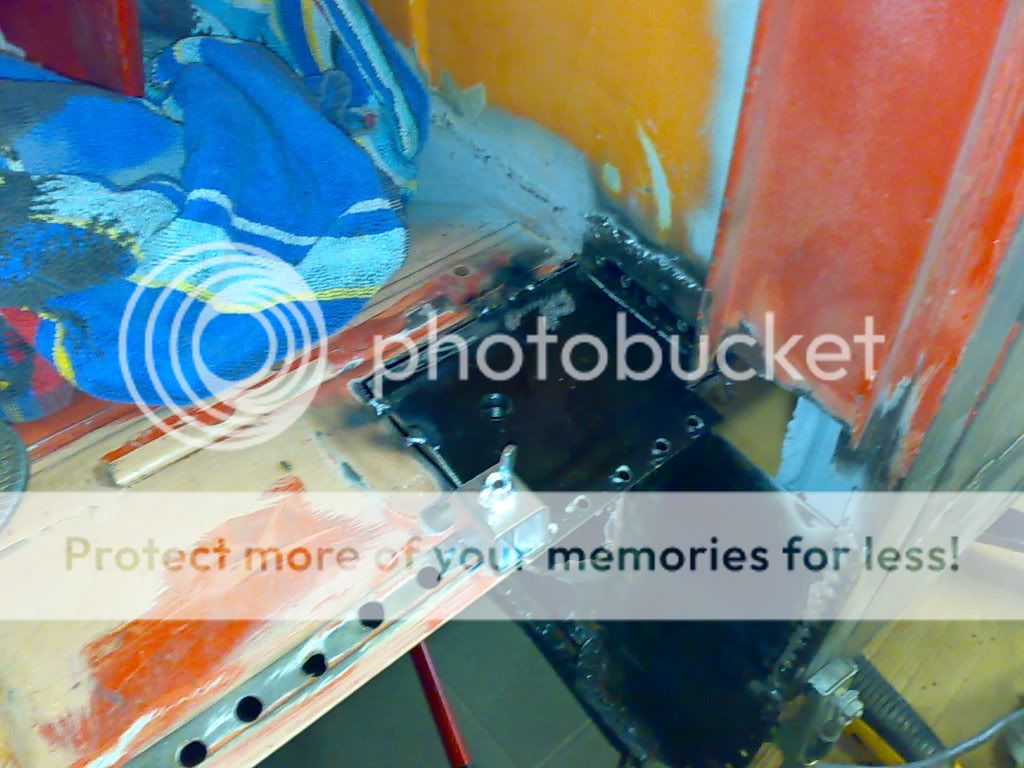
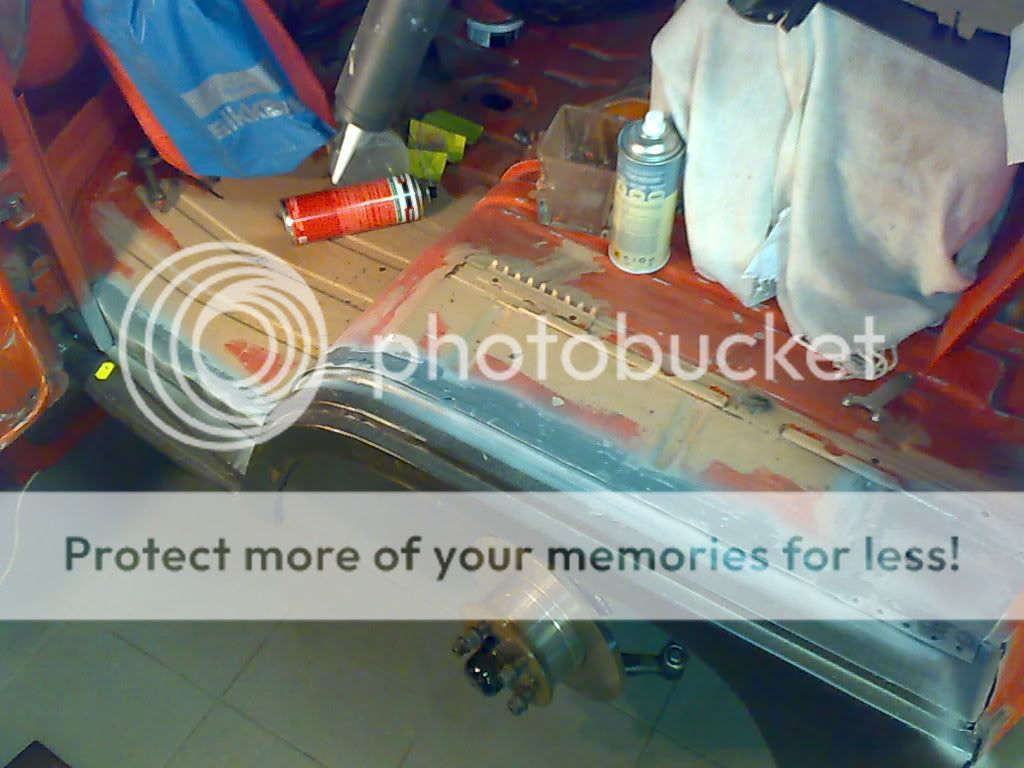

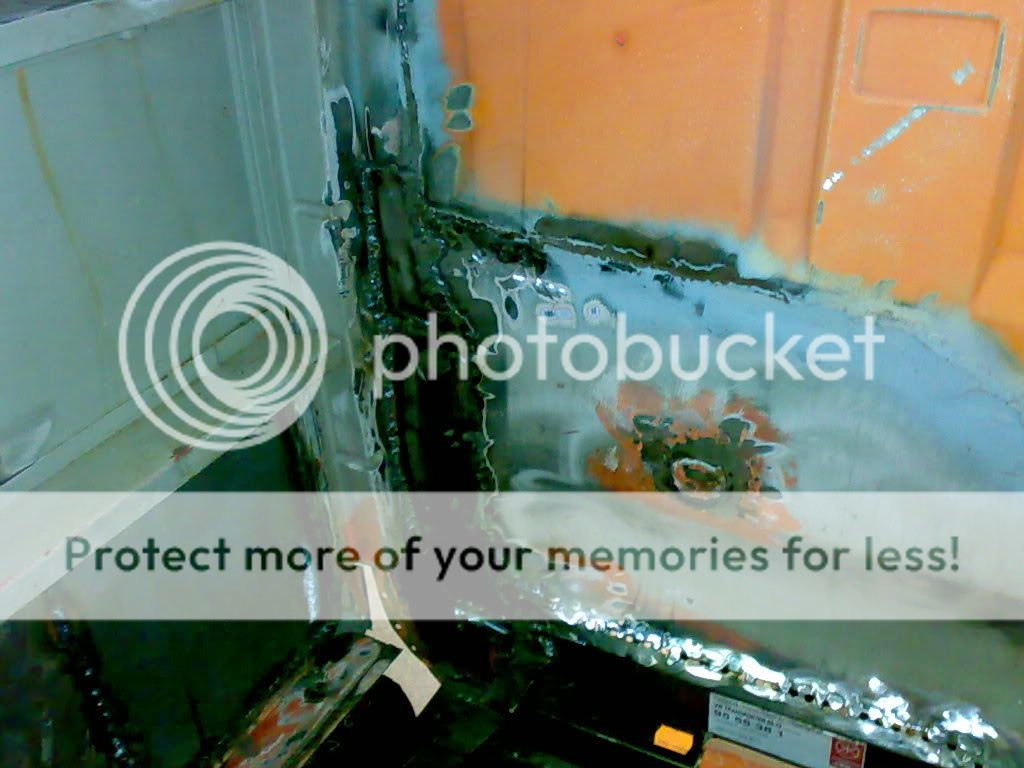
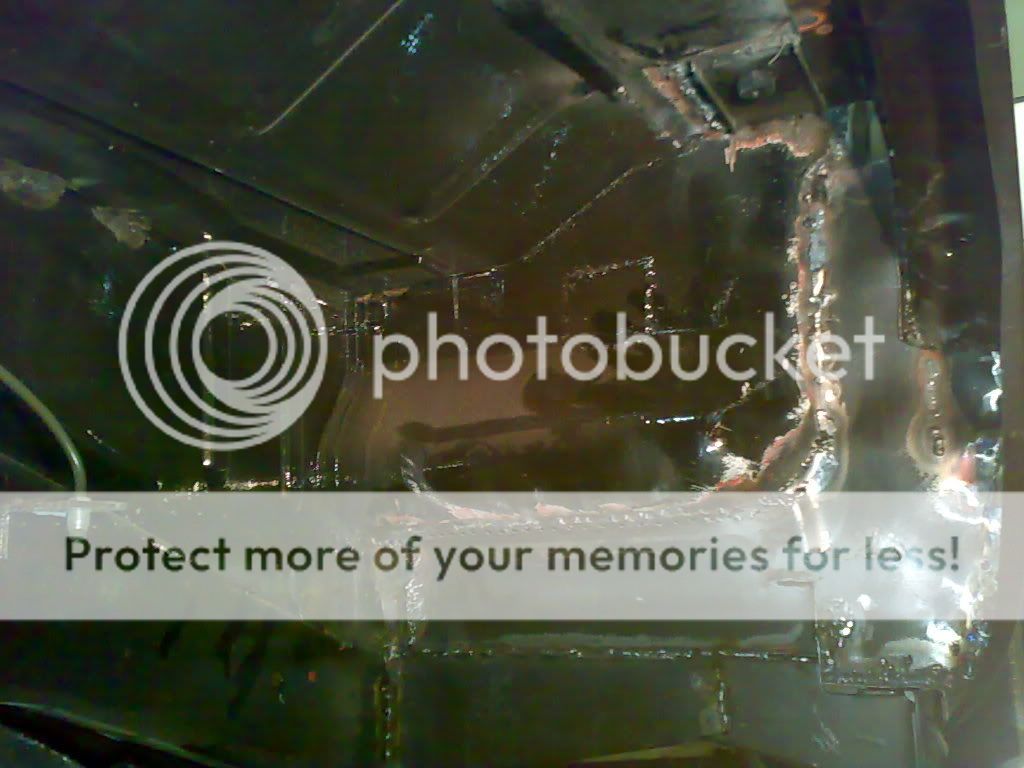

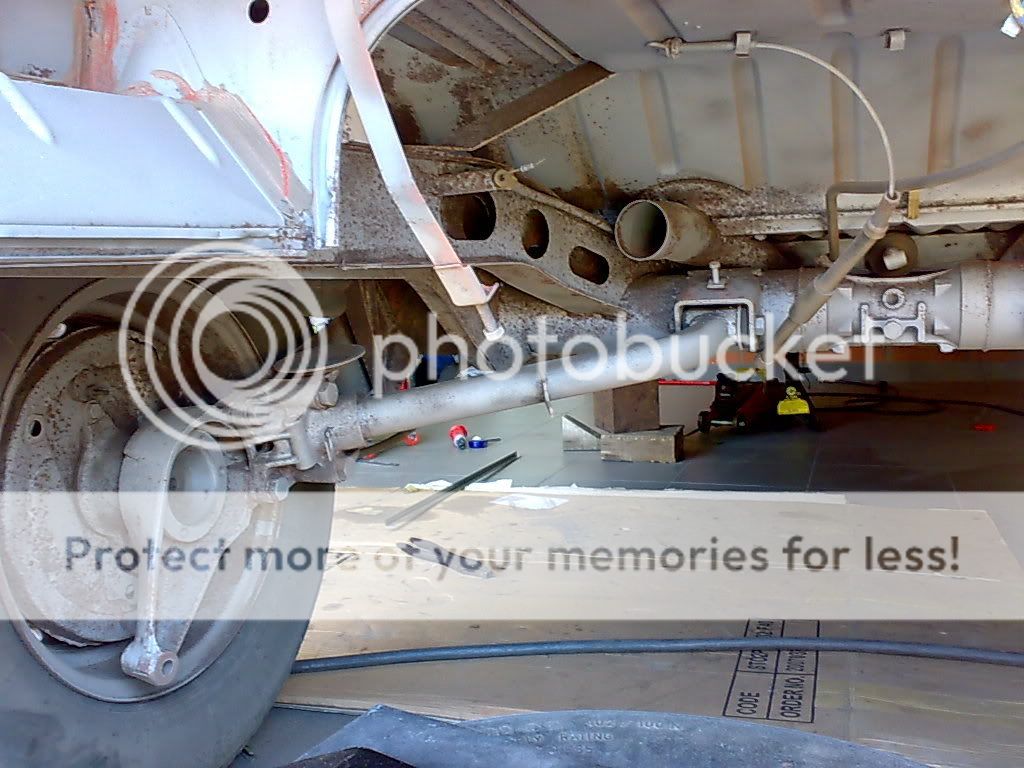

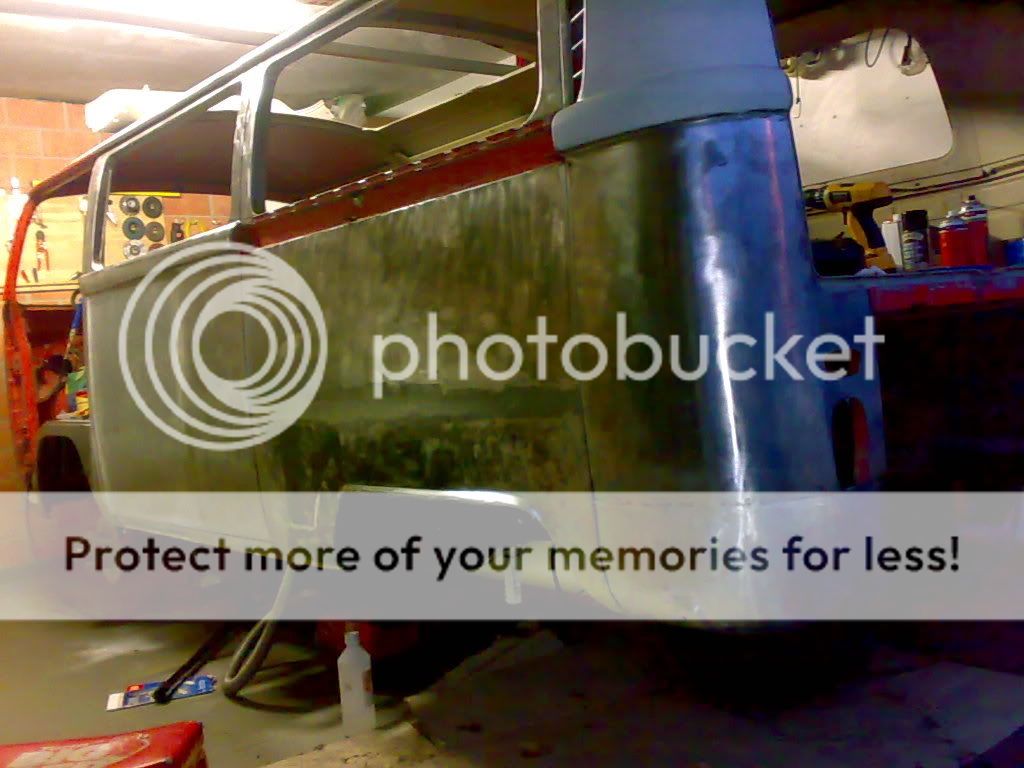
Nah, as it was only the bottom after the last crossmember, the engine compartment, wheel arches and whatever else is in that area I can't think of right nowJohnny said:nice work nate, was the media blast expensive?
Enter your email address to join:


