You are using an out of date browser. It may not display this or other websites correctly.
You should upgrade or use an alternative browser.
You should upgrade or use an alternative browser.
My 70 Bus!! Wes
- Thread starter justcruzin
- Start date


Help Support Early Bay Forum:
This site may earn a commission from merchant affiliate
links, including eBay, Amazon, and others.
justcruzin
Well-known member
Thanks for all the encouragement and nice comments on my project!! I am really enjoying working on it!!
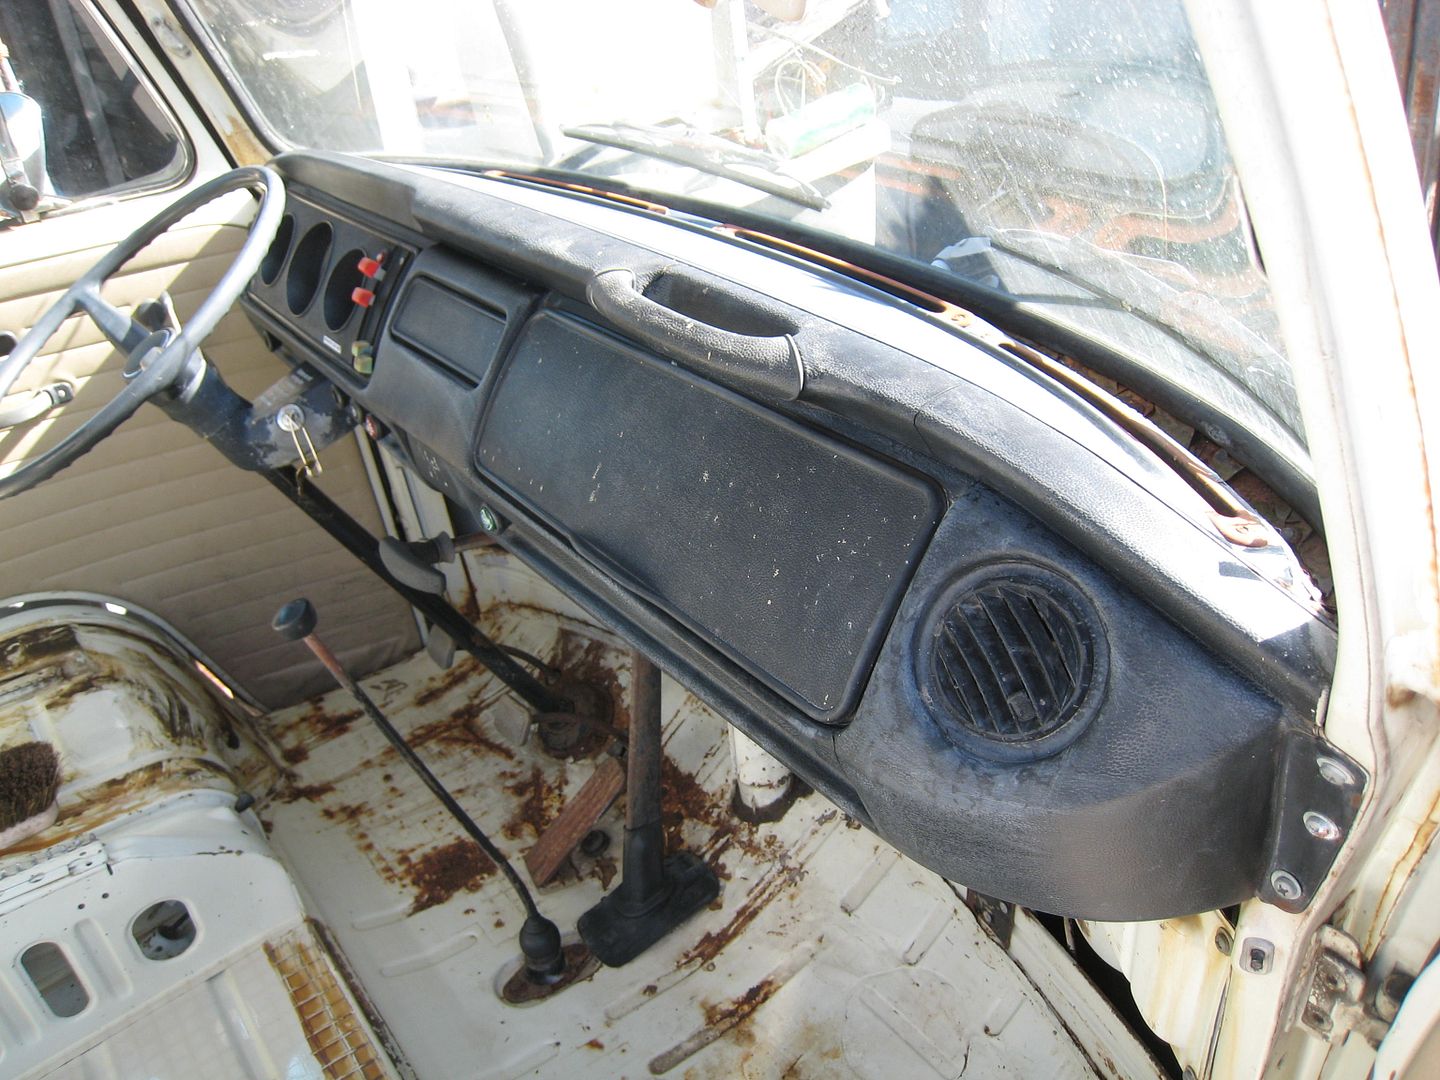
I got off early from work this morning so I decided to go putter on Wes. I decided to find out what the dash would look like with some Maquiers cleaner for dashes.
Here is a before,
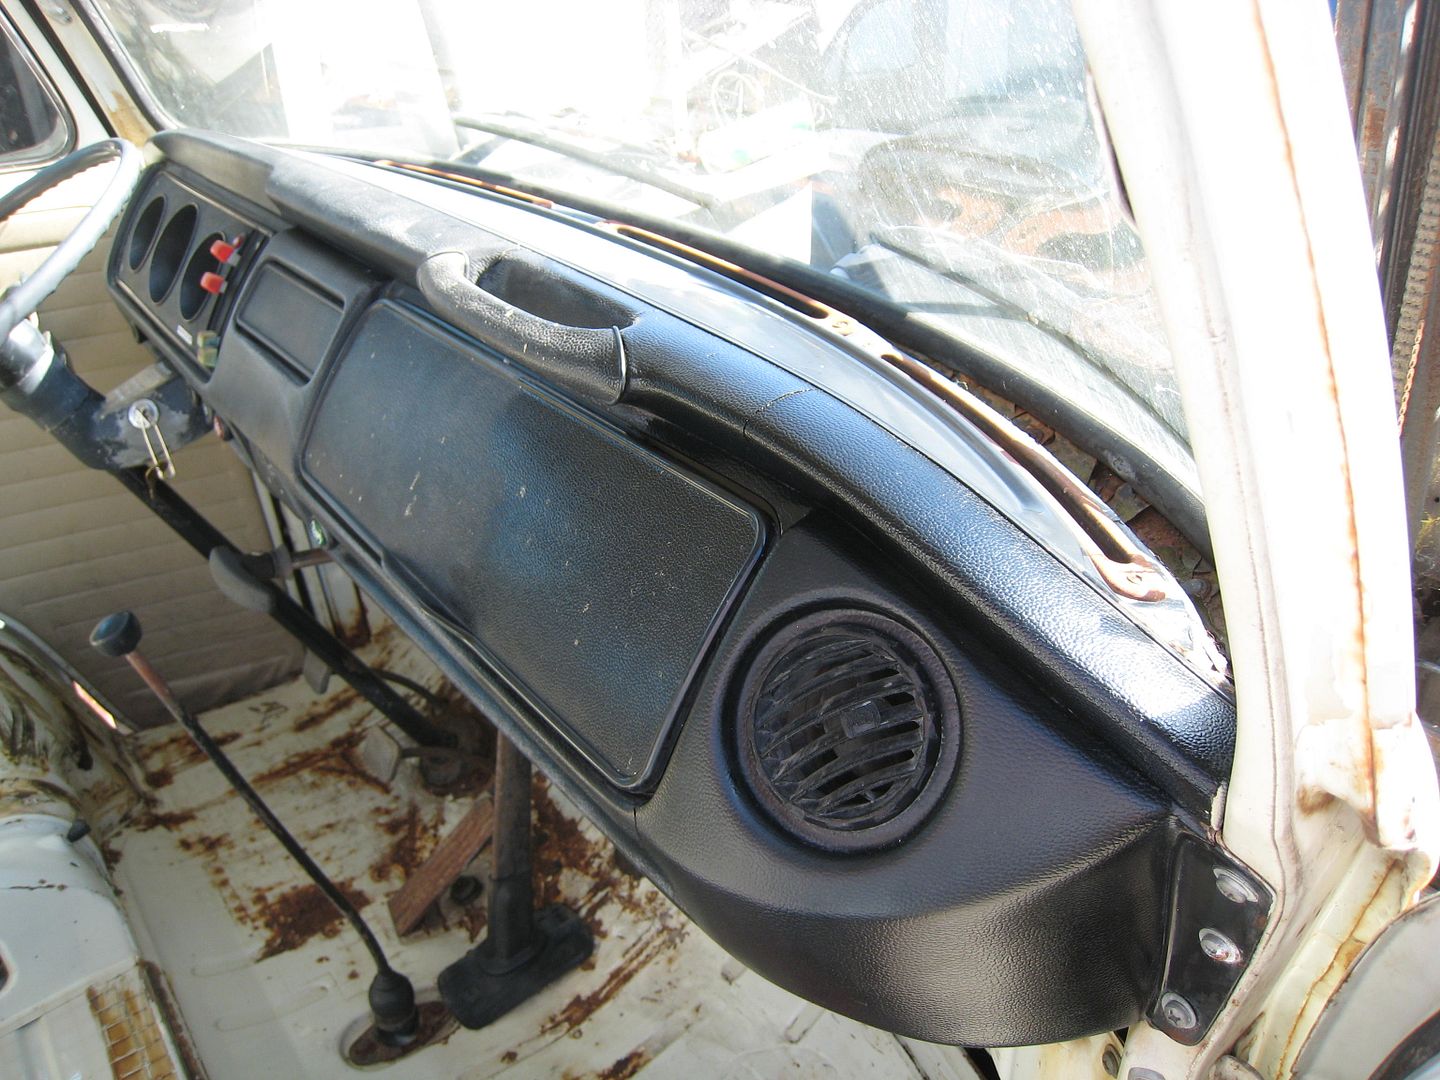
During,
After,
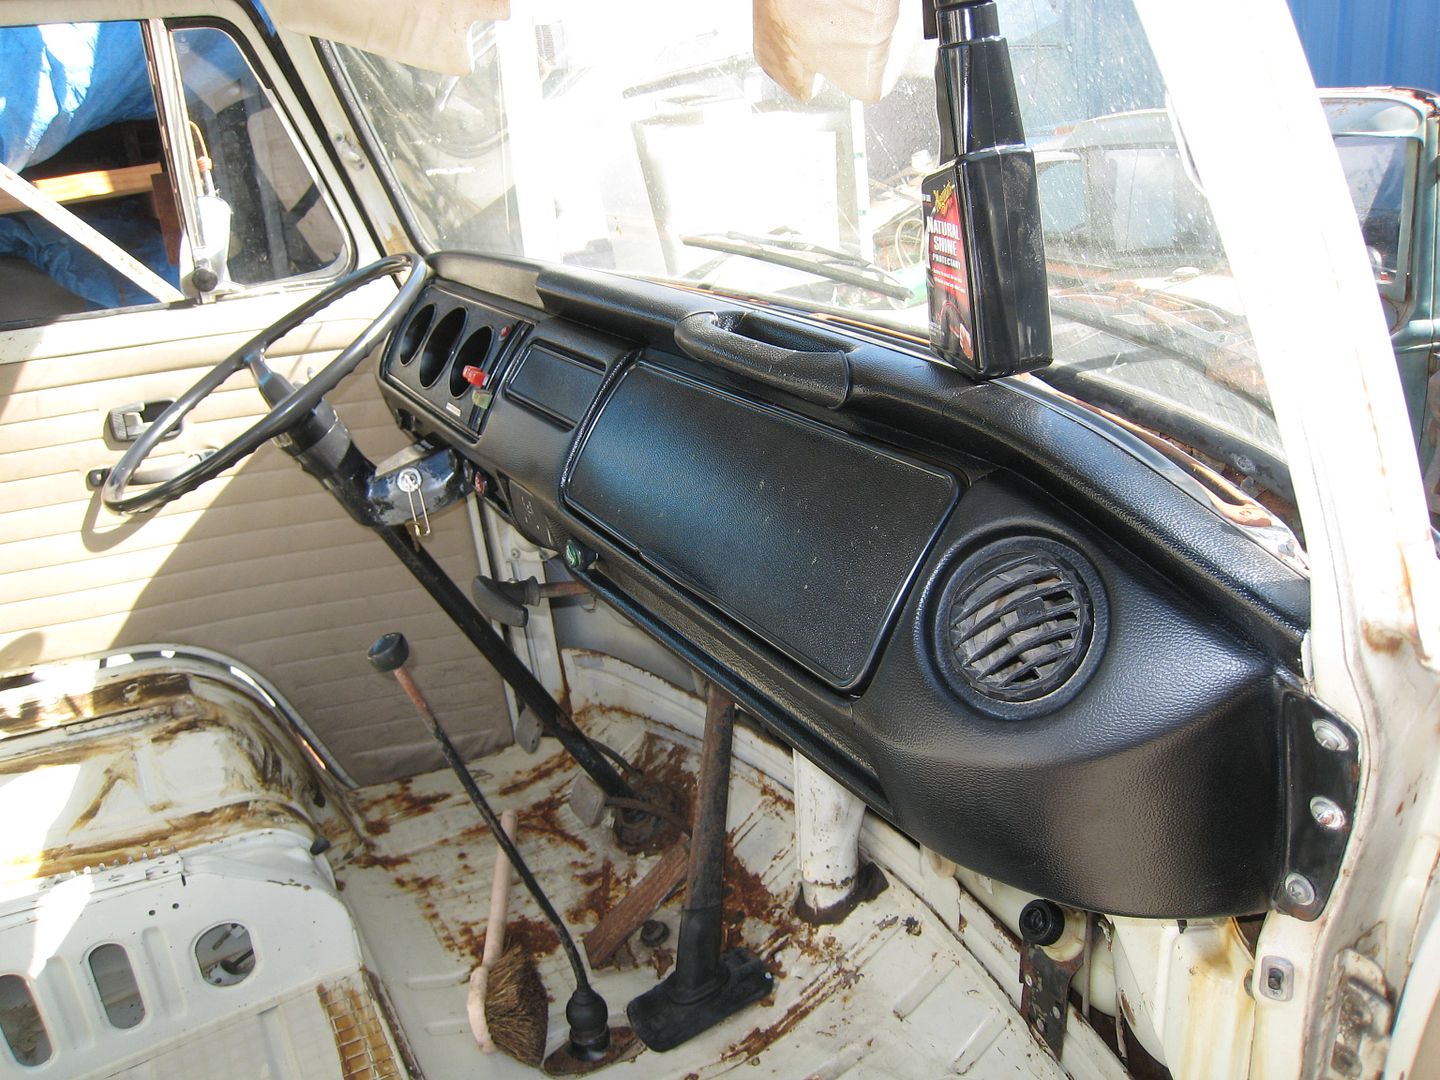
I think it came out pretty darn good!! I will eventually have to replace the little directional vents and take the speedometer cluster loose to clean better, but the first cleaning came out nicely!!
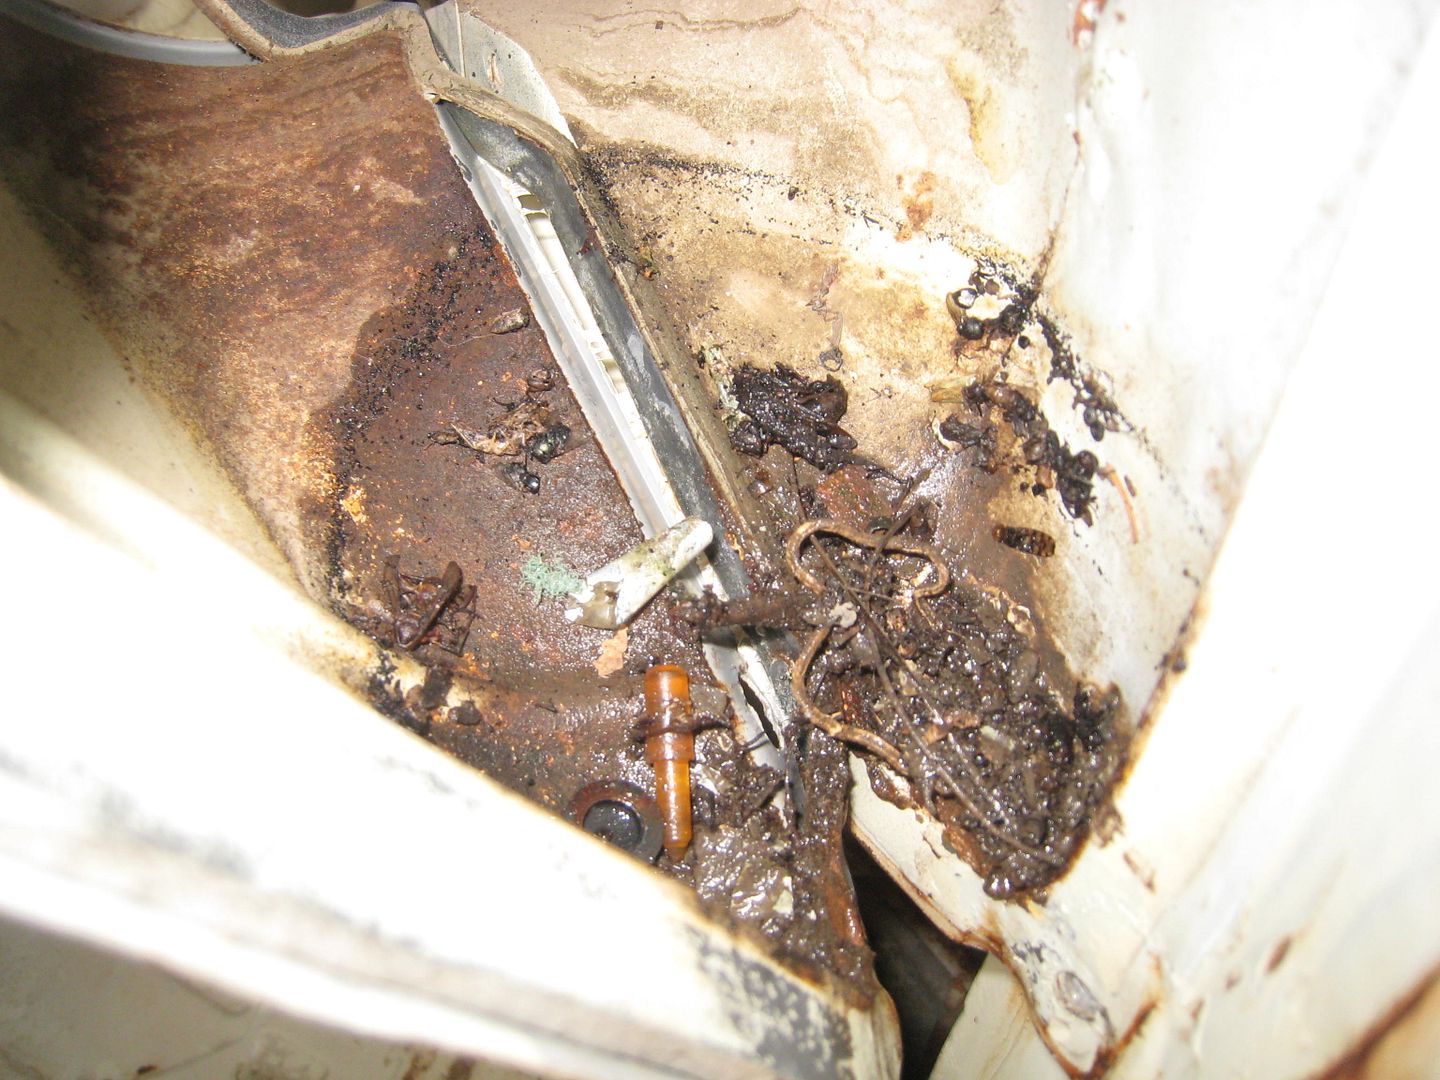
Hubby told me I should open up the vent tube things to clean them out. So I did that to the passenger side! Not a hole lot in it, but needed a cleaning.
Later I plan on re installing the insulation that was in the sides of the bus. It is still in good shape so I want to reuse it! Then I think it basically comes down to waiting to get new panel board to do anything else. Well, I could clean all the cabinets and pads. So I guess I have something to do for the next day or so while I'm waiting to get the board!
I got off early from work this morning so I decided to go putter on Wes. I decided to find out what the dash would look like with some Maquiers cleaner for dashes.
Here is a before,
During,
After,
I think it came out pretty darn good!! I will eventually have to replace the little directional vents and take the speedometer cluster loose to clean better, but the first cleaning came out nicely!!
Hubby told me I should open up the vent tube things to clean them out. So I did that to the passenger side! Not a hole lot in it, but needed a cleaning.
Later I plan on re installing the insulation that was in the sides of the bus. It is still in good shape so I want to reuse it! Then I think it basically comes down to waiting to get new panel board to do anything else. Well, I could clean all the cabinets and pads. So I guess I have something to do for the next day or so while I'm waiting to get the board!
justcruzin
Well-known member
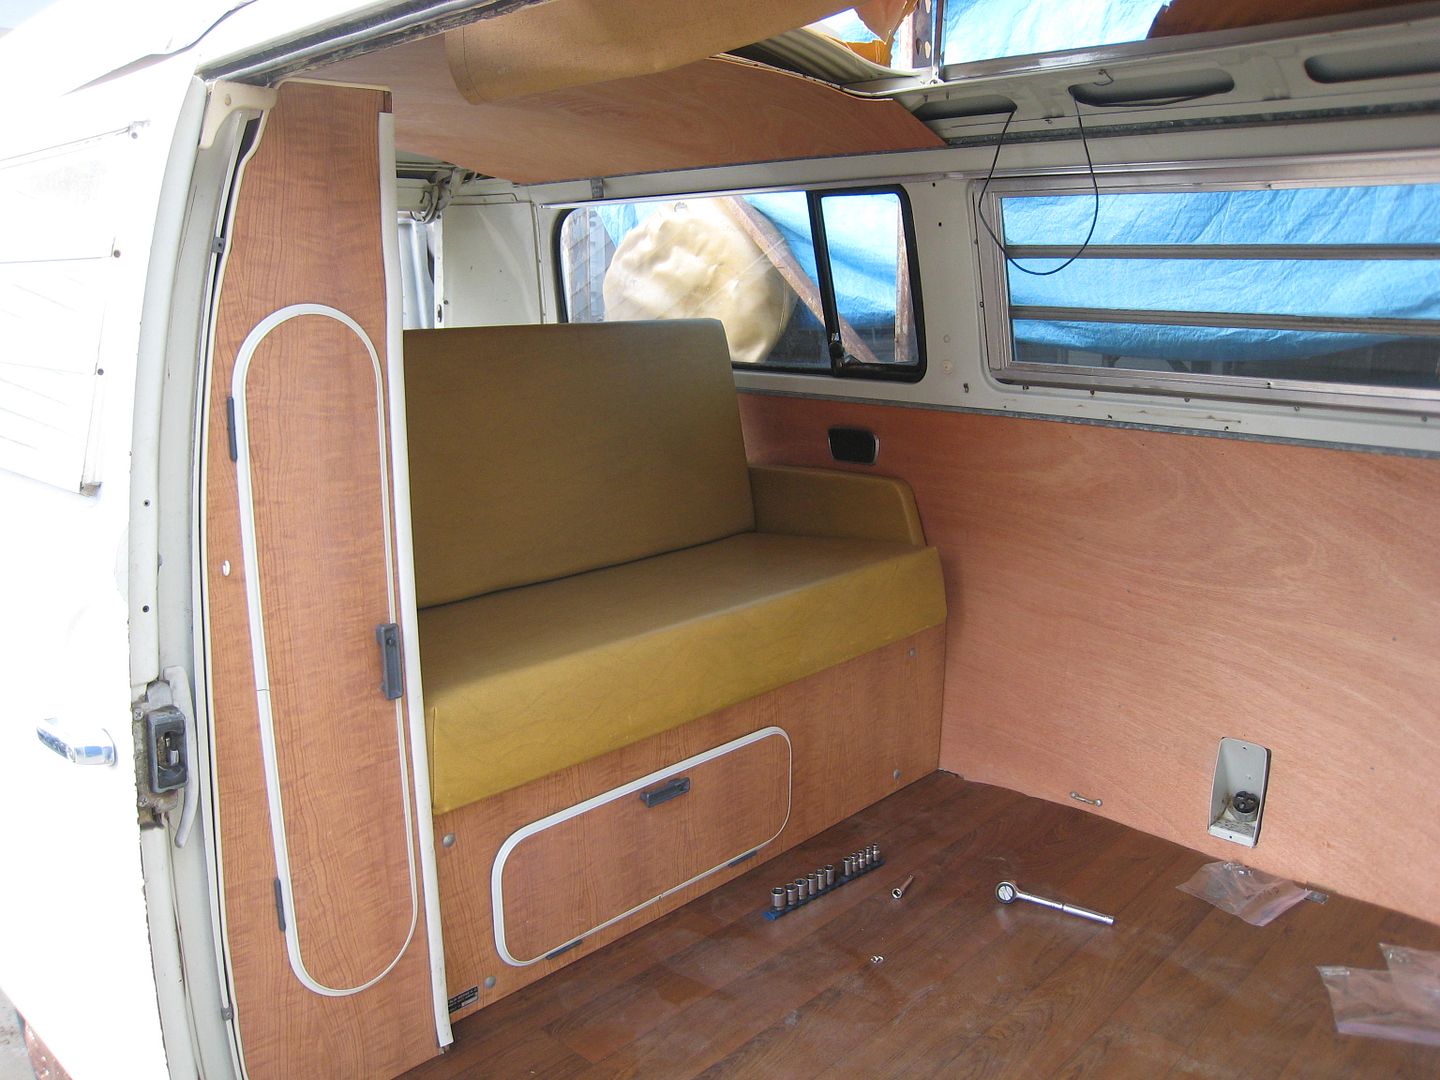
Today we went and bought some paneling. I got a late start on the cutting and staining but I was able to get it stained 3 times in front and once in the back. It is now drying over night and I will try to install it tomorrow.
We bought 4x8 sheets of paneling. Got it home and realized there was a slight problem. As you can see in the picture, the paneling is a bit short. Even if I turned it, it was to short. We decided to cut the curve part out so it would match the opening in the roof, and just ad a small piece to the back where it won't be to noticeable because of the shelf that goes below it.
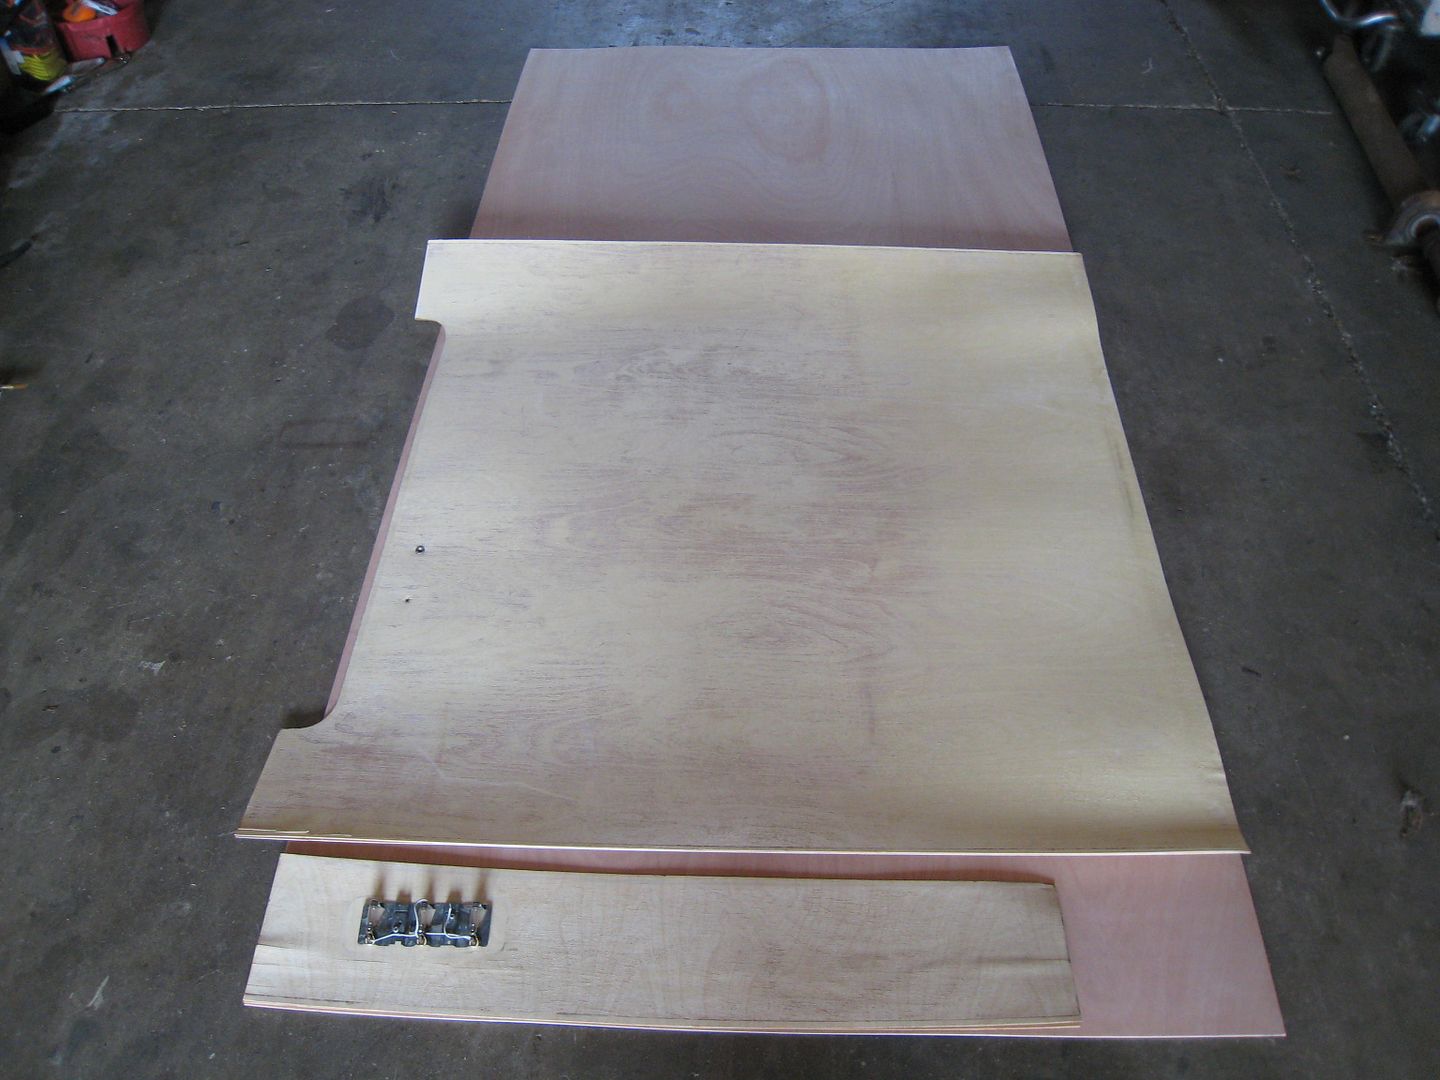
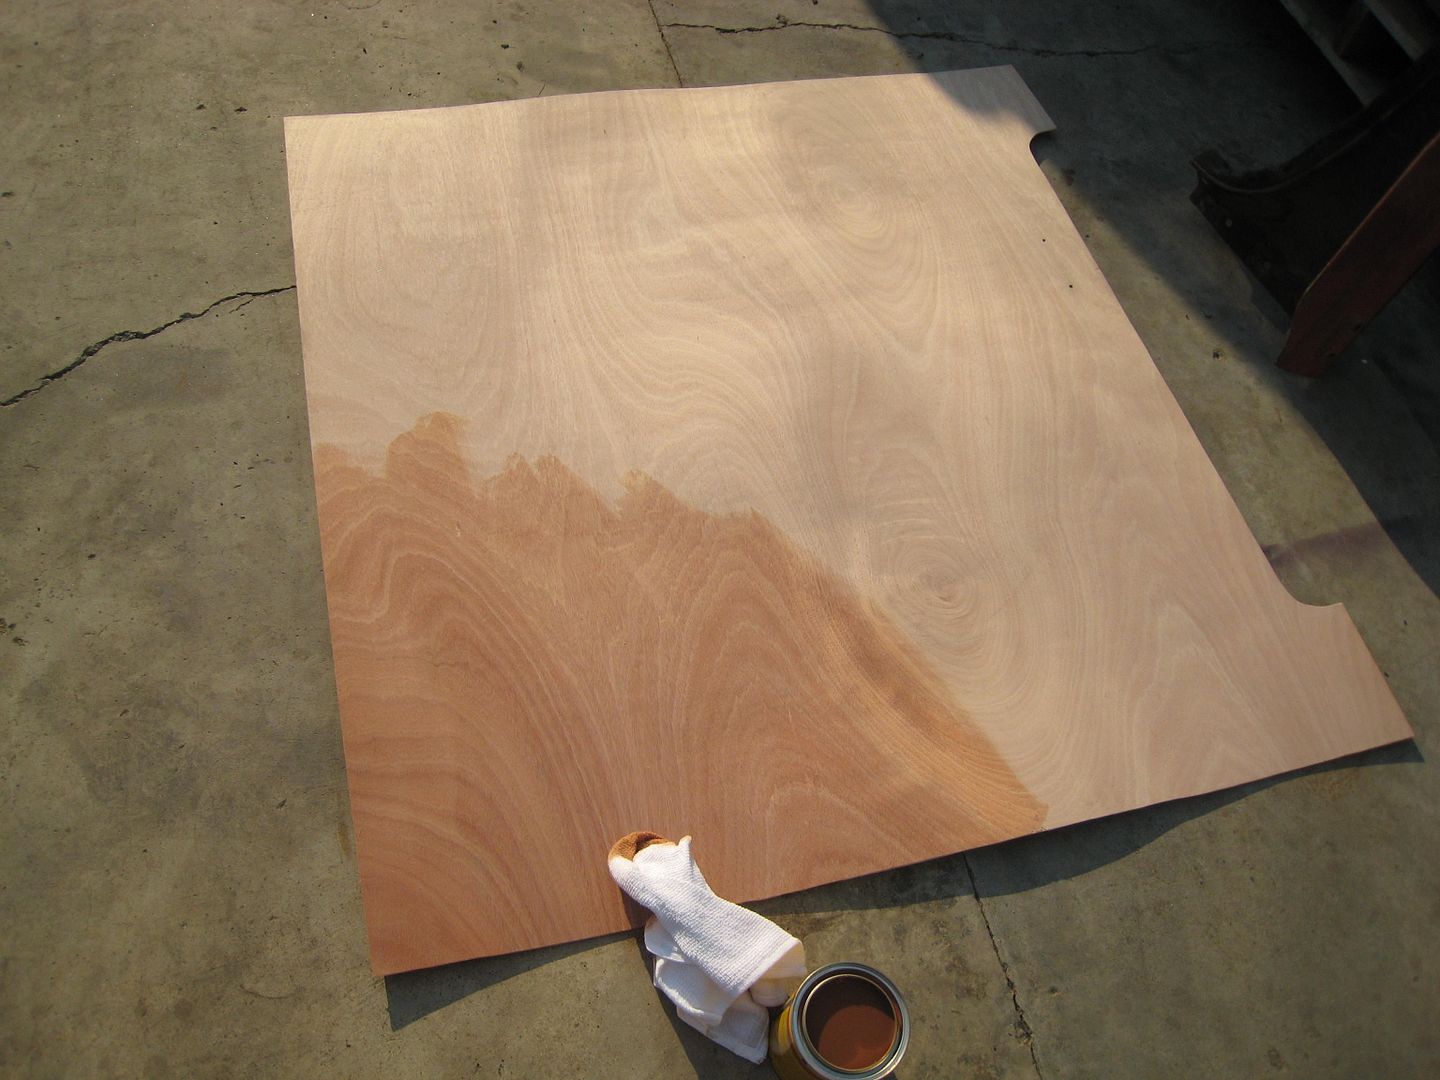
The staining process!
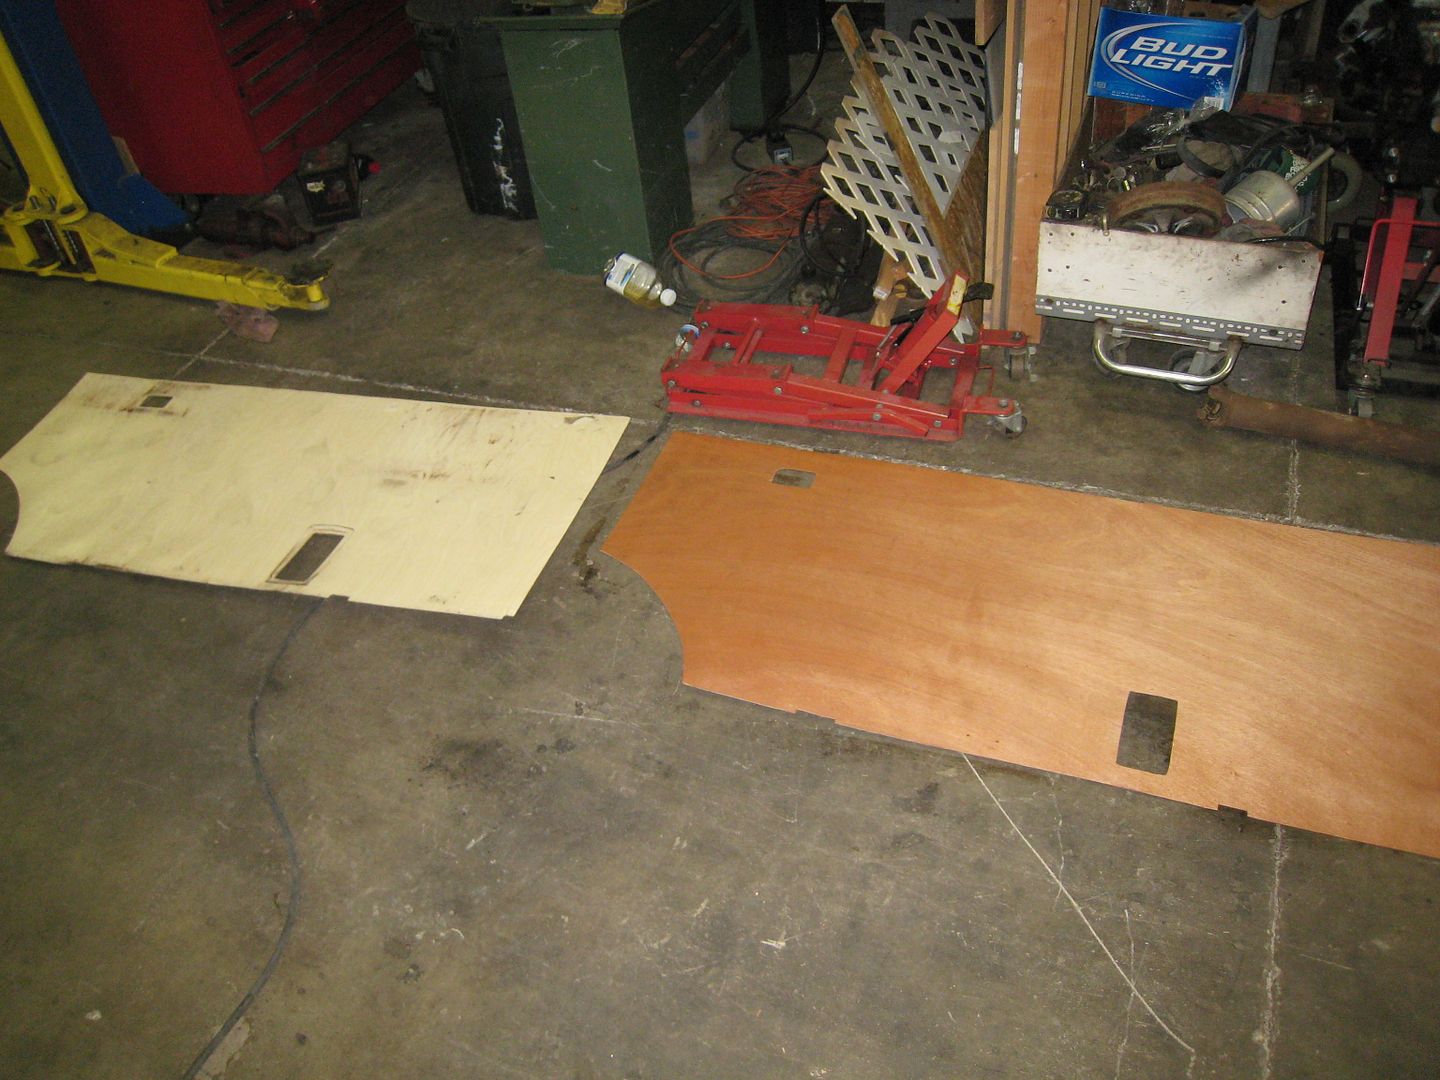
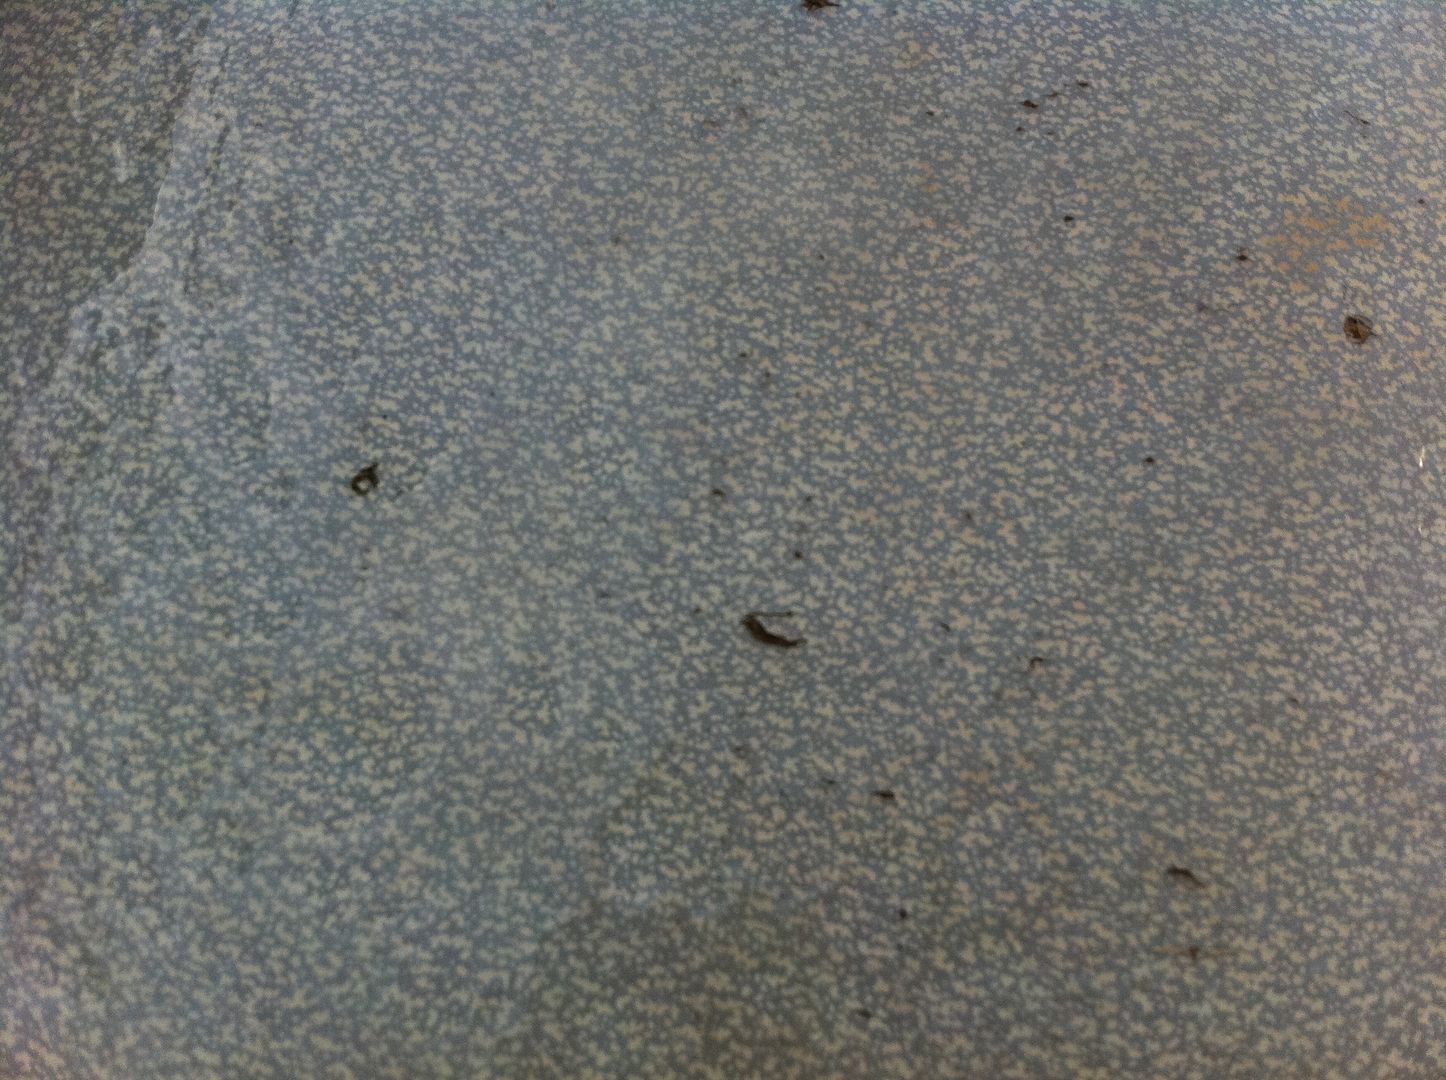
The old side panel next to the new stained one. I think new one is a bit darker! LOL
I also bought a new window rubber for the window that is not accessible once the cabinet is in. My hubby's kid ( a window installer) came over last night and R&R'd the rubbers for me. So that should take care of any leaks. Tomorrow after the roof is in I will put the curtain panel in. Well, I hope to put a lot more in too! LOL I'm hoping to get the side panel on, and then the closet, and maybe the bench seat. This all depends on how hot it is when we get back from a car swap meet we are going to in the morning.
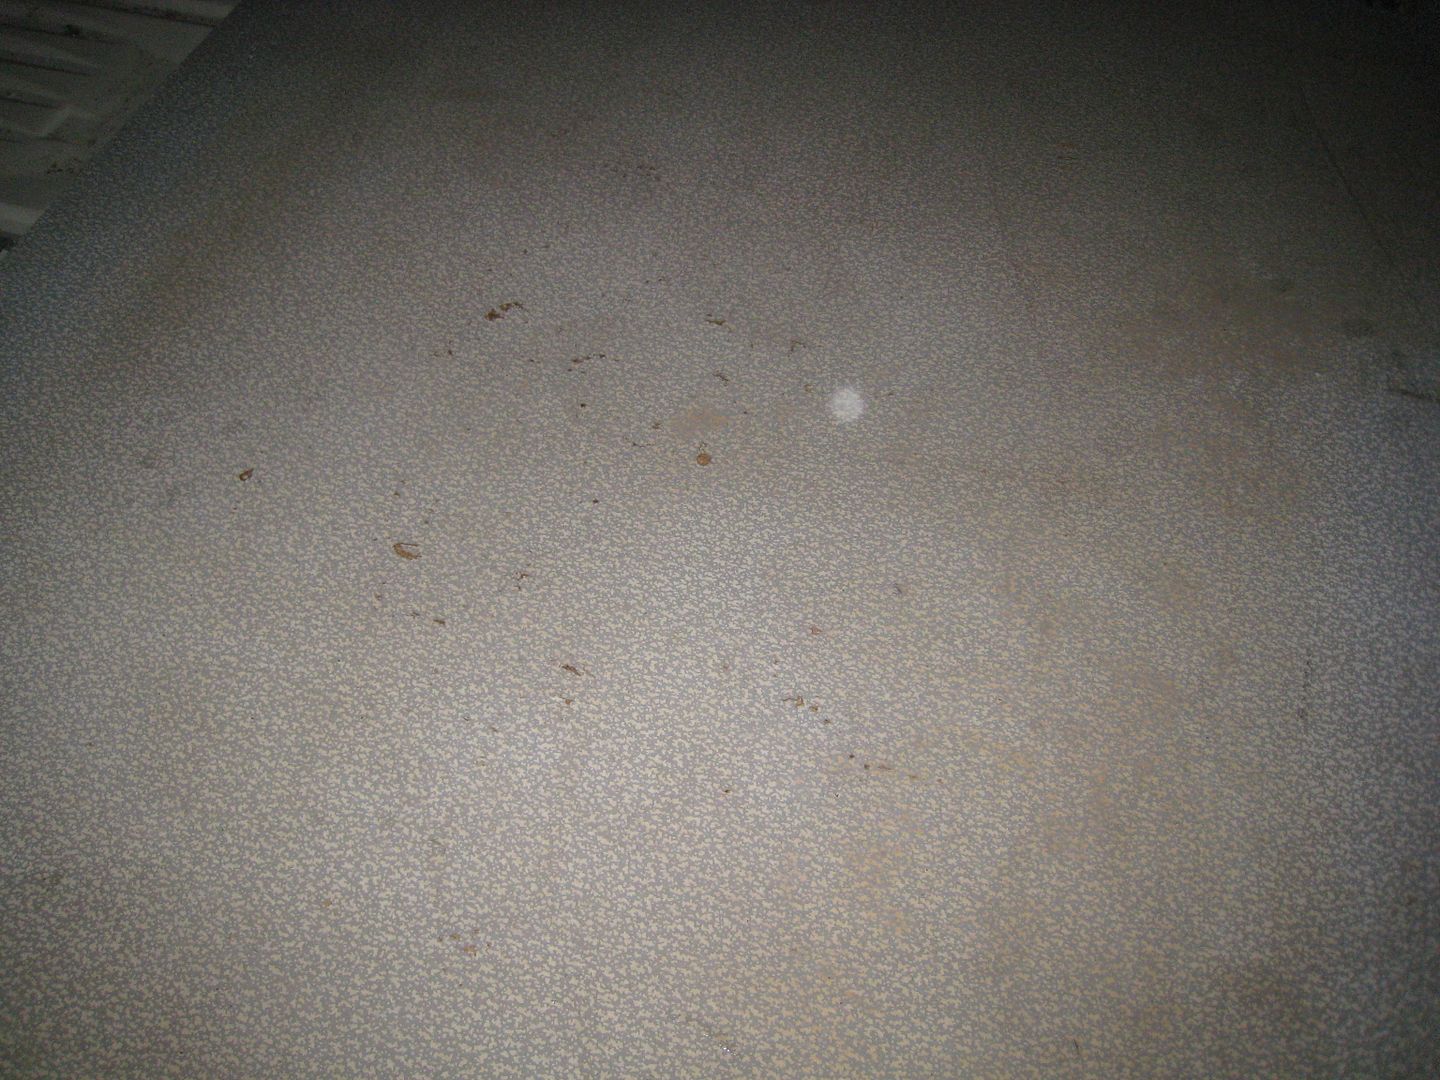
Ok, here is a dilema I am having and I don't have much time to decide what I want to do. I really like the original lino that is on the floor. Thing is, it is kind of rough. I can probably cover up the front part by the door with something, but the nicks and holes in the main walkway will not be able to be covered. I don't know if I want to just live with it, or replace it. I only have till tomorrow to decide. If I'm going to replace it, I need to do it before the cabinets go back in. What do you guy's think, replace or deal with it?
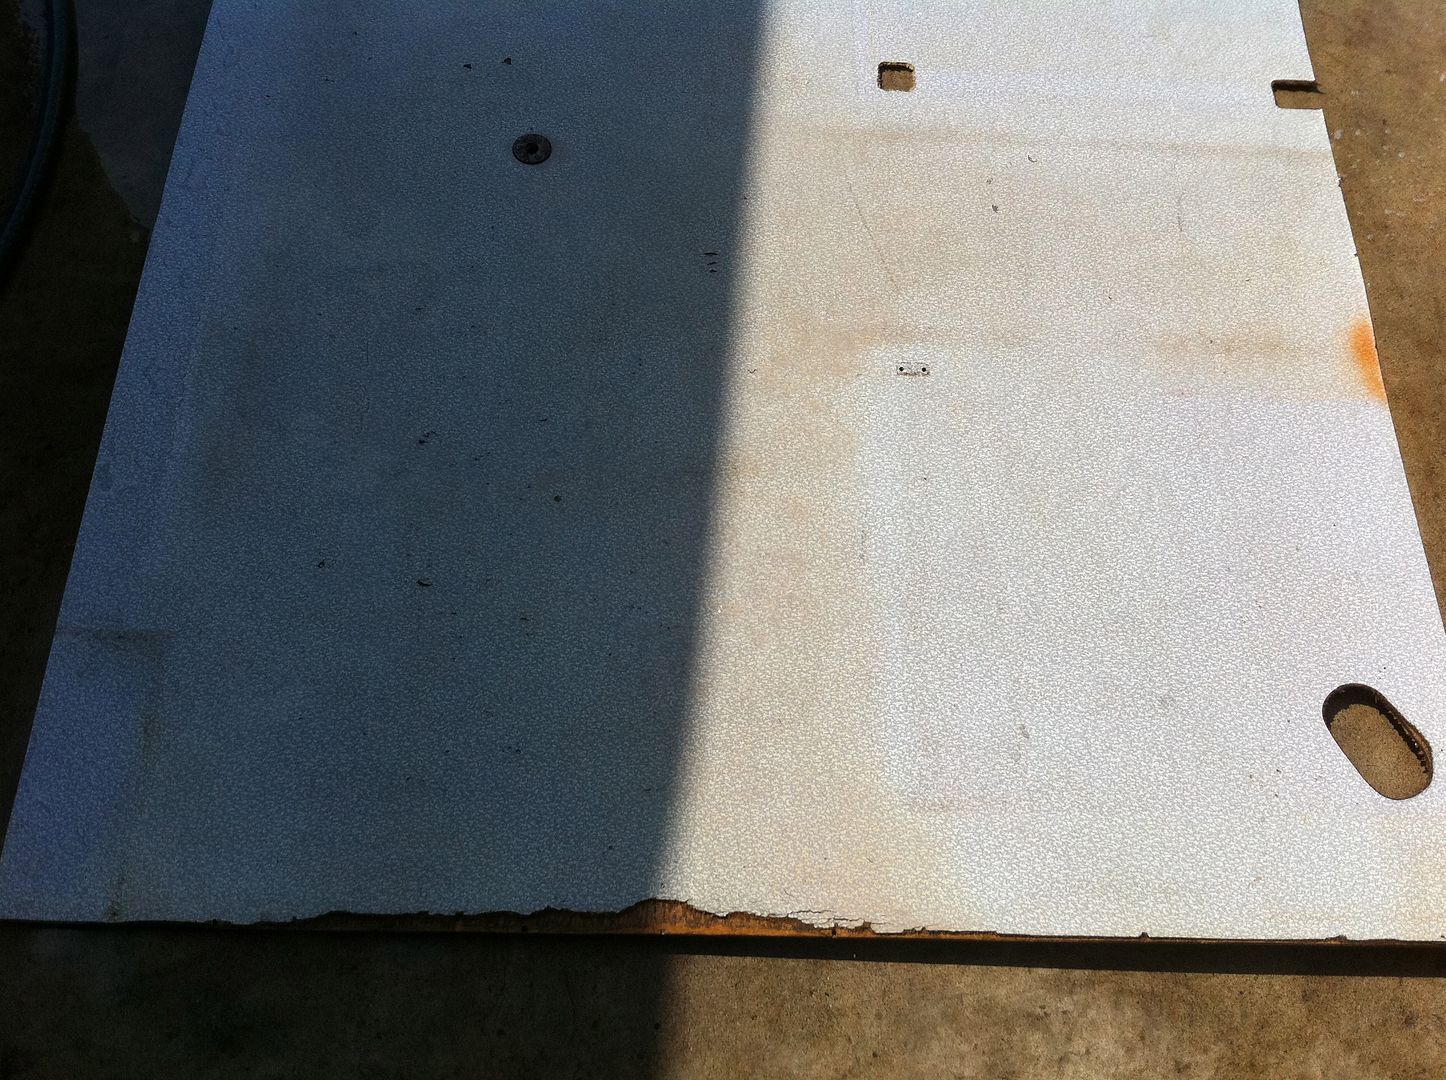
We bought 4x8 sheets of paneling. Got it home and realized there was a slight problem. As you can see in the picture, the paneling is a bit short. Even if I turned it, it was to short. We decided to cut the curve part out so it would match the opening in the roof, and just ad a small piece to the back where it won't be to noticeable because of the shelf that goes below it.
The staining process!
The old side panel next to the new stained one. I think new one is a bit darker! LOL
I also bought a new window rubber for the window that is not accessible once the cabinet is in. My hubby's kid ( a window installer) came over last night and R&R'd the rubbers for me. So that should take care of any leaks. Tomorrow after the roof is in I will put the curtain panel in. Well, I hope to put a lot more in too! LOL I'm hoping to get the side panel on, and then the closet, and maybe the bench seat. This all depends on how hot it is when we get back from a car swap meet we are going to in the morning.
Ok, here is a dilema I am having and I don't have much time to decide what I want to do. I really like the original lino that is on the floor. Thing is, it is kind of rough. I can probably cover up the front part by the door with something, but the nicks and holes in the main walkway will not be able to be covered. I don't know if I want to just live with it, or replace it. I only have till tomorrow to decide. If I'm going to replace it, I need to do it before the cabinets go back in. What do you guy's think, replace or deal with it?
faux
Well-known member
Wow, what a great find.
I would keep the vinyl but you could put a mat over the top.
Keep us posted, it is good to see the progress.
I would keep the vinyl but you could put a mat over the top.
Keep us posted, it is good to see the progress.
snow_pikey
Well-known member
Looking Good!!
You could fit an Ali strip along the step edge, clean the rest and crazy glue any bits/nicks that are lifting up...
Matt.
You could fit an Ali strip along the step edge, clean the rest and crazy glue any bits/nicks that are lifting up...
Matt.


$27.95 ($13.98 / Count)
Marketplace Auto Parts Window Crank Handle Set of 2 - Chrome with Black Knob - Compatible with 1968-1978 Volkswagen Beetle
Parts Geek LLC


$21.60
$29.91
ハセガワ Hasegawa HMCC11 1:24 Scale VW Type 2 Pick-Up Truck Model Building Kits
Amazon Japan


$42.47
Tamiya 51616 VW Bus Type 2 (T1) Remote Control Car Accessory Body RC Model Making
Hobby Etc | Authorized ✅


dubscum
Well-known member
nice find, lovely solid bus you lucky ....er
justcruzin
Well-known member
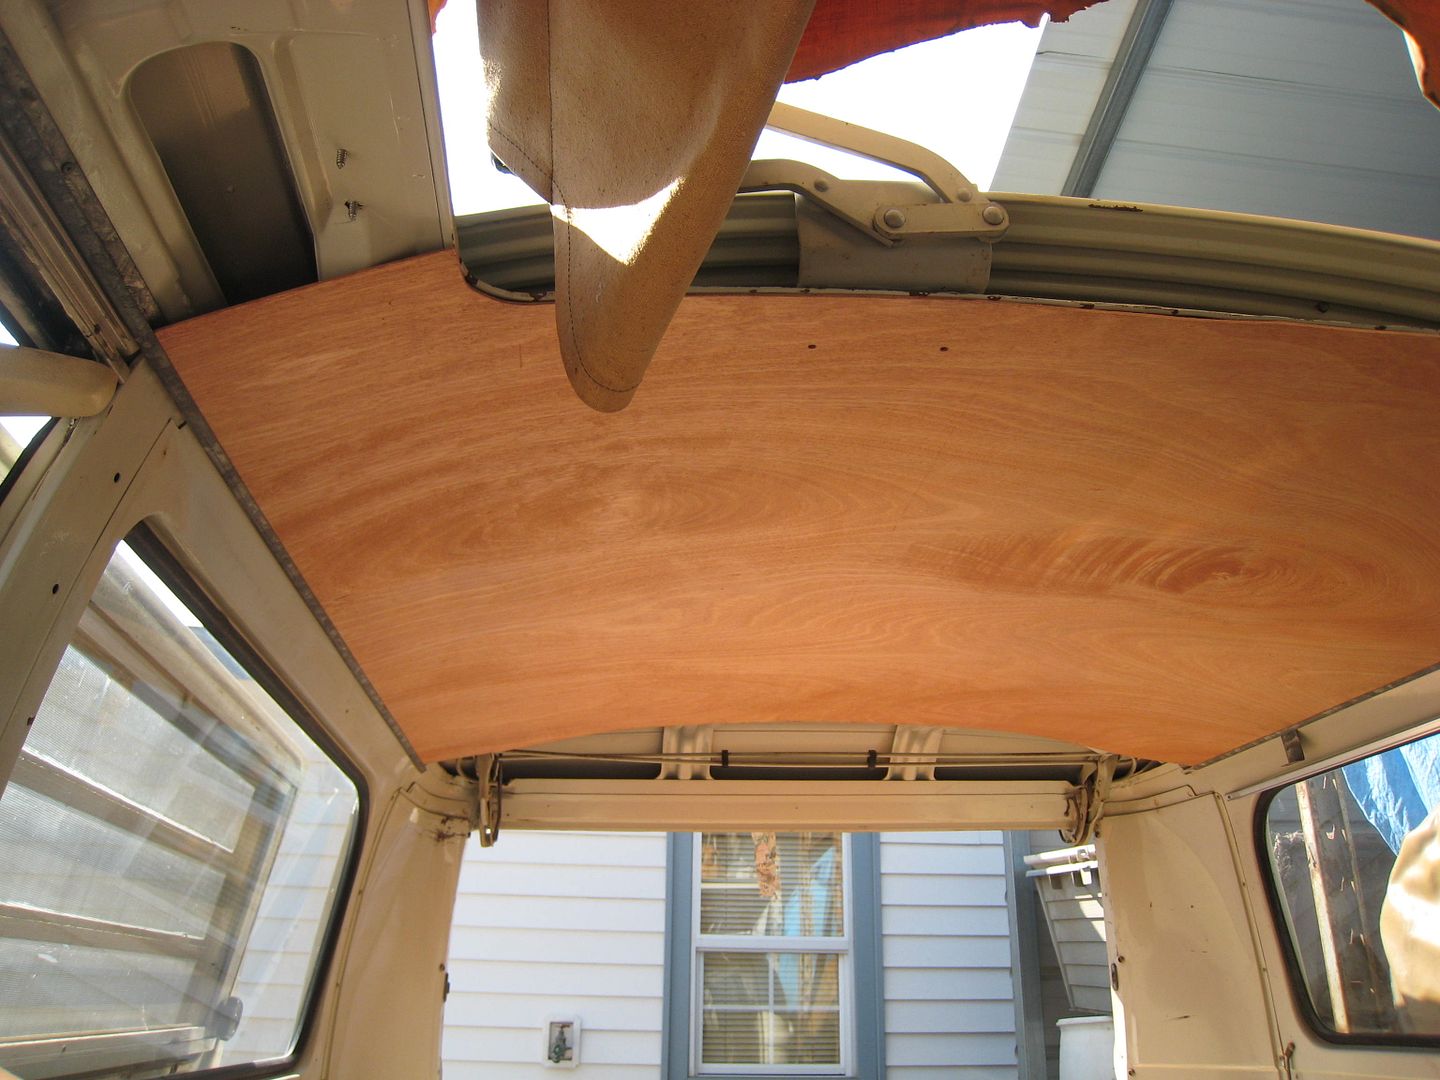
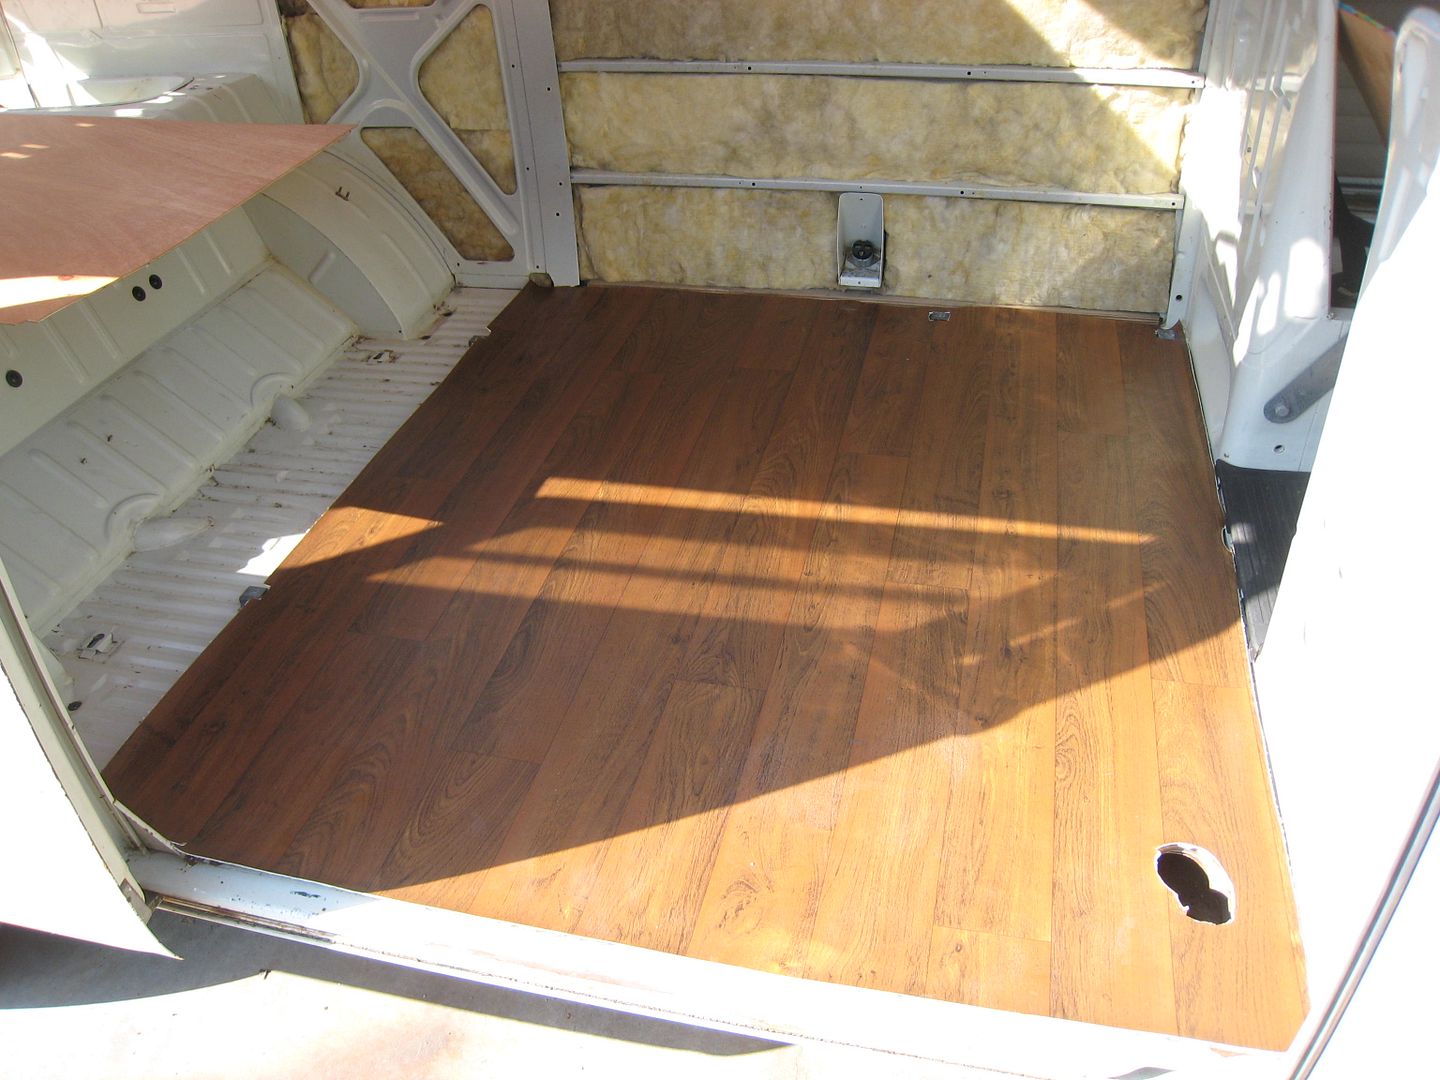
Well, today I had to make my decision. To put new lino in or leave the old and just have a bunch of little holes. I finally decided on new. Before that though we installed the roof panel. One thing I learned is, by cutting the pattern out like I did, the grain was going the opposite way that the board had to bend, to bend into place on the roof. We did manage to get it bent in to place, but it did break a bit. You can't see the break though. It is on the top. I lucked out. I did find out from a Samba member that it is possible to by 5x5 sheets of paneling. He gave me the name, baltic birch. I will have to look for some of that when I get ready to do the cab section of the bus. So yah, it will have two different types of wood, but oh well, we aren't going for a beauty contest!!
Once that was up, and the lino was down, it was time to start putting the furniture back in!!!

I had to do some repair on the overhead shelf so I have to put that in tomorrow after the glue dries over nite! Then I have to do some minor wood glueing on the sink and also do the plumbing on it. Then that can go back in.
Next big thing to do is pull the motor!!! I will hopefully be getting to that maybe next weekend!!
Once that was up, and the lino was down, it was time to start putting the furniture back in!!!
I had to do some repair on the overhead shelf so I have to put that in tomorrow after the glue dries over nite! Then I have to do some minor wood glueing on the sink and also do the plumbing on it. Then that can go back in.
Next big thing to do is pull the motor!!! I will hopefully be getting to that maybe next weekend!!
ib-bus
Well-known member
Wow! interior is looking great , keep the pictures coming.
justcruzin
Well-known member
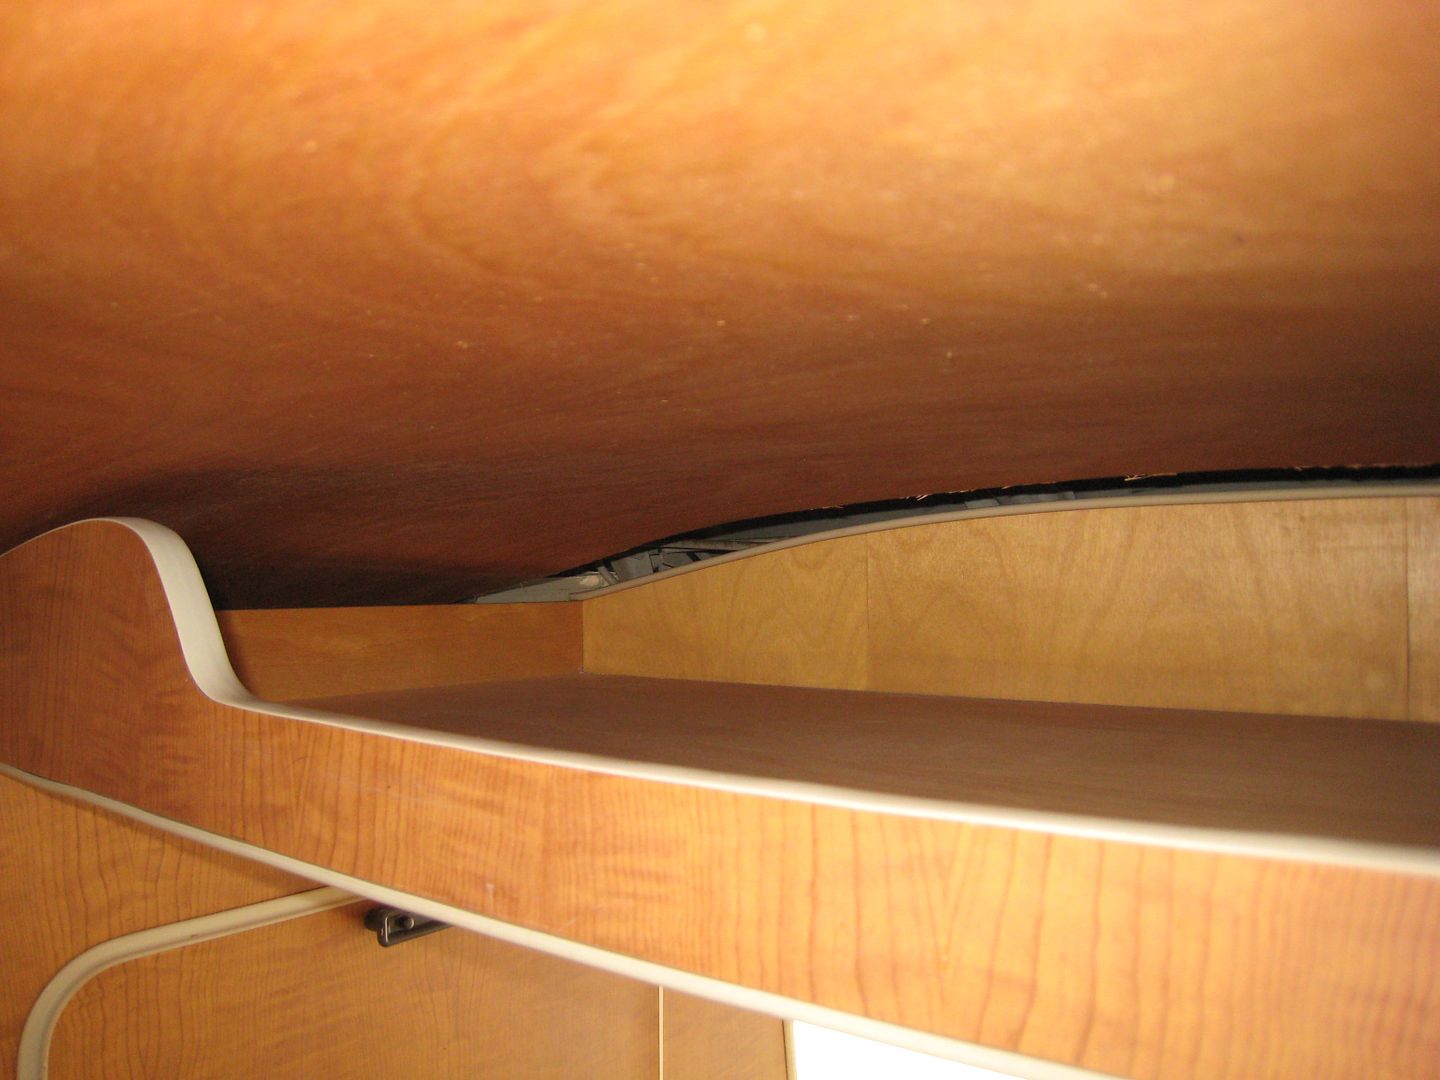
I put the shelf back in today and you can see a gap. Hubby wants to try something this weekend to add a piece in.
We also went to DMV today to put the bus in my name. I was hoping to do a Title Only for now, but because the PO junked it , I have to get a brake and light inspection and a vin verification. The verification is no big deal because we know cops that will come do it right at our house, but the brake and light is a different story. Yah, it's a bummer she junked it, but I really don't care about a salvage title. I know it cuts the value down, but I don't plan on selling, and even if I did, I would still probably come out ahead!
So now I am on it. I switched my attention from the insides to the motor. I am kind of proud of myself because I did it pretty much by myself. Hubby only had to come help get the starter/motor bolt out. I just couldn't get it to budge. When he was doing it, it slipped back and started to just spin, so he wanted me to climb underneath and hold it. I started under and he told me it was the one on top of the starter. I started back out! LOL Um, there are spiders up there!!!! NO WAY! I don't do spiders. LOL He managed to get it out with out me holding it. LOL
It had about 8 or so gallons of turpentine for gas in it. I learned an important lesson today. Always where rubber gloves when working with gas. I doesn't wash off and the smell of bad gas just lingers on your hands! Yuck. LOL
Heres a pic of the gap in the headliner.
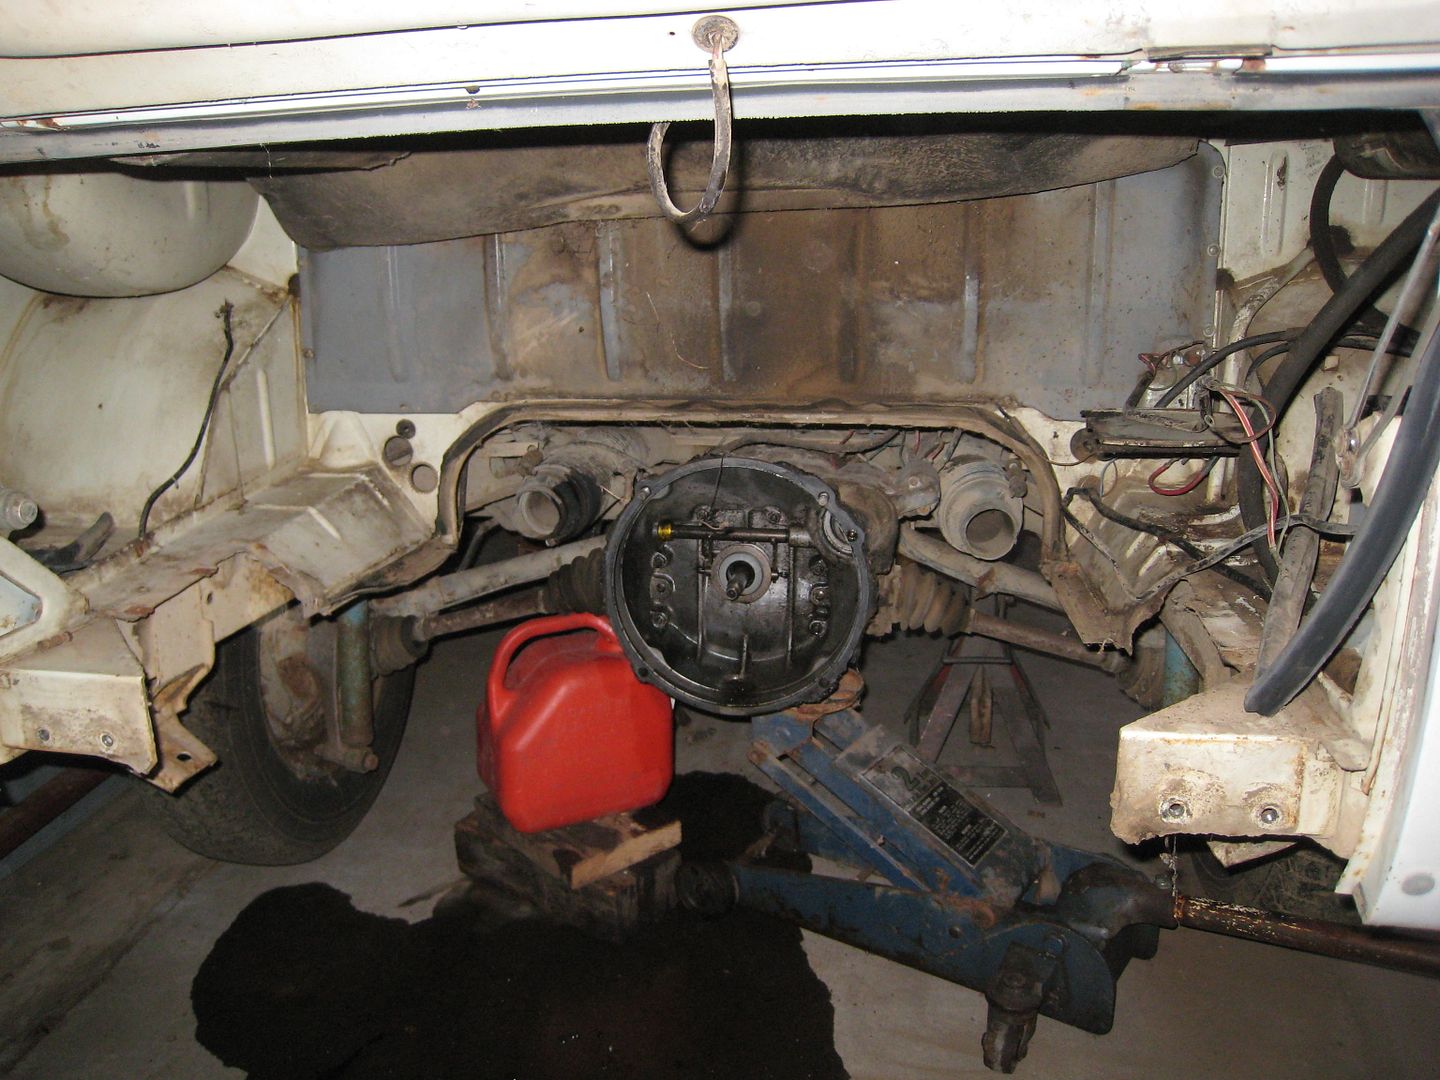
No motor!!! Oh, and the gas line was so bad that when I tried to crimp it with vise grips, it just crumbled. So I kind of made a mess! LOL
There were still more shells and rat droppings behind the shroud, but I couldn't see any inside of it! I will still pull it all apart and clean it.
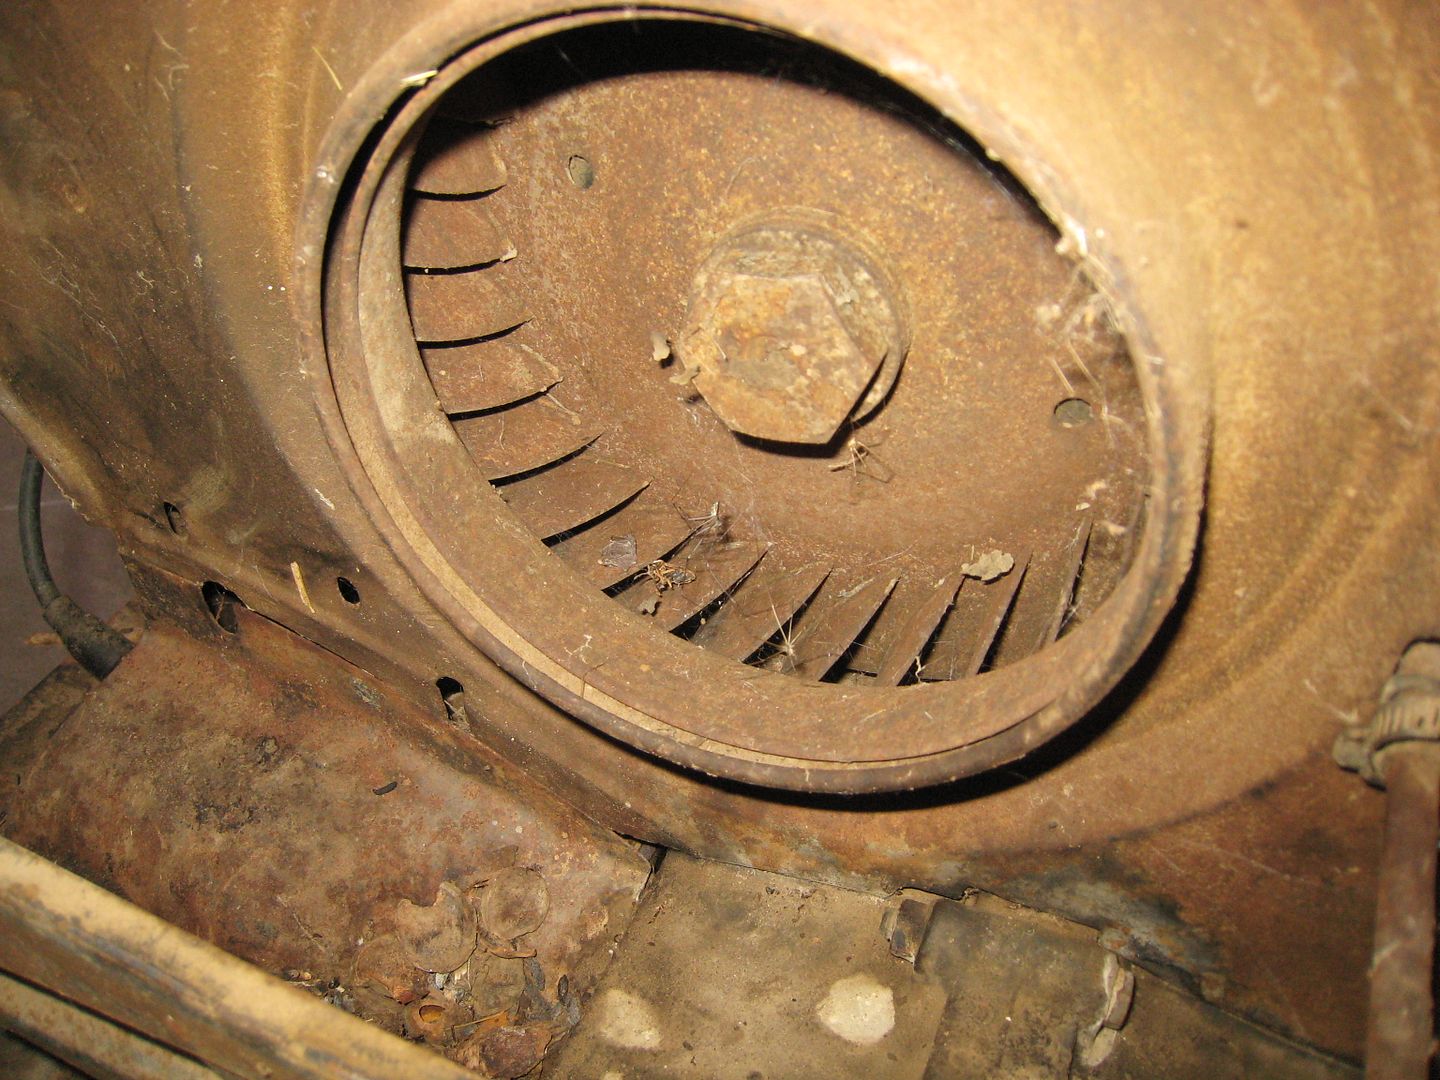
More shells.
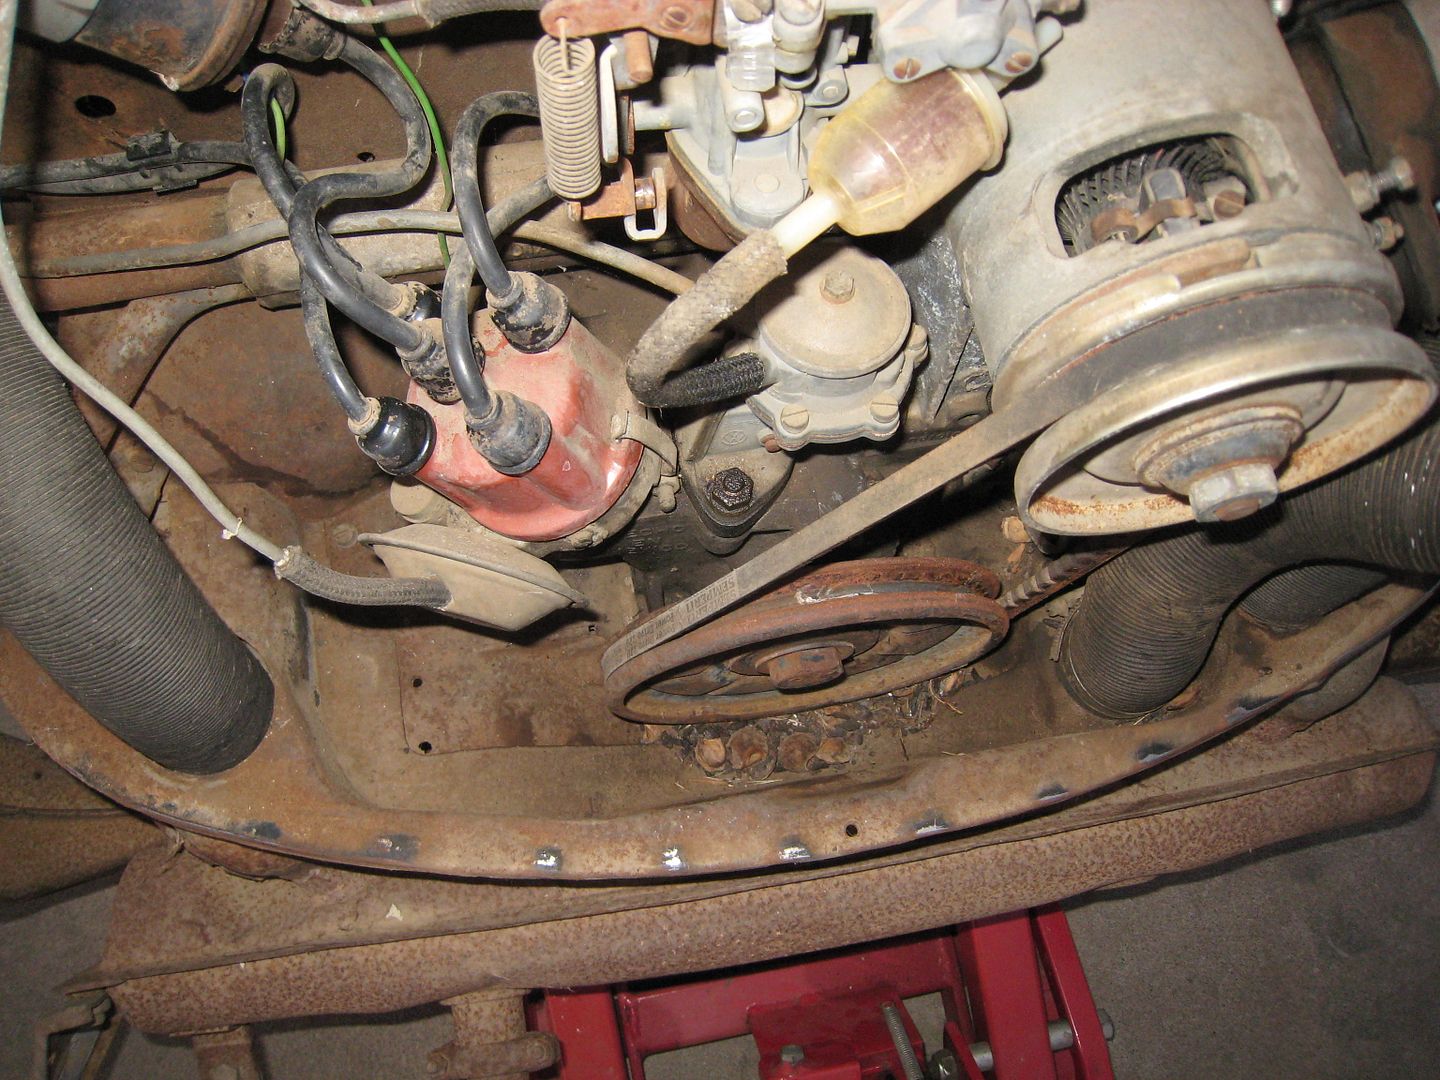
Tomorrow I plan on pressure washing the motor, then hopefully start tearing it down to clean it better.
We also went to DMV today to put the bus in my name. I was hoping to do a Title Only for now, but because the PO junked it
, I have to get a brake and light inspection and a vin verification. The verification is no big deal because we know cops that will come do it right at our house, but the brake and light is a different story. Yah, it's a bummer she junked it, but I really don't care about a salvage title. I know it cuts the value down, but I don't plan on selling, and even if I did, I would still probably come out ahead! So now I am on it. I switched my attention from the insides to the motor. I am kind of proud of myself because I did it pretty much by myself. Hubby only had to come help get the starter/motor bolt out. I just couldn't get it to budge. When he was doing it, it slipped back and started to just spin, so he wanted me to climb underneath and hold it. I started under and he told me it was the one on top of the starter. I started back out! LOL Um, there are spiders up there!!!! NO WAY! I don't do spiders. LOL He managed to get it out with out me holding it. LOL
It had about 8 or so gallons of turpentine for gas in it. I learned an important lesson today. Always where rubber gloves when working with gas. I doesn't wash off and the smell of bad gas just lingers on your hands! Yuck. LOL
Heres a pic of the gap in the headliner.
No motor!!! Oh, and the gas line was so bad that when I tried to crimp it with vise grips, it just crumbled. So I kind of made a mess! LOL
There were still more shells and rat droppings behind the shroud, but I couldn't see any inside of it! I will still pull it all apart and clean it.
More shells.
Tomorrow I plan on pressure washing the motor, then hopefully start tearing it down to clean it better.
Wes looks awesome, Kim, nice find!
You're making incredible progress in a short amount of time, I'm very impressed.
Not to set goals for you or anything like that, but the Wolfsburg's Wickedest show is here in Modesto on the 25th. Think you can get this bad boy rolling in time for that? You have two weeks left! Keep at it!
You're making incredible progress in a short amount of time, I'm very impressed.
Not to set goals for you or anything like that, but the Wolfsburg's Wickedest show is here in Modesto on the 25th. Think you can get this bad boy rolling in time for that? You have two weeks left! Keep at it!
Hi the old bus is so solid i could weep looking at your pics.I've had to repair so much on mine.All that untouched original metal work looks great and i like the way the interia is coming along to.Keep it up.
justcruzin
Well-known member
LEEP said:Wes looks awesome, Kim, nice find!
You're making incredible progress in a short amount of time, I'm very impressed.
Not to set goals for you or anything like that, but the Wolfsburg's Wickedest show is here in Modesto on the 25th. Think you can get this bad boy rolling in time for that? You have two weeks left! Keep at it!
Wow, can you give me details or a link. Guess I can do a google search! LOL
I'm not sure if it would be ready by then, but I will try.
Thanks for all the great comments!!
justcruzin said:LEEP said:Wes looks awesome, Kim, nice find!
You're making incredible progress in a short amount of time, I'm very impressed.
Not to set goals for you or anything like that, but the Wolfsburg's Wickedest show is here in Modesto on the 25th. Think you can get this bad boy rolling in time for that? You have two weeks left! Keep at it!
Wow, can you give me details or a link. Guess I can do a google search! LOL
I'm not sure if it would be ready by then, but I will try.
Thanks for all the great comments!!

justcruzin
Well-known member
Thanks for the info on the show!
Magiceddie88
Well-known member
Wow! Wes is one lucky bay to have found you! Here's to many miles on the odometer in due time!
Wes is one lucky bay to have found you! Here's to many miles on the odometer in due time! justcruzin
Well-known member
Sad to say, I don't think Wes is going to be ready for the show in Modesto on the 25th. That and I don't think hubby can take the time off.
This is not much of an update, but figured I would throw one in here! LOL Only thing I have gotten done lately is got the motor almost back together, although I have to pull the carb to give it a good cleaning and rebuild. Once that is done I should be able to try to start it.
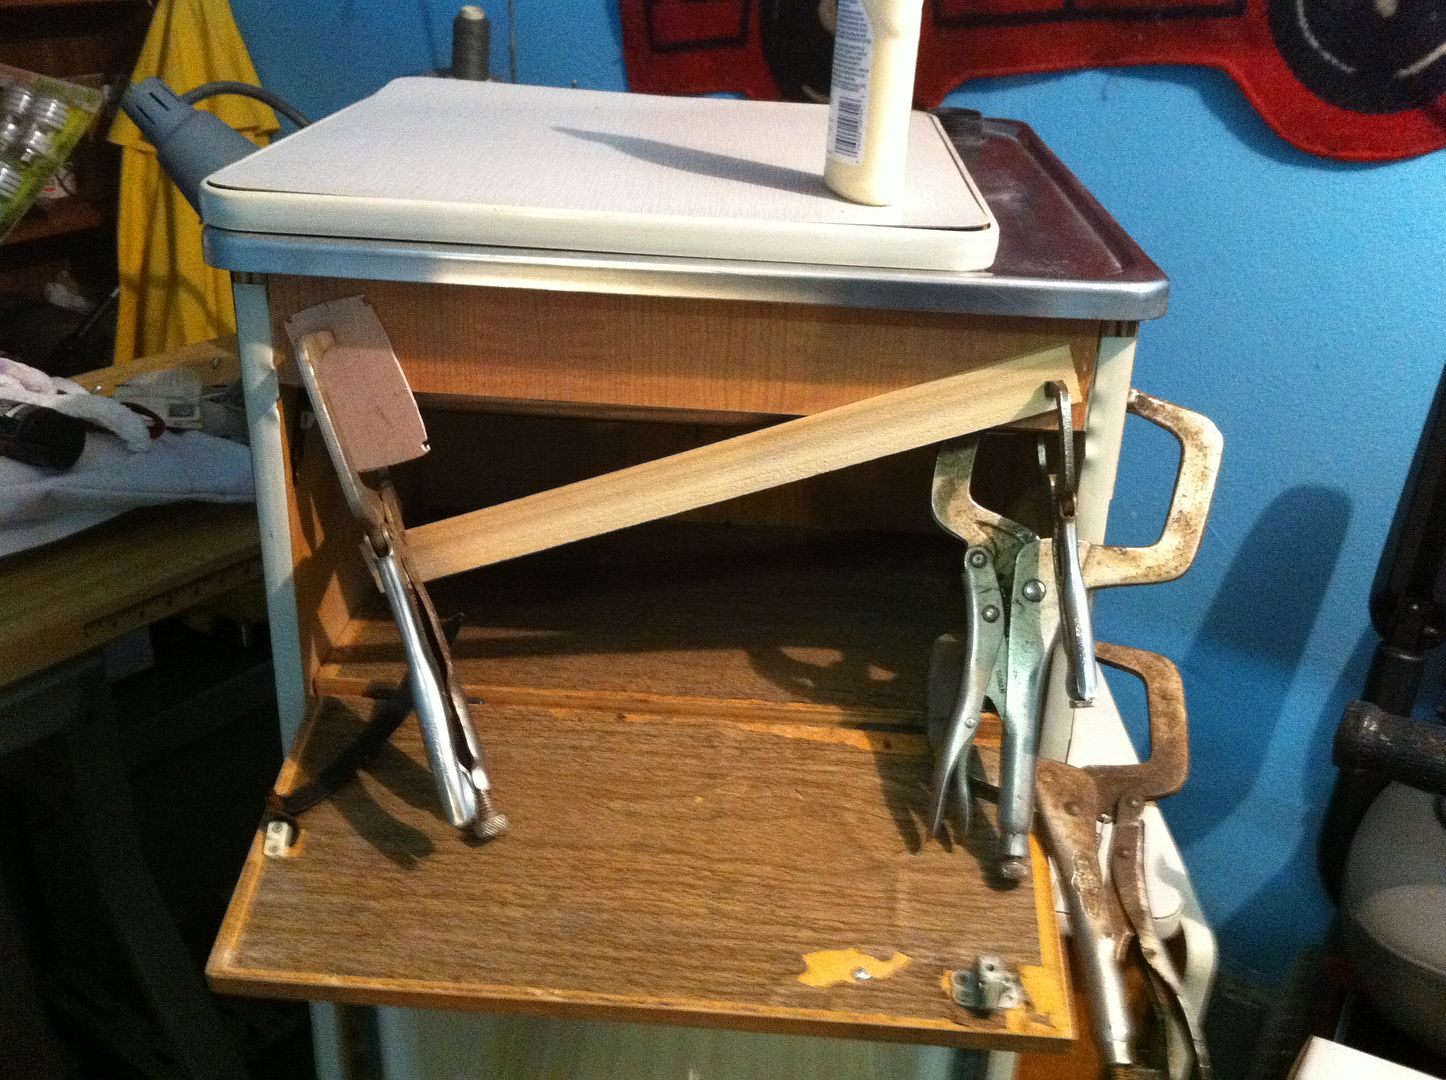
I am also working on my sink cabinet! Did a little wood glueing! I will glue the table next!
Luckily I got out of a midnite work shift tonight, so I will be albe to pull the carb and get it cleaned or at least soaking! I'm trying to talk Bob into taking his project truck off the other lift so I can put my bus on it. He isn't working on it right now anyway! LOL If I get him talked into it, I will be able to start on doing brakes and brake lines and all!!
This is not much of an update, but figured I would throw one in here! LOL Only thing I have gotten done lately is got the motor almost back together, although I have to pull the carb to give it a good cleaning and rebuild. Once that is done I should be able to try to start it.
I am also working on my sink cabinet! Did a little wood glueing!
I will glue the table next!
Luckily I got out of a midnite work shift tonight, so I will be albe to pull the carb and get it cleaned or at least soaking!
I'm trying to talk Bob into taking his project truck off the other lift so I can put my bus on it. He isn't working on it right now anyway! LOL If I get him talked into it, I will be able to start on doing brakes and brake lines and all!!justcruzin
Well-known member
I got the carb off and pulled the top portion off. I was really surprised in what I found! I don't know how long this bus had been sitting, but according to the rat poo and nuts, it appeared to be sitting for a long time. This is what the inside of the carb looked like!!
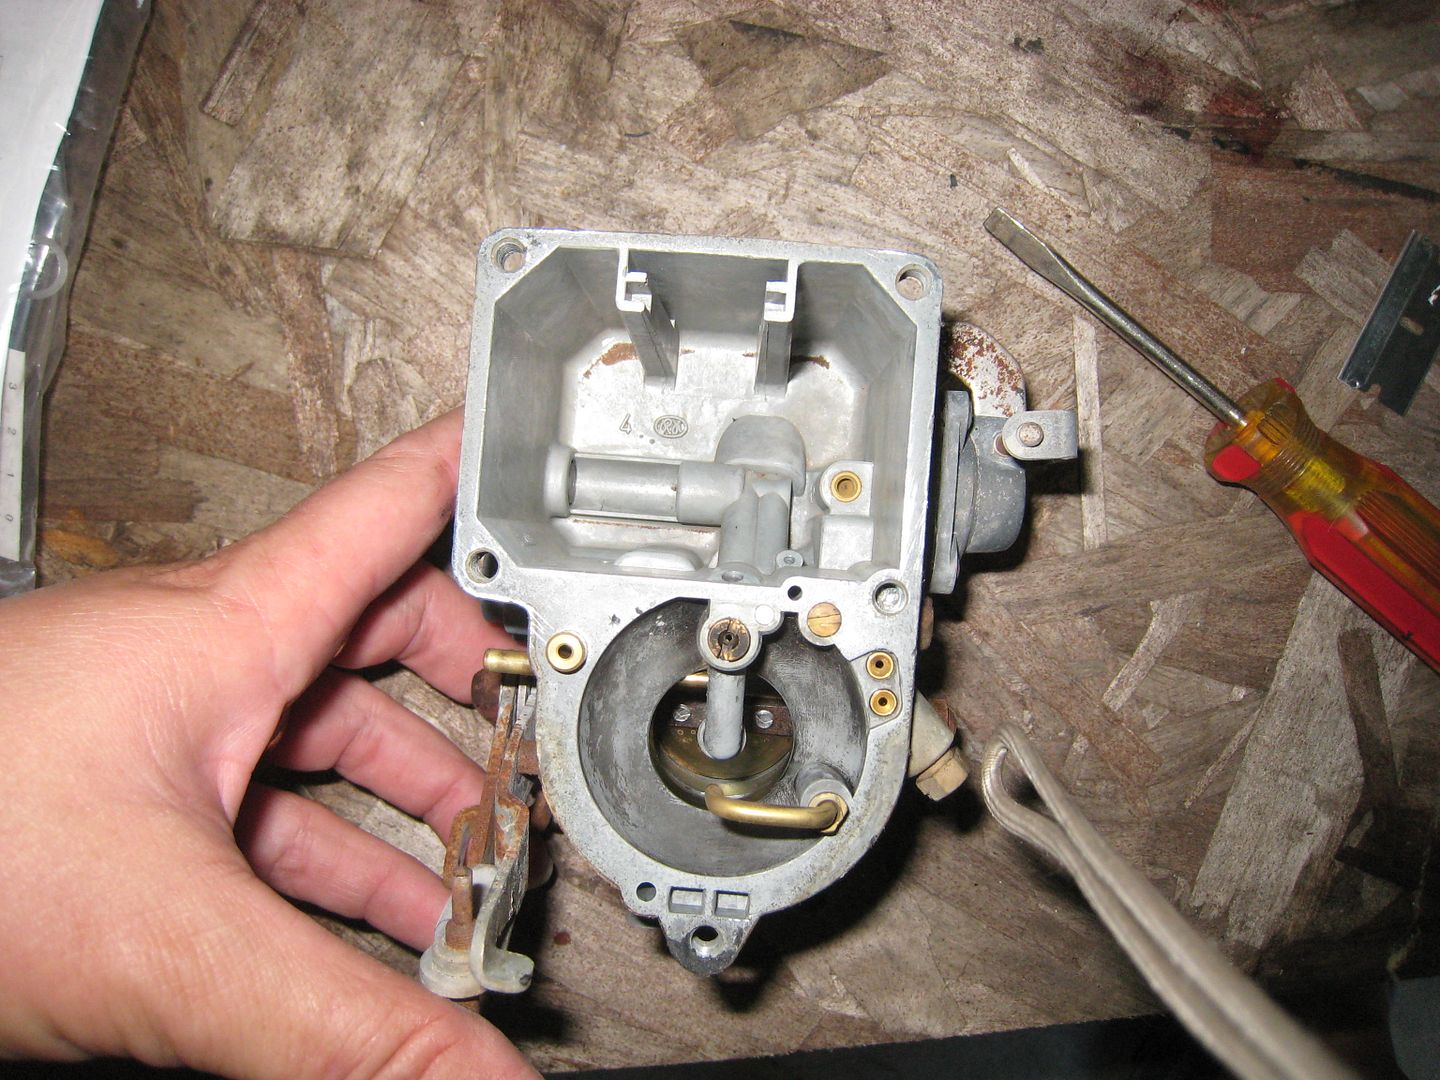
I pulled that screw/jet thingy out of the center and could see threw it in all directions. Clean as a whistle!!! So needless to say, I put it back together with out cleaning it.
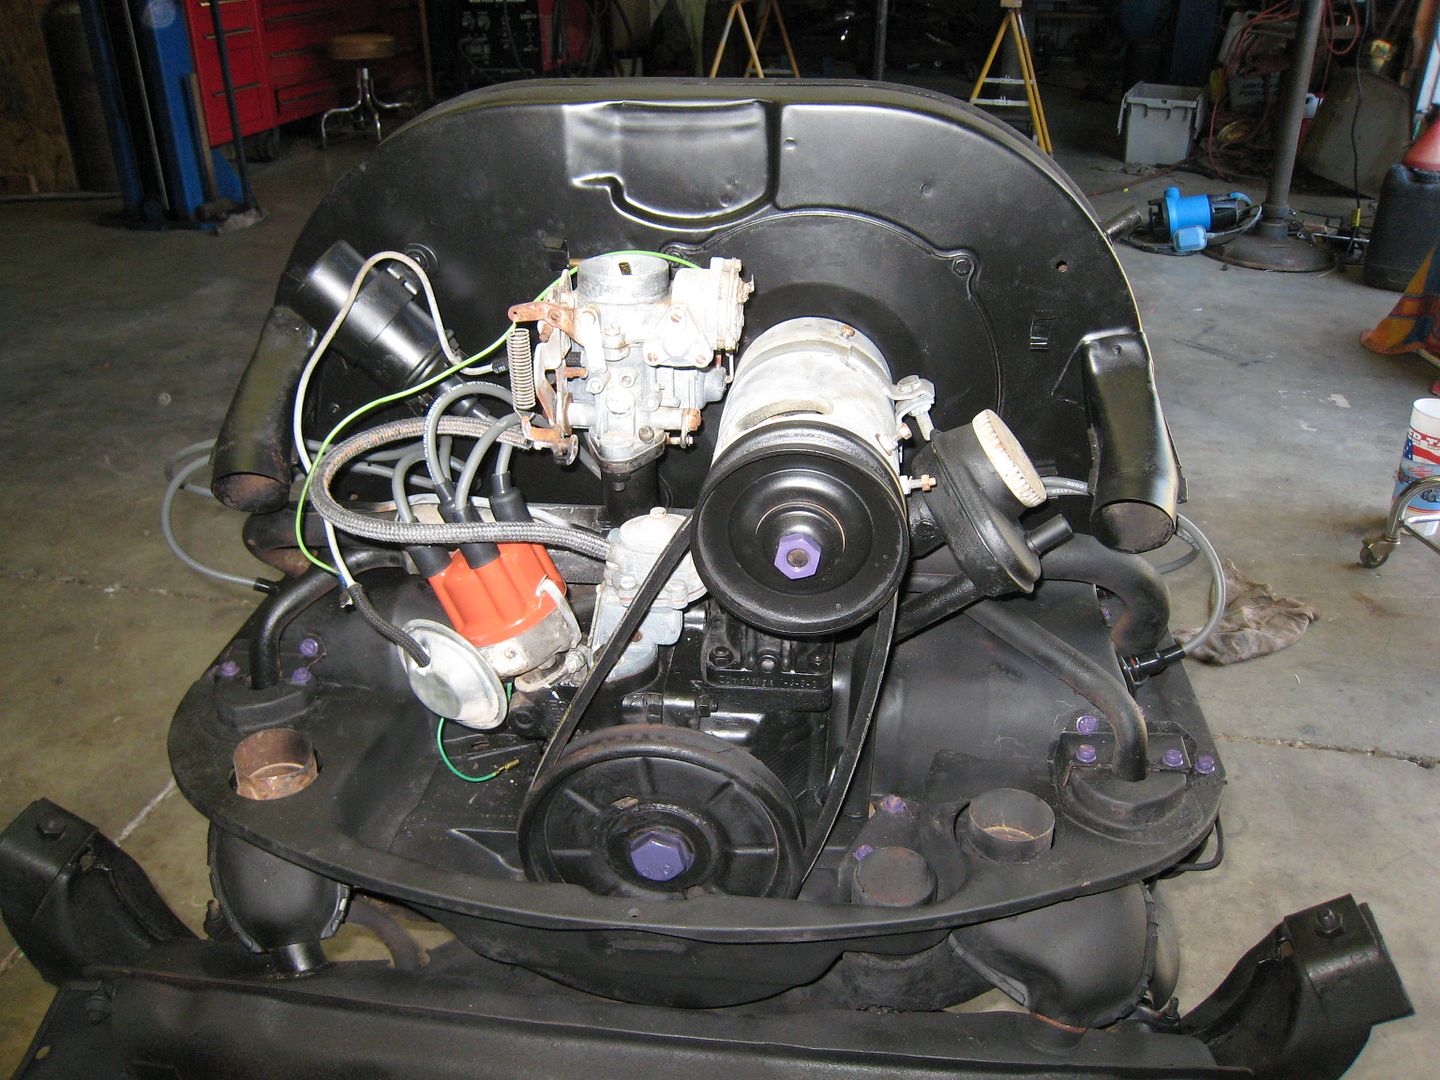
Now it was time to test the motor. Found the starter jig and got everything hooked up. Turned it over and it didn't try to start or put or anything. Then I realized that when I put in the points, I didn't adjust them. LOL Once that was done, the motor that had been sitting for who knows how long started right up and purred like a kitten!!!! I was shocked!! It sounds so good. Well, except for a small exhaust leak. My next project is to tear the front tin back off and check the bolts on the exhaust parts. Didn't think to do that before I put it all back together.
Remember, it looked like this.

Here is the motor without the air ducts and all, but it is basically the finished product!
I guess we will be reinstalling the motor right where the bus sits. Meaning it won't go on the lift. At least once it is in I can start working on the wiring. Need to make sure the lights and all work for the brake and light inspection. Then I will have to wait for the lift so I can start on brakes.
I pulled that screw/jet thingy out of the center and could see threw it in all directions. Clean as a whistle!!! So needless to say, I put it back together with out cleaning it.
Now it was time to test the motor. Found the starter jig and got everything hooked up. Turned it over and it didn't try to start or put or anything. Then I realized that when I put in the points, I didn't adjust them. LOL Once that was done, the motor that had been sitting for who knows how long started right up and purred like a kitten!!!! I was shocked!! It sounds so good. Well, except for a small exhaust leak. My next project is to tear the front tin back off and check the bolts on the exhaust parts. Didn't think to do that before I put it all back together.
Remember, it looked like this.
Here is the motor without the air ducts and all, but it is basically the finished product!
I guess we will be reinstalling the motor right where the bus sits. Meaning it won't go on the lift. At least once it is in I can start working on the wiring. Need to make sure the lights and all work for the brake and light inspection. Then I will have to wait for the lift so I can start on brakes.
snow_pikey
Well-known member
Speedy Worker!!
Engine looks great.
Engine looks great.
Charlie Bubbles
Well-known member
- Joined
- Aug 9, 2011
- Messages
- 157
- Reaction score
- 0
That is not a nice bus. It is an exceptionaly nice bus. Great find and resurrection. I am not sure if you are aware so... The original paint is excellent. I sure hope that you don`t want to re paint Wes.He looks great and it is more valueble as original paint. As for the forklift. :x There are just too many ******s picking up good busses with forklifts. It is not a good thing. My new single cab came from a Las Vegas repair shop/ yard and the guy that runs that place picked this bus up too many times and it is hammered underneath. When I was there I saw him pick up a customers bus with that same forklift. I think maybe he just had it in for Bay Busses. Sorry I didn`t mean to hi Jack. It is a beauty.
Sorry I didn`t mean to hi Jack. It is a beauty.