justcruzin
Well-known member
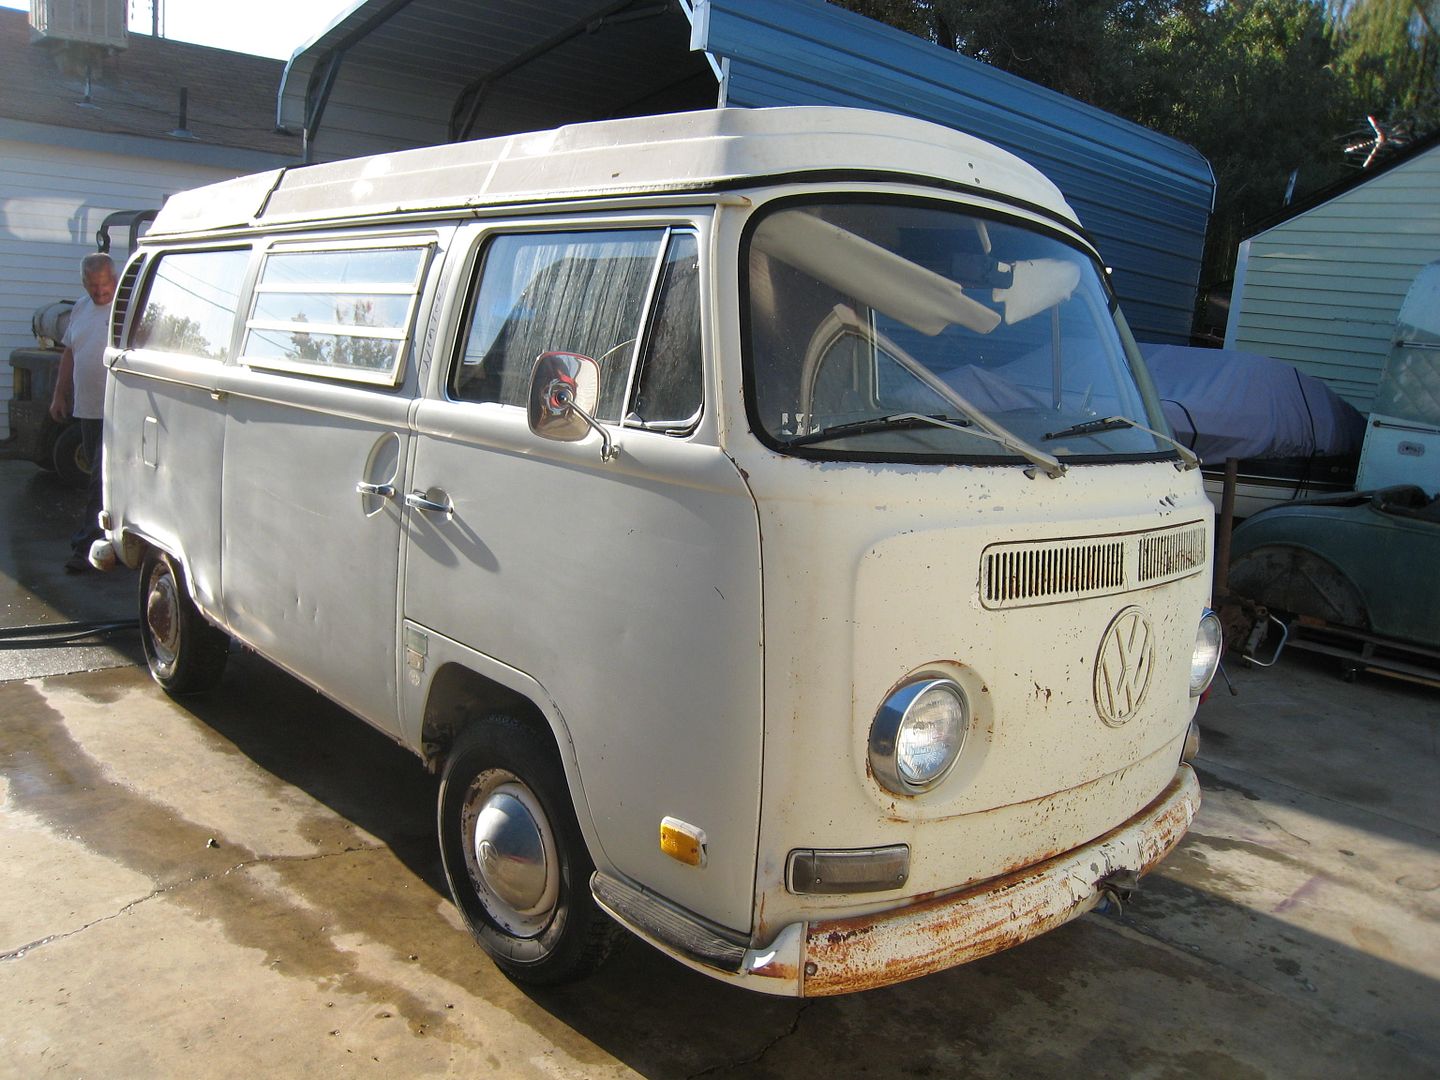
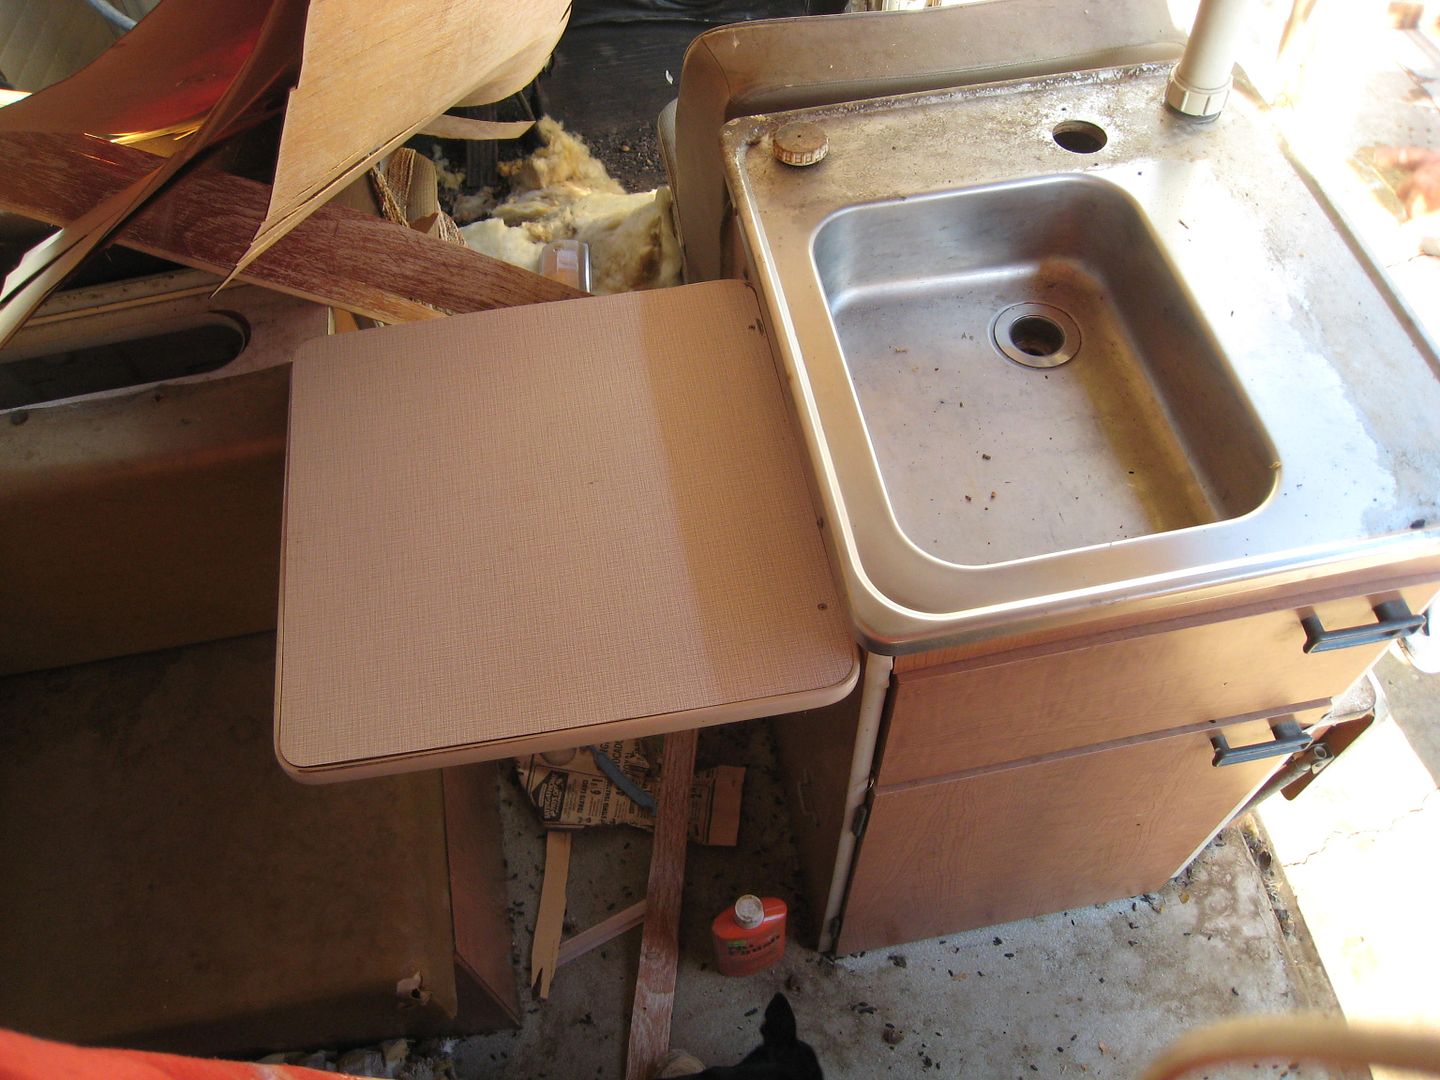
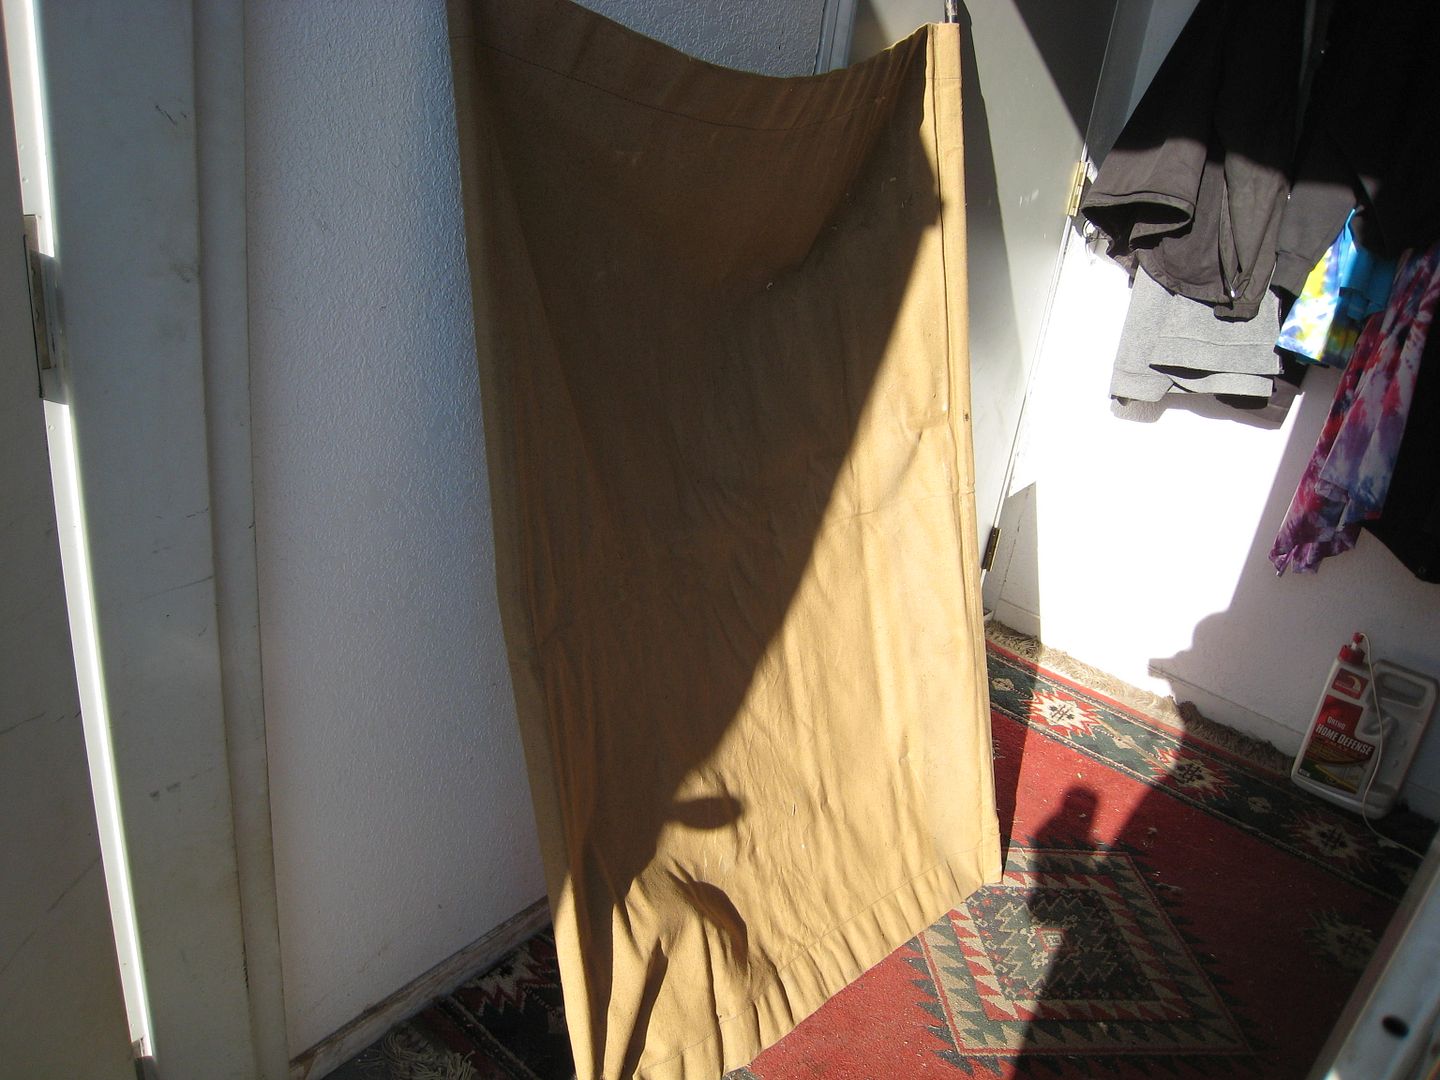
I got my first BayWindow Bus yesterday! (9-3-11) My hubby (Bob) is friends with the guy that runs a wrecking yard, and he had told Bob about a Bus they had there. So Saturday we went to check it out. I wasn't excited at first because they guy was calling it a van. I figured it was a Vanagon. I figured wrong! LOL It's a 1970 Westy. They had just got it on the 30th of Aug. and we got it before anyone pulled parts off of it. It needs a lot of tlc, but I am willing to give it that. I already got it cleaned up on the outside, and am in the process of getting all the rat turds out of the inside. It will be my winter project to pull all the camping stuff out and clean everything really good and put it back in!!
Here are some pics.!!
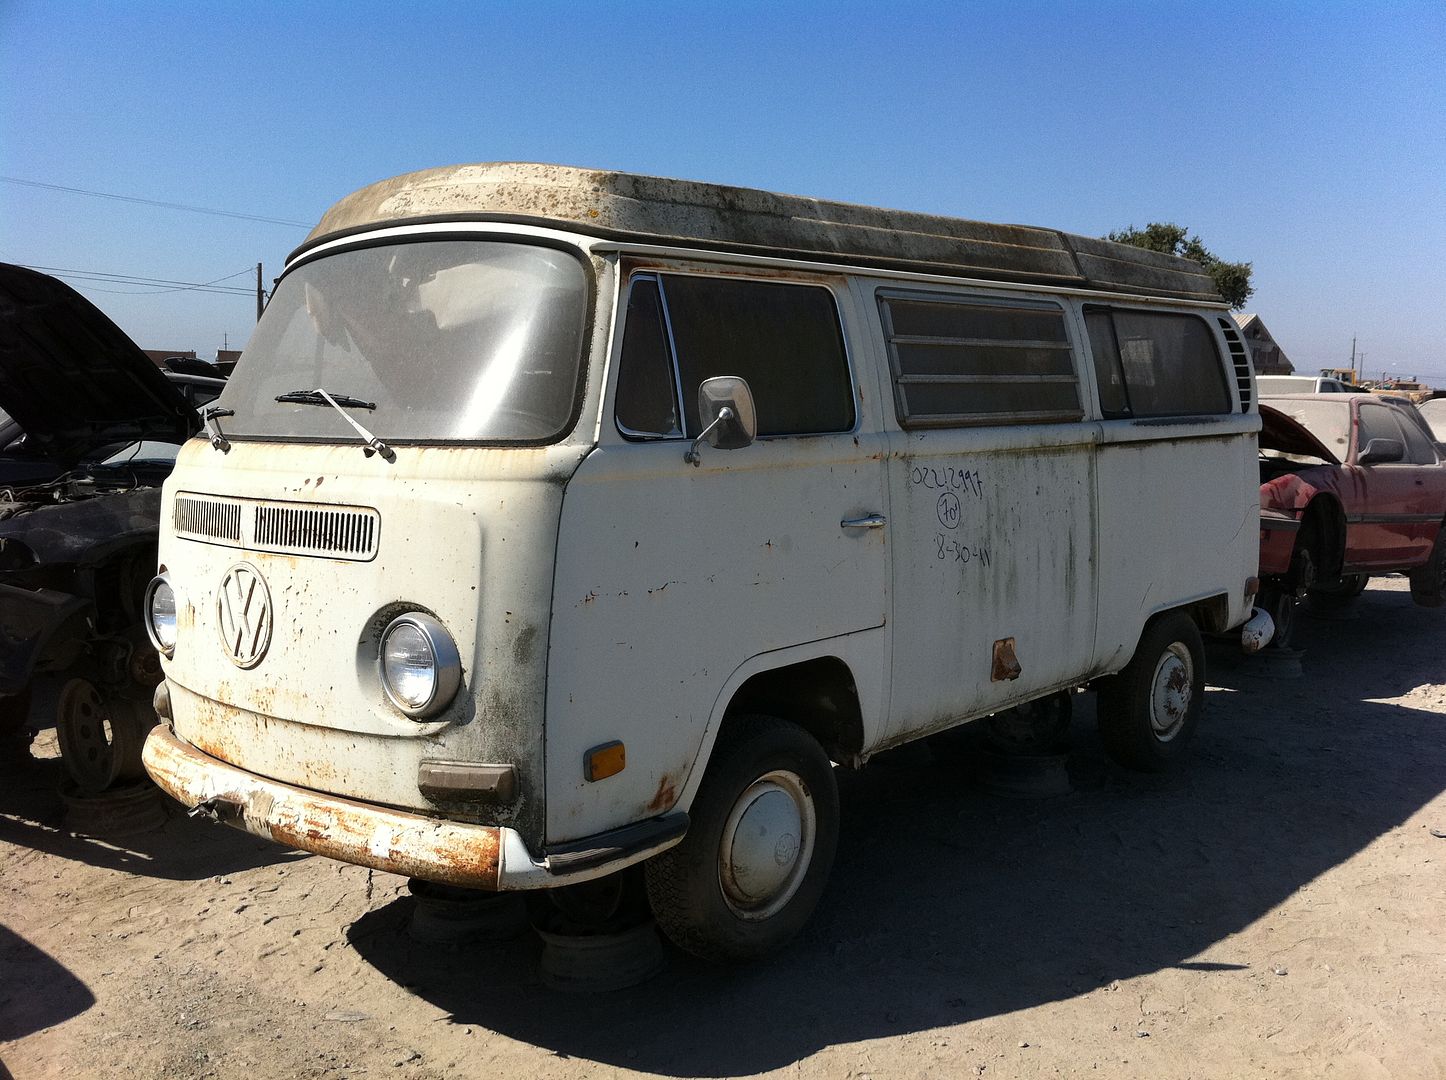
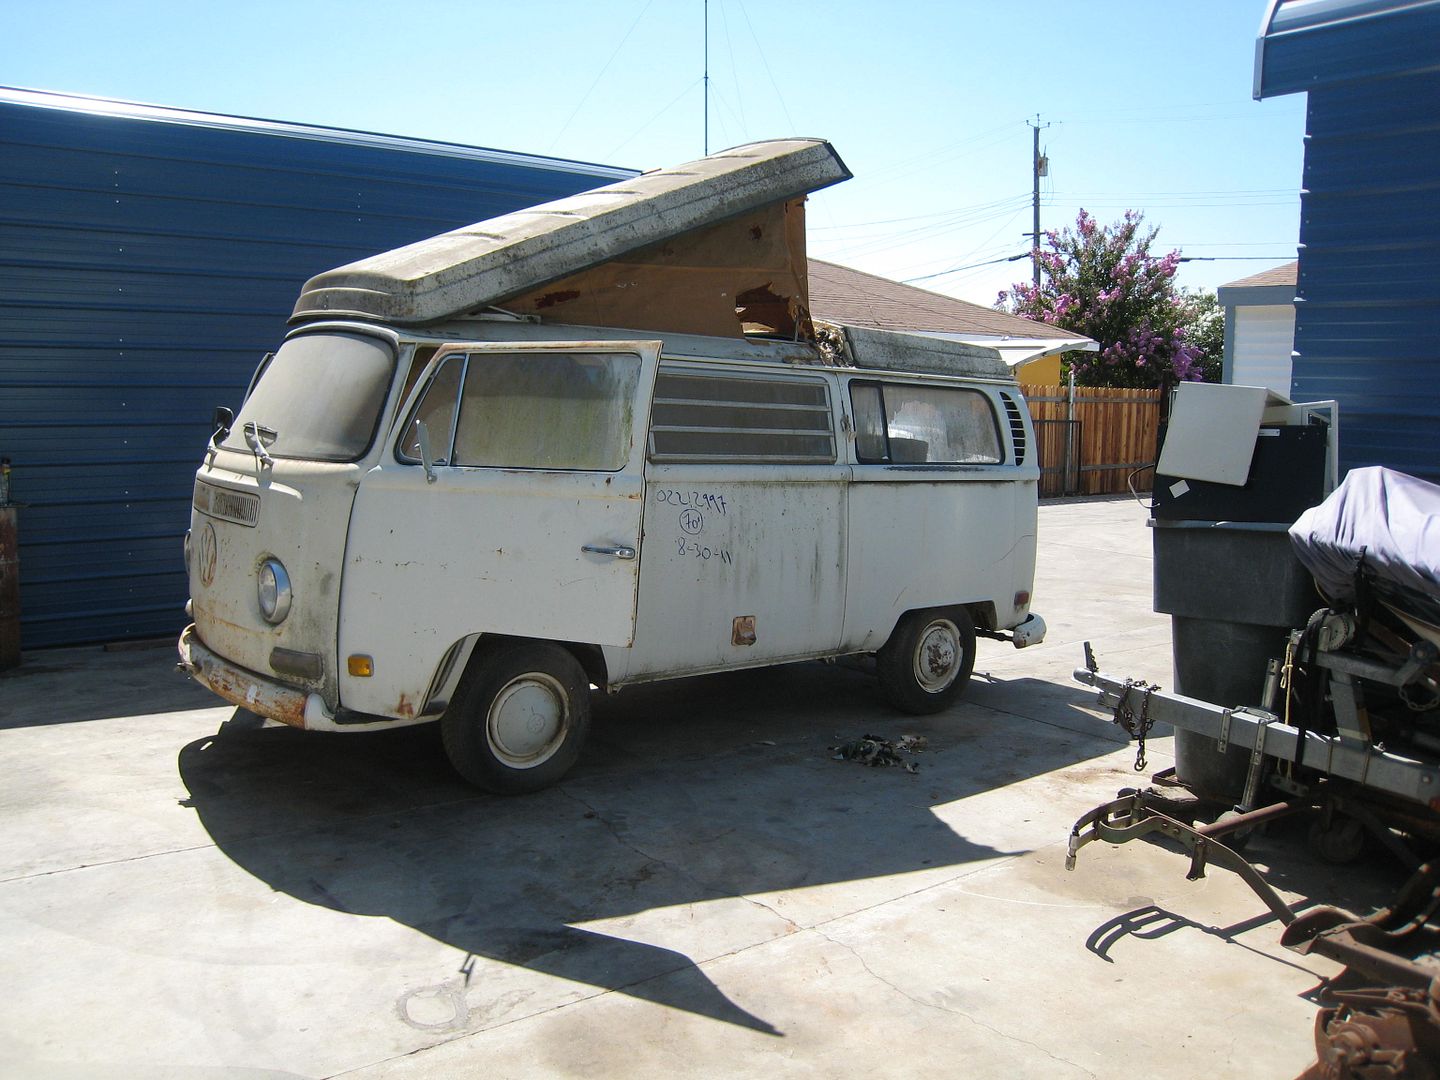
How we found it, up on blocks ready to be picked apart.
Getting off the blocks.
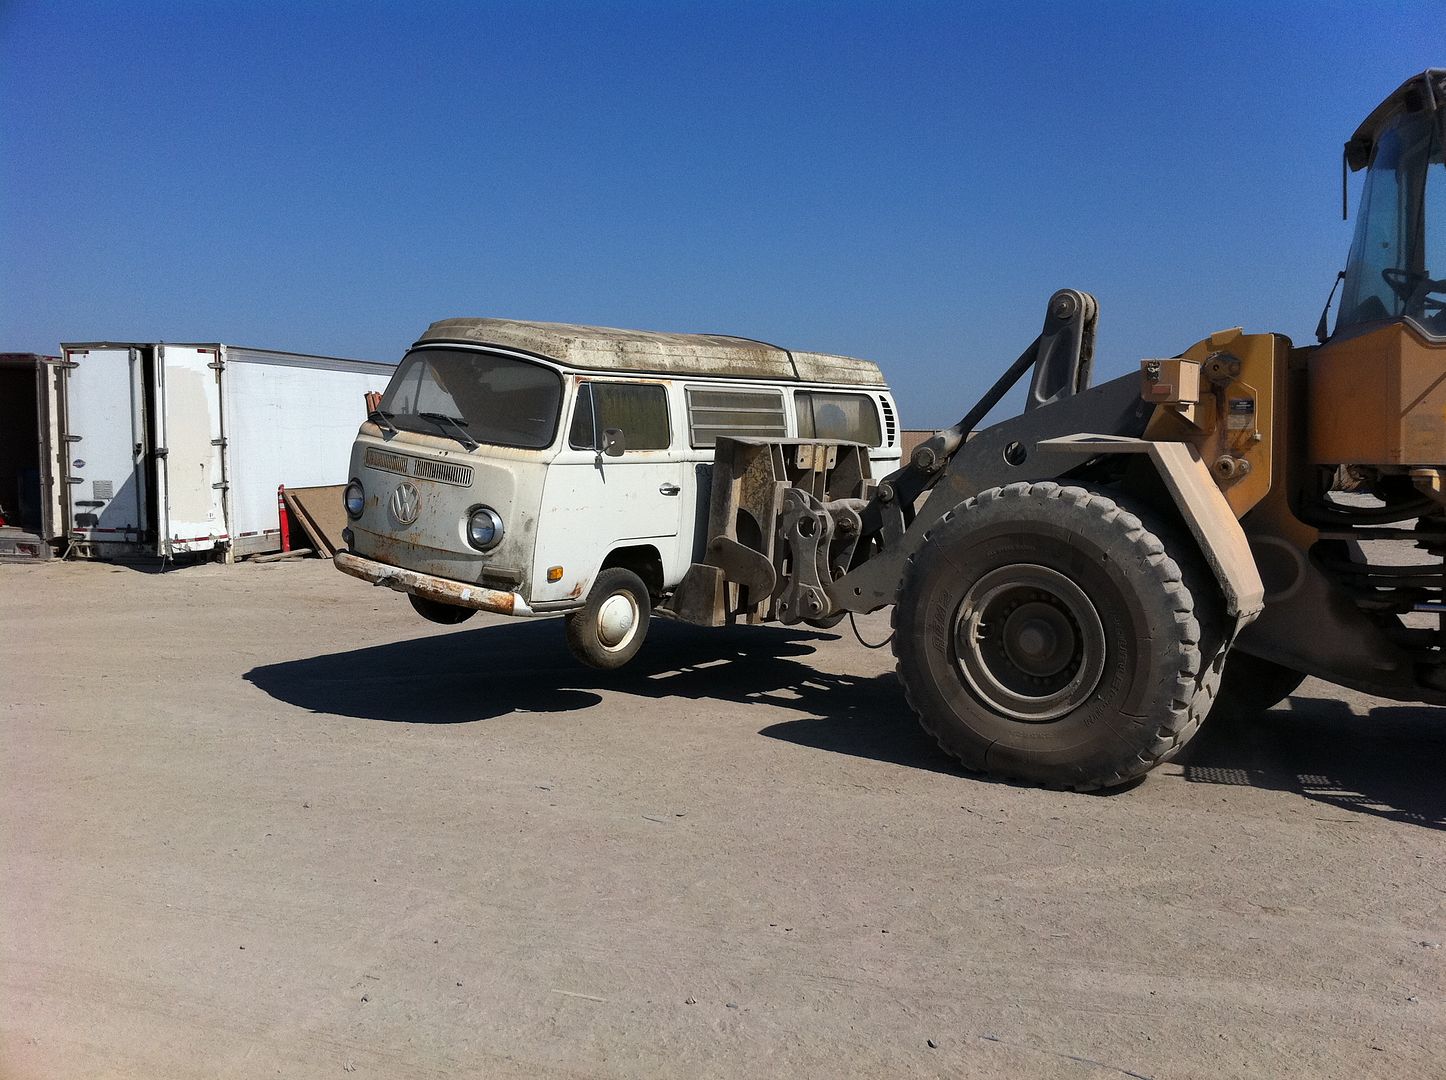
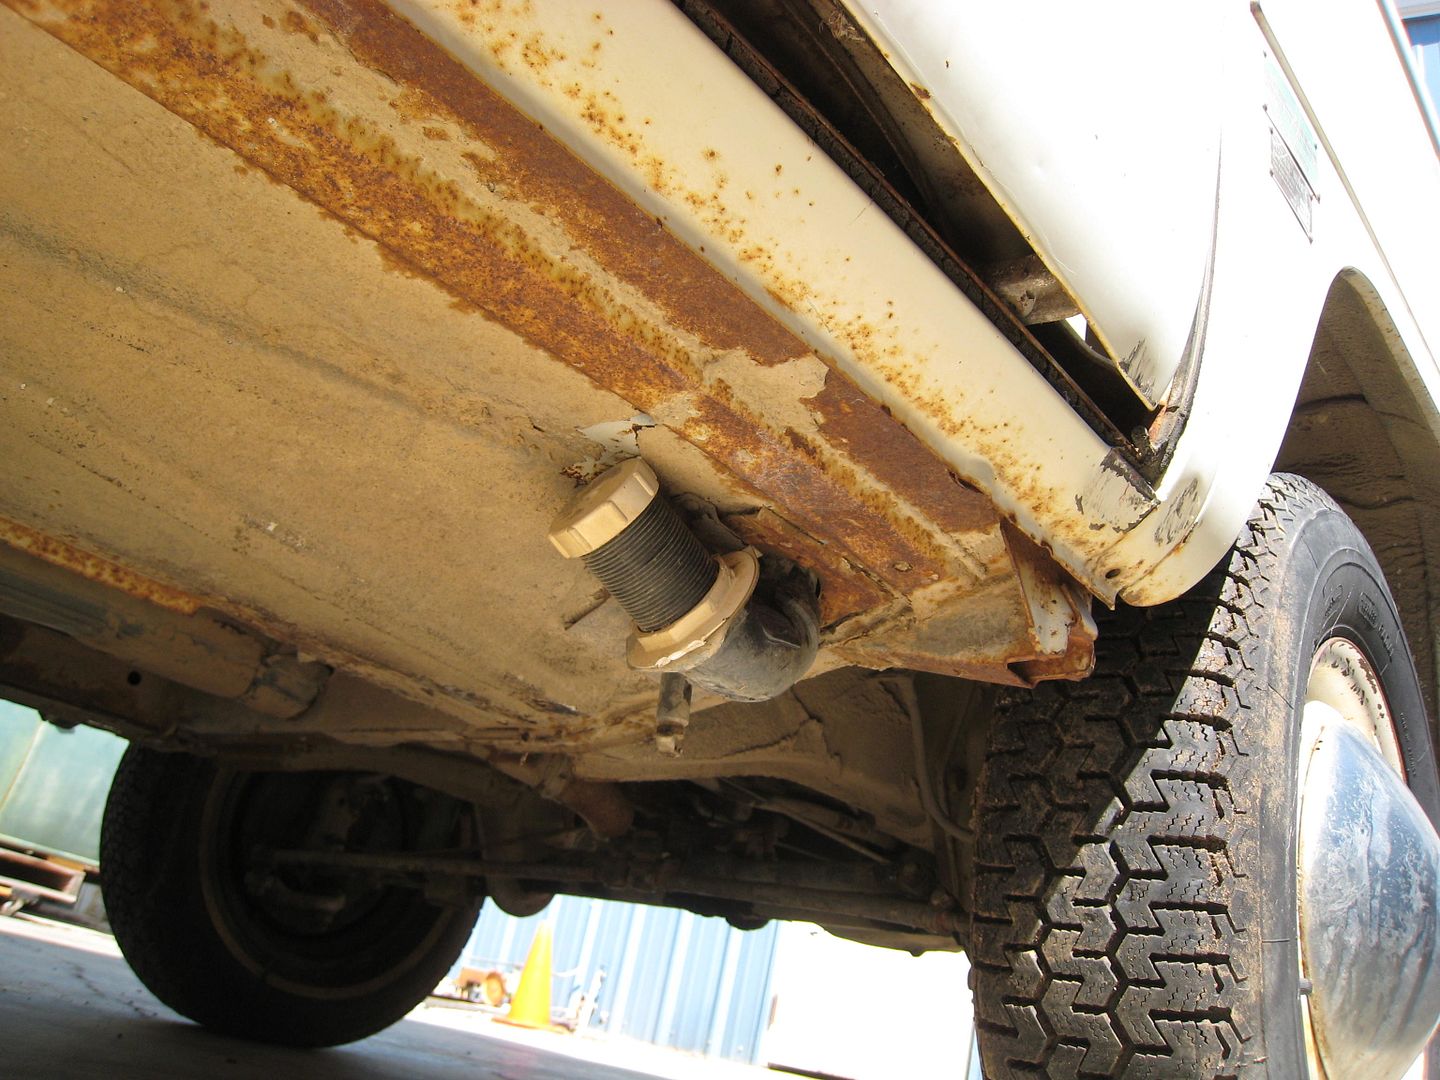
It suffered minimal damage by that fork lift. I lucked out!!
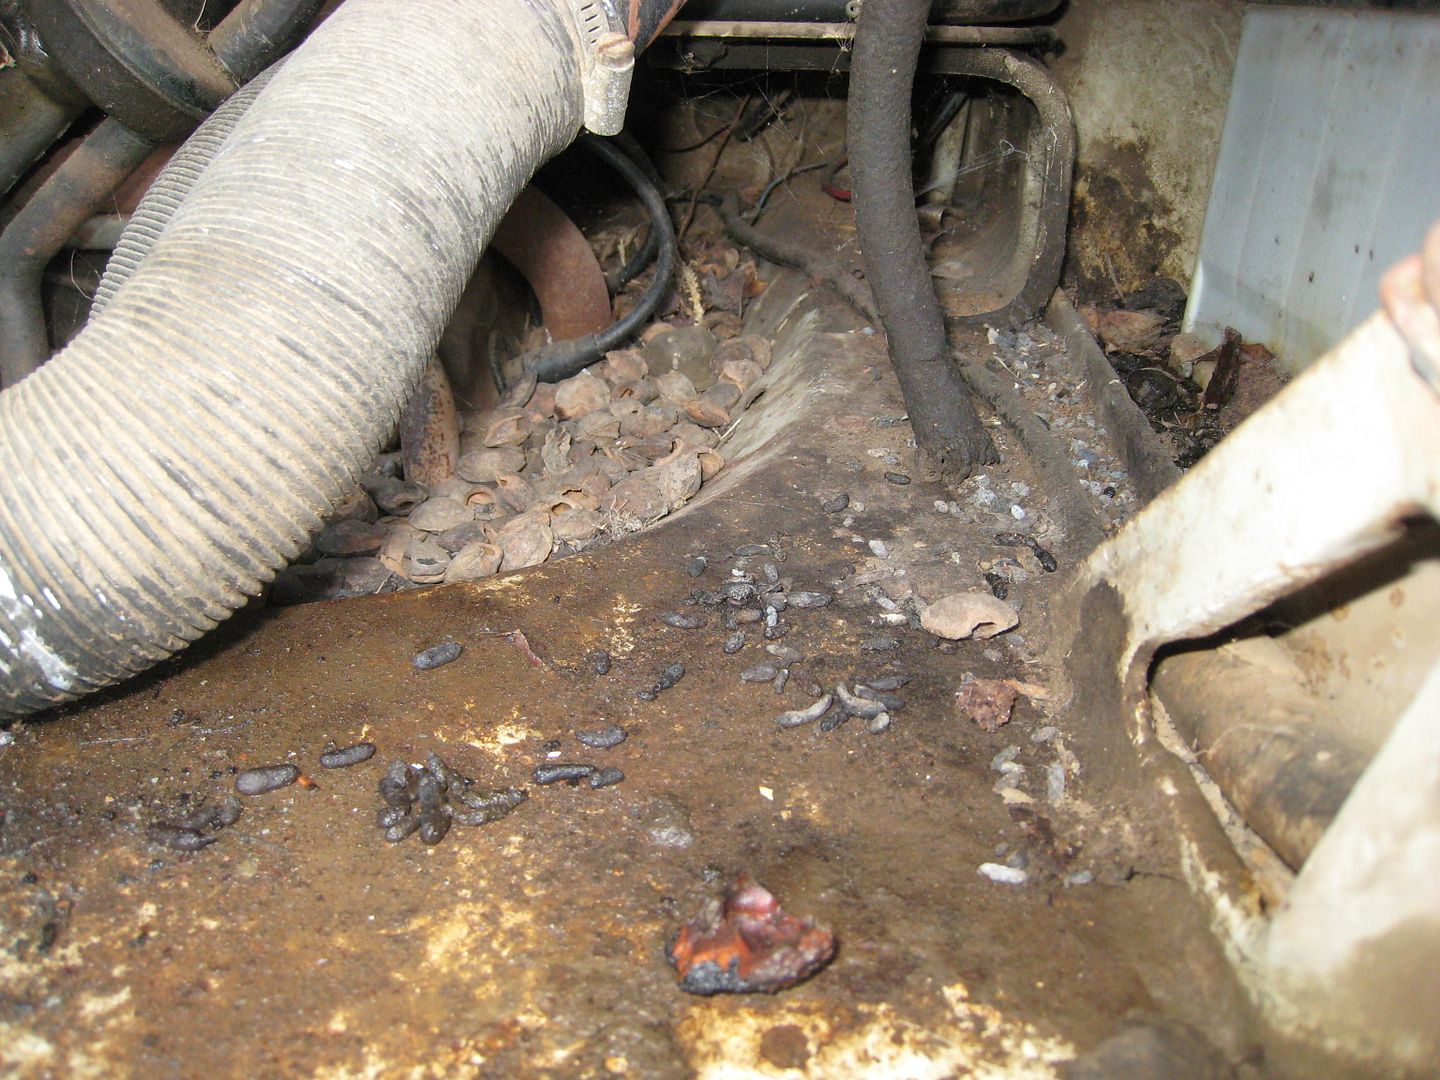
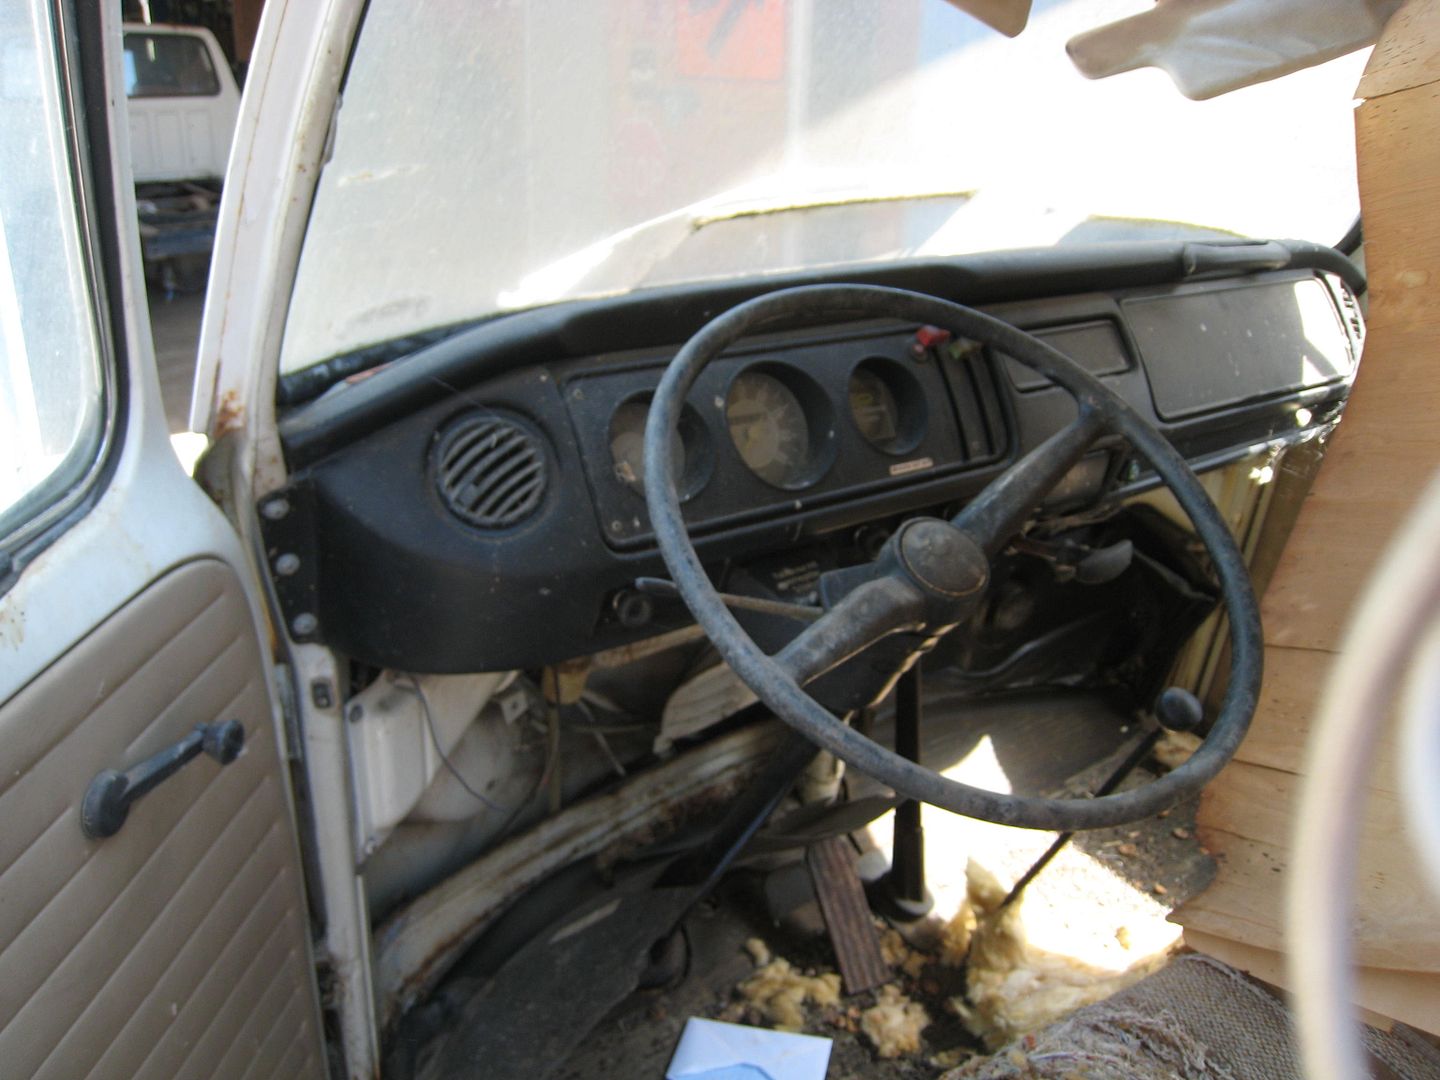
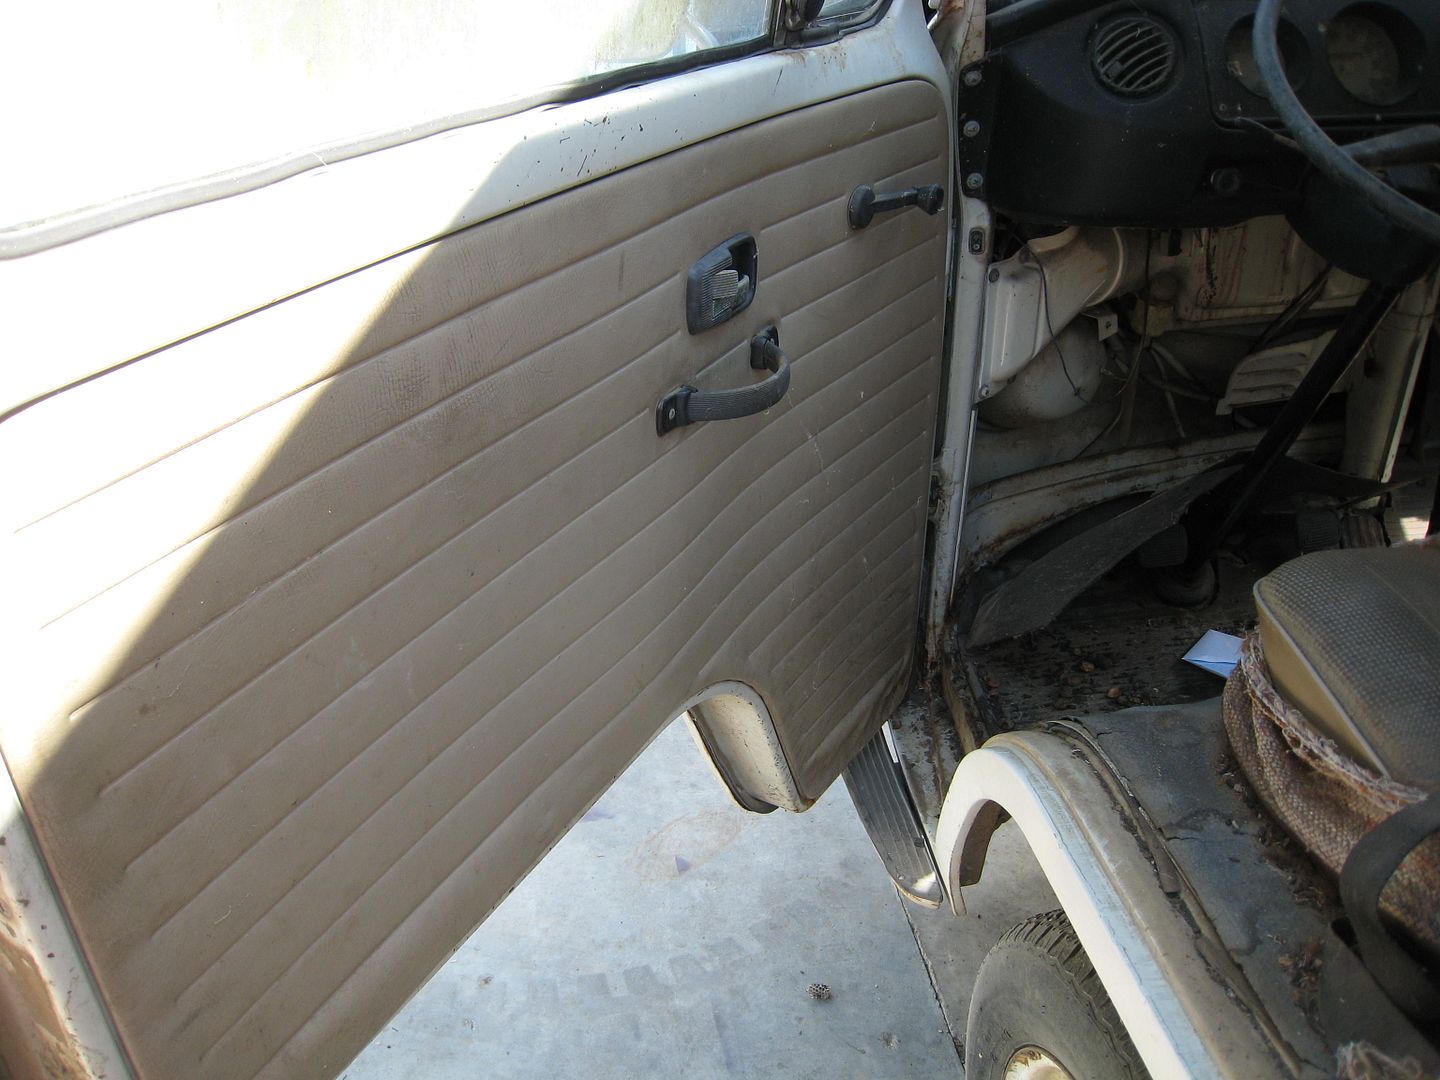
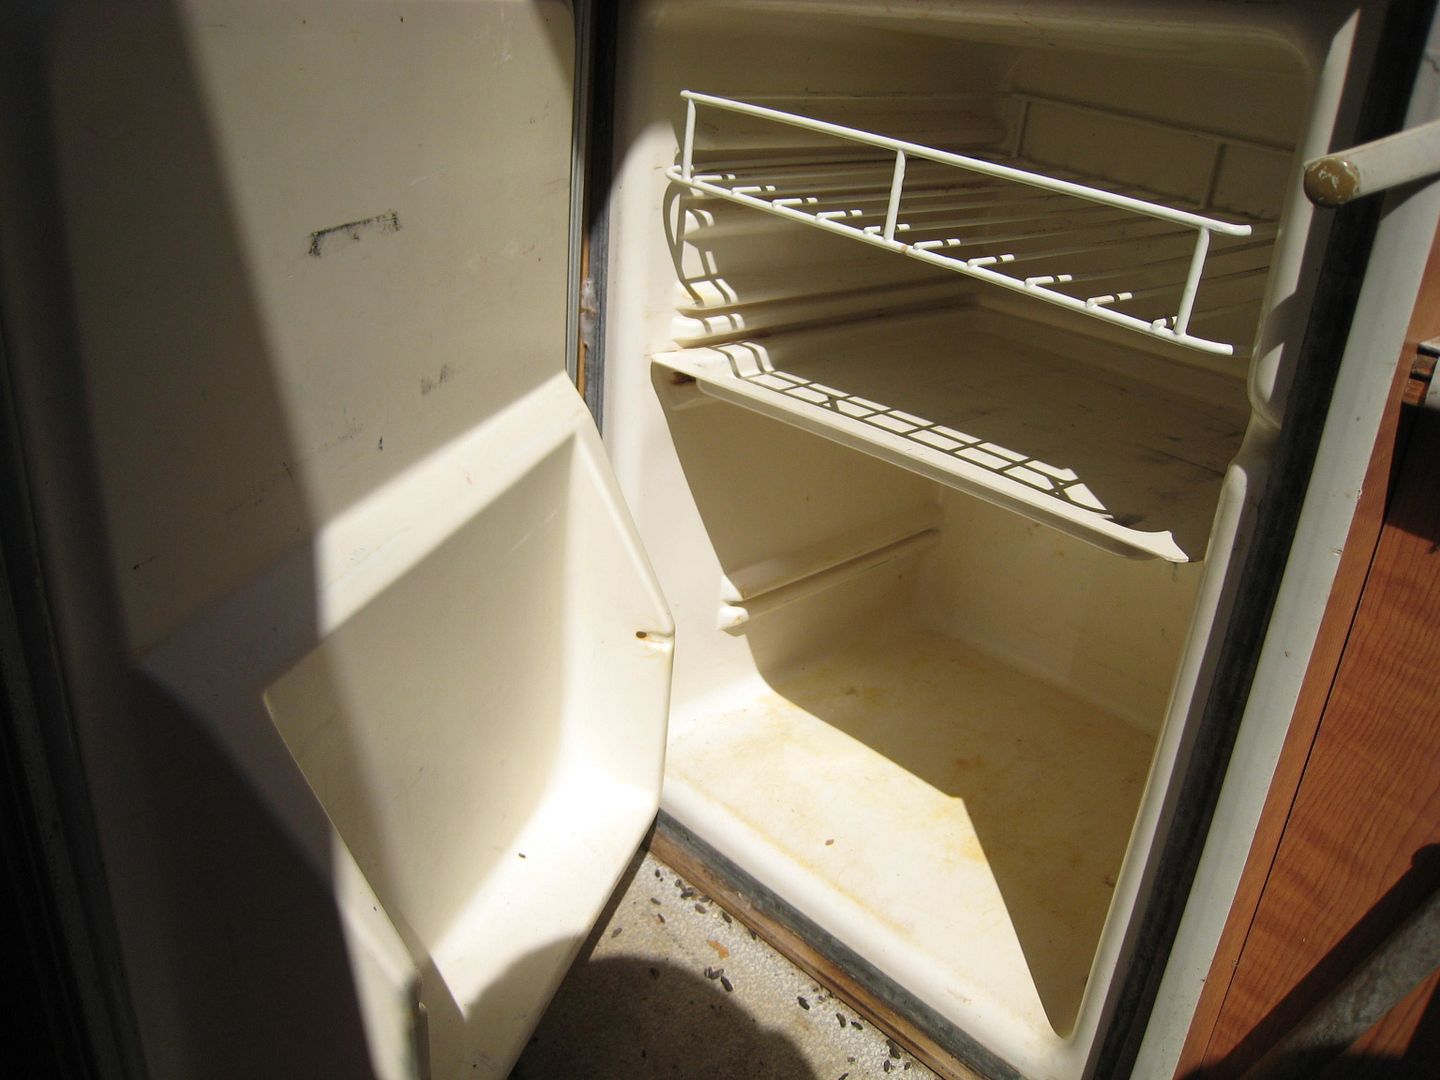
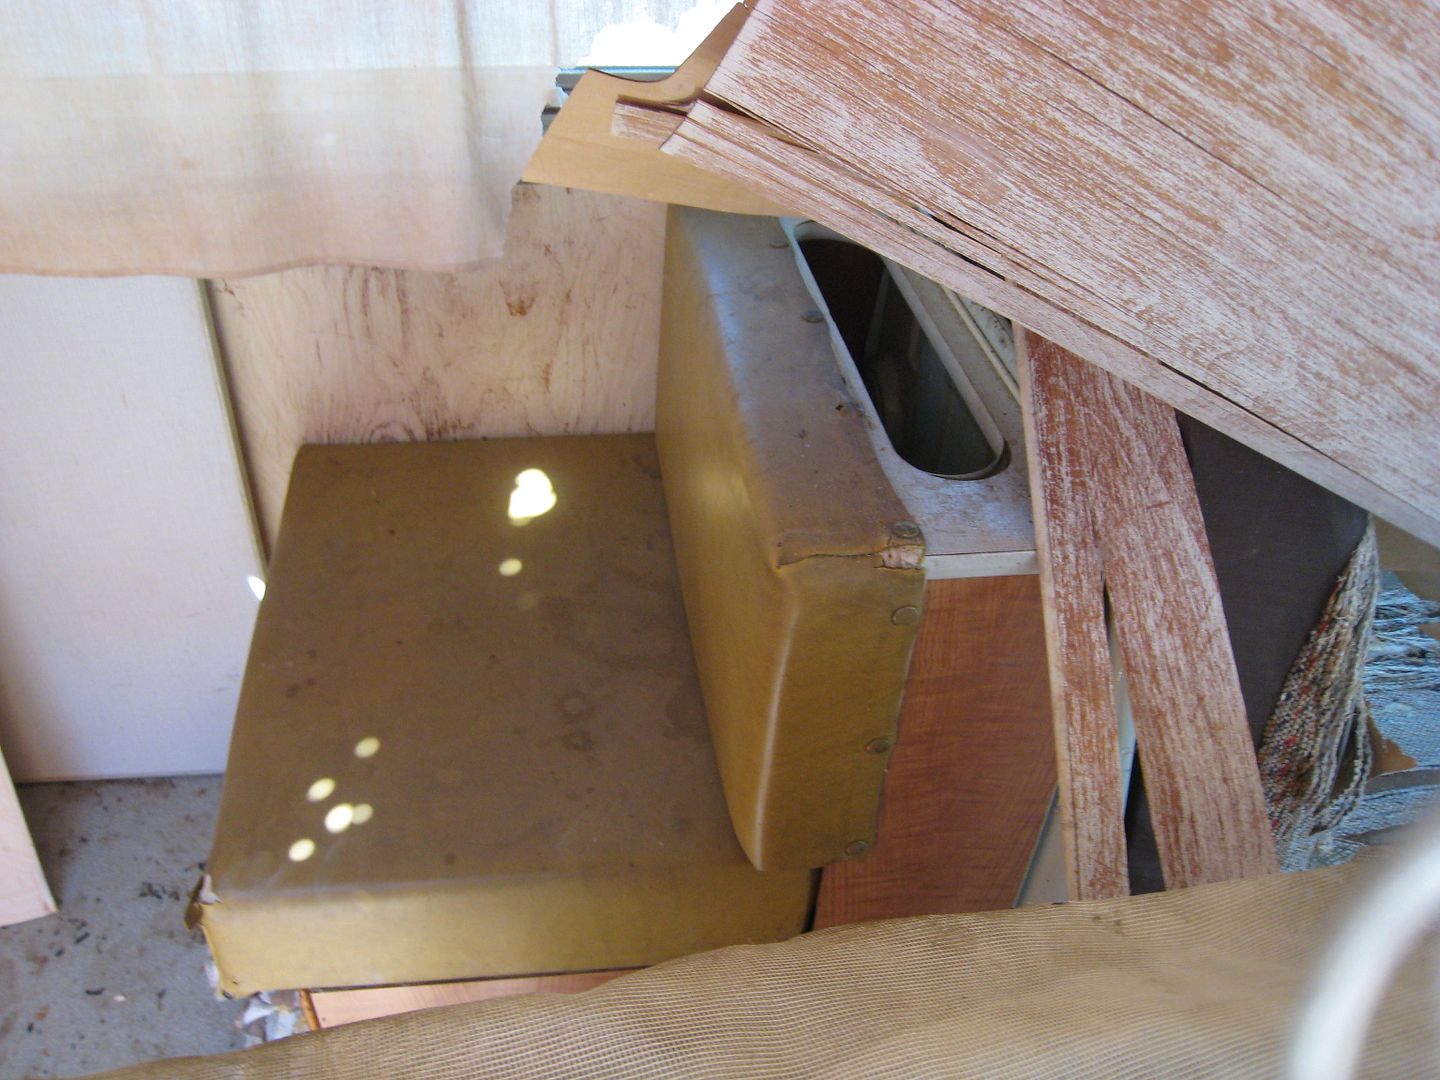
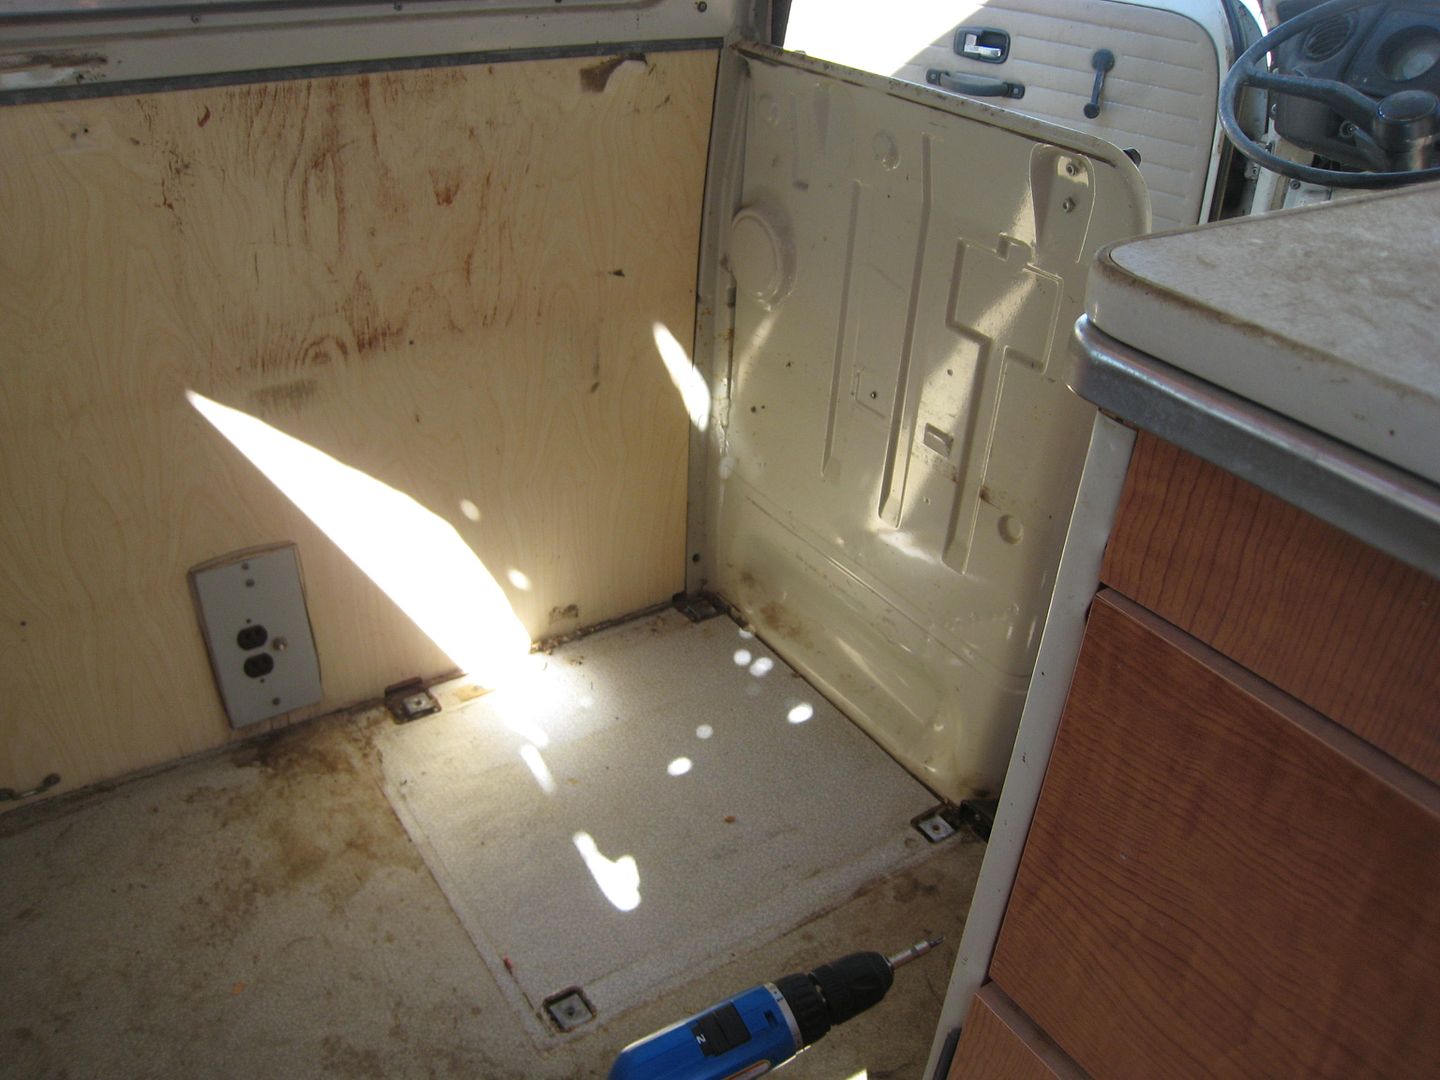
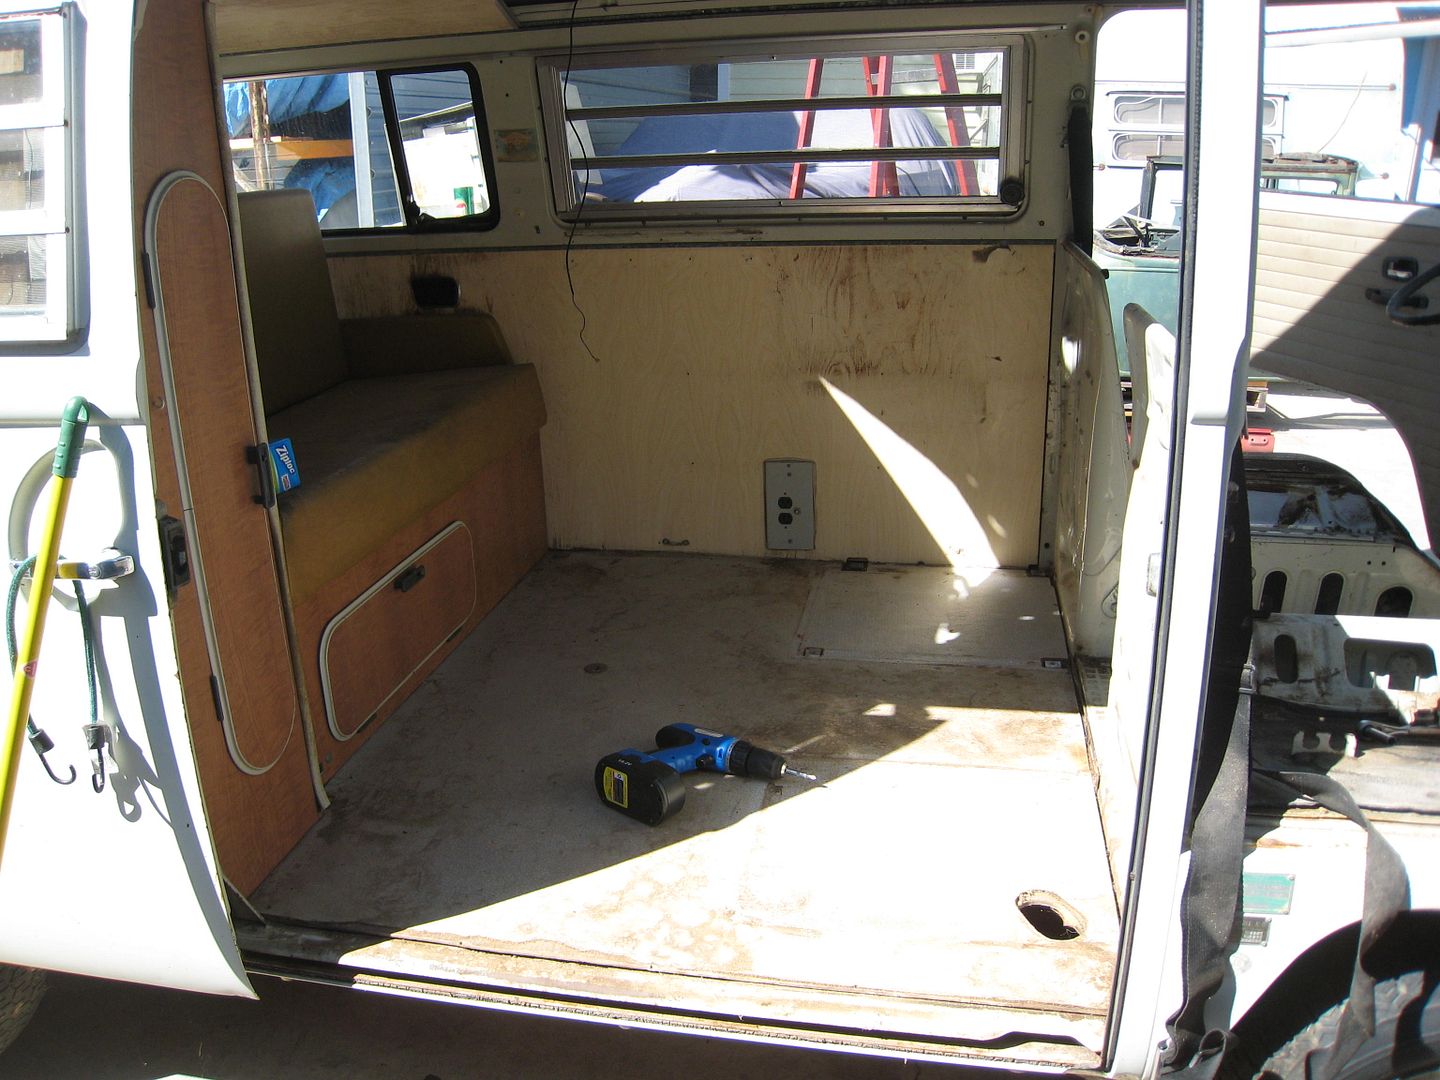
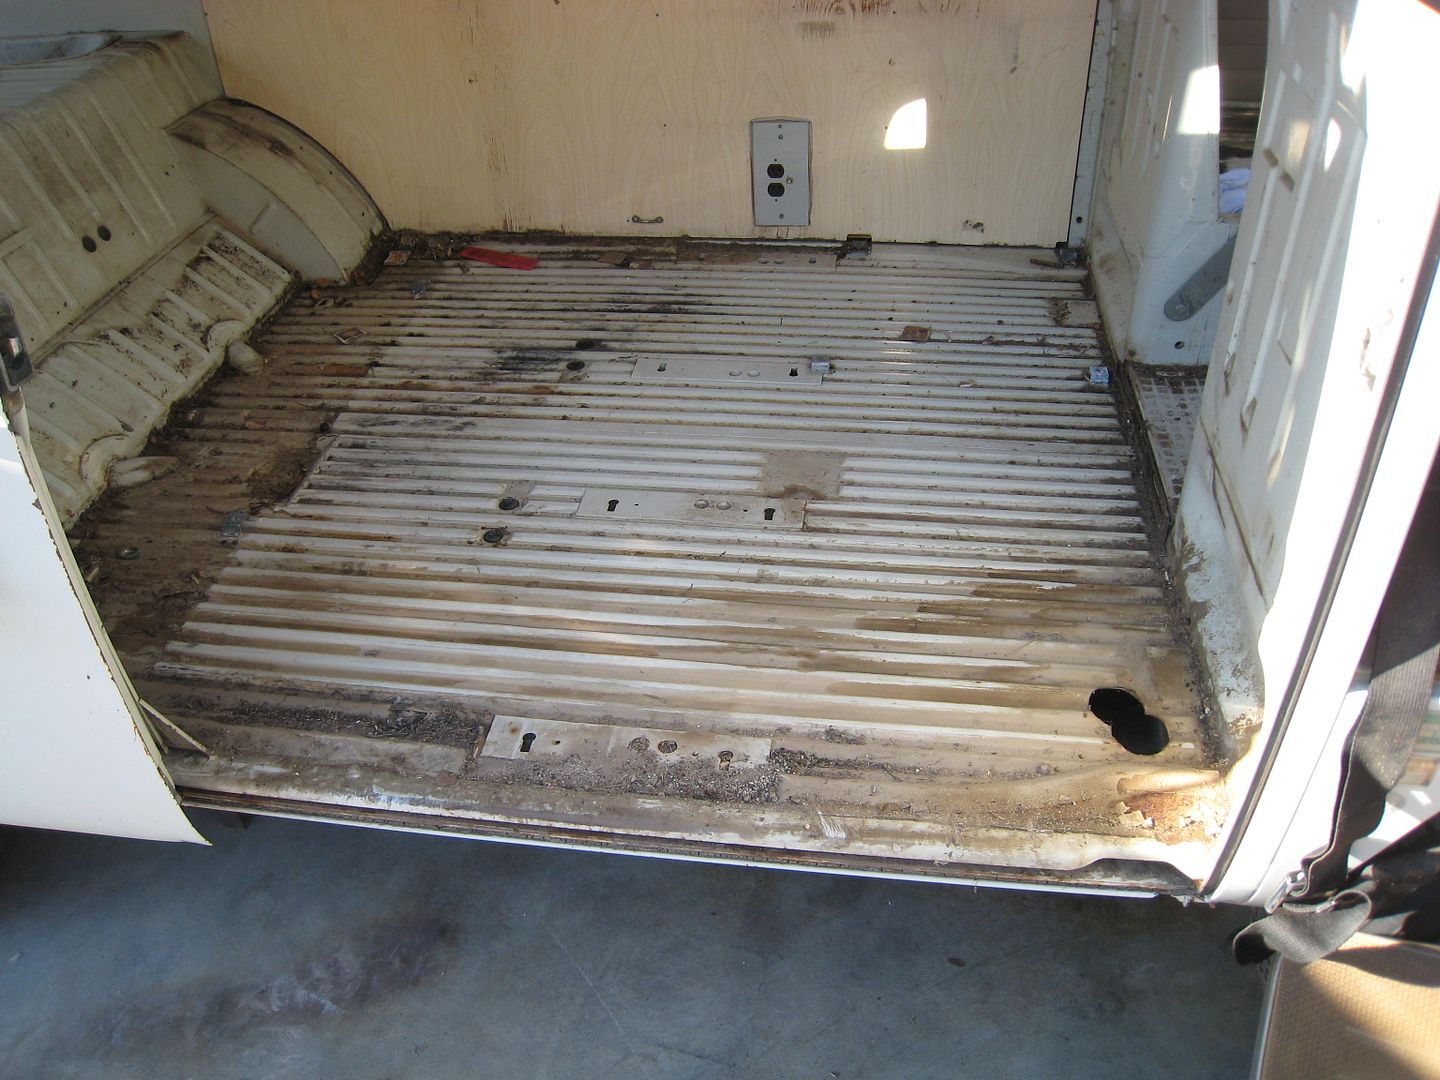
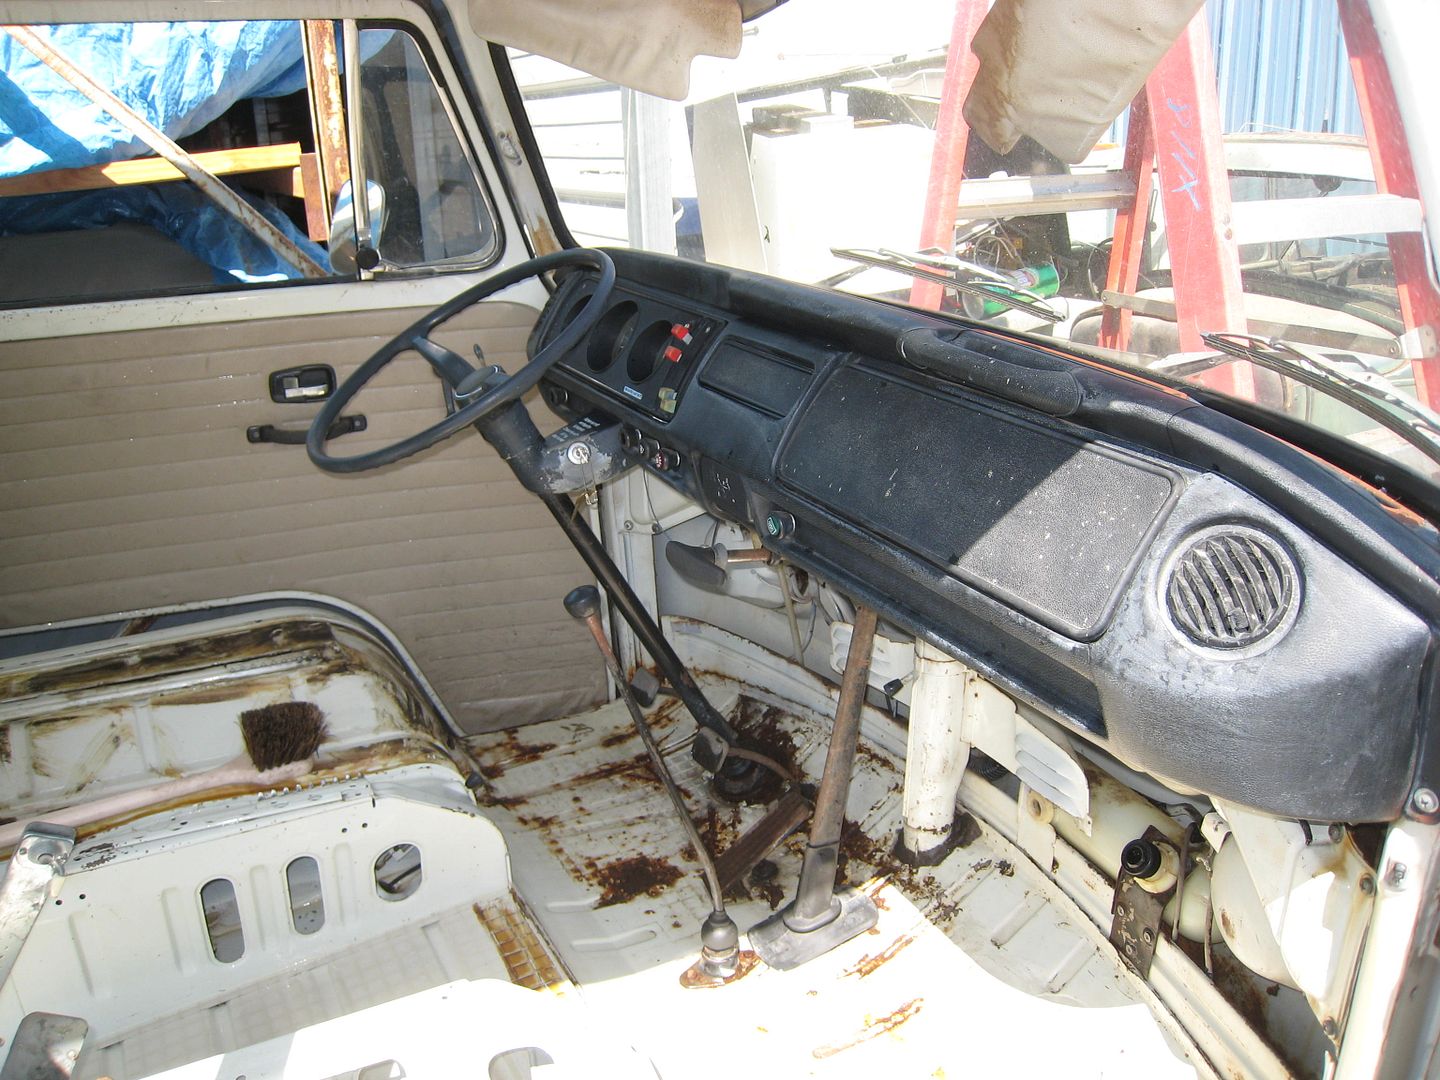
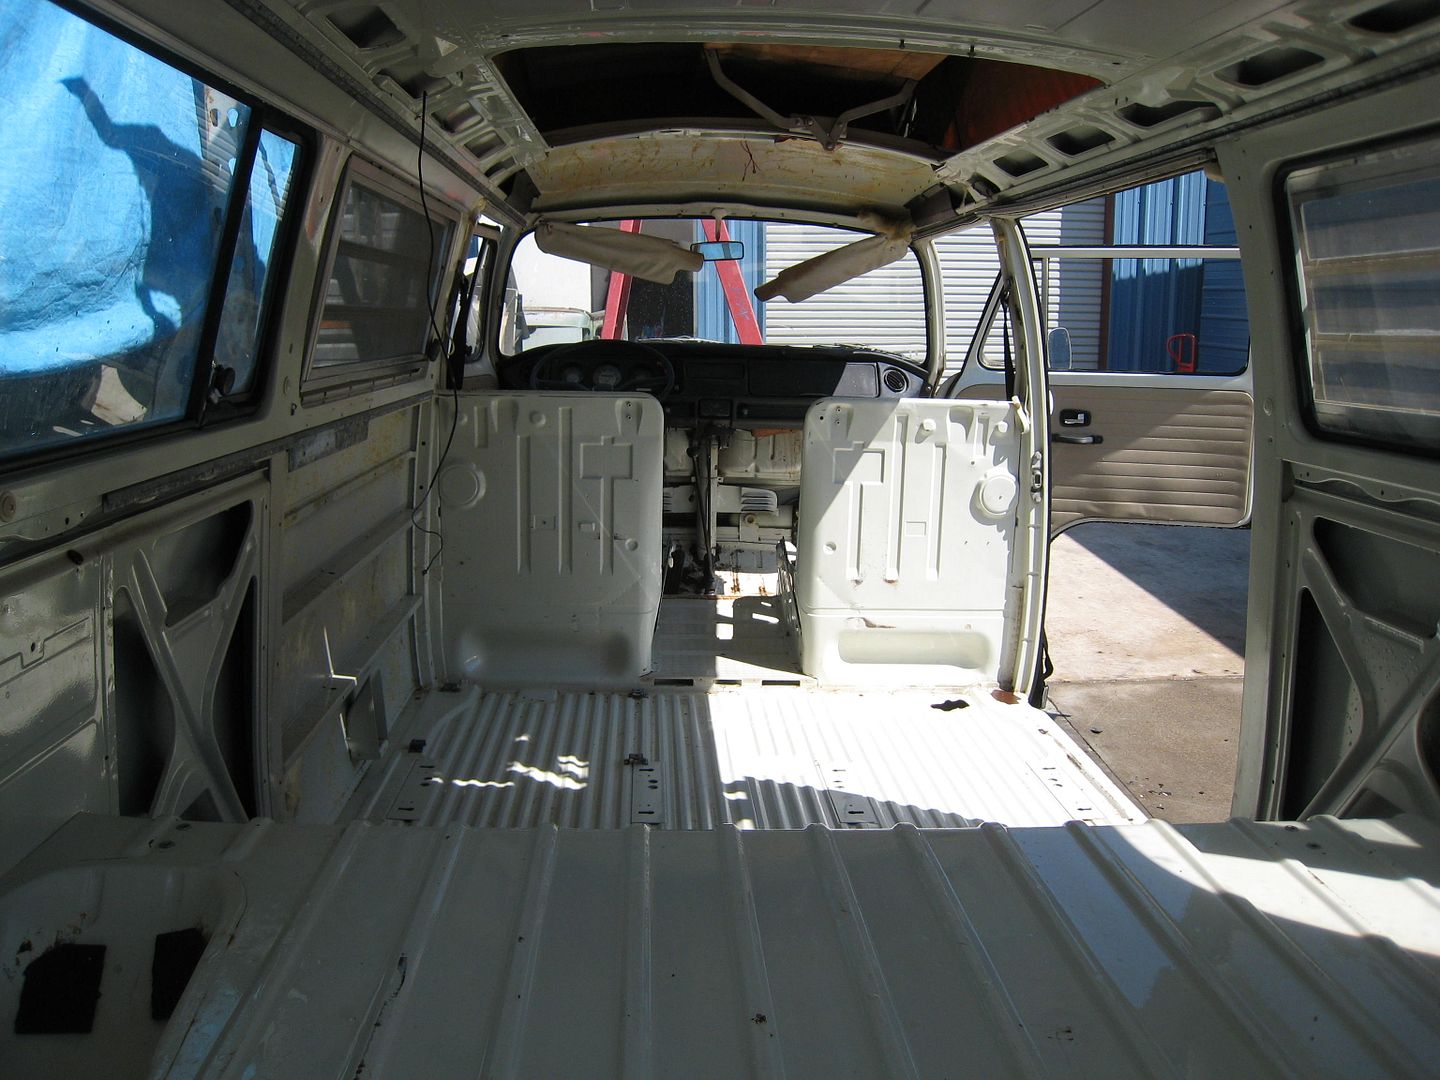
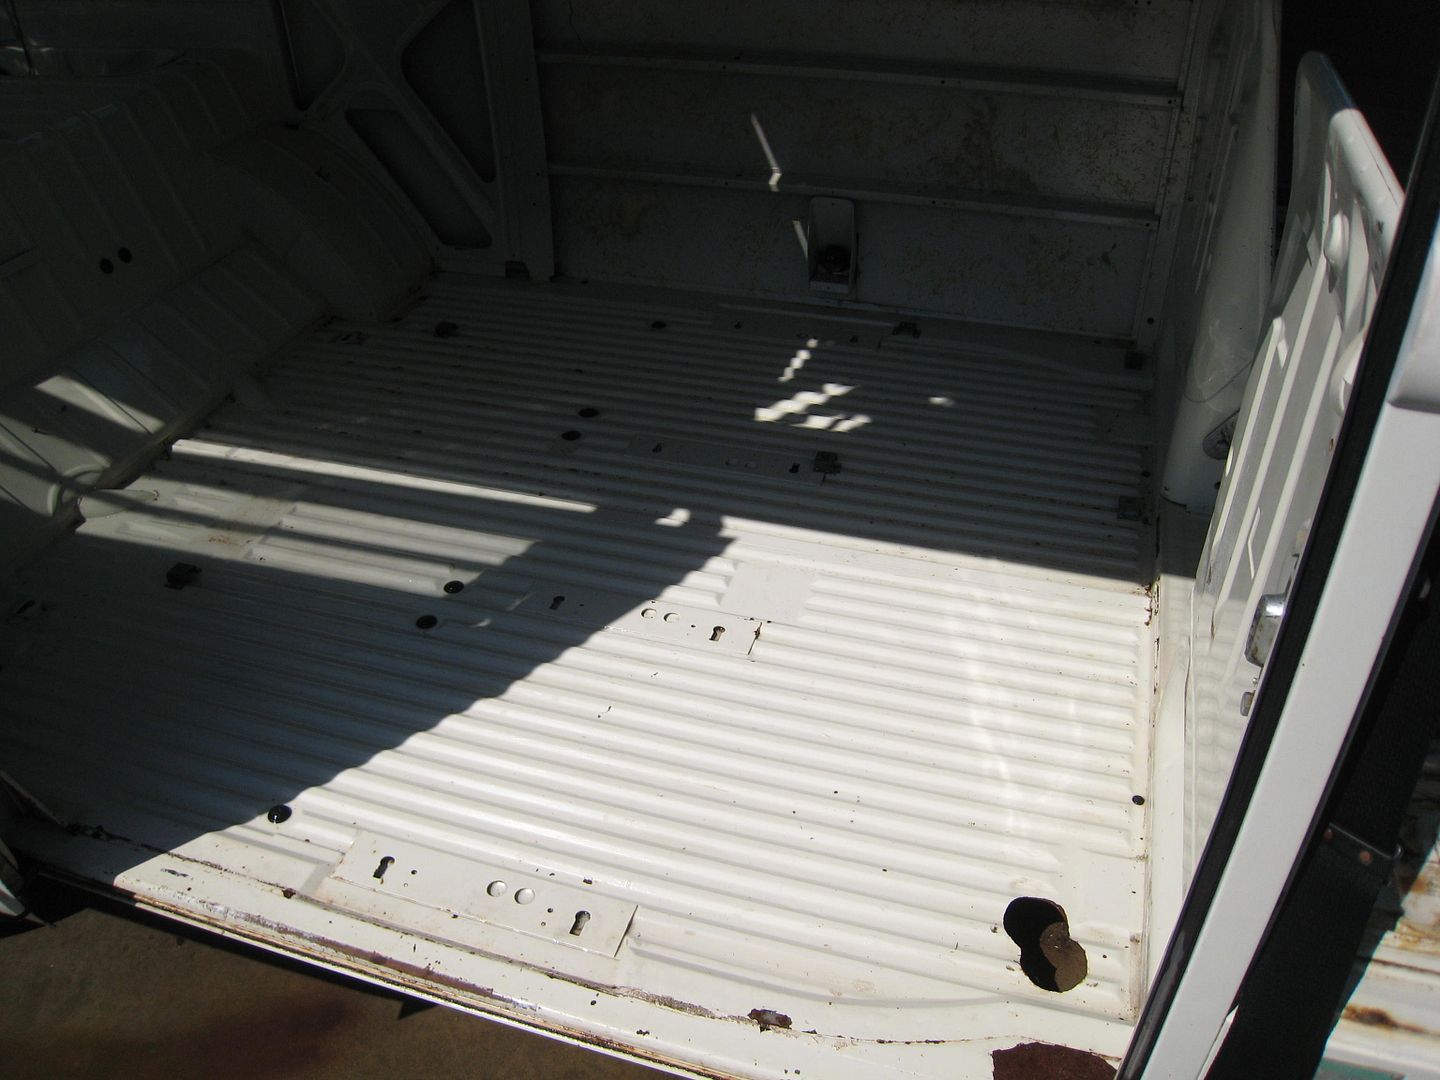
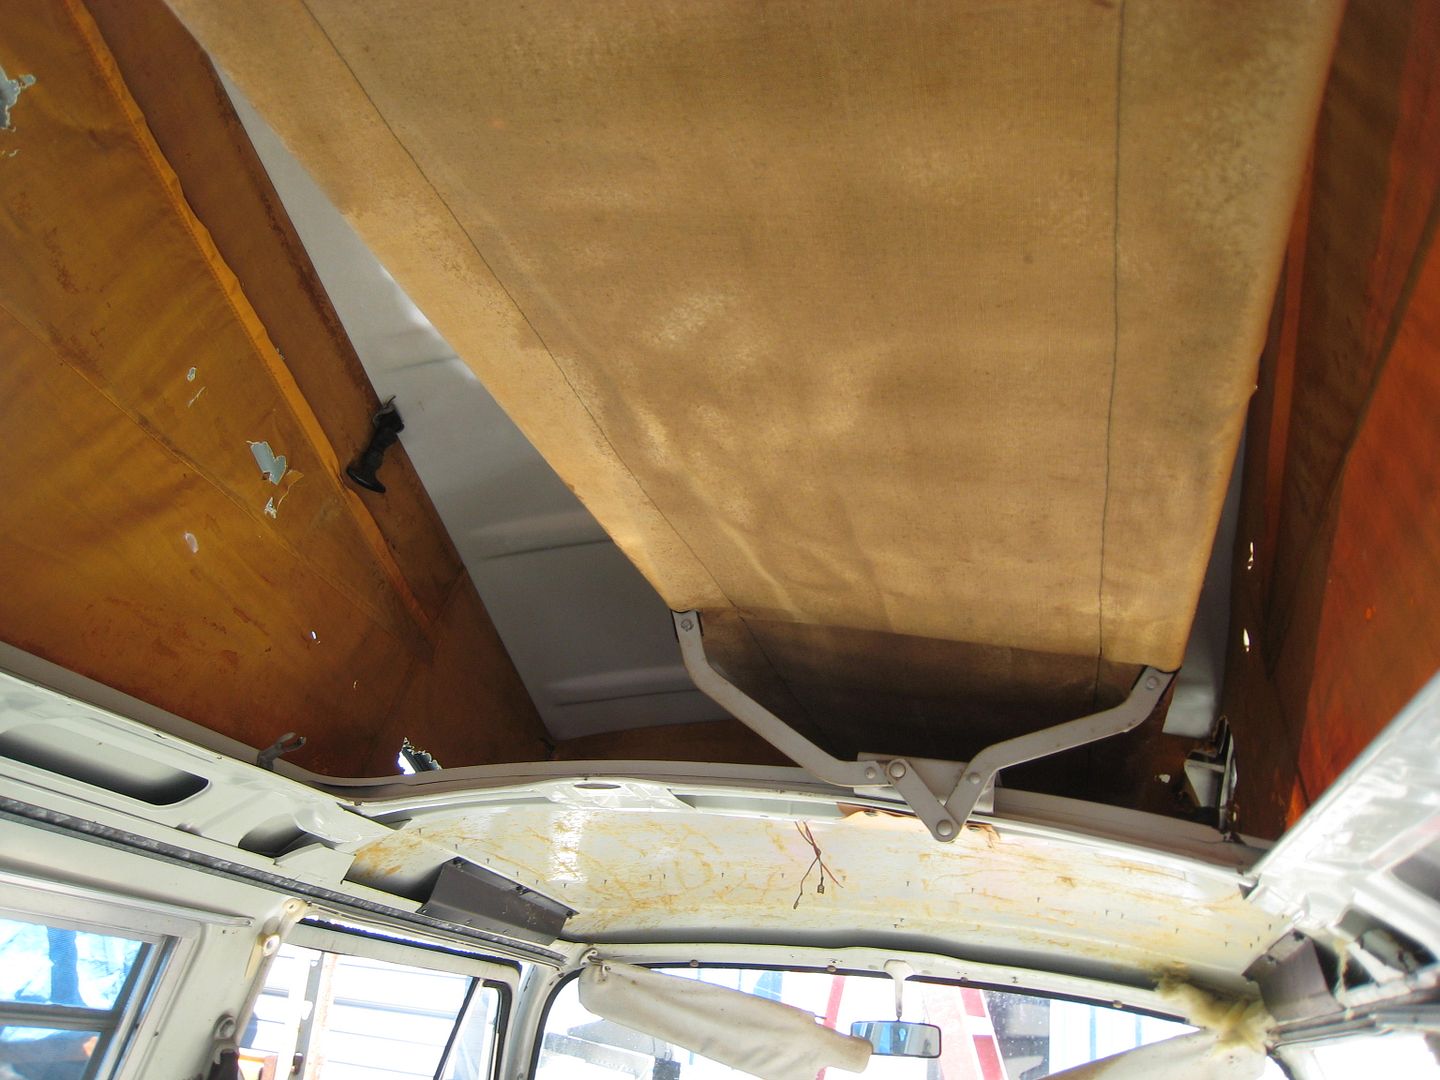
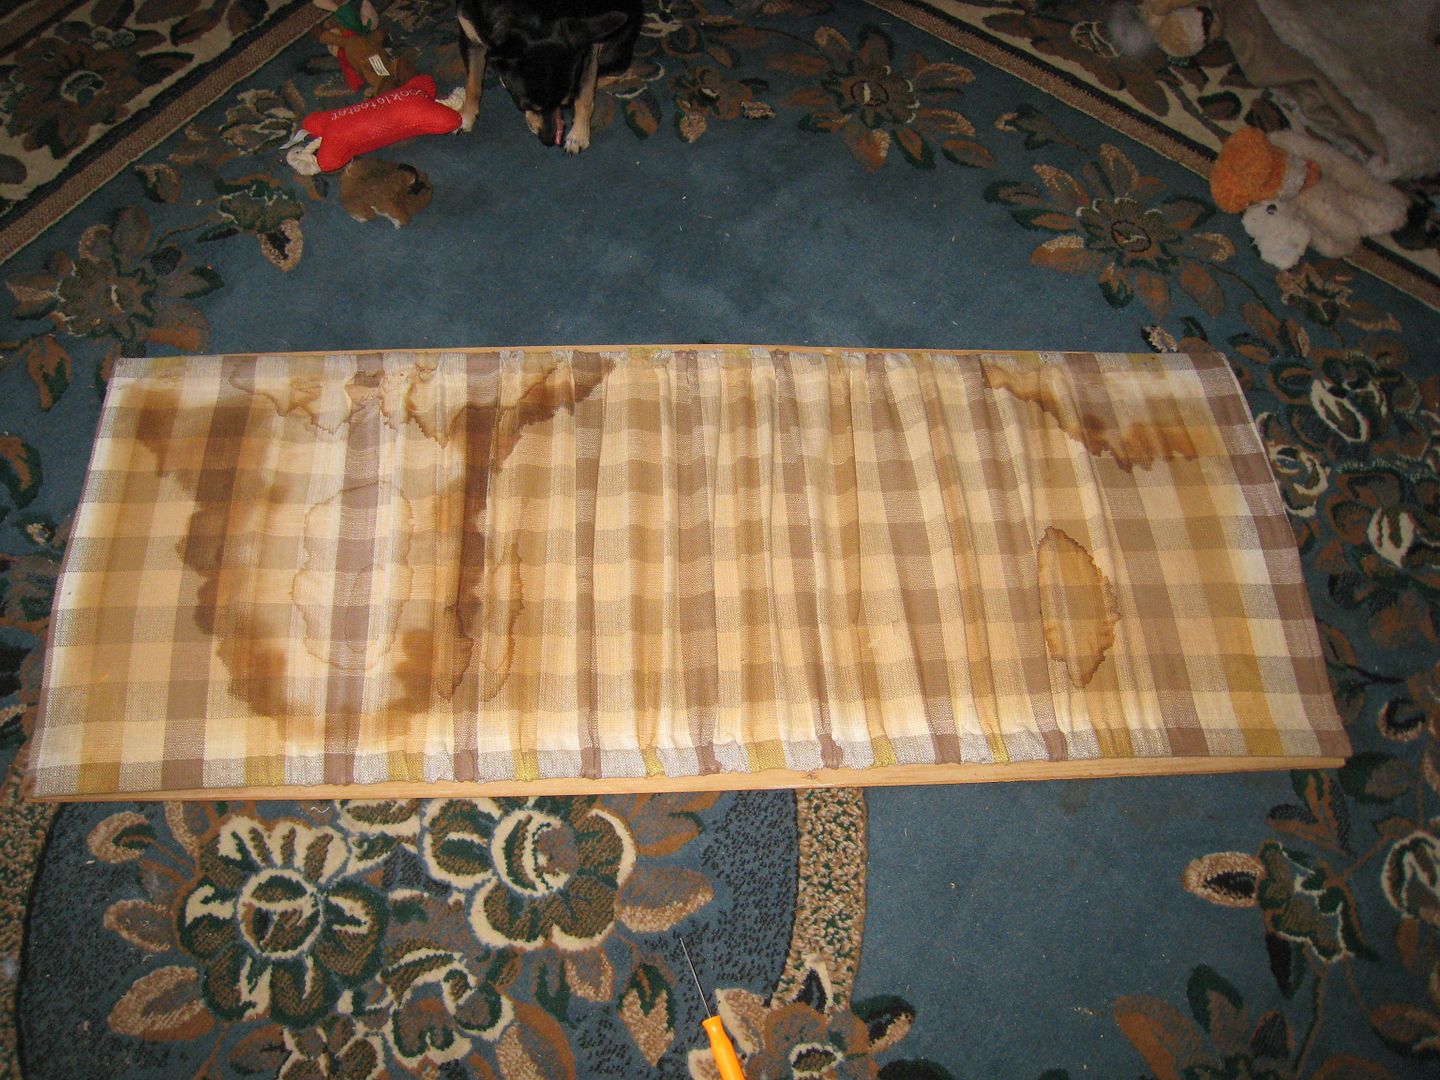
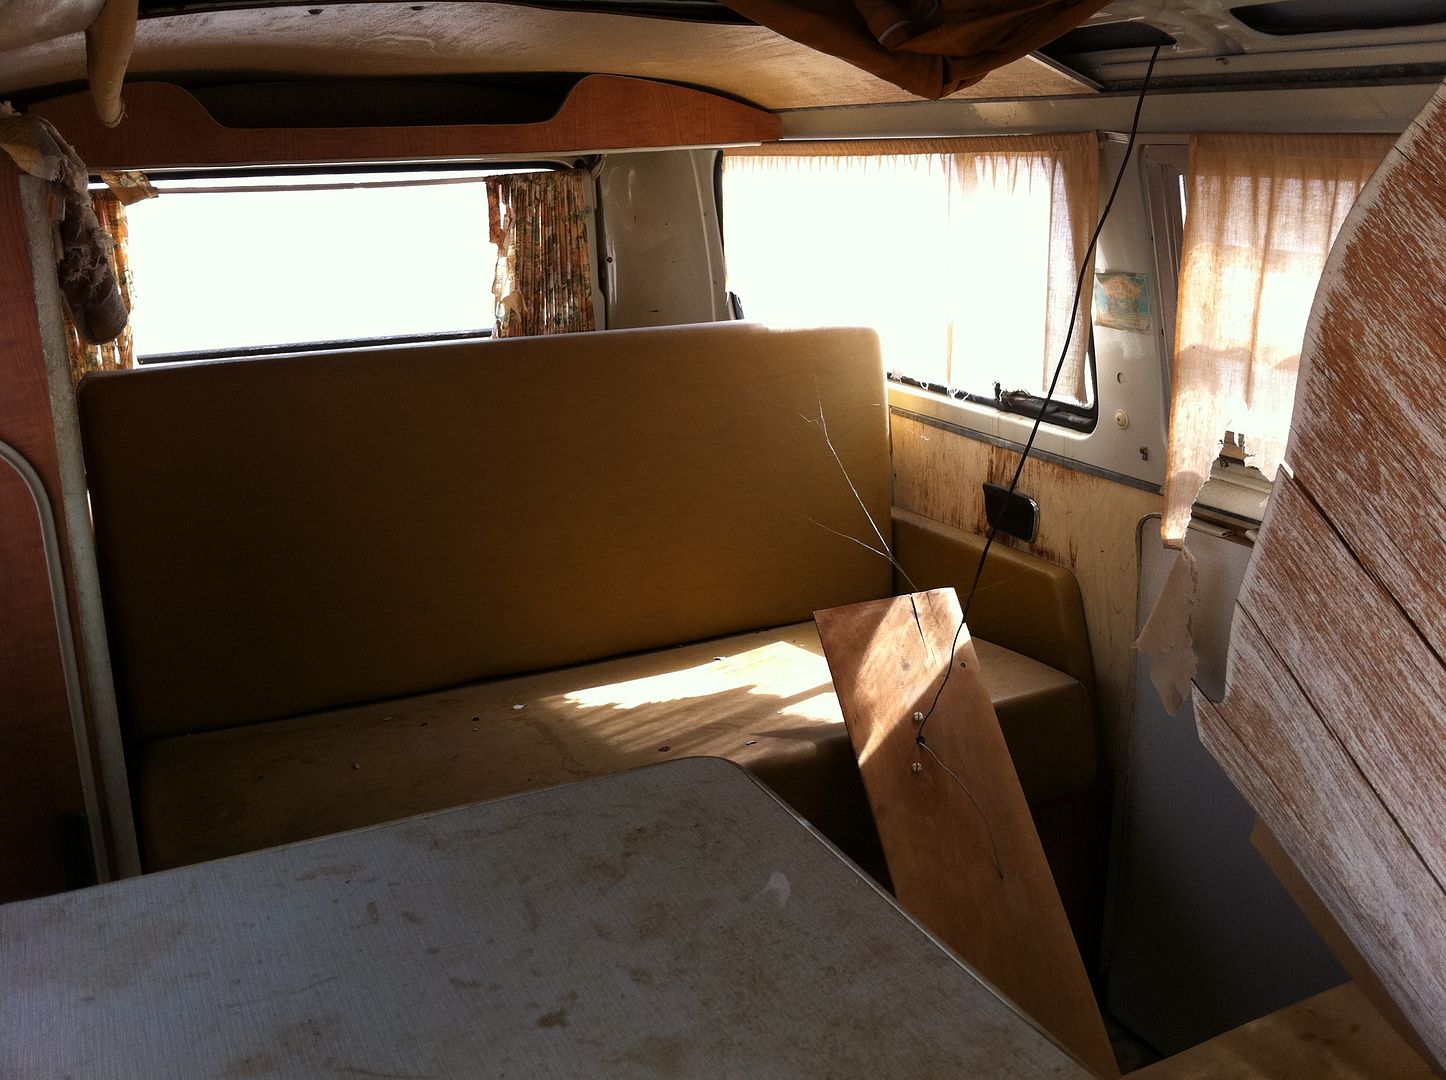
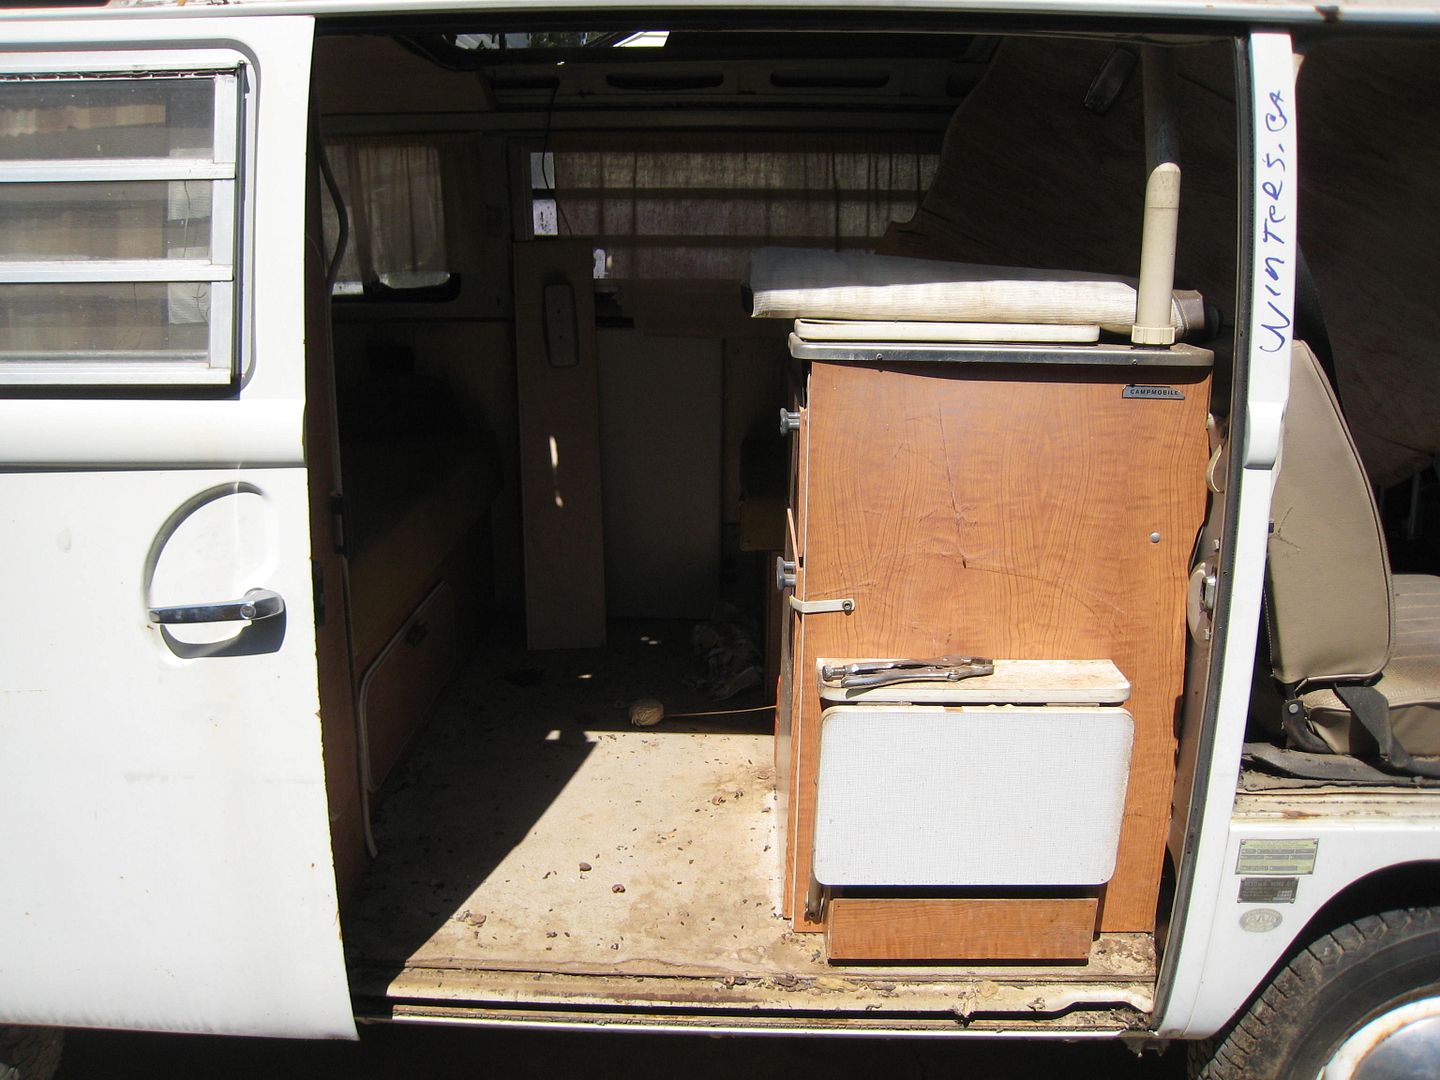
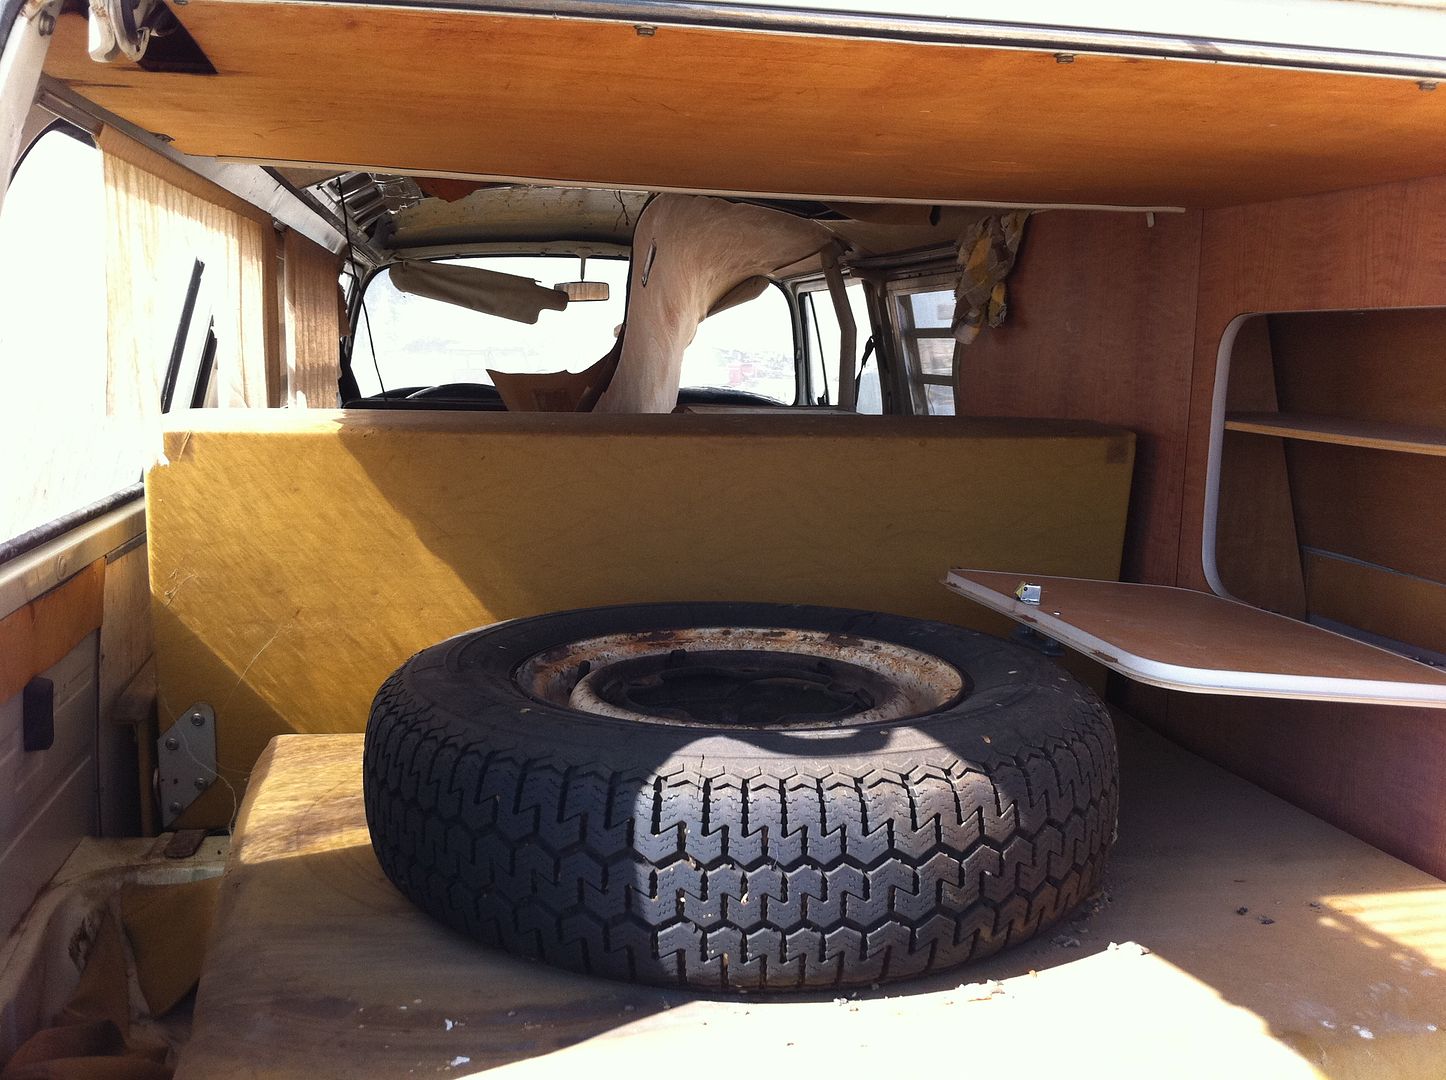
The inside!
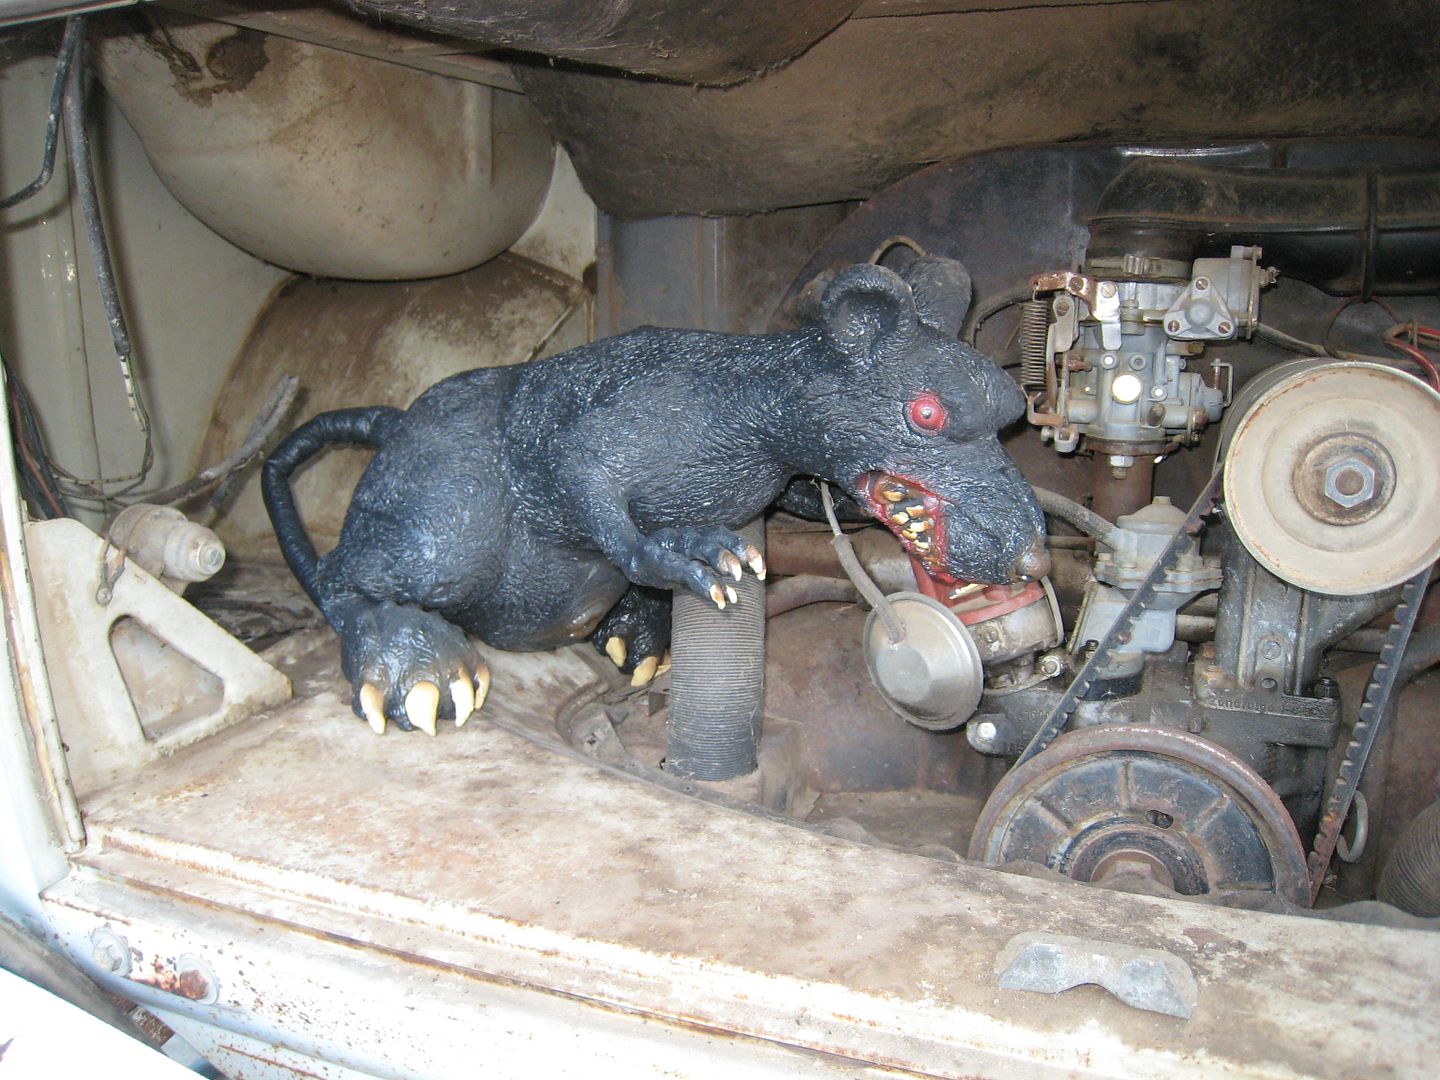
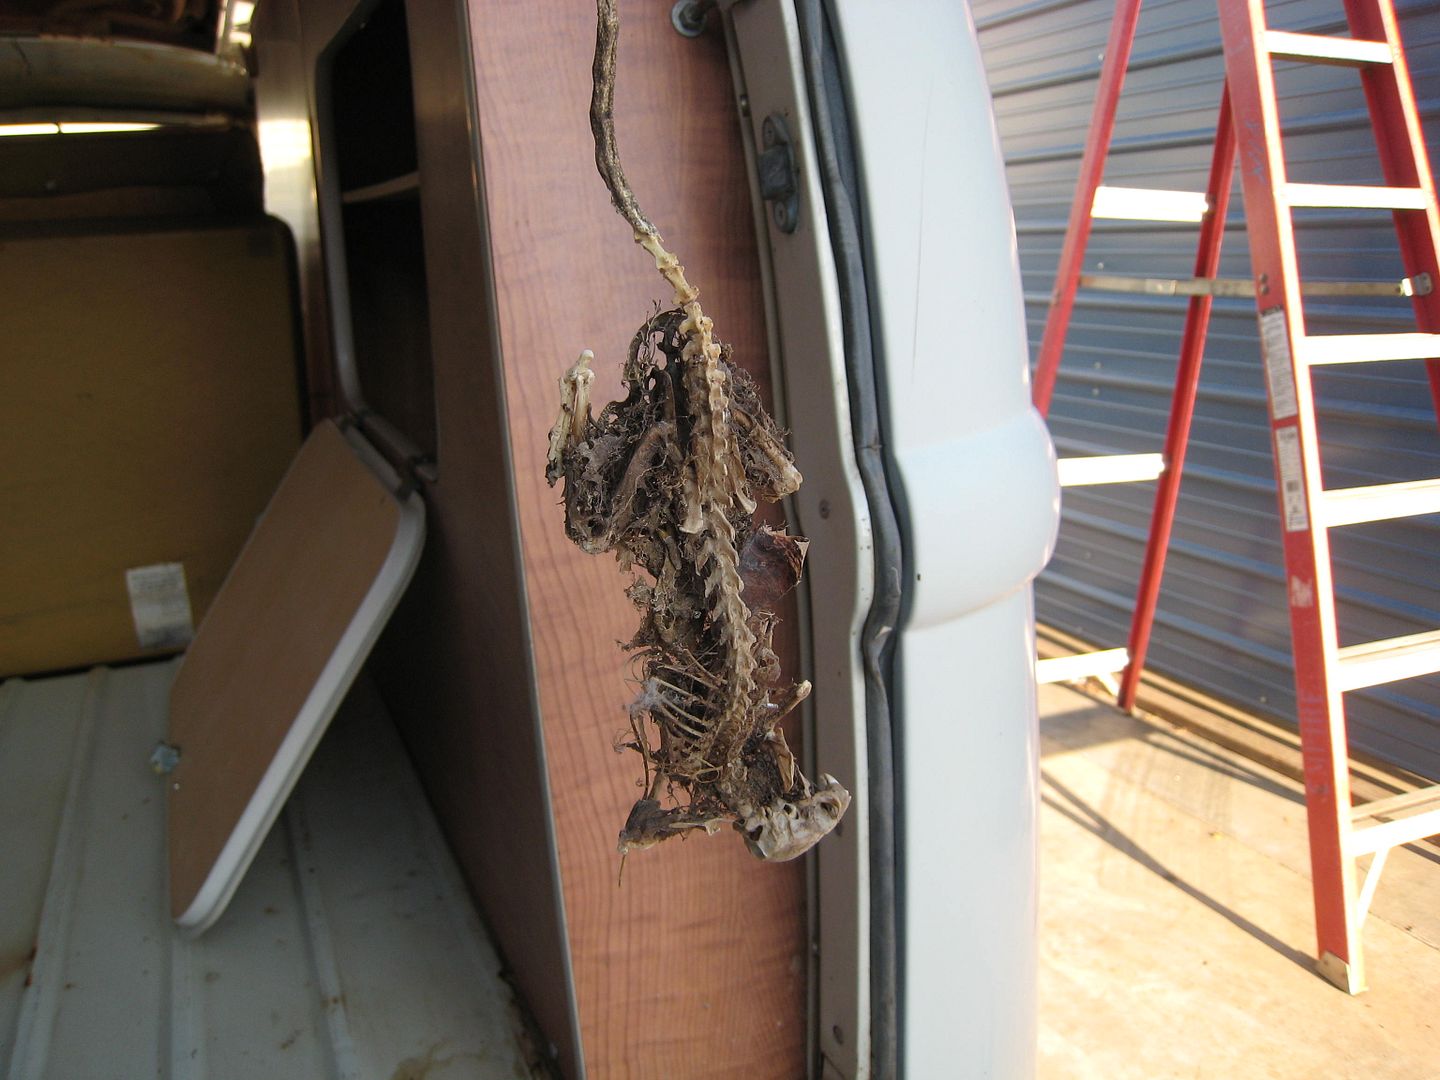
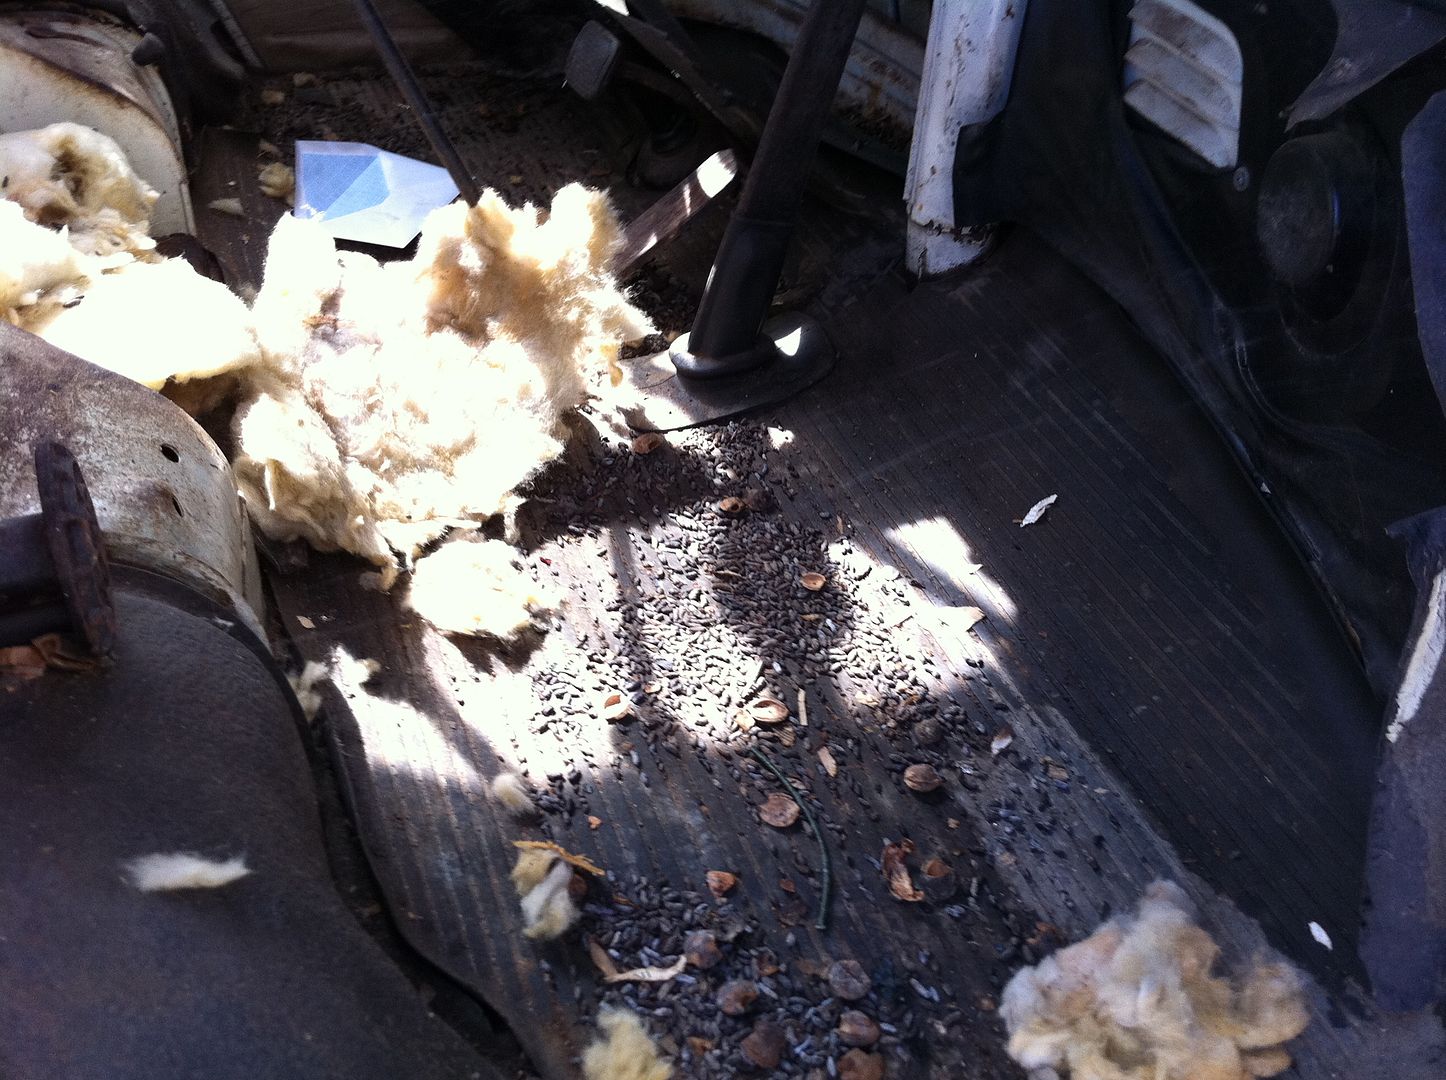
Rats!
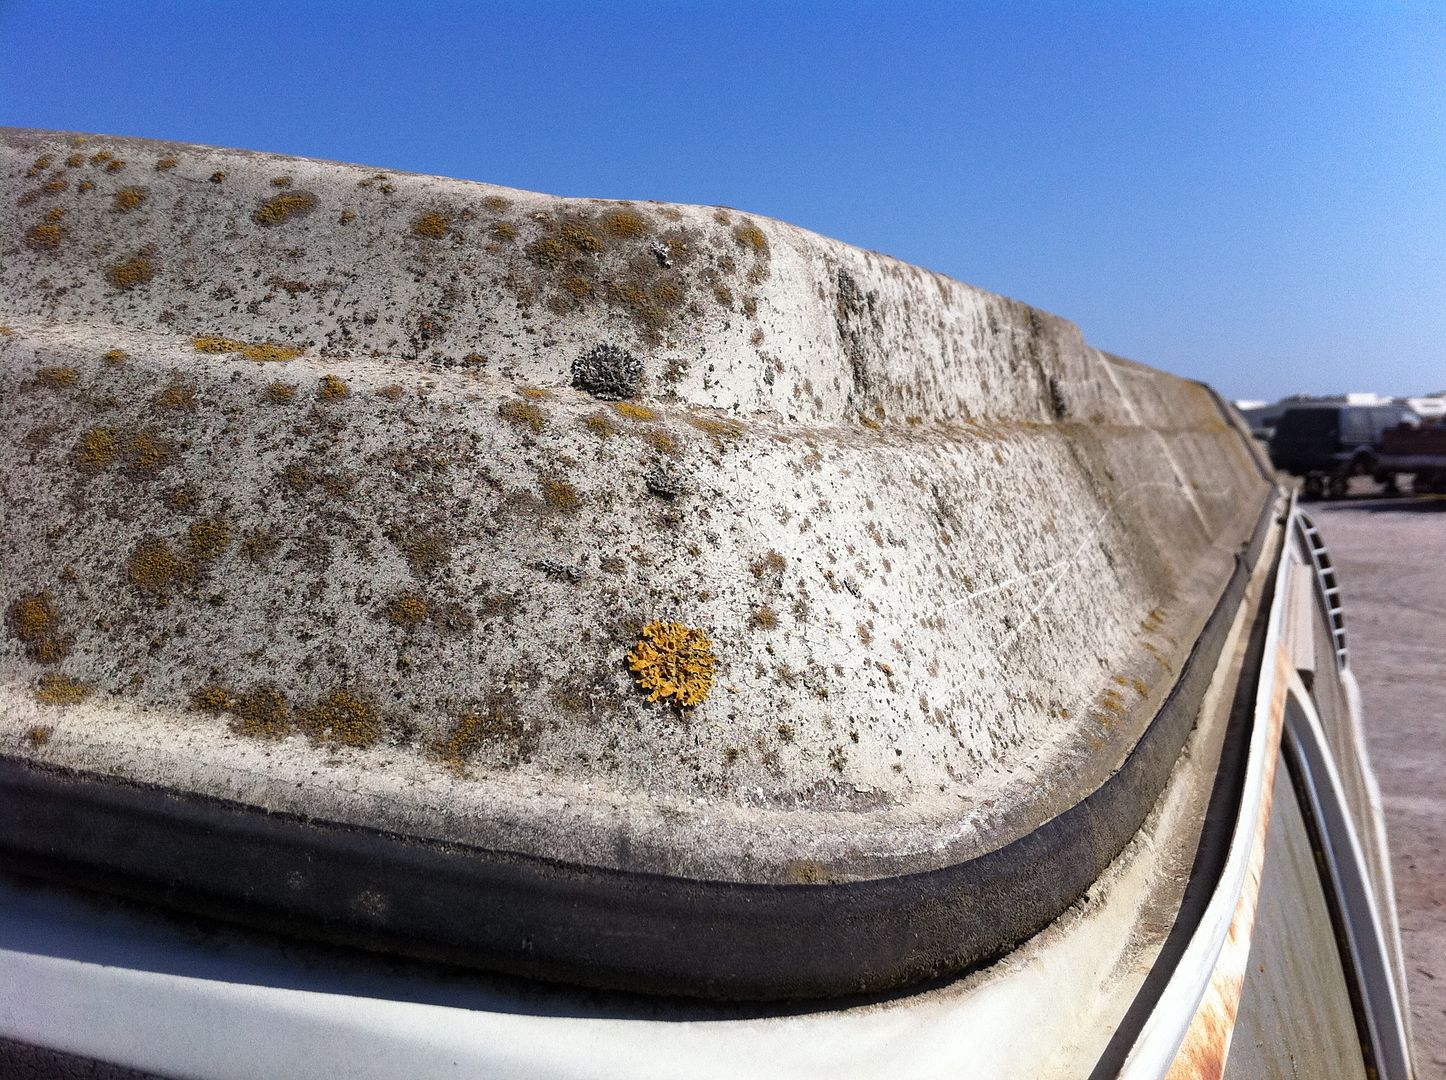
A little mossy!
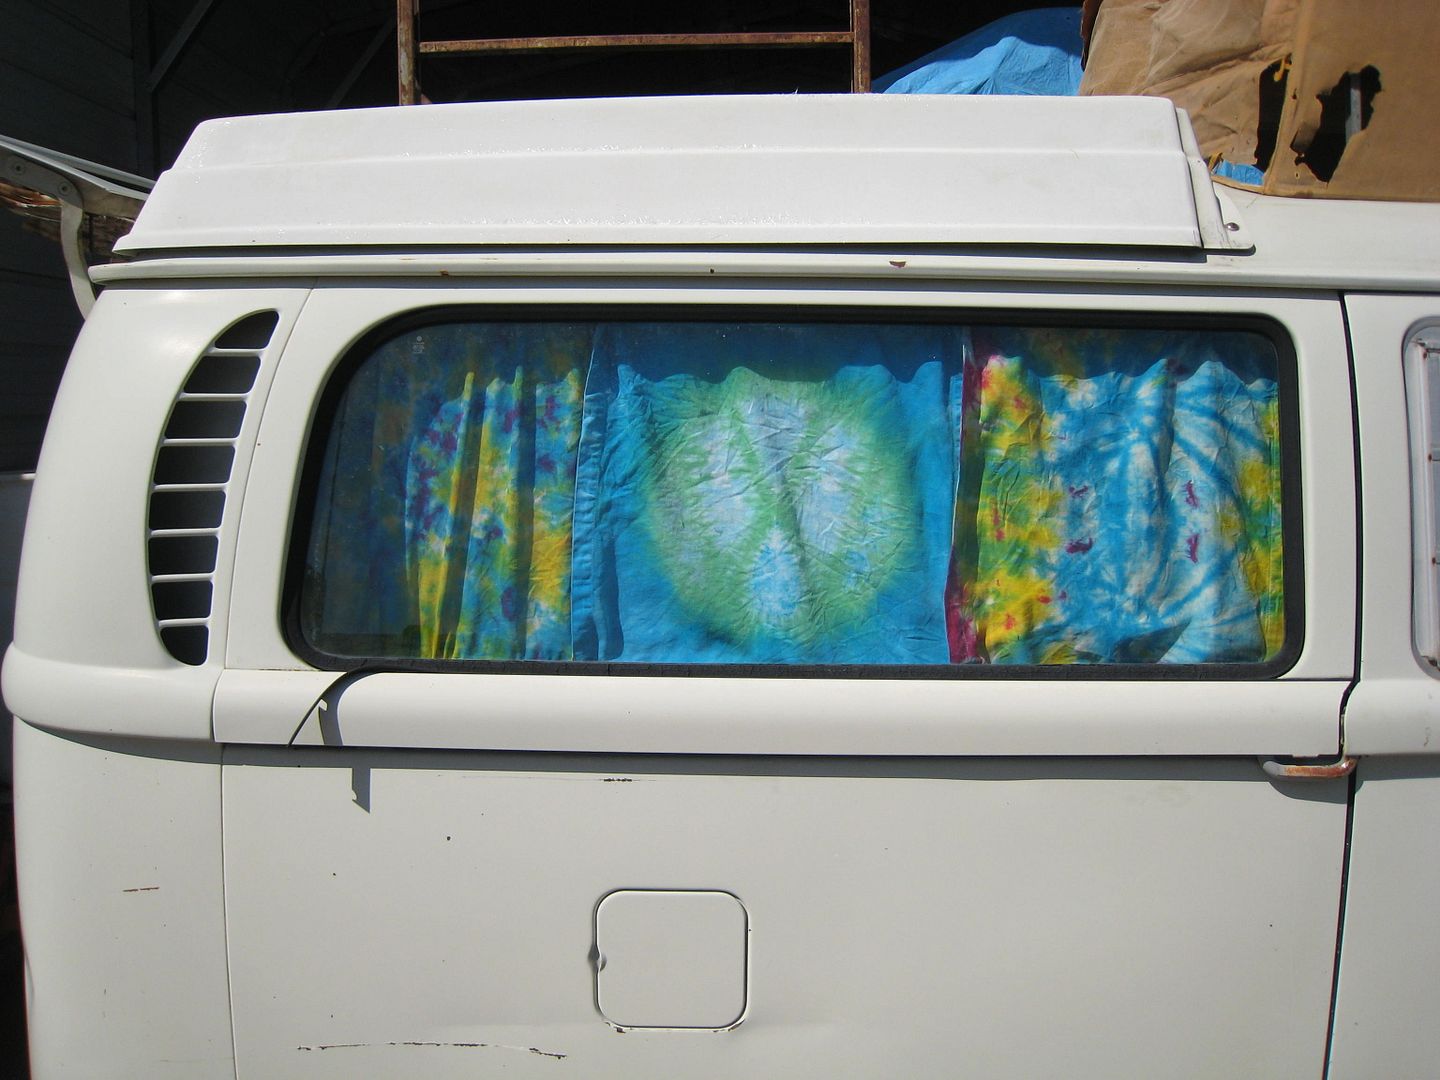
Outside badges

Top is well ventilated! LOL
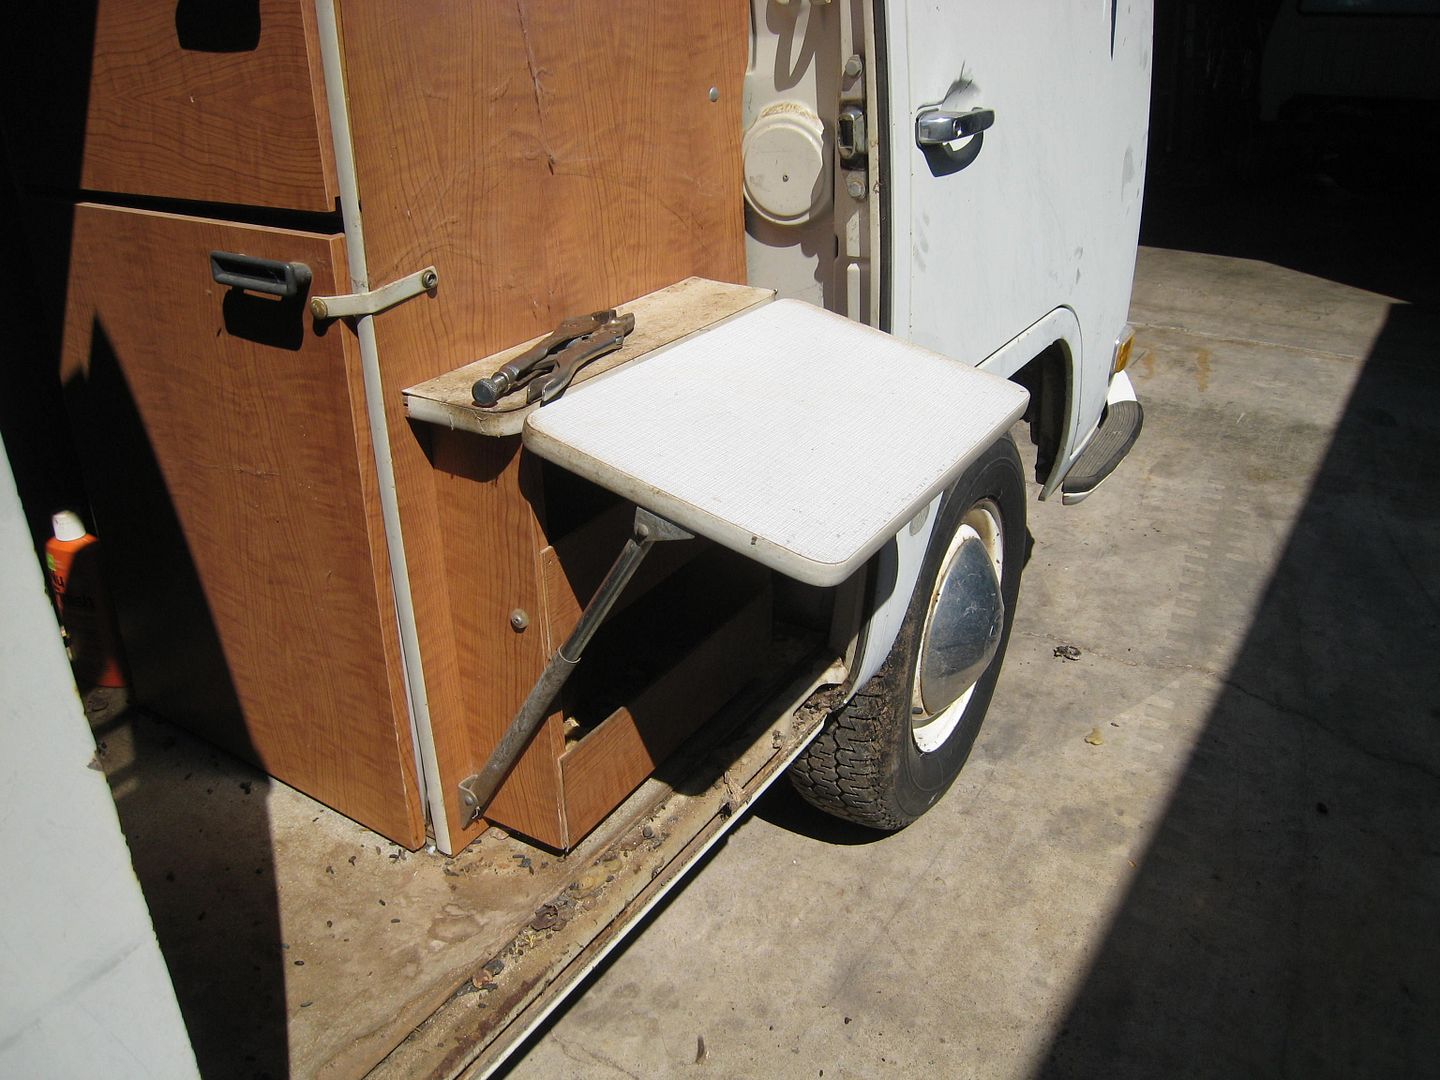
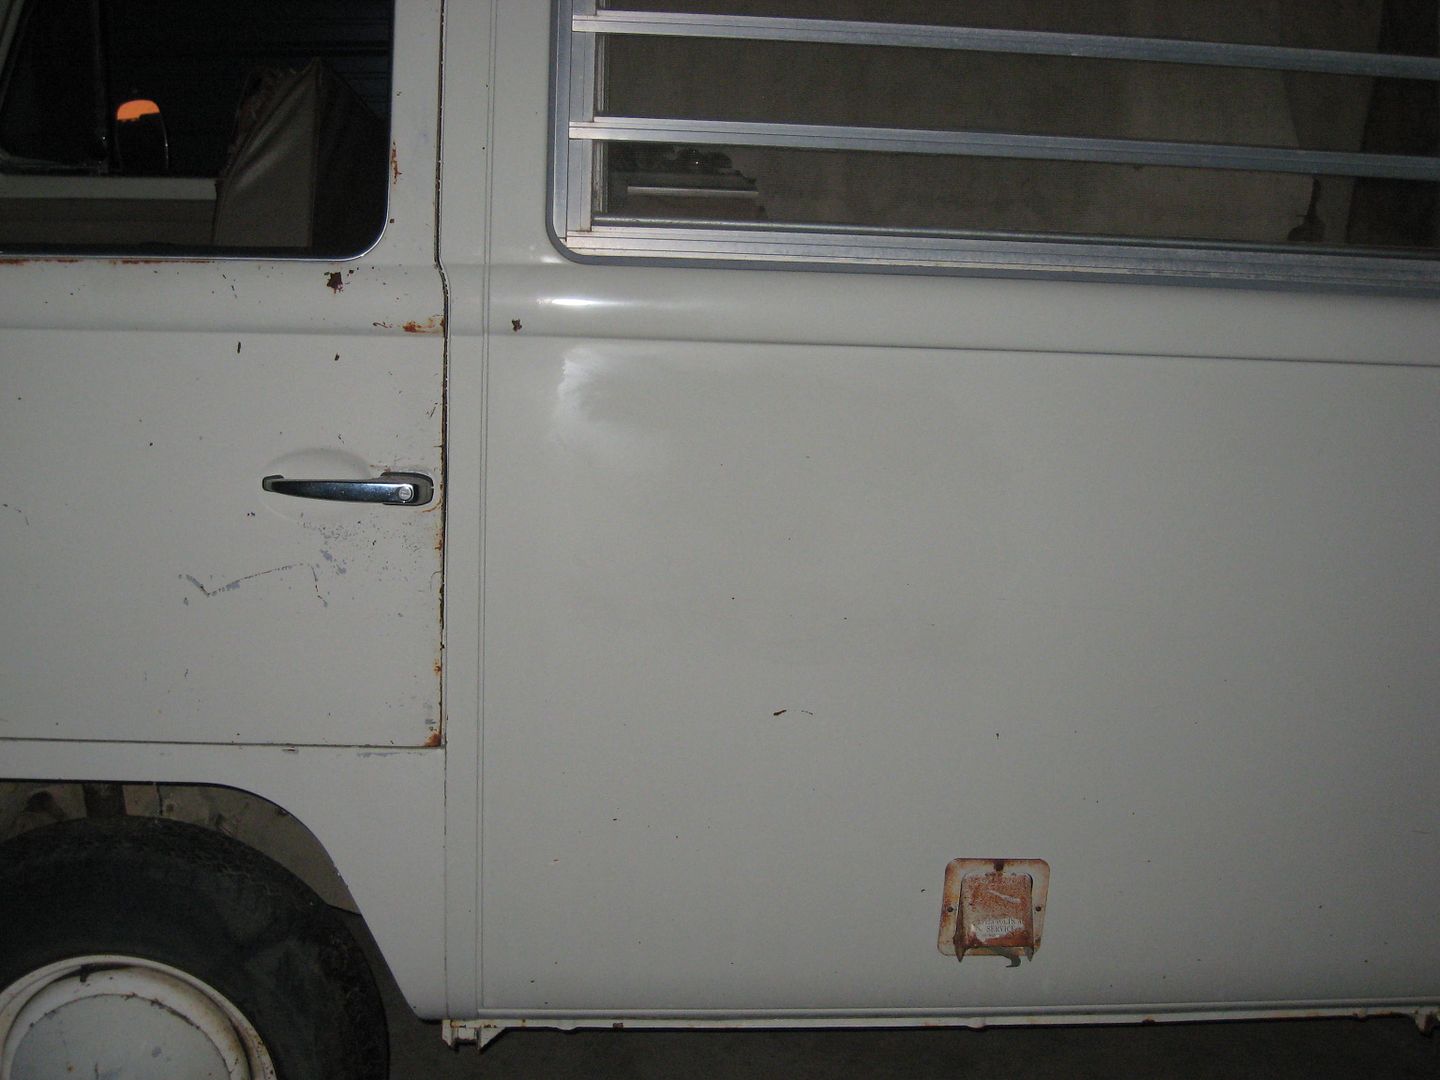
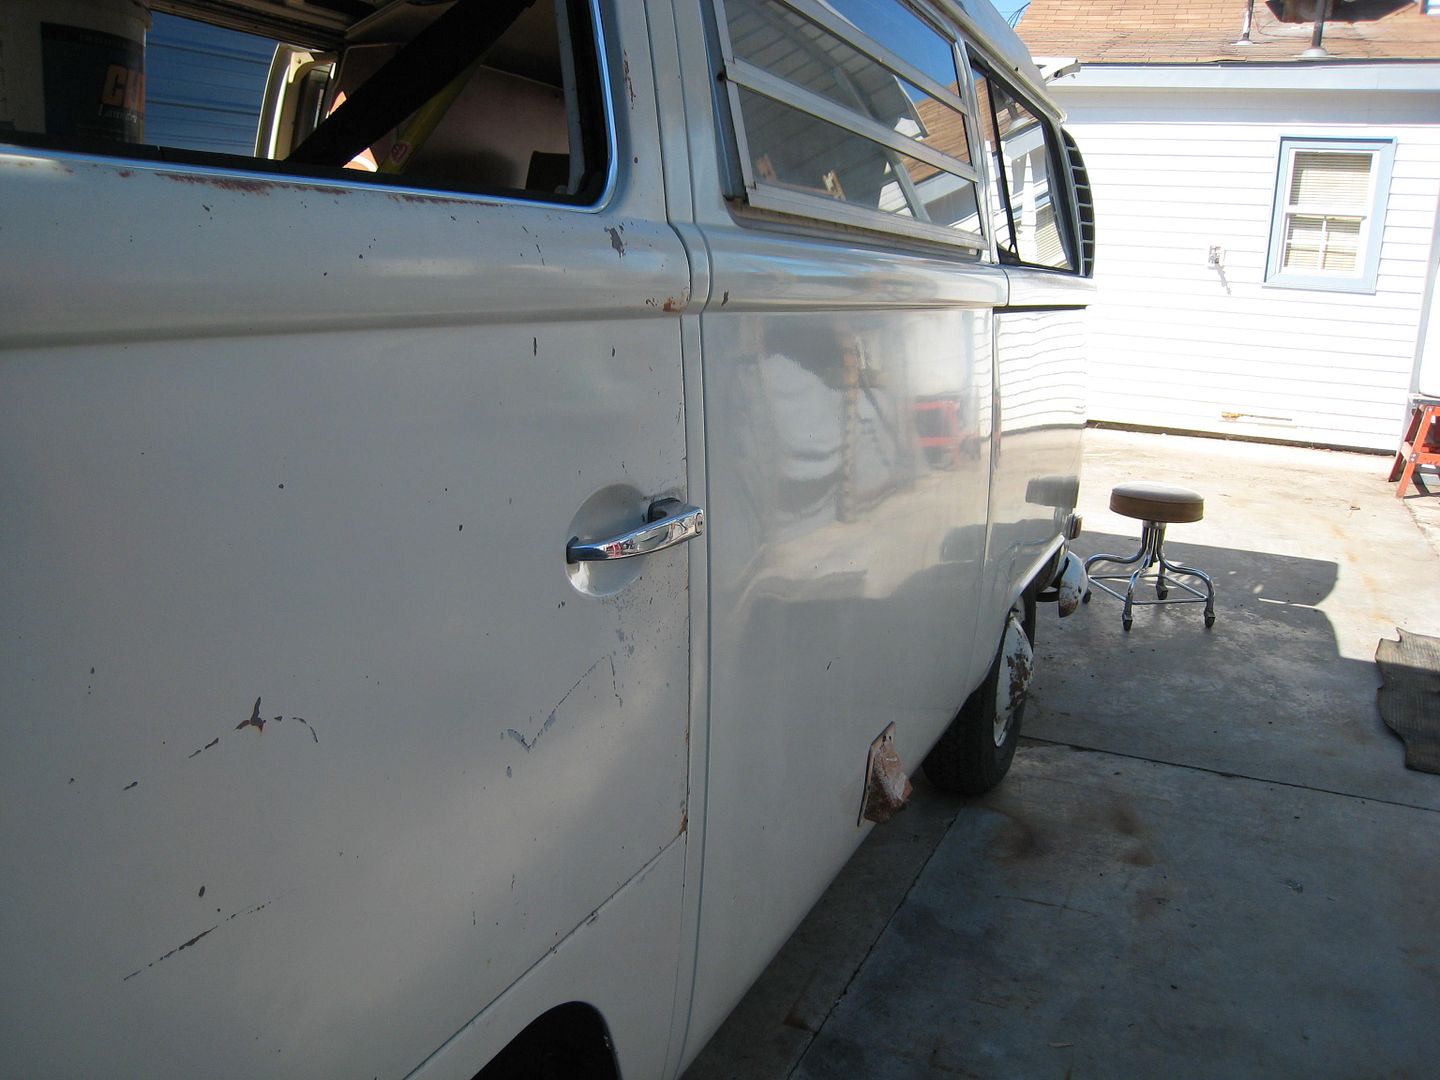
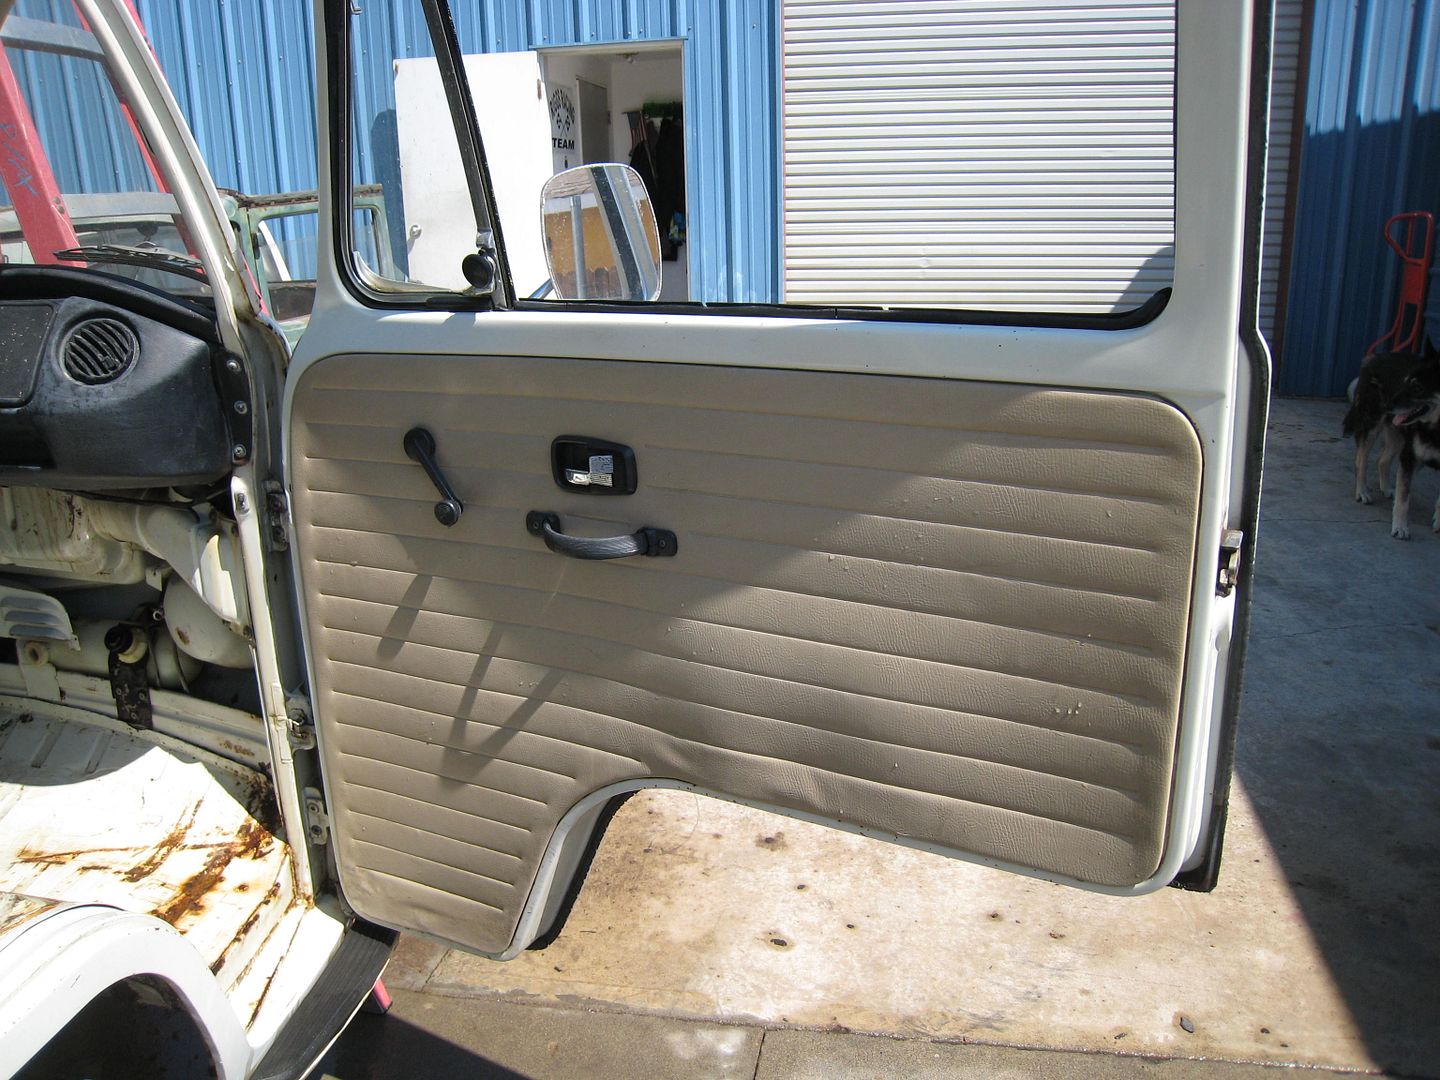
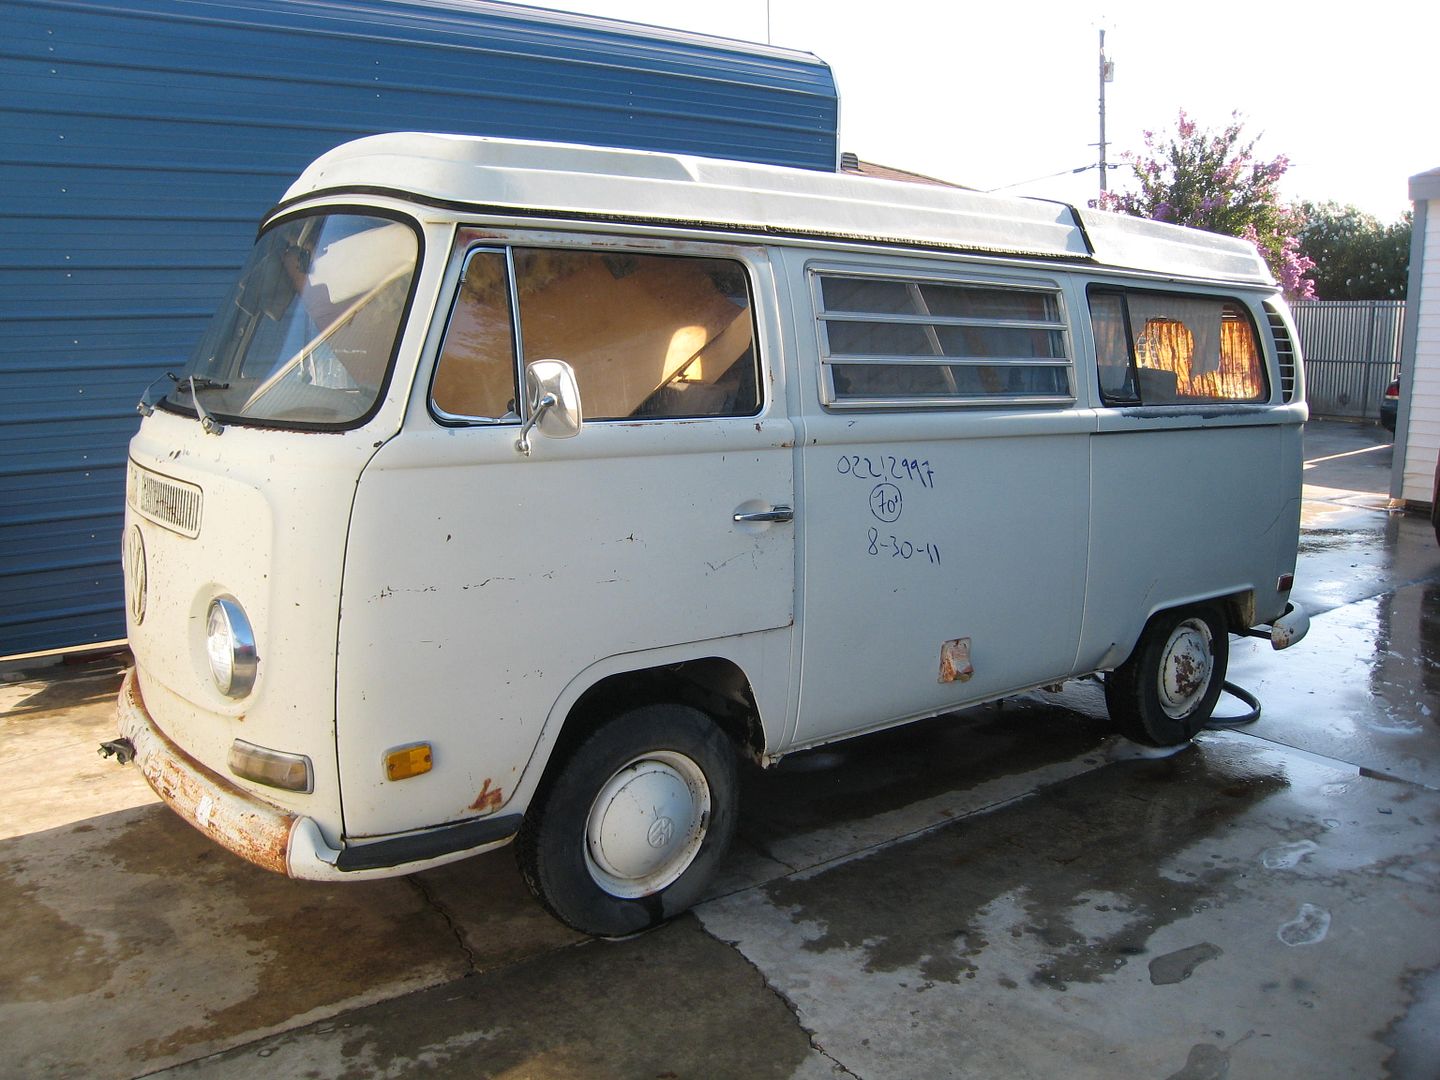
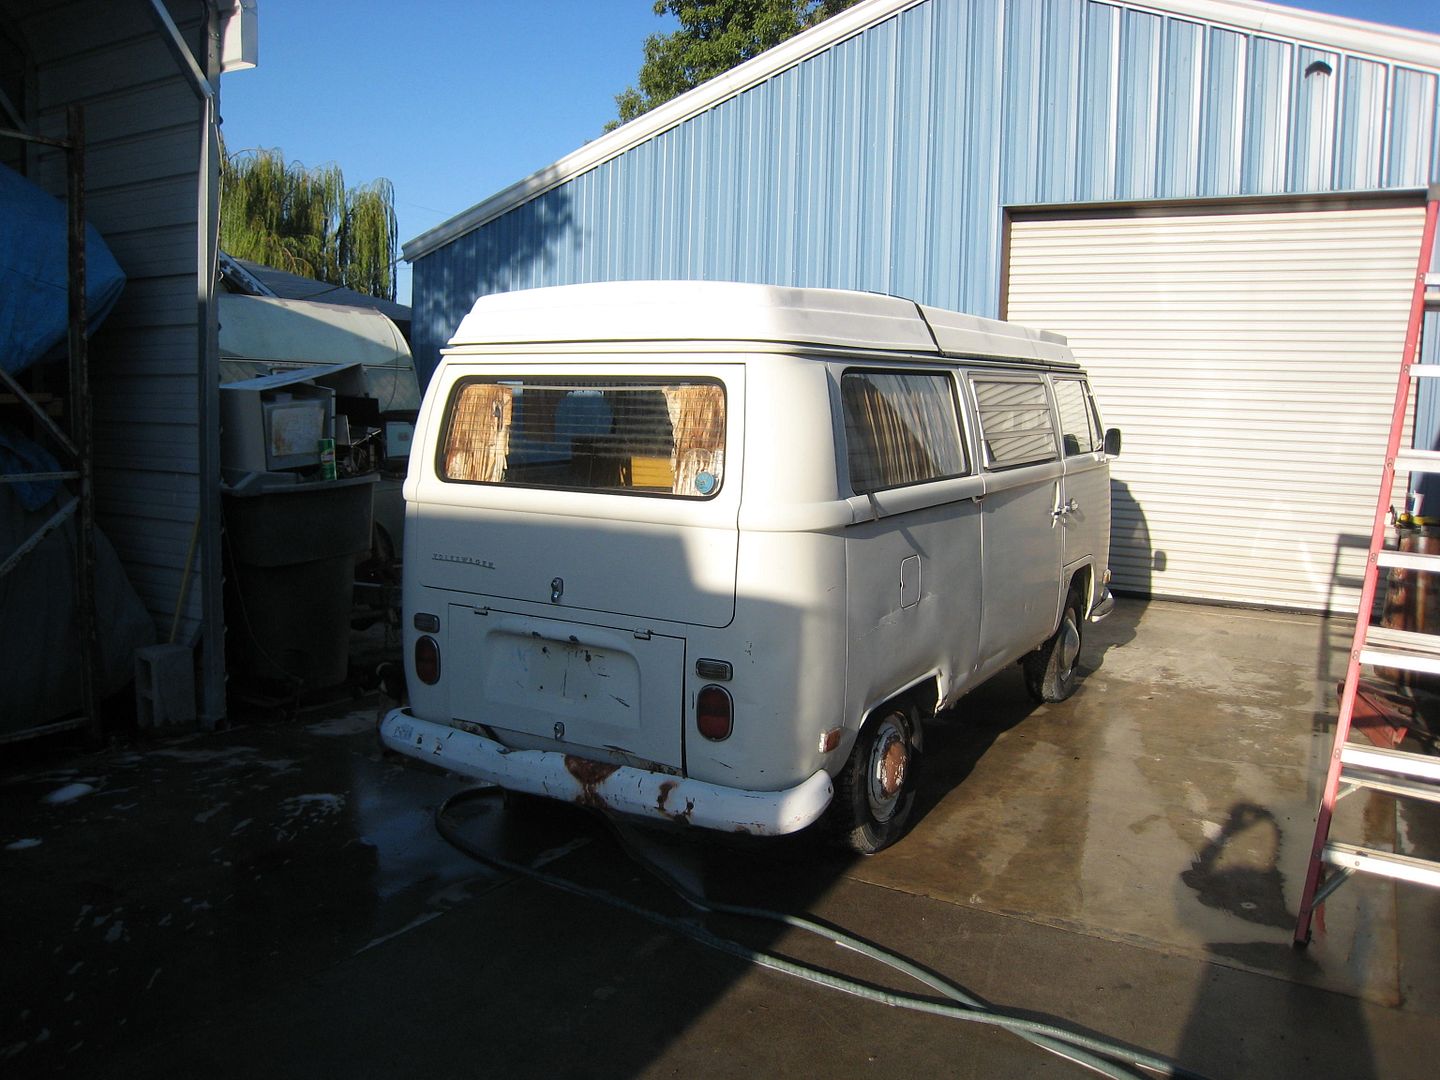
The outside is cleaned up. Just need to get the markings off the side.
Not sure on the photo limit so I will stop there for now! I'm currently working on vacuuming the rat turds out of the inside. I will share more pics as I go!!
Here are some pics.!!
How we found it, up on blocks ready to be picked apart.
Getting off the blocks.
It suffered minimal damage by that fork lift. I lucked out!!
The inside!
Rats!
A little mossy!
Outside badges
Top is well ventilated! LOL
The outside is cleaned up. Just need to get the markings off the side.
Not sure on the photo limit so I will stop there for now! I'm currently working on vacuuming the rat turds out of the inside. I will share more pics as I go!!