My 72 Danbury

Early Bay Forum

Help Support Early Bay Forum:

This site may earn a commission from merchant affiliate links, including eBay, Amazon, and others.
Doug, I'll definitely be wearing a smile when it is finished :D ..... just hope that it is because I am pleased with the results as well as the pure fact that it is finally finished? :roll:

BJ, I've just spent the last hour or so looking through your web at the resto pictures of the many vans that you have saved.... and to say that I am in impressed would be a huge understatement!!! So for a professional like yourself to compliment my work was an absolute shock and huge boost for me..... thanks chap!
I couldn't help but think how great it would be to have a job like yours and restore these wonderful VW's everyday..... such a sense of satisfaction I imagine? I'm jealous.

Cheers for your kind comments guys!!! It's really appreciated and what keeps me motivated :wink:
 
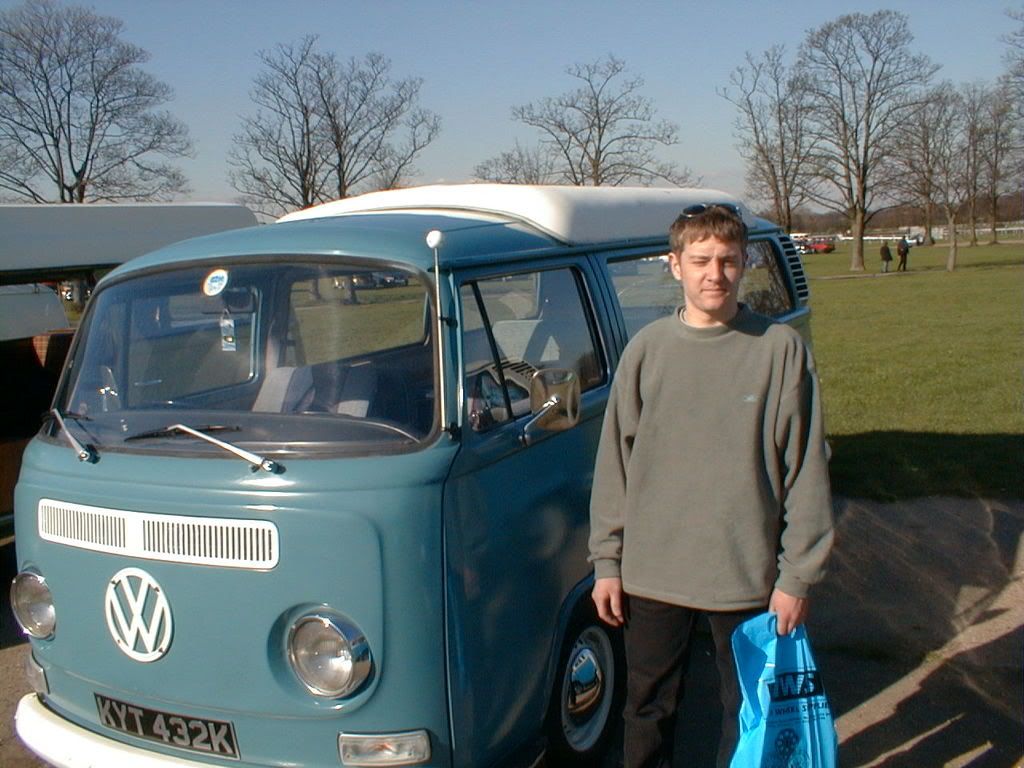
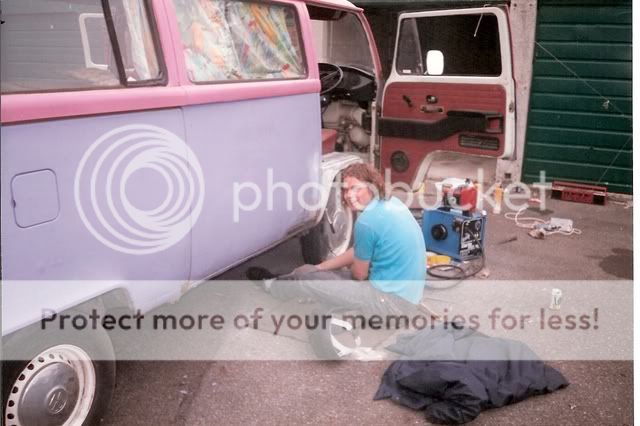
I have been flicking through some old photos and found this picture,just when you got the van i think?
CAMPERSND24.jpg
 
OH MY GOD!!!! :shock:

This picture must be about 10 years old Deano..... what rock did you find this under?
How young and slim do I look.... and what the hell was I thinking with that haircut? :lol:

Yes this must have been when I first got the van as it still has the standard rims on...... and I replaced these with the polished 5 spoke Empi's only a few months after buying it. It looked pretty good I think?

You do know that this means I am now gonna have to dig out an old embarrassing picture of you too!

Cheers..... I think? :roll:
 
Hahahahahahahahah.........lol
Yes very embarrassing and I am talking about the curtains!!!!!
 
Just a small update this weekend:

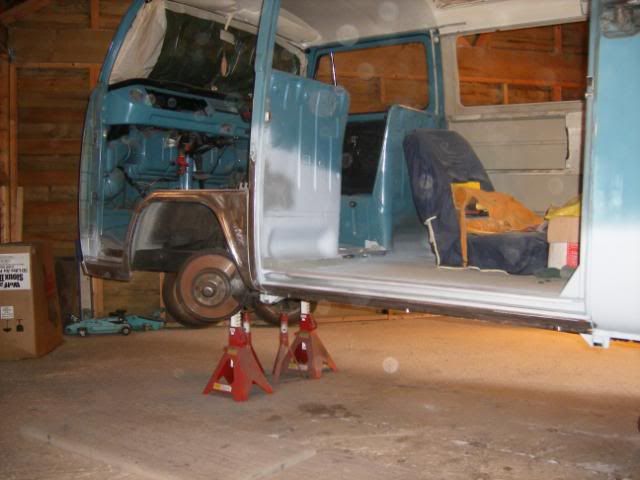
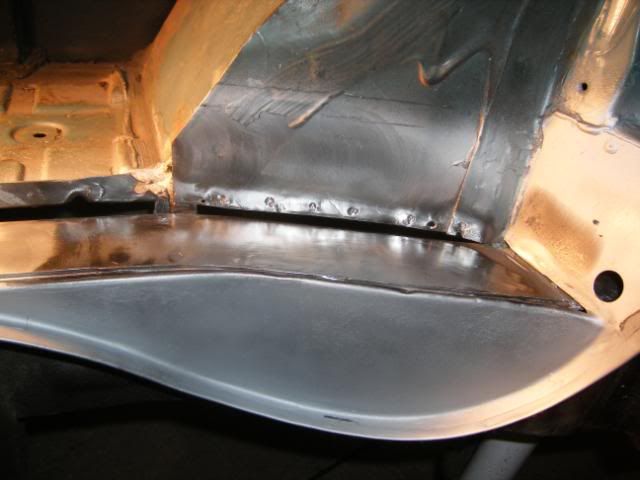
Bare-metalled the newly replaced nearside front arch, B post, outersill and rear arch closing panel:

DSCF1606.jpg


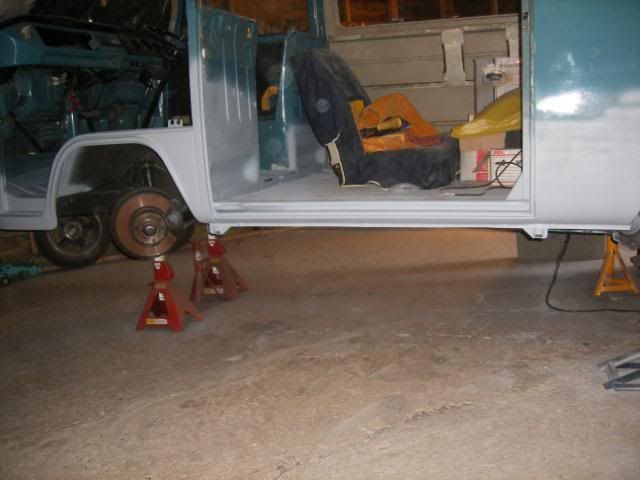
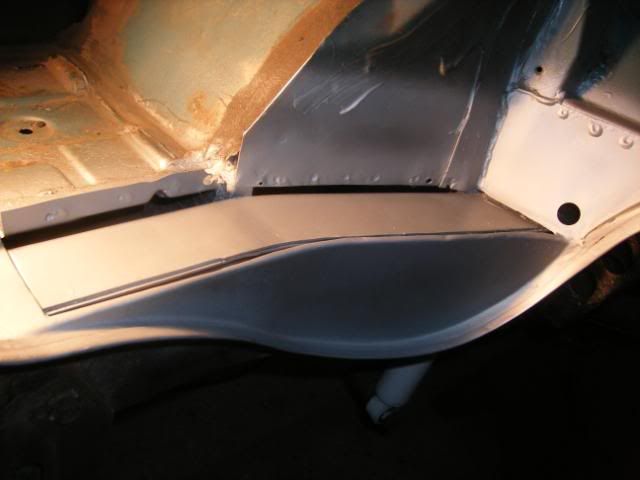
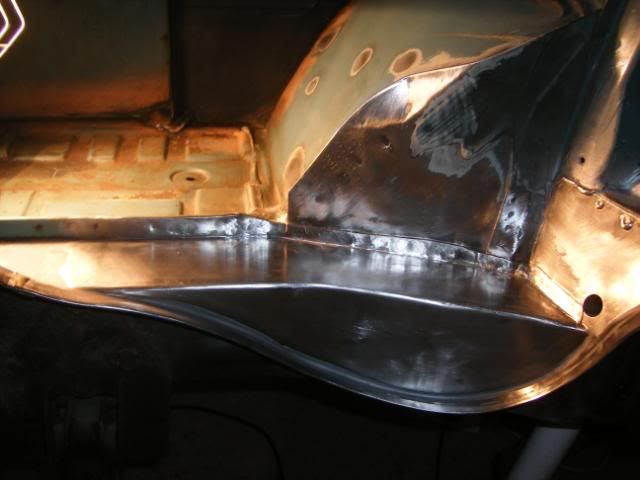
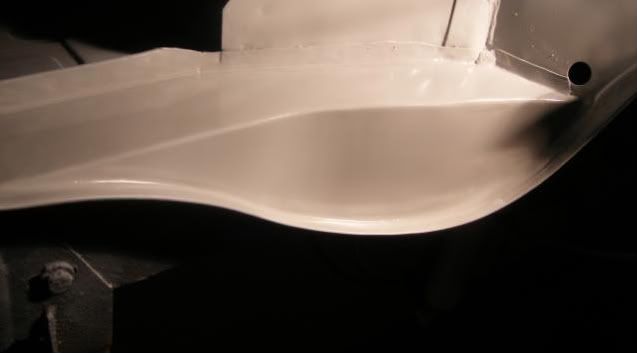
Added a skim of filler over the welded/join areas of the B post and rear arch closing panel, sanded/shaped and then etch primed, I'm pleased with how it looks.... nice and solid now and finally free from all that rust I started with:

DSCF1613.jpg


Just need to apply some POR 15 and underseal to the underside of the nearside and then I can move onto the rear.
 
Camperdan said:
Doug, I'll definitely be wearing a smile when it is finished :D ..... just hope that it is because I am pleased with the results as well as the pure fact that it is finally finished? :roll:

BJ, I've just spent the last hour or so looking through your web at the resto pictures of the many vans that you have saved.... and to say that I am in impressed would be a huge understatement!!! So for a professional like yourself to compliment my work was an absolute shock and huge boost for me..... thanks chap!
I couldn't help but think how great it would be to have a job like yours and restore these wonderful VW's everyday..... such a sense of satisfaction I imagine? I'm jealous.

Cheers for your kind comments guys!!! It's really appreciated and what keeps me motivated :wink:

If only BT hadn't gone and changed the platform that i created my website with :x it wouldn't be a year out of date, i still haven't got my head around the new set up yet, so i can't update it with all the latest restos.

Credit where credits due, loving your resto thread, it's very rewarding to see someone do the work correctly when you know exactly what they're going through doing it 8)

As for the job being great, it does give you satisfaction to see the end result, especially when they win some shows with it :D , but it will never make me rich :( & Ironically i see one of my mates in 'IT' with a good wage, all clean and no back ache and think that must be great job :lol:
 
Cheers Johnny, yes I was very lucky finding such a good sized barn to rent locally as unfortunately I think I have a mild case of OCD when it comes to cleanliness and organisation of my surroundings - therefore without the space I'd probably have gone crazy by now.... full respect to all those that do this on their drives or in single garages!!! Of course luxuries such as space cost money and if I were to add up what I've spent in rent... I probably could have paid someone else to have done all the work for me.... so..... I simply just don't add it up and just think about the satisfaction I hope to feel when its finished knowing that I did it!

Bin Jammin, gutted about the whole BT scenario as I'd enjoy looking through more of your great work! And as for the job subject.... I guess the grass can often seem greener and all that but I still think there has to be a lot said for enjoying your work! Mine is pretty dull :roll: the only highlight is lunchtime when I get to log onto Earlybay :D , also since having a desk job I've had more problems with my back and shoulders than I ever did when I was on my feet all day.... plus sitting in front of a PC non-stop has done nothing good for my eyesight.... or my waistline for that matter :shock: ?

:wink:
 
Camperdan said:
Bin Jammin, gutted about the whole BT scenario as I'd enjoy looking through more of your great work! And as for the job subject.... I guess the grass can often seem greener and all that but I still think there has to be a lot said for enjoying your work! Mine is pretty dull :roll: the only highlight is lunchtime when I get to log onto Earlybay :D , also since having a desk job I've had more problems with my back and shoulders than I ever did when I was on my feet all day.... plus sitting in front of a PC non-stop has done nothing good for my eyesight.... or my waistline for that matter :shock: ?

:wink:

Yep i guess you're right, sitting down all day looking at a screen would probably send me round the bend (if i hadn't already gone :lol: ), and lower back and neck pain would be an issue. oh well it did seem like a good idea :roll: :lol:

Once i learn all the new stuff (software) i'll be getting a new website up and running in place of the current one with all the restos added in.

But for now i'm going to savour your resto thread as it comes along, will you be doing the paint yourself as well?

I imagine you'll do an equally impressive job of that too 8)
 
I am intending to do as much of the prep as possible but as for the painting.... I'd love to have a go but as I'll be needing the whole van painted - and considering that I really want a professional finish in 2K paint, it will therefore need to be applied by a professional with all the equipment and baked in an oven so it will look good and last!
As such I will be looking to farm this job out.

I was originally gonna use a friend of a friend that has a bodyshop as he had said some time back that he'd do it for me..... however I'm not so sure how serious he was as he's not really into the classics and concentrates on insurance/crash repairs and I get the impression that this would just not be his cup-of-tea at all.

Either way I'm gonna look around nearer the time for a few quotes to do all the final prep and paint...... and then decide where to take it..... hopefully I'll find the right man for the job?

Cheers

Dan
 
There's a lot of change going on at the moment with regards to paint.
My painter was telling me today that DEFRA (sp?) has now got to issue a licence to painters to buy 2k paint and that if you don't apply as a classic restorer you're going to have trouble getting the paint.
Also PPG are already stopping production of certain colours in 2k, as it's all now got to go over to water based paint which will cause all sorts of problems.

Should be able to get the paint with a licence for the rest of this year but next year is another story. :roll:
 
you can get 2K on ebay no questions asked in any colour. If you get to know your local motor factor supplier they will quite happily supply it as long as they are sure your not an inspector :lol:
 
Should be able to get the paint with a licence for the rest of this year but next year is another story.
Guess I had better pull my finger out then!!!!!

This weekends progress:
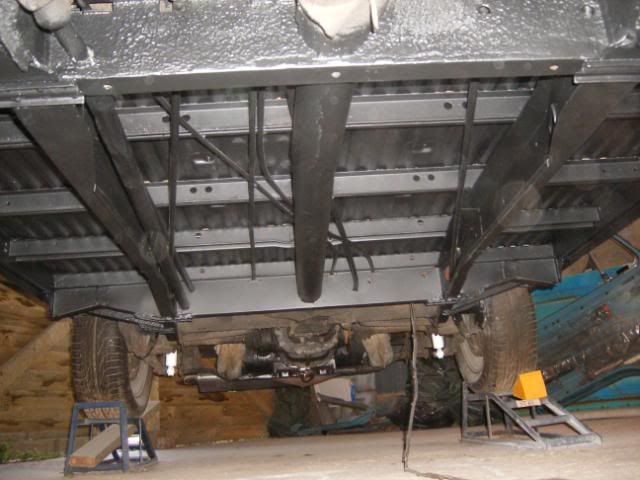
The centre section of the underside is now all fully repaired and painted:

DSCF1730.jpg


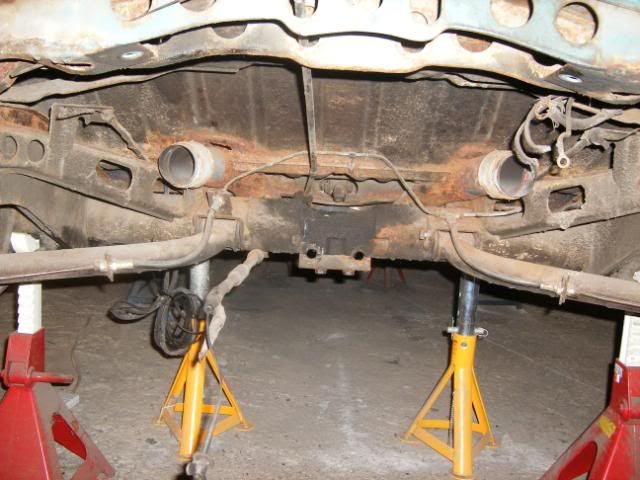
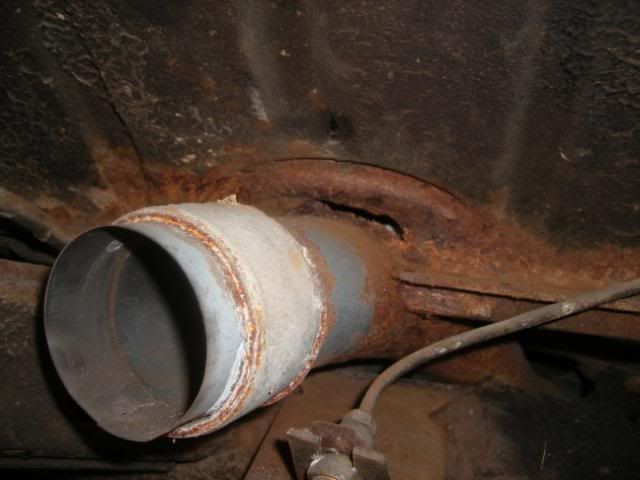
So was then able to move onto the rear.... I've known for a long time that I had some rot in the engine bay on either side and also had seen a while back whilst under the van doing something or another that the area below the fuel tank looked a bit crusty on the drivers side?
So..... after nearly killing myself from dehydration and heat stroke (gee it was hot in that barn this weekend!) I managed to pull the engine and fuel tank out to get a closer look at the extent of the rust:

Engine Bay - nearside chassis leg top:
DSCF1767.jpg


Engine Bay - offside chassis leg top, (or at least it used to be):
DSCF1768.jpg


Fuel tank leak - that may explain some of the fuel smells I always had?:
DSCF1756.jpg


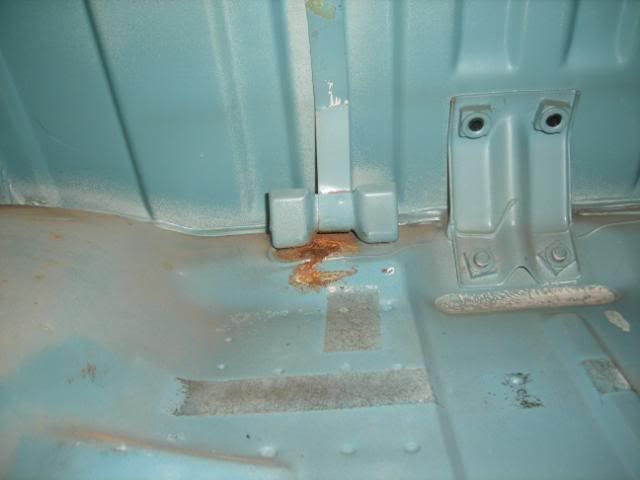
Fuel tank cavity nearside (not too bad but right by the strap support?):
DSCF1765.jpg


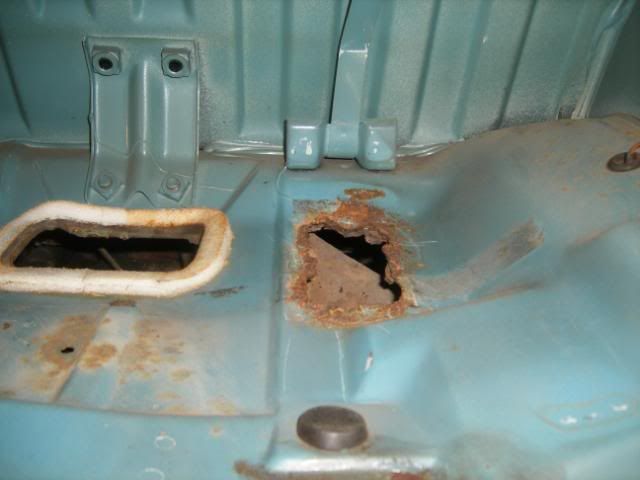
Fuel tank cavity offside, just as expected (non existent):
DSCF1764.jpg


I'm gonna pull the gearbox out too this week hopefully as that should make for easier access for the repairs.

The offside battery tray was a little crusty too so I need to take a closer look at it and decide whether to repair or replace?

Just when you think you are getting somewhere? :roll:
 
Took the gearbox out tonight:

DSCF1778.jpg


Gave me great access to everything which after a good dig aroung revealed yet more rust that will require repair..... is there no end?!!!! :roll:

DSCF1780.jpg
 
the only way to do the job is to take it all out . i can only think that most campers on the road these days, unless they have had a full on job will have **** like this going on where you cant get to.
 
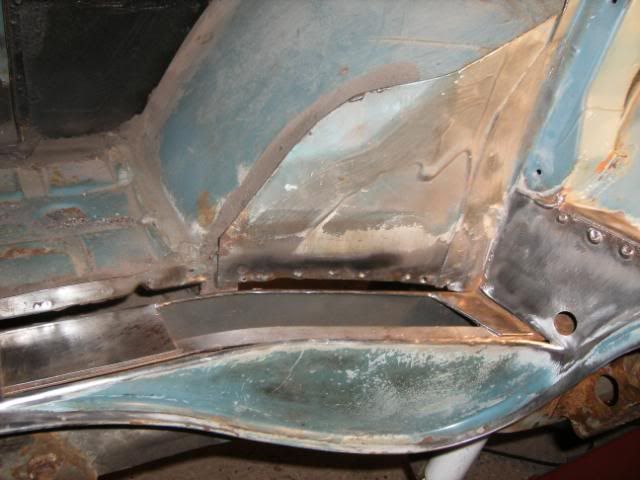
Plodding on.... started repairing the nearside engine bay chassis leg top.

Cut off a section of the top cover for access then cut out the rotten part of the chassis leg top:
DSCF1785.jpg


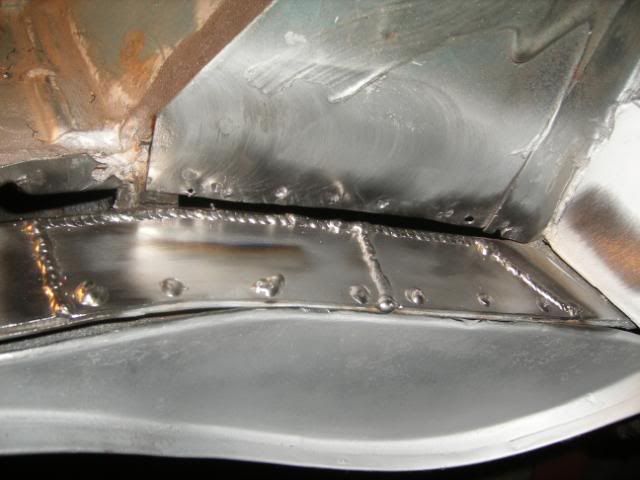
Welded in a new section (had to use two pieces joined in the middle as I didn't have any single large pieces of the correct gauge metal left):
DSCF1791.jpg


Ground back:
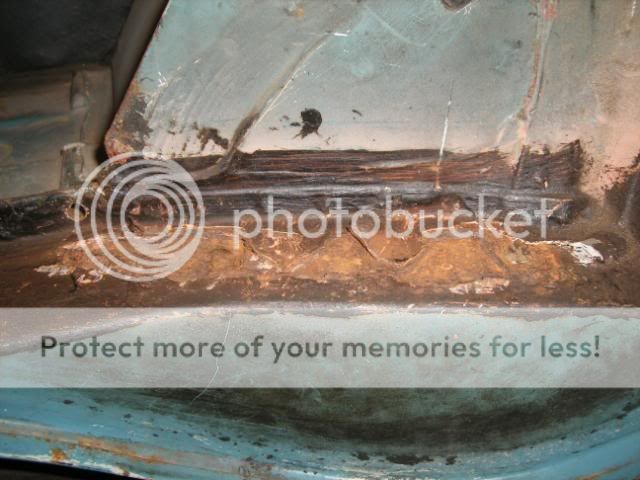
DSCF1794.jpg


Light dusting of paint:
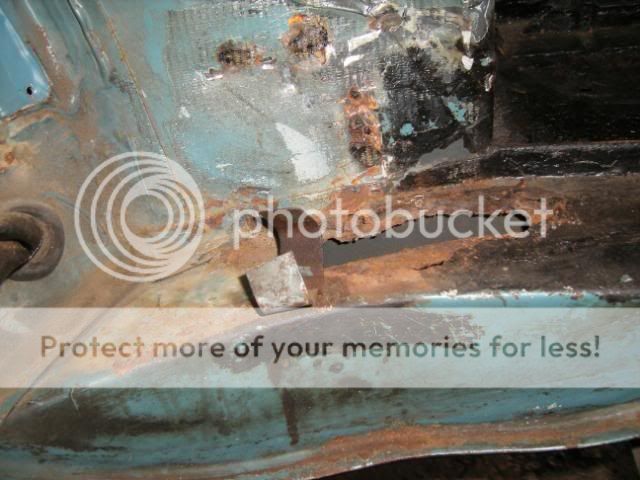
DSCF1797.jpg


I've already cut to shape the insert for the top cover part and should have this welded in also by the weekend.
 
Welded in and ground back the top cover part/patch to the nearside engine bay area today:
DSCF1807.jpg


Then popped some primer on it:
DSCF1808-1.jpg


Hope to start the same repair on the offside this week.
 

Latest posts

Top