andewilson
Well-known member
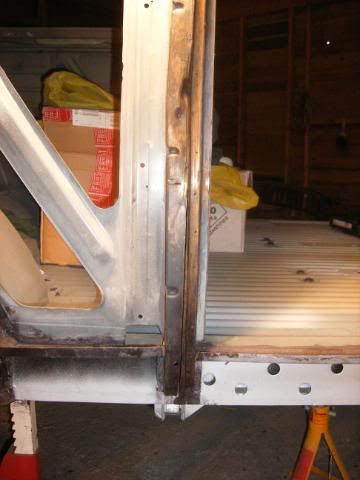
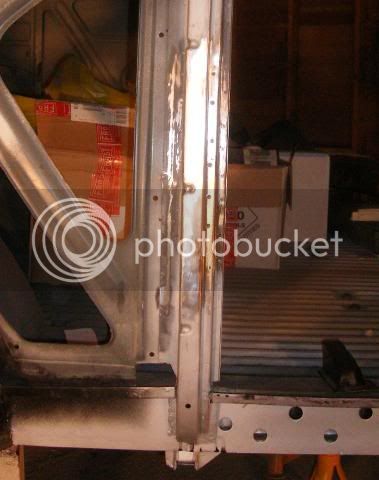
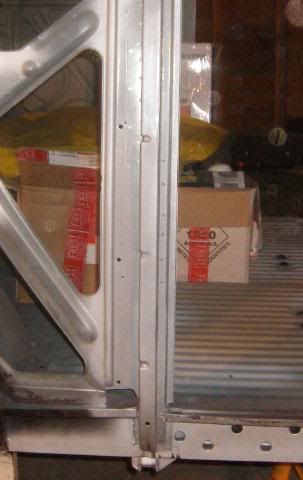
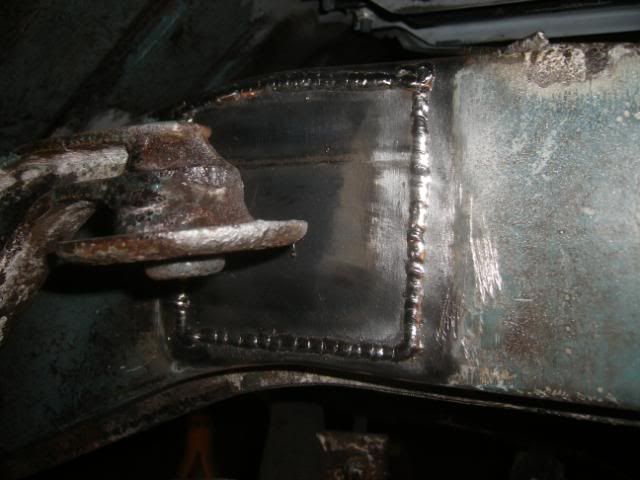
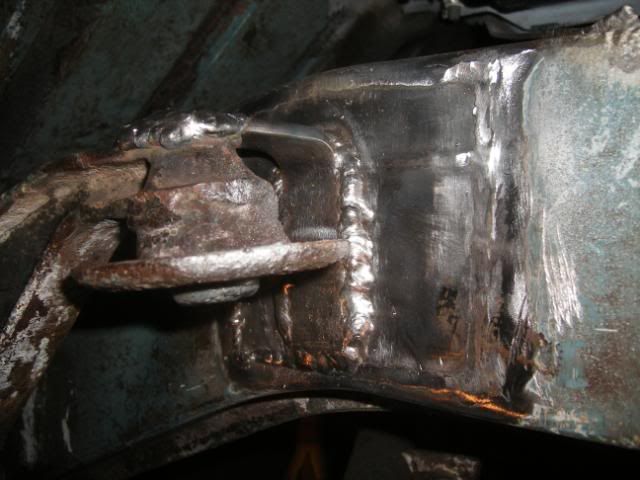
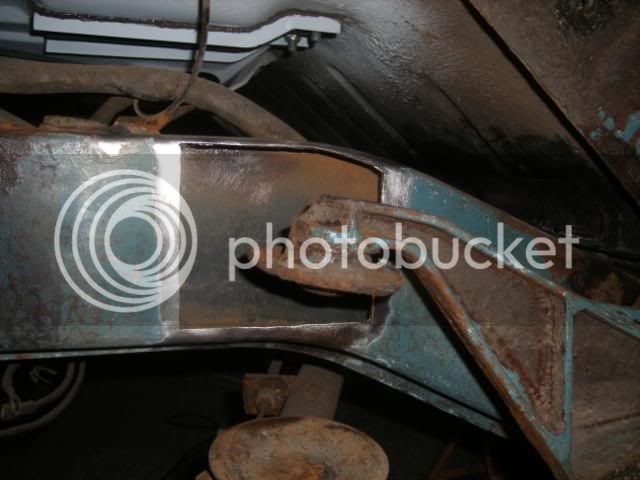
id fill the hole in the chassis then buy a foot of beffy angle iron and cut a 5cm long bit then weld it in place job done
andewilson said:id fill the hole in the chassis then buy a foot of beffy angle iron and cut a 5cm long bit then weld it in place job done
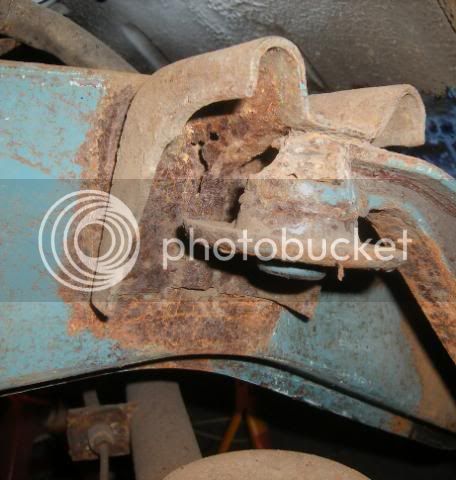
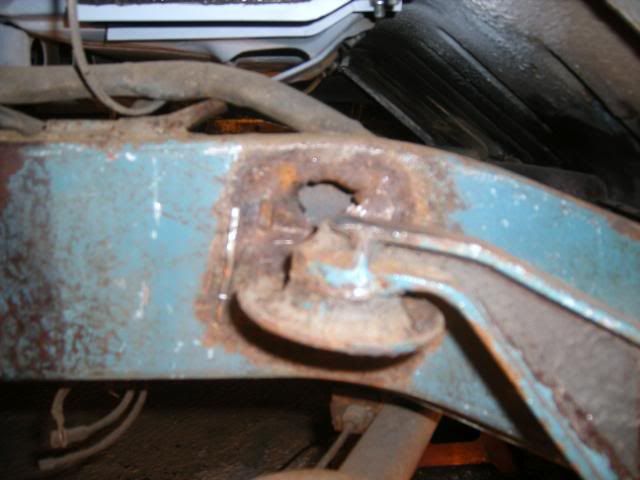

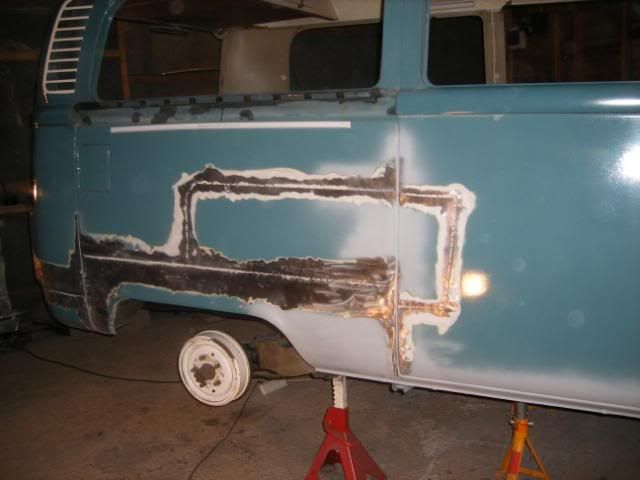
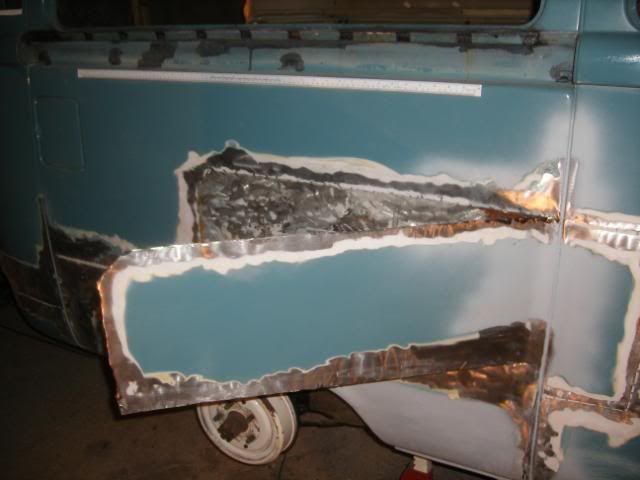
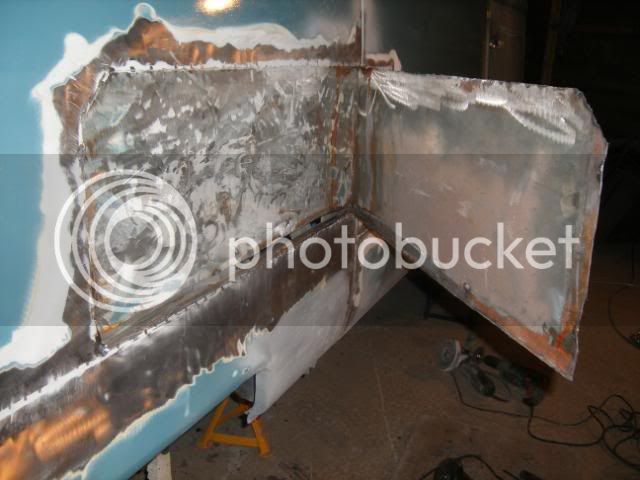
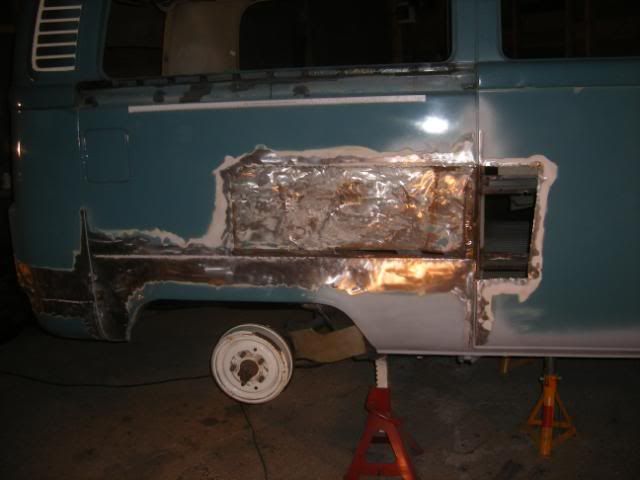
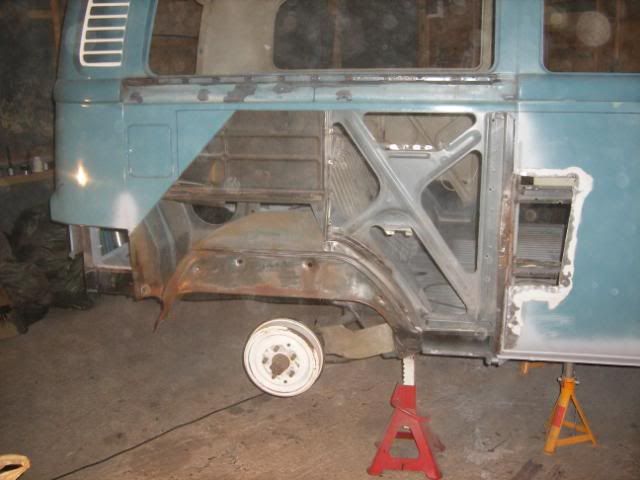
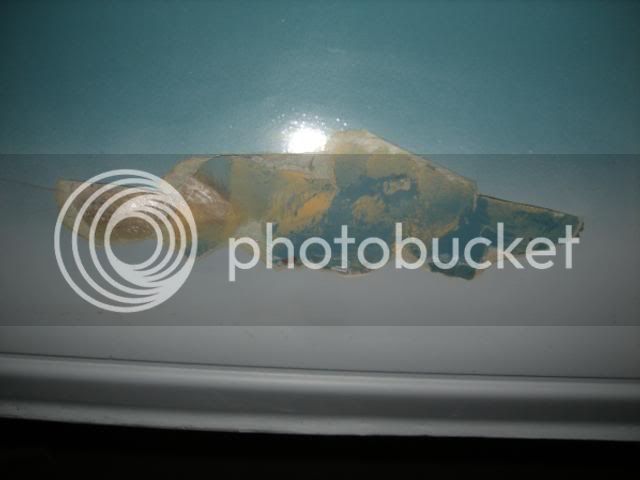
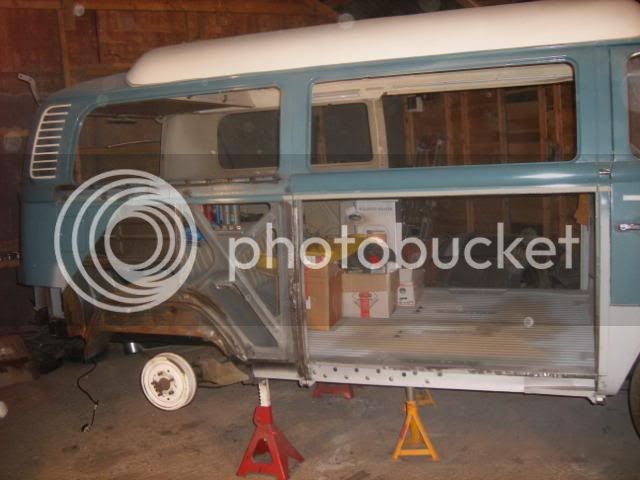
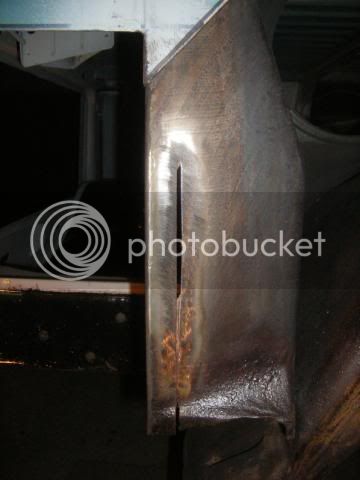
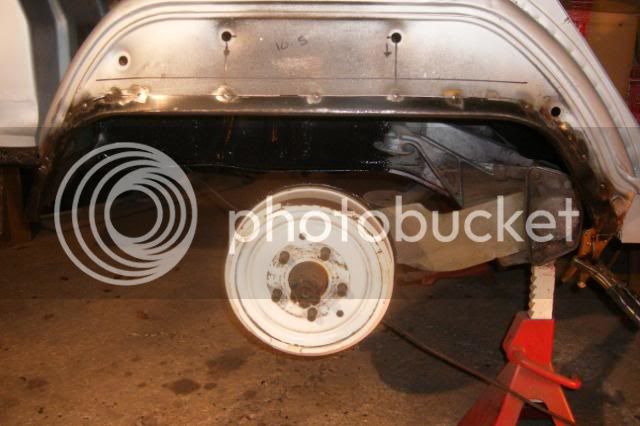
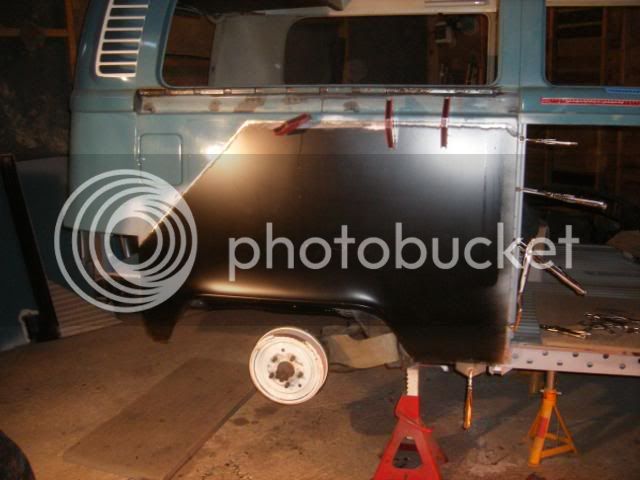
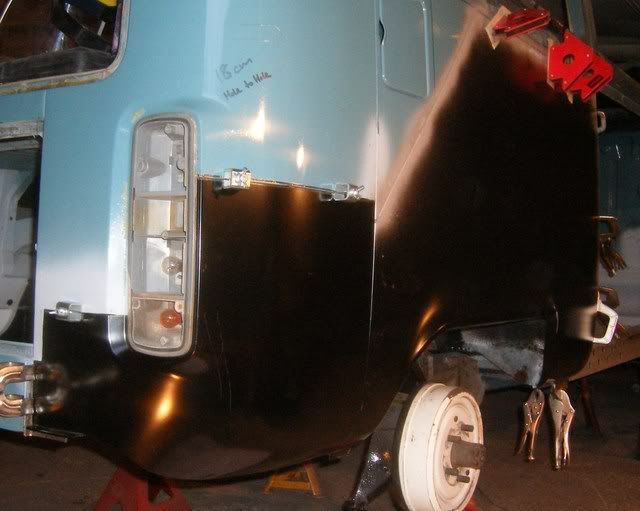
Camperdan said:I've also discovered that now with the fuel tank removed and taking a good look at the inside of the offside rear quarter panel, I can see that the prior repaired accident damage down that side (which I already knew was there but appeared minor from the outside) was in fact pretty damn serious and worst still, had not really been repaired at all but instead it would seem has simply been left beaten in with a sheet of metal then spot-welded over the damage from the outside and fillered over!!! Why? :evil:
So it looks like to do this properly I am gonna have to dig it all out and take a much closer look - maybe, just maybe it will be repairable without the need to replace the complete offside rear quarter panel, however at the moment I suspect not.