My 72 Danbury

Early Bay Forum

Help Support Early Bay Forum:

This site may earn a commission from merchant affiliate links, including eBay, Amazon, and others.
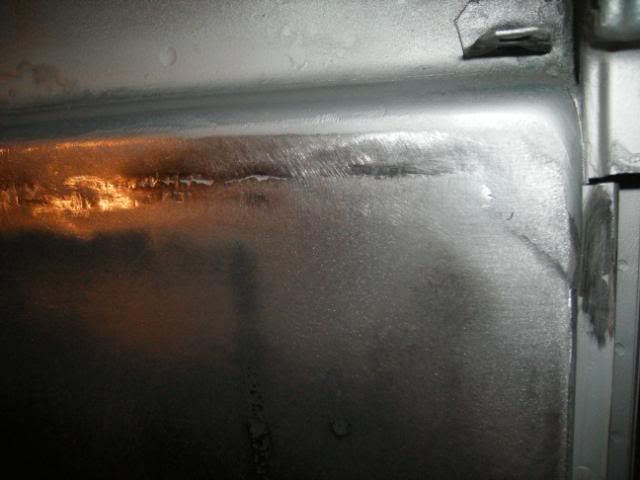
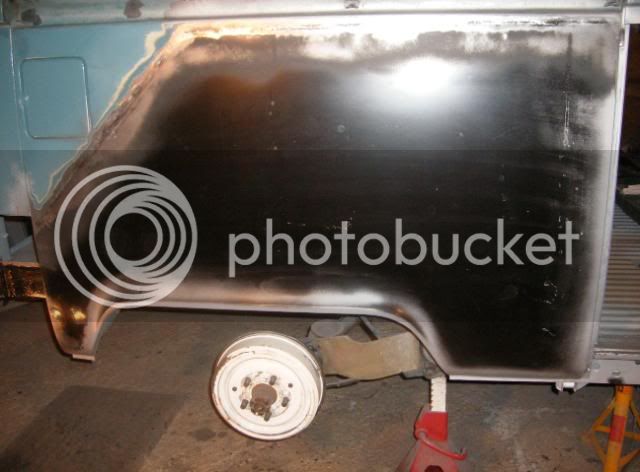
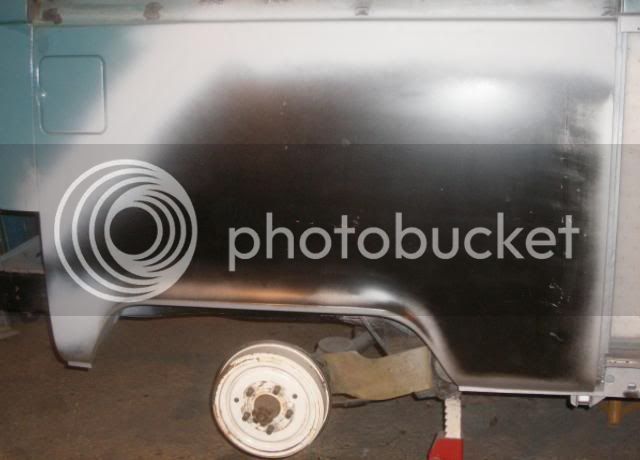
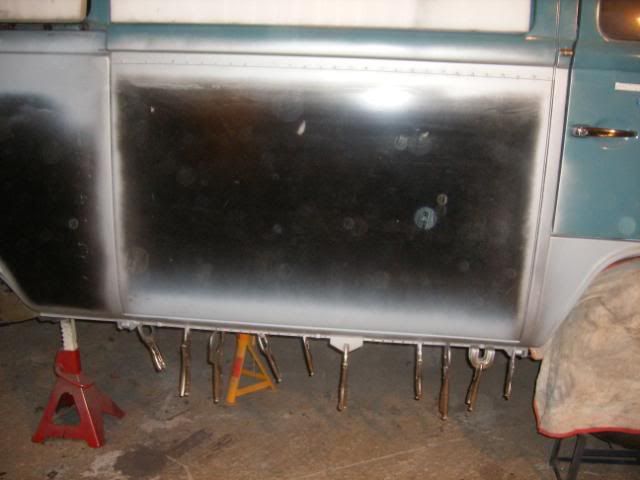
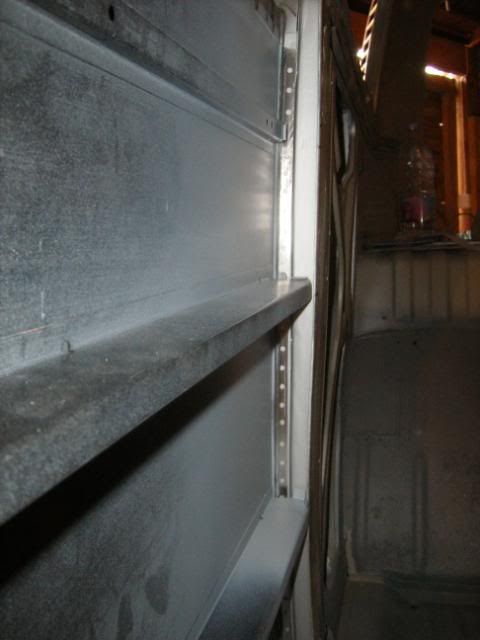
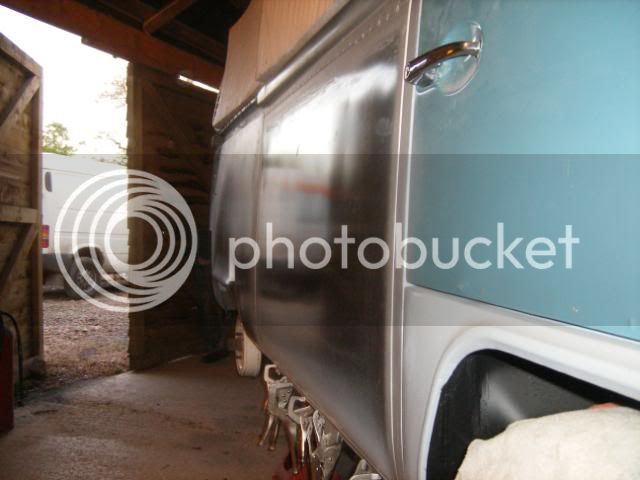
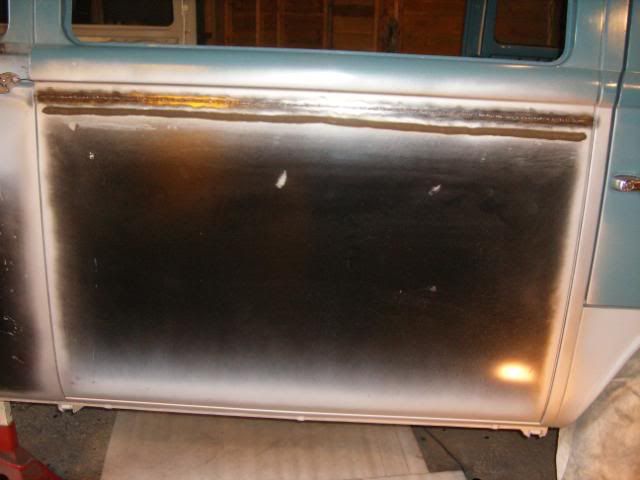
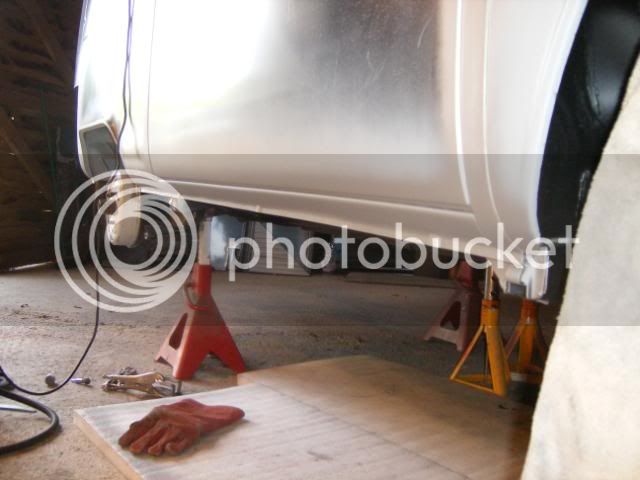
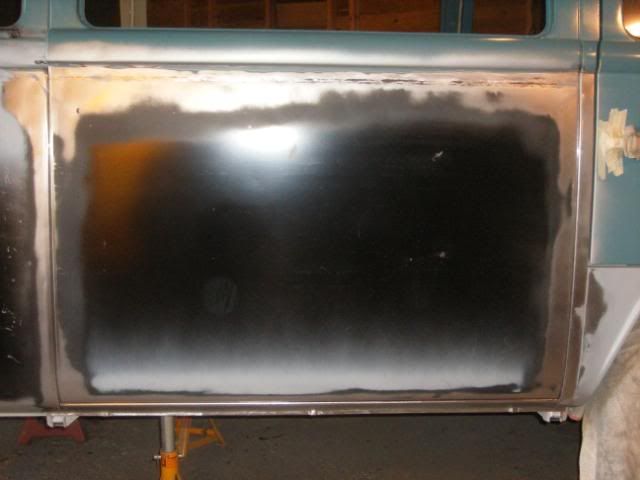
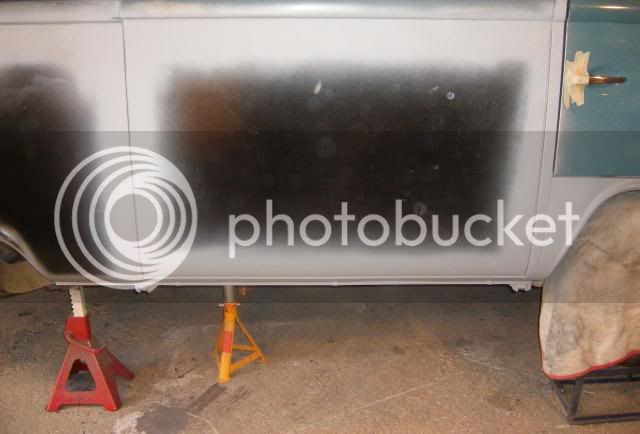
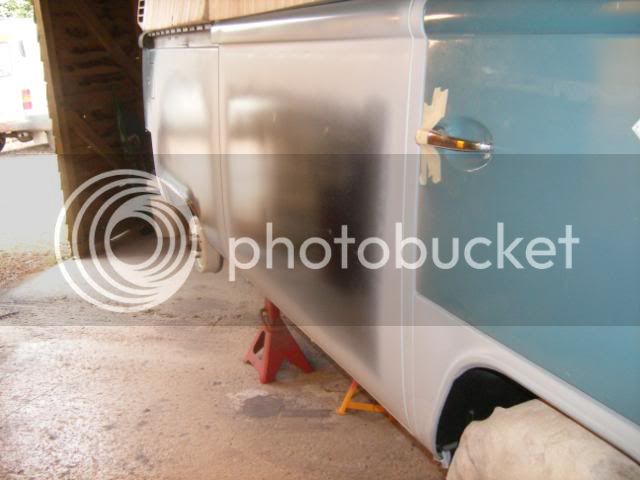
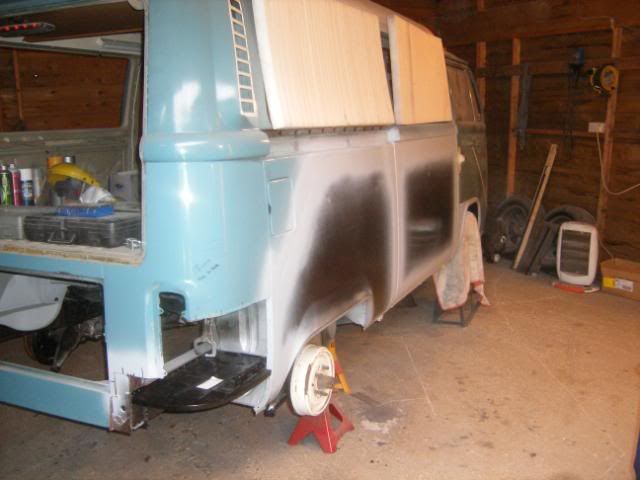
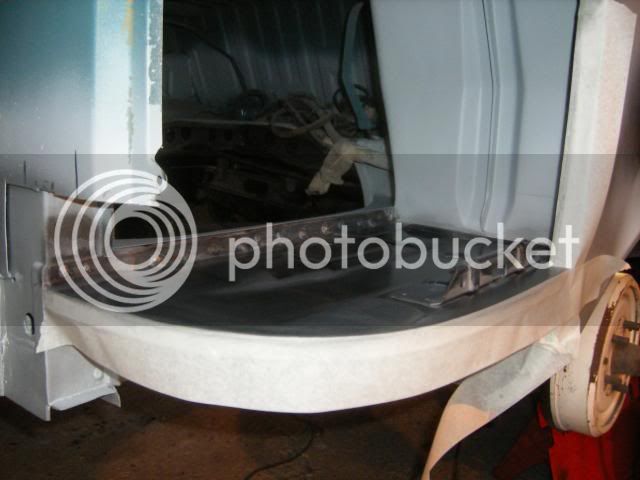
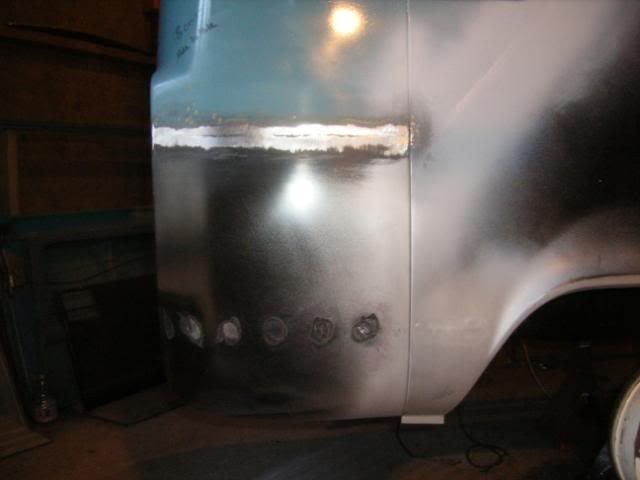
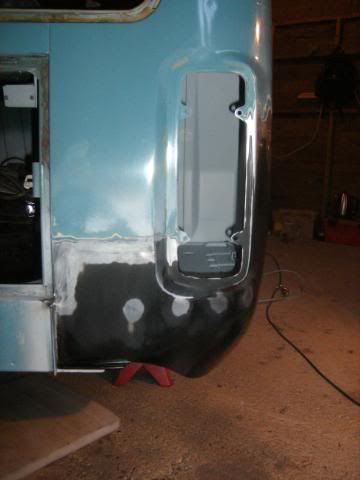
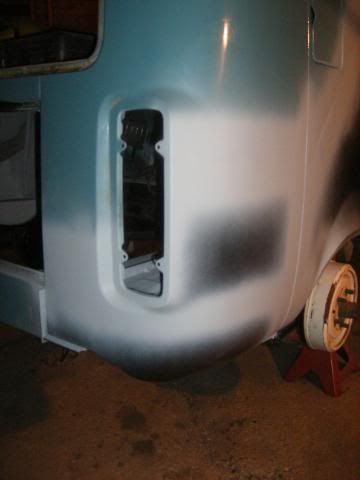
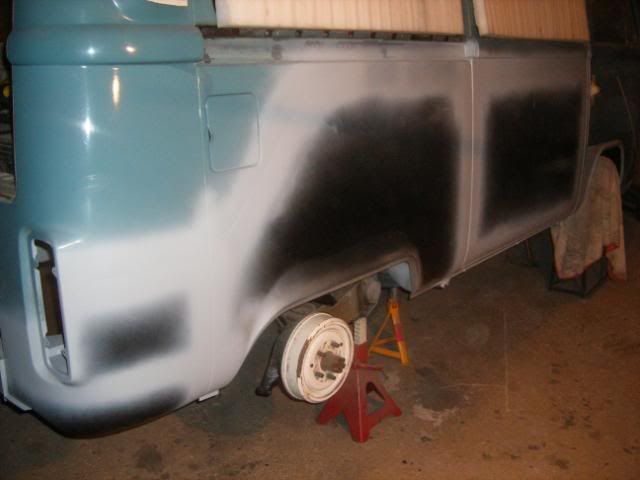
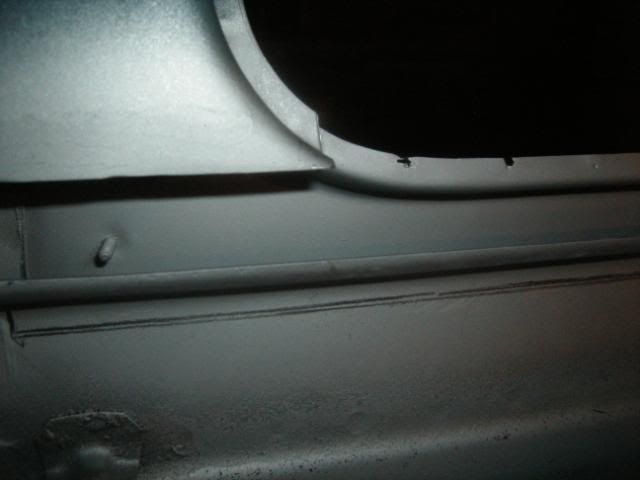
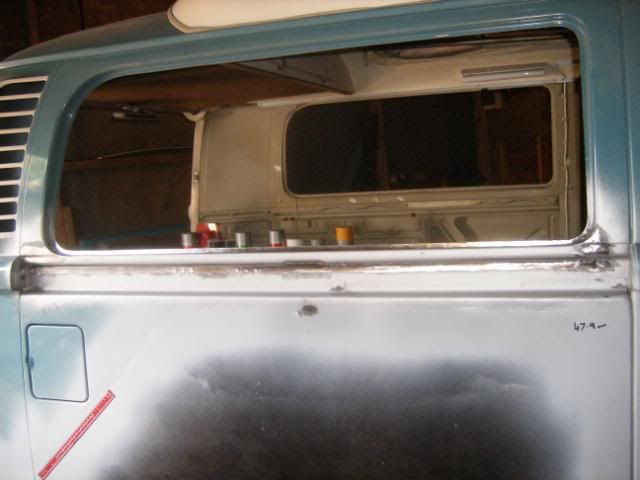
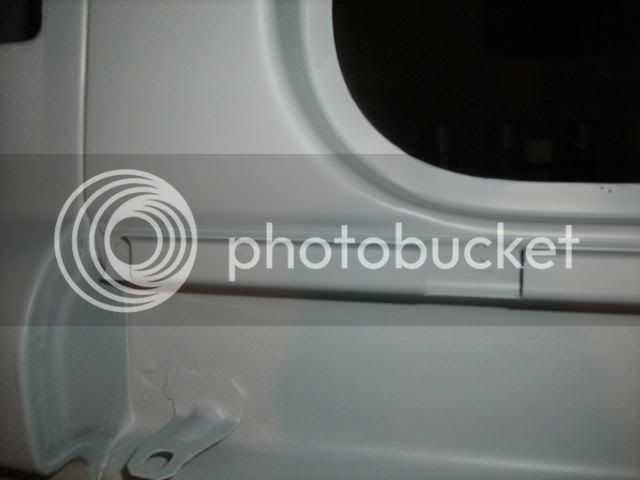
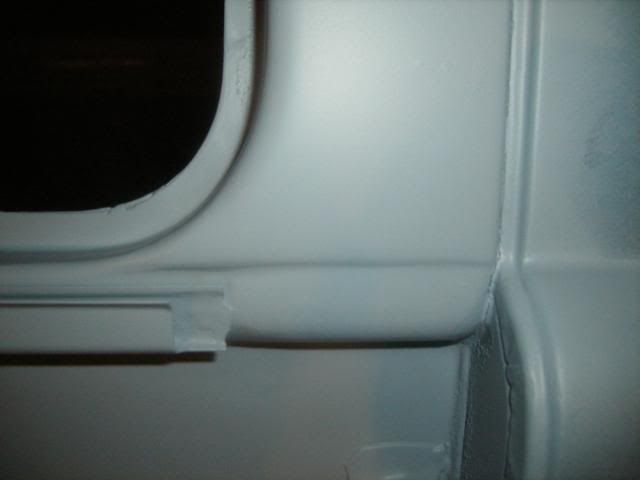
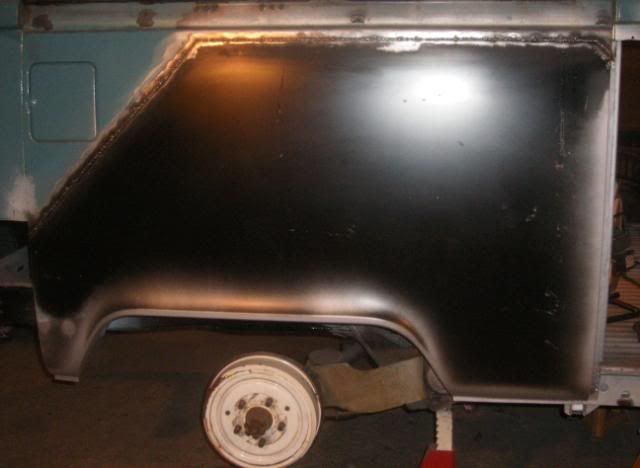
Got the middle side panel all trimmed to size and offered up into position at the weekend, along with the outside sill.

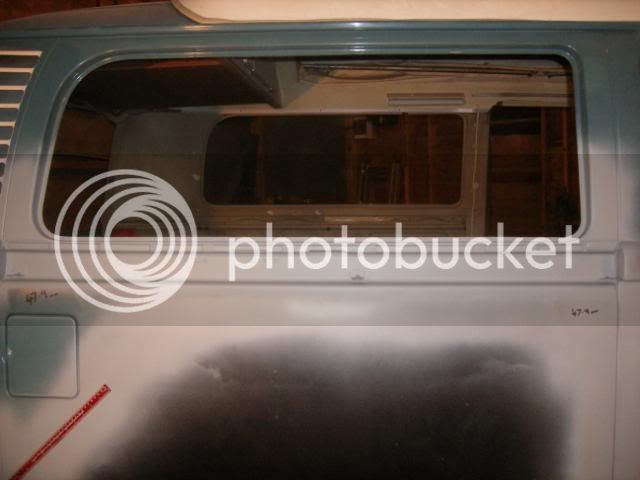
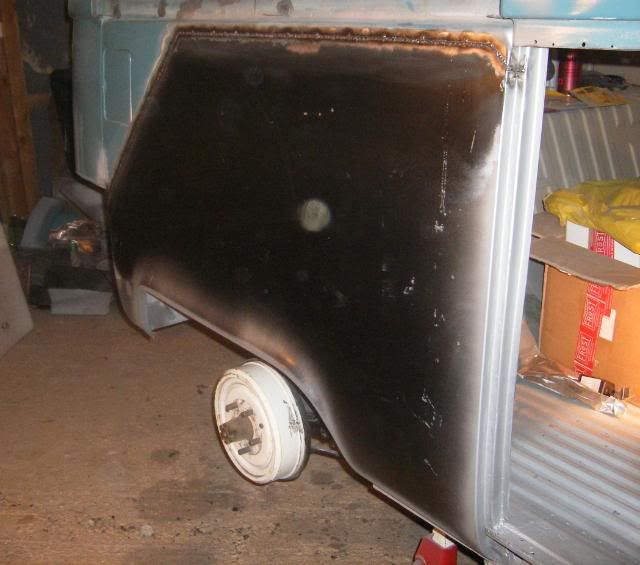
Forgot my camera so only a blurred pic from the phone I'm afraid:
DSC00121.jpg


Pretty happy with the fit and alignment of all the panels to each other etc so now have to remove everything again and start welding them in for good.
 
Been a while since my last update as progress has been slow due to work commitments and hence lack of time spent working on the bus... plus a weekend out for Volksworld show and a week snowboarding in France!

So.... back to the bus, not much to show but after removing all the trial-fitted side panels I began with the rear quarter, painted all the inside arears never to be seen again and then glued and welded on the quarter:

DSCF3210.jpg


Took an age to weld the panel join as I literally did a spot at a time in a kind of 'string-of-pearls' effect at alternating locations along the panel until it was completely welded, this is why the weld doesn't appear too smooth but it was to avoid heat build-up and minimise distortion as much as possible.

DSCF3209.jpg


Still need to carefully grind back the weld but distortion seems quite minimal so I was pretty happy :)
 
Bit more progress yesterday evening, ground the weld back then popped some primer on it. With the weld ground down I could have a proper feel for any distortion and the general fit - theres a little bit of a high spot just next to and below the fuel filler flap but hopefully nothing a light tap here and there and a light skim of filler won't sort....

DSCF3217.jpg


DSCF3212.jpg


DSCF3218.jpg


Will start the middle panel later this week/weekend.
 
That looks good,
Much better than a half panel with a weld along the middle as most of us have done ;)
 
Thanks Nelly, means a lot coming from someone with your skills.

I would have just done the half panel had it not been for all the damage that was hidden on this side.... certainly would have been a lot simpler and much much cheaper!

Cheers :D
 
Prepared and then tacked into position the middle side panel today.

DSCF3242.jpg


Just need to finish plug-welding the inside edges of the panel and the bottom edge of the outer sill before finally fully welding the panel join and grinding it flush.

DSCF3237.jpg


Fit is pretty good but this panel will need a bit of work as although it's brand new it got a little damaged in transit and also has numerous slight dimples across it where the inside strengthening beams are spot-welded from new?

DSCF3252.jpg
 
Would have like to have gone to Stanford today but thought better of it and got back to work on the van:

Doesn't look like much progress but took the best part of 7 hours to plug weld the entire inside edges of the middle side panel, then the outer sill, and finally carefully seam weld the panel join in single spots! Got the welds on the outer sill all ground back.... will grind back the panel join in the week and hopefully any distortion should be minimal:

DSCF3346.jpg


DSCF3343.jpg
 
Thats great, all that work and no one can see it! :lol: The thing is thats the point you've made it look factory, and you have the satisfaction of doing it right. I don't know about you but i can't help looking around people's van's and seeing wobbly sills and other bad repairs a mile off cause once you've done repairs in these area's you get obsessed with getting it right! 8)

Really great to see your progress, looking forward to the next installment.

Gareth
 
Thanks Gareth, I spend a lot of time trying to the best of my novice ability to make repairs look as factory and as invisible as possible....... truth be told I think I have a medium to advanced case of OCD!!! :oops:
 
its nice to see someone doing the job right. i wish i had bought full panels like that as the finish will look fantastic when spray with next to no filler reqd. i wish i had the willpower to not go to shows and concentrate on the van ive been to four this year so far which is a lot of time not working on my project.
 
Ground the weld for the panel join back flush this weekend:

DSCF3366.jpg


Then etch primed all the bare metalled panel joins:

DSCF3372.jpg


Once dry I carefully forced panel joint/seam sealer between all the joins and then cleaned off all the excess, this took ages? I haven't applied any skim of filler over the welded panel join area yet as I will leave this till later with all the other prep work, however glancing down the side in the daylight it seems the heat distortion from the welding is fairly minimal so I'm pretty pleased with the result :) :

DSCF3378.jpg


Next job will be the battery tray and lower corner:

DSCF3380.jpg


Won't get to do any work this week or weekend as I'll be away with work but hope to be back on it soon!
 
Well, the battery tray is in:

DSCF3439.jpg


As is the corner:

DSCF3456.jpg

DSCF3467.jpg


It will need a very light skim of filler but just stuck some primer on it for now:

DSCF3477.jpg

DSCF3475.jpg


So nice to finally have this side all back together...... for the first time I feel like I'm getting somewhere :) :

DSCF3492.jpg


Just need to seam seal the corner panel joins and the battery tray welds and then the next repair will be the light corrosion/pitting to the lower window seal area of the rear quarter.
 
So, drilled off the corroded 'V' channel for the side track cover and then sandblasted the corrosion along the lower window channel of the rear quarter.

Found it to be fairly pitted with just a few pin-holes..... so my dilema now is, do I cut a section out and replace it completely (as I do have a repair/cut) or weld up the pin holes and fill the pitting????

What would you guys do.....

DSCF3600.jpg


DSCF3601.jpg


DSCF3602.jpg


Can't decide as I don't want any rust to come back through later but don't want to be replacing bits for the sake of it???? :roll:
 
Camperdan said:
So, drilled off the corroded 'V' channel for the side track cover and then sandblasted the corrosion along the lower window channel of the rear quarter.

Found it to be fairly pitted with just a few pin-holes..... so my dilema now is, do I cut a section out and replace it completely (as I do have a repair/cut) or weld up the pin holes and fill the pitting????

What would you guys do.....

DSCF3600.jpg


DSCF3601.jpg


DSCF3602.jpg


Can't decide as I don't want any rust to come back through later but don't want to be replacing bits for the sake of it???? :roll:


I cut out the crap and welded new pieces in, like you say you don't want it coming back so give it the best chance you can now...Used some panels made by AS but dare say you could make your own.

The pics of the window towards the rear of the bus looks a more complex section to replace, I've have a mate who before now has cleared out all the rust and leaded the pits on stuff like that, food for thought!!

Great work by the way keep it up :mrgreen:
 
Work has been a nightmare recently, so what should have taken 2 weekends max took nearly a month? Finally manage to get a day in yesterday and have now completed the repair to the off-side rear quarter window frame.

I decided to stay true to the moto of, "If in doubt, cut it out"...... so that is what I did:

DSCF3612.jpg


DSCF3613.jpg


Off-cut welded in and ground back:
DSCF3732.jpg


DSCF3721.jpg


DSCF3735.jpg


Side cover bracket welded on and primed:
DSCF3759.jpg


DSCF3761.jpg


DSCF3756.jpg


Next is the near-side rear arch and corner.... getting there slowly :D
 
This is this first time I've picked up on this thread......the quality of the work is inspirational.....looking really good mate. Can't wait to see it finished.
 
Thanks!

I can't wait to finish it either..... I've been doing this so long now that I've forgotten what it's like to drive my bus???.... plus there's only so many shows/nights I can stand in a tent.... and I think I've reached that limit!

Cheers
 

Latest posts

Top