- Joined
- Apr 2, 2007
- Messages
- 478
- Reaction score
- 26
- Location
- Berkshire
- Year of Your Van(s)
- 1972
- Van Type
- Danbury
Thanks Dexter ")
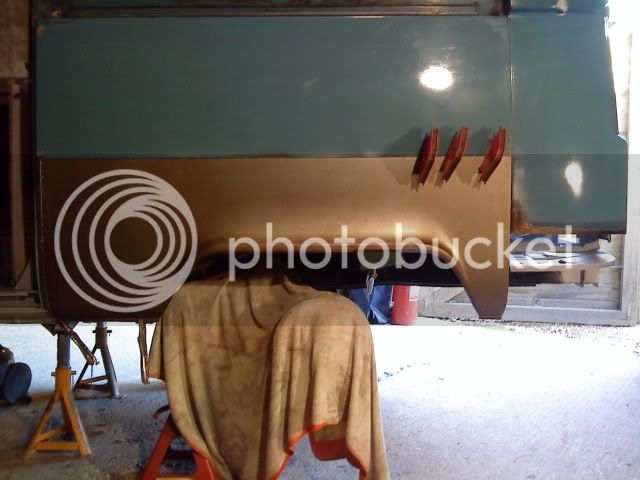
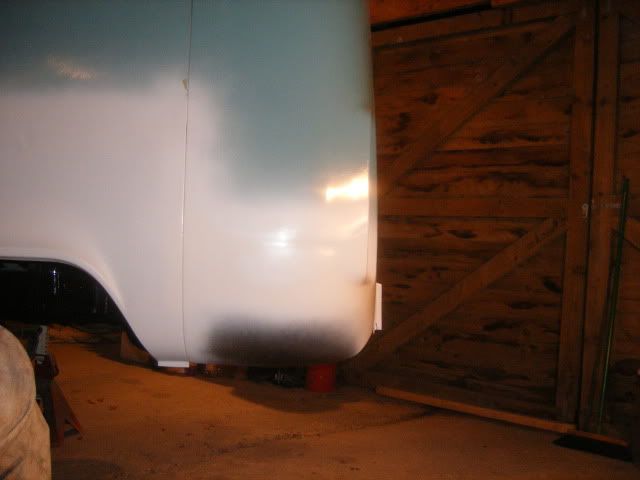
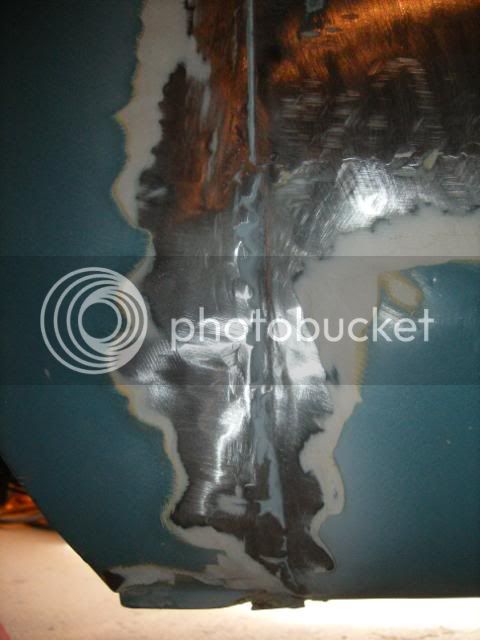
Well I've started the nearside rear corner, the Previous Owner/Repairers repairs looked ok originaly but as expected, and after lots of digging through filler, I didn't find anything that was worth leaving so chopped it all back out to the original metal to start it again. The pictures show the story of what was lurking beneath the filler:
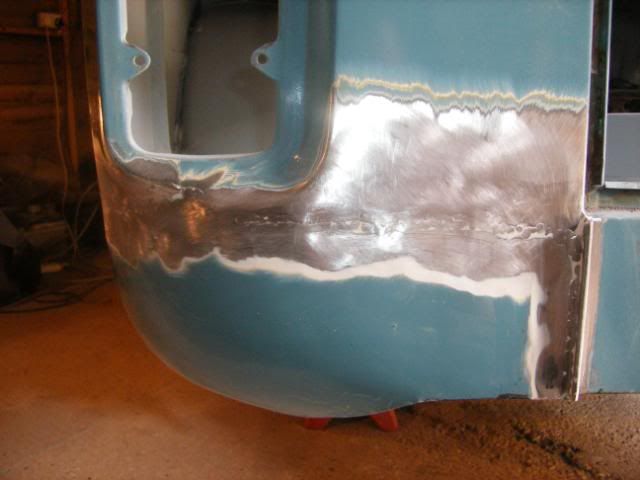
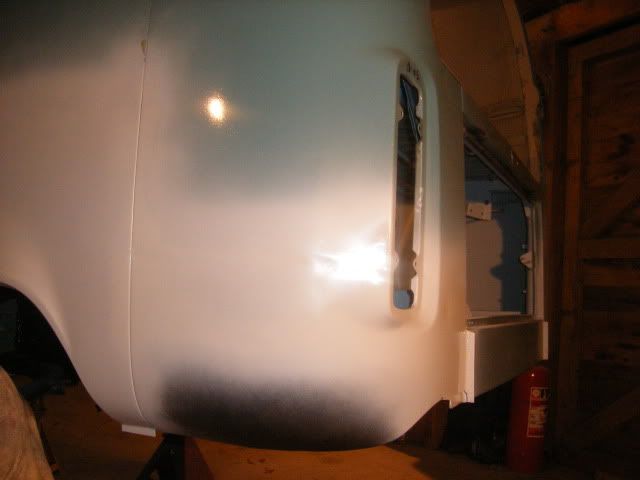
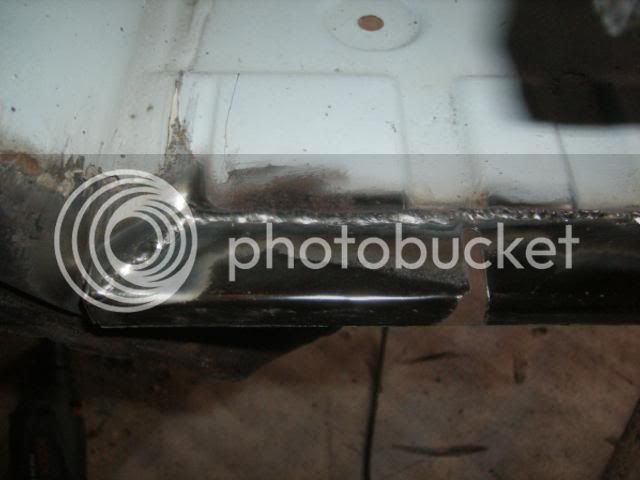
This bit was really nasty:
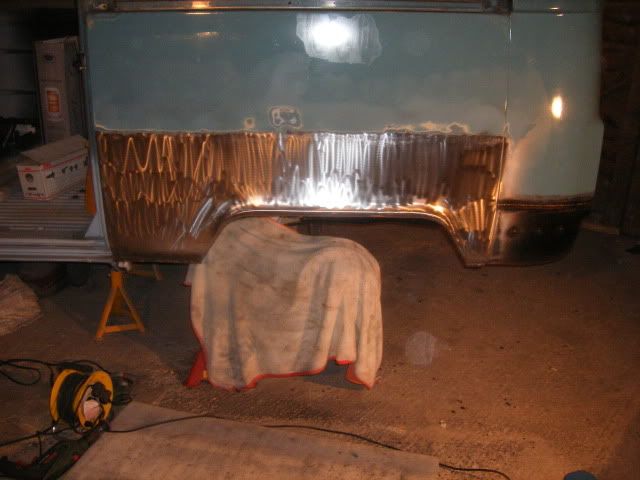
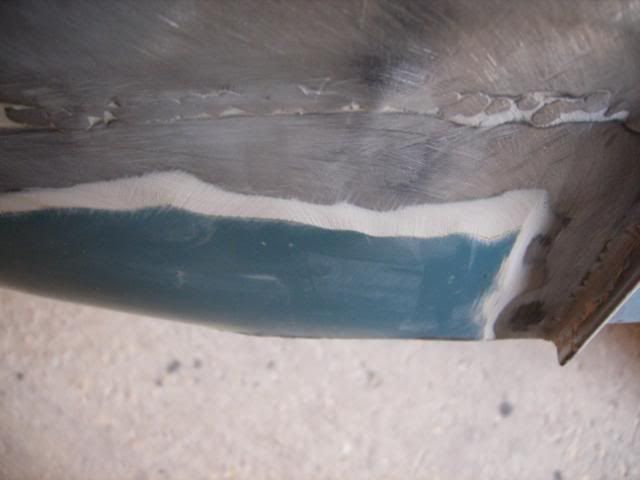
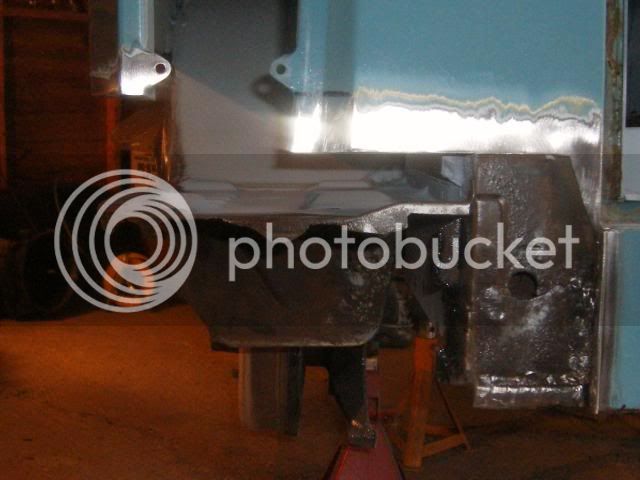
Once removed I could see that the battery tray was rotten at a few places on the outer edge. The rest of it however was great so I decided that rather than replace the whole thing I'd just do the bits that had rusted, this worked out pretty well. Also note the previous repair to the lower end of the rear post.... this is merely a patch welded over the rot?.... needless to say that has been added to the to do list :roll: :
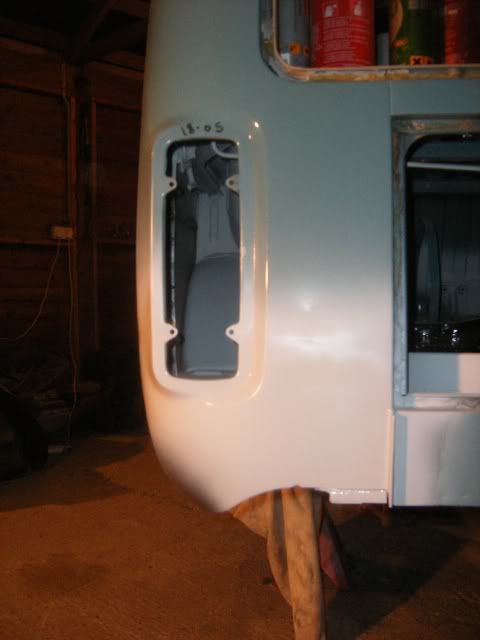
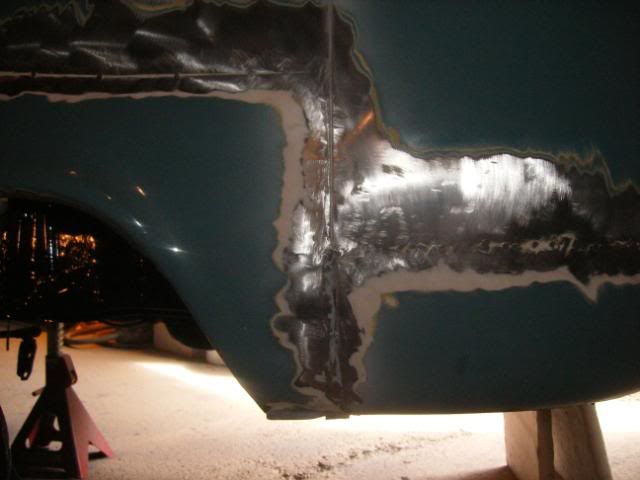
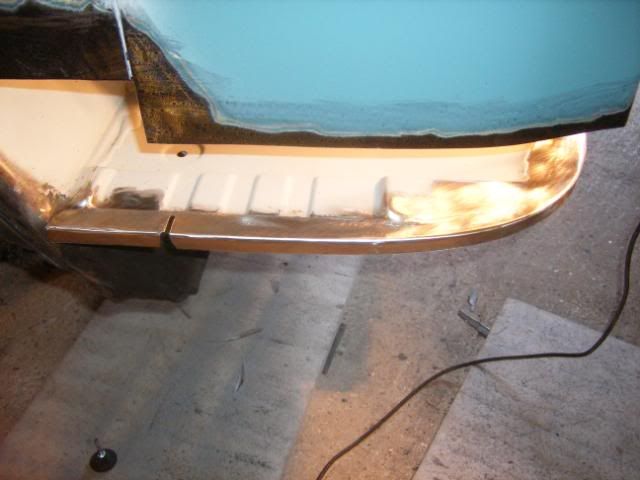
And the repair:
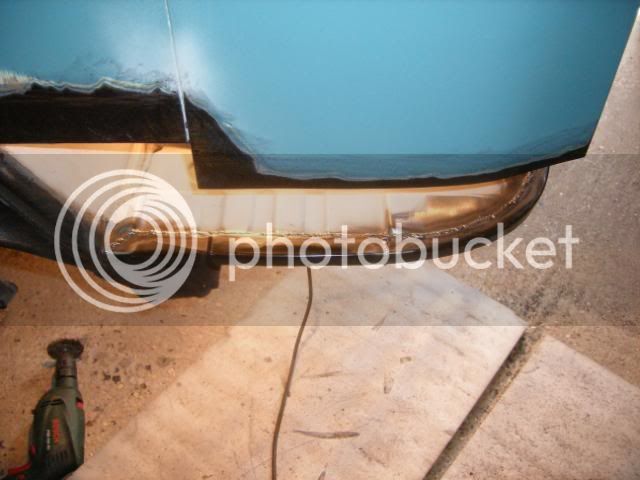
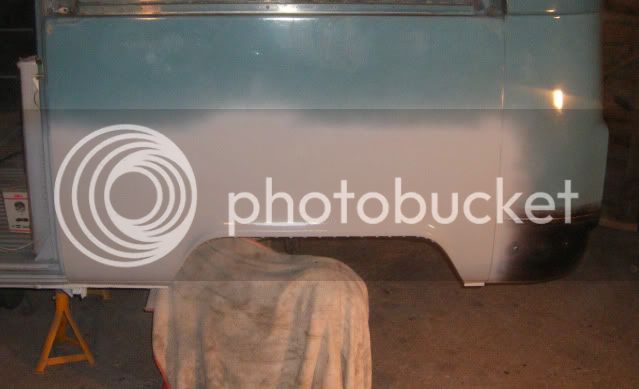
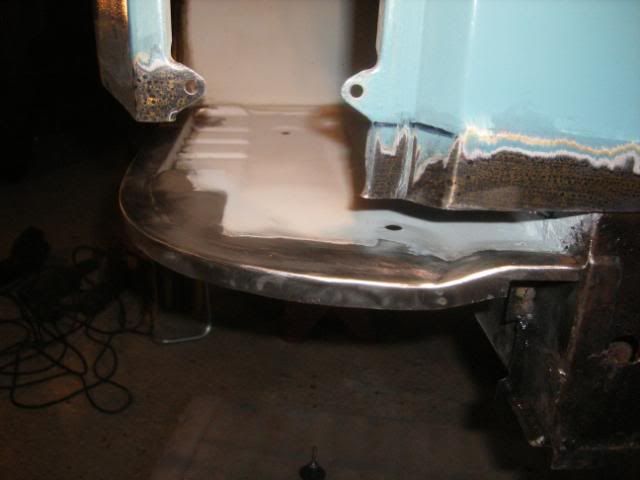
Ground back:
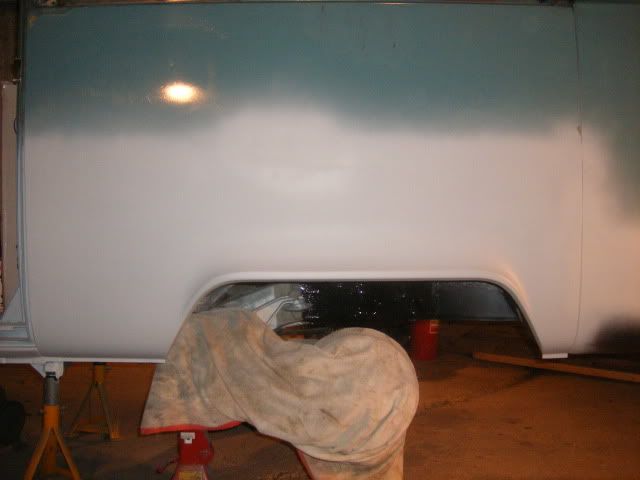
Primed:
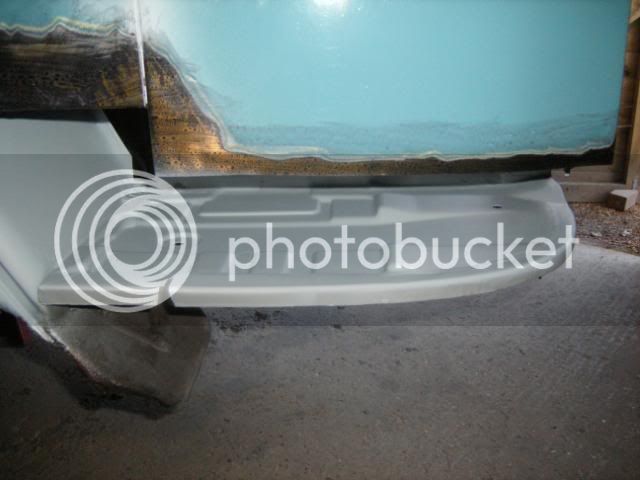
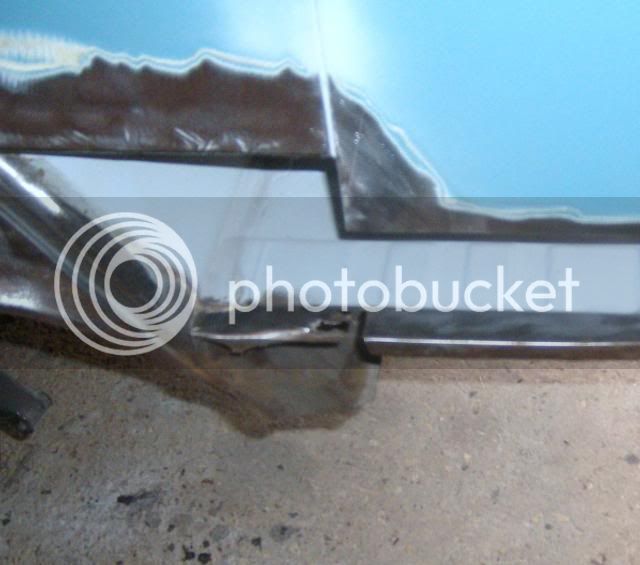
The rear stone guard/closing panel is also a bit shot, as is the lip of the inner arch so these are next.
Well I've started the nearside rear corner, the Previous Owner/Repairers repairs looked ok originaly but as expected, and after lots of digging through filler, I didn't find anything that was worth leaving so chopped it all back out to the original metal to start it again. The pictures show the story of what was lurking beneath the filler:
This bit was really nasty:
Once removed I could see that the battery tray was rotten at a few places on the outer edge. The rest of it however was great so I decided that rather than replace the whole thing I'd just do the bits that had rusted, this worked out pretty well. Also note the previous repair to the lower end of the rear post.... this is merely a patch welded over the rot?.... needless to say that has been added to the to do list :roll: :
And the repair:
Ground back:
Primed:
The rear stone guard/closing panel is also a bit shot, as is the lip of the inner arch so these are next.